Dateline, 5/25/2020: Ribs and Eyes, Eyes and Ribs
I don’t remember if I suspected that there would be a beef shortage or if I just bought a lot of meat on impulse. Either way, I seem to have stumbled backwards into having a freezer full. I do remember the price on lip-on ribs (whole boneless rib eyes) bottoming out before the pandemic. How can you have TOO MANY rib eyes on hand? Good thing I did whatever I did, because the shelves in the stores are pretty barren.
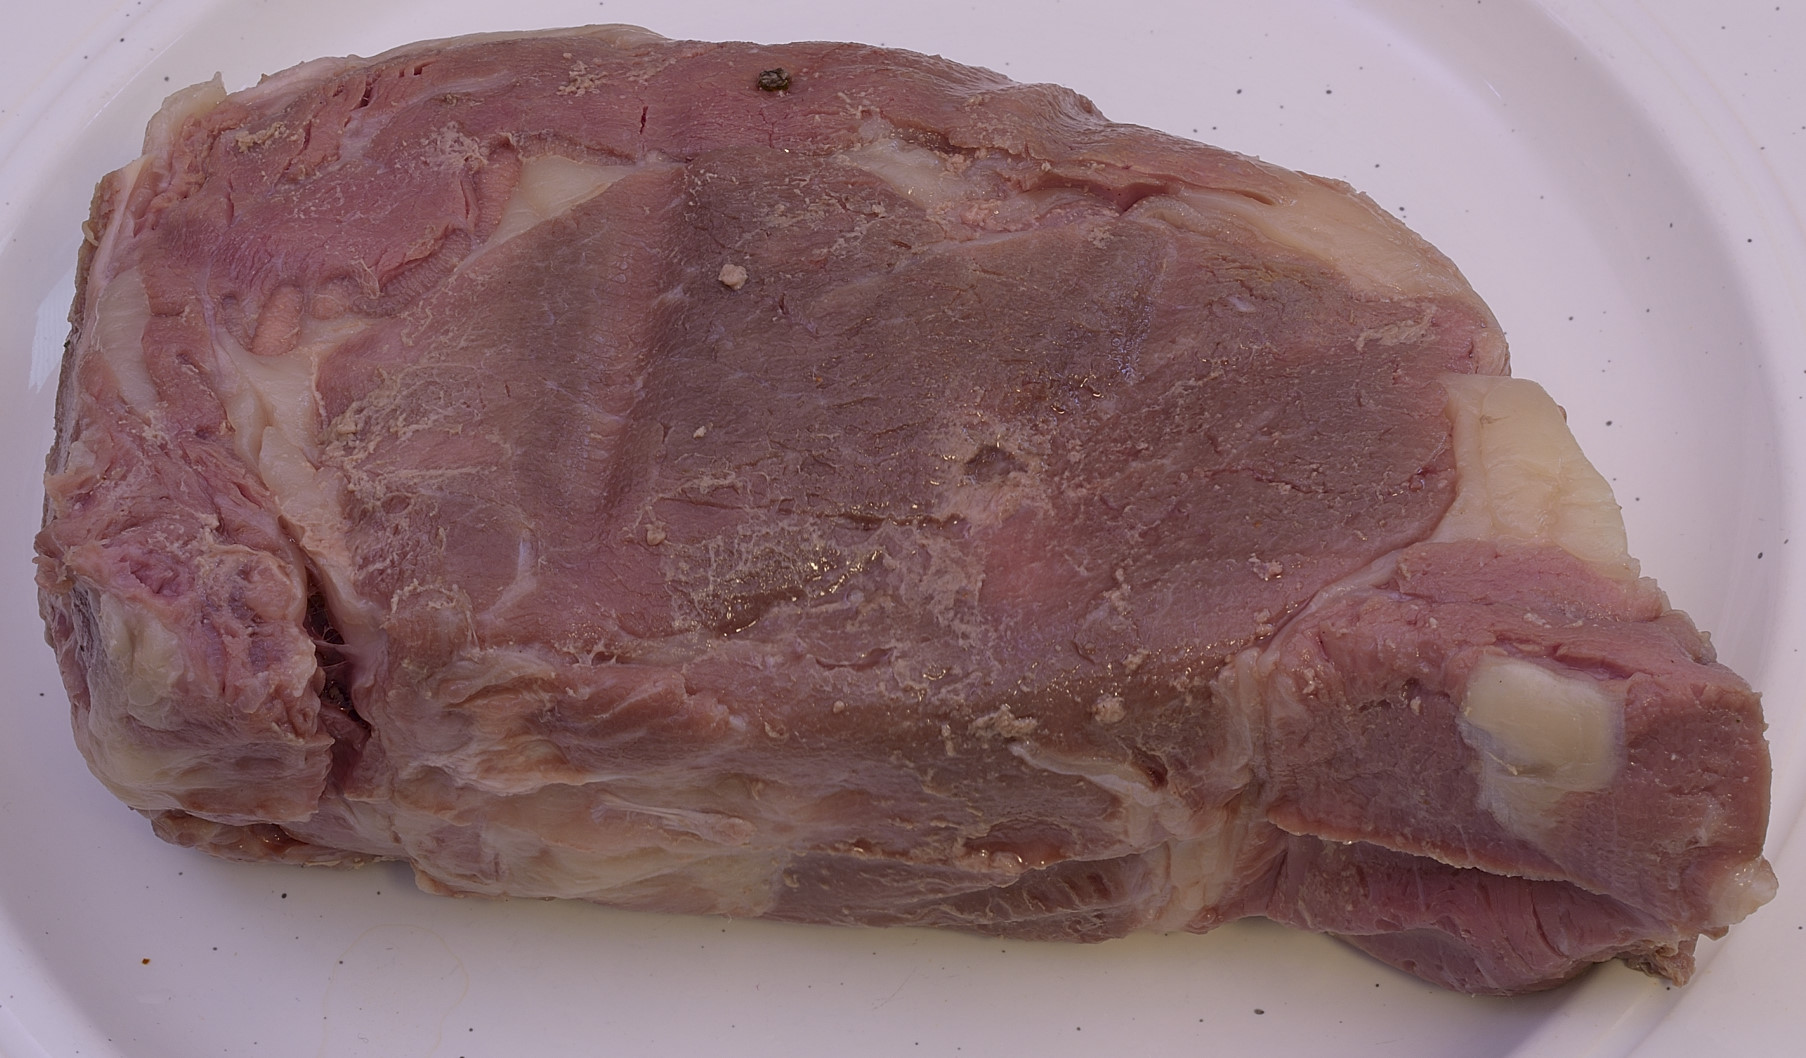
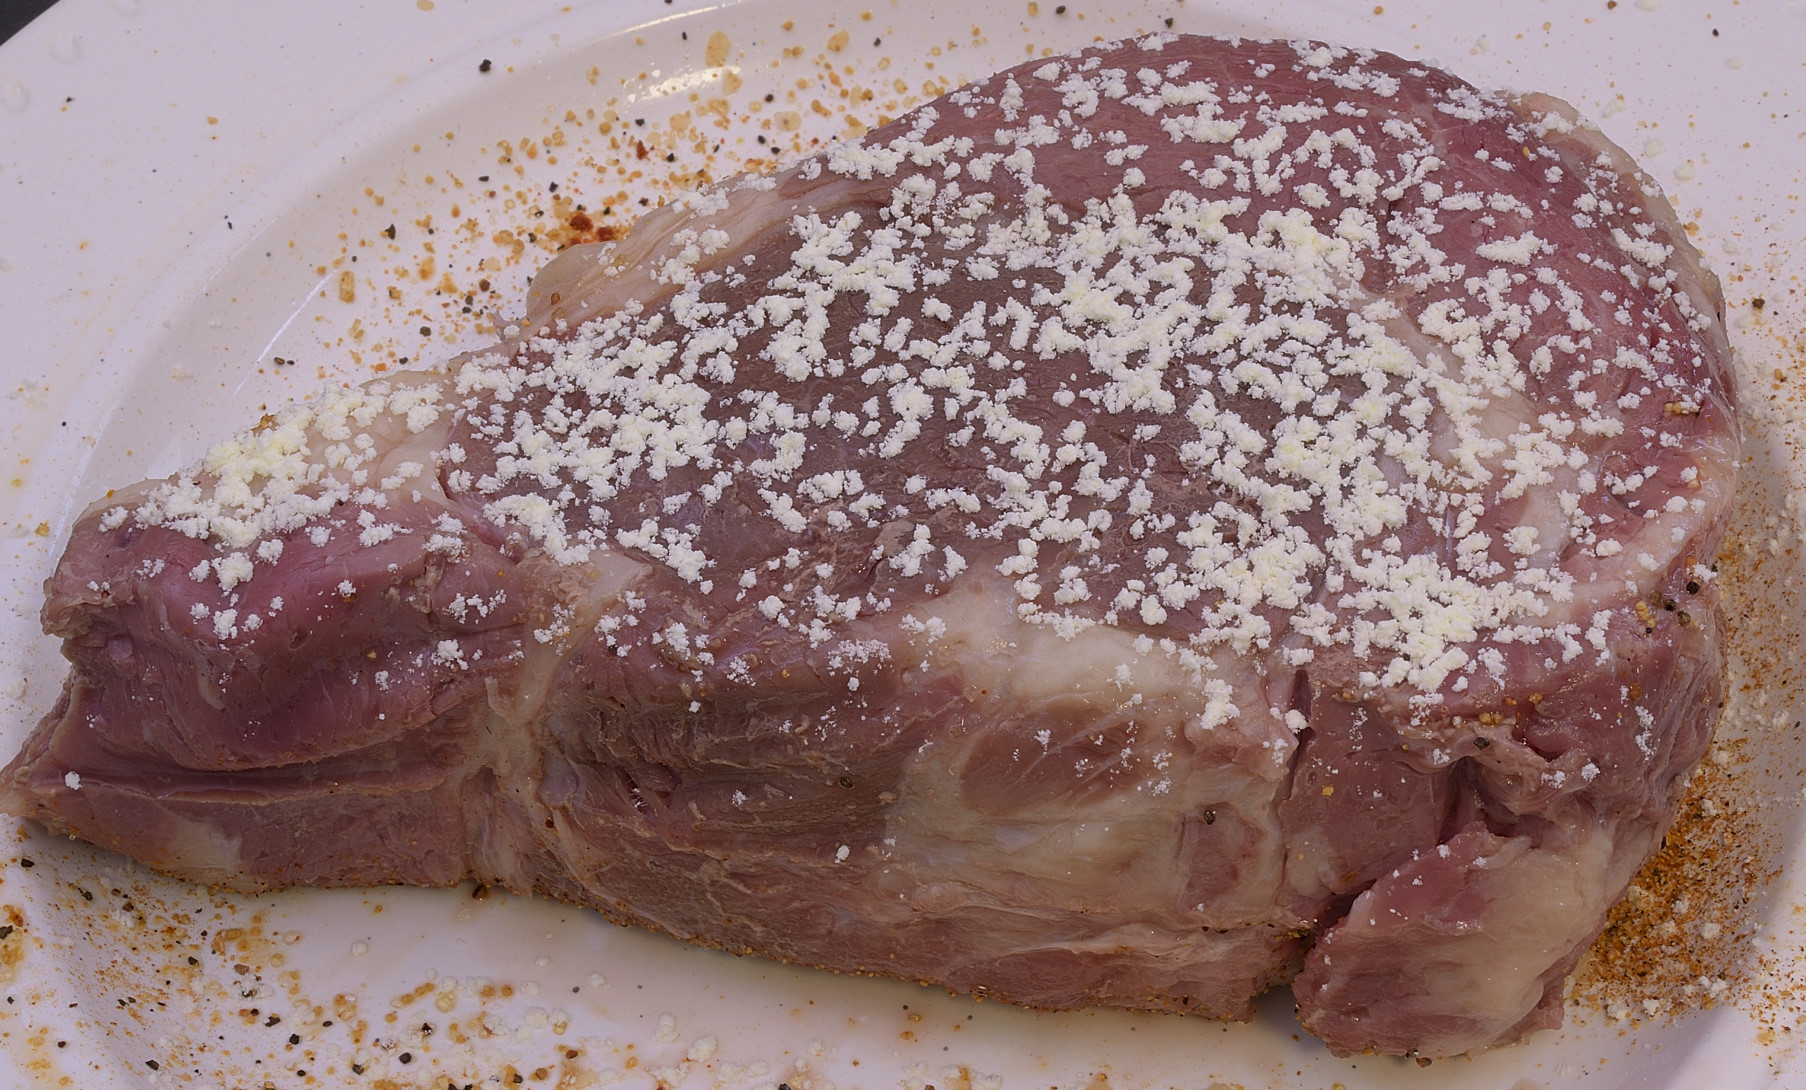
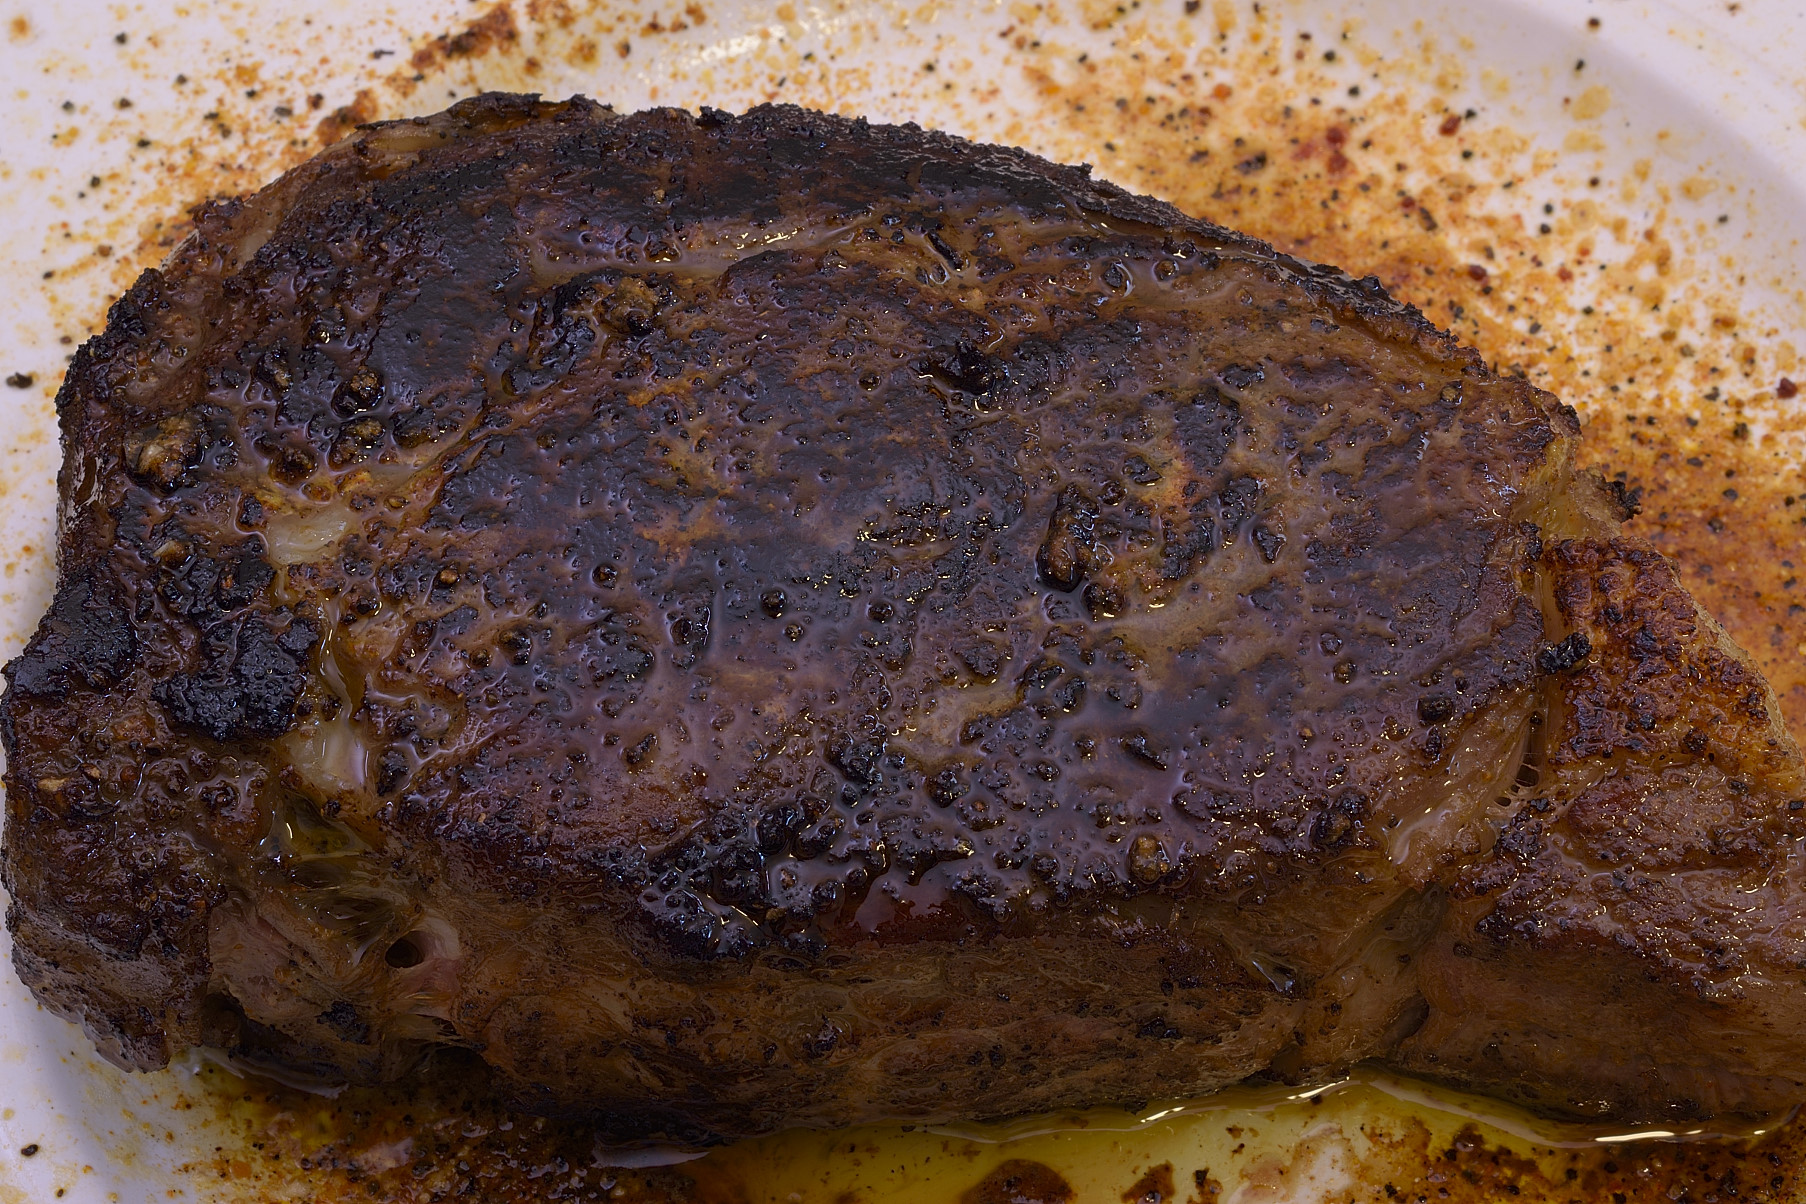
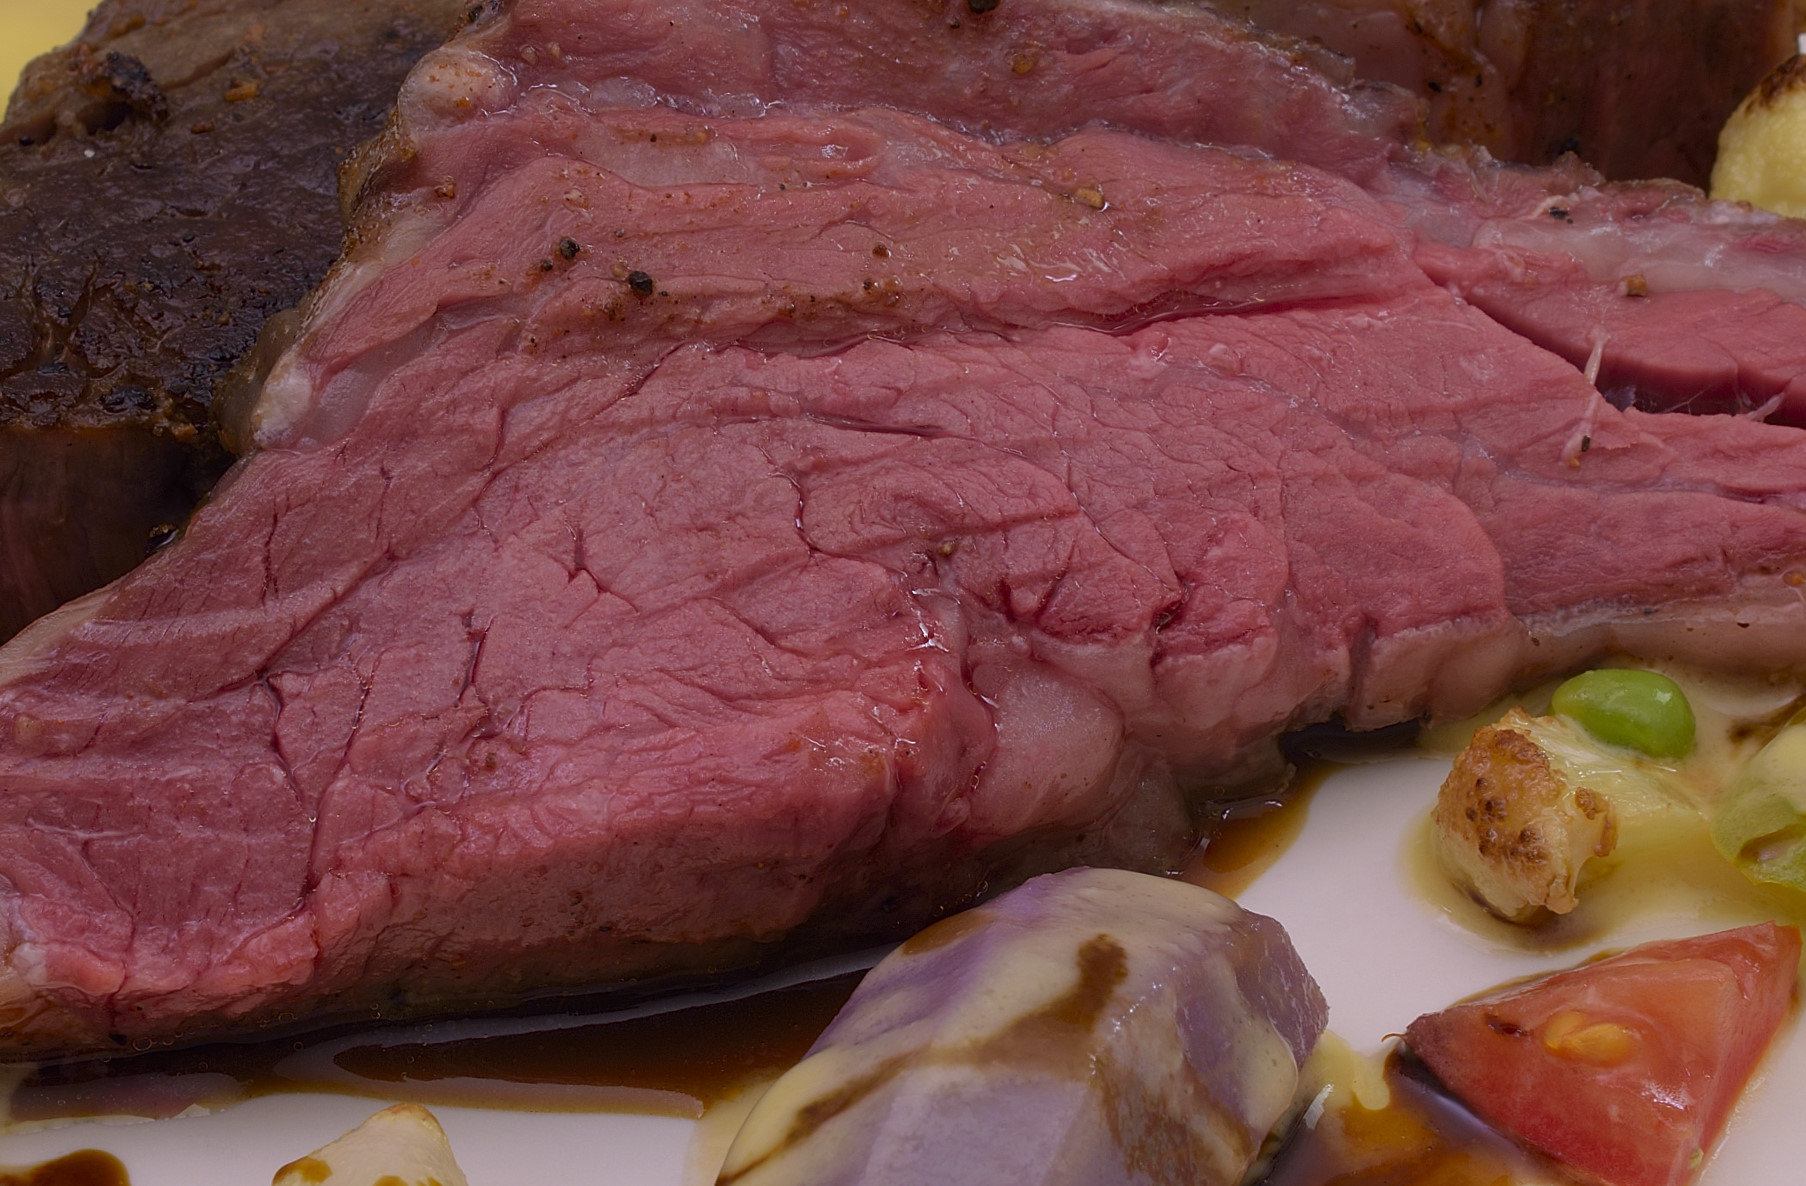
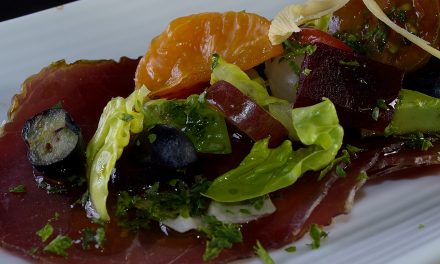
I settled on the first thing that hit my hand when I reached up into the freezer. This is pretty much my favorite cut of rib eye, near the shoulder, with the spinalis dorsi muscle (the curved piece on the left) comprising almost half of the entire steak. That’s just about my favorite cut on the whole steer. Sometimes butchers remove them, tie them into a circle and price them very aggressively. It looks cool in the package but springs back to its natural shape when cooked. No matter, it has a different, very unctuous texture to it that steak lovers cherish. Not sure it’s worth $20/lb, but we all know prices are going to jump once meat starts showing up in the stores again. We could be paying that for brisket, for all we know.
Not everything needs a story, and we are all very familiar with the changes that the COVID19 pandemic and quarantine have brought about. It hasn’t really changed my lifestyle very much because I already had mobility issues. Honestly, I do not get lonely. I have the wife and the dog, and a few members of the group that I socialize with a bit. That’s plenty for me, really. People are like foie gras and ghost peppers–a little bit goes a long way.
Basic Ingredients:
Beef rib eye steak, “as needed,” I cut this one to 24 oz/650 g. To learn more about selecting and/or cutting rib eyes (and New Yorks), click HERE.
Oil to sear the steak, 1 oz/30 ml. People discuss, debate, and argue about which oils are best for various purposes. In the case of searing, I usually tell people that if they can tell what kind of oil they used, they probably used too much.
Butternut squash, sous vide processed, a little bit.
Demi-glace, or your own preferred version of “brown gravy,” about an oz/30 ml.
Cherry tomatoes, 1 red, 1 yellow, 1 orange, 1 green.
Pearl onions, 3 each.
Peas, 12 each, that’s right, I said 12 each.
Purple potatoes, 1 or 2.
Cauliflower, pan roasted, little bit.
Butternut squash, little bit.
Olive oil
Kosher salt, as needed.

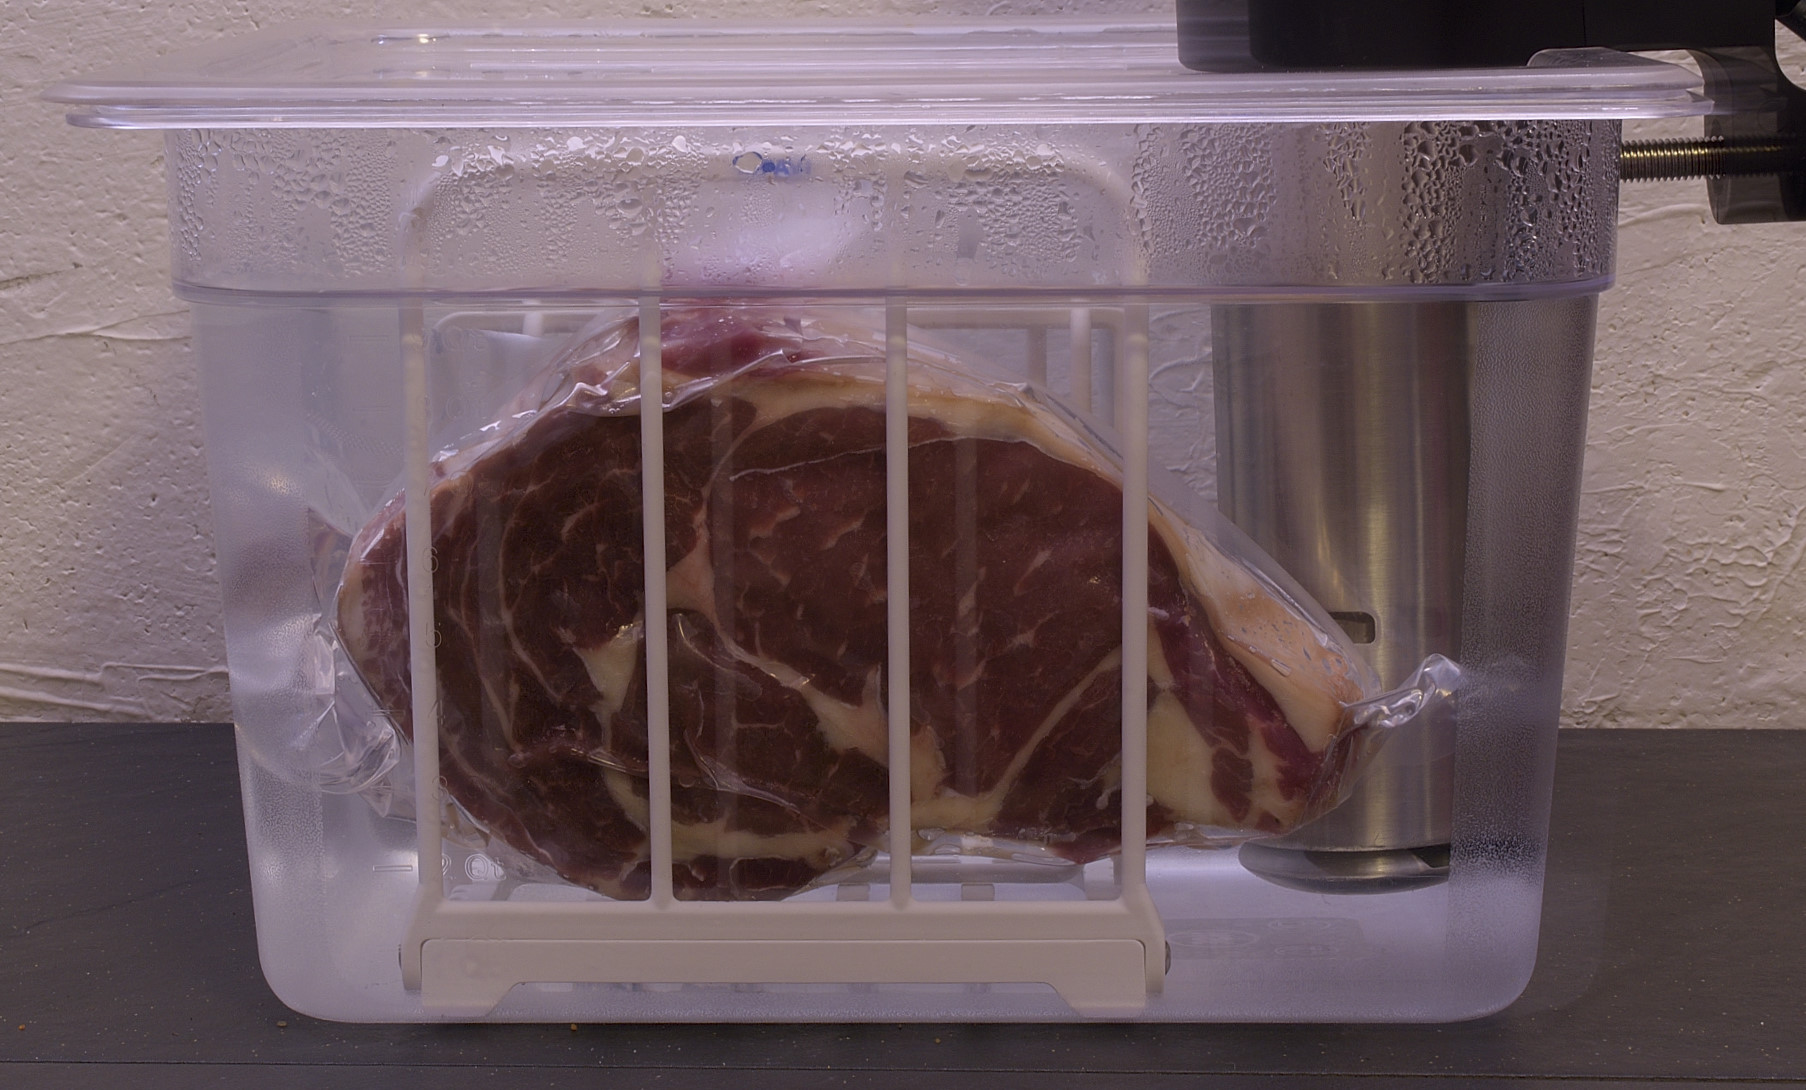
Preheat the sous vide bath to 130 F/54 C. Vacuum seal the steak in a heat rated bag and process at
130 F/54 C for a minimum of 2 hours.
I cooled my heels for 4 hours because that was more convenient for me. Sous vide is very forgiving in this respect. I would set my own personal limit at about 7 hours for this particular item, but it really wouldn’t hurt it to go longer. There is a very slow release of moisture at that temperature. I wouldn’t just let it soak til tomorrow. If I wanted to have this steak for breakfast, which I might and there’s no shame in that, I would drop it in the bath just about the time I went to bed.
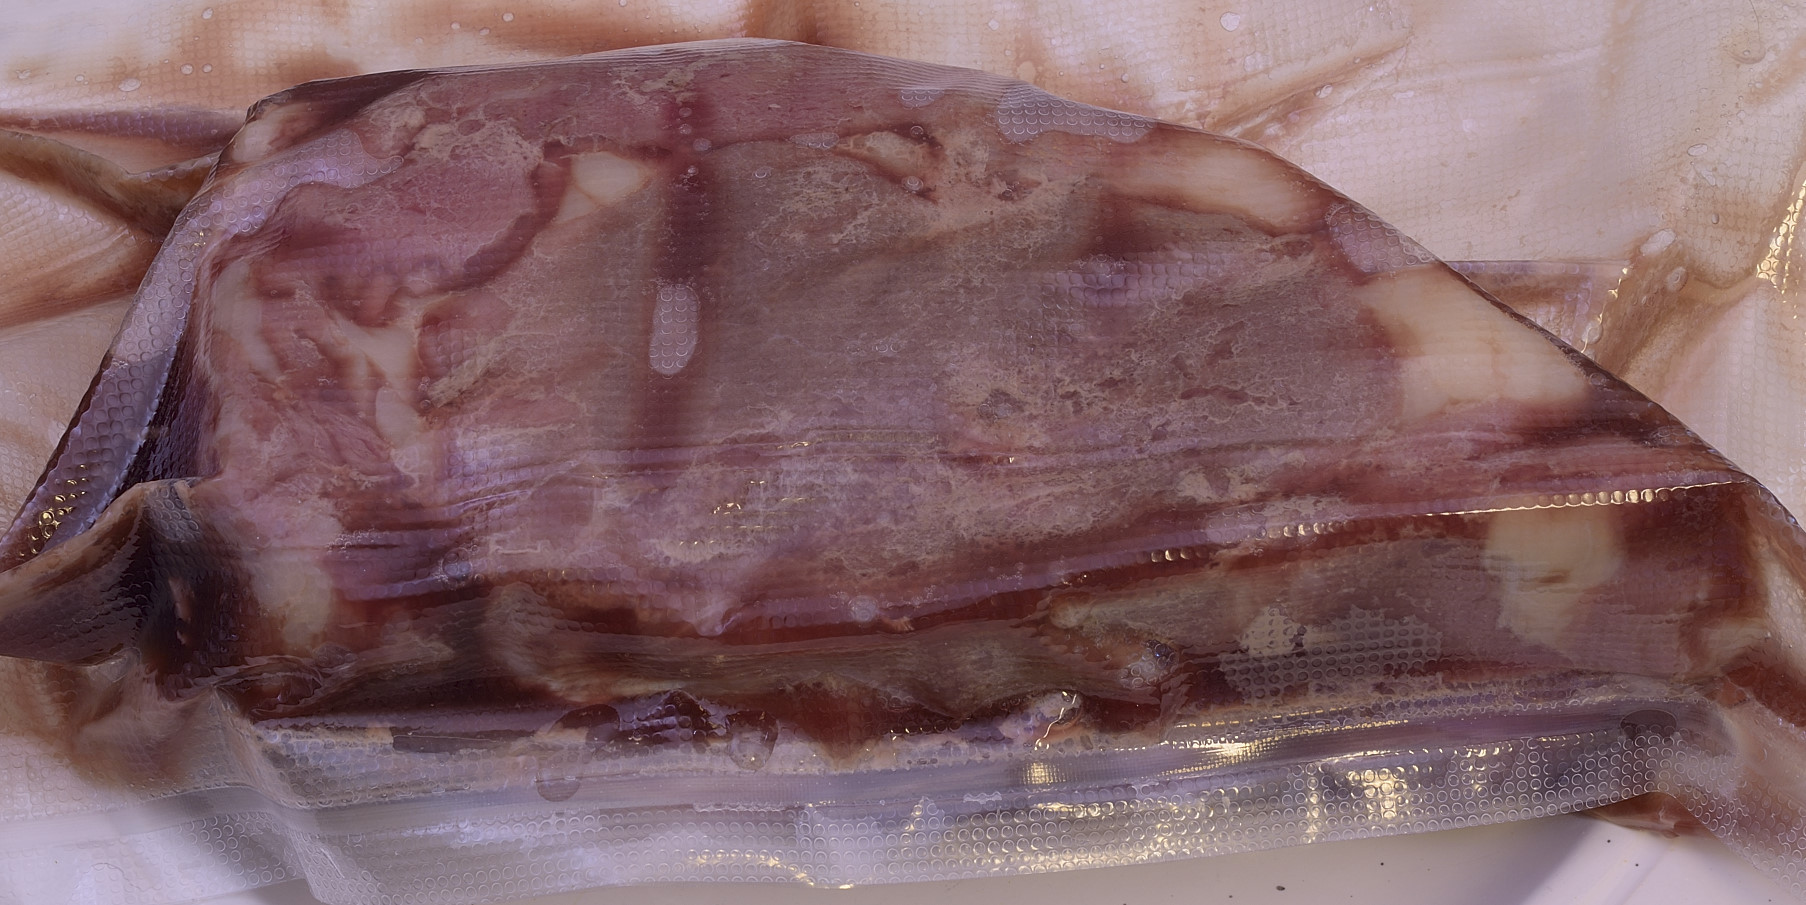
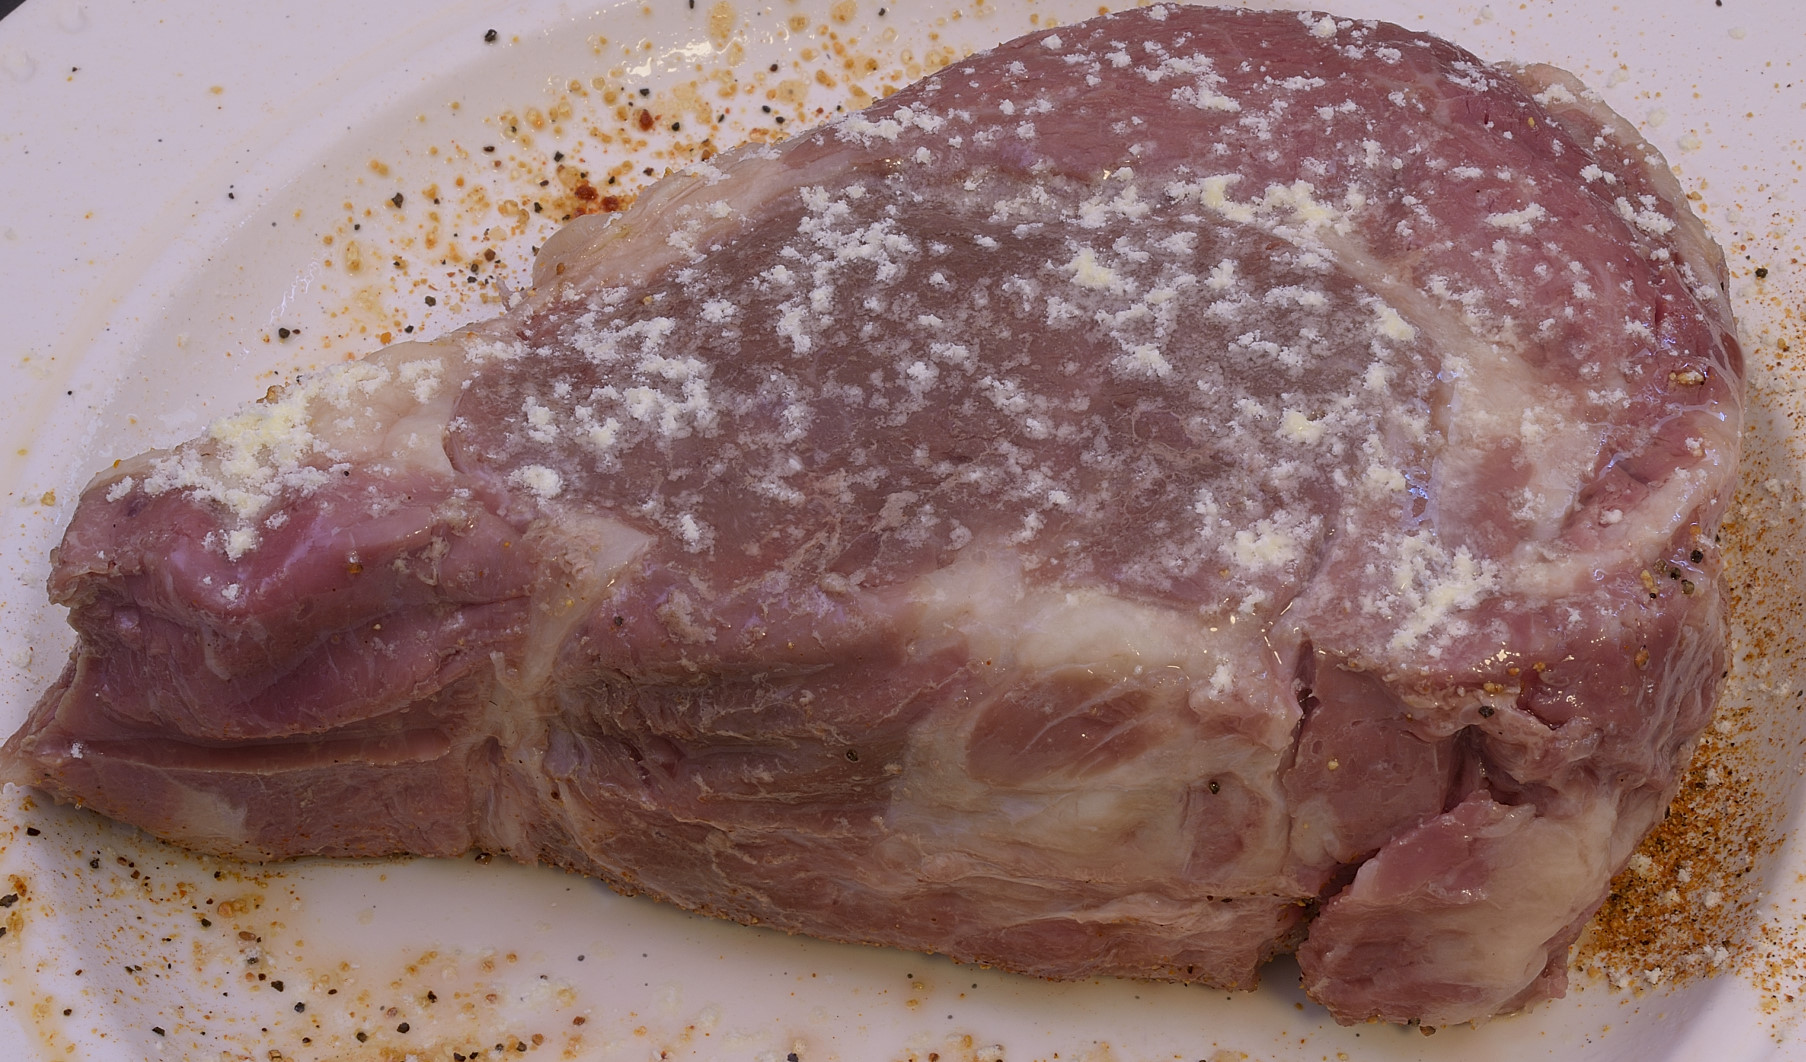
People who have explored sous vide are accustomed to this dreary, blah sort of appearance.
Skeptics and deniers point at it and laugh, uttering “who would eat such a thing? what a hack.” I gave up cold selling sous vide a while back. I just provide the food. When asked how I did that, I say “it’s like politics–it’s better not to know what goes into it.” If they inquire further, I will begin to explain low temperature processing and pasteurization. Their eyes glaze over about half way through the first sentence, so it really doesn’t matter.
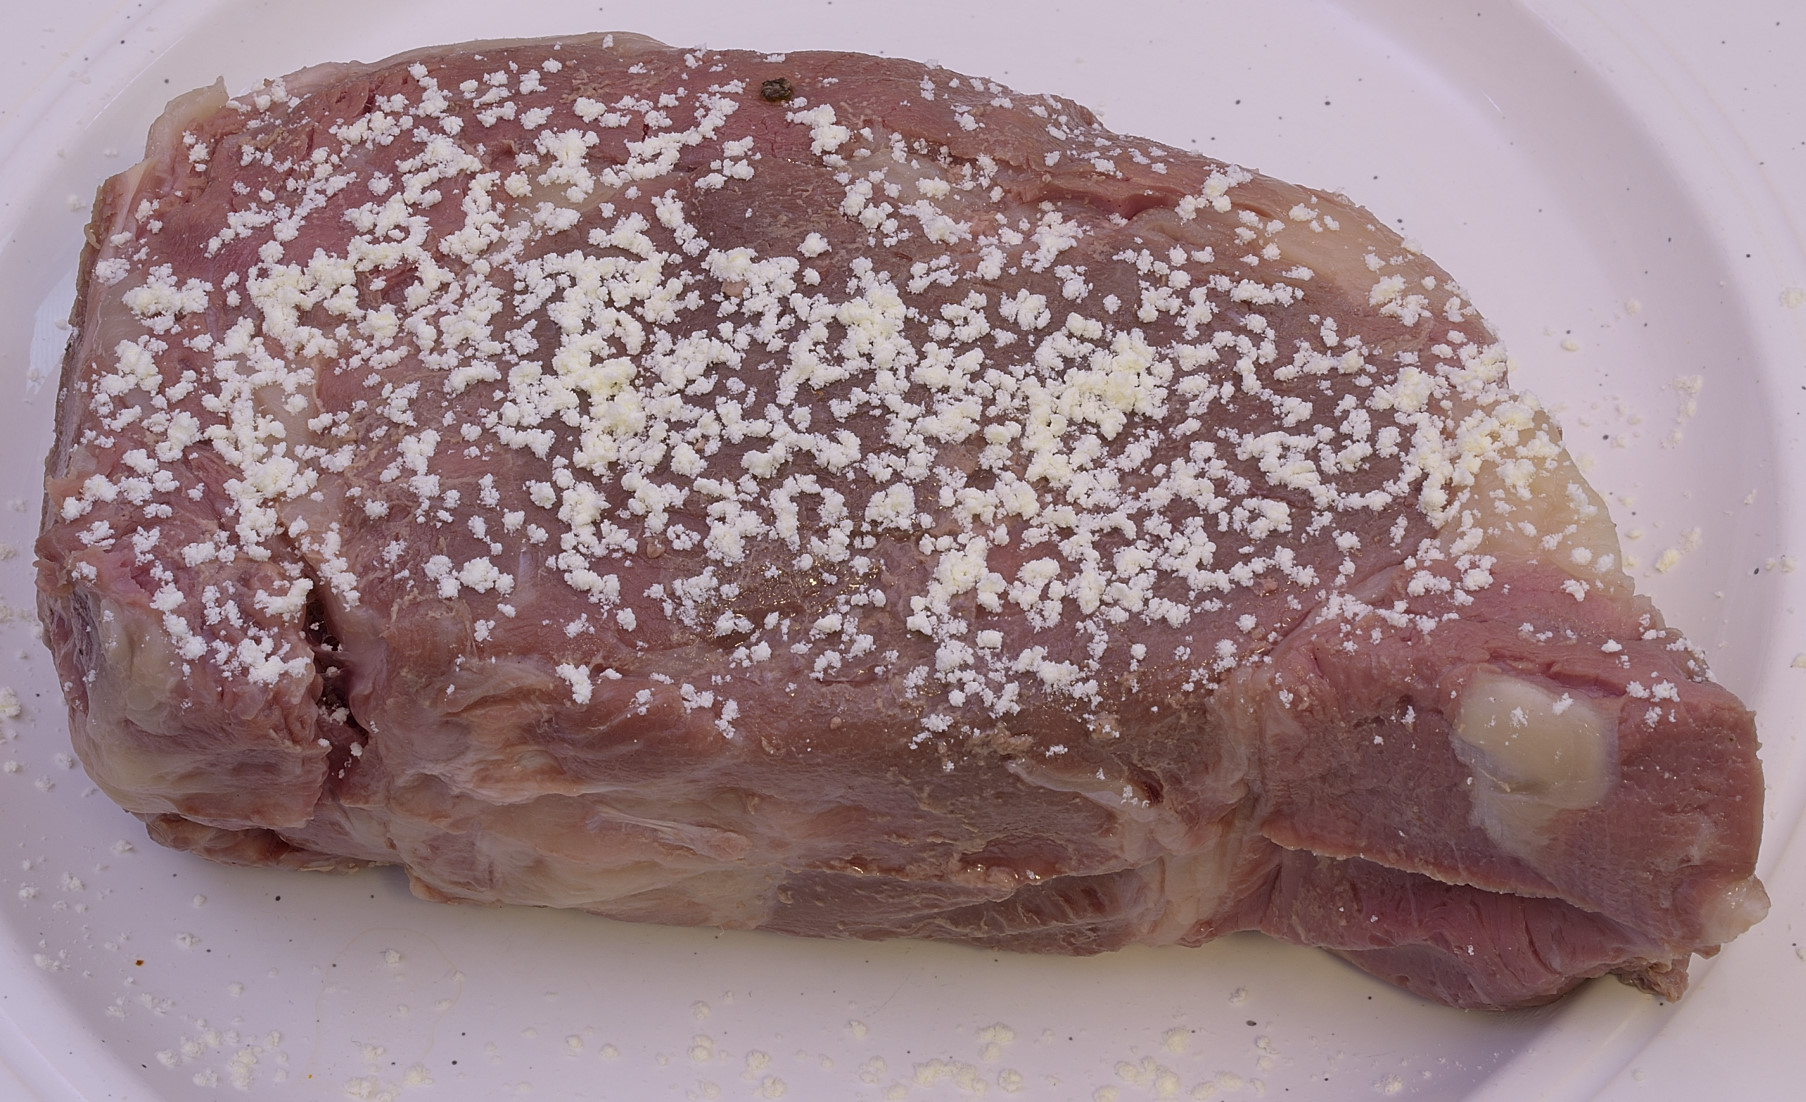
Albumins are proteins similar to egg whites that make the fresh cut surface of meat feel sticky. Sous vide removes the albumins from the surface, so we apply some egg white in one form or another to help seasonings cling. You can separate eggs and figure out what to do with the yolks, you can buy pasteurized egg whites and just use a few drops, or you can use the powdered stuff, which I did here. They are all suitable. I just don’t make aioli or rouille that often.
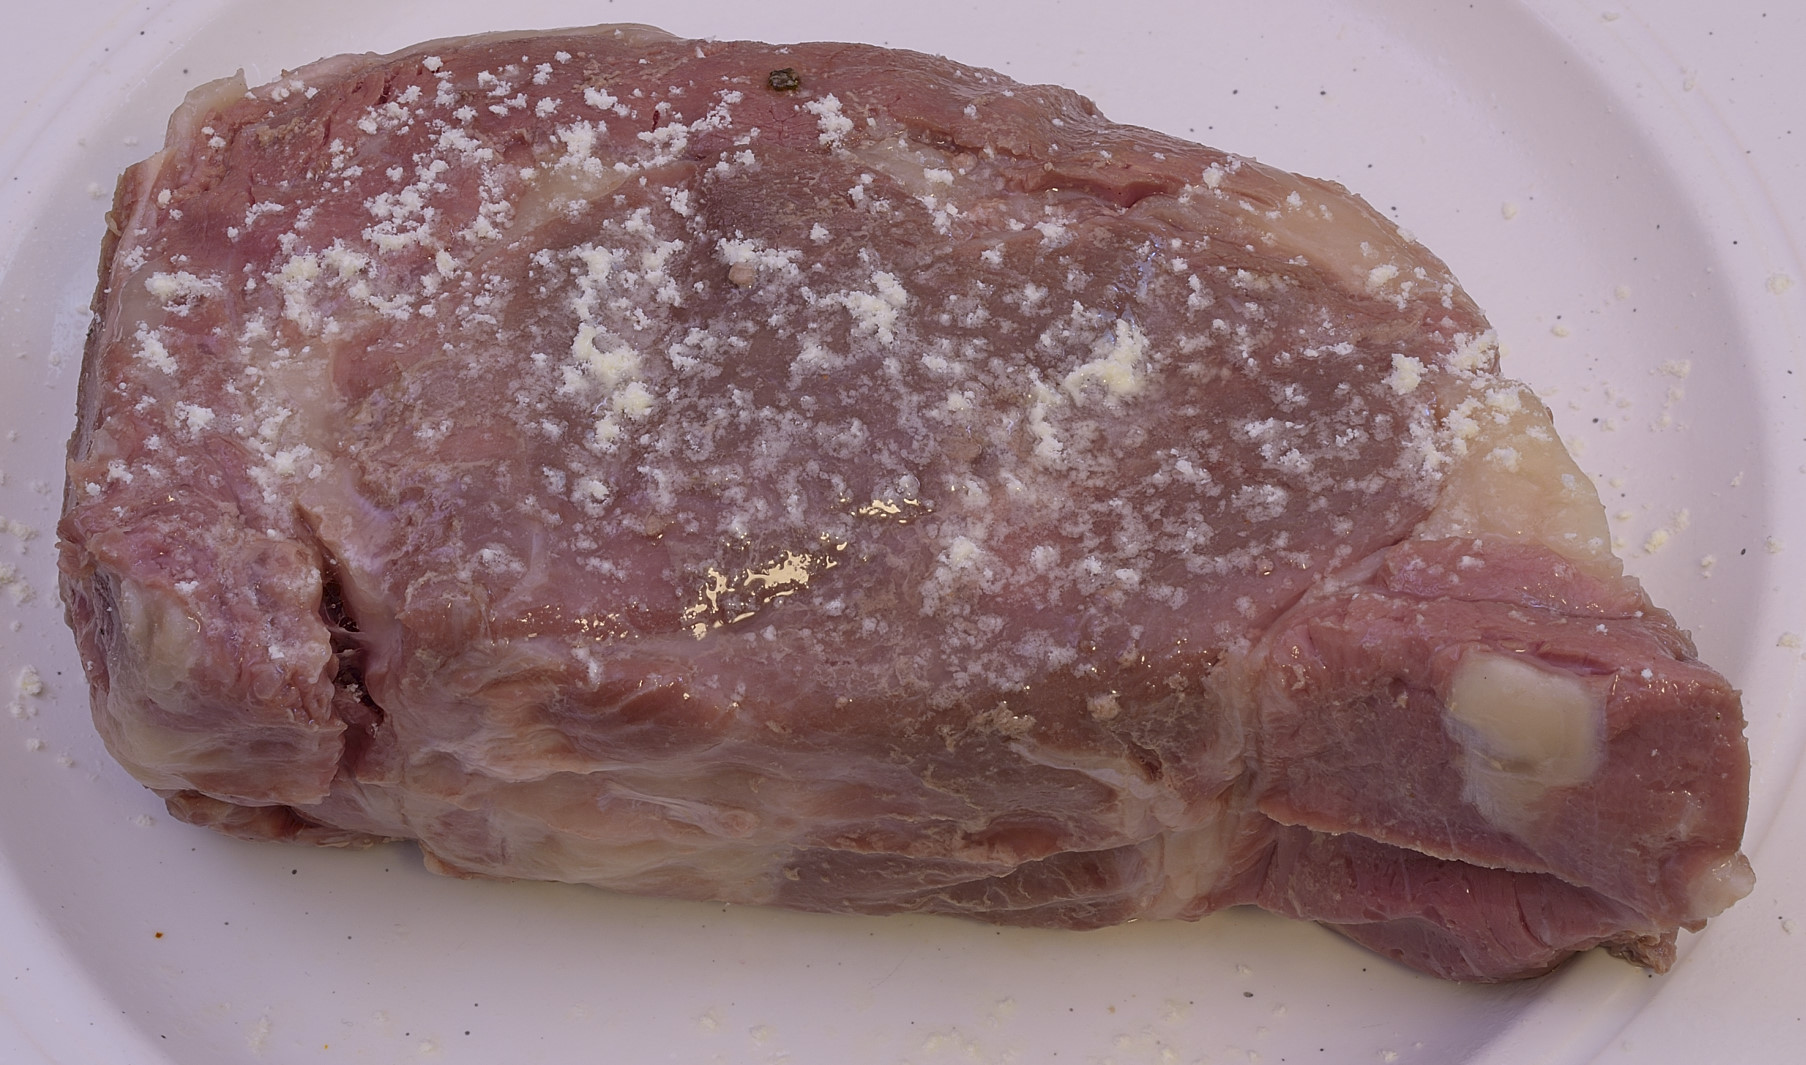
If you use powdered egg whites, you will need to moisten the surface a bit to dissolve them. I use one of those handy spray bottles.
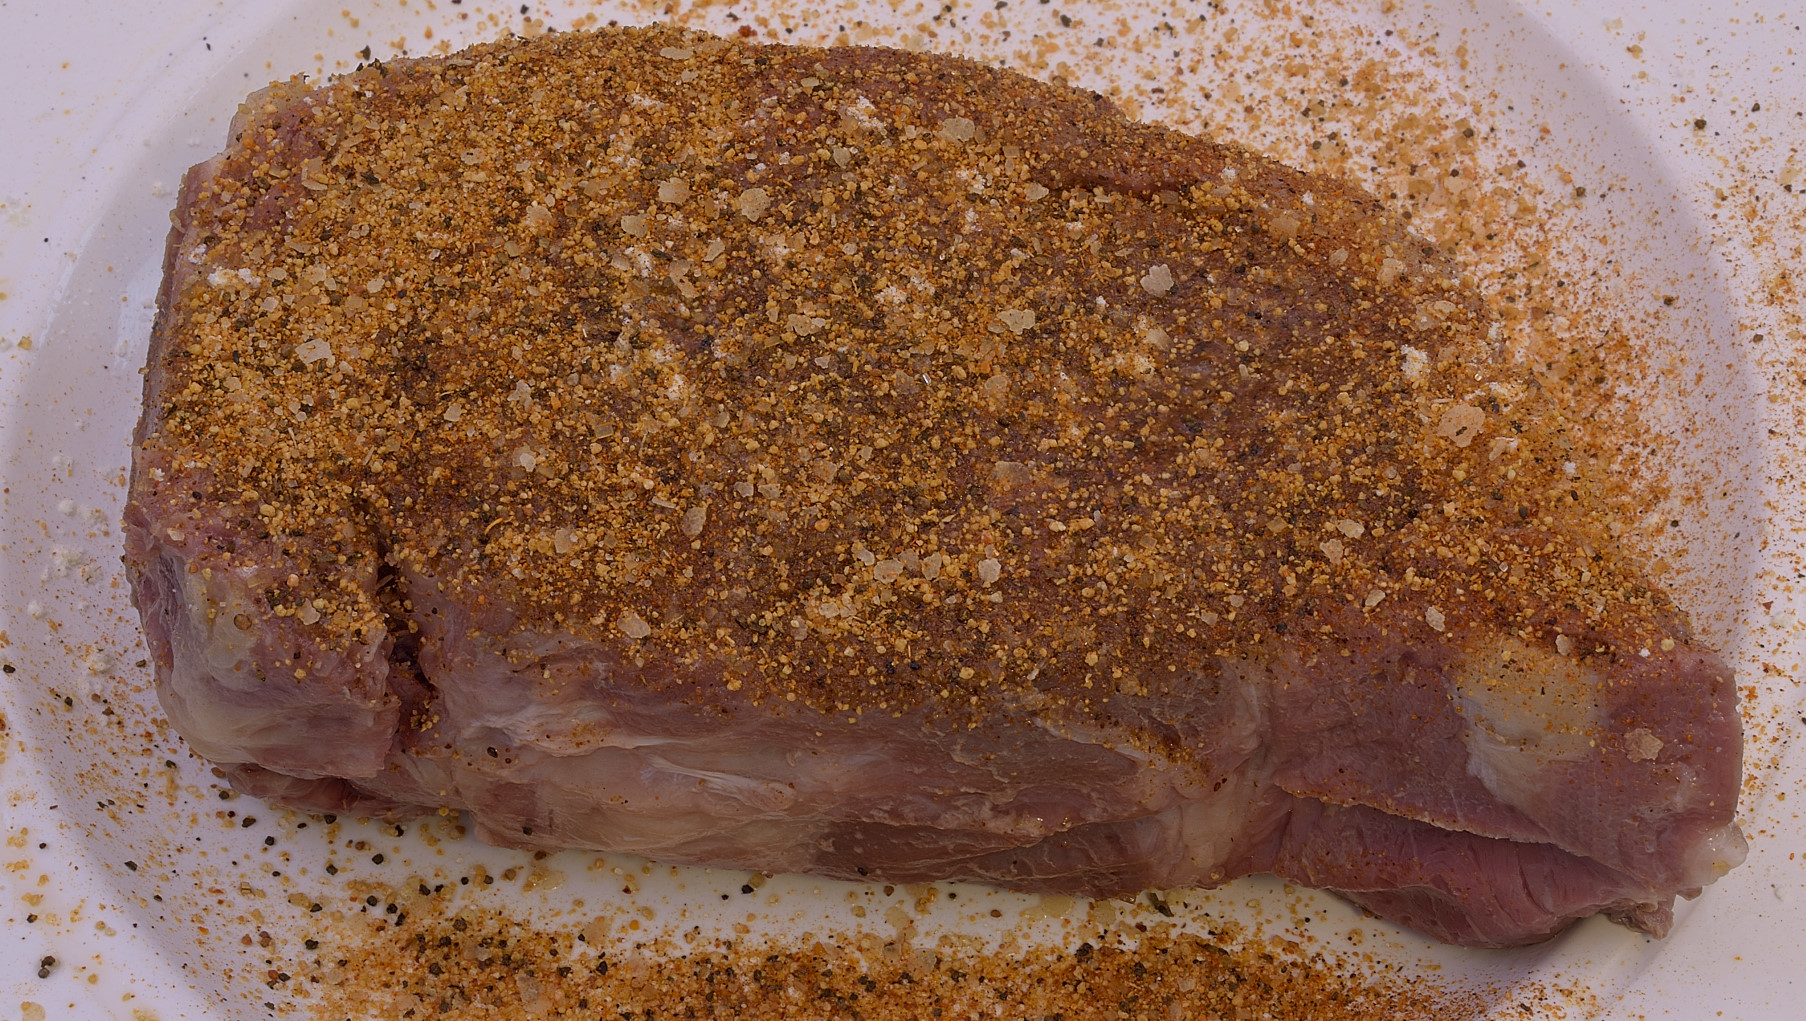
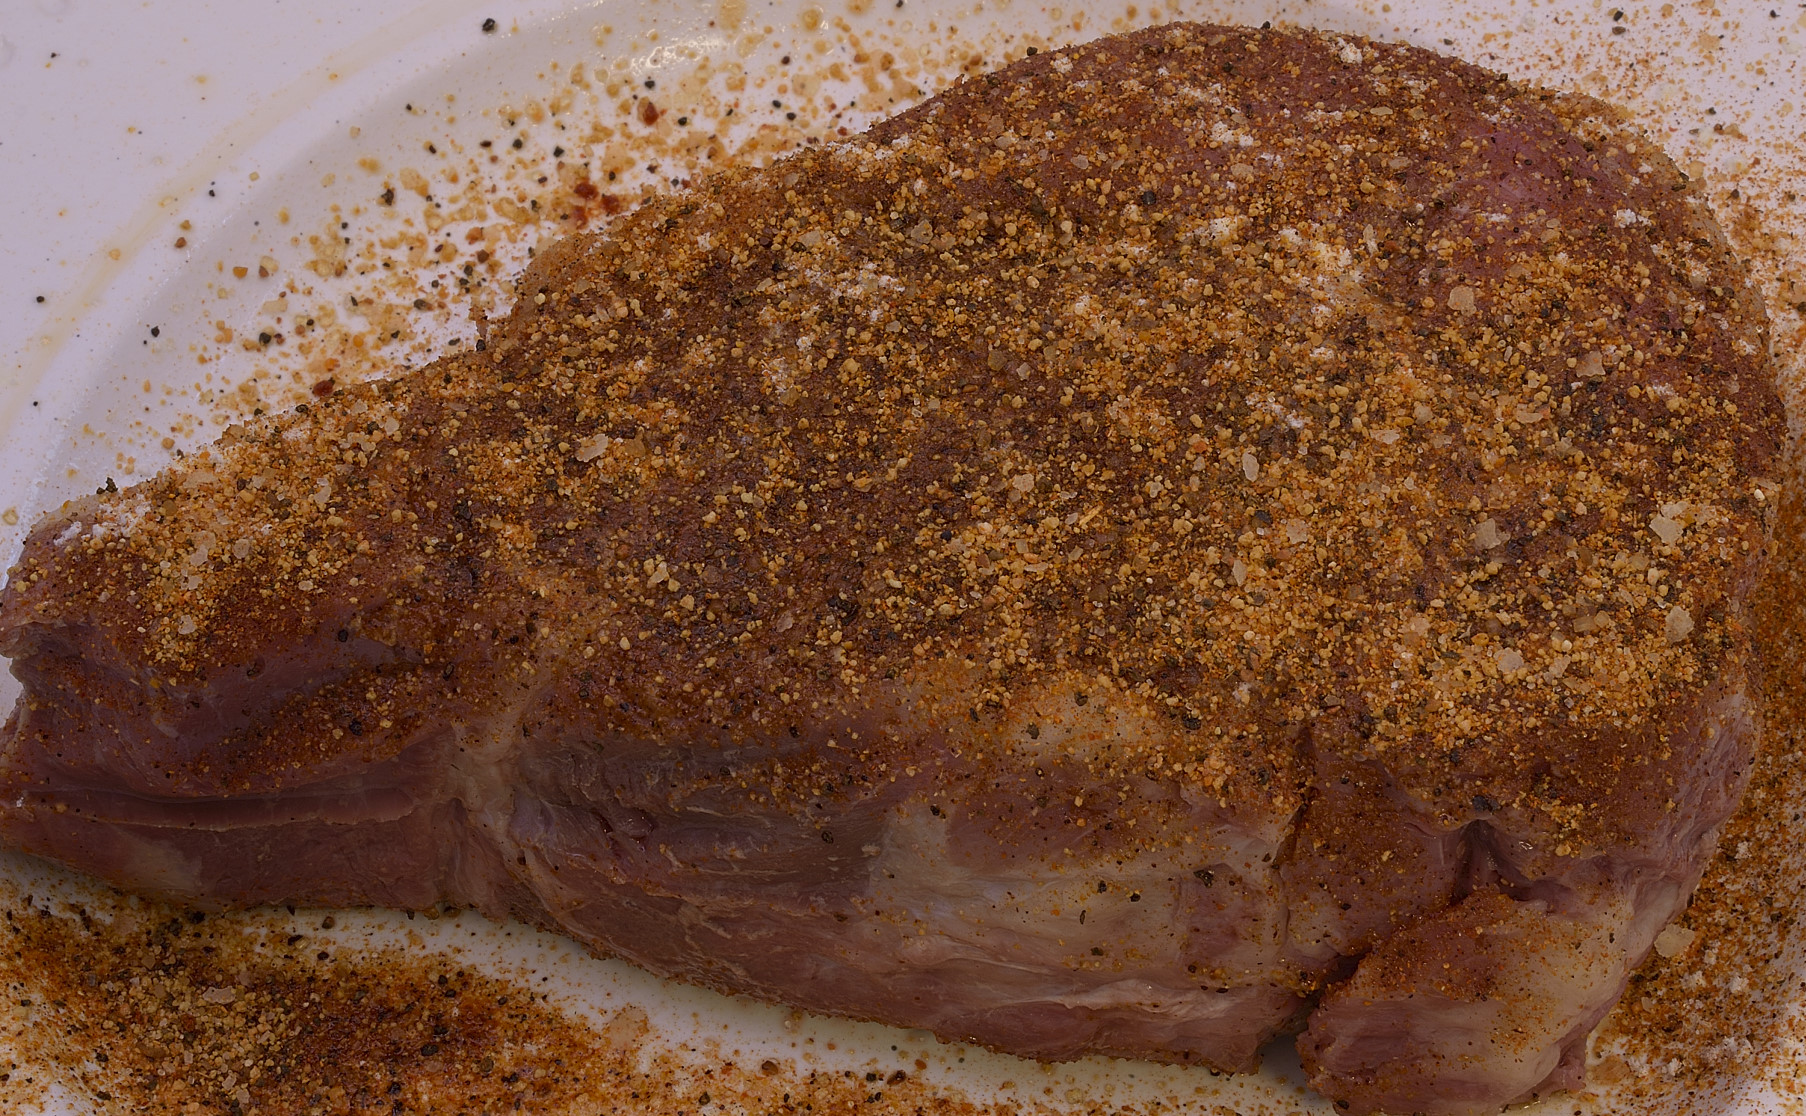
We have seasoning recipes HERE, or you can design your own, or you can buy the pre-made stuff with all the colorful pebbles. They really mark that stuff up.
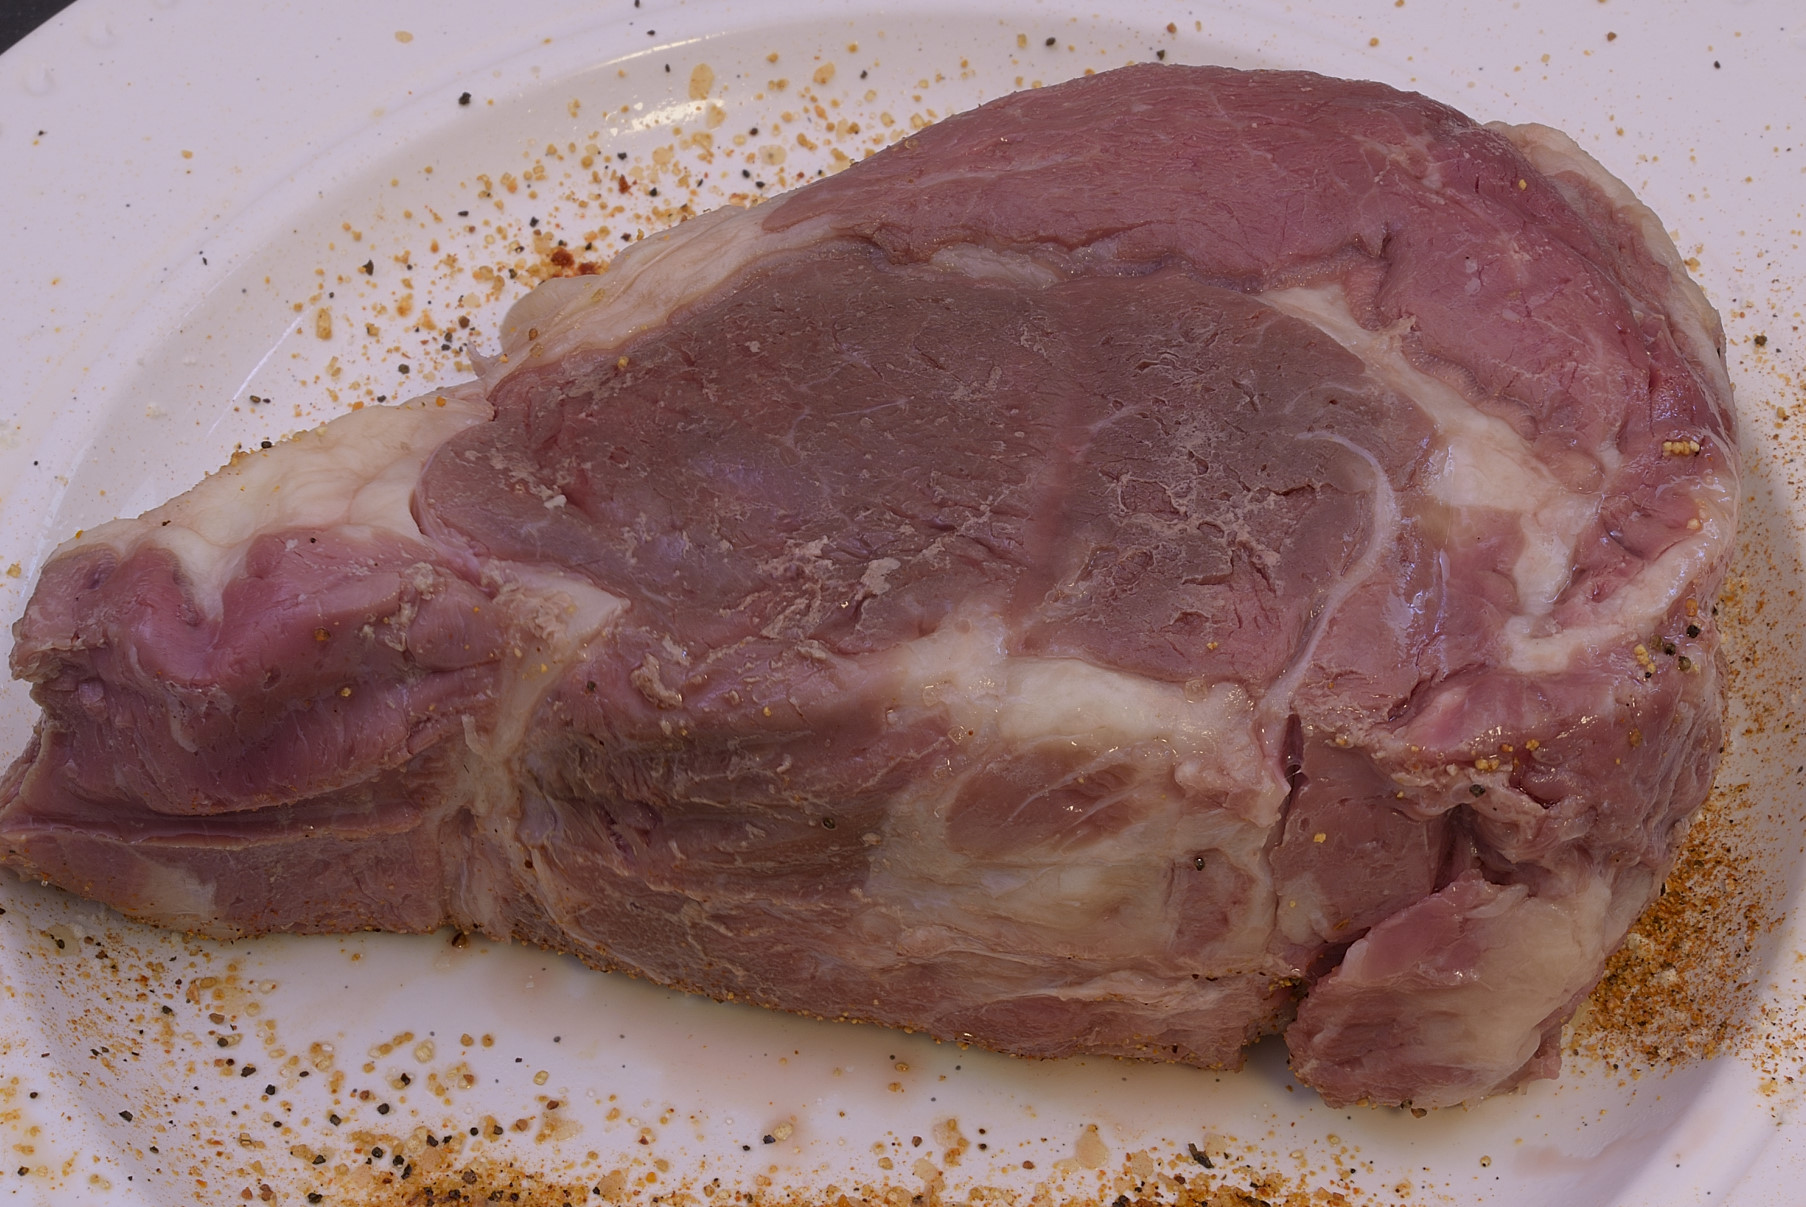
For best results, flip it over and do it again.
Tedious, but noticeable later. You will remember that you did. You will also remember if you blow it off.
If you think it’s tedious, think about what it’s like for me to take a picture every step of the way, every time.
Okay, now we’re cooking with gas.

Spray (or drizzle) with a little oil. 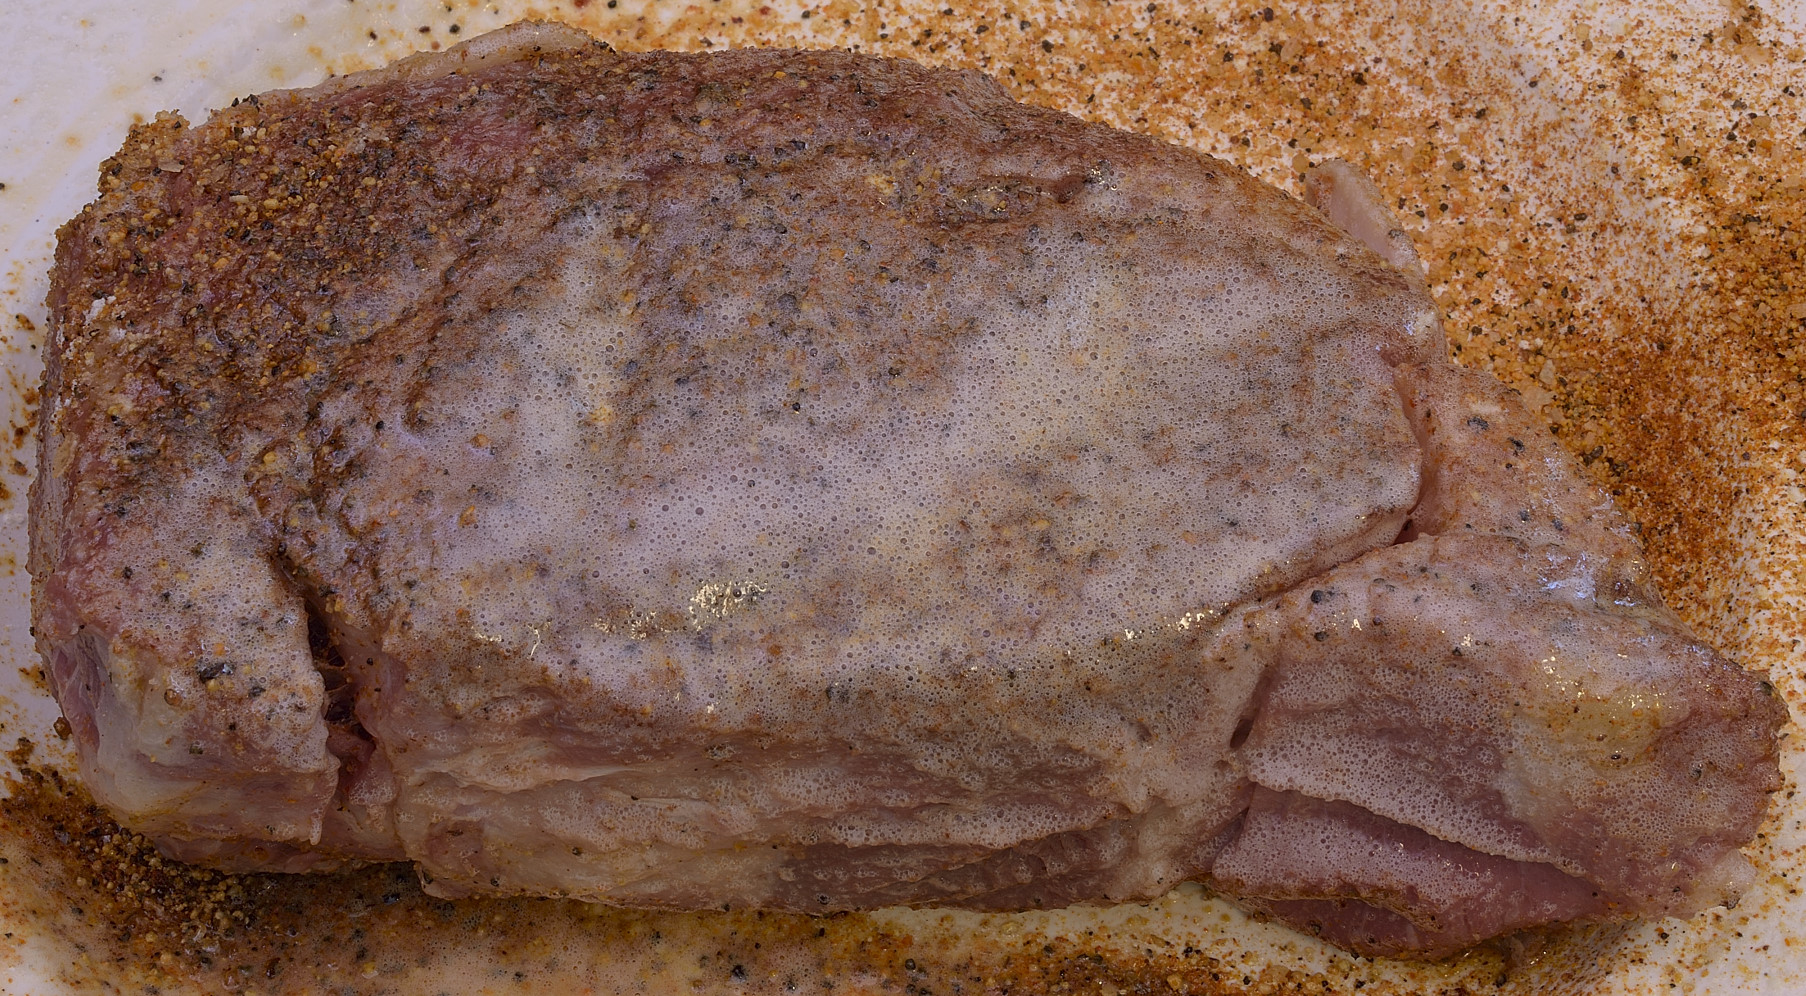
Better on the steak than burning in the pan while you scramble to get the steak in there.
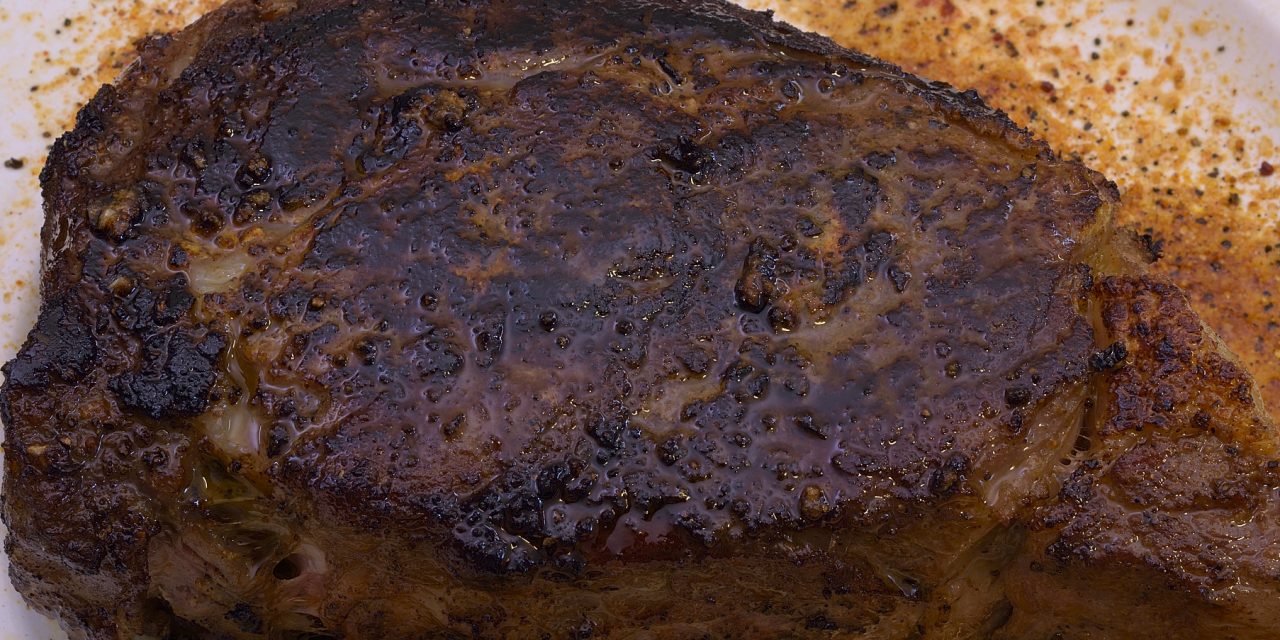
Searing
Preheat the skillet to NO HOTTER THAN 350 F/176 C. It’s not a contest to see how hot we can get the surface. If there is a contest, it is to get the pan to just the perfect temperature with the perfect amount of space for the steak and the perfect small amount of oil. Searing takes as long as it takes. A minute or two. Make it brown.
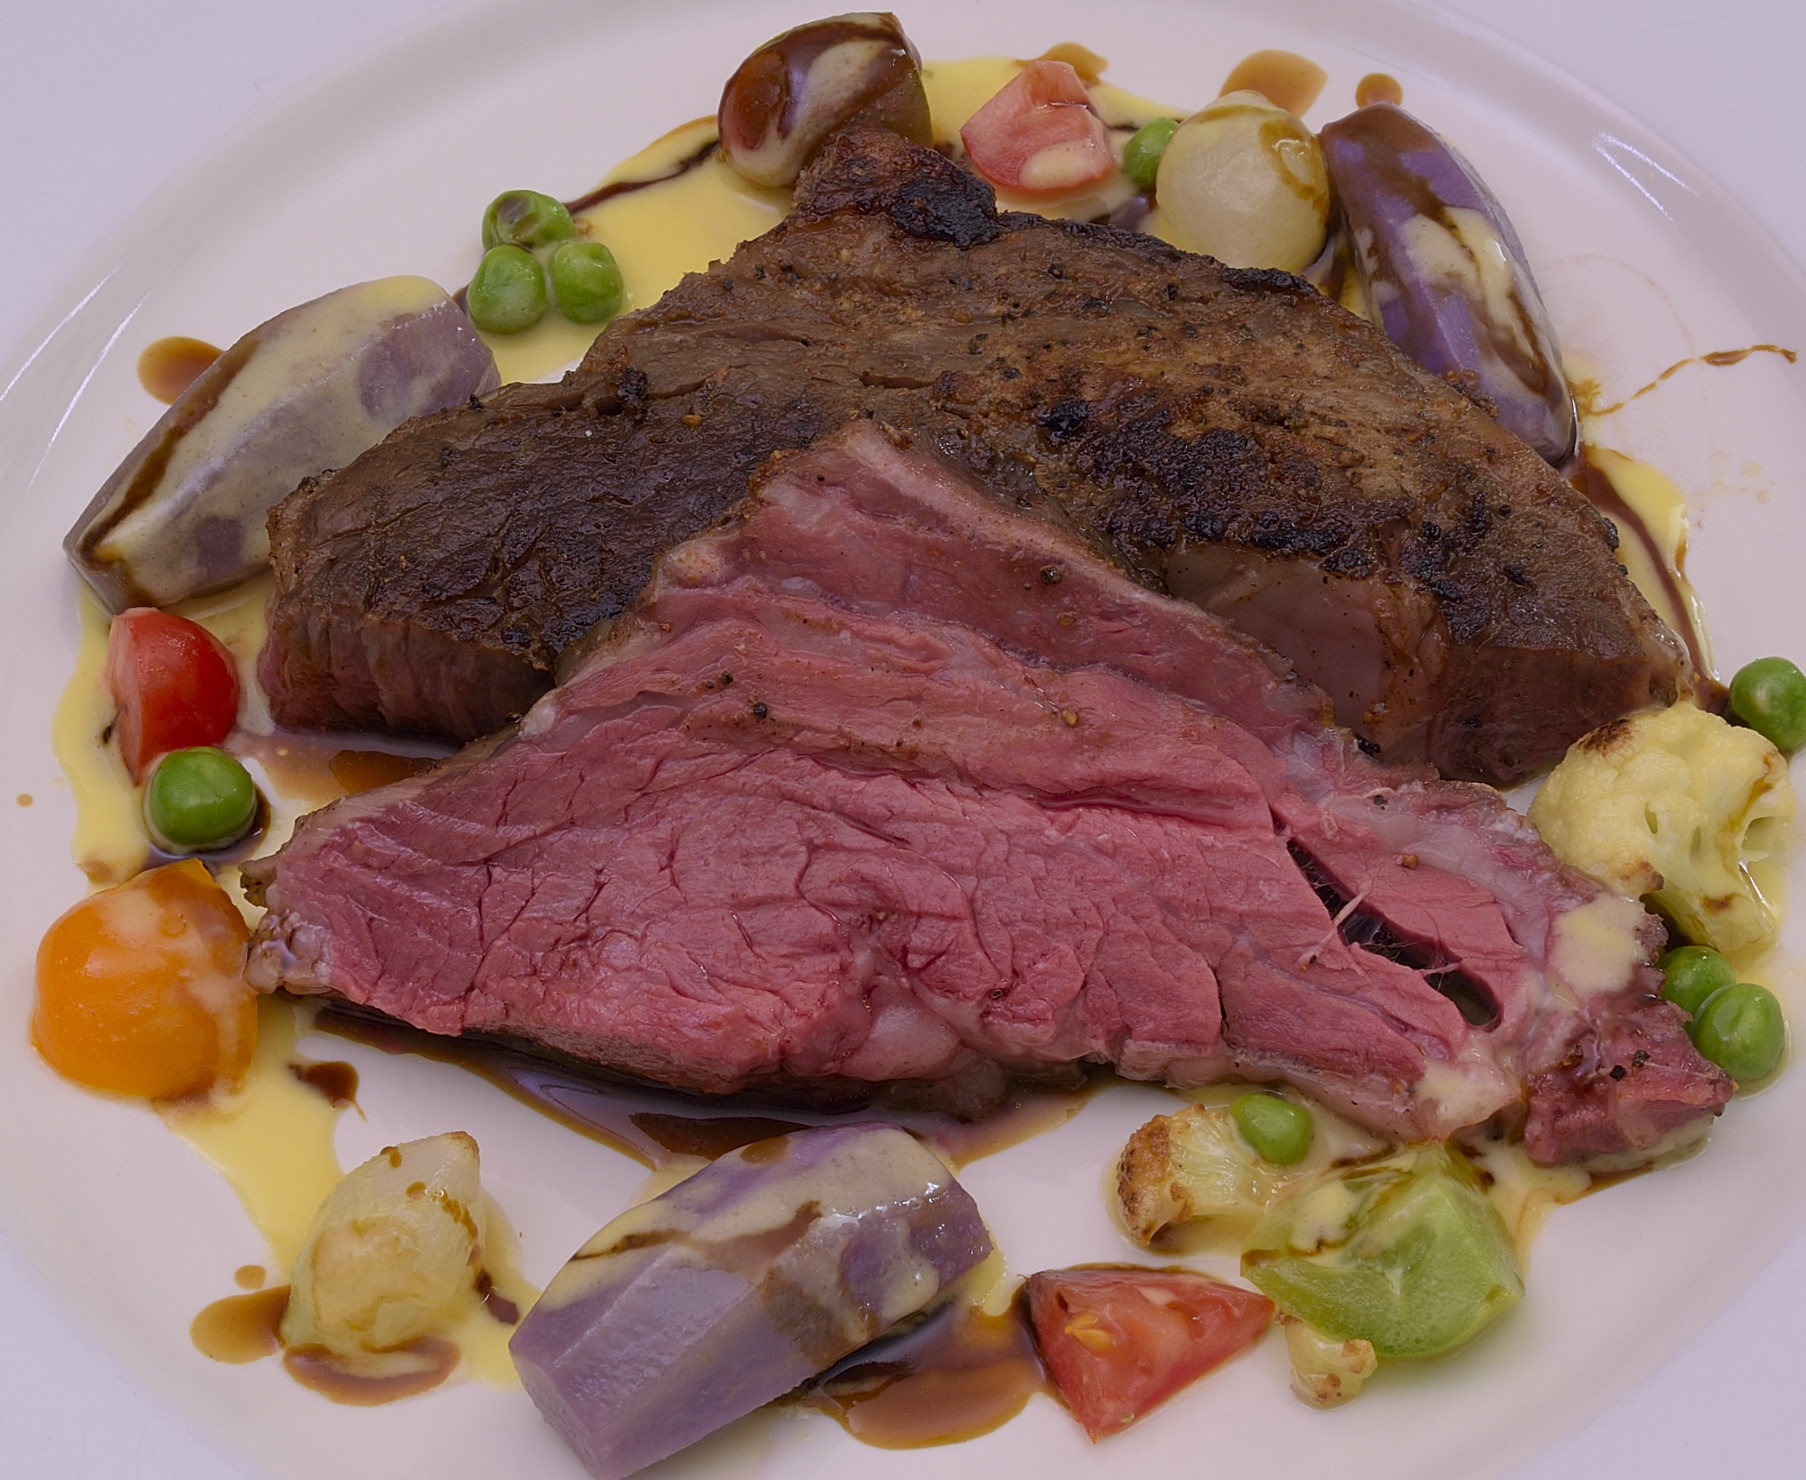
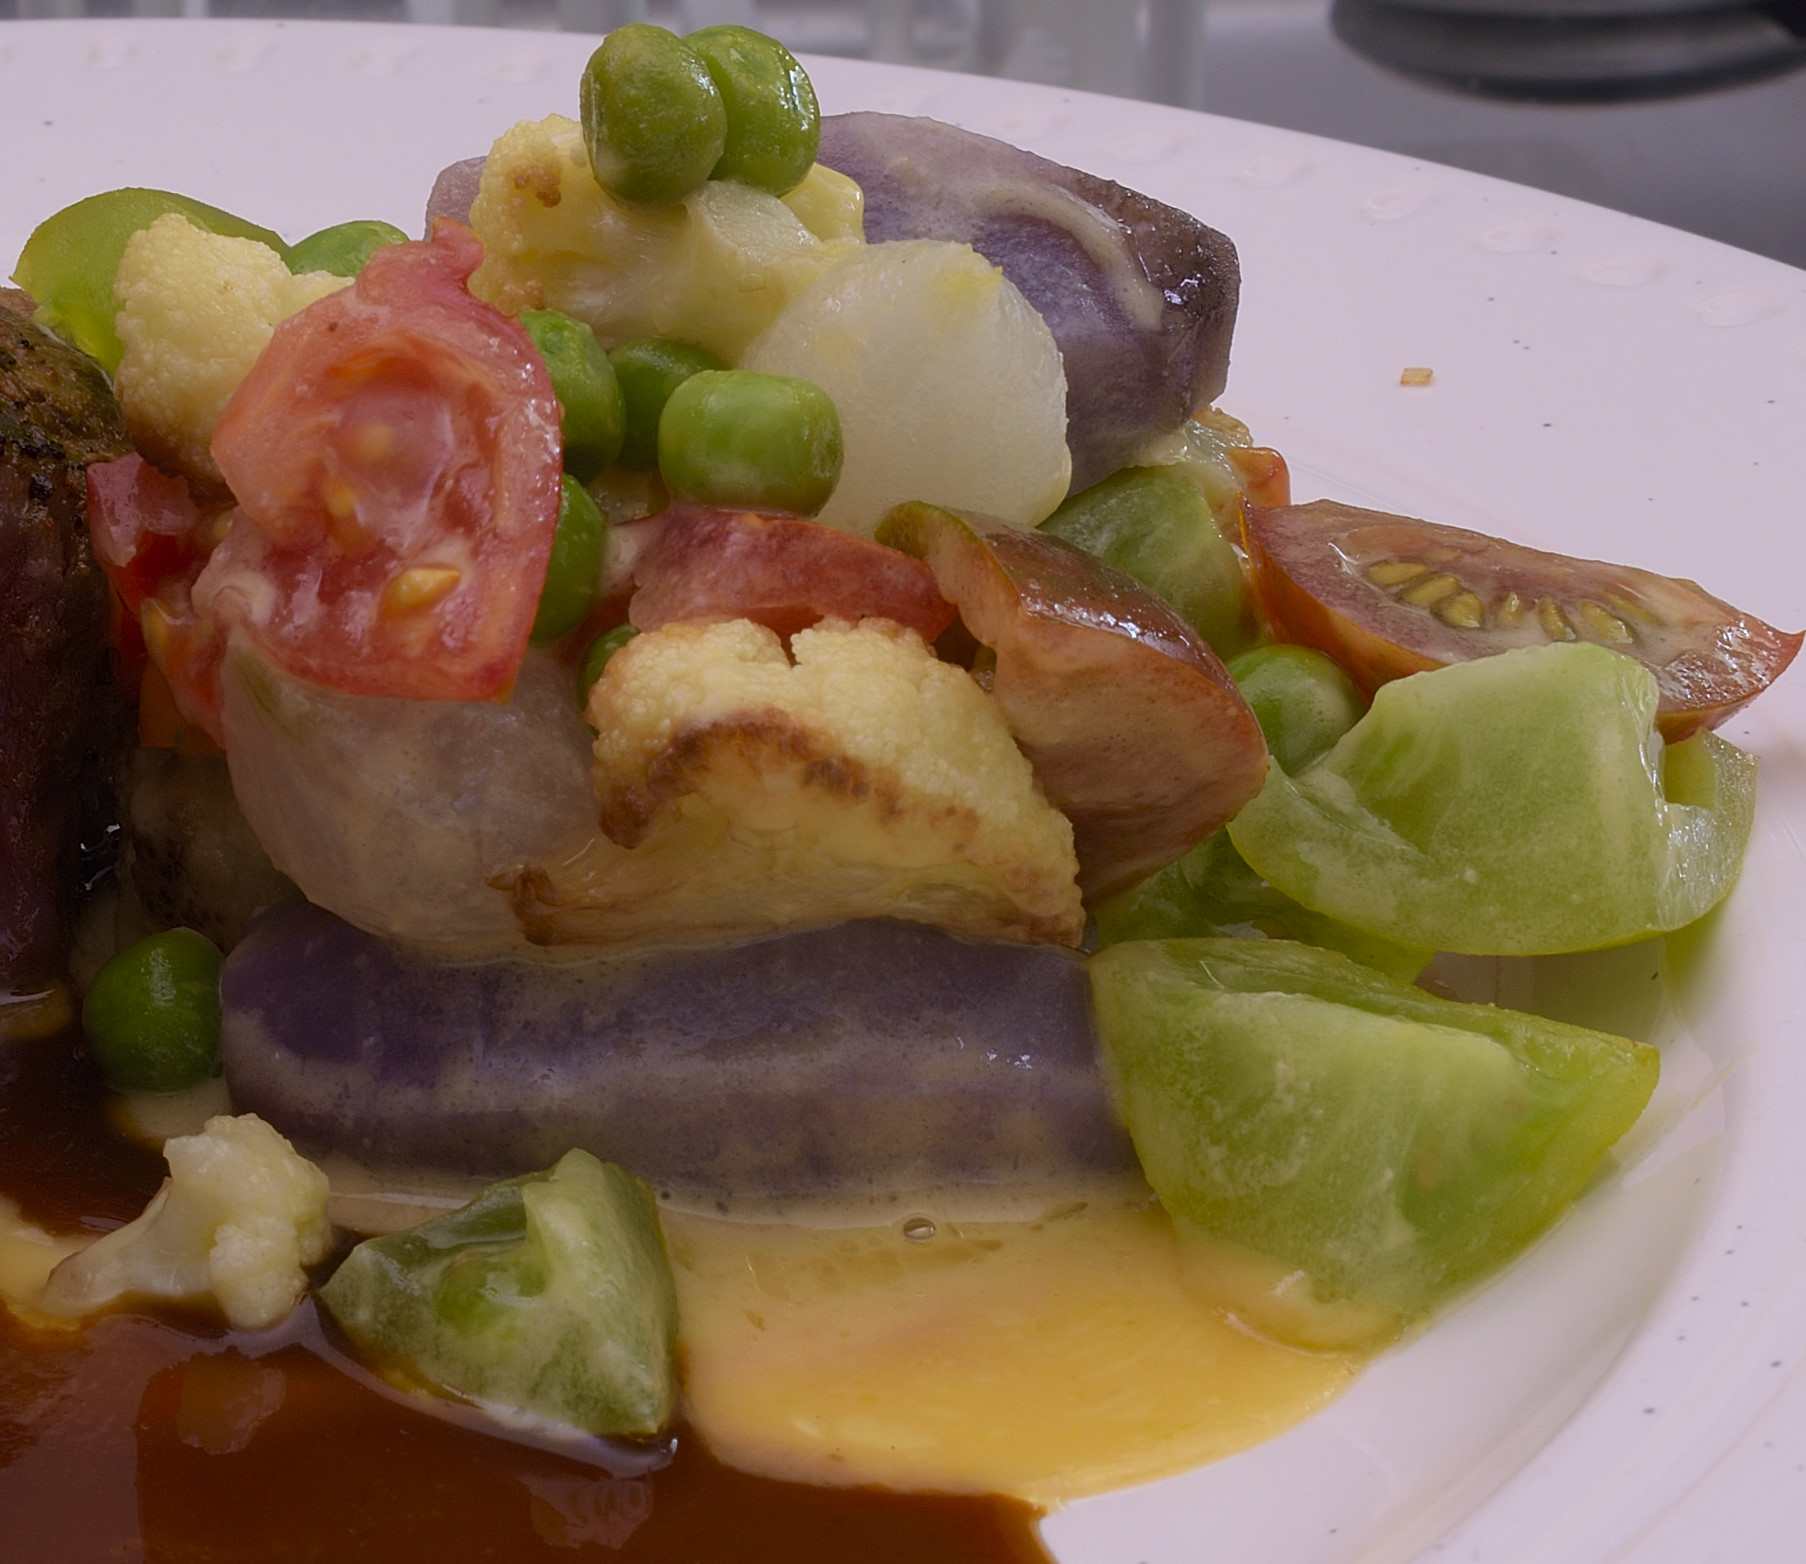
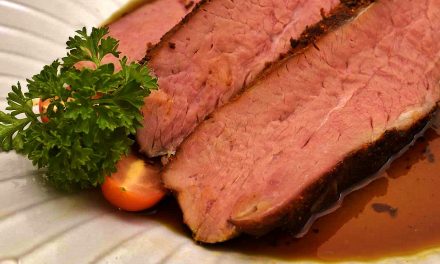
This steak is enough for two, and maybe even three. In some restaurants, well, never mind how far they would stretch that thing. But first, I tried to fit it all on one plate.
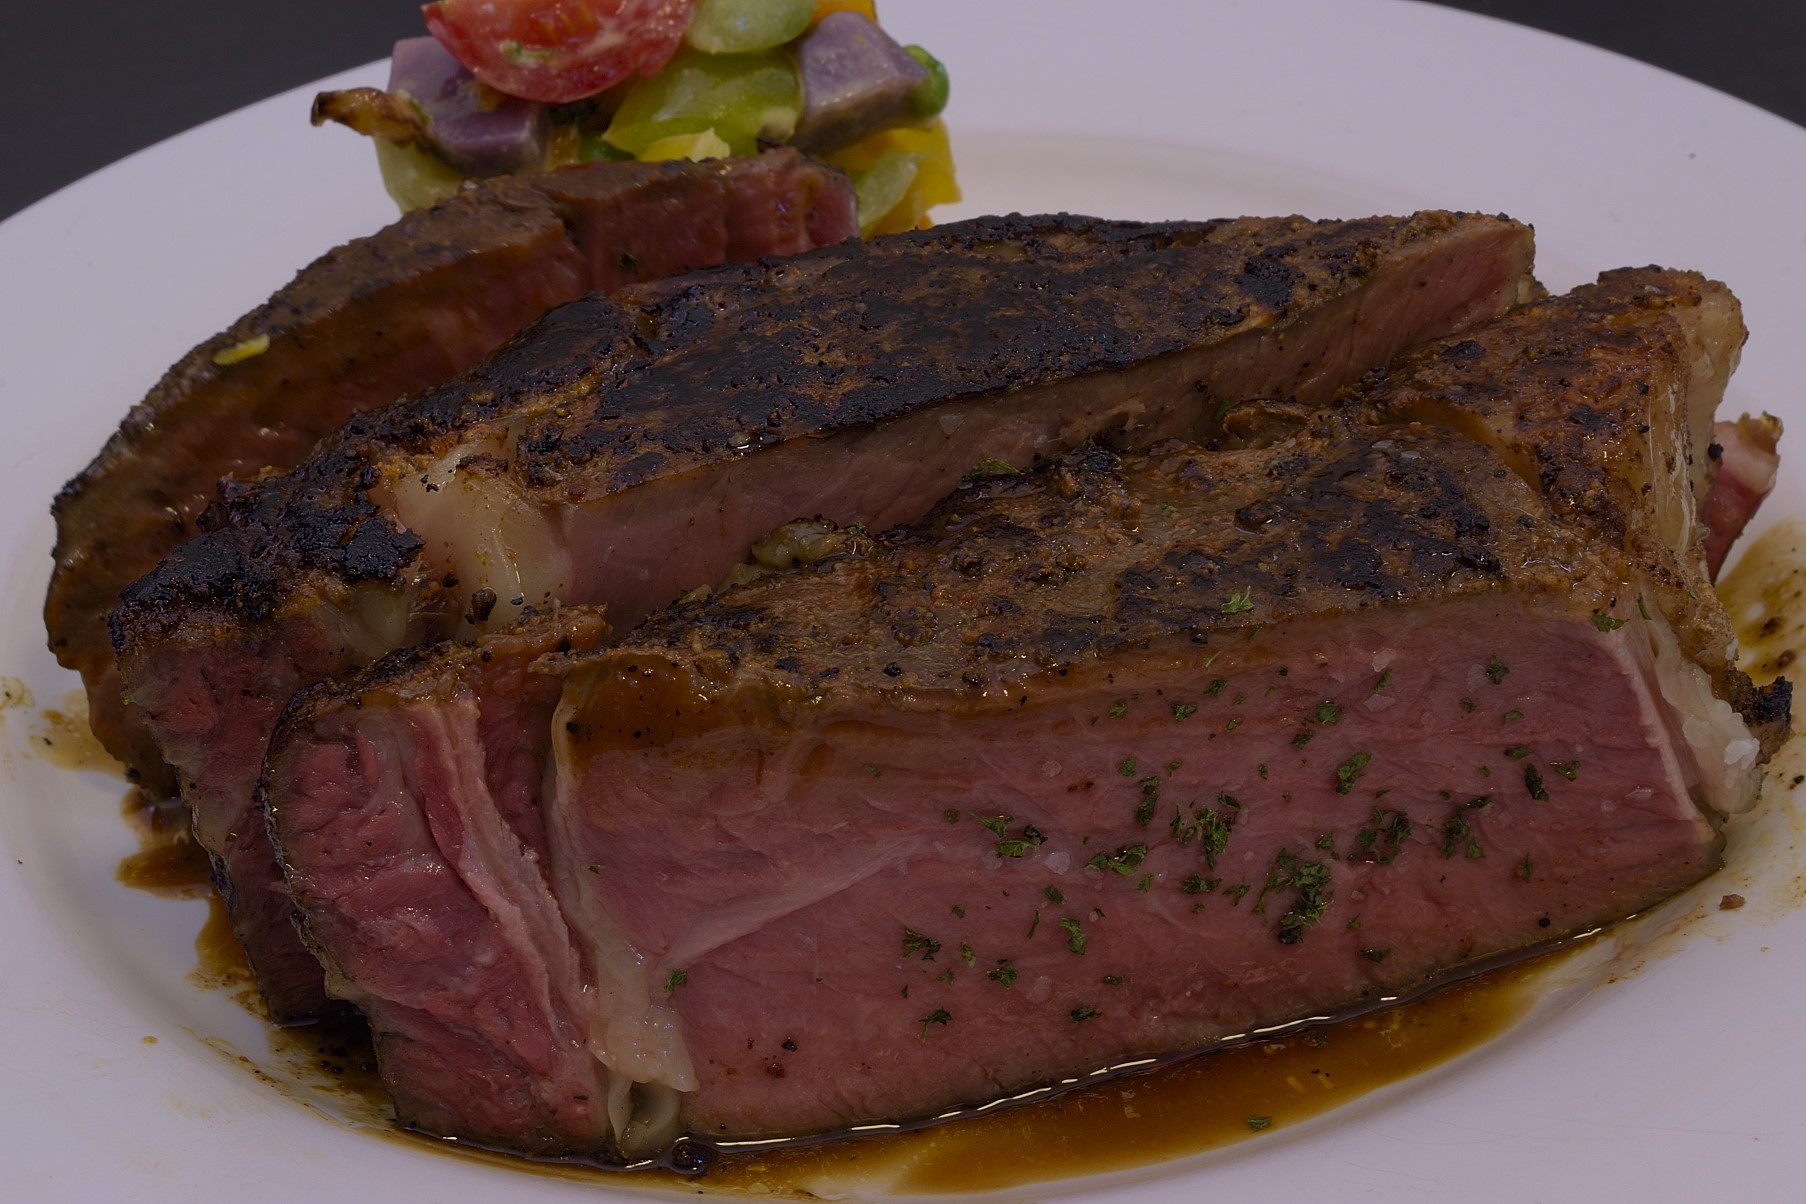
And that looks bountiful, albeit rather excessive.
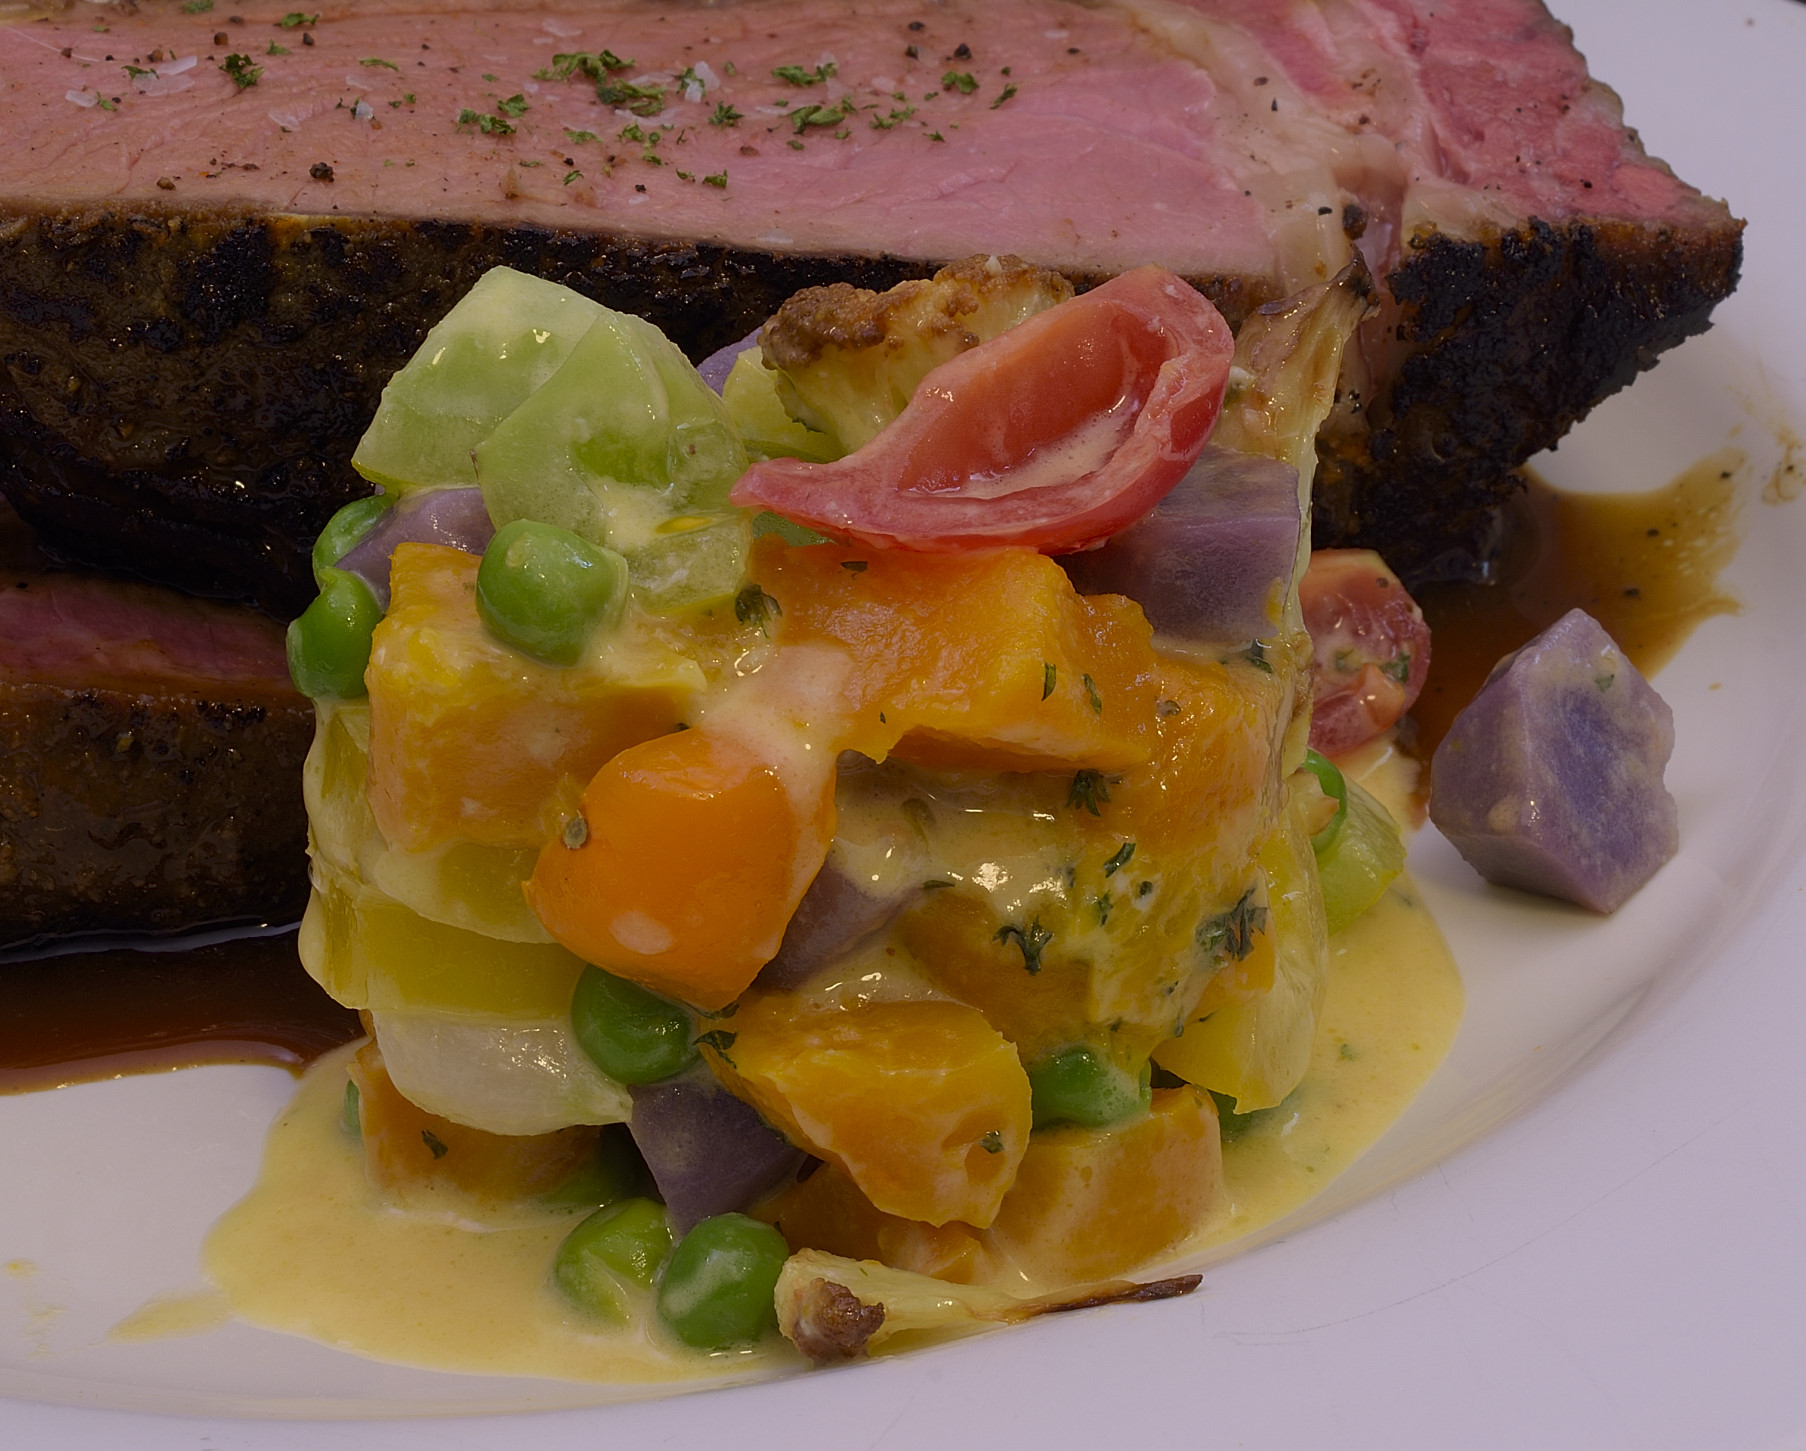
The vegetables were colorful anyway. Tossed them with some butternut squash puree incorporated into basic butter sauce, then loaded into cylinder/biscuit cutter/cookie cutter. It’s gonna fall eventually, so you make sure everything else is done before you pull off the form.
I moved stuff around to try and unclunk it, but when that doesn’t work, you just get real close and try to capture color.
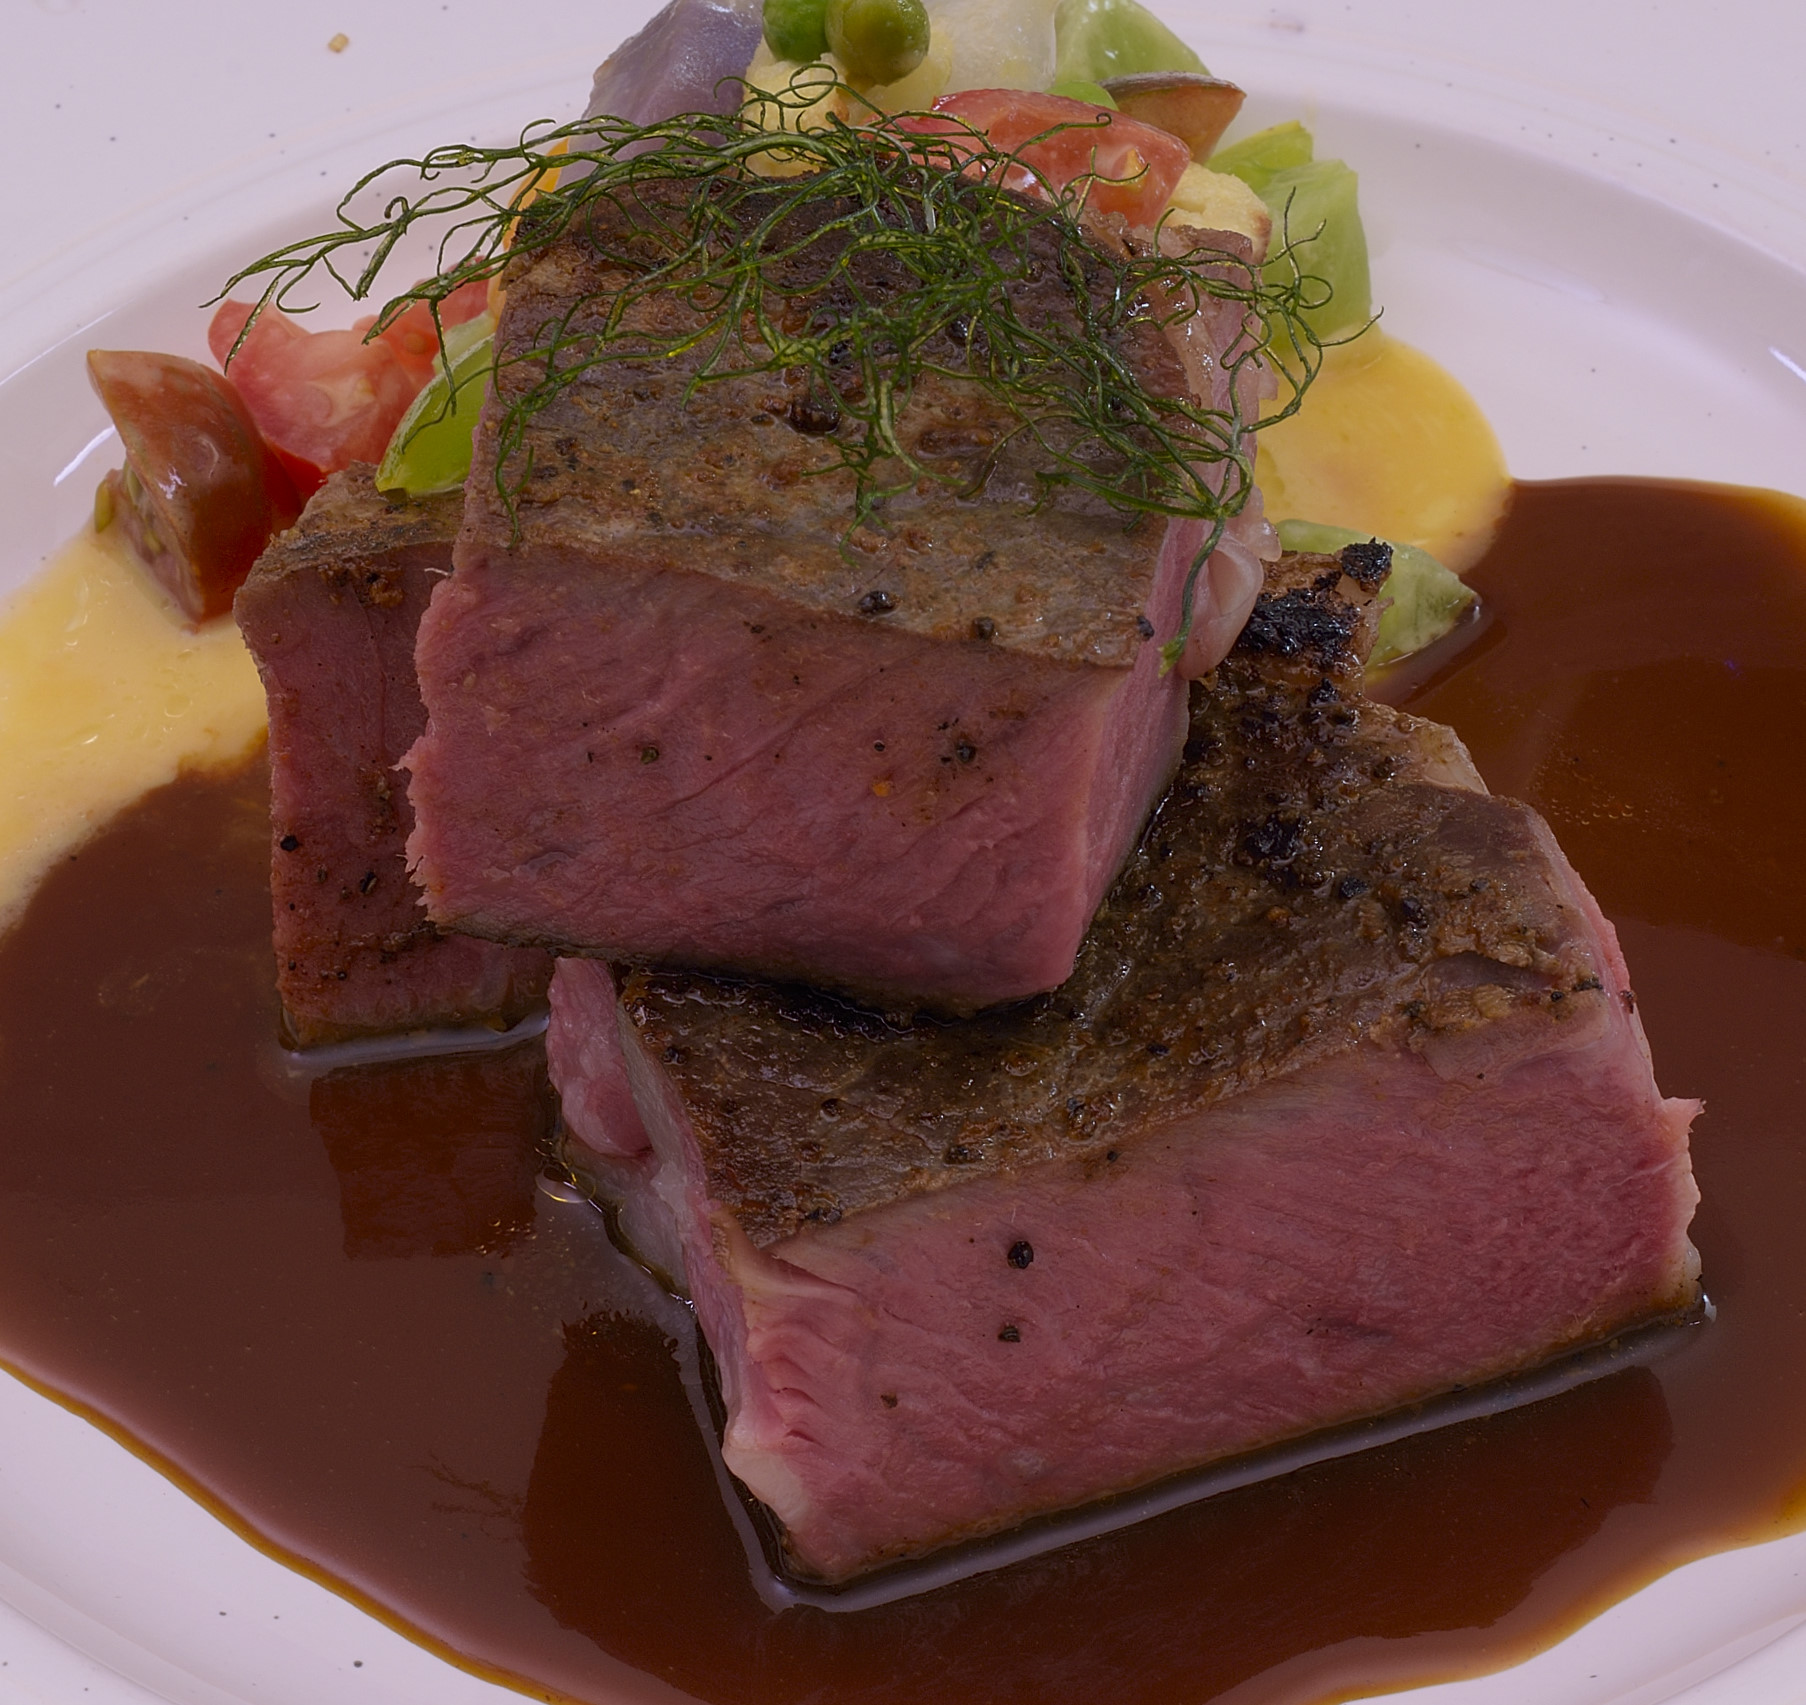
I decided to do another one and take a different approach. Next day, back to the freezer. Same start up. Once it was seared, I took it apart and did something entirely different.
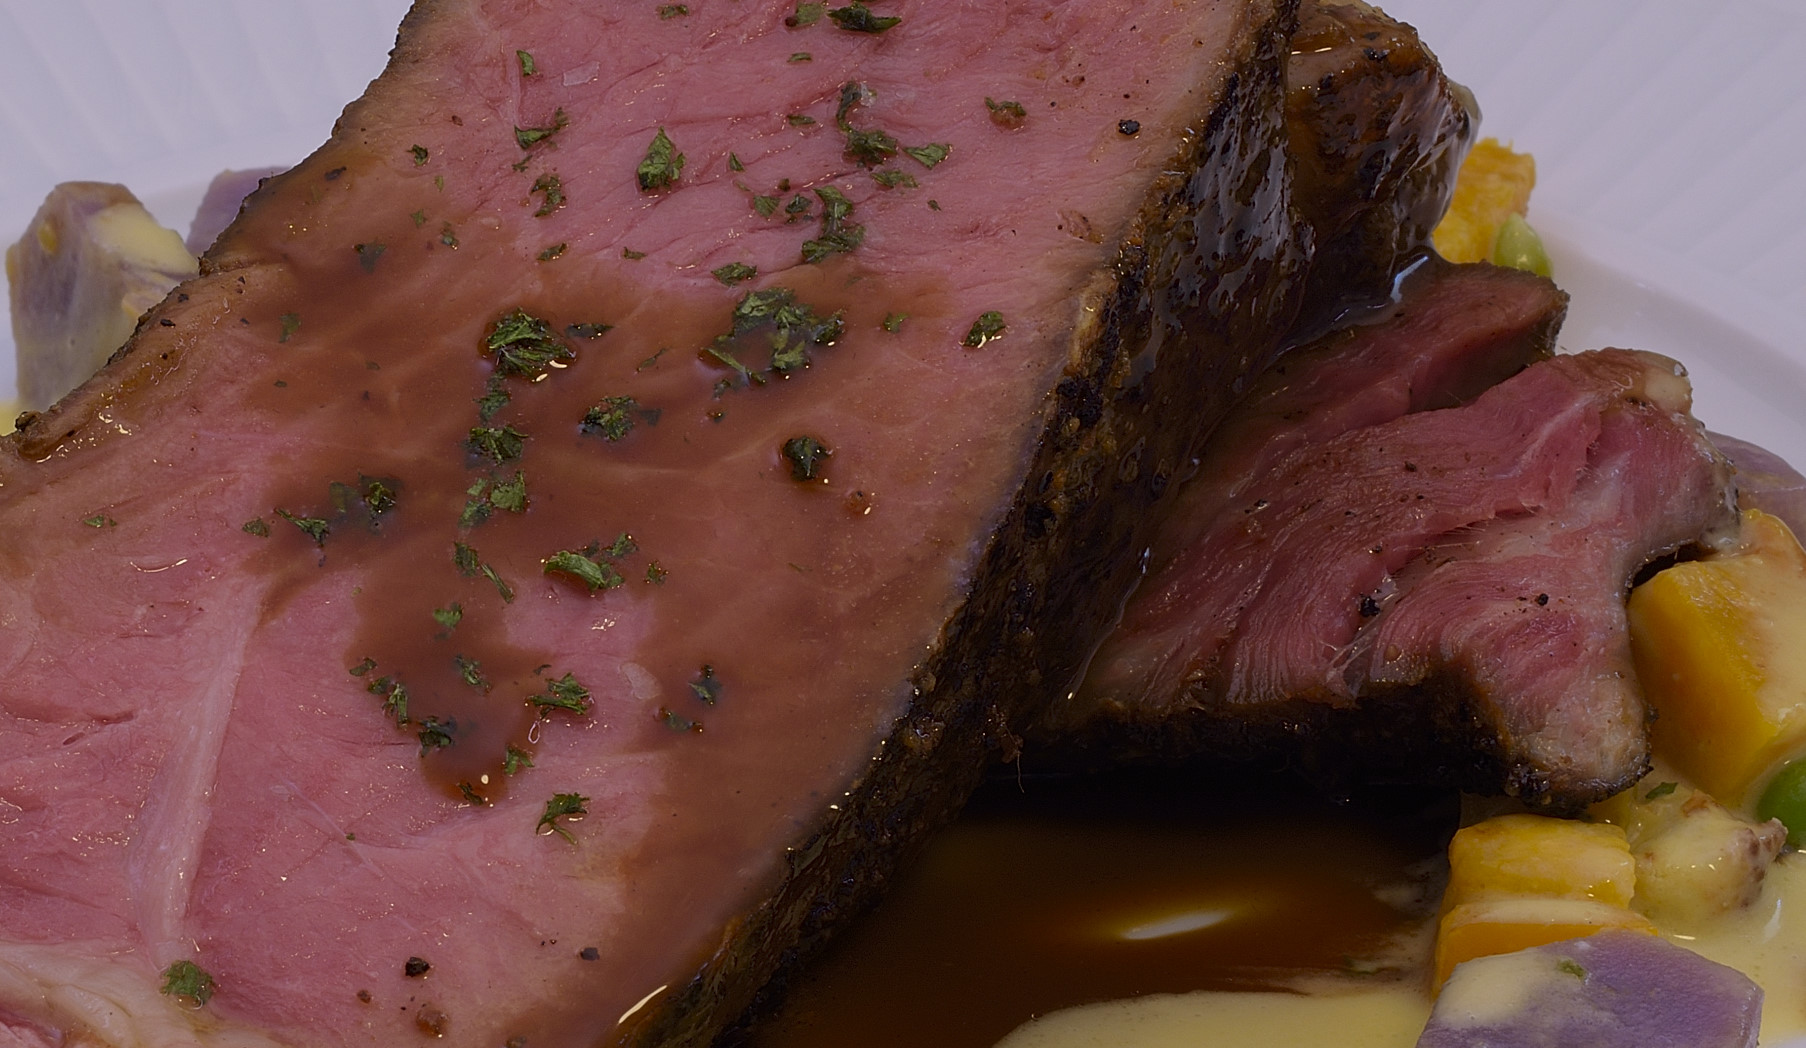
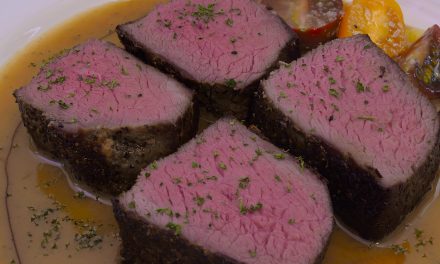
I removed the spinalis dorsi that we talked about earlier and butterflied it open.
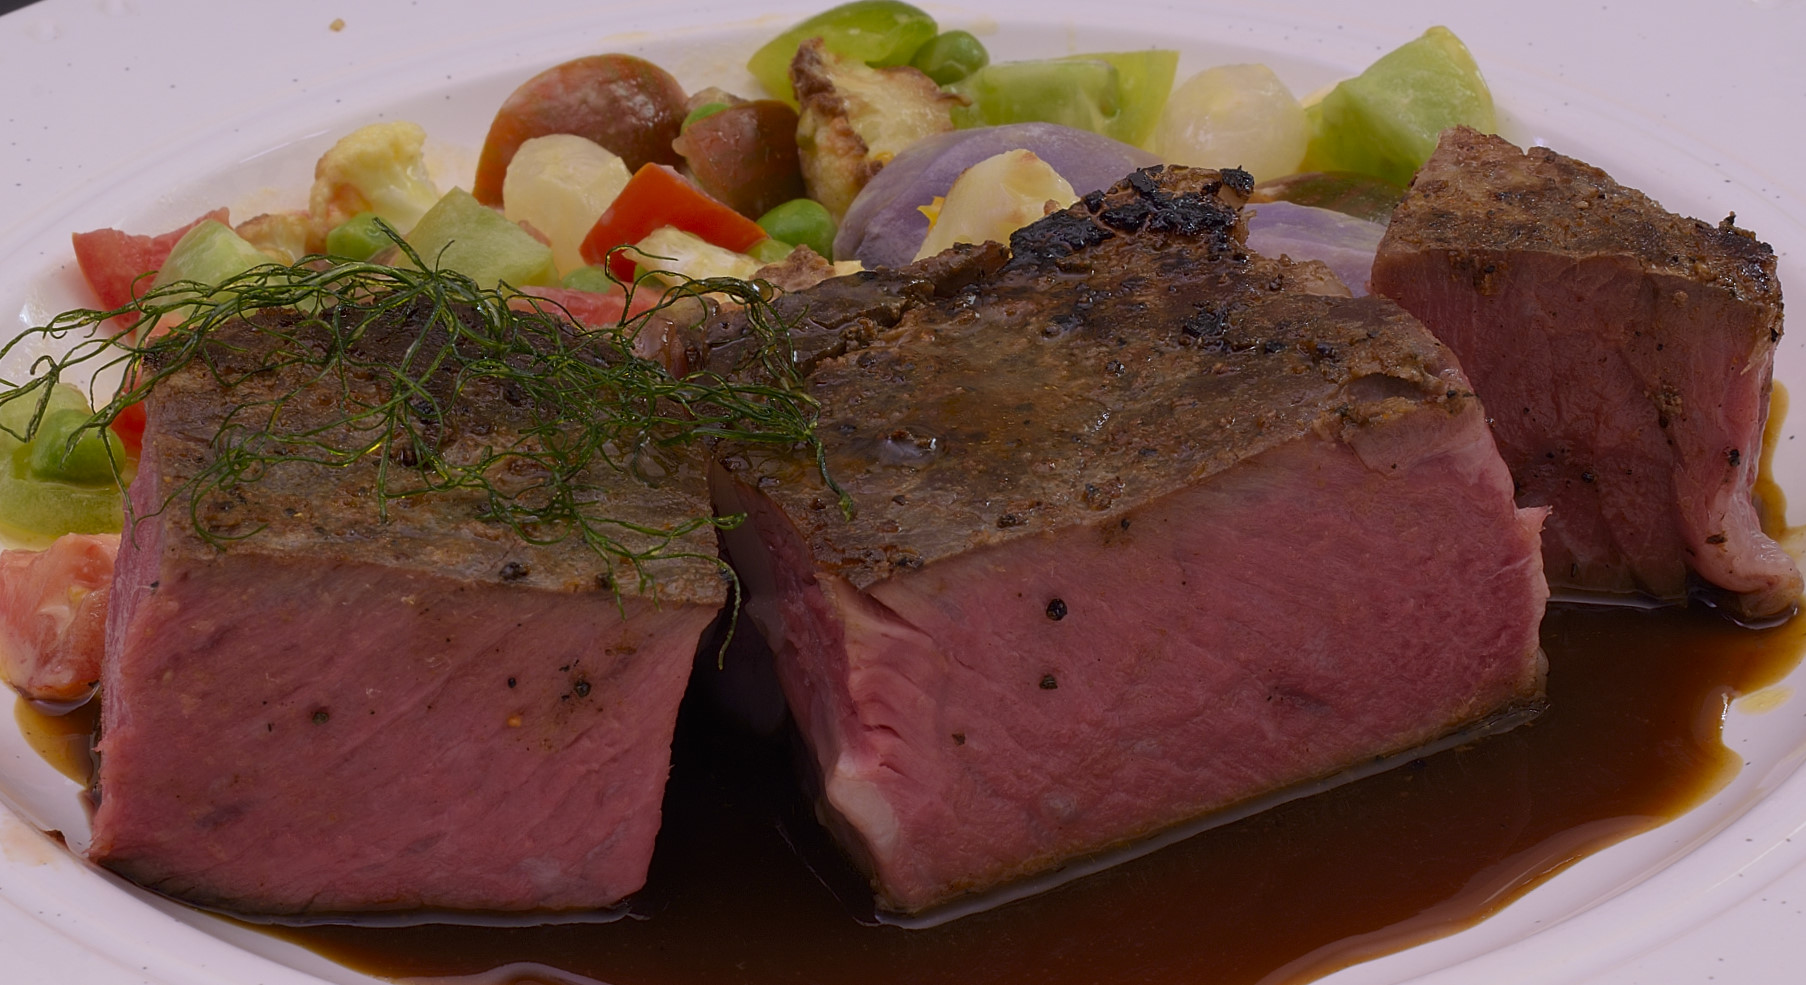
That’s money, right there. I reluctantly removed surface fat from the remainder and cut it into blocks.
I should have shot the vegetables first.
I noticed them slowly starting to capsize, so I took a shot real quick and let it go.
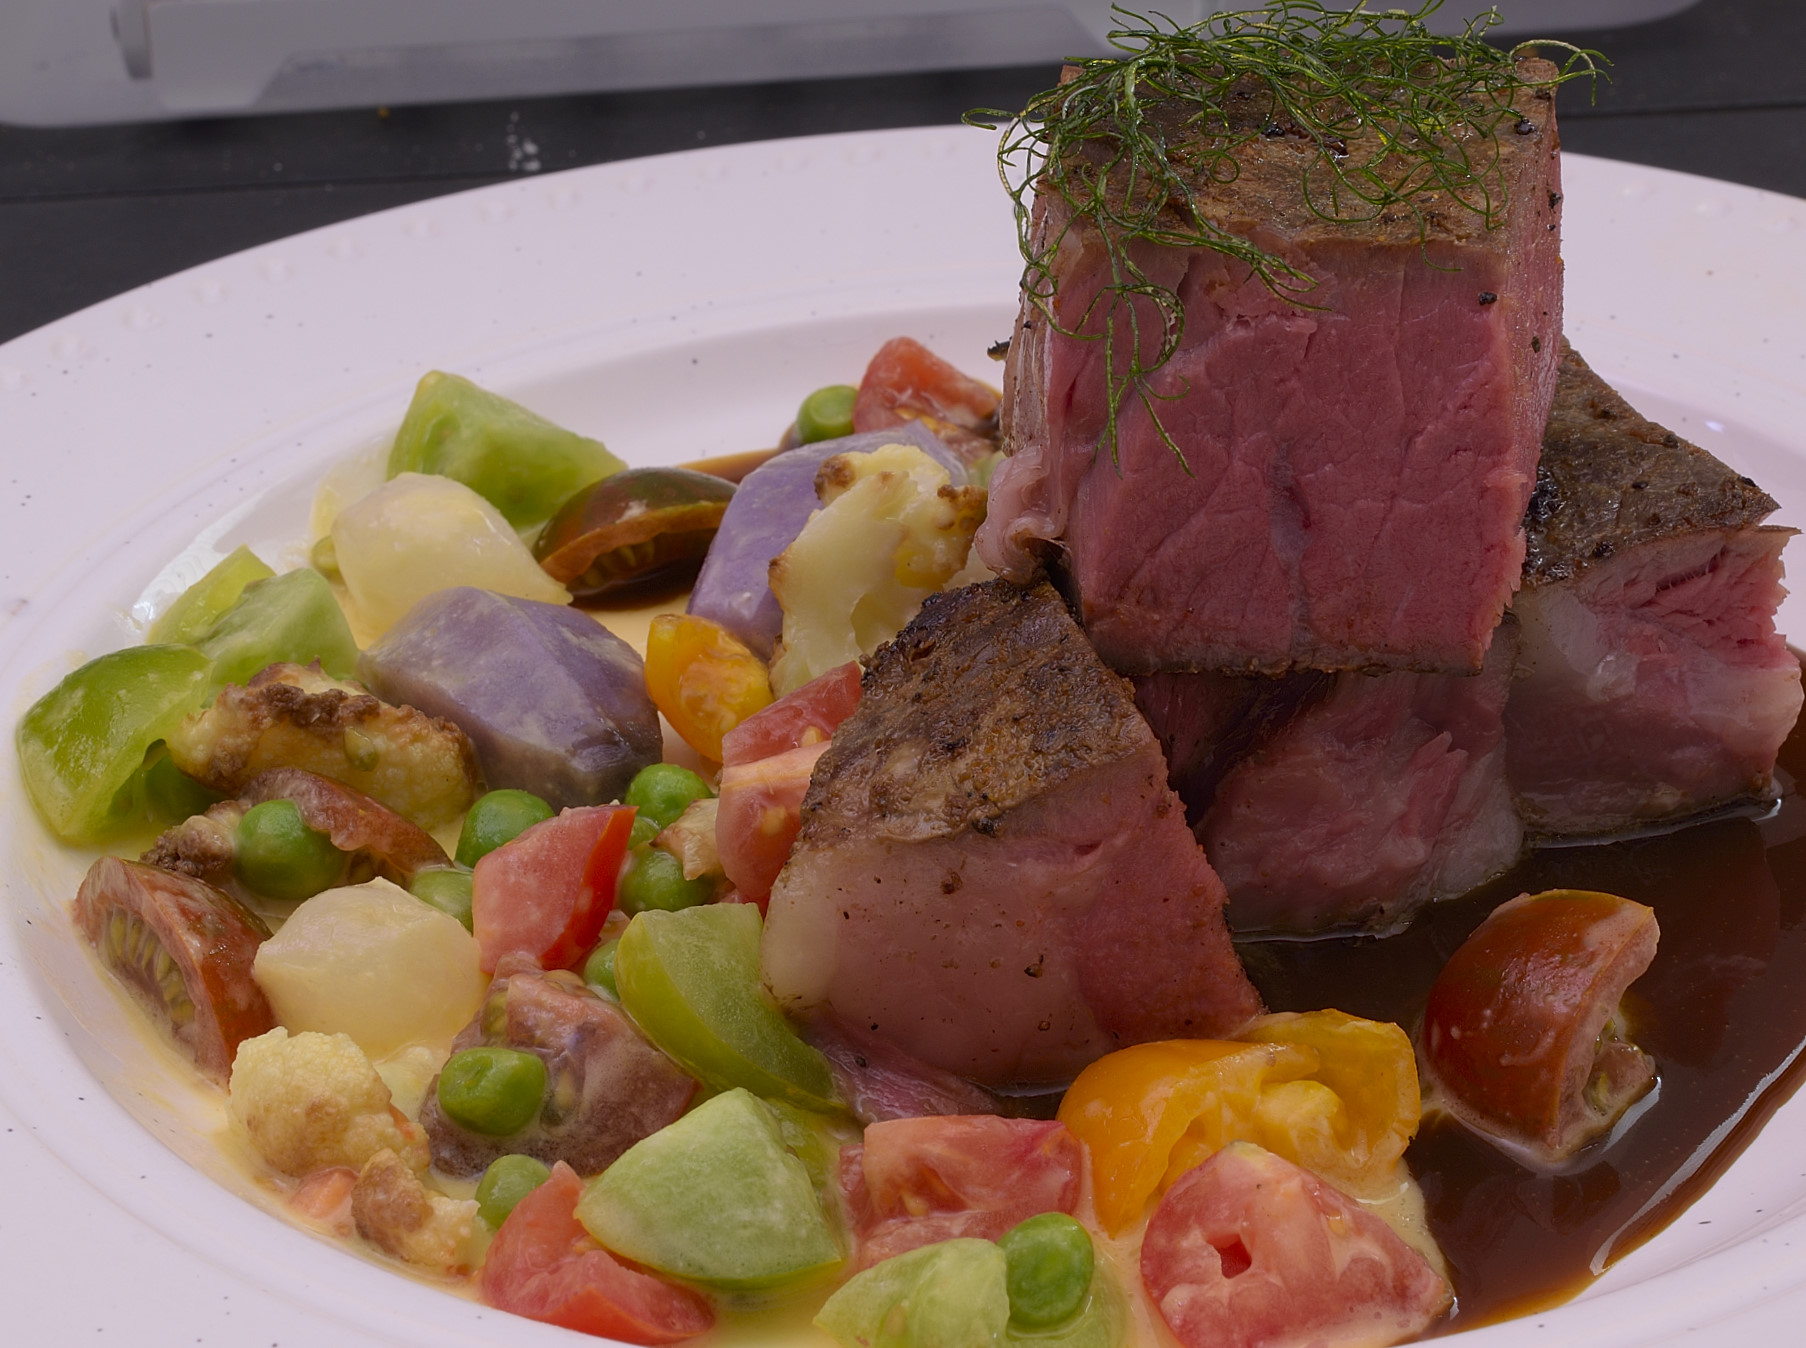
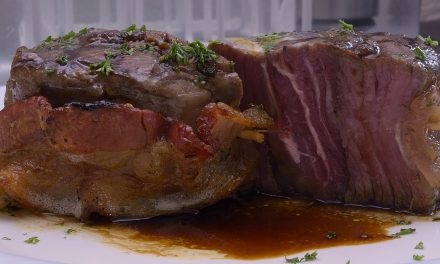
This pic (above) violates the 7 o’clock rule that dictates where the entree should be positioned on the plate, but I liked the shot, so, well, there it is.
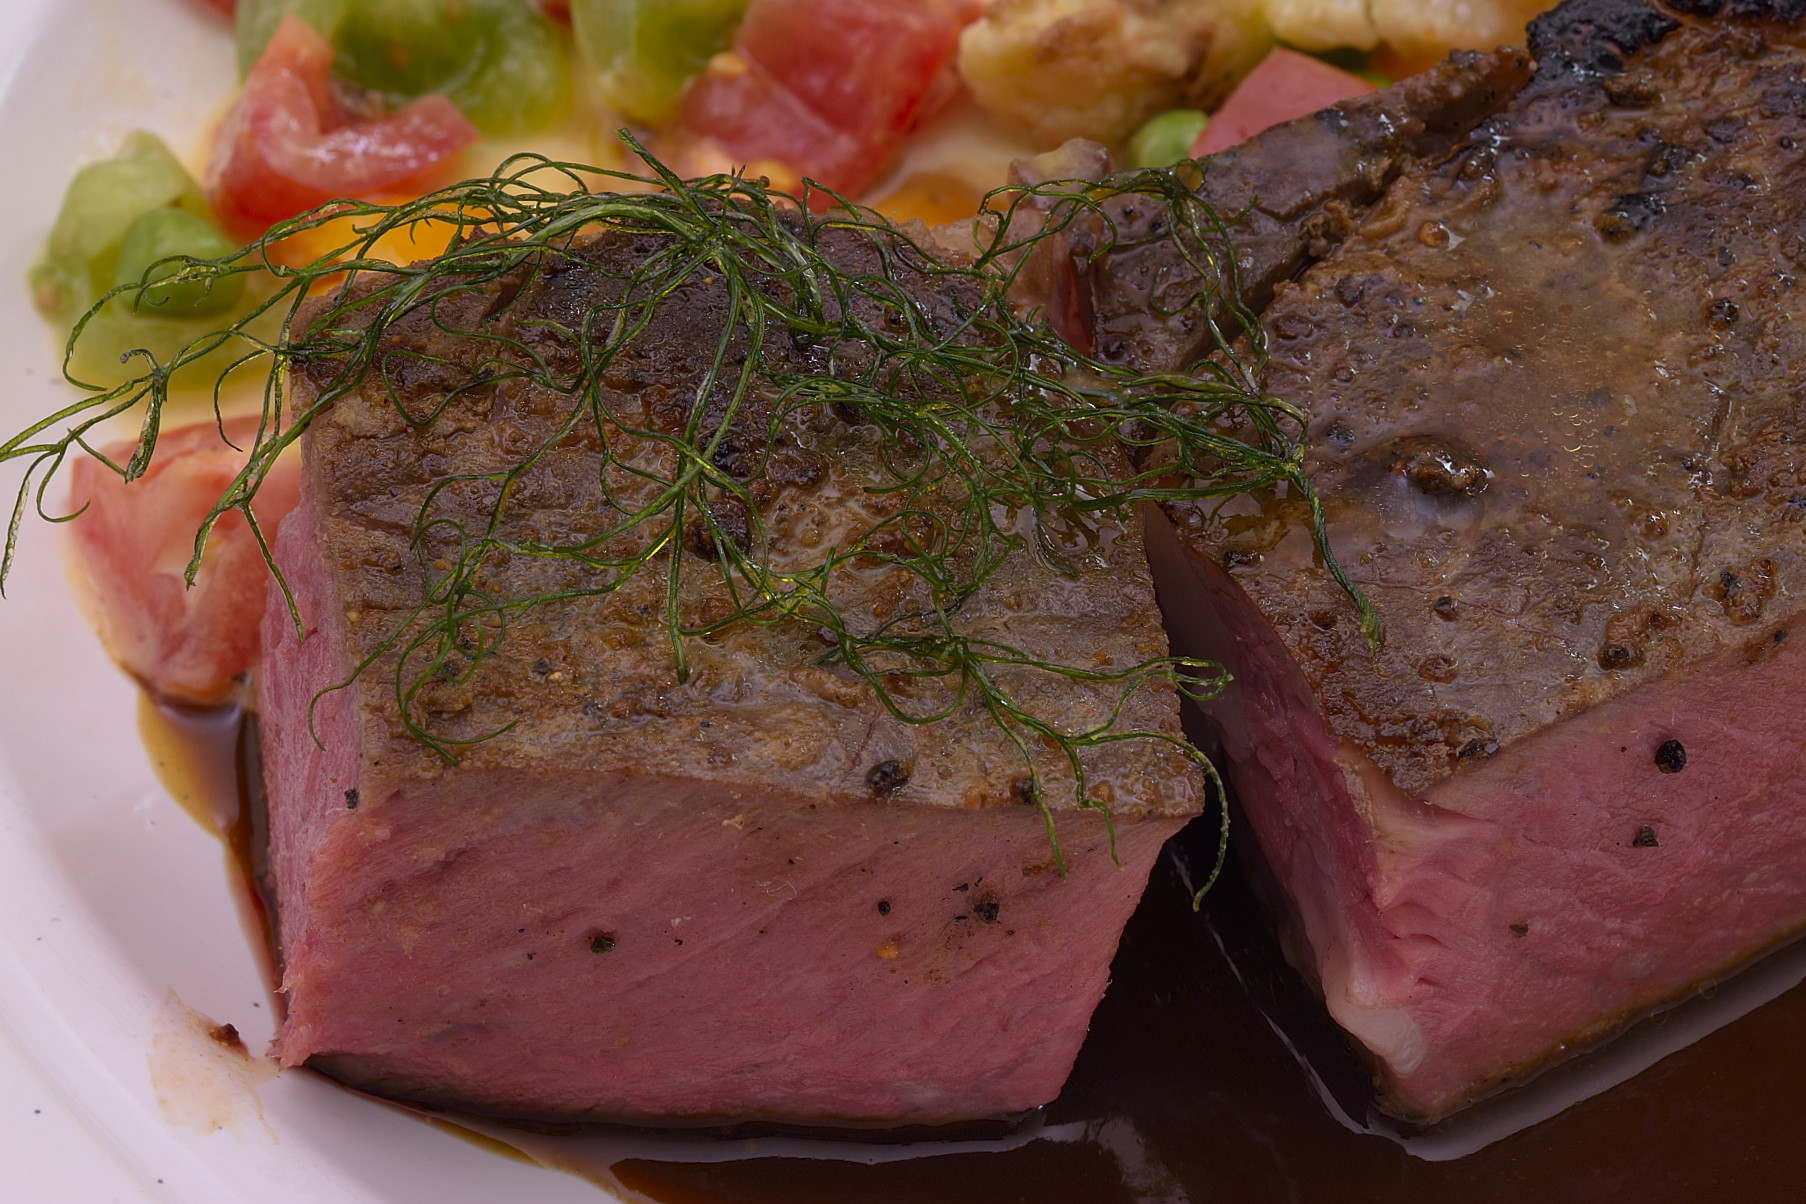
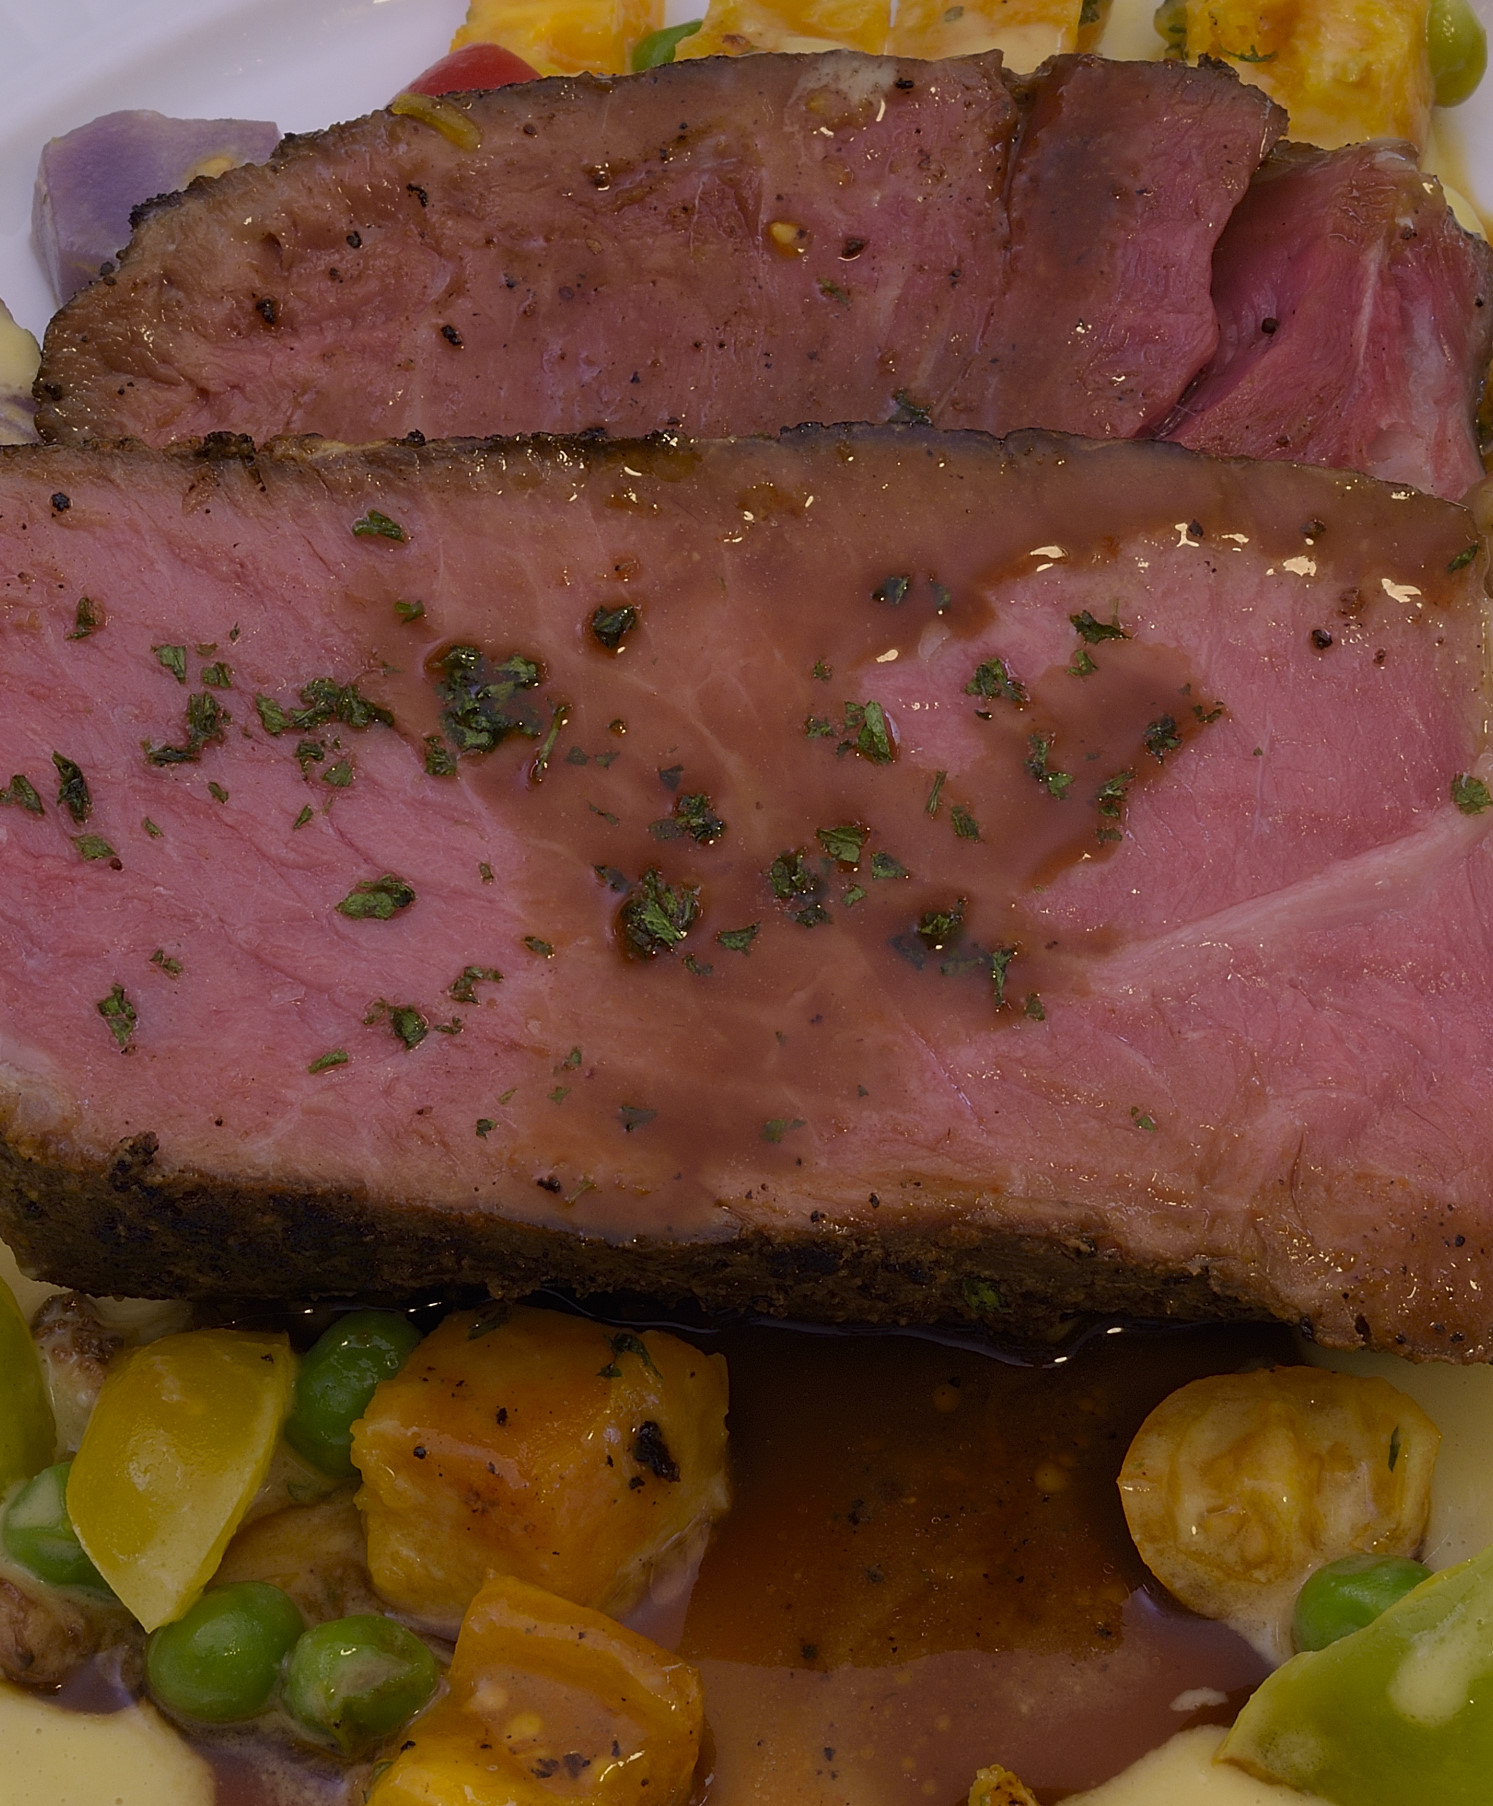
Deep fried fennel frond. Removing the fat from a rib eye makes me feel sad.
No parsley today, I got a full bag in the fridge but none chopped just yet.