To see Part 1, Rack of Australian Lamb, click HERE
To see Part 2, Chicken Breasts, click HERE
March 28, 2020
We talked in Parts 1 and 2 about those last few trips to the store before the social (or anti-social) distancing directive clamped us down. Obviously, some adjustments were necessary. We don’t go out at all now. The grocery delivery services used to bring stuff all the way into the kitchen if you wanted. Now I tell them to just drop it at the door. I make sure the orders are at least $100 to minimize frequency of contact. You can’t just send the guy back out to get the bananas you forgot and a six pack while he’s at it. Well, I guess you could, but I wouldn’t. And, there are availability issues at the store. It’s not just toilet paper. Yesterday they were out of bleach. I keep hearing leadership telling us that the supply chain will not be interrupted. If recent history is any indication, I take this to mean that the supply chain has been interrupted. I saw that coming. The fridge and the pantry are about as full as they can get.
the Quixotic Quarantine
This adventure driven series is designed to make the most of staples that we usually keep around–potatoes, carrots, broccoli; canned stuff, dry stuff, this stuff, that stuff. Nothing overly perishable or exotic, no bean sprouts, eggplant or cardoon. Sous vide plays its role by pasteurizing/preserving proteins (and other foods too). The extra time on our hands will be spent attempting to be creative with what is readily available. We will remind ourselves to be lighthearted about it all in that Cervantian way.
The way it usually goes
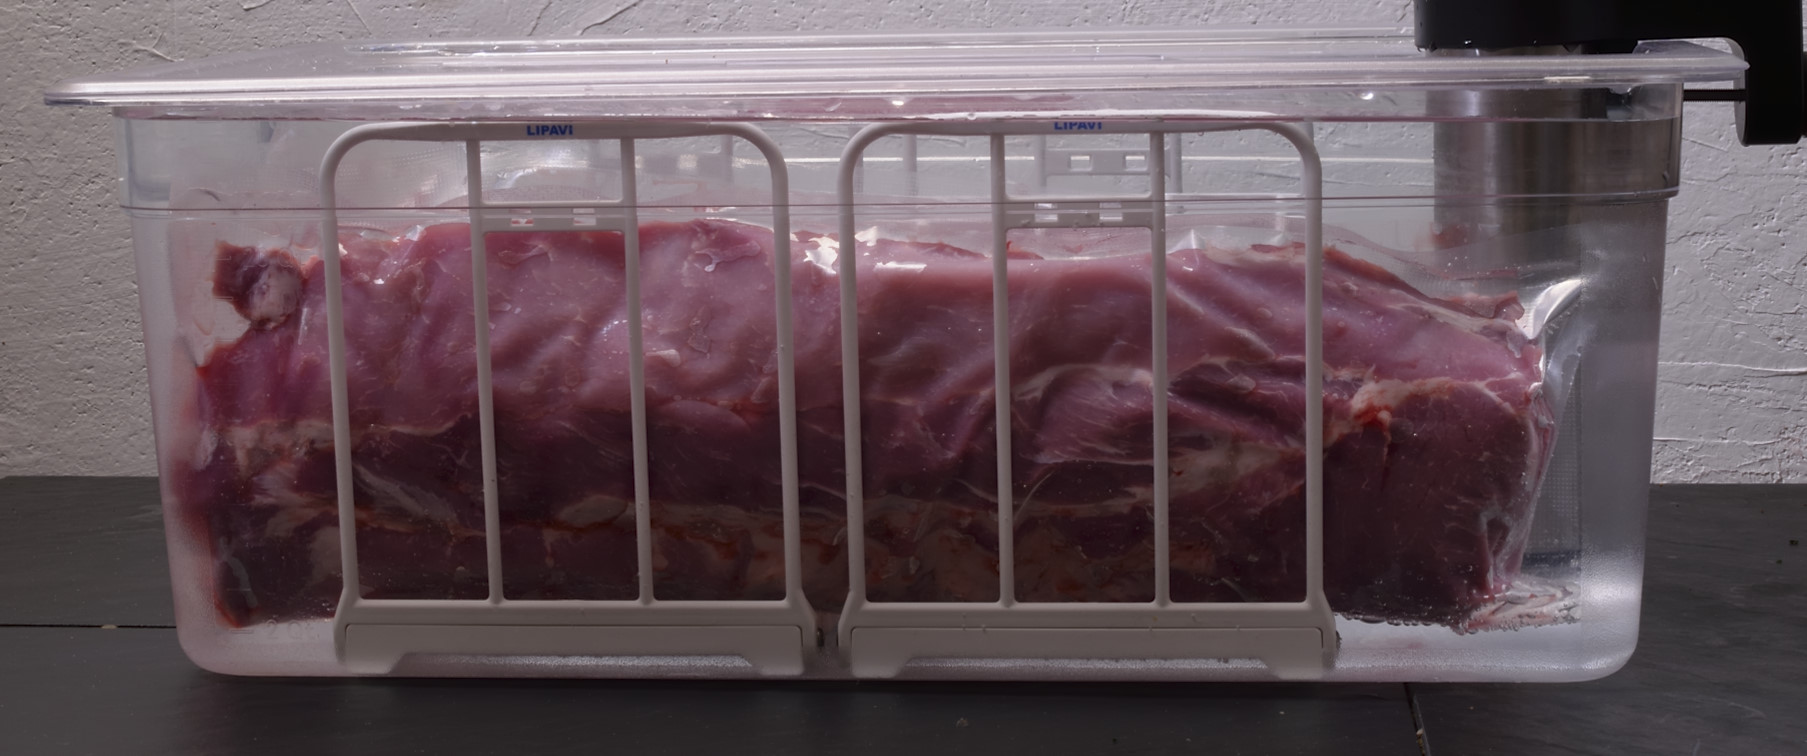
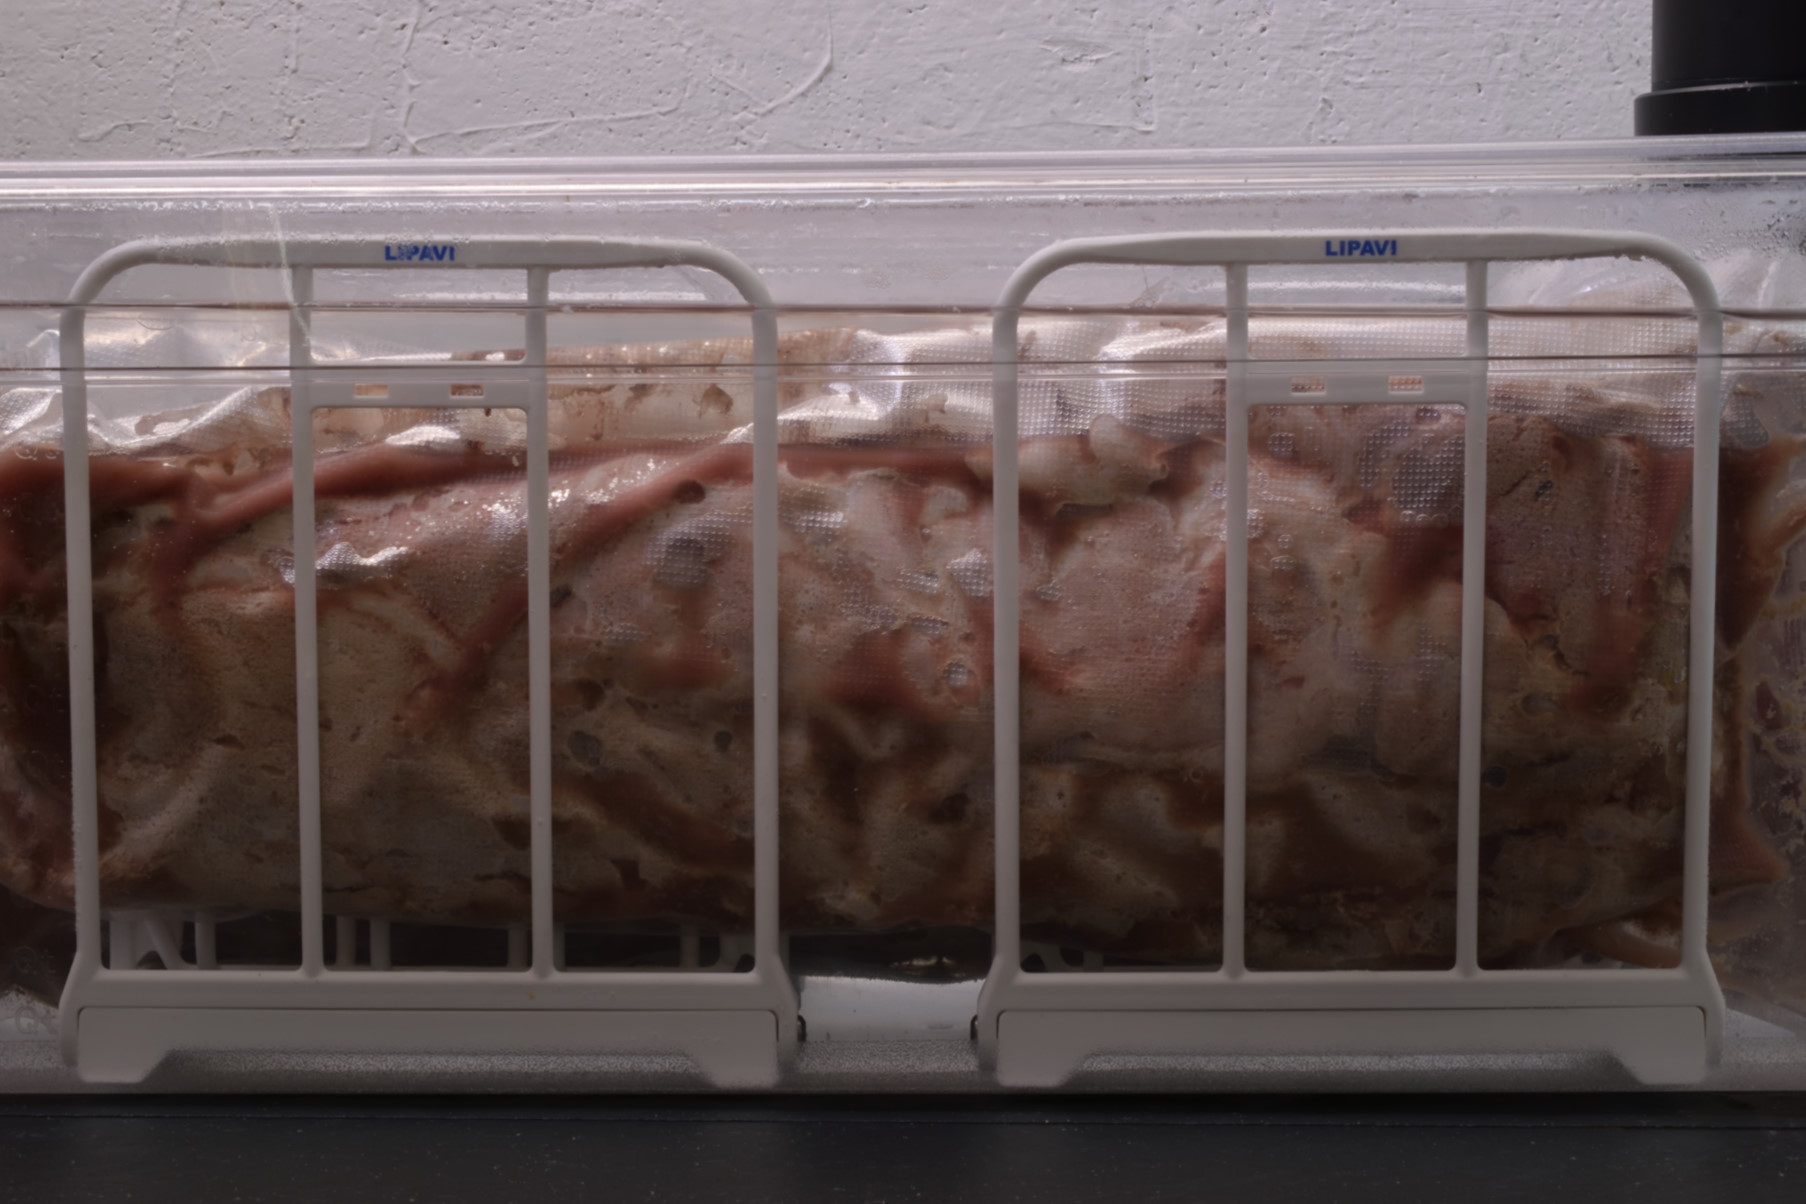
So far, pretty straight forward. The standard approach is to vacuum seal the pork baby back ribs in heat rated plastic pouches. The science says it doesn’t matter if you process them whole or cut them up in advance. Either way, the time/temperature parameter remains pretty much the same. Preheat the sous vide bath to 135 F/57 C and process the pork ribs for 18 hours. Once they’re done, the packages are shocked in ice water until they achieve 70 F/21 C. They can then be safely refrigerated at 40 F/4 C until we are ready for service.
Once again, I must remind everybody not to put the hot packages in the fridge (or the freezer). This could result in the ribs (or whatever) spending too much time in the temperature danger zone and spoiling. The ambient heat that they carry with them could also damage the other food that’s already in the fridge. Right! You knew that!
Okay, in this pasteurized/preserved state, everything will keep at least two weeks.
But now for something entirely different.
I racked my brain (haha, get it?) for some different ways to process the baby backs. Like I said, we are allowing ourselves a little extra time to execute our sv projects. The alternative is to watch reruns of “Law and Order” for the zillionth time or heaven forbid, “Murder She Wrote.” I like to watch sports on TV, but all that’s on now is the ’89 Michigan/Michigan State game and last year’s Superbowl. Who won again? I don’t even remember who played. Kansas City seems like a dream to me now. I did watch the highlights of the Thrilla’ in Manila on Youtube, pretty good. Kina violent, I kept waiting for a hockey game to break out.
Before the Collapse
We have posted many sous vide baby back ribs recipes in the past–all perfectly executable in the current circumstance.
Here’s one from our most recent hot smoked version on Lipavi.com: Baby Backs 2020
Before we explore just what can be done with baby back ribs instead of the usual barbecue yada yada, let’s set the table, or stage, or whatever…
NNNNNNNNNNNNEXT.
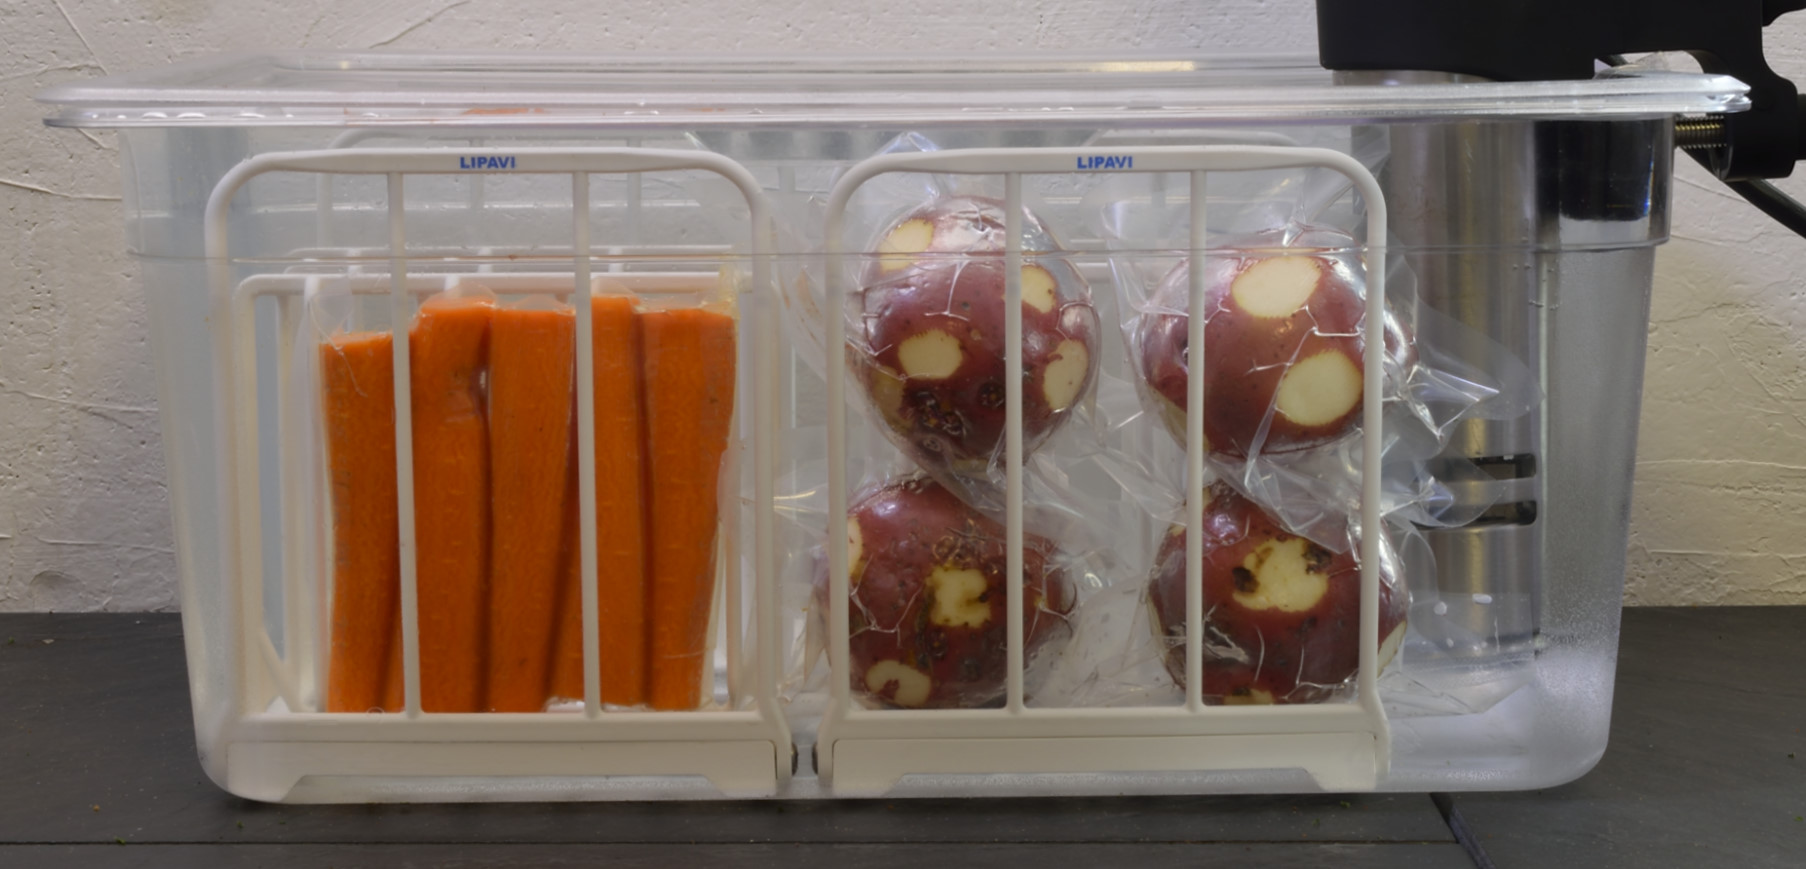
Sous vide vegetables
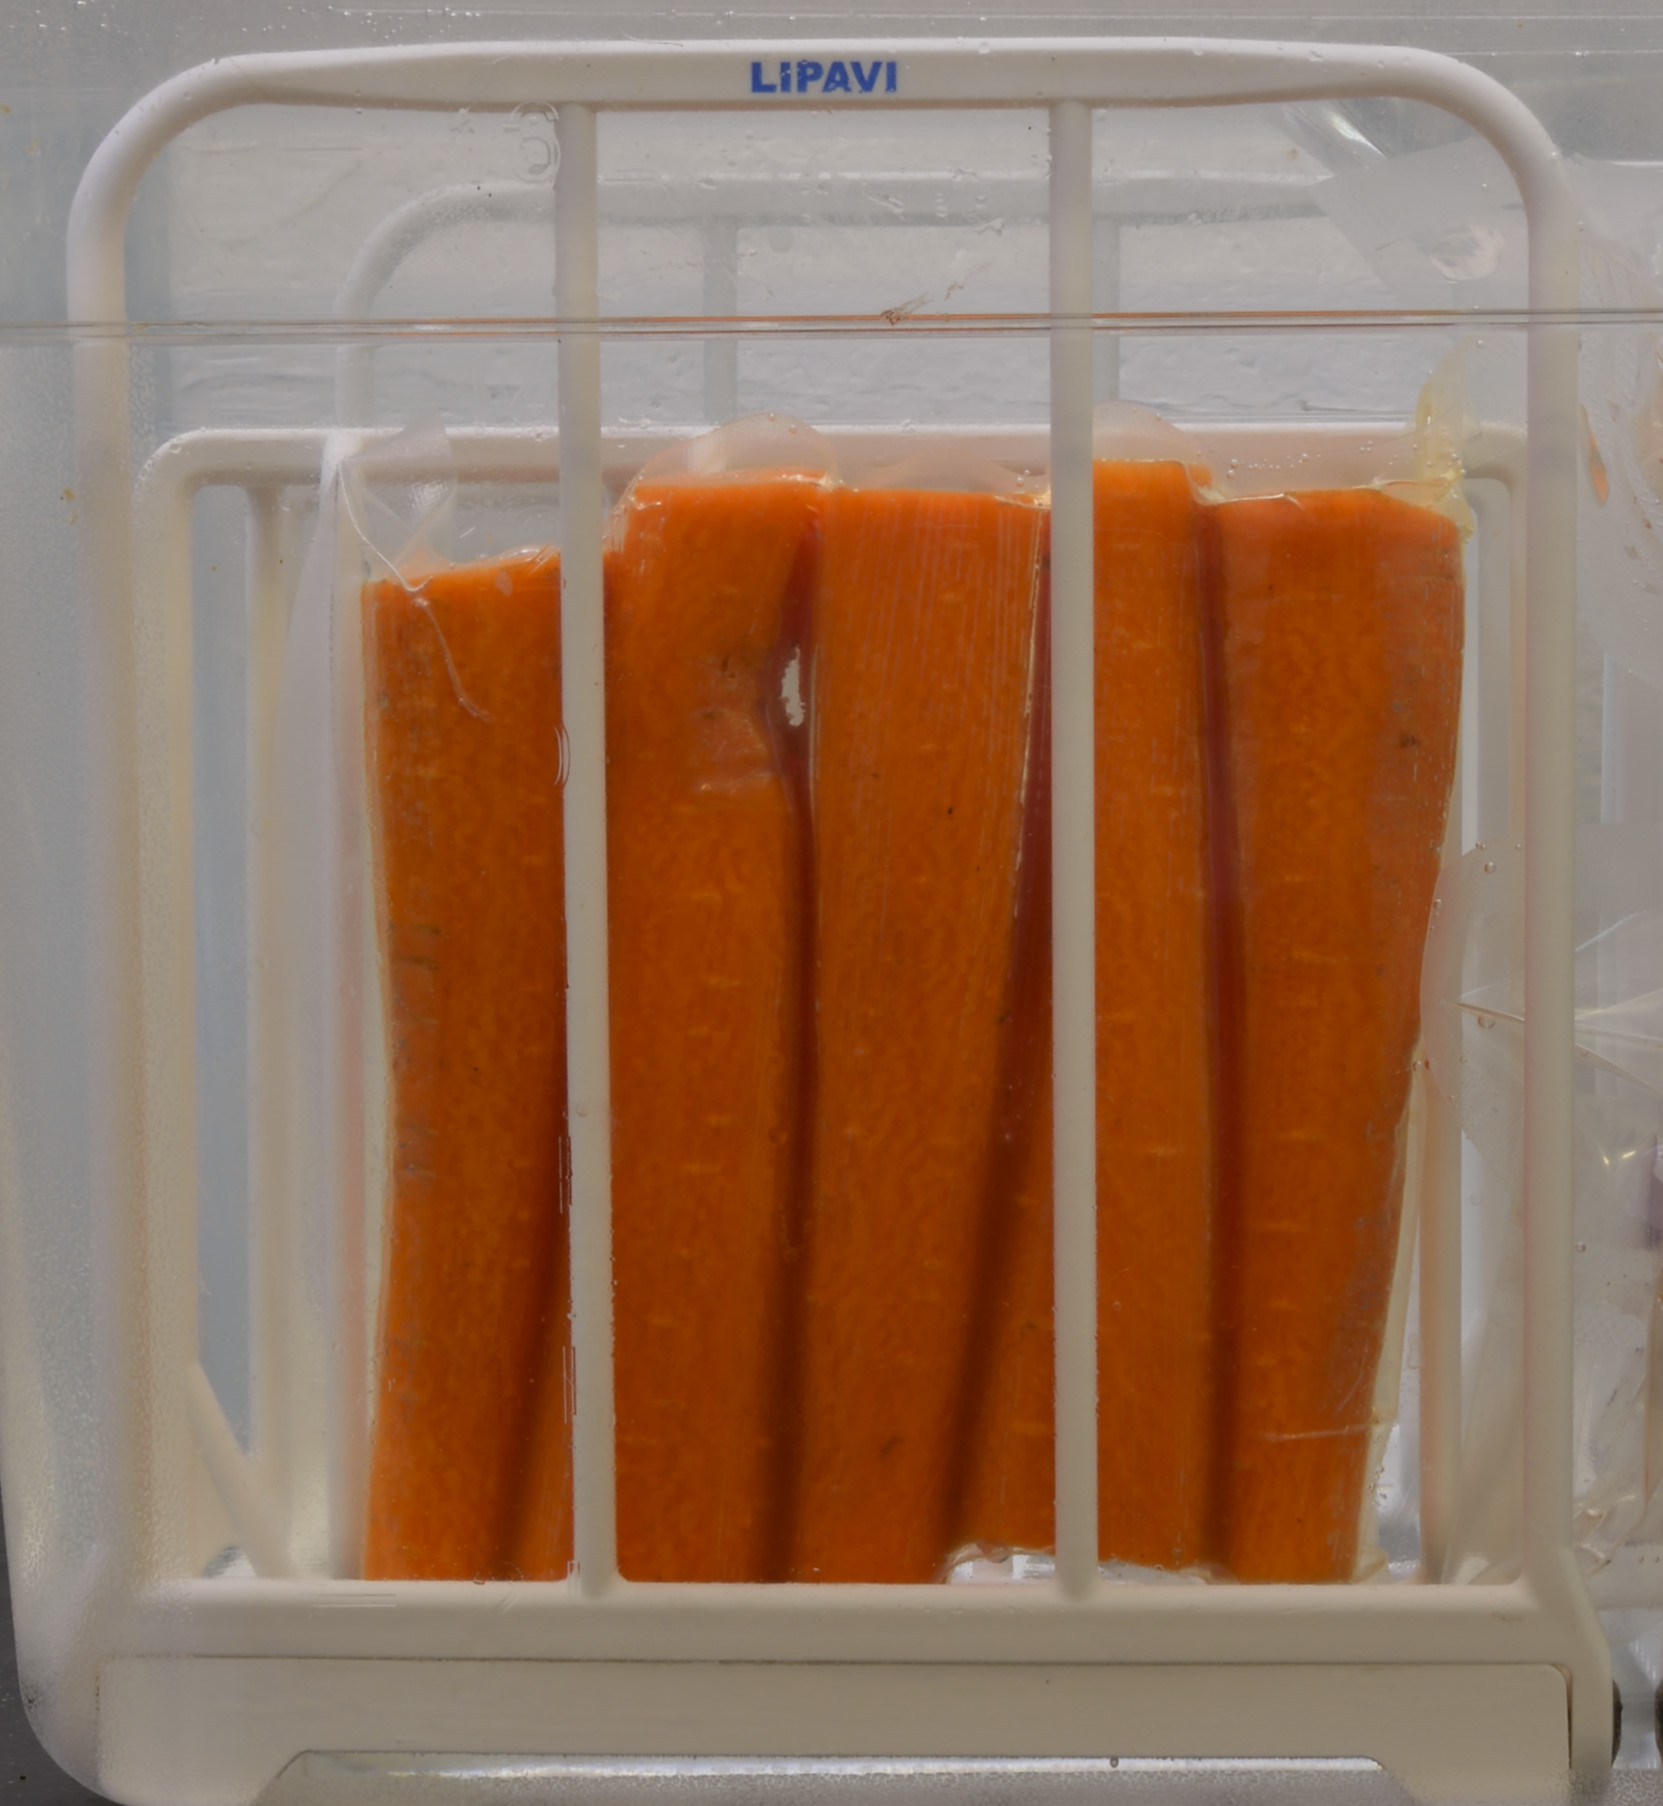
Processing vegetables using sous vide was attempted early on in the technology’s new found popularity, but interest waned after a while. It’s definitely not as exciting as a rib eye steak. However, there are benefits, with some limitations. As we mentioned in Part 2, green vegetables emit gasses which, if sealed in a sous vide pouch, create unpleasant flavors, aromas and colors. But sous vide is really great for carrots and potatoes–even sweet potatoes and winter squashes. Vegetables require much higher temperatures to denature than proteins, so here’s how that goes:
183 F/84 C for “about an hour.”
Time parameters are fairly uniform at about an hour, but the Pinch/Poke method is still applicable.
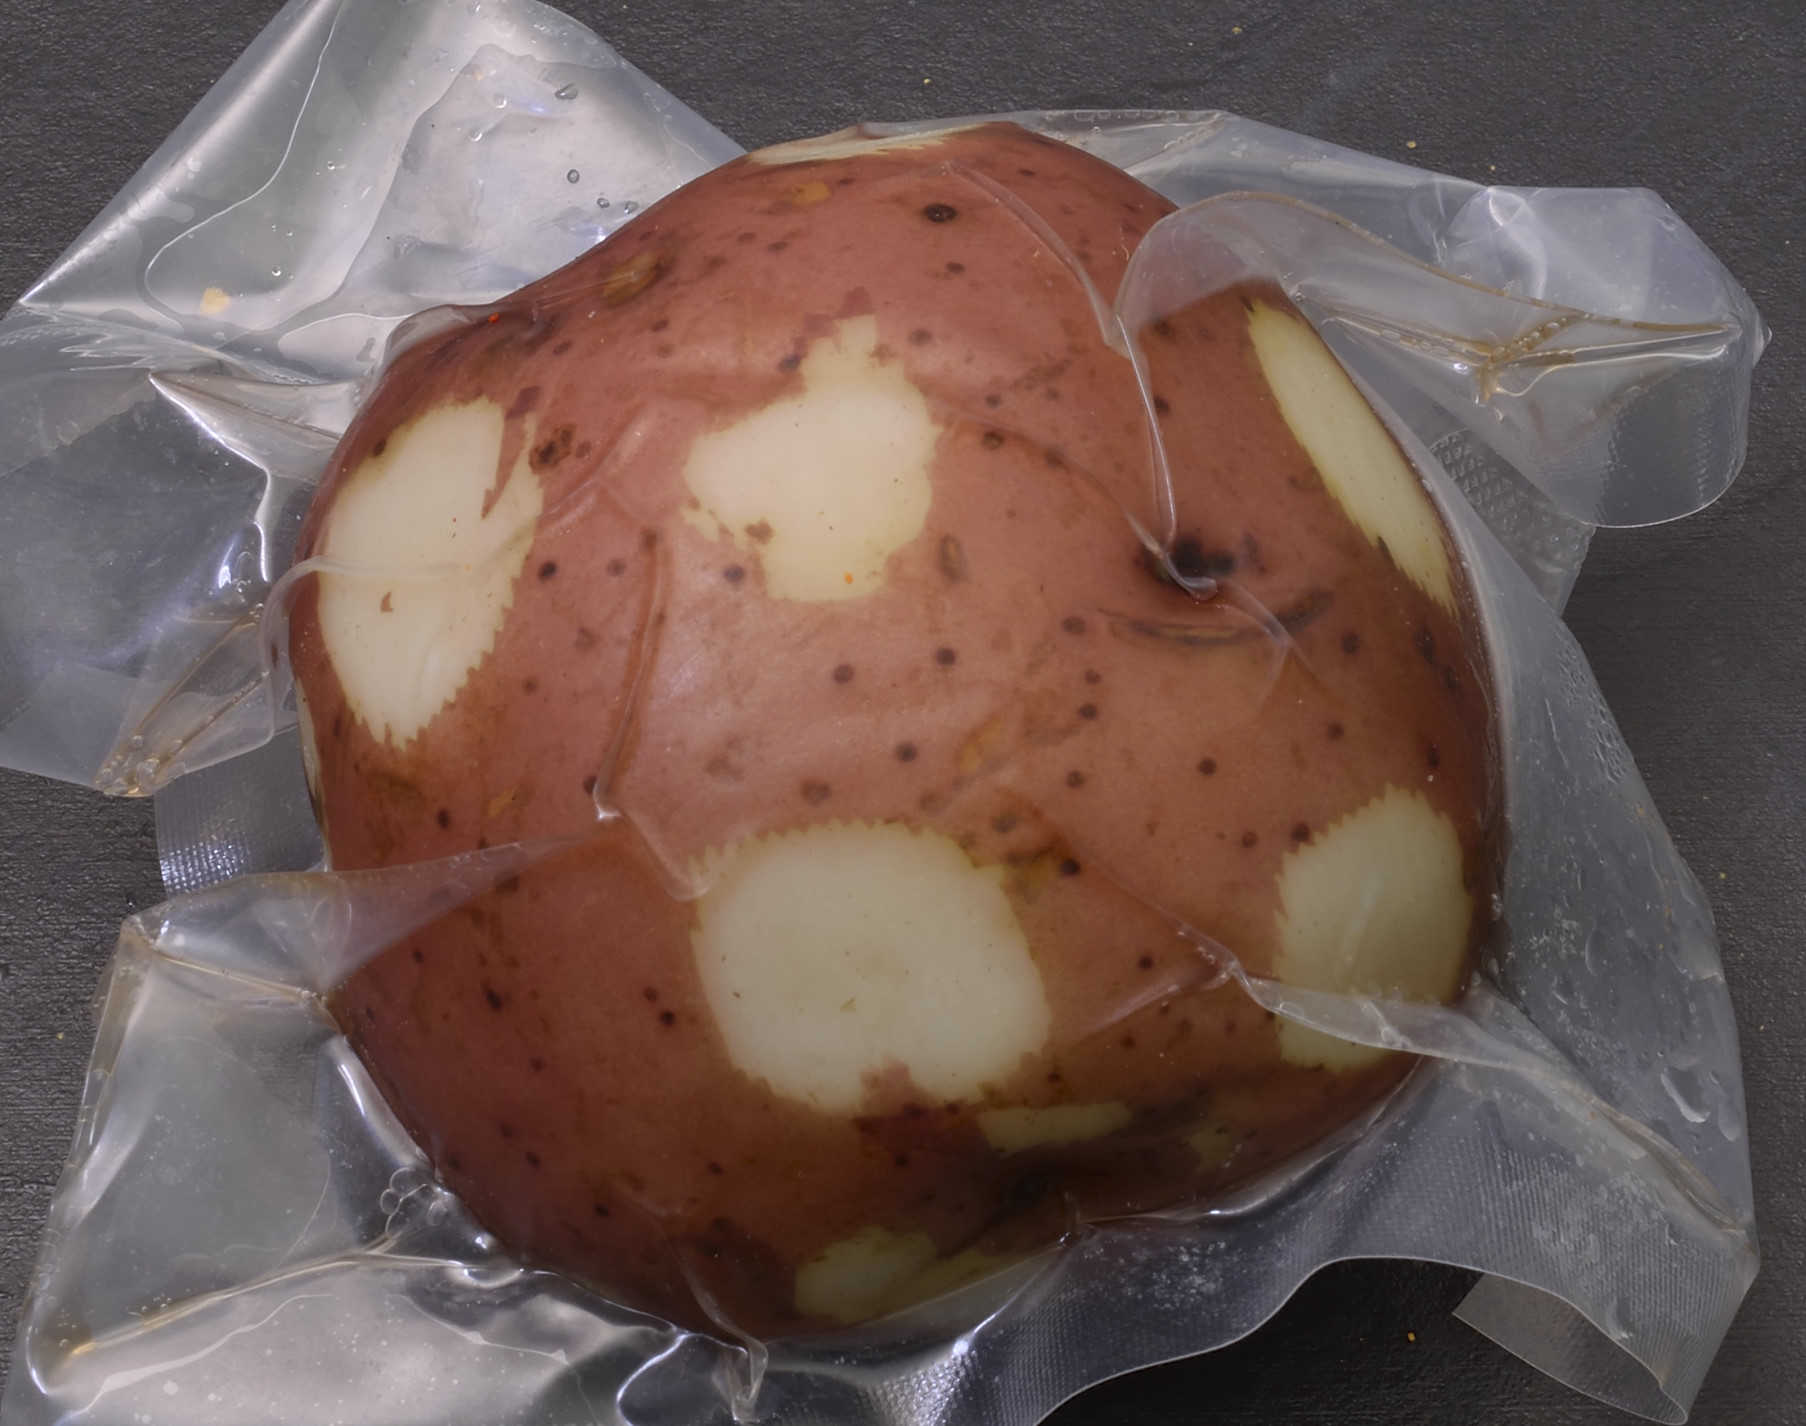
To peel or not to peel
I usually peel the carrots first. I process them “peel on” sometimes, but that only works if you plan on carving them into those little shapes. Peeling a sous vide processed carrot is possible, but let’s just say it offers no benefit. Doing it raw is a lot easier. Sous vide processed carrots can be served immediately after processing if desired, and you can safely put salt and butter in the bag if you like. I don’t. People who are familiar with my work know that I process naked (the food, not me) and stockpile almost everything.
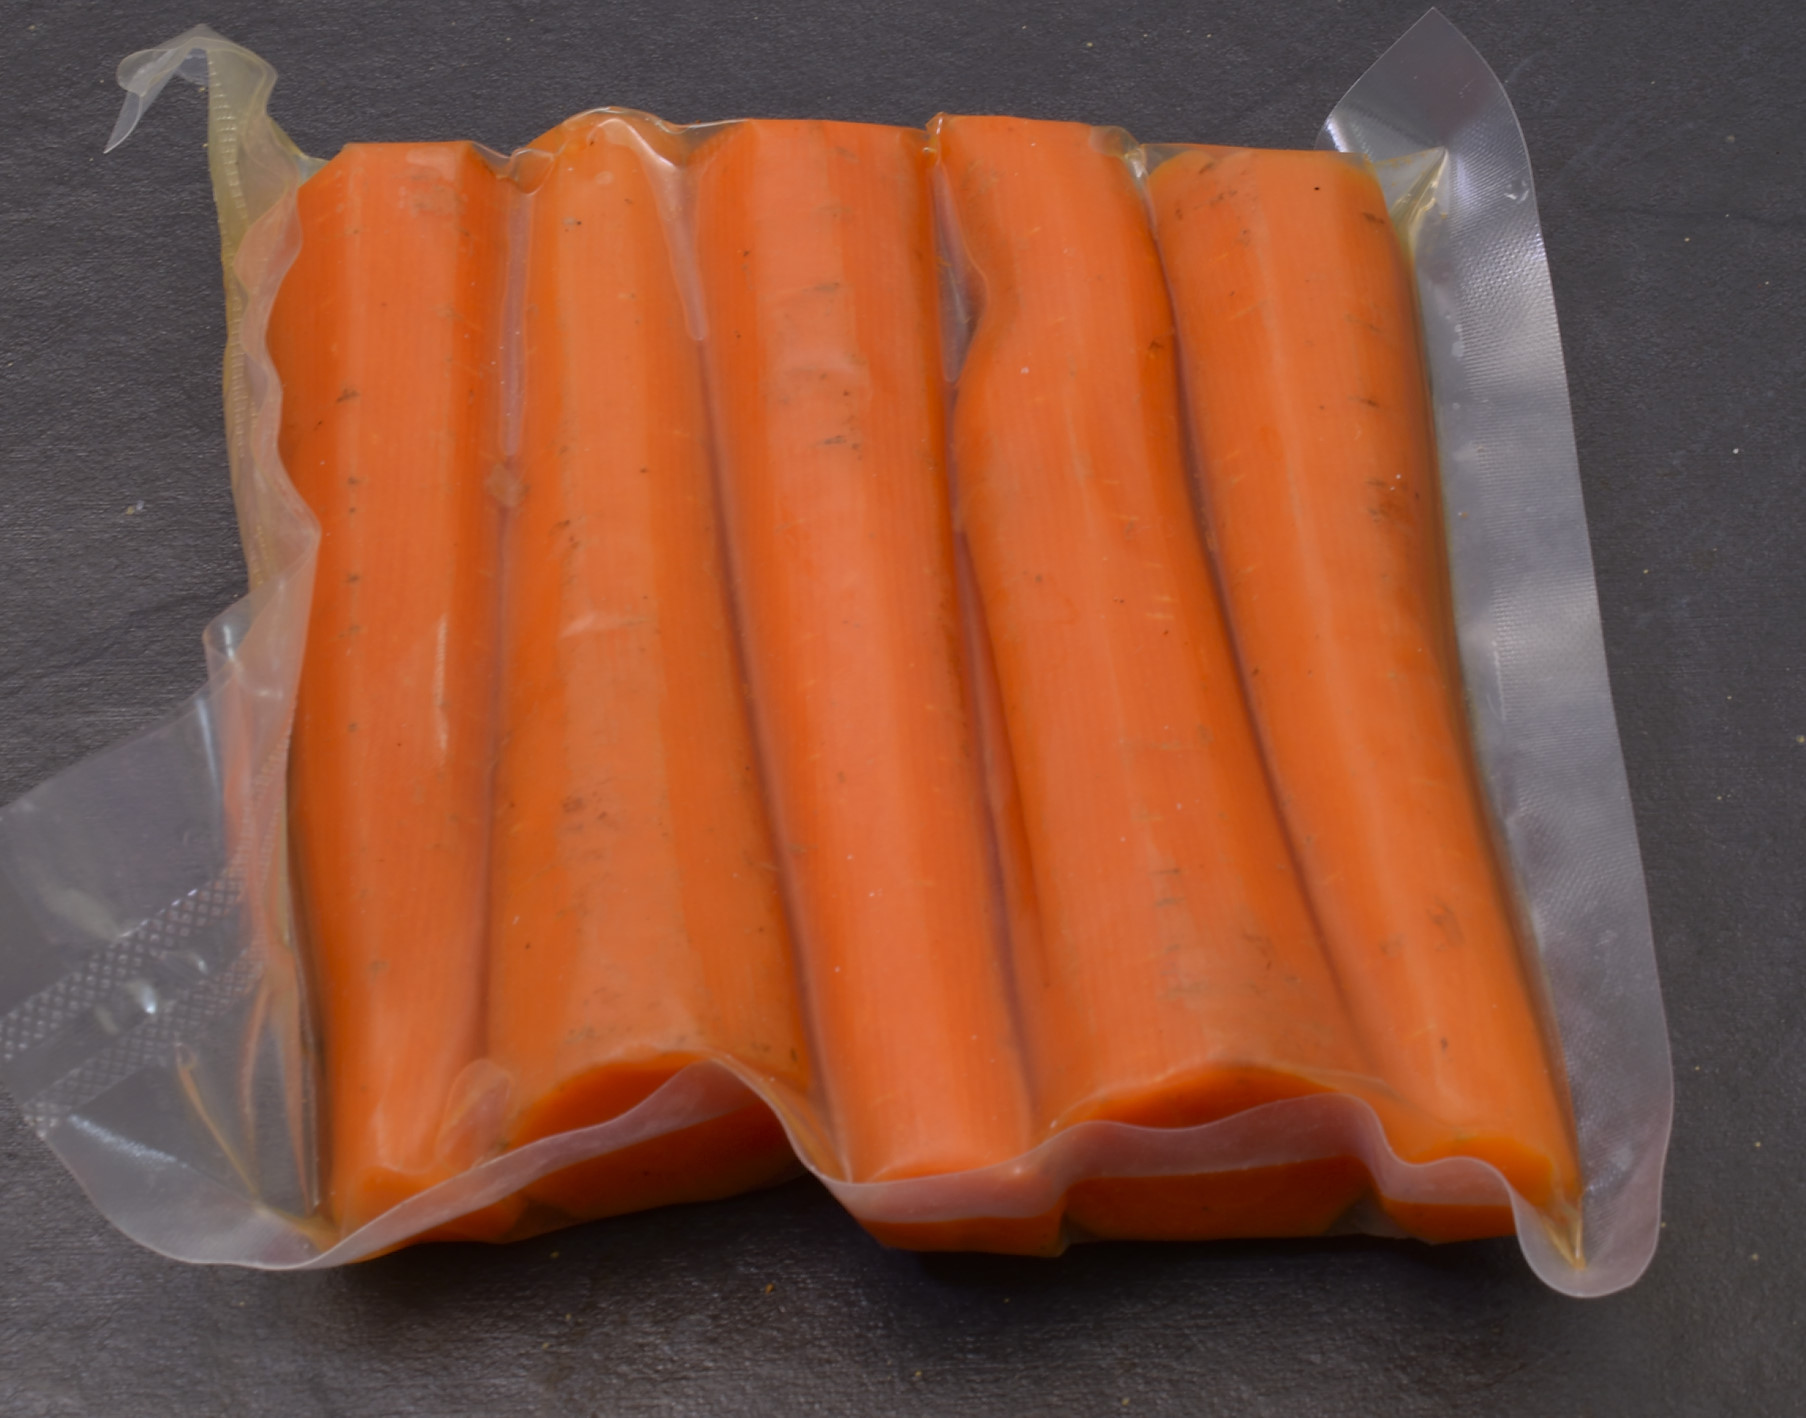
The same safe cooling procedures apply–submerge the processed packages in iced water until they achieve 70 F/21 C and then refrigerate at 40 F/4 C until service. They can be reheated in a sous vide bath, but I almost never do that. I cut carrots down and reheat in boiling water, a hot pan, or even the microwave oven that everybody pretends they never use. I know, it just came with the house. I know, what a hack. It’s a Brave New World.
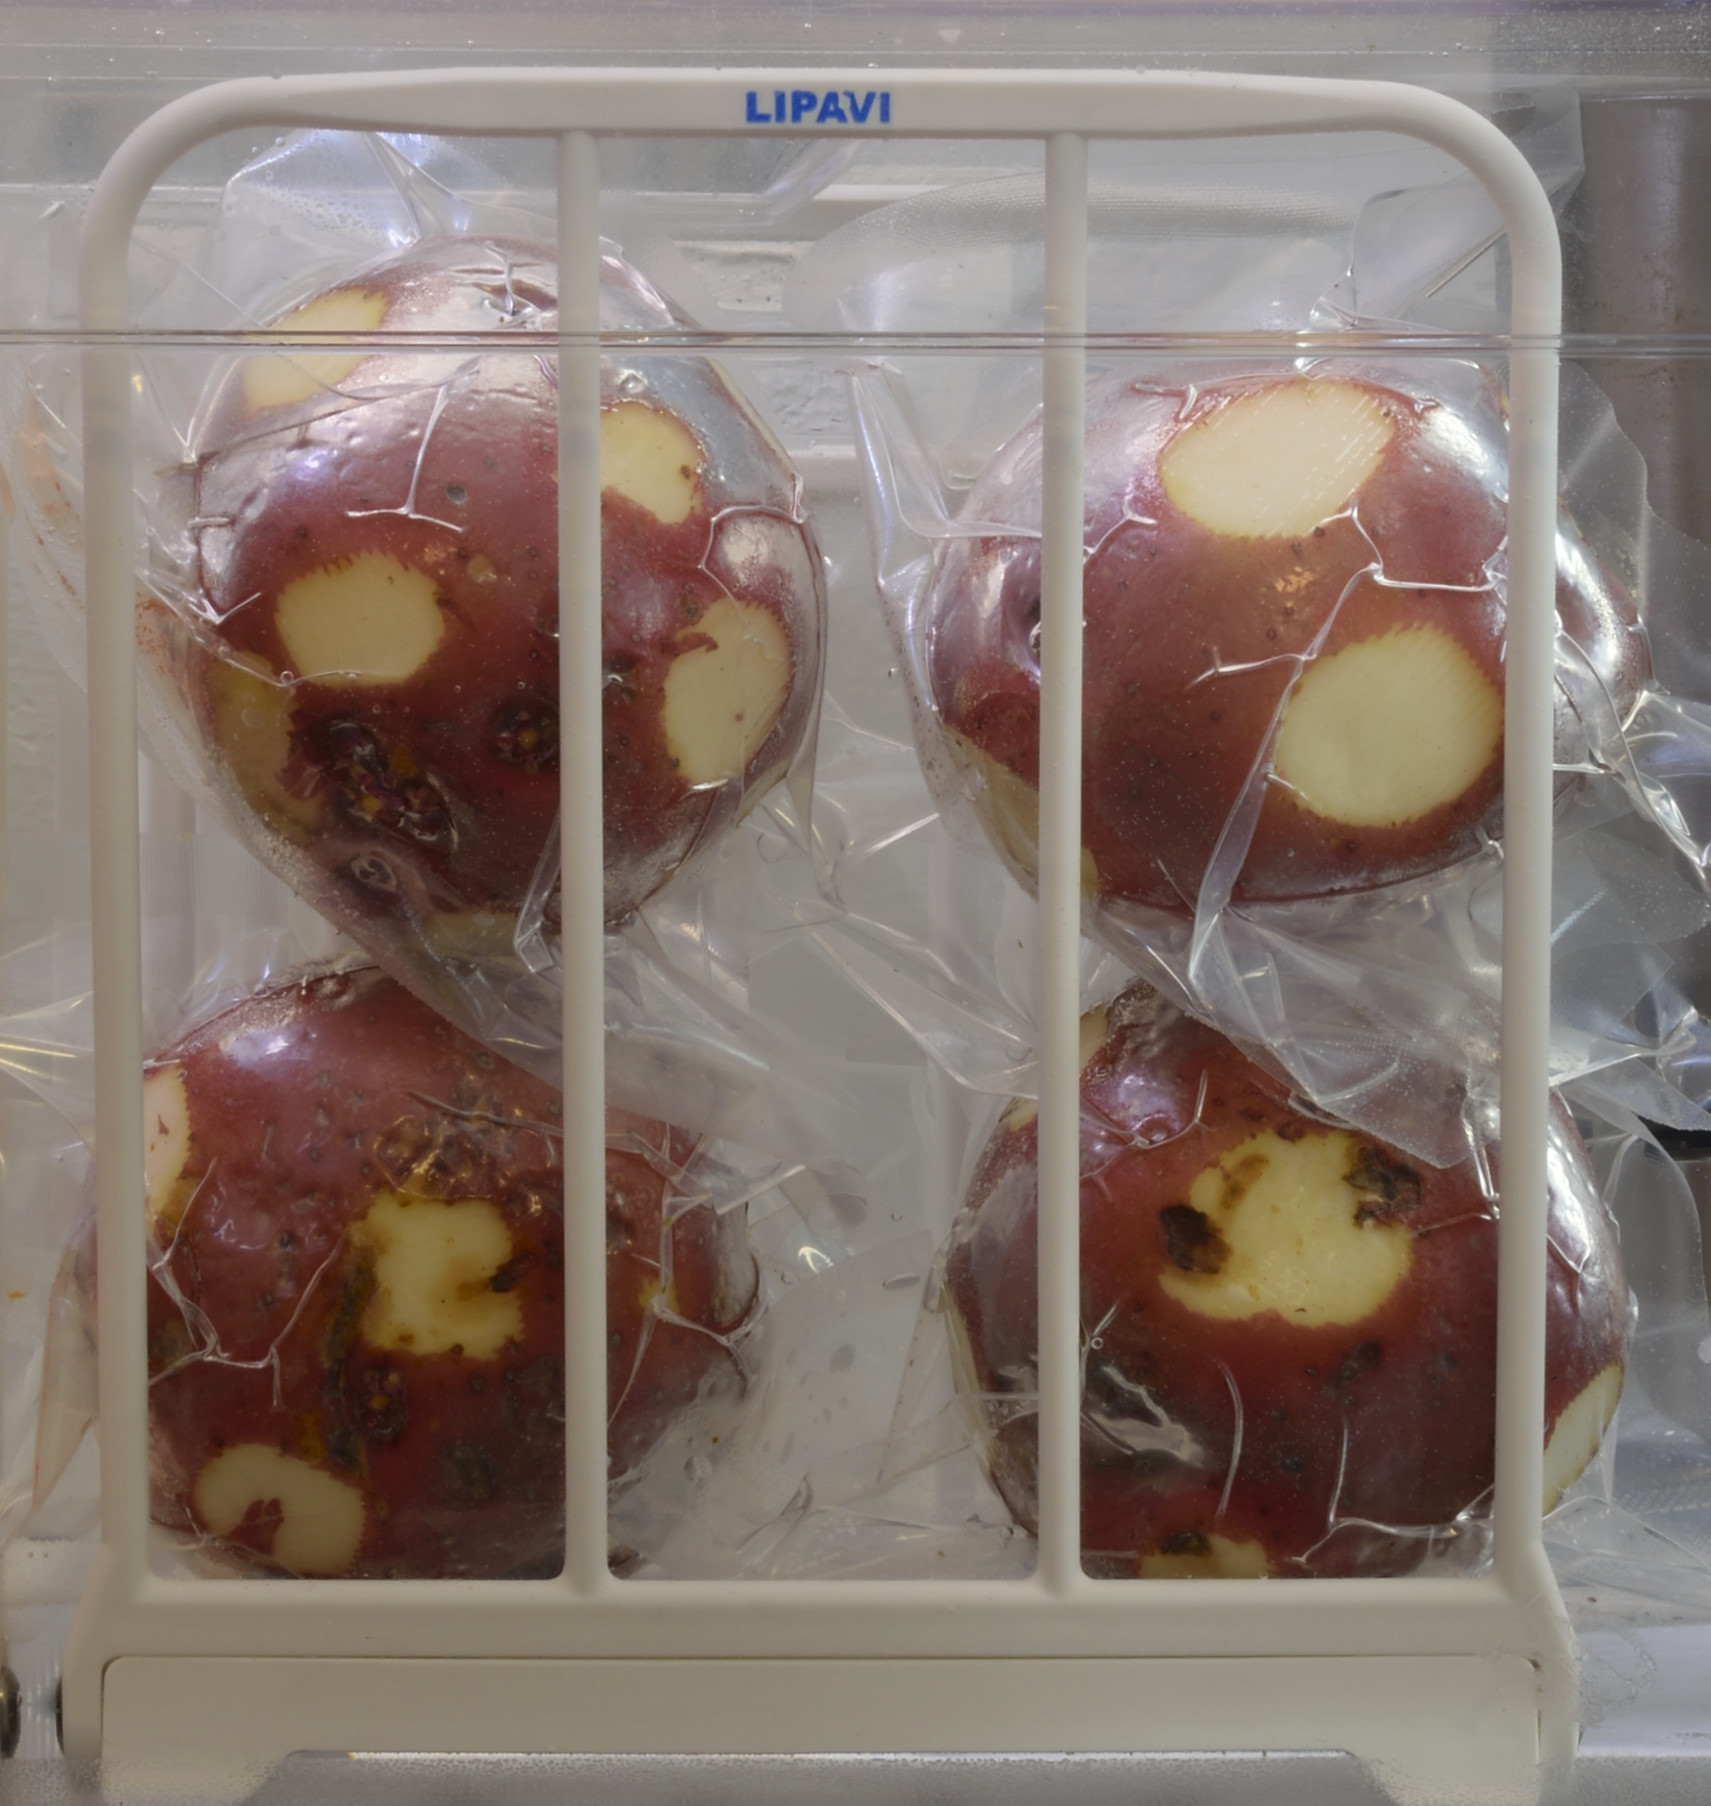
Most people don’t peel red potatoes, although I have done it. Russets can be peeled before or after processing. After shocking and refrigerating, sous vide potatoes make great hash browns, roasted potatoes, etc–but not mashed potatoes. The procedure for mashed potatoes is completely different.
Small packages prevent waste–sealed in the pouch, these vegetables will keep “indefinitely.” I shouldn’t say indefinitely, but they will definitely keep longer than they would have in any other form. Once they’re opened, they should be used within three days. From my point of view, freezing ruins most vegetables.
Isn’t “Boneless Rib” an Oxymoron?
If removing the bones from baby backs and spareribs was an inherently good idea, it would be much more common. As it is, I cannot reveal some magic trick in order to accomplish it. Before anybody says anything, those fast food boneless rib sandwich things are some form of pork that has been reconstituted to “approximate” the familiar appearance. No extra charge for the transglutaminase that they use to glue it all together.
For this model, we increased the temperature to
140 F/60 C
and extended the interval to
24 hours.
Rather than shocking cold, we drained the juices from the bag and very carefully laid the rack out upside down on parchment.
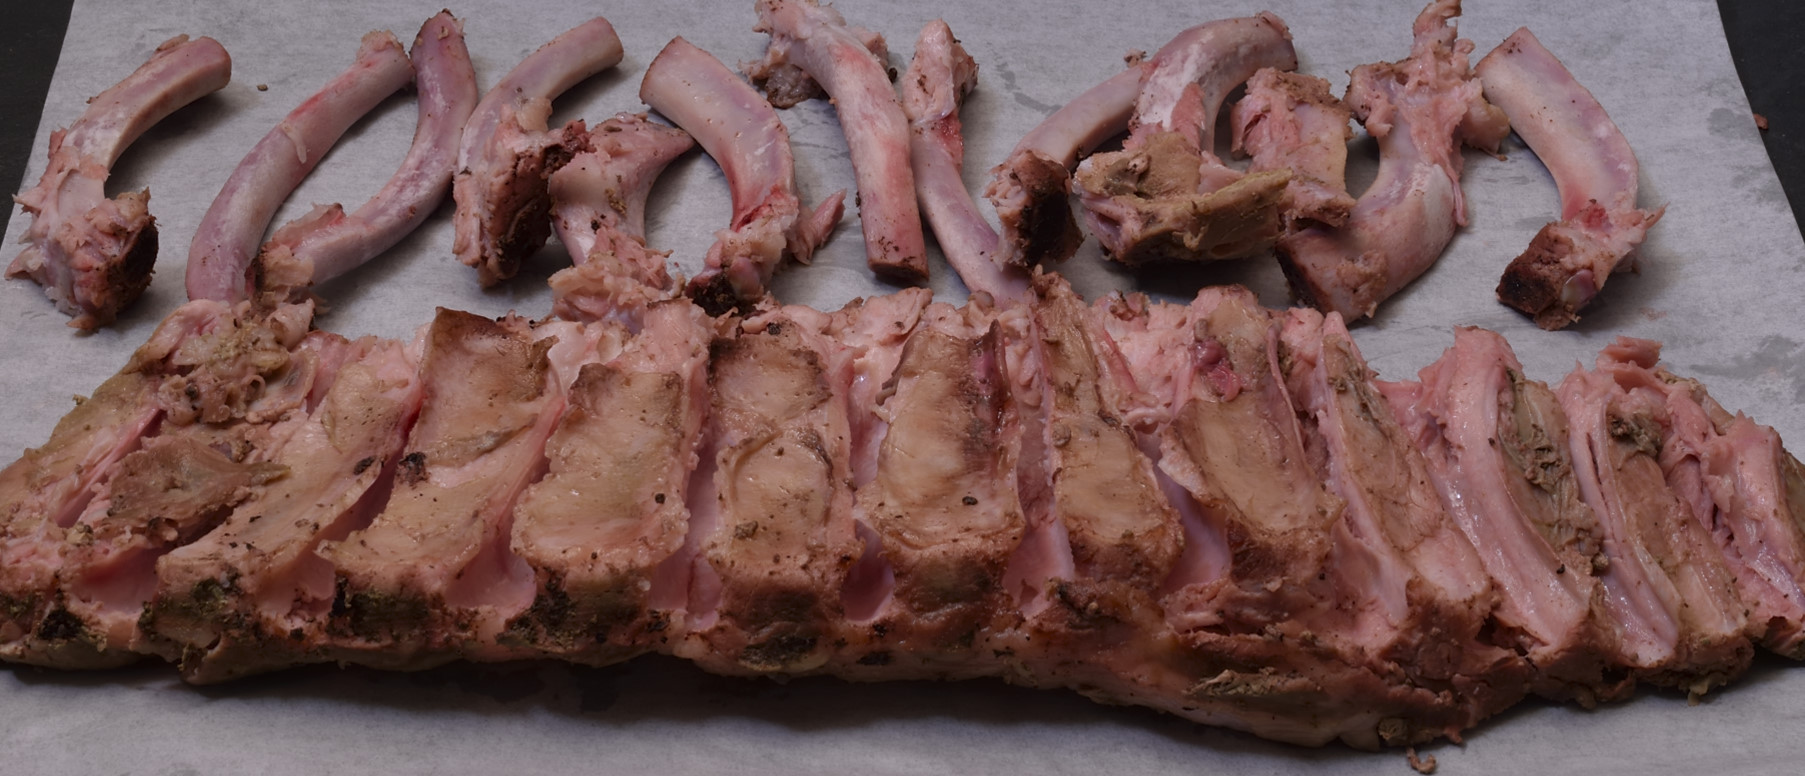
I would like to tell you that you can use tongs to just yank out the bones, and I have heard that. It did not work for me.
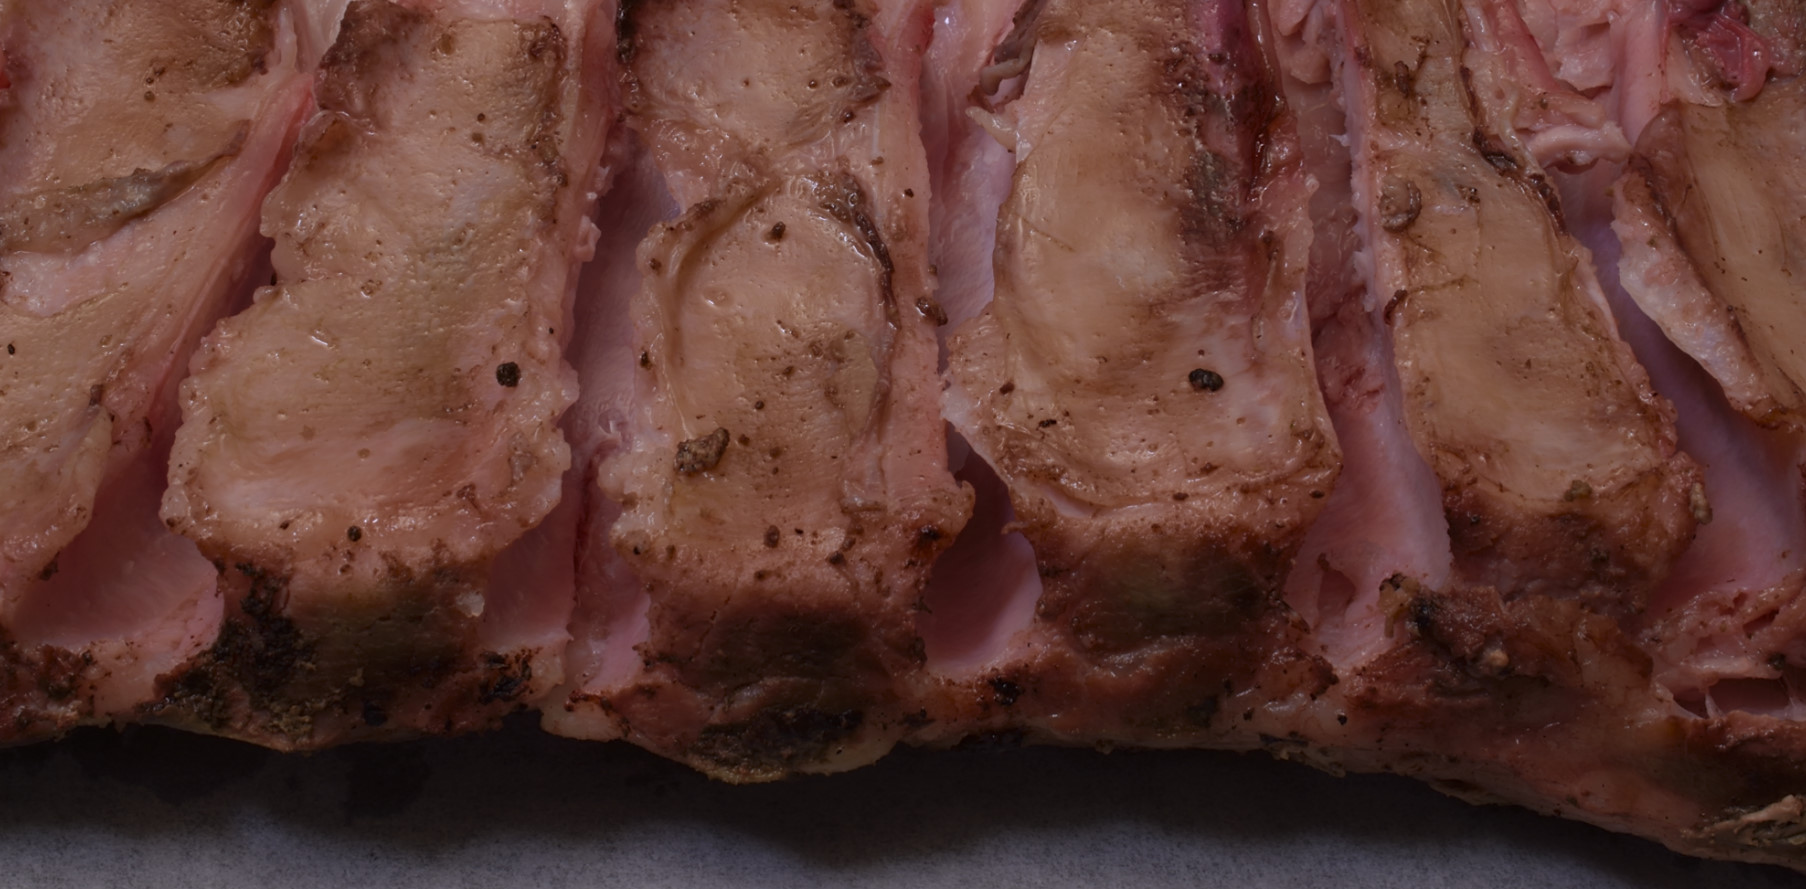
I used a boning knife to cut that membrane that surrounds the bone and with a bit of pinching, pulling, coaxing and so forth, we did pretty good. If you wear latex gloves you can kind of run your finger along the bone and push the meat away.
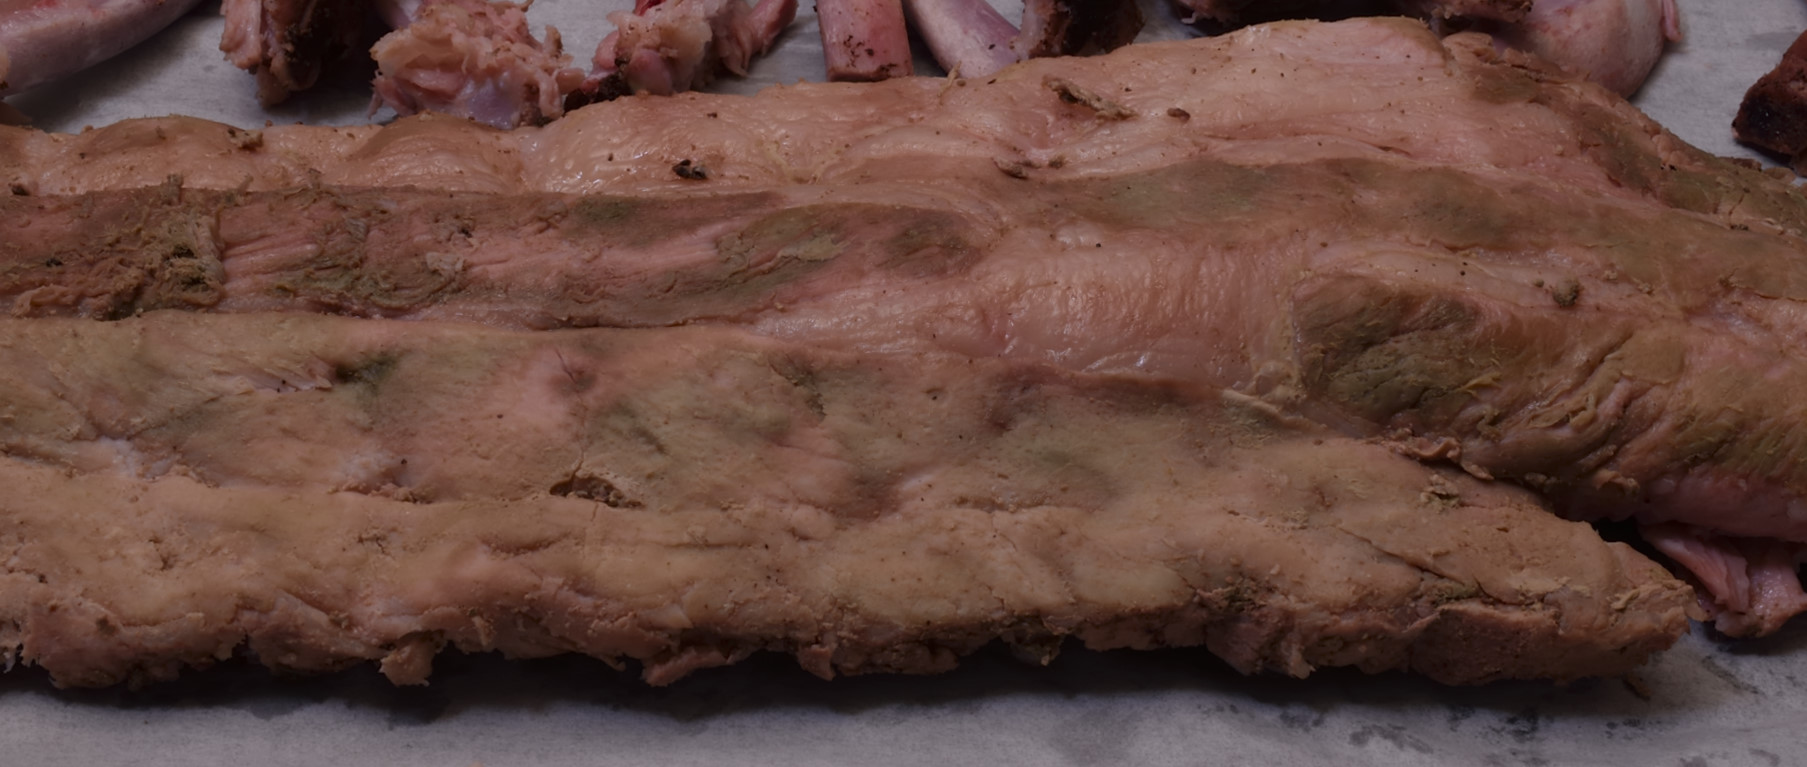
When I was done, I carefully flipped the boneless rack. This came out good, but even if it tears, do what good cooks do. Take a breath, take your time, and remind yourself that you might be able to patch it up down the road. We might even get back to that. For now, we can proceed.
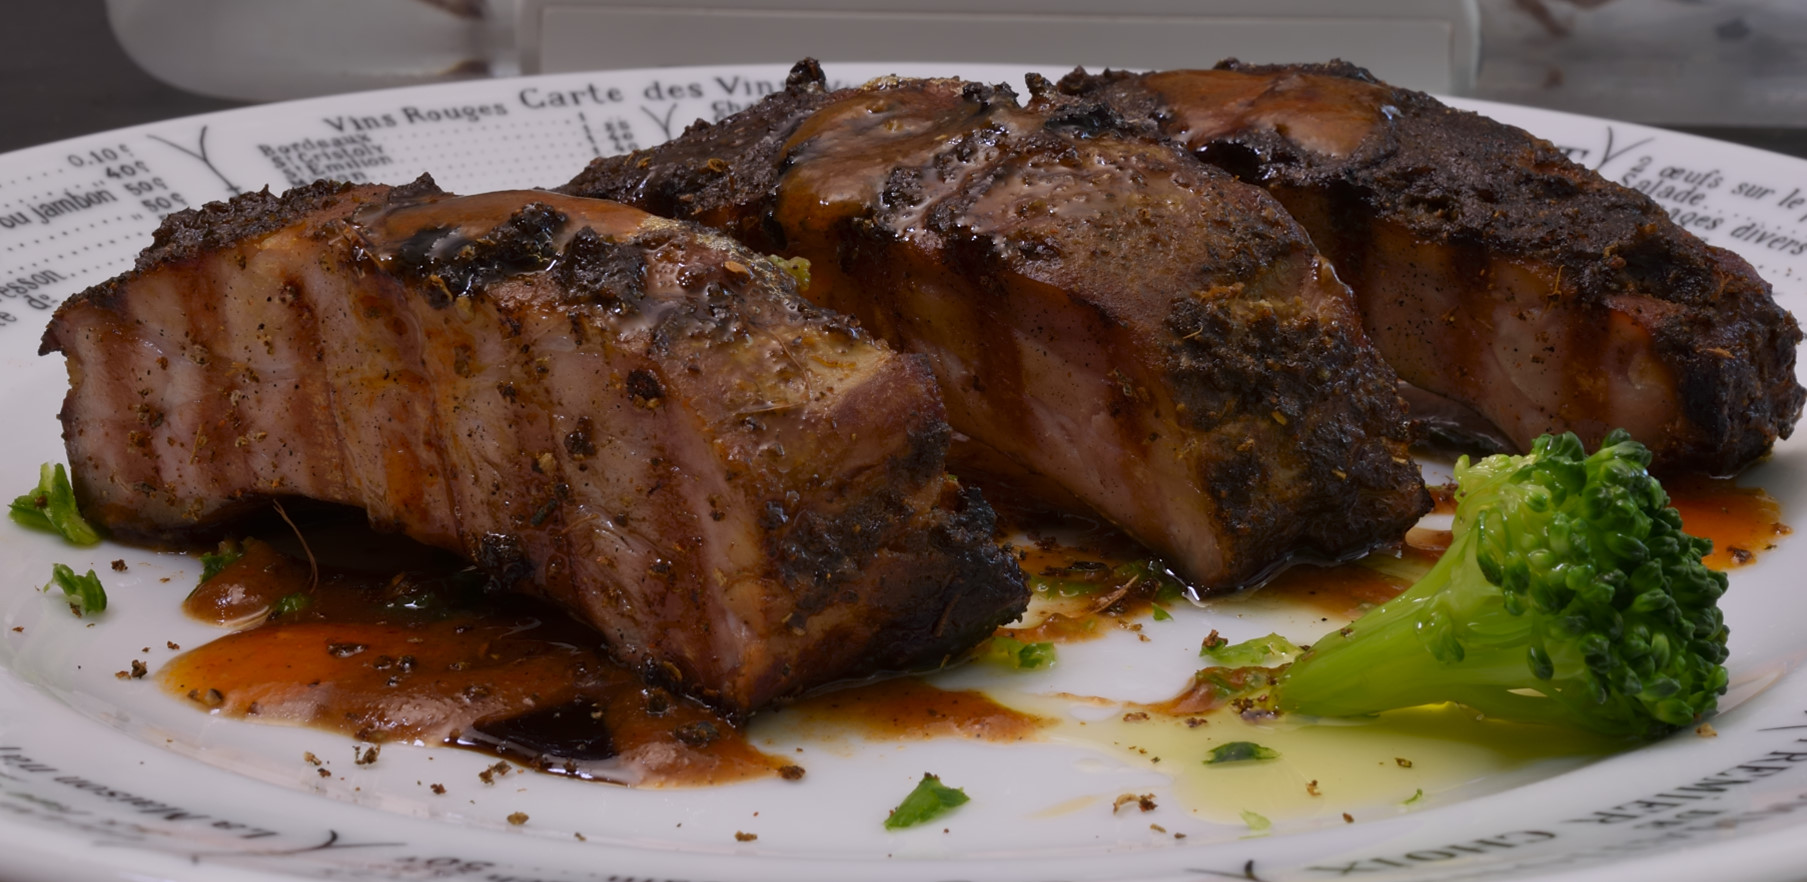
Tarting it up
Cut a portion (or 2, or 3, you get it) to about 12 oz/325 g,

A few drops of egg white will make the surface sticky (optional). This makes the rub cling. You can separate the eggs yourself and mix the whites with an equal amount of water, or you can do what I do. I got tired of finding single egg yolks shoved into the back of the fridge. How much aioli can one man make? I buy pasteurized egg whites in cartons. They are great for a lot of things and a little bit goes a long way. Using powdered egg whites is even easier. Just sprinkle a bit on the meat and mist with water–presto–sticky.
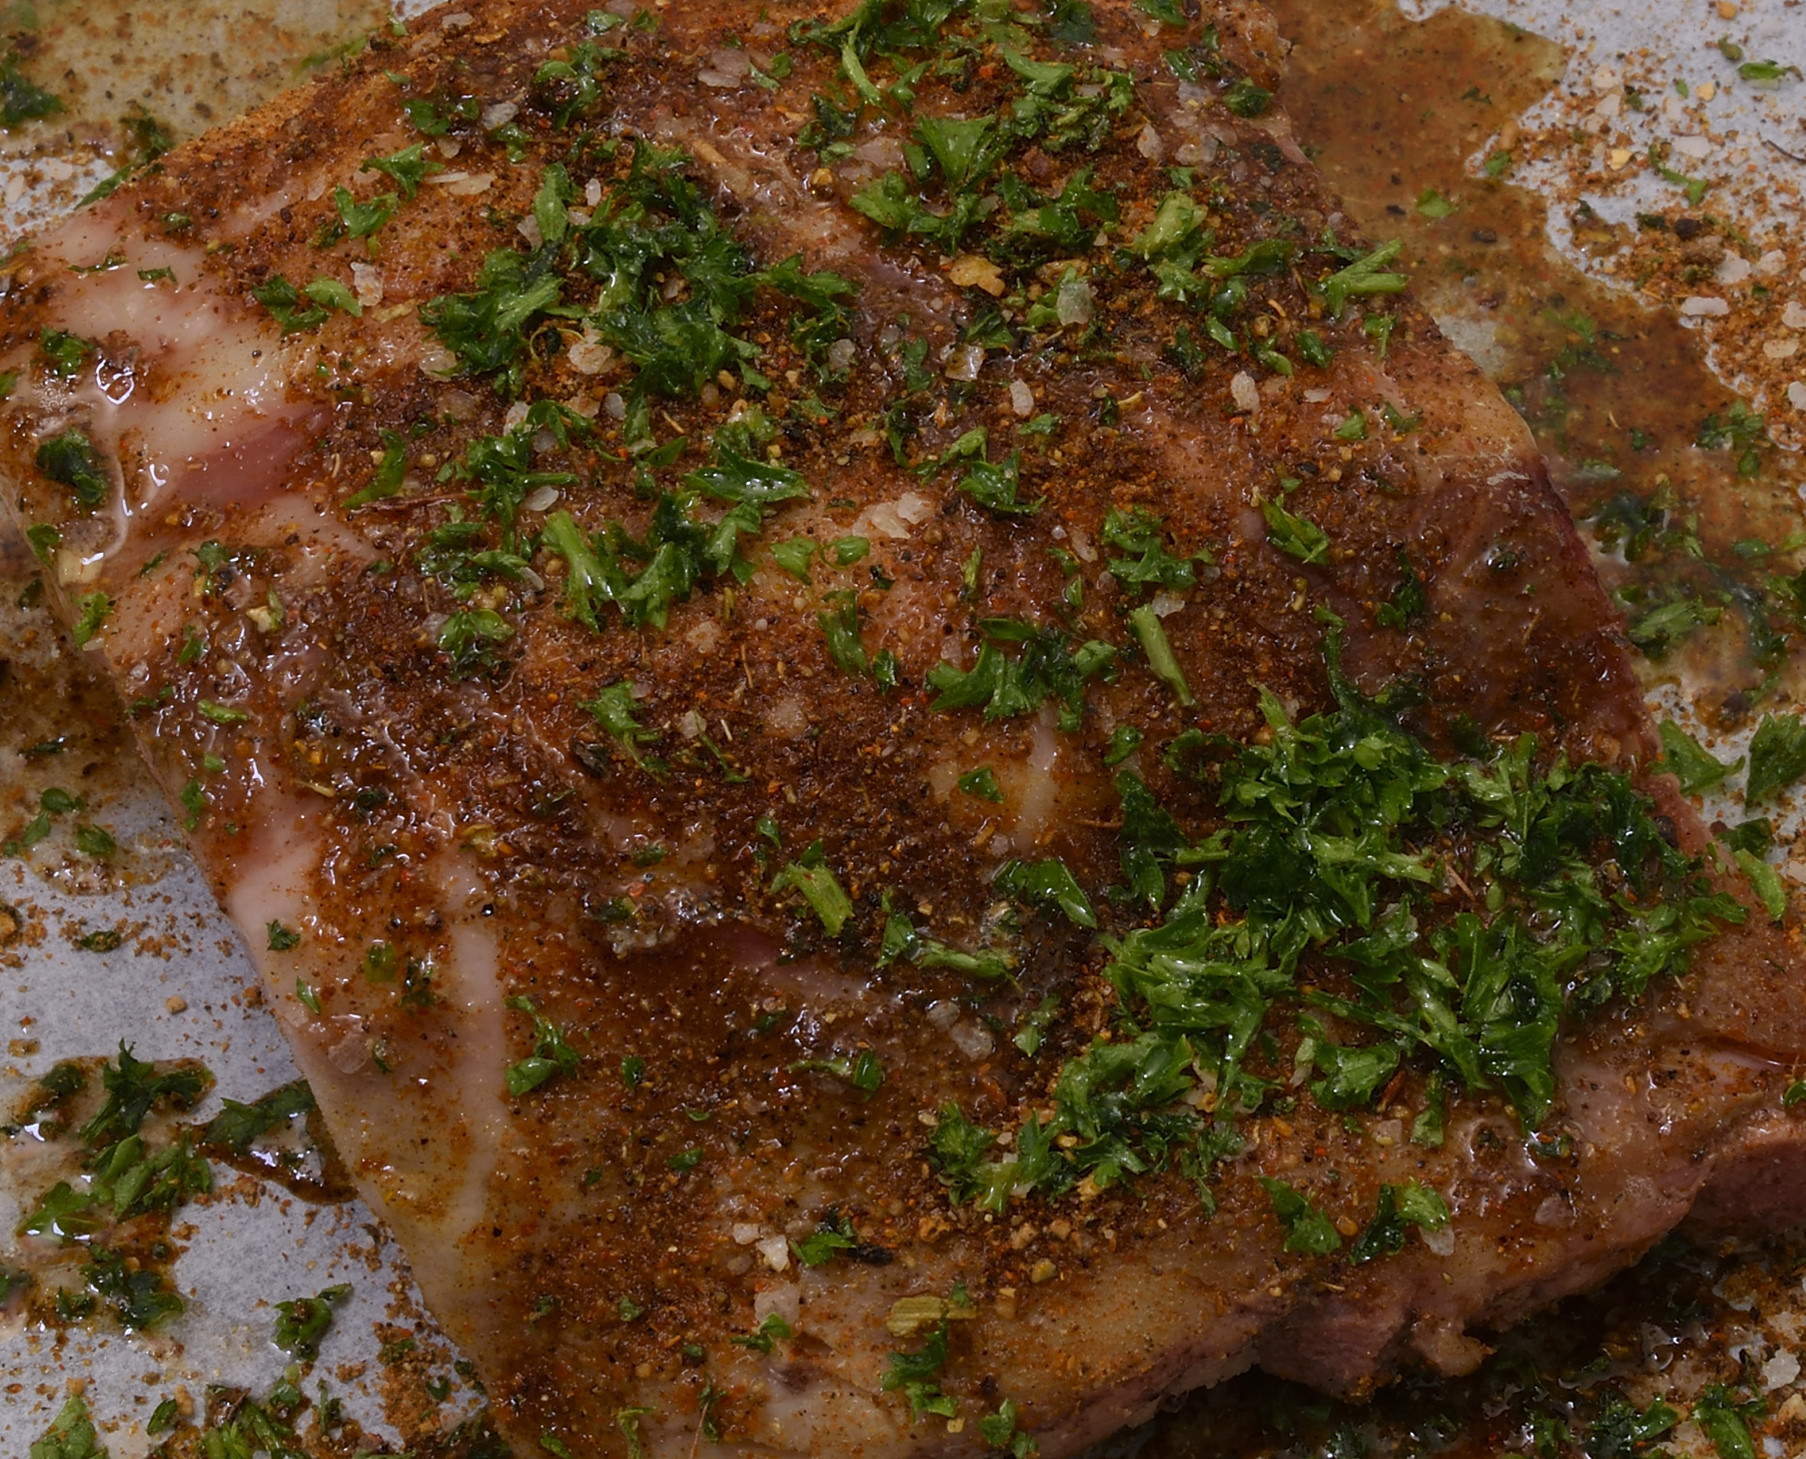
Use your favorite rub or one of ours, linked HERE. I mix and match rubs in real time, and I don’t always write everything down. Here’s today’s tip: Rubs and seasoning mixes consist of but three things: Salt, Sugar, and Everything Else.
You can’t rub me the wrong way
Rubs need enough salt to contribute somewhere between 1 and 2 teaspoons of salt per lb. to the particular protein. Rubs need sugar too, never to exceed half the amount of salt in the batch. Everything else is totally open to your preference. Pepper in one of its many forms brings heat, and that’s easy to evaluate for even a novice. For more detailed information, click the link HERE.
Preheat your oven to
350 F/176 C
Stage the ribless ribs into the oven. Then…
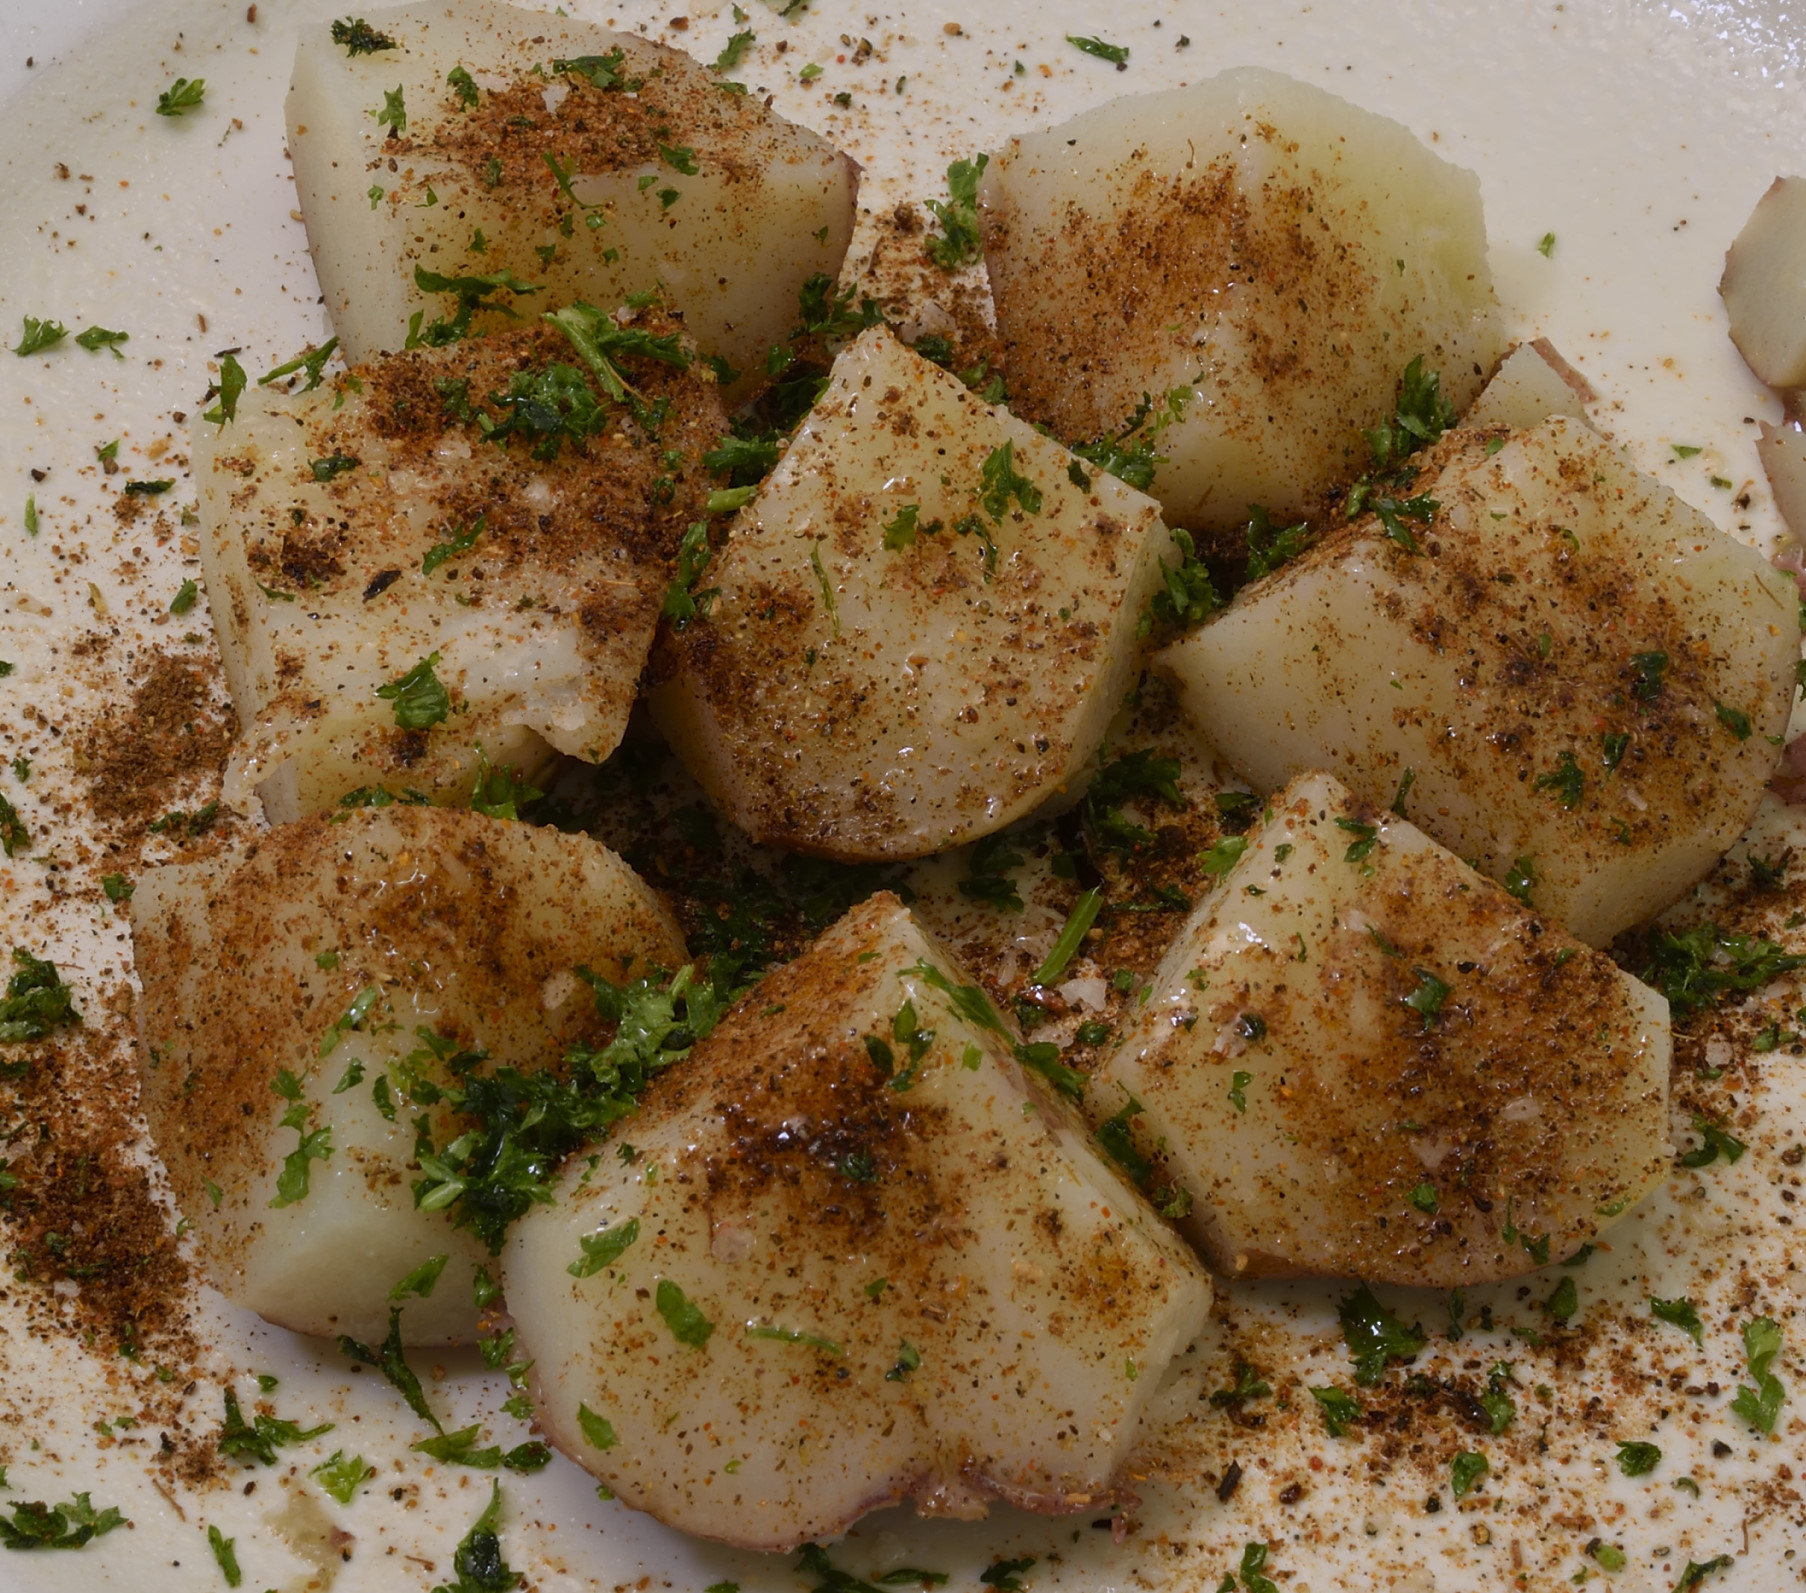
I cut the processed potatoes into eighths and used the same rub to season. No reason to create a new rub for the potatoes. It was sitting right there.
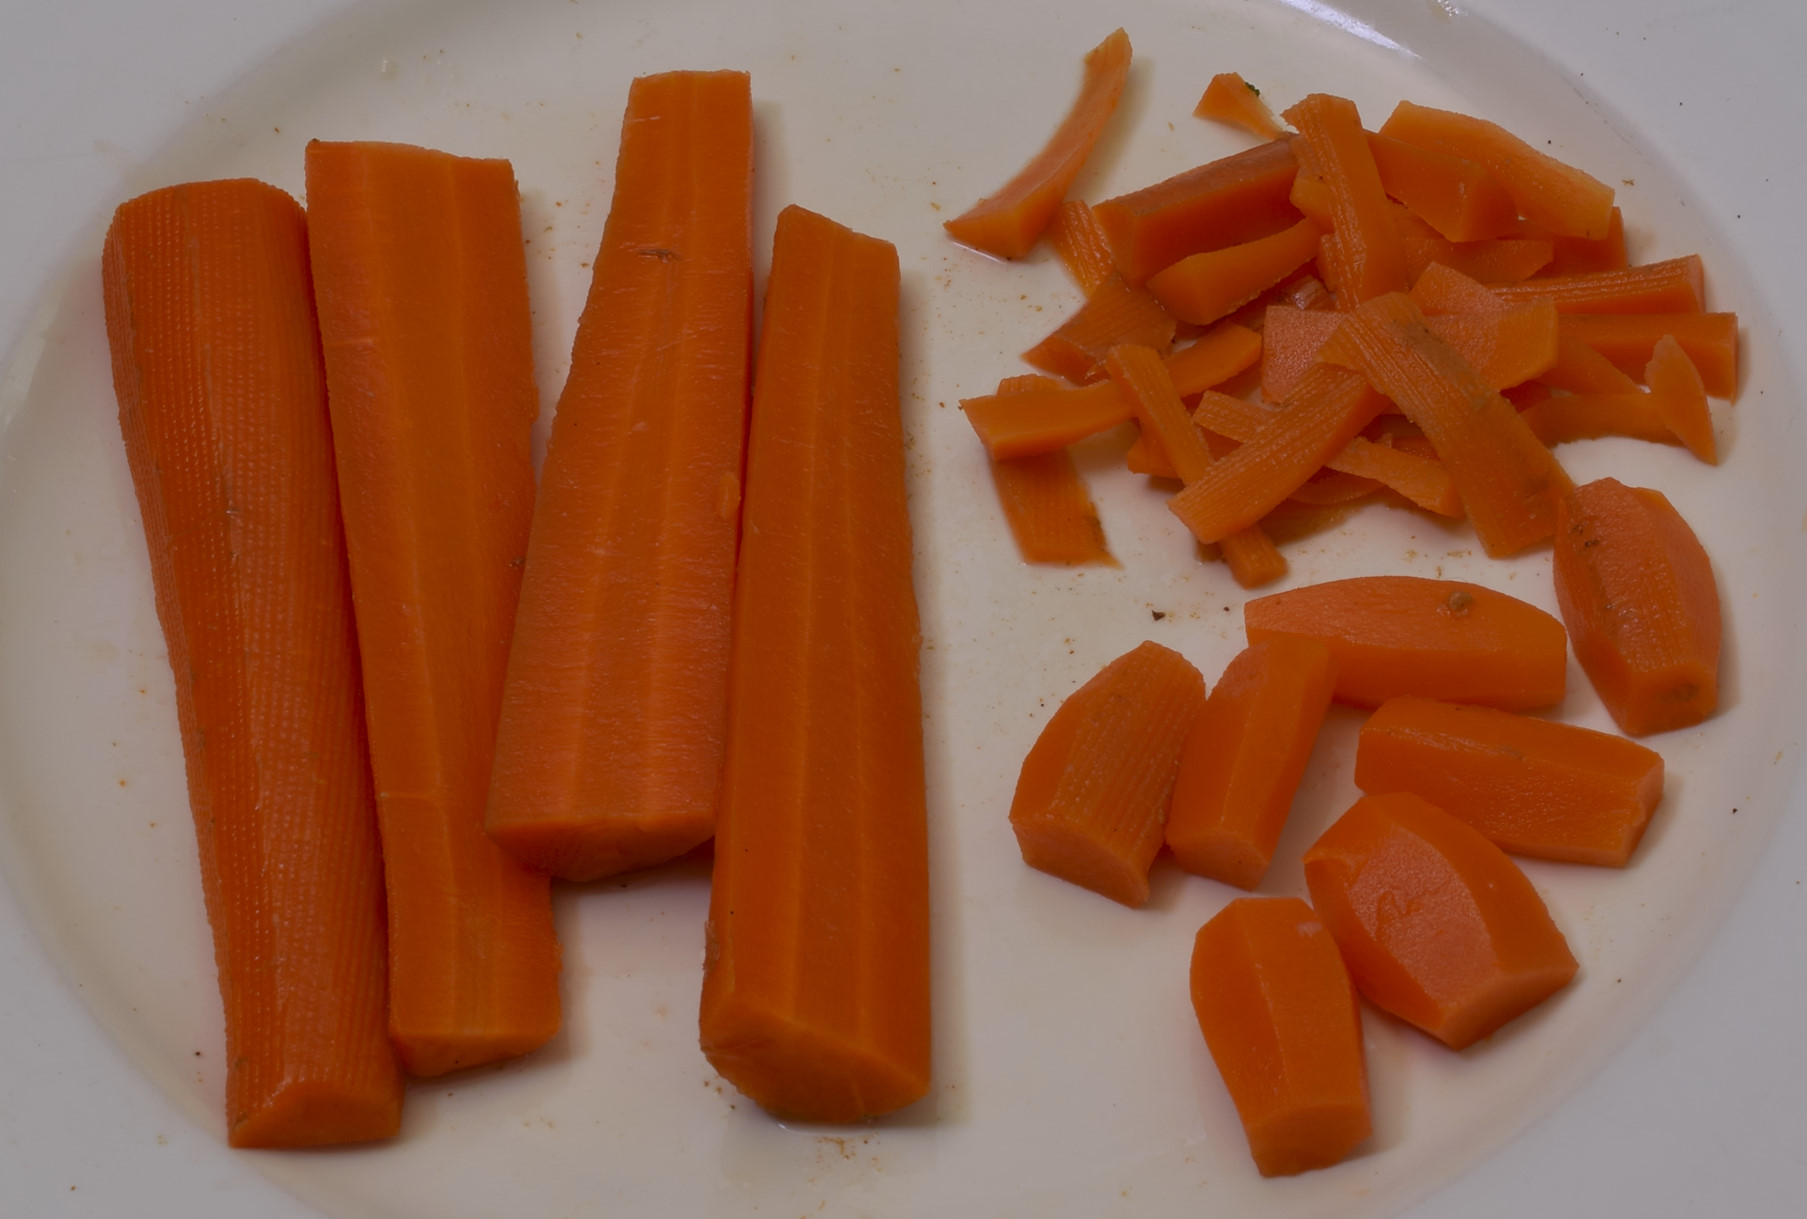
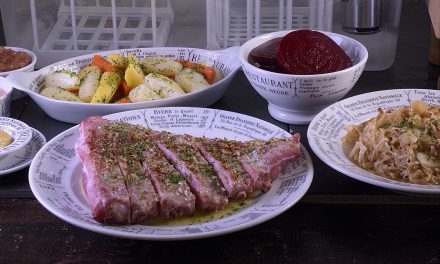
I cut carrots into those little shapes, that’s a hangover from back in the day. It’s a habit. They’re kind of a pain. If you look closely, even though I rushed through these, the trick is to cut one smooth stroke from end to end, as opposed to trying to “chip” the sculpture into shape. A little outdated, but a tribute to my mentors, cruel taskmasters though they were.
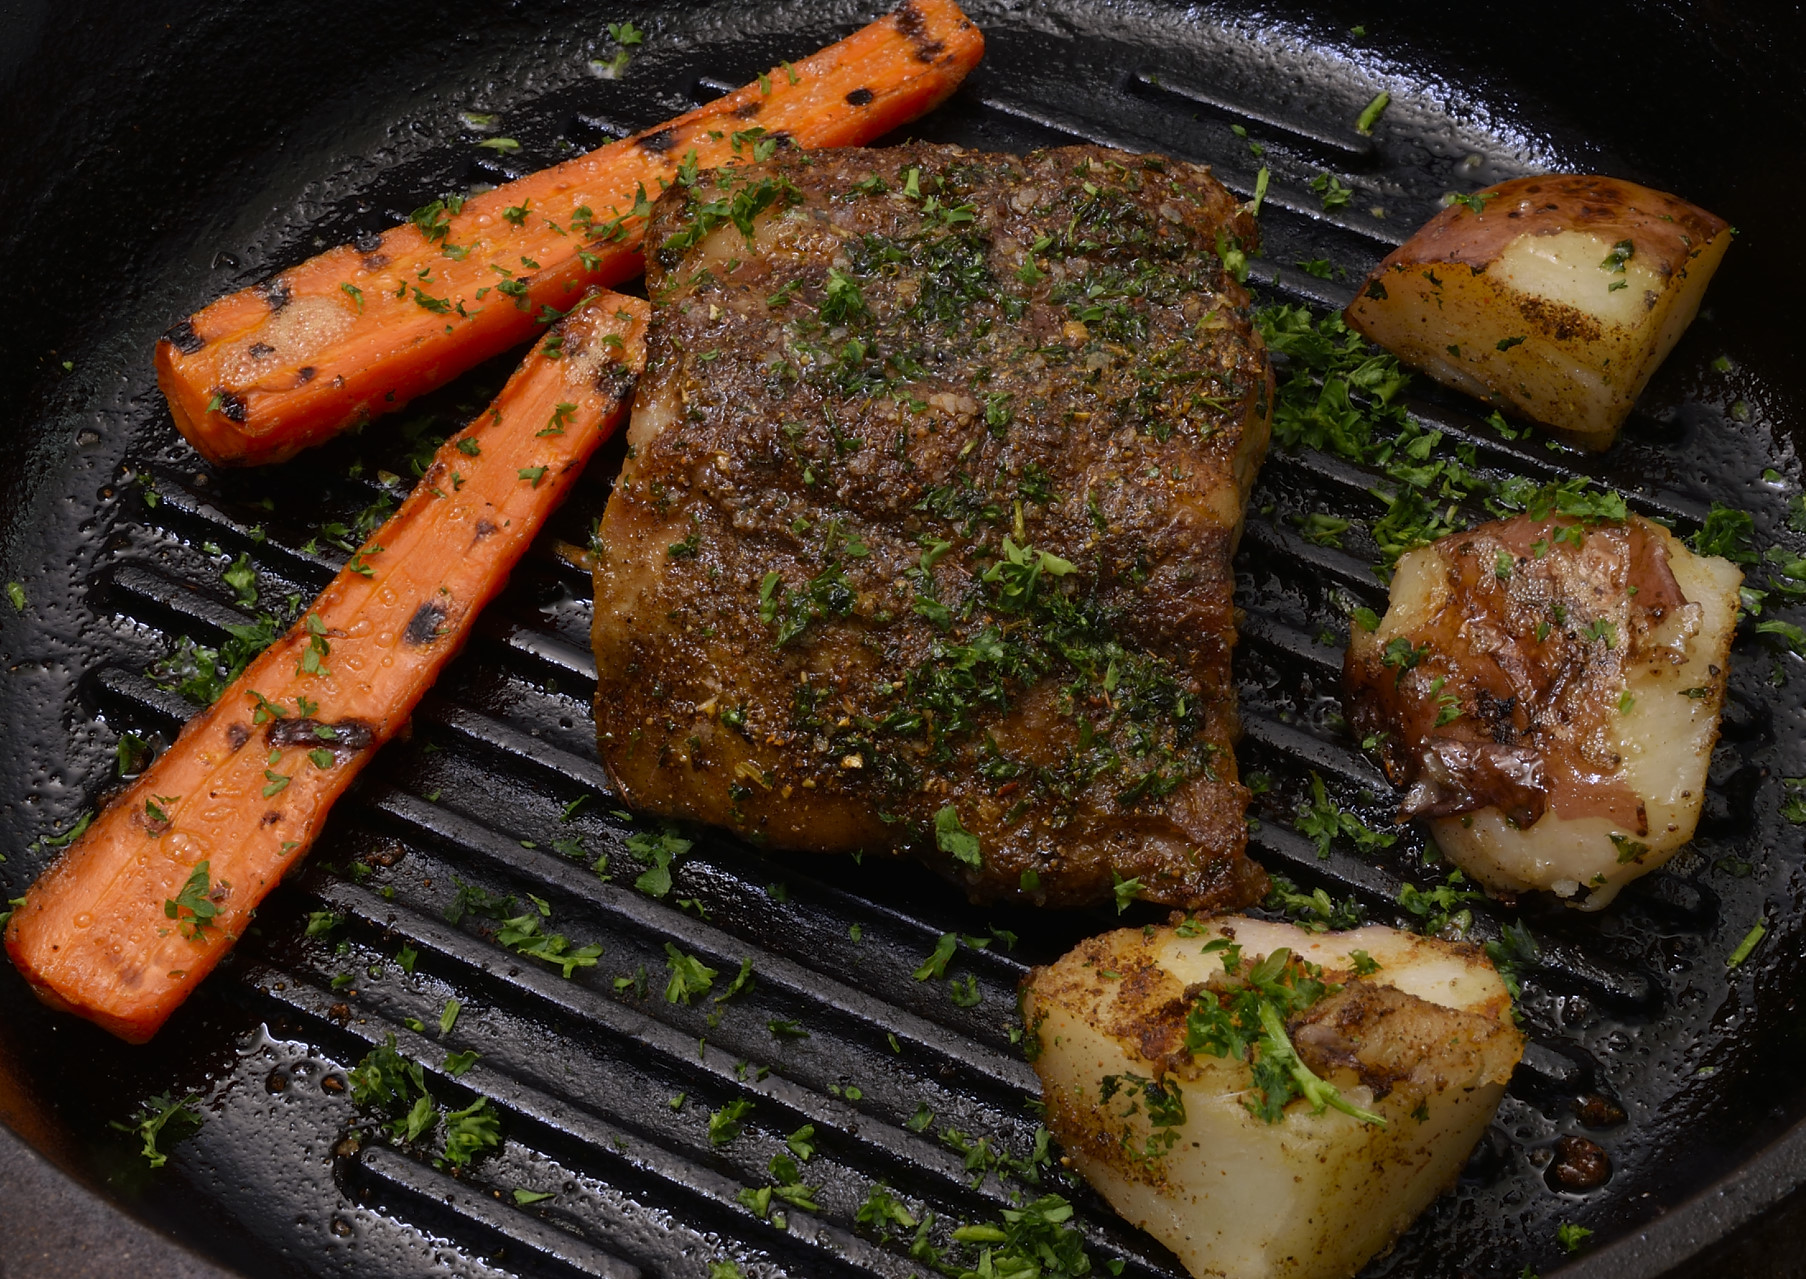
Just cut the carrots in half lengthwise. By now the pork has been in the oven for half an hour or thereabouts. Add the carrots and the potatoes to the pan that the pork is in and continue roasting for another half hour.
The road home.
In Part 2 I explained how to make that basic creamy butter sauce. I’ve been keeping it around. It can be refrigerated and heated up the next day, but it will need to be blended again. You can keep it at 140 F/60 C like restaurants do, if you plan on using it within 24 hours. Many restaurants have warmers, which are great tools that get abused a lot.
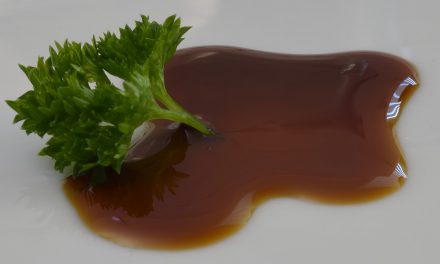
I dreamed up this Tamarind-e-cue sauce that I used, but whatever you have in the pantry is fine, really. Here’s the formula:
Water, 1 cup.
Tamarind powder, 0.25 cup.
Garlic powder, 1 Tablespoon.
Sugar, 4 Tablespoon.
Lemon juice, 2 oz.
Hondashi Miso powder, 1 Tablespoon.
Tomato sauce, 15 oz can.
Anchovy, 1 can.
Allspice, 1 Tablespoon.
Clove, 1 teaspoon.
Ginger, 1 Tablespoon.
Procedure:
Tamarind powder is interesting stuff, and also comes as a paste. Tamarind is the pulp from the seed pod of a common tree, and is what distinguishes steak sauce from ketchup. There is tamarind in Worcestershire and cola, too. Bring the water to a boil, add the tamarind powder, stir and return to simmer. It will get thick, and a few lumps may remain. Allow to cool to 70 F/21 C, add the remaining ingredients and blend well. Keep refrigerated.
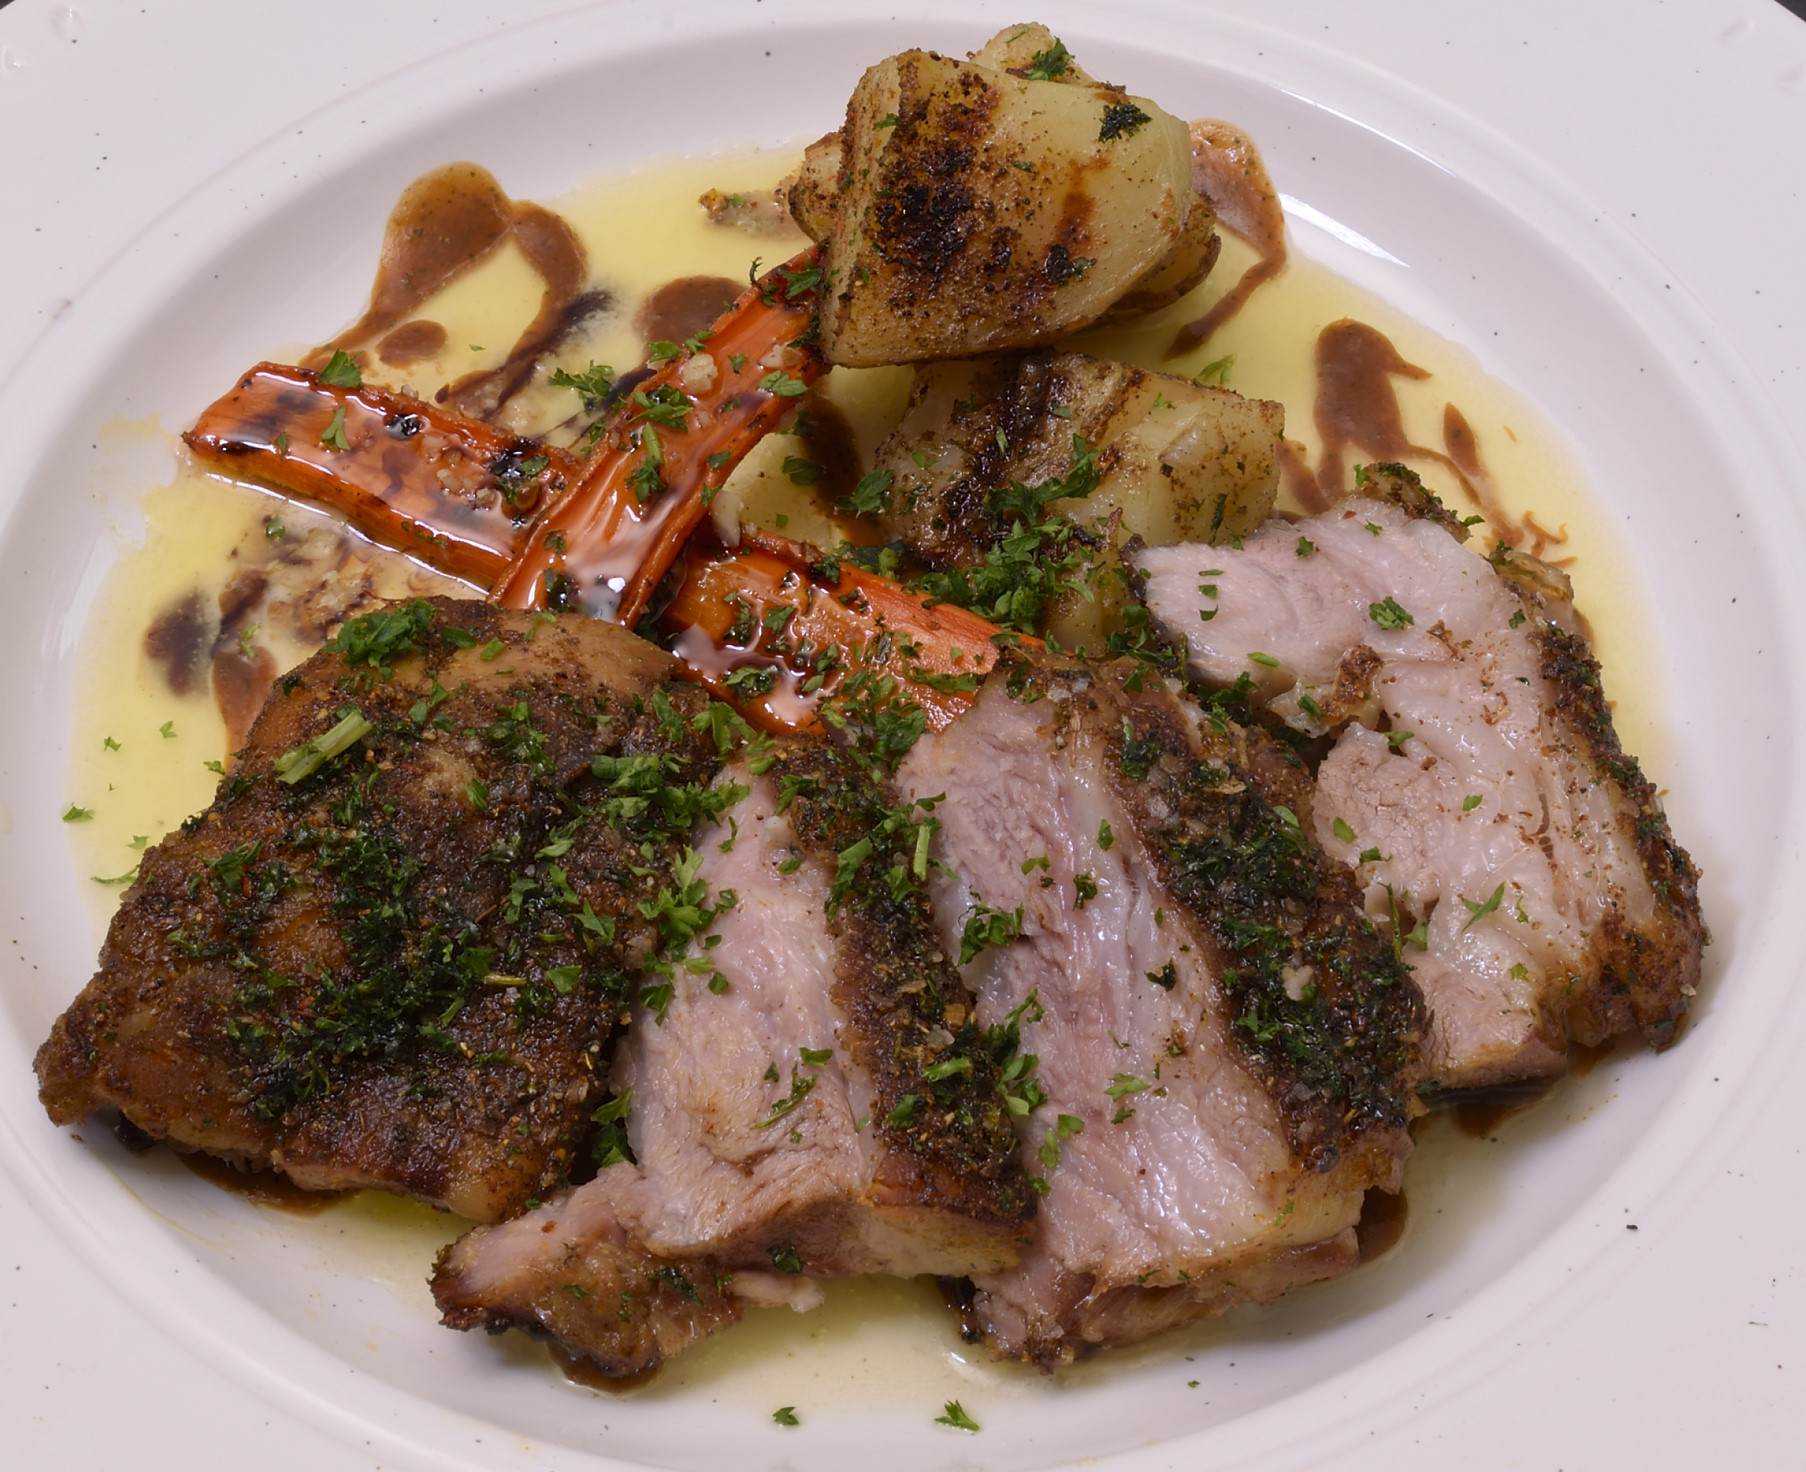
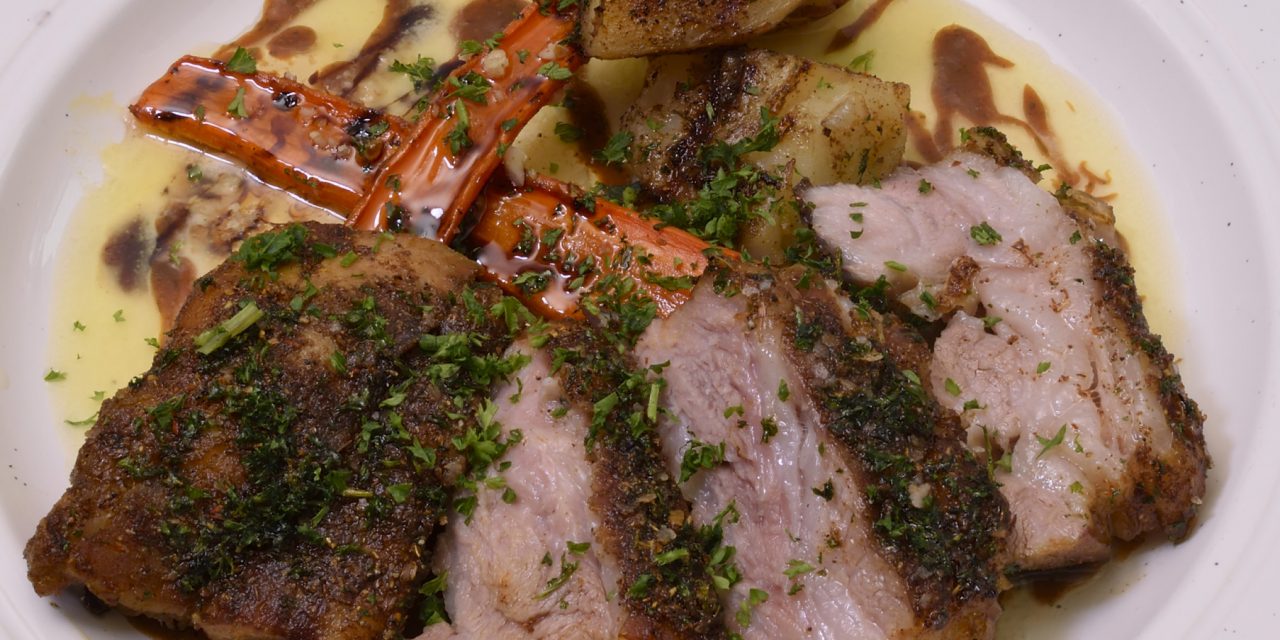
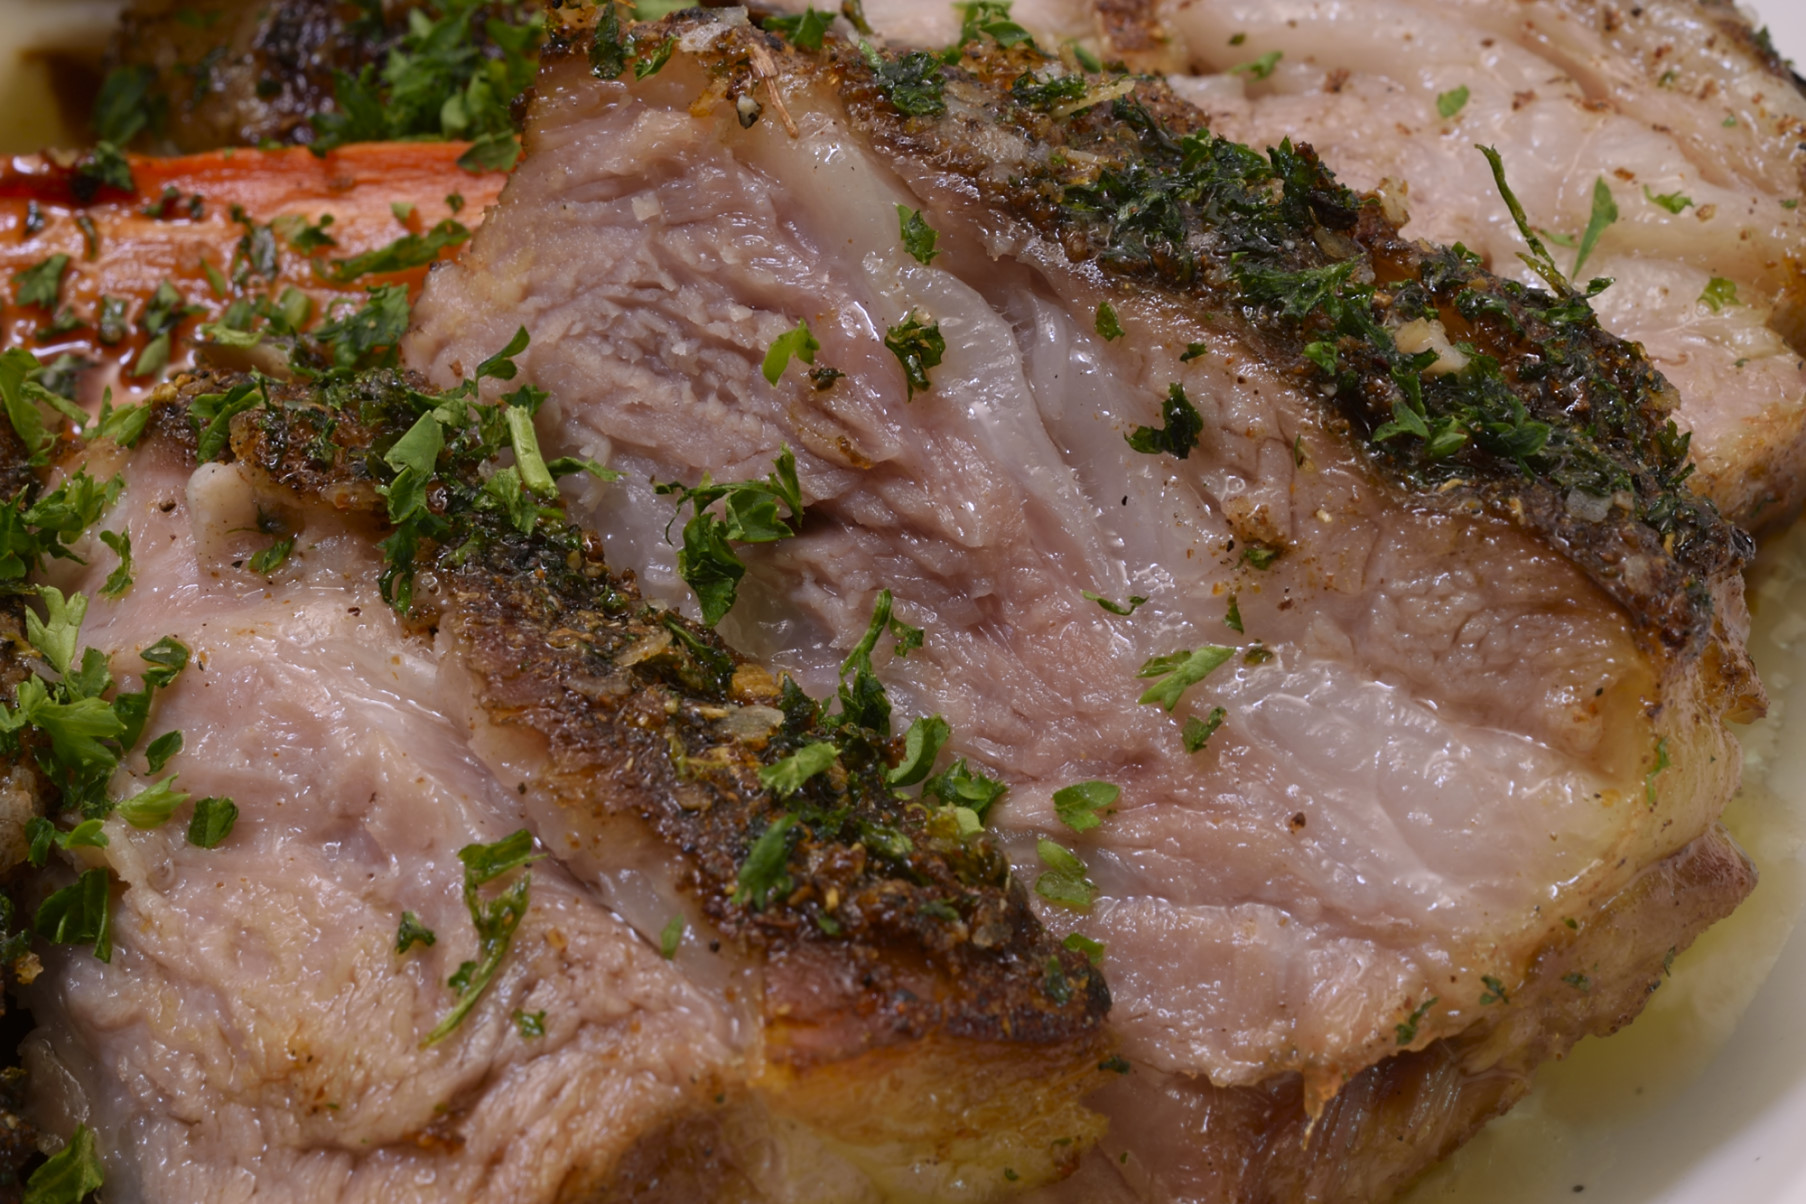
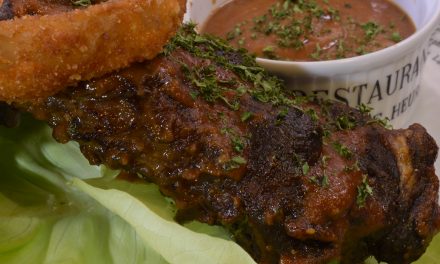
Slice on the bias and shingle from right to left. The top piece, the last piece, should be somewhere near the 7 o’clock position on the plate so the diner can just take a stab at it with his fork.
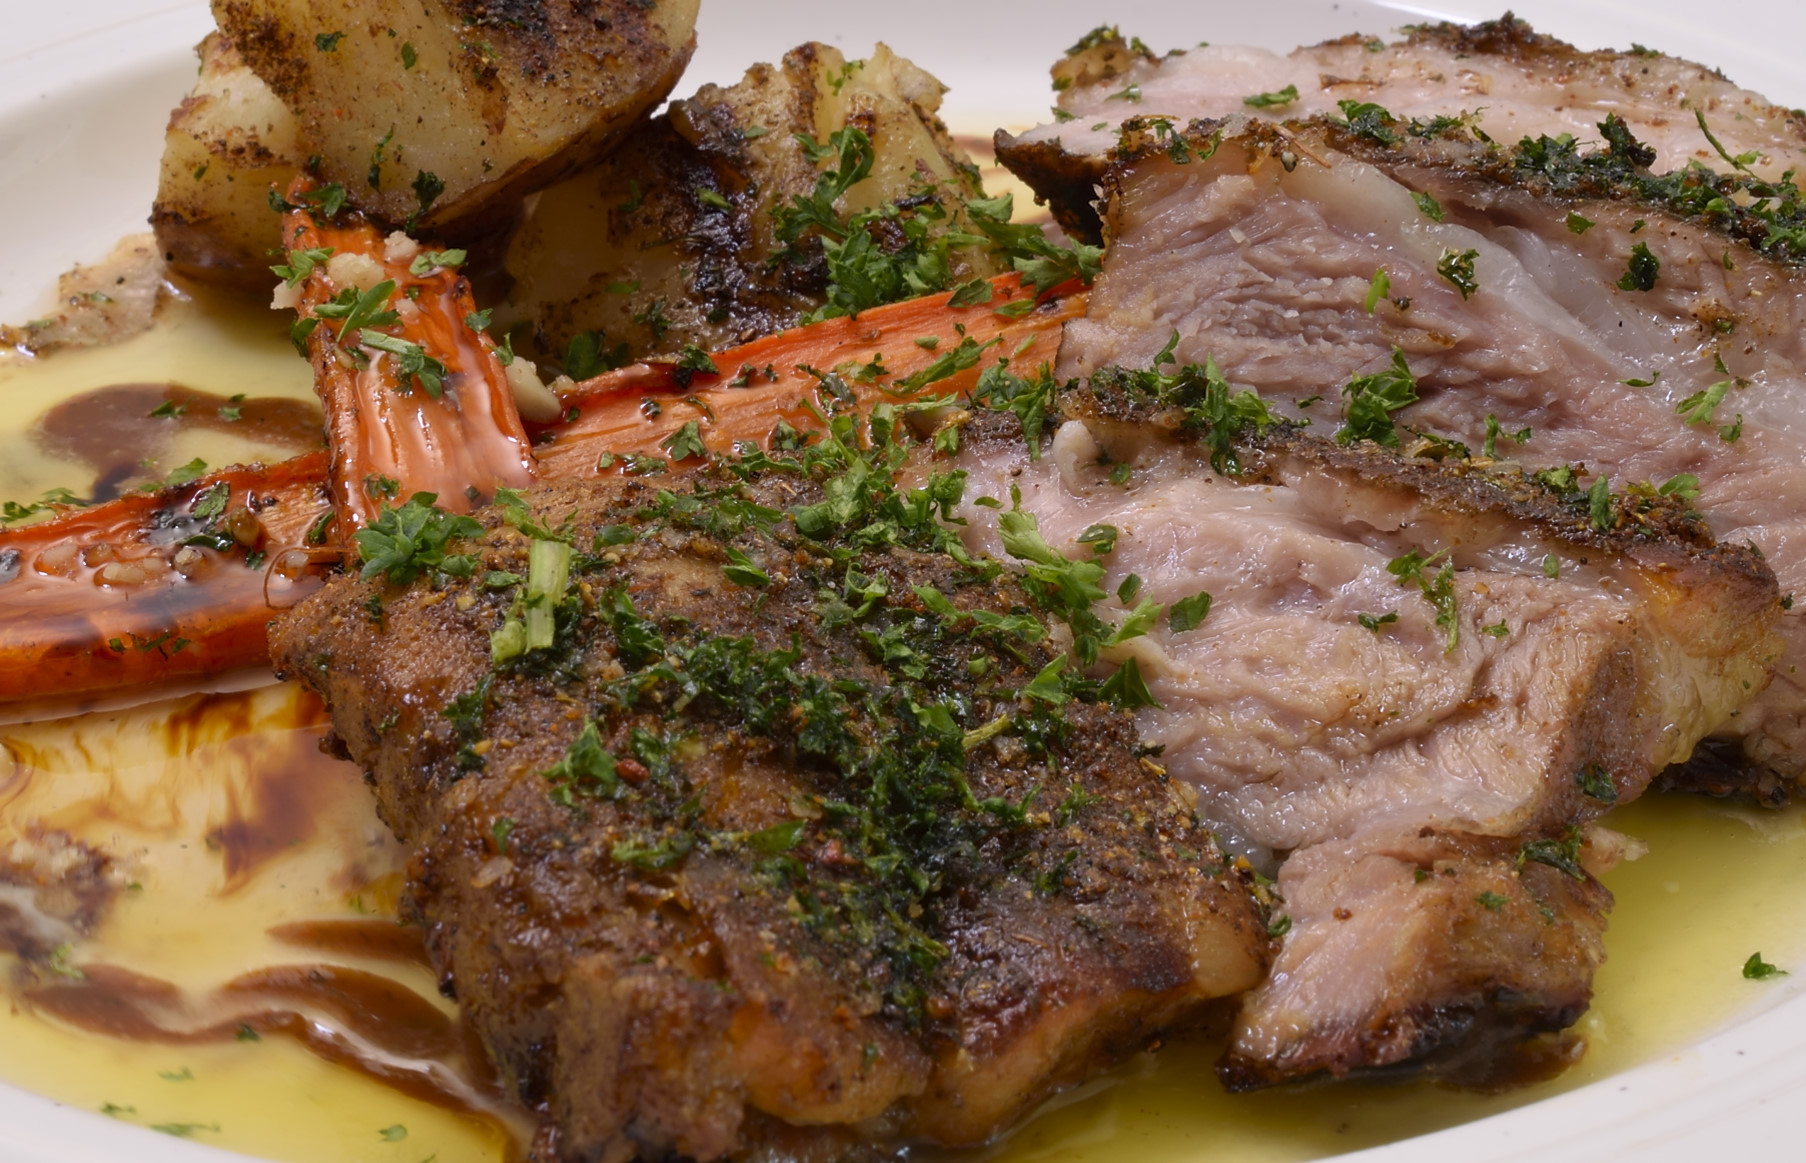
Drizzle a little honey on the carrots.
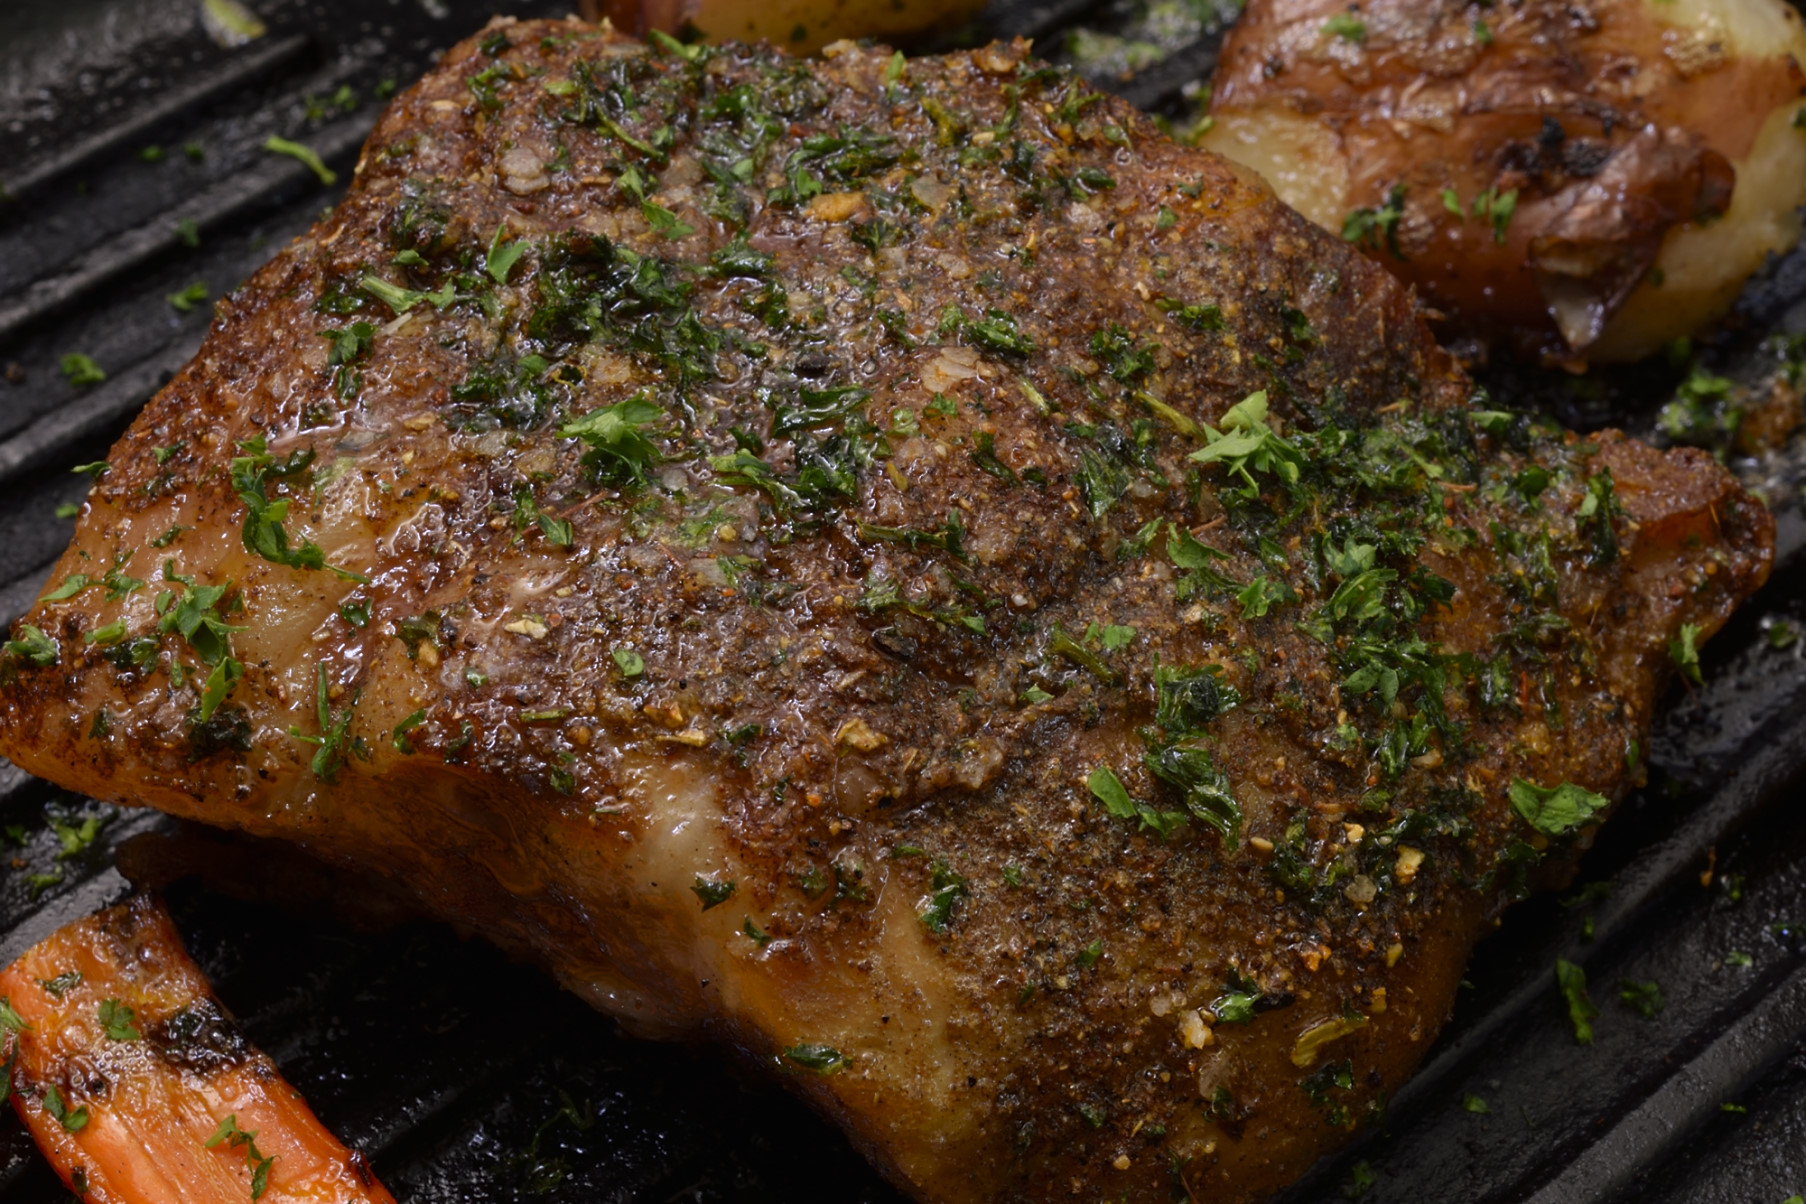
Money
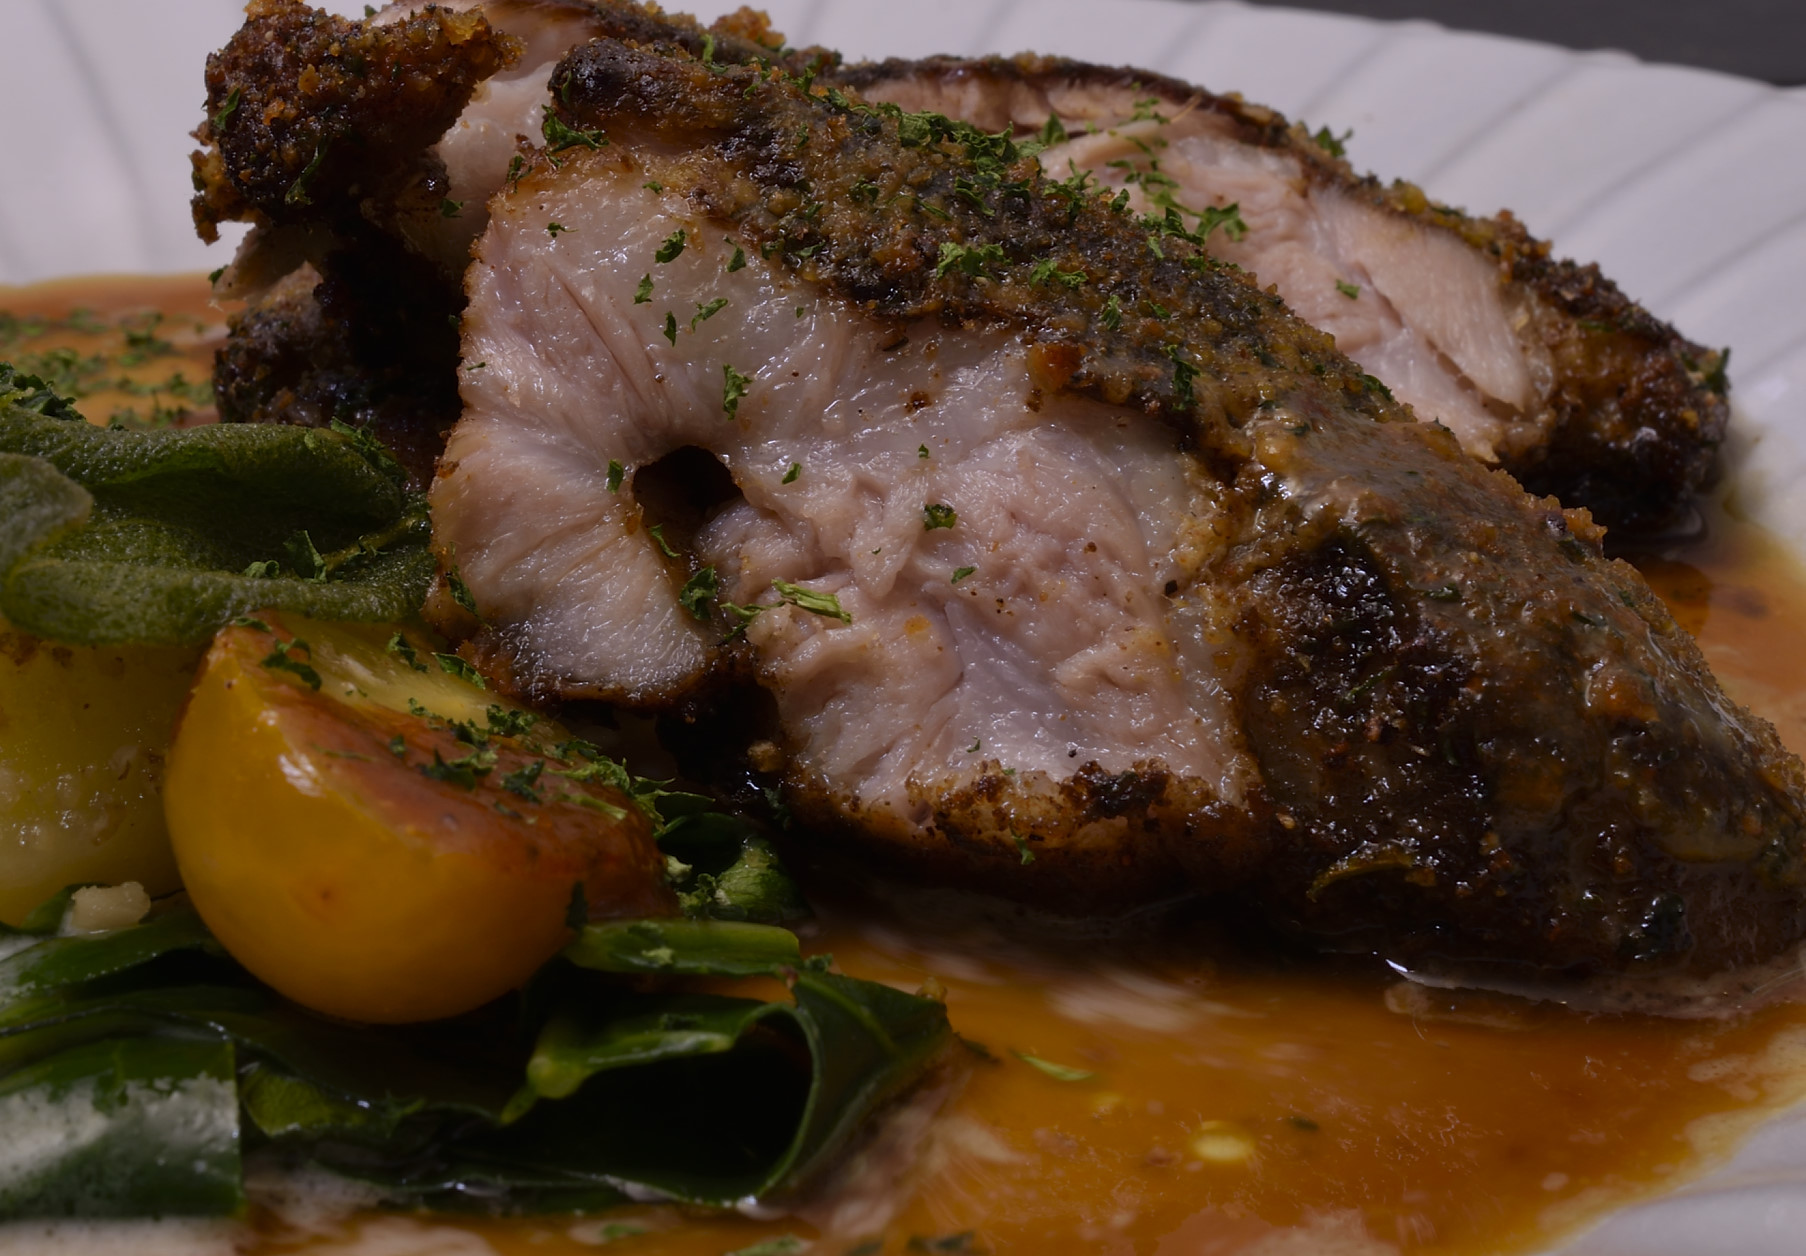
In Part 1, we prepared the lamb “Persillé”; brushed with mustard, sprinkled with garlic/parsleyed crumbs and then browned in the oven. This method works great for pork too, as is evidenced by the pics below.
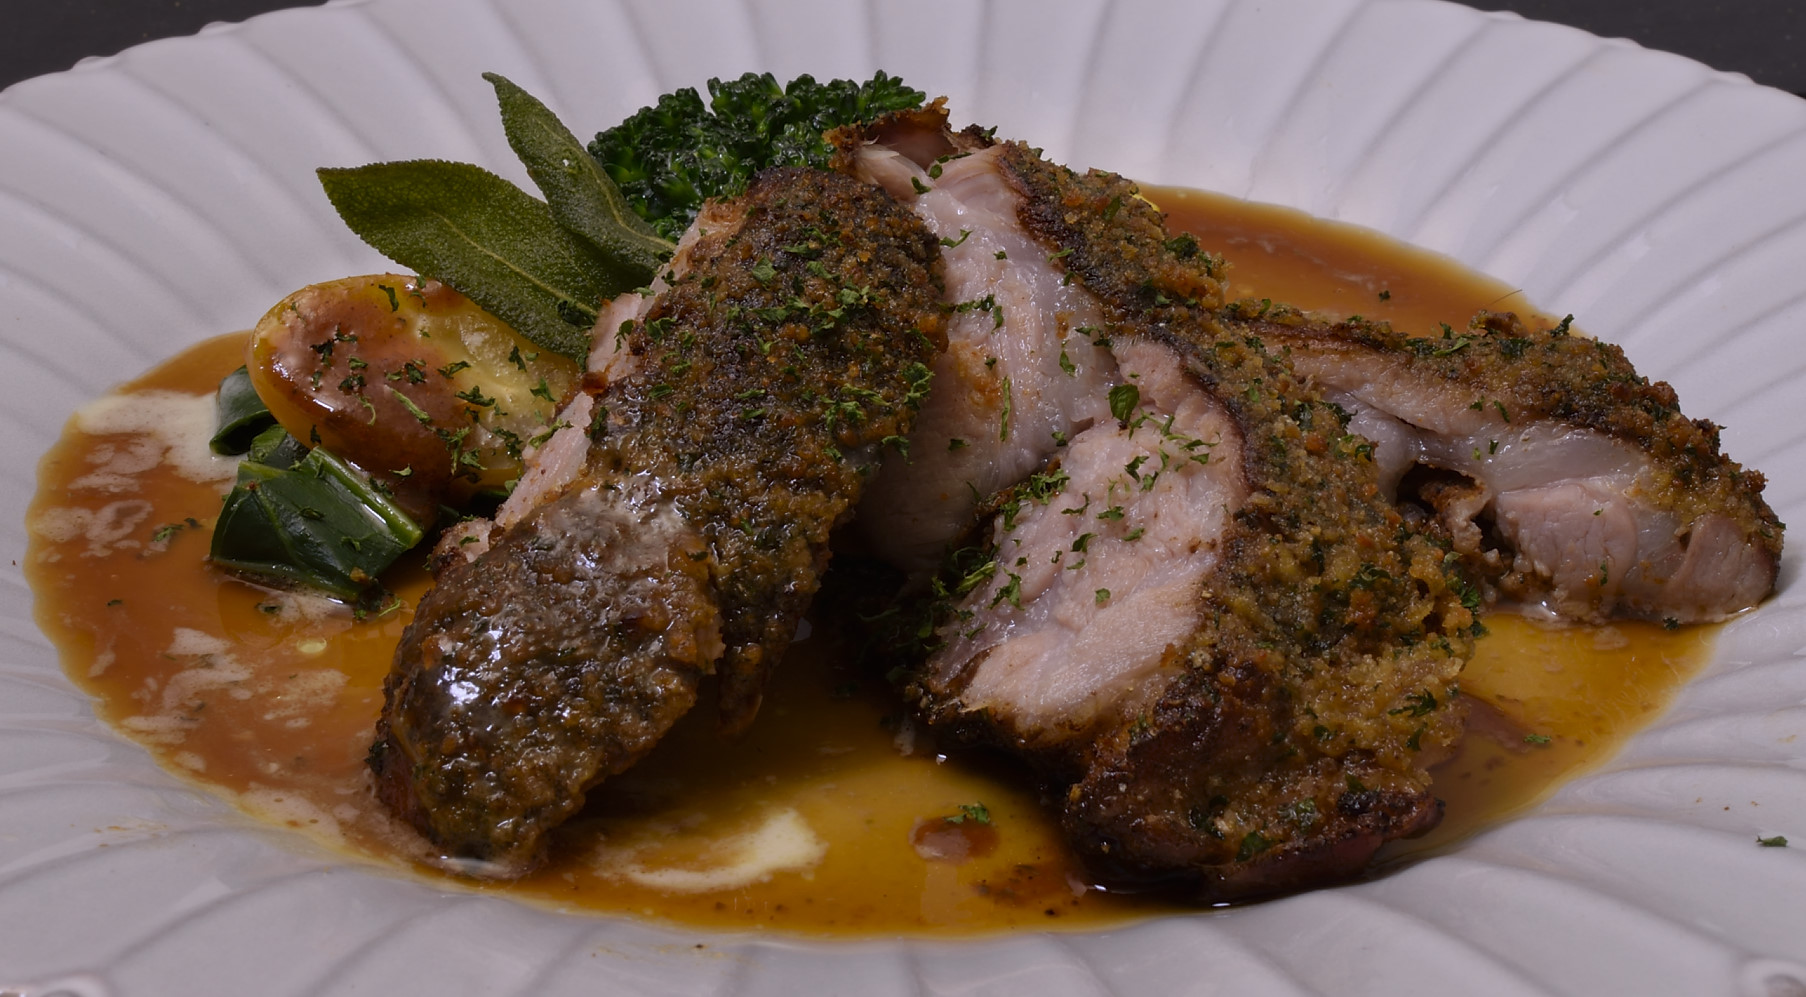
Here’s a detailed explanation from our sister site HERE.
Time on our hands
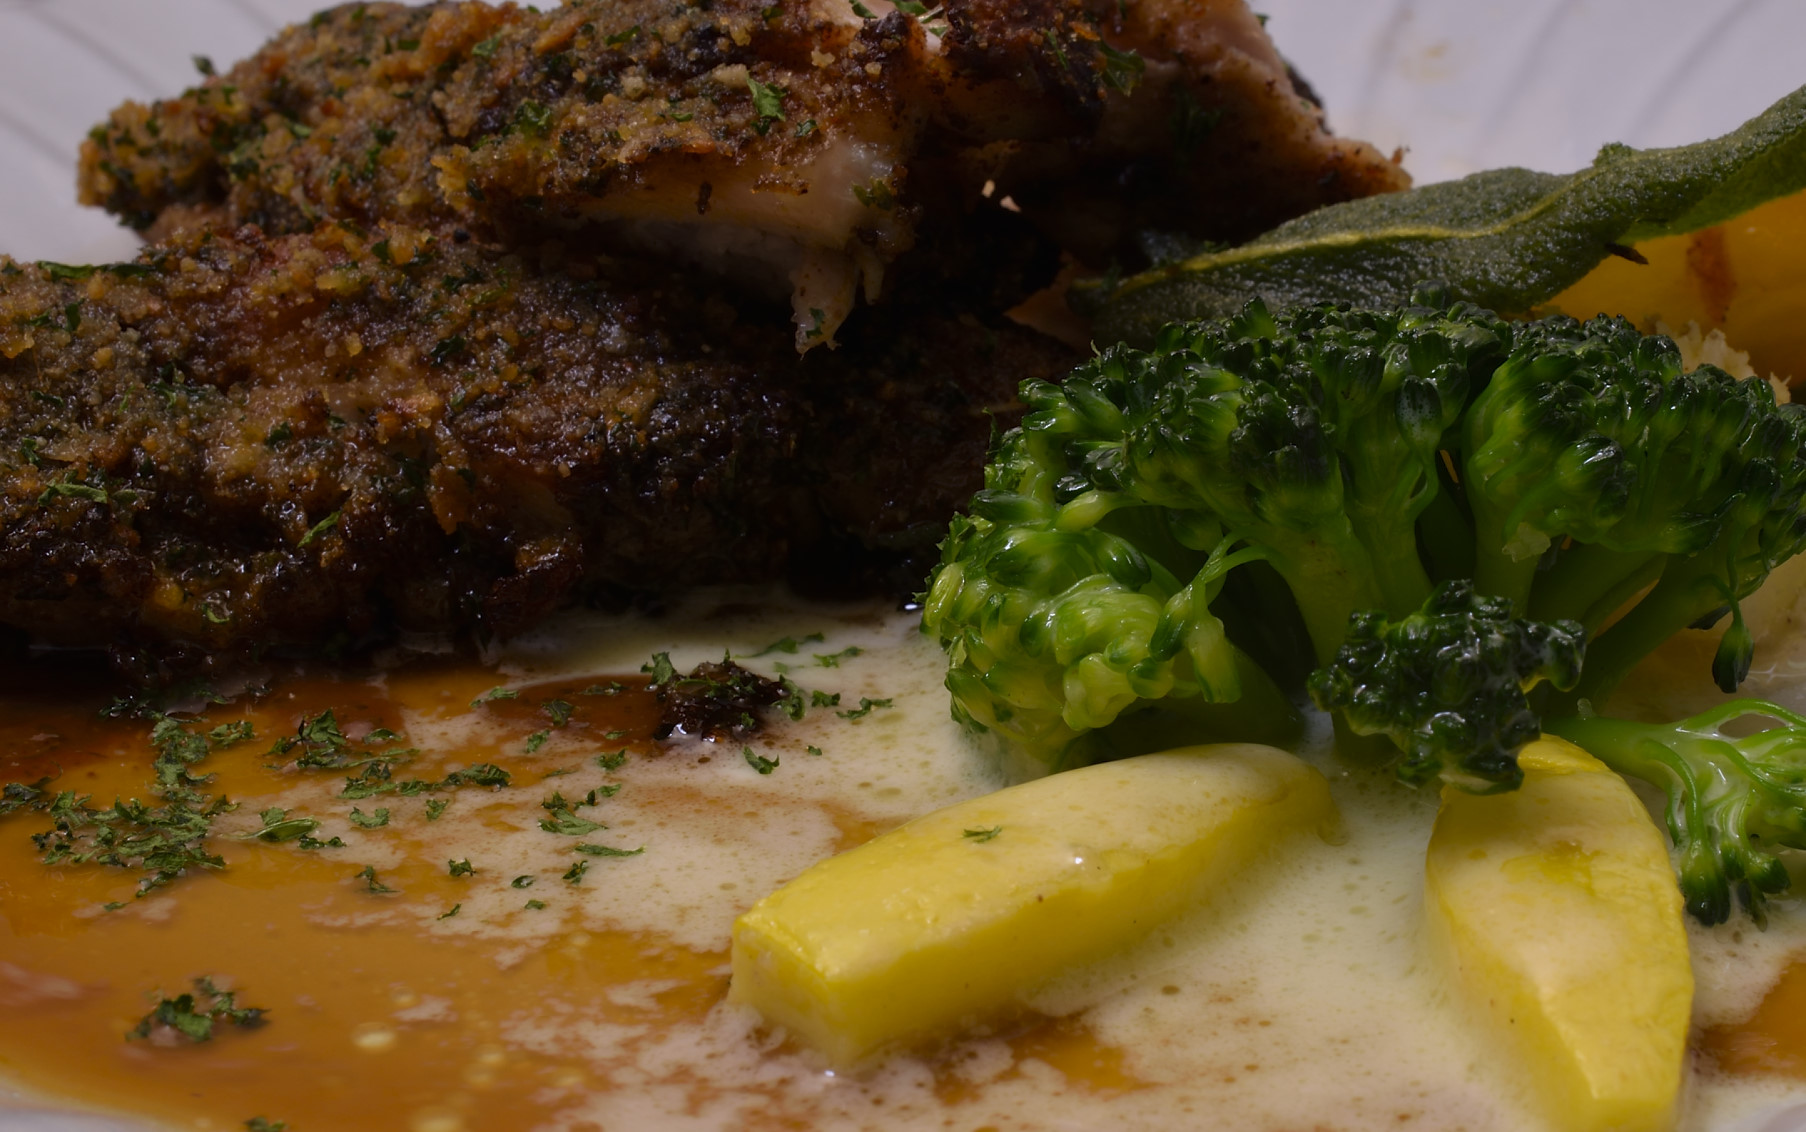
Broccoli is not sous vide friendly, but blanched in truly boiling water and shocked cold, it brings a lot to a plate. Yellow squash? I remove the pulp, not a big fan. Doesn’t even really need to be cooked, just tossed in hot oil.
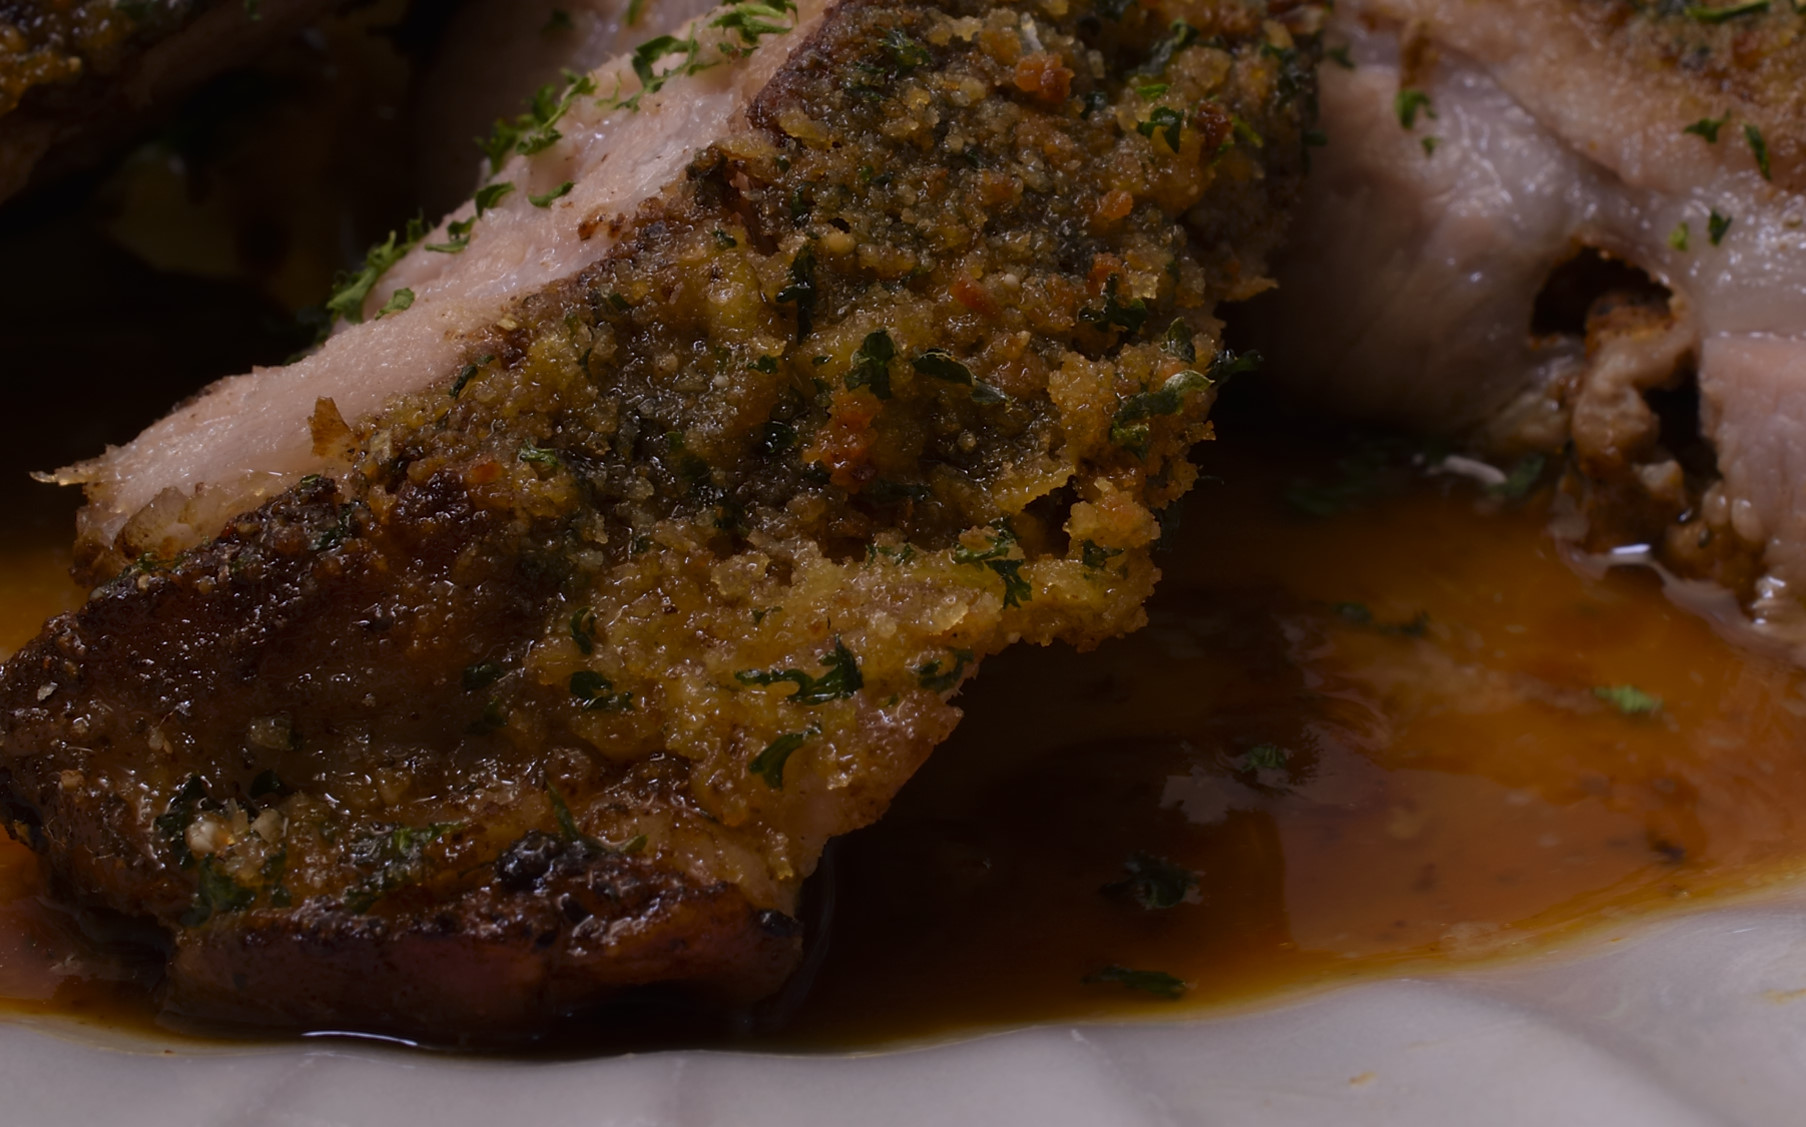
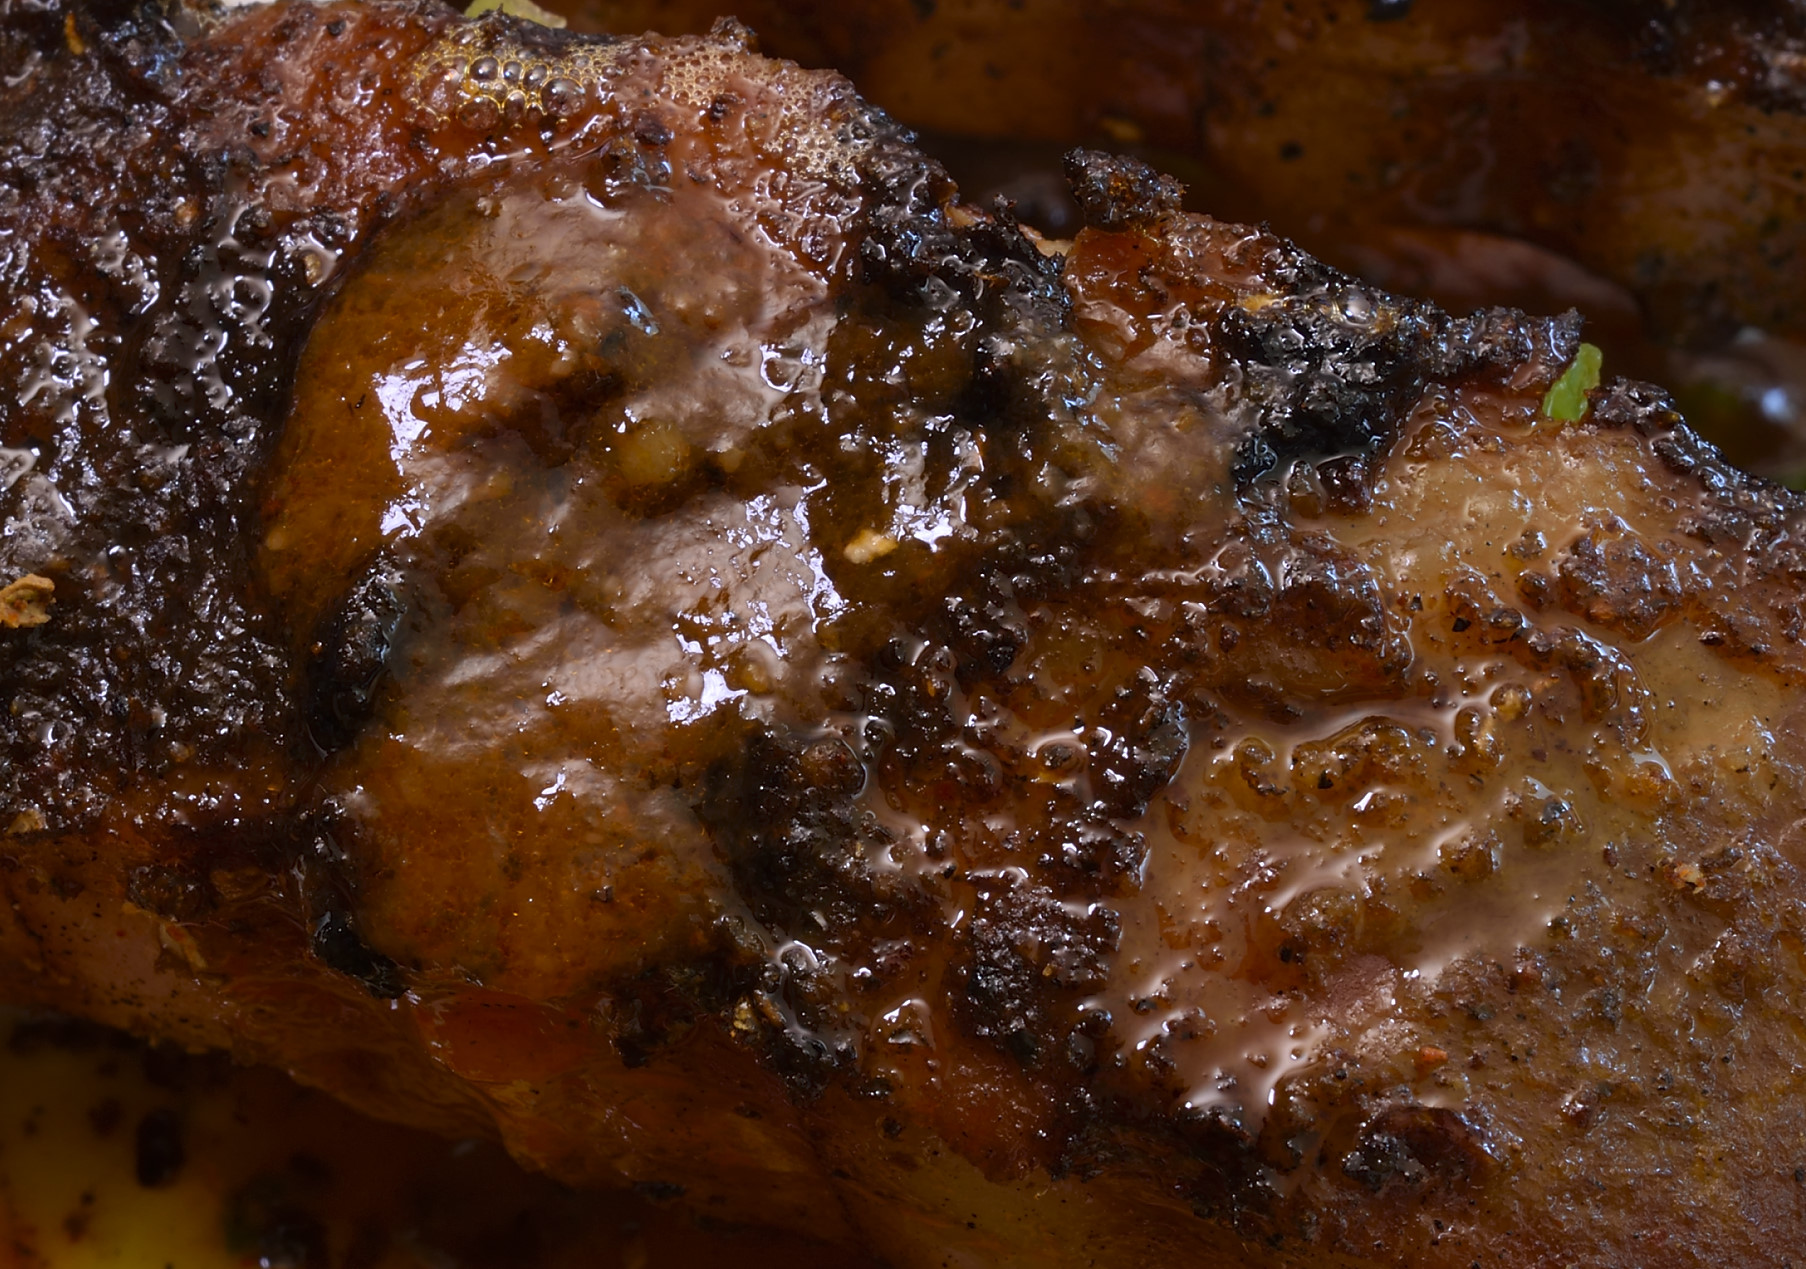
Crust
