Prologue
March 12, 2020
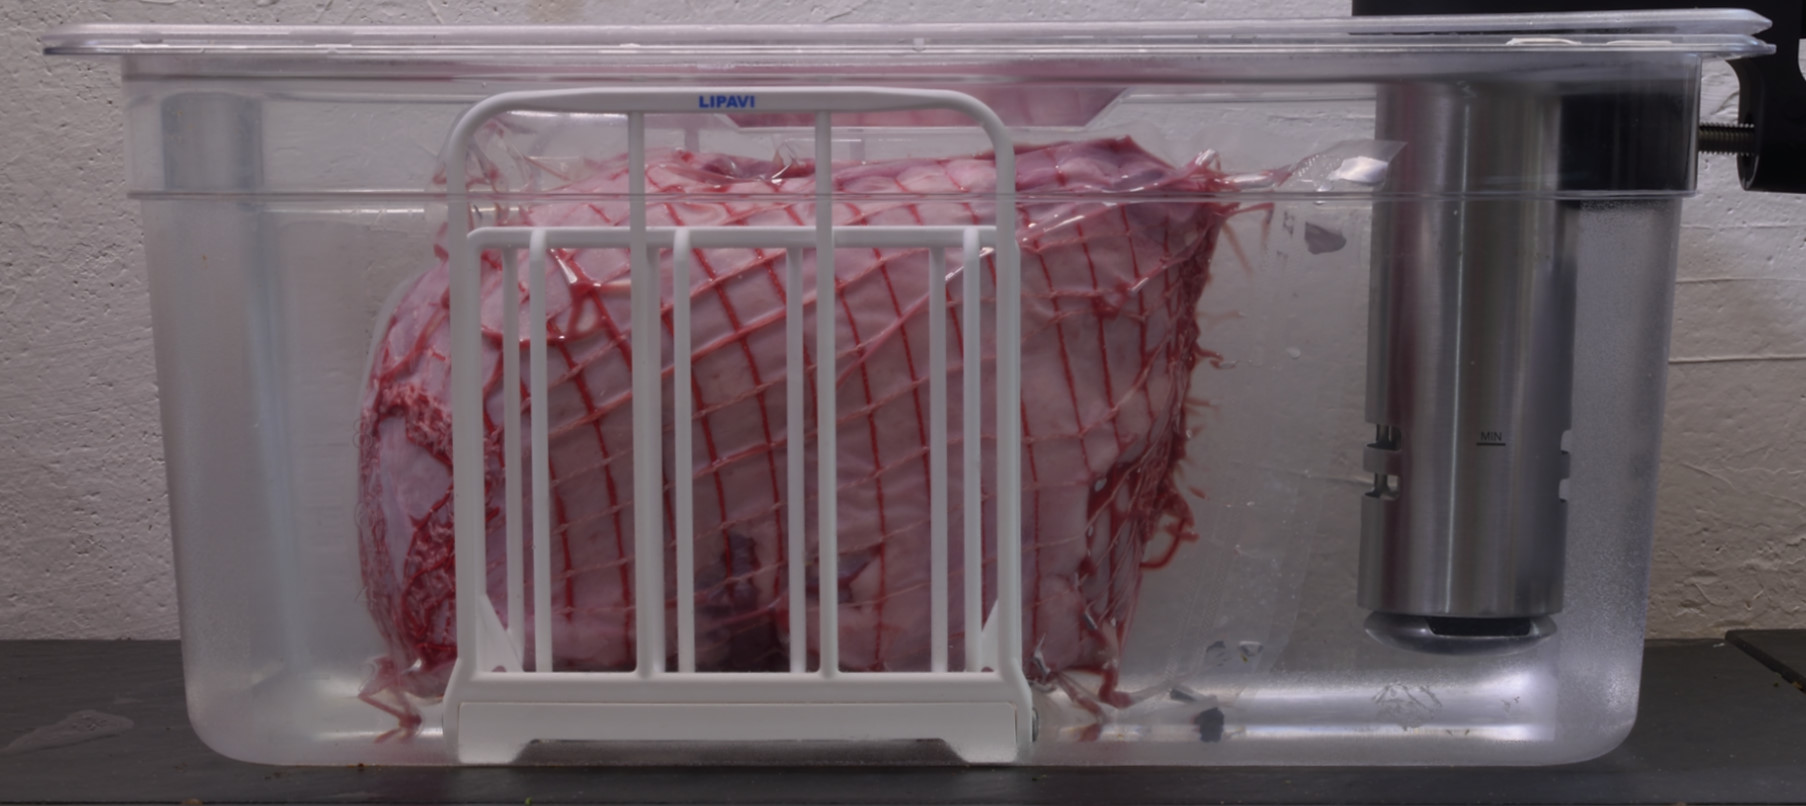
With the quarantine looming, we scrambled to make a few “last trips” to the local big box grocery store. The idea was and is to take advantage of sous vide’s capability to pasteurize/preserve proteins (and other foods too). This will limit the necessity to shop, or even to have shoppers deliver to the house. Here’s what we got:
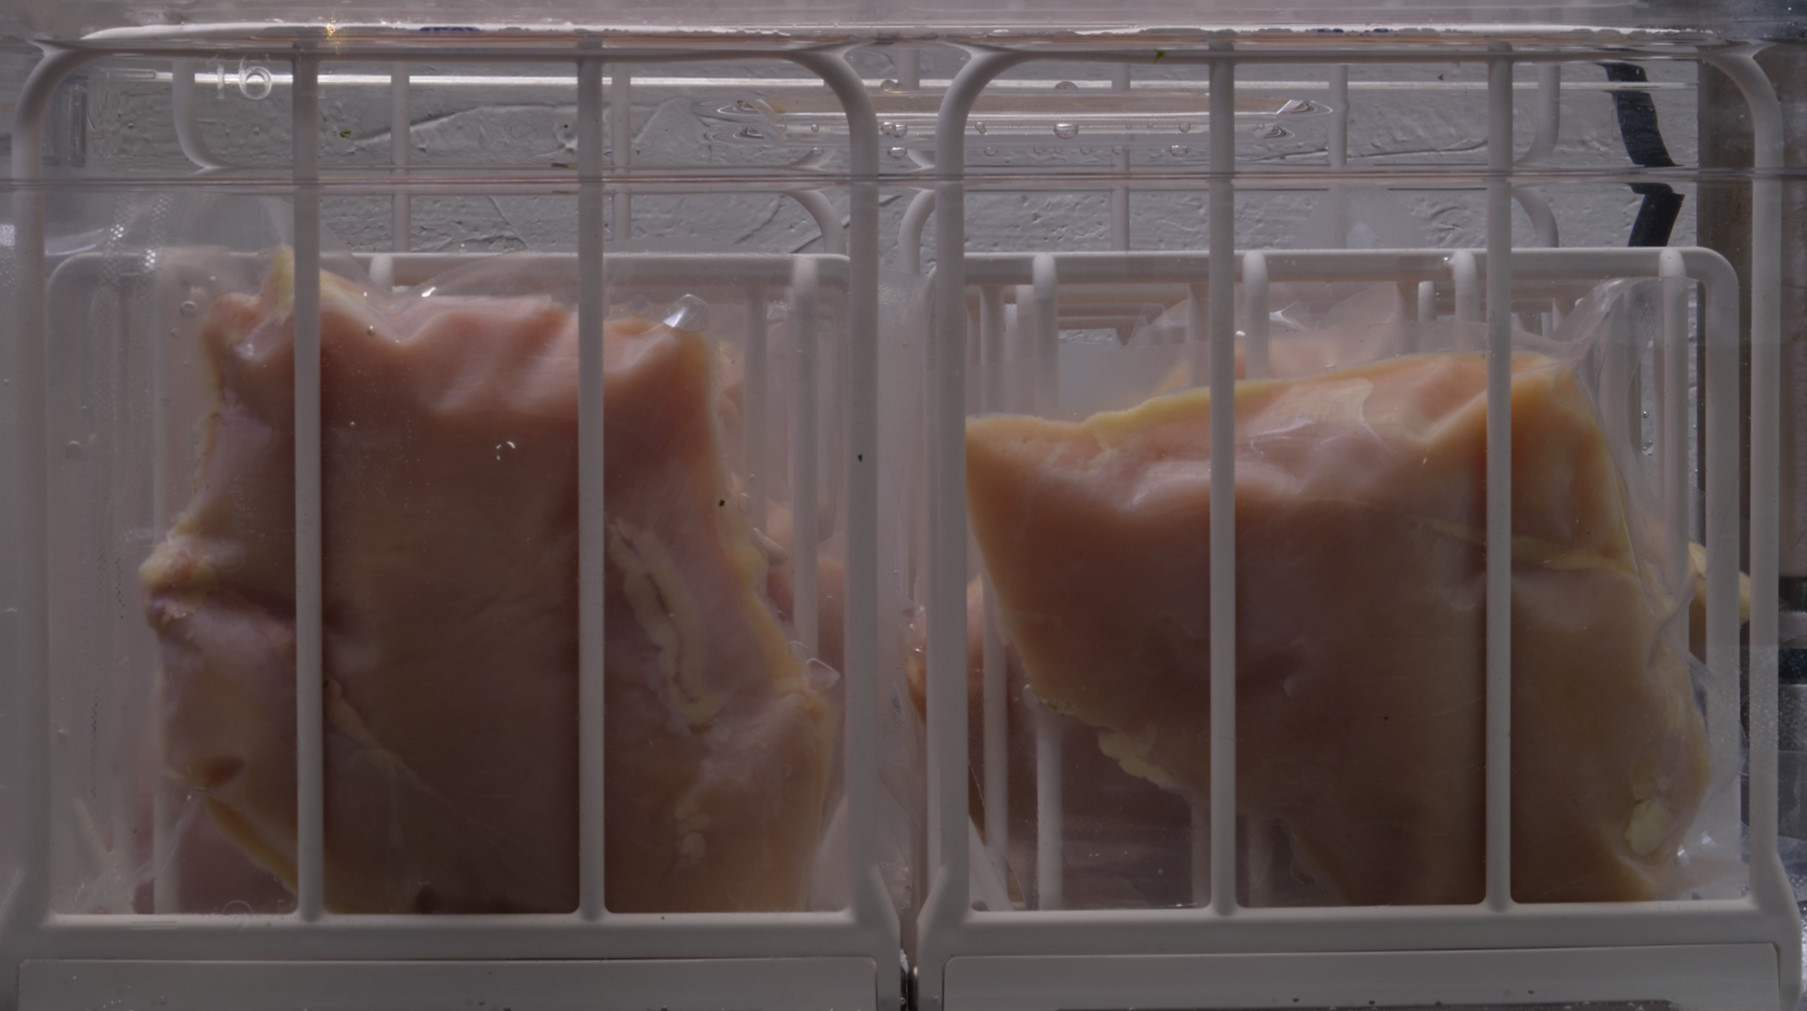
chicken breasts,
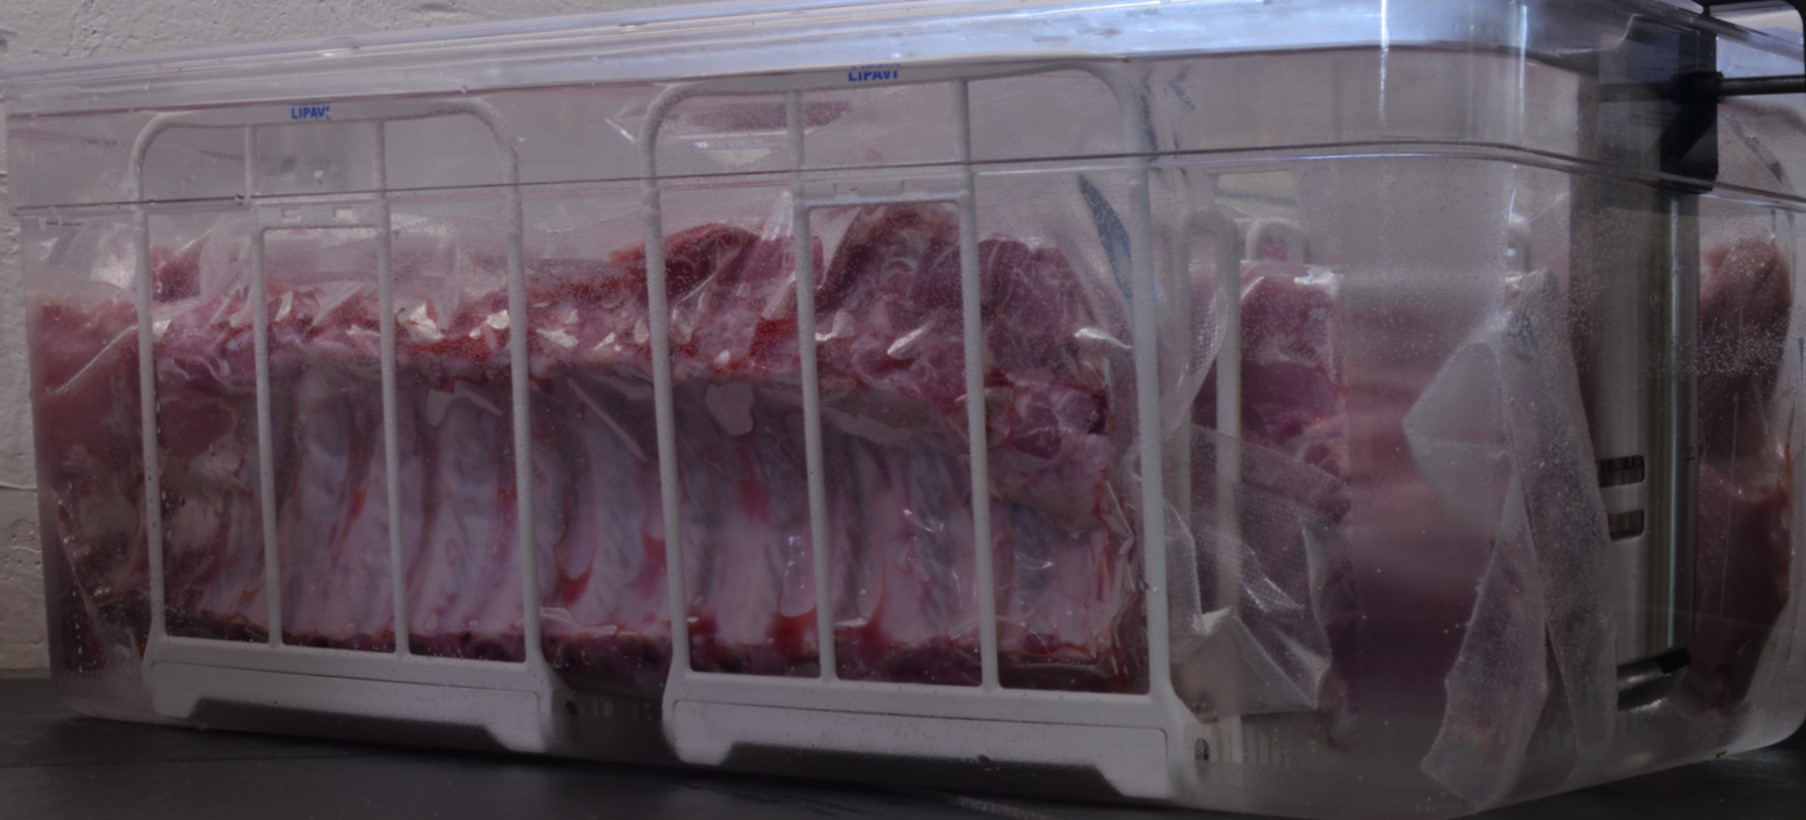
pork baby backs,
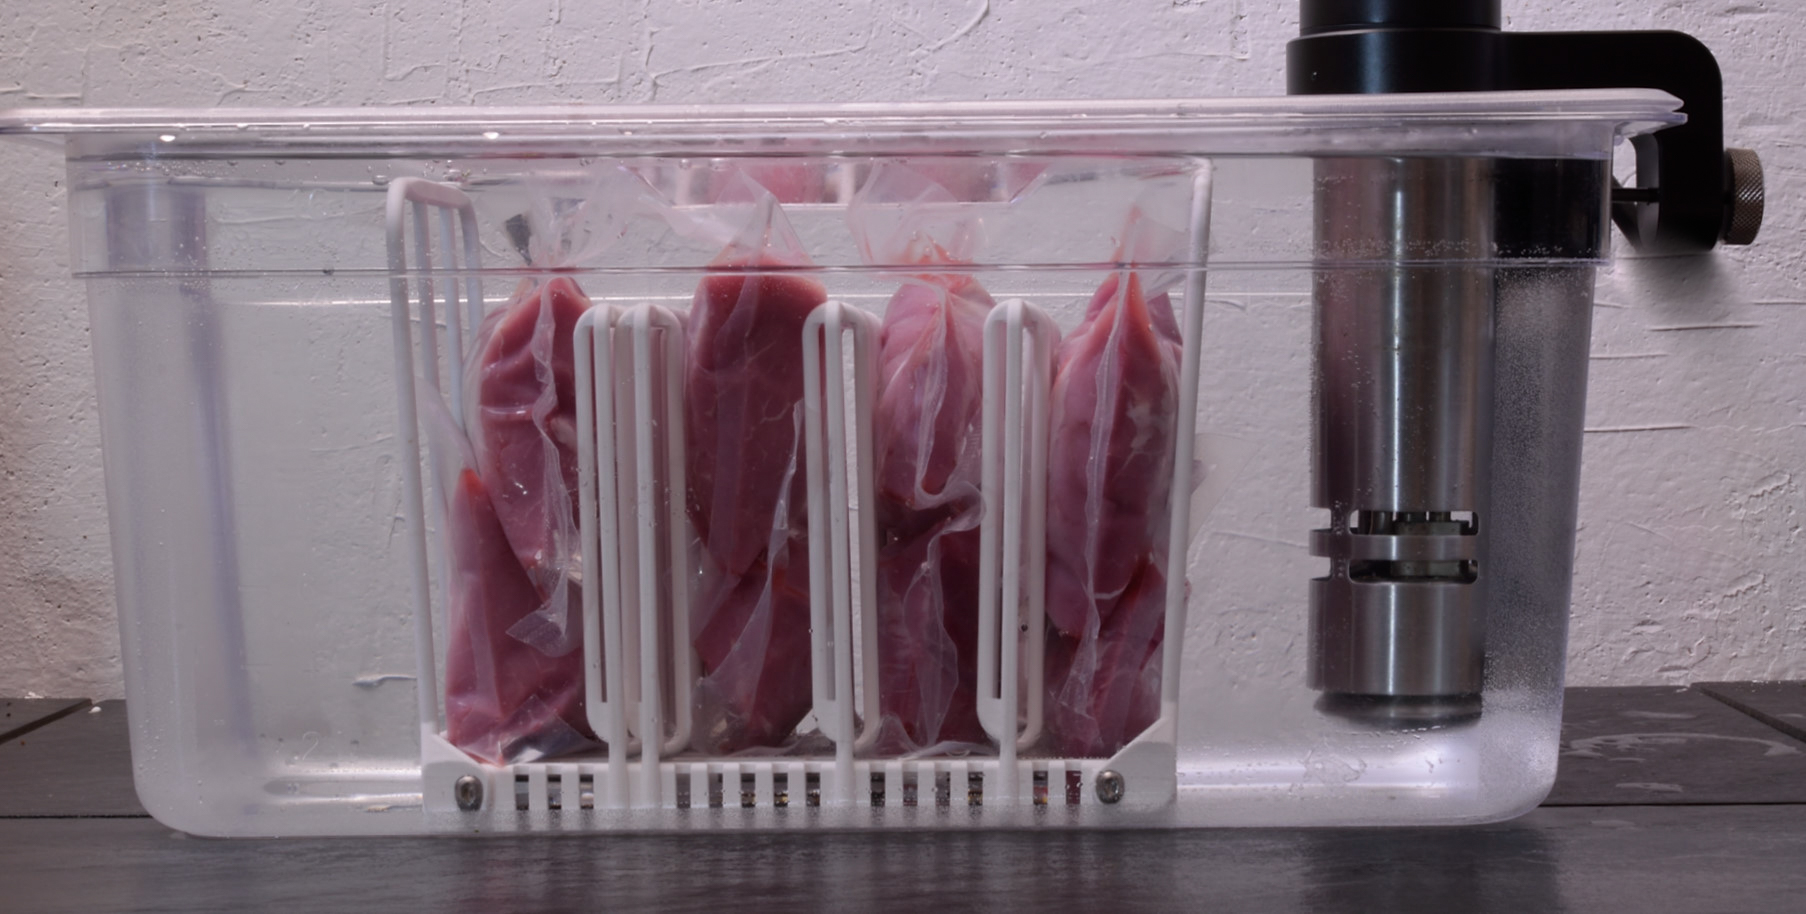
pork tenderloin,
Australian lamb legs,
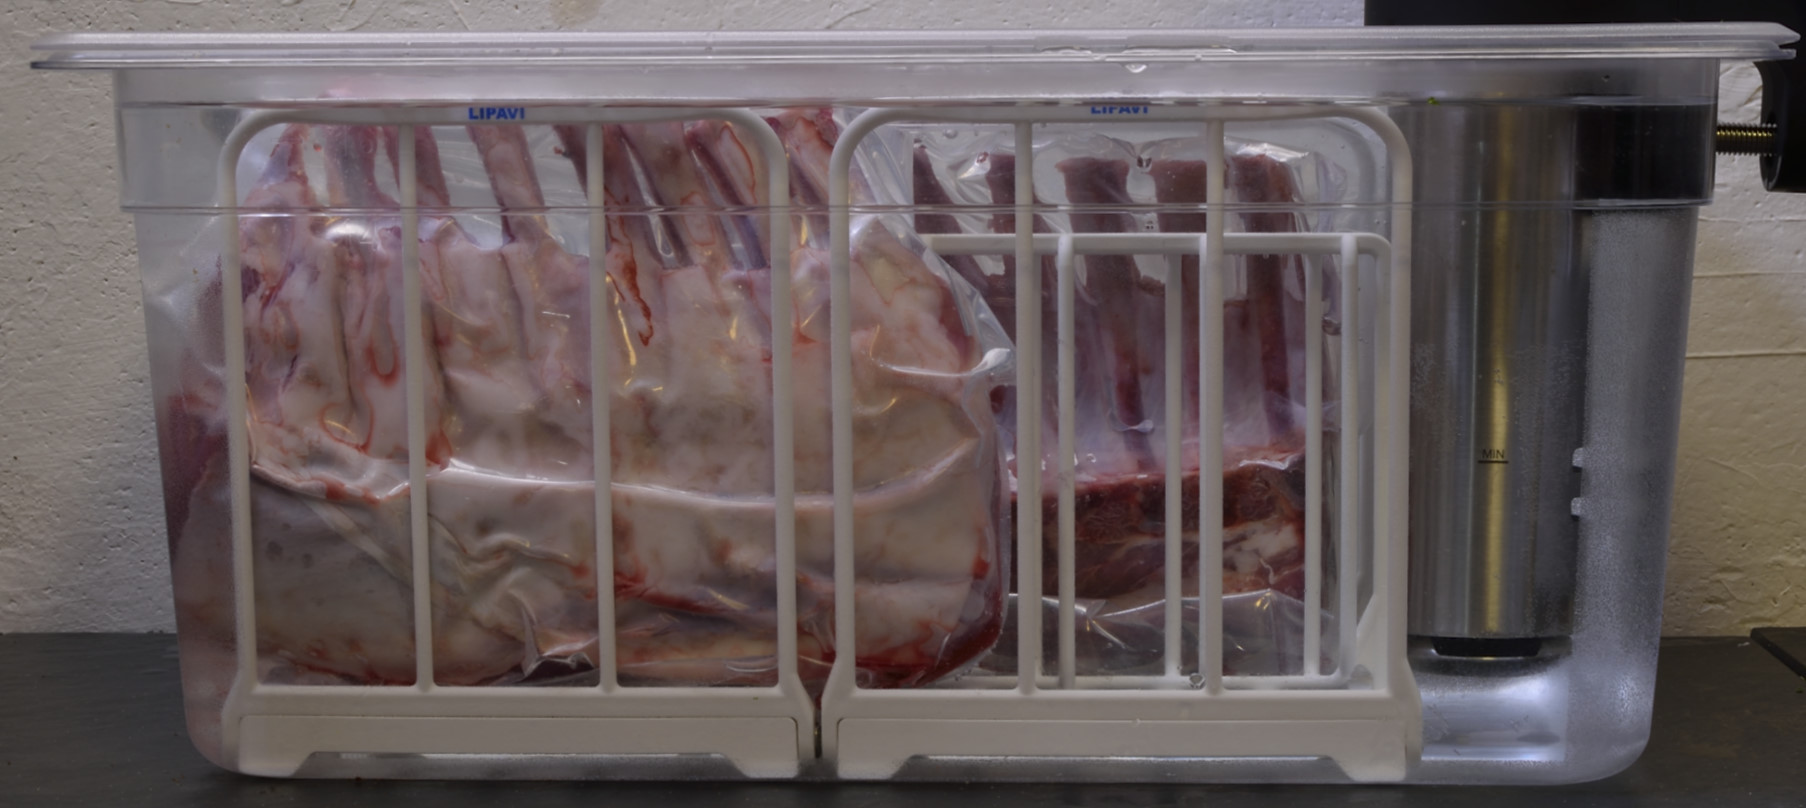
Australian lamb racks,
and bone-in beef rib eye (not processed yet). We started sous vide pasteurizing/preserving the proteins right way. Once cold shocked and refrigerated, everything will easily keep long enough for us to go through all of it. We haven’t left the house since then–we are both in high risk groups. I’m actually in SEVERAL high risk groups.
We’re going to explain process for all of these items as we go through them in a series of posts. Rather than list ingredients in advance, I will elaborate on identities and processes as we go along. First, the racks of lamb, a couple of different ways.
By the way: questions answered
Because of the nature of the internet, the easiest way to reach me is by private message HERE at our SVR Facebook Group where we teach sous vide in real time. I’m Norm King, and I endorse this message!
Part 1–Australian Rack of Lamb
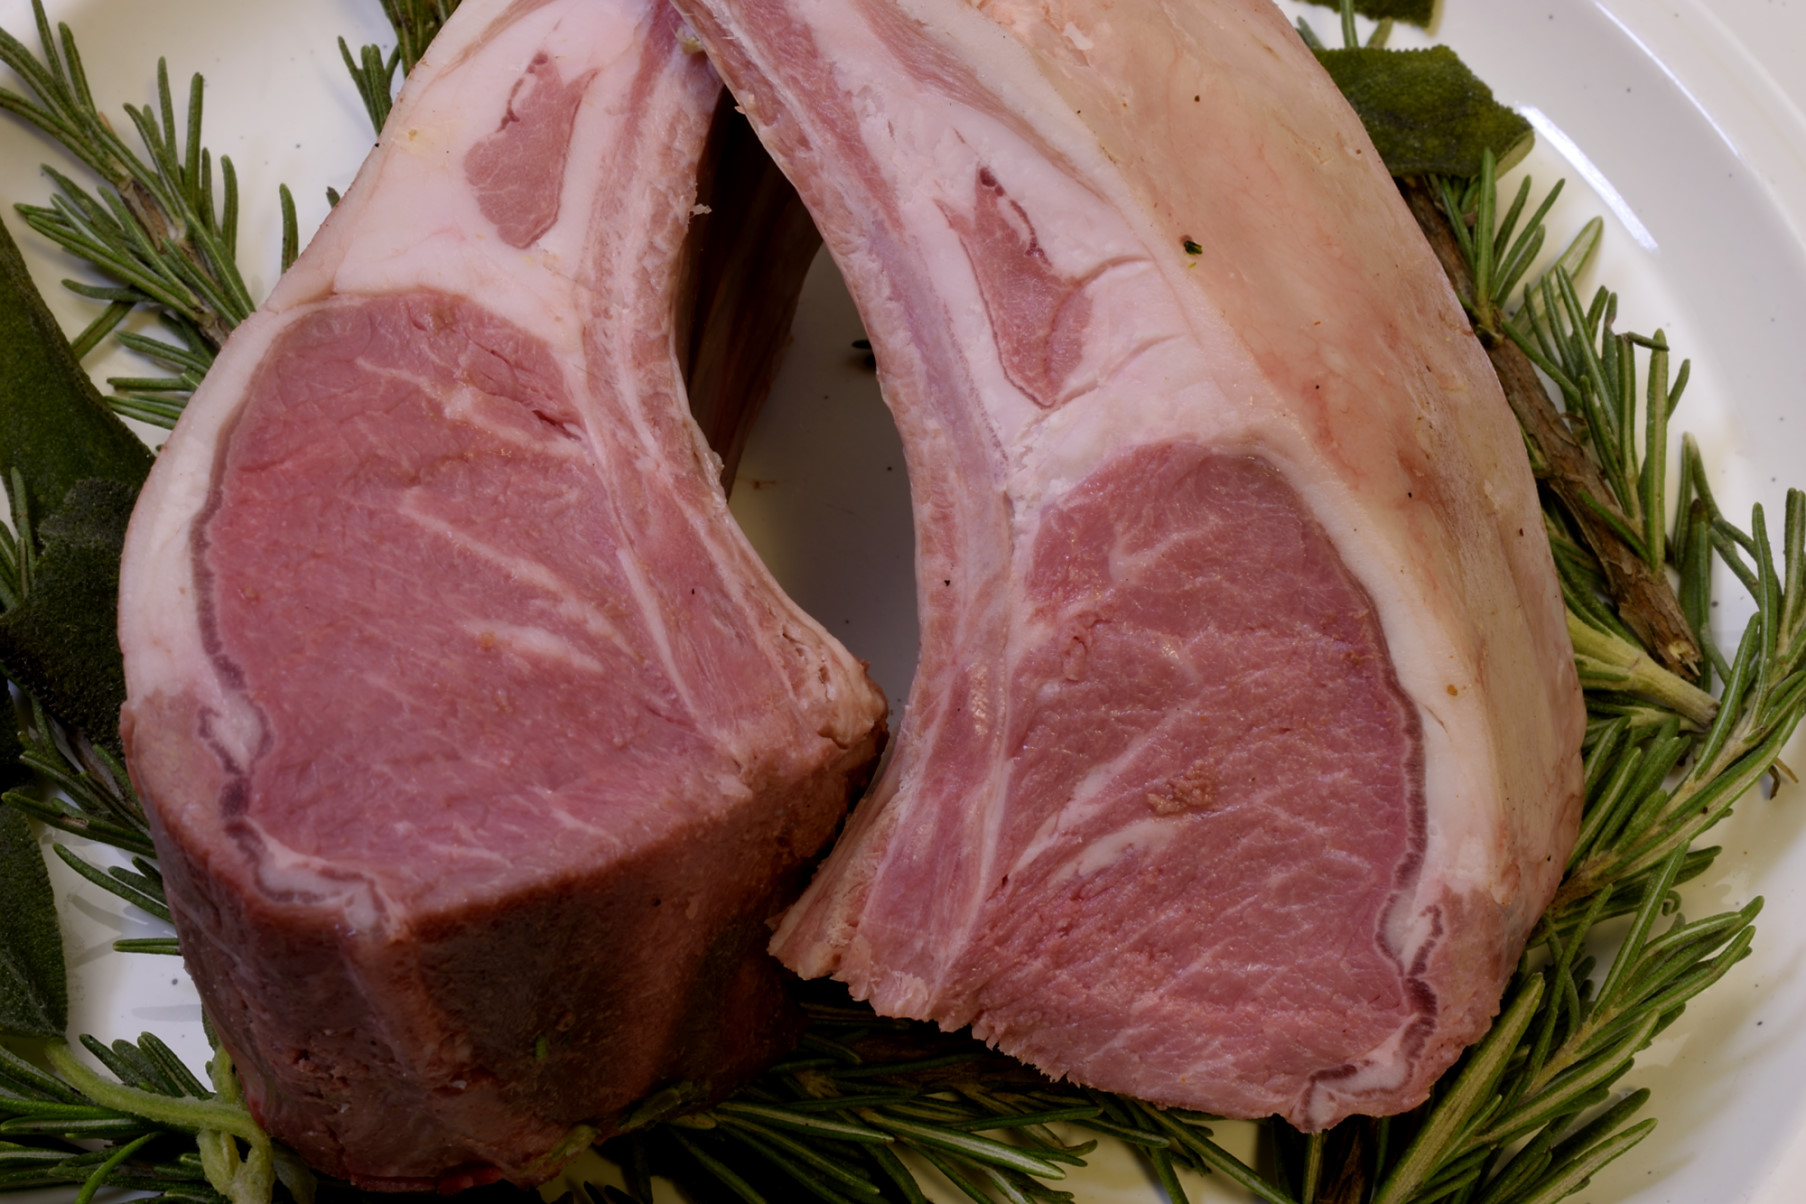
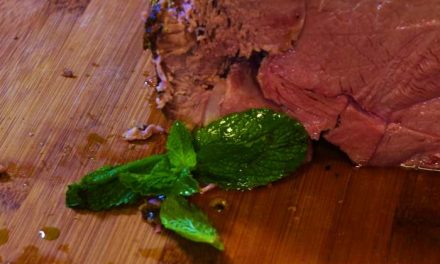
Everything is pasteurized/preserved and arranged in the fridge except the bone-in rib eye–we just haven’t gotten to it yet. Beef is actually somewhat less perishable (and denser) than other proteins, so I usually put it on the bottom of the list when I’m doing a series. Let’s take a look at the rack of lamb first. Australian lambs for market are a little bigger than the New Zealanders, but still considerably smaller than the American Colorado and Oregon varieties.
The rack will be represented as a carved roast, as chops, and even as a boneless lamb “rib eye.” Some will be gloriously simple, always my preference. We will also dabble in a few more elaborate presentations and flavor combinations. They all start the same way:
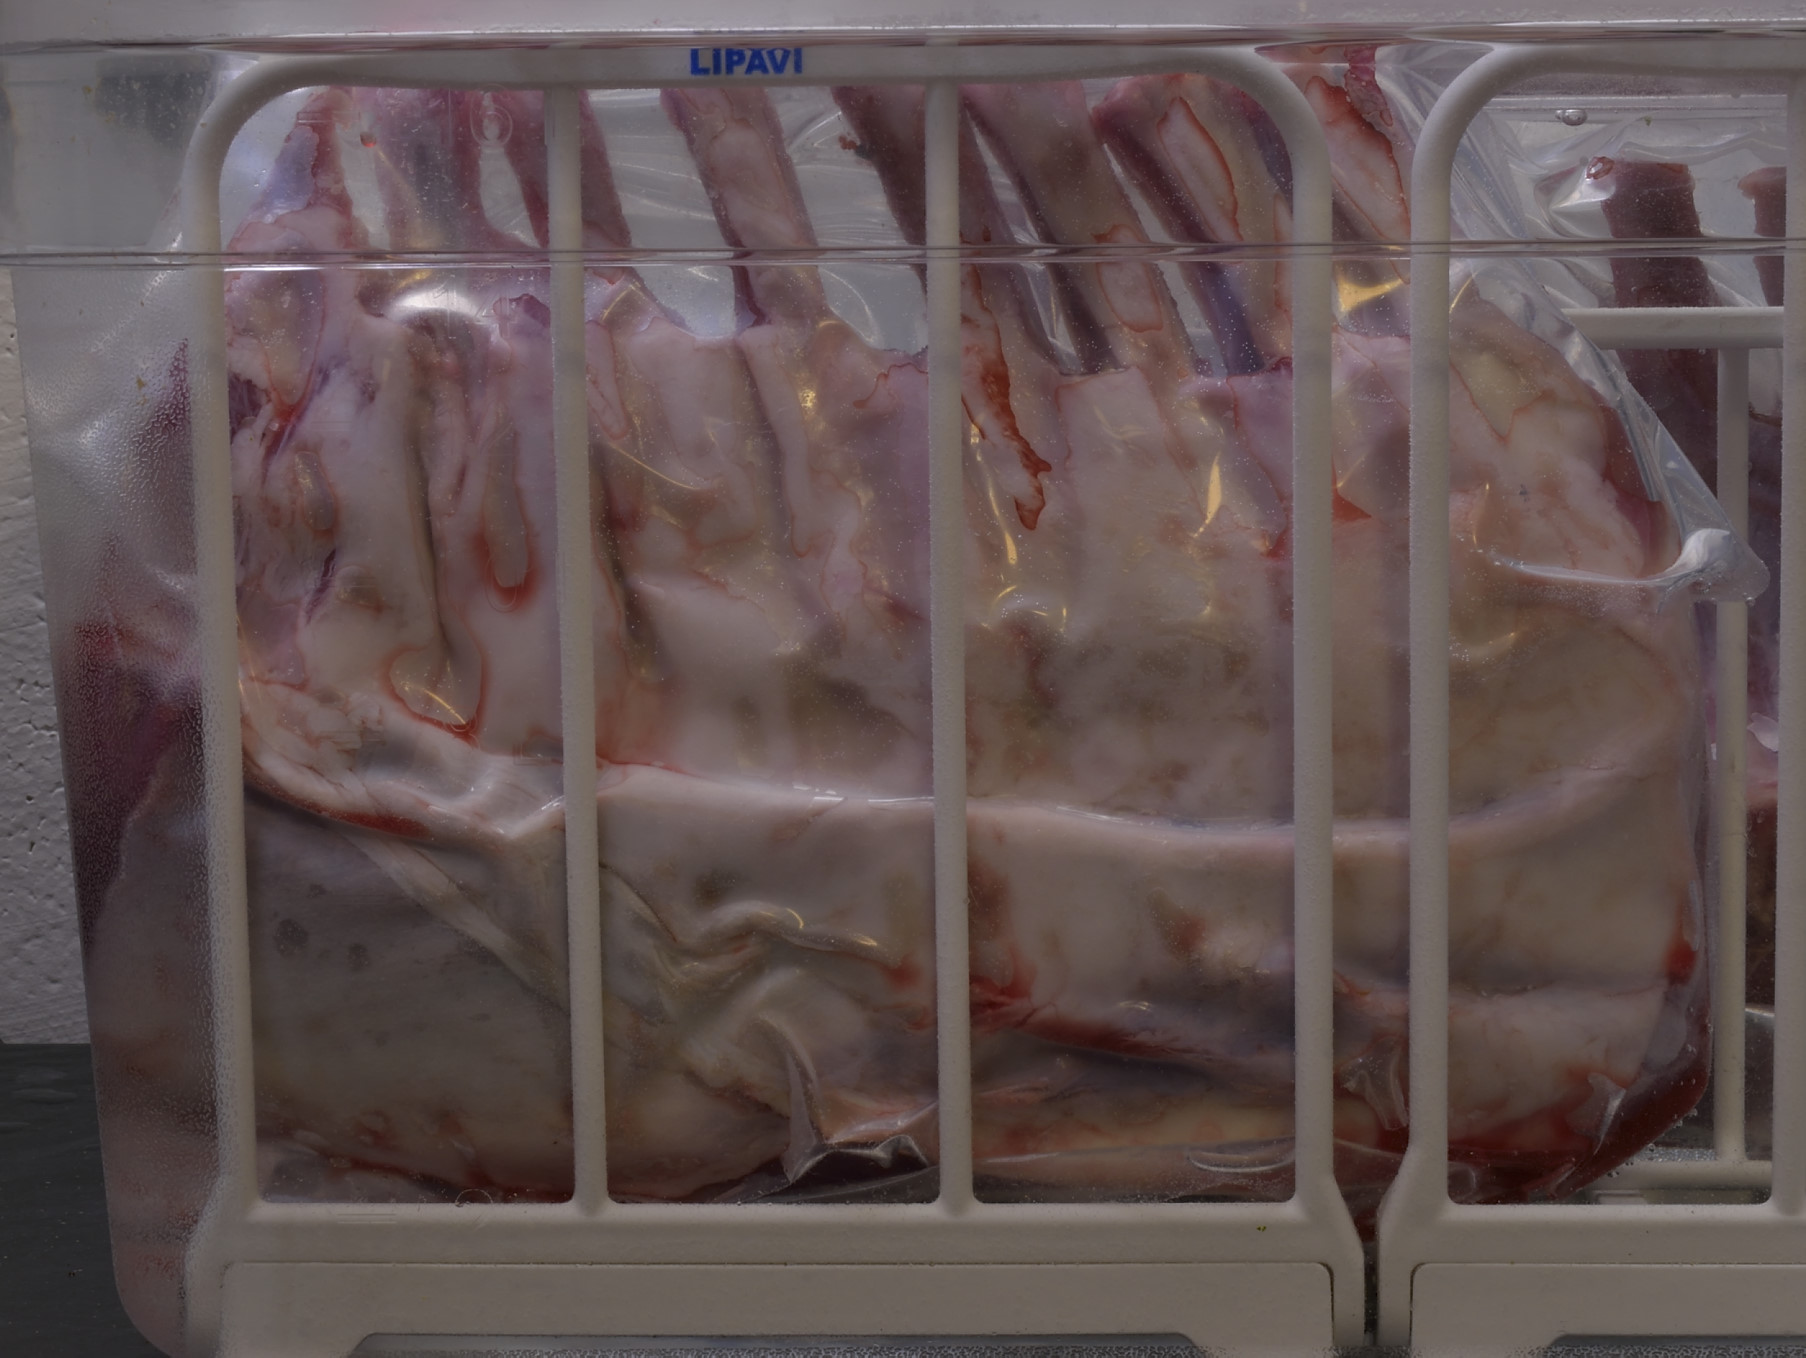
130 F X 7 hours
After the processing/pasteurization interval elapsed, the packages were shocked in iced water until they achieved 70 F/21 C. They were then refrigerated at 40 F/4 C until we were ready for the next step. In this pasteurized/preserved state, everything will keep at least two weeks. Longer, actually, but I cringe at the idea of people kind of forgetting where they put stuff and then coming upon it after an indefinite period of time. SV proteins will not keep indefinitely in the fridge, although it seems like it.
Finishing procedures
As you can probably surmise, this is where we start having choices to make.
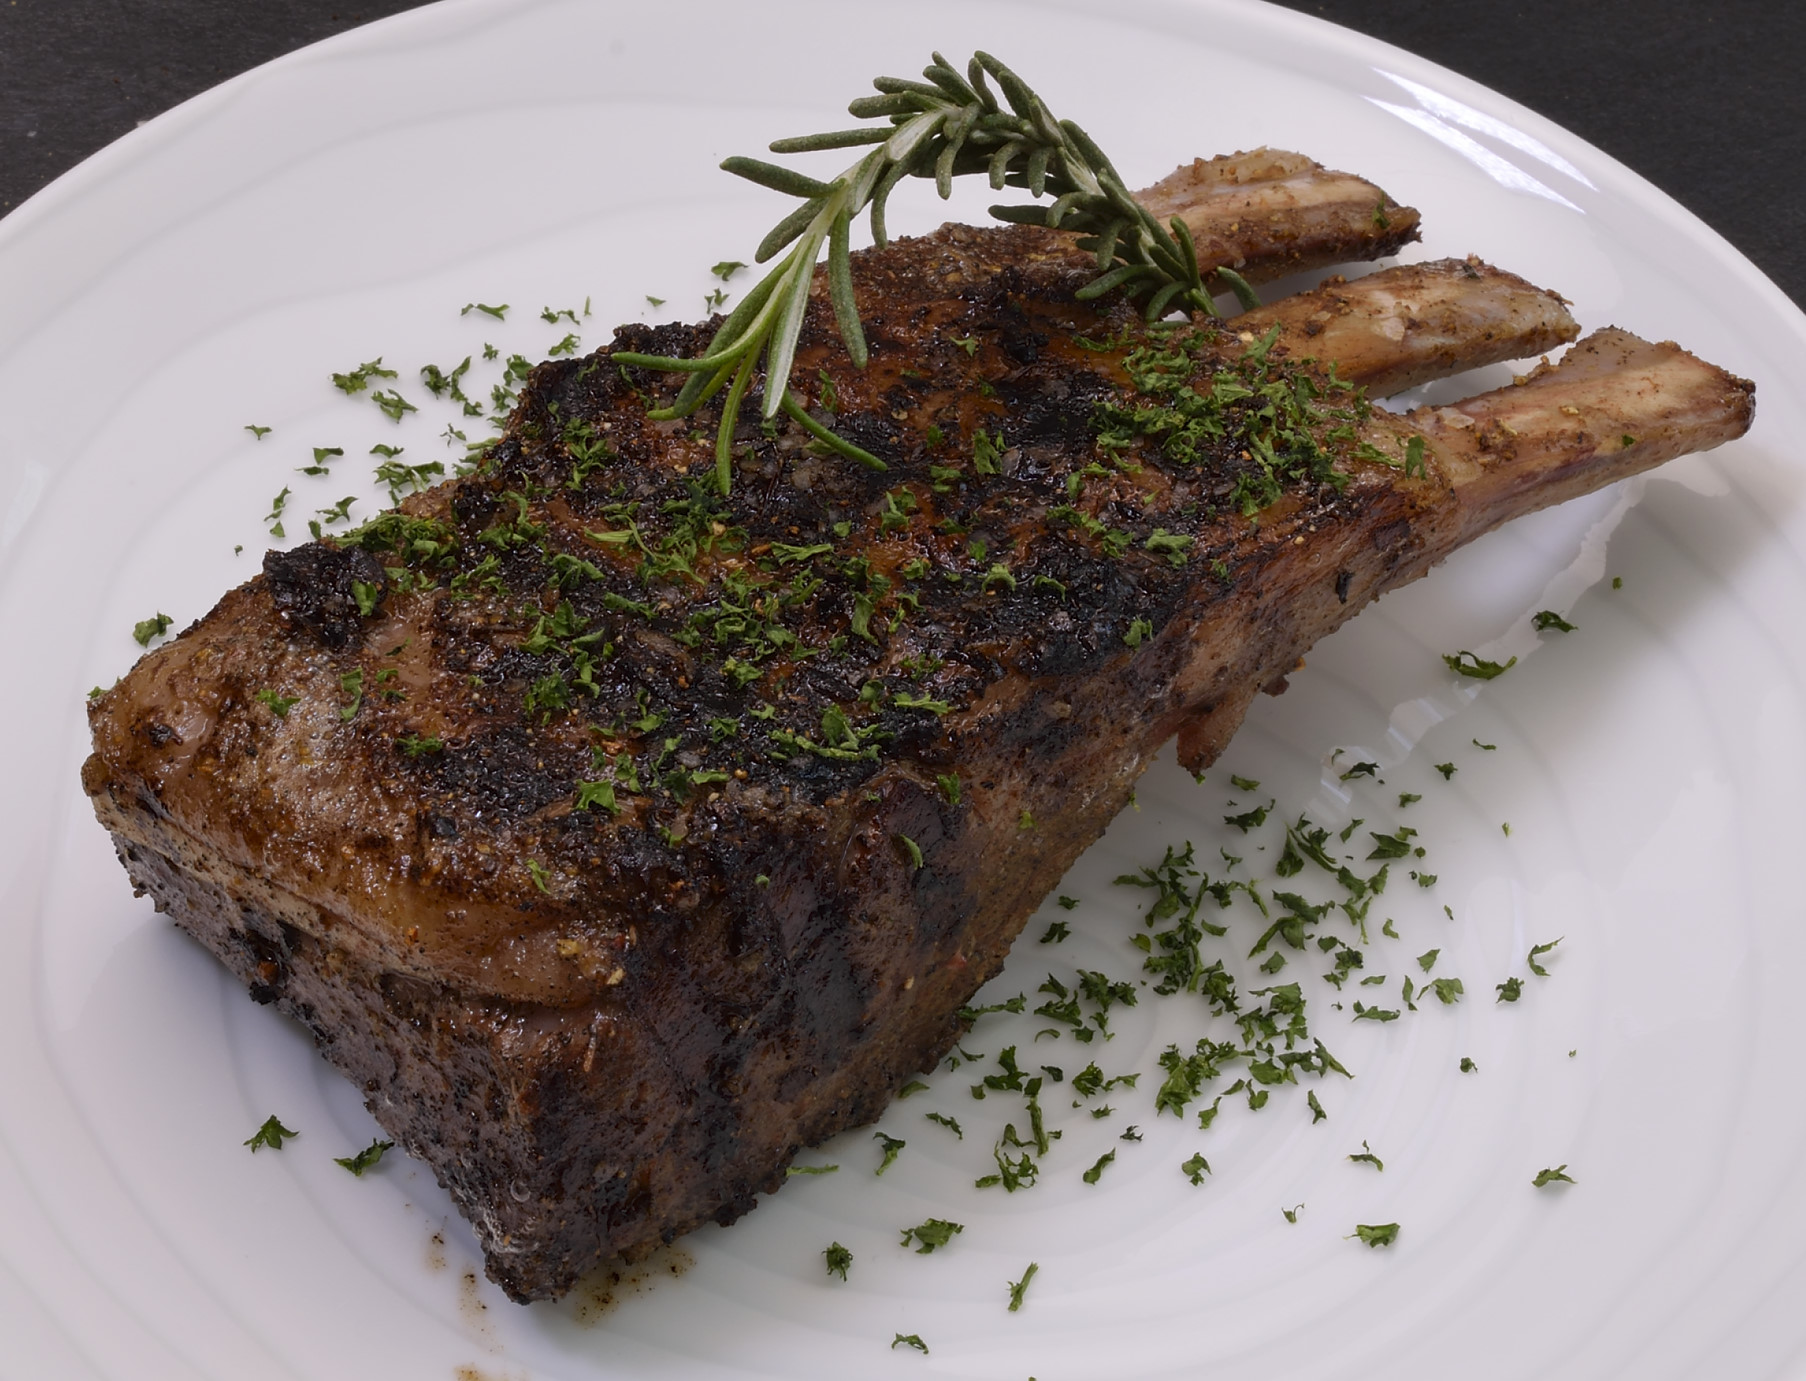
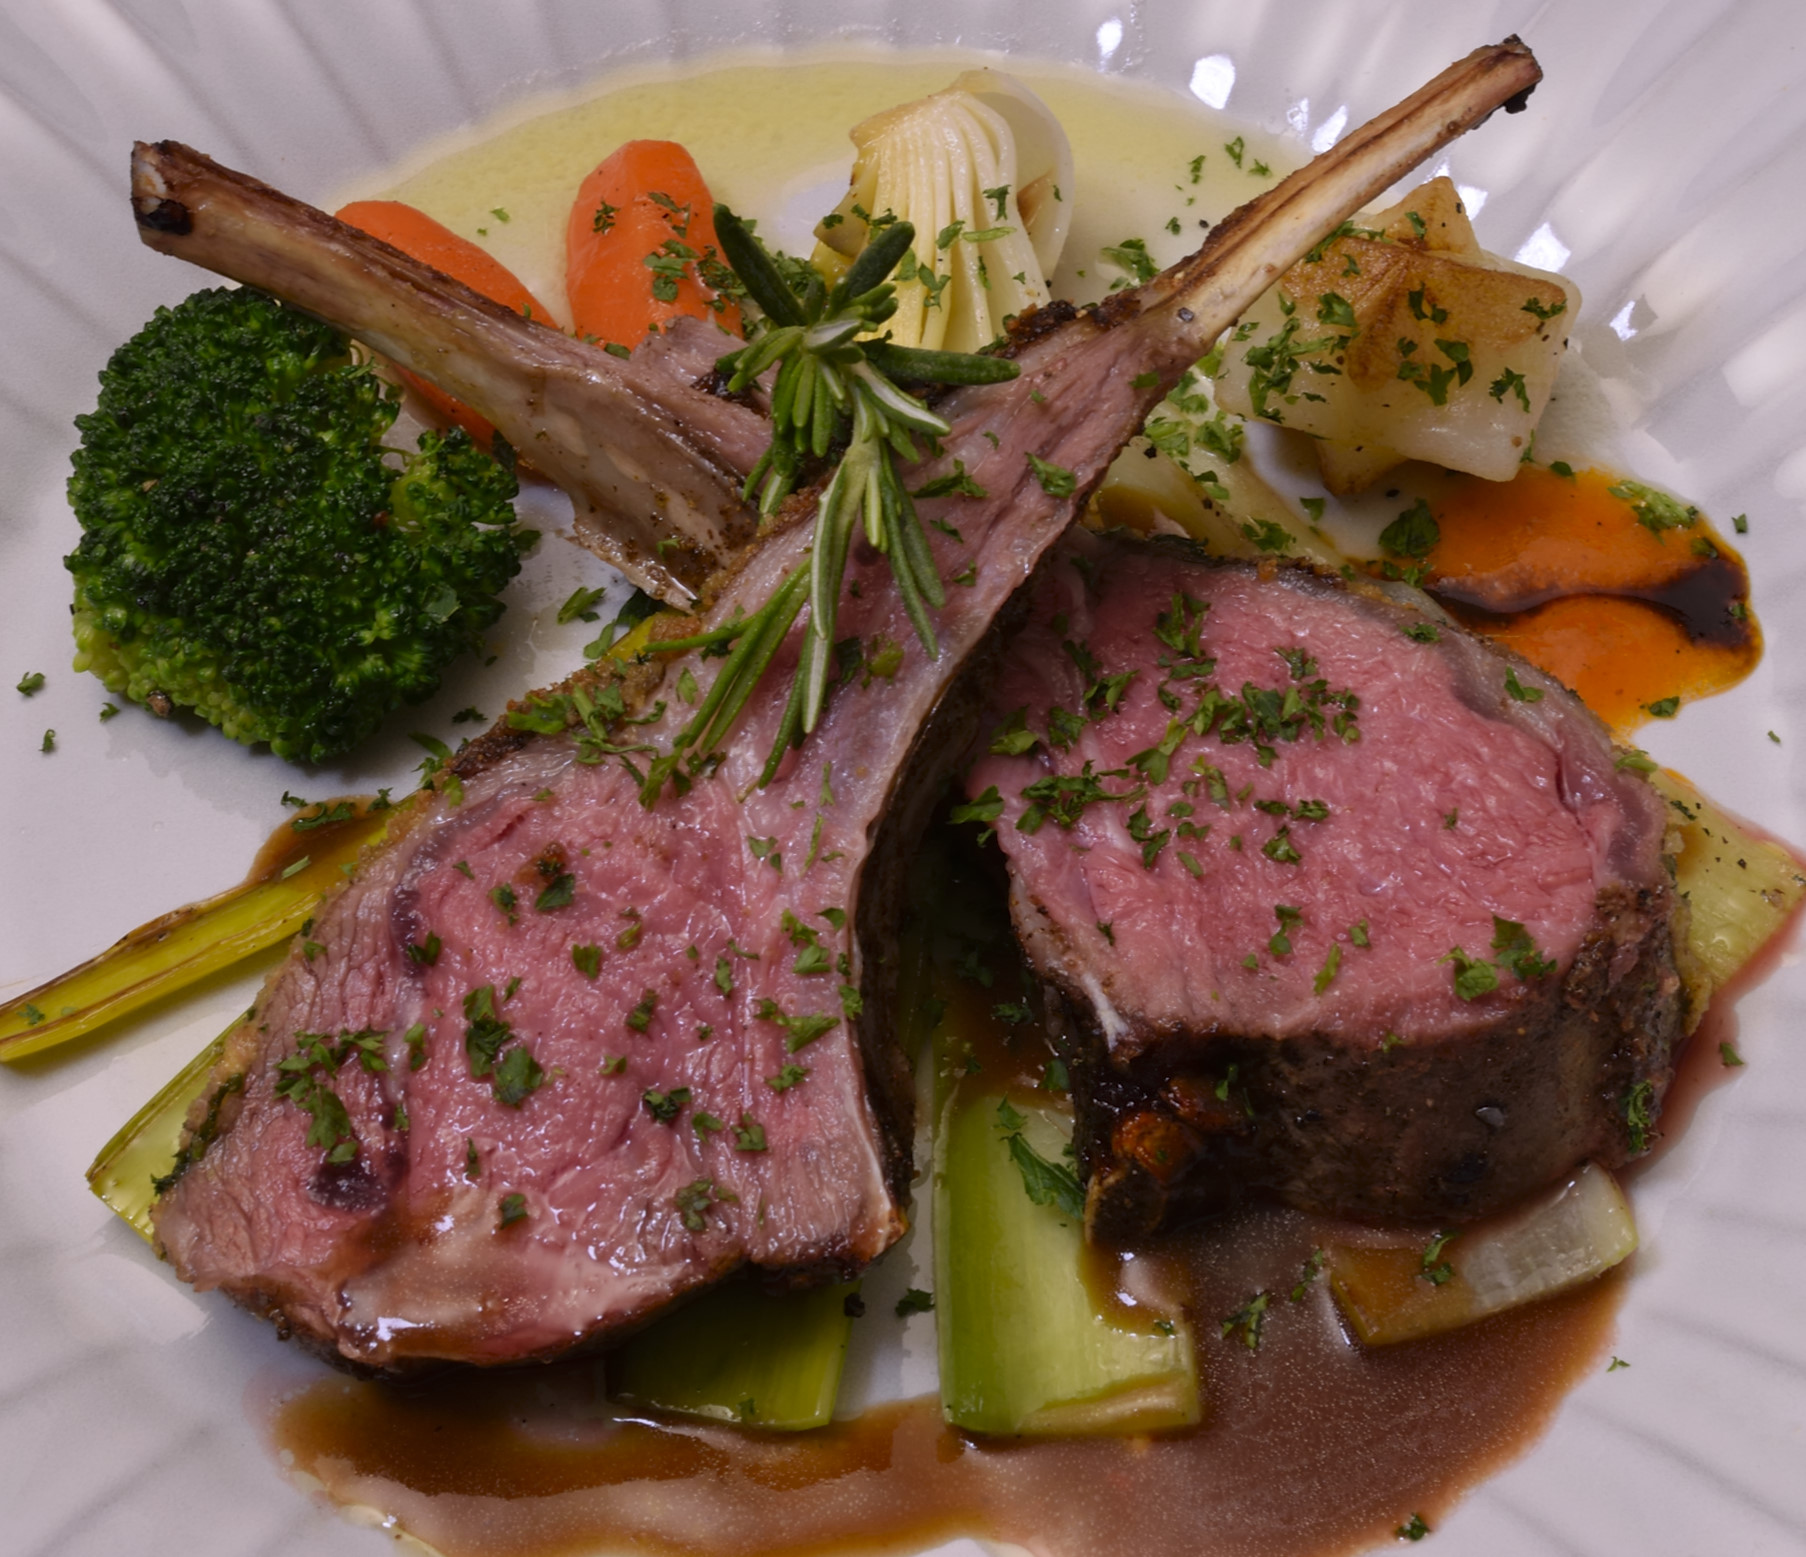
The rack can be “finished” whole using several different procedures, or it can be cut into smaller pieces as desired. We’re going to start big. Australian lamb racks usually start with 8-9 ribs. At the shoulder end, the bones are very close together. As the rack proceeds down the spine, the bones are farther apart–just like on people. This time around, I reserved enough chops from the hip end so that our rack had 6 bones. This will create 2-3 uniform servings, depending on how voracious your appetites are. Personally, I can eat the whole thing, but I try to stifle that urge. If ever there is a famine, I will be ready.
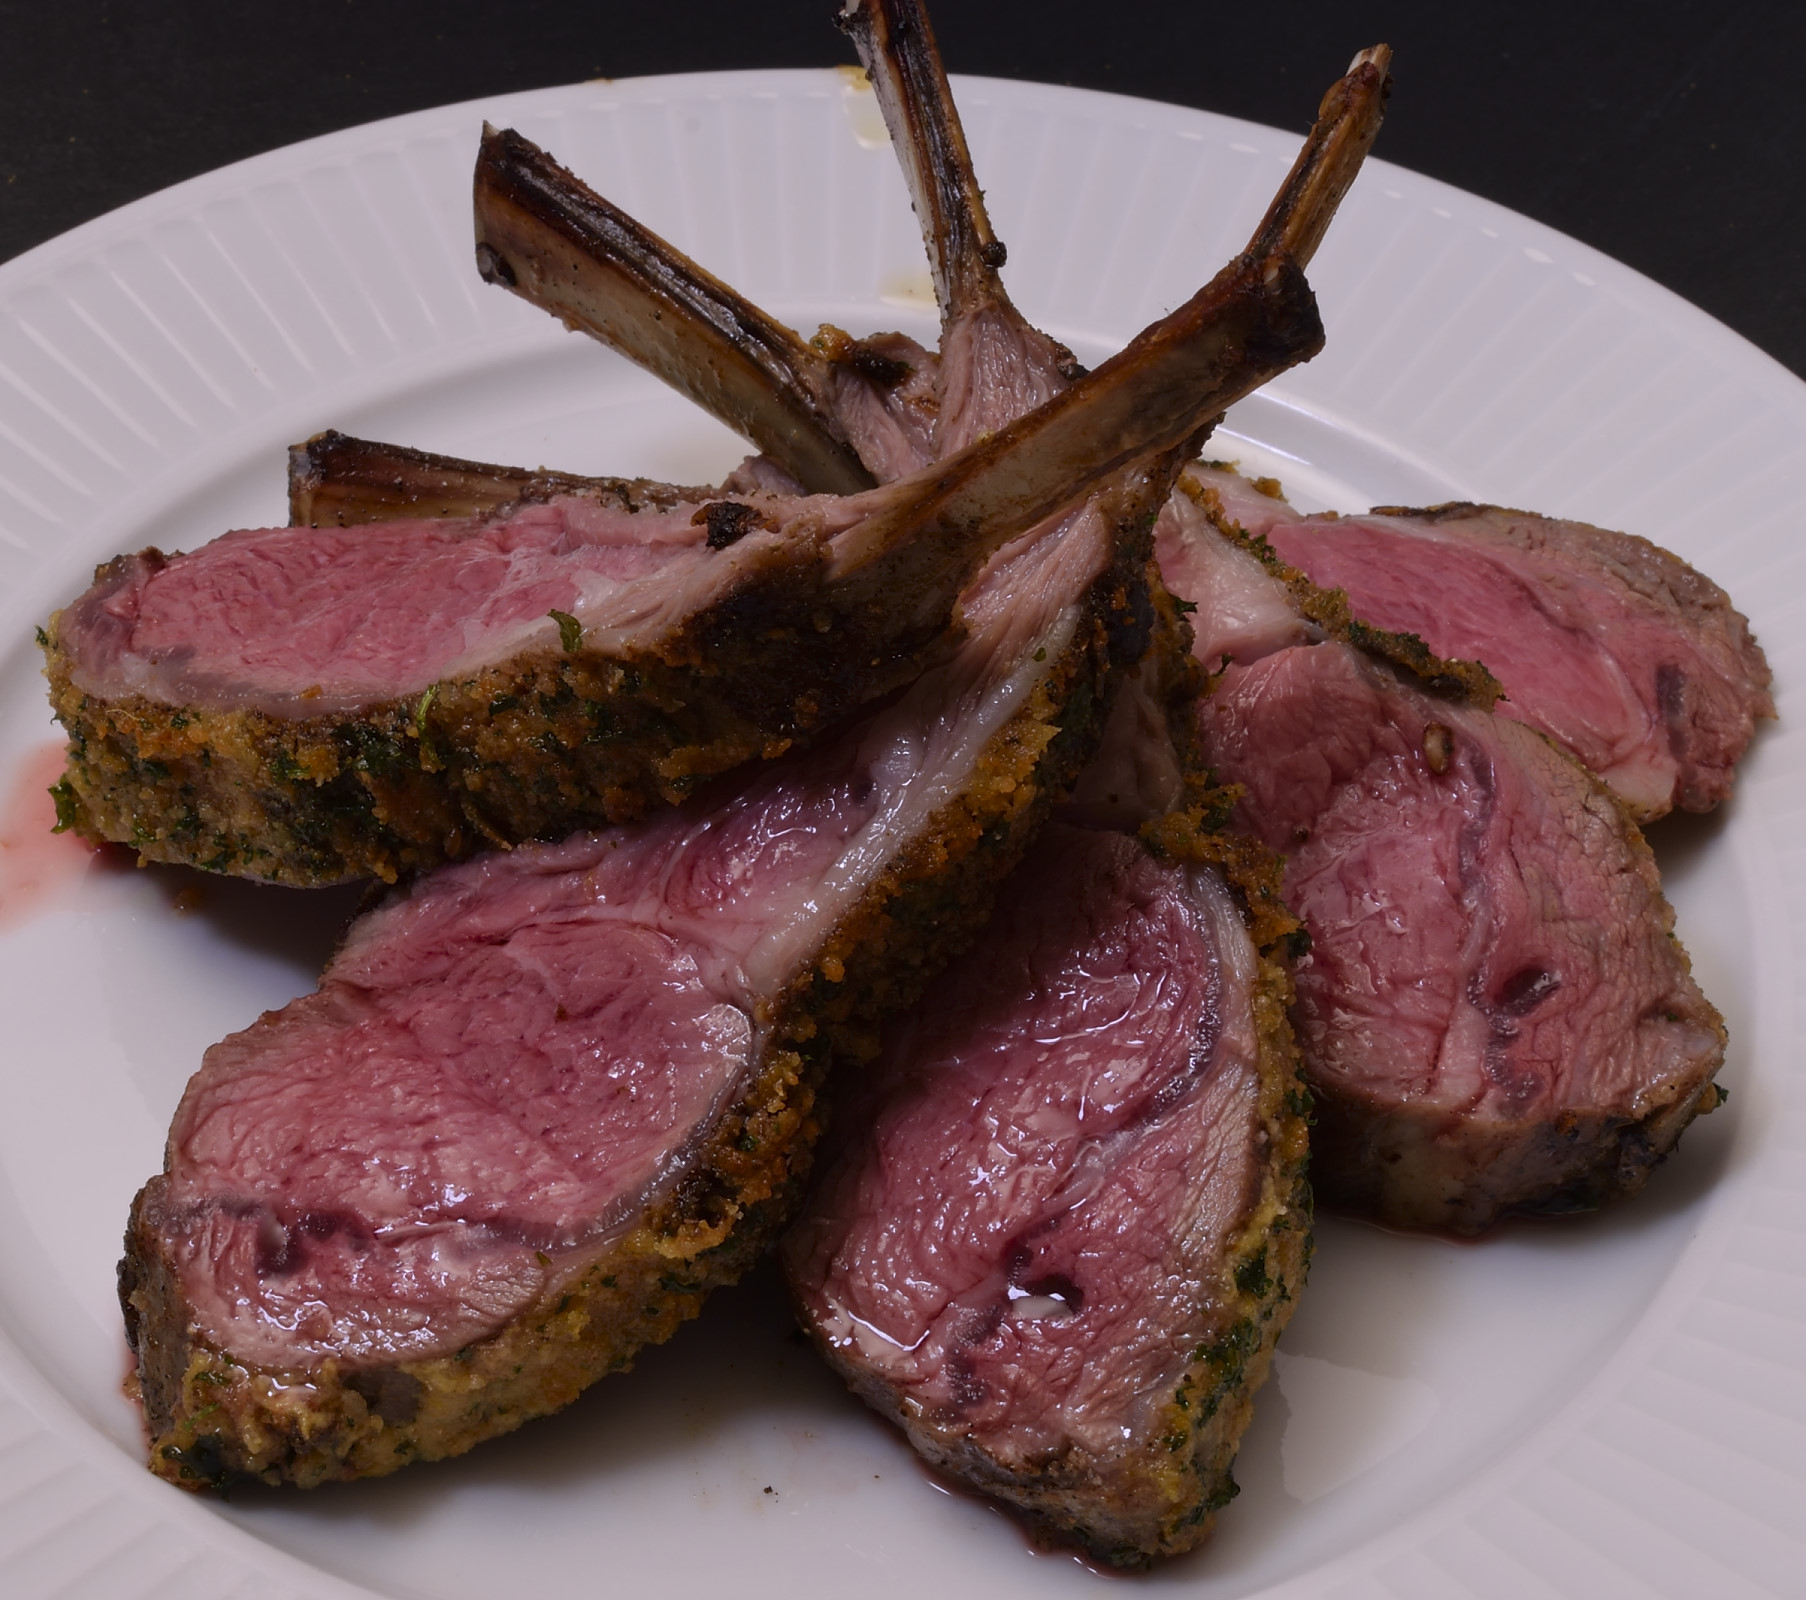
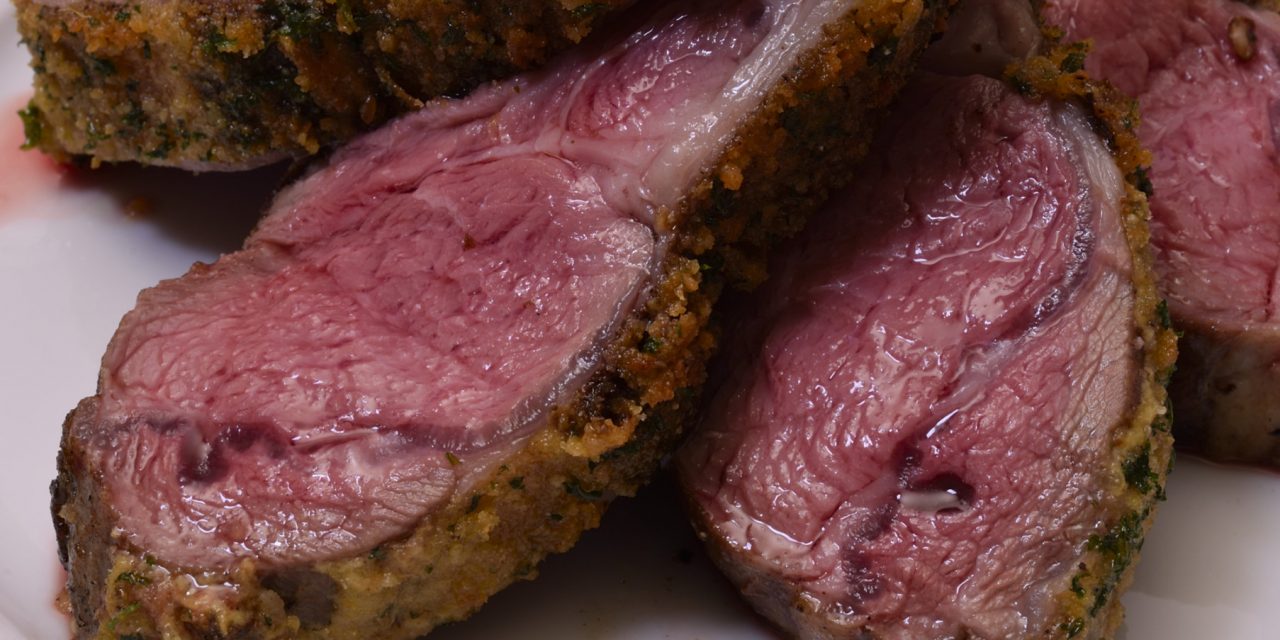
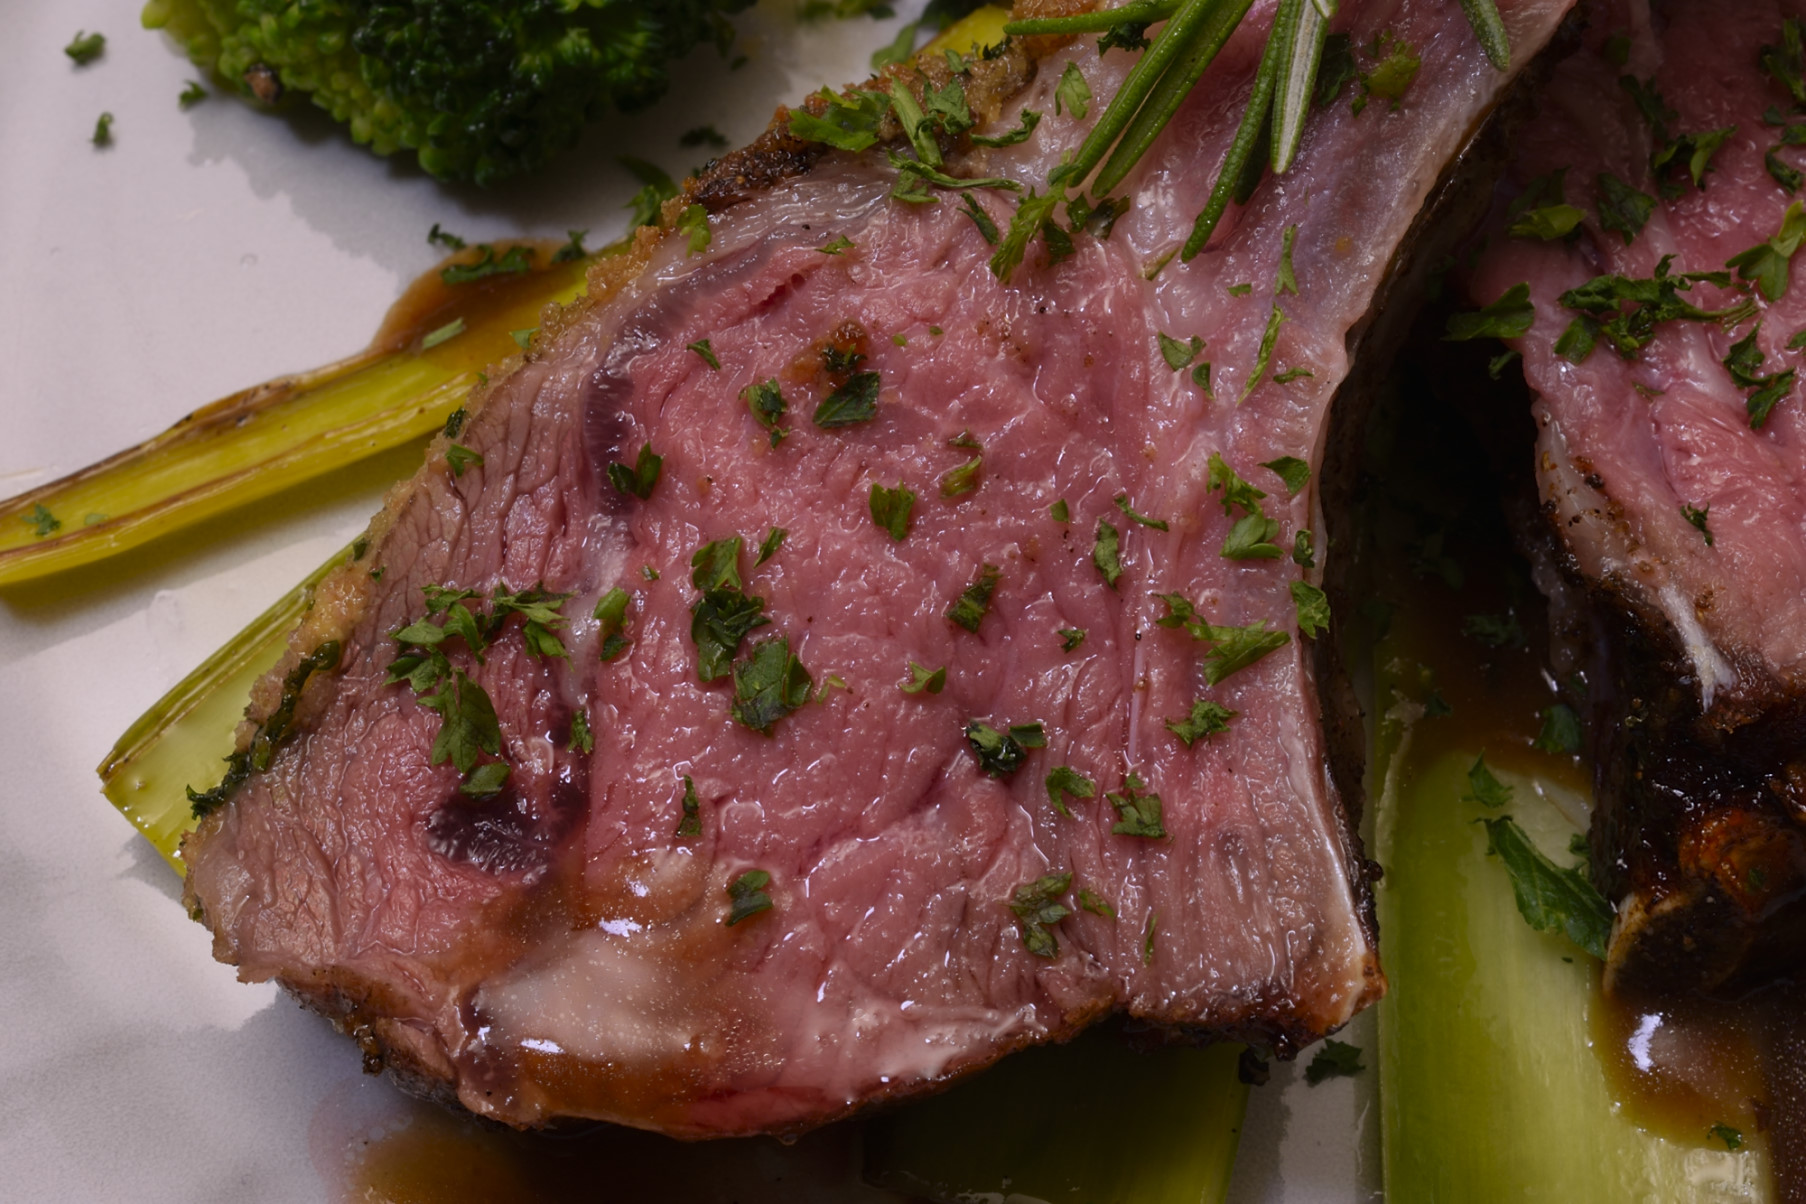
In the picture above, we depict the roast with a mustard/garlic/breadcrumb crust–this is a common, traditional presentation usually referred to as “persillé.” From the beginning.
Using your imagination
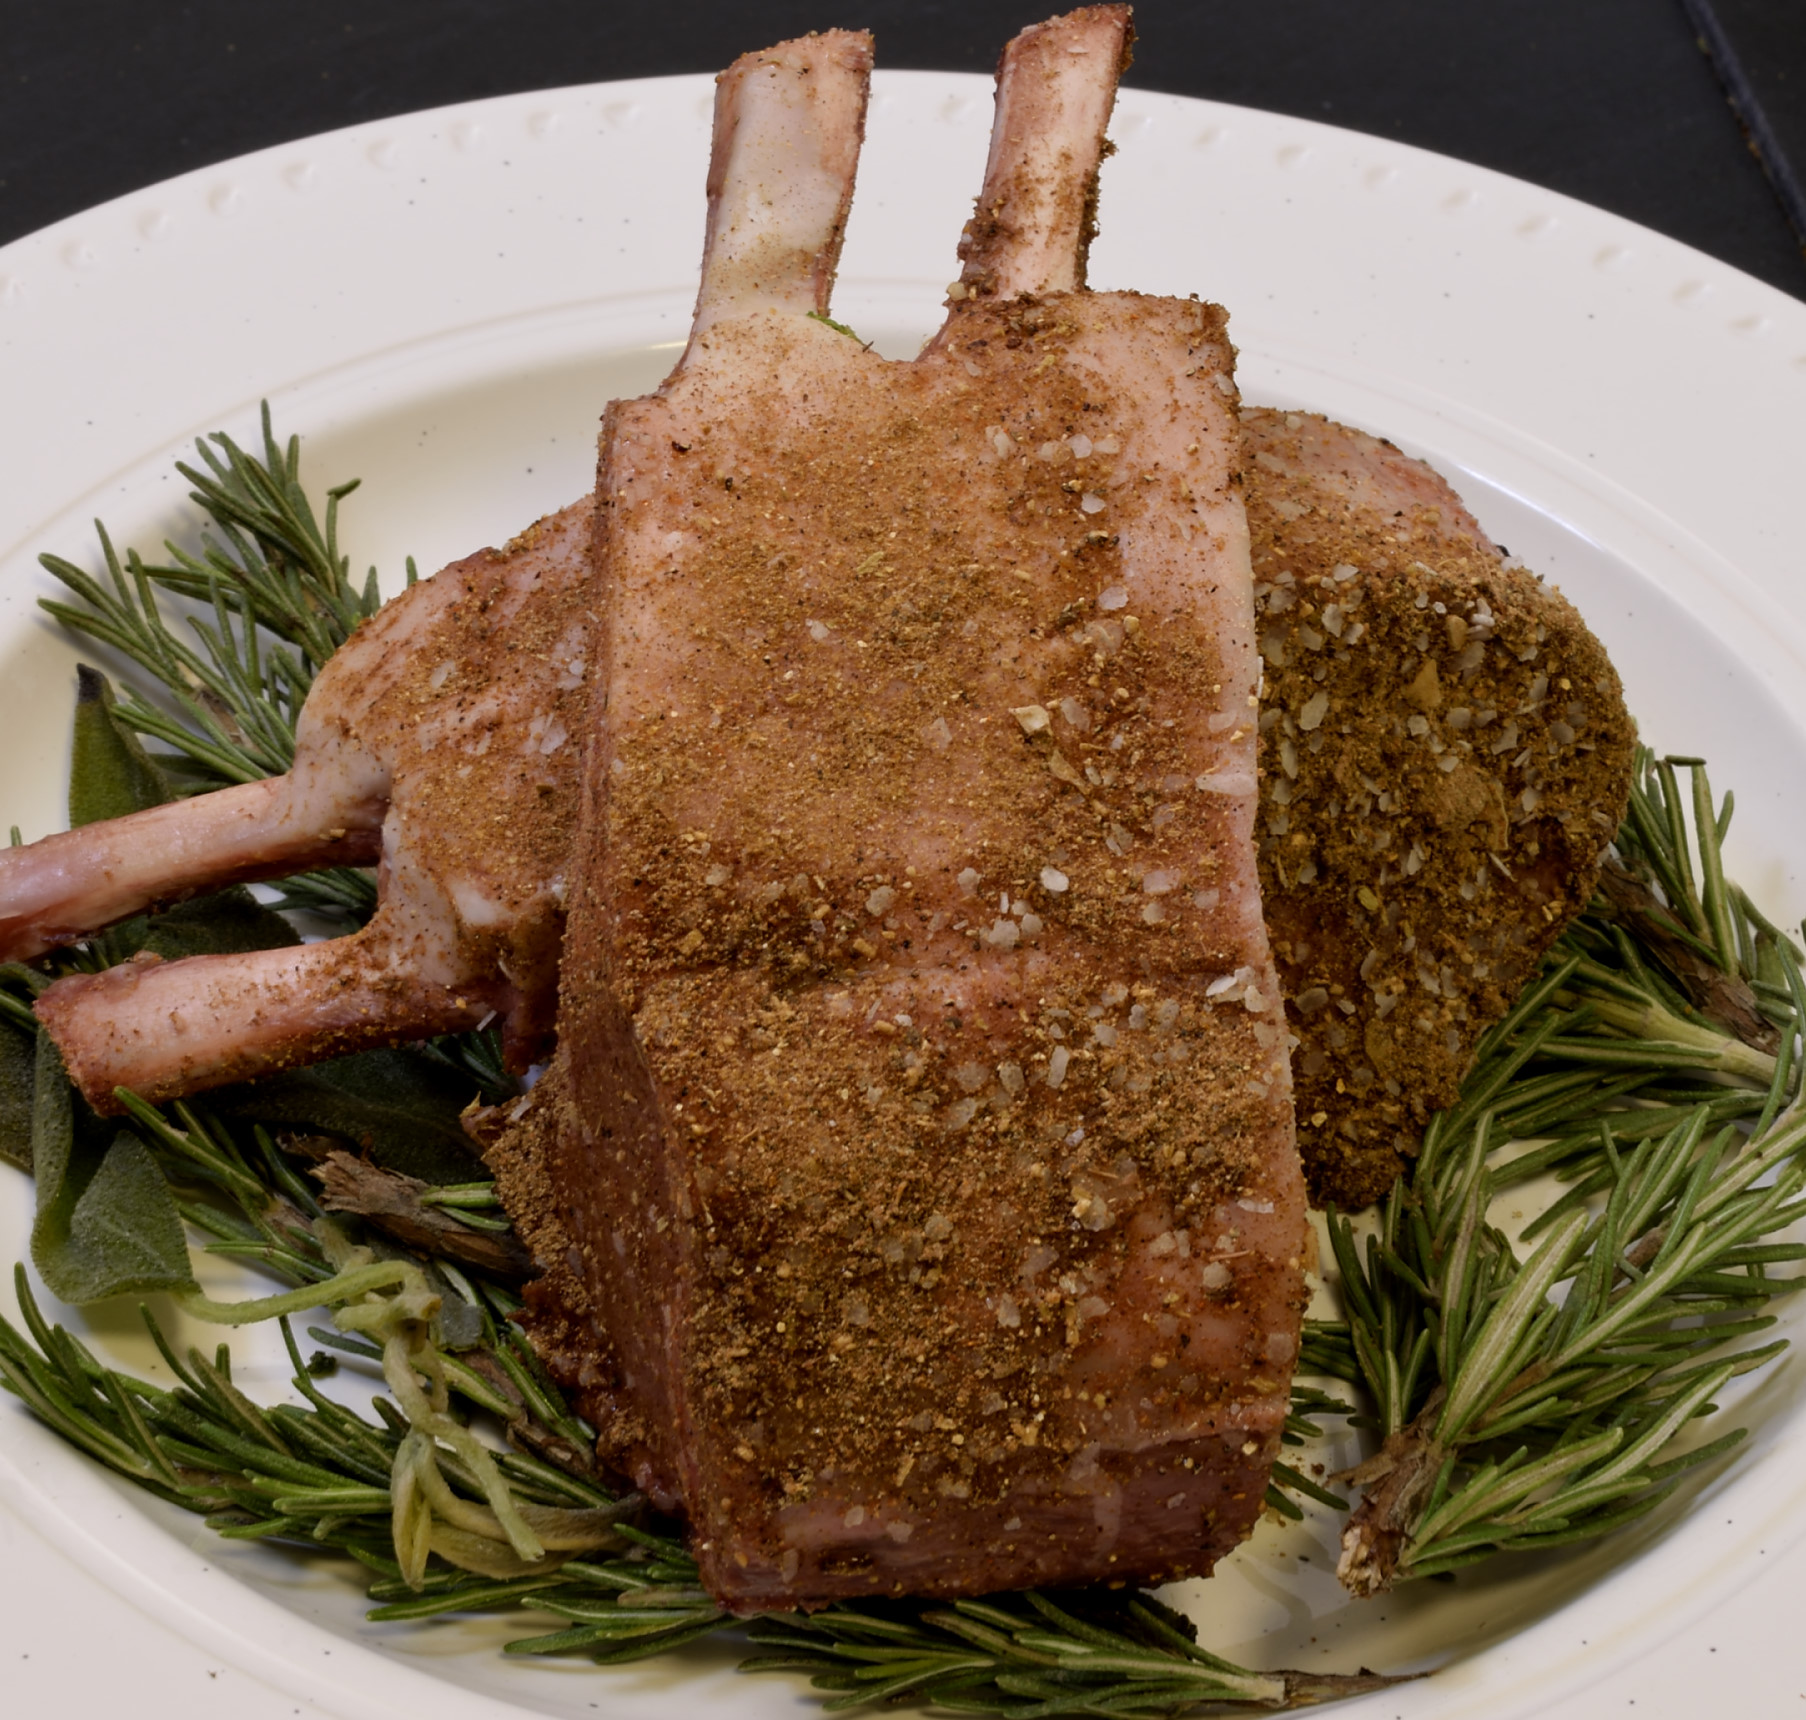
A rub to be named later…
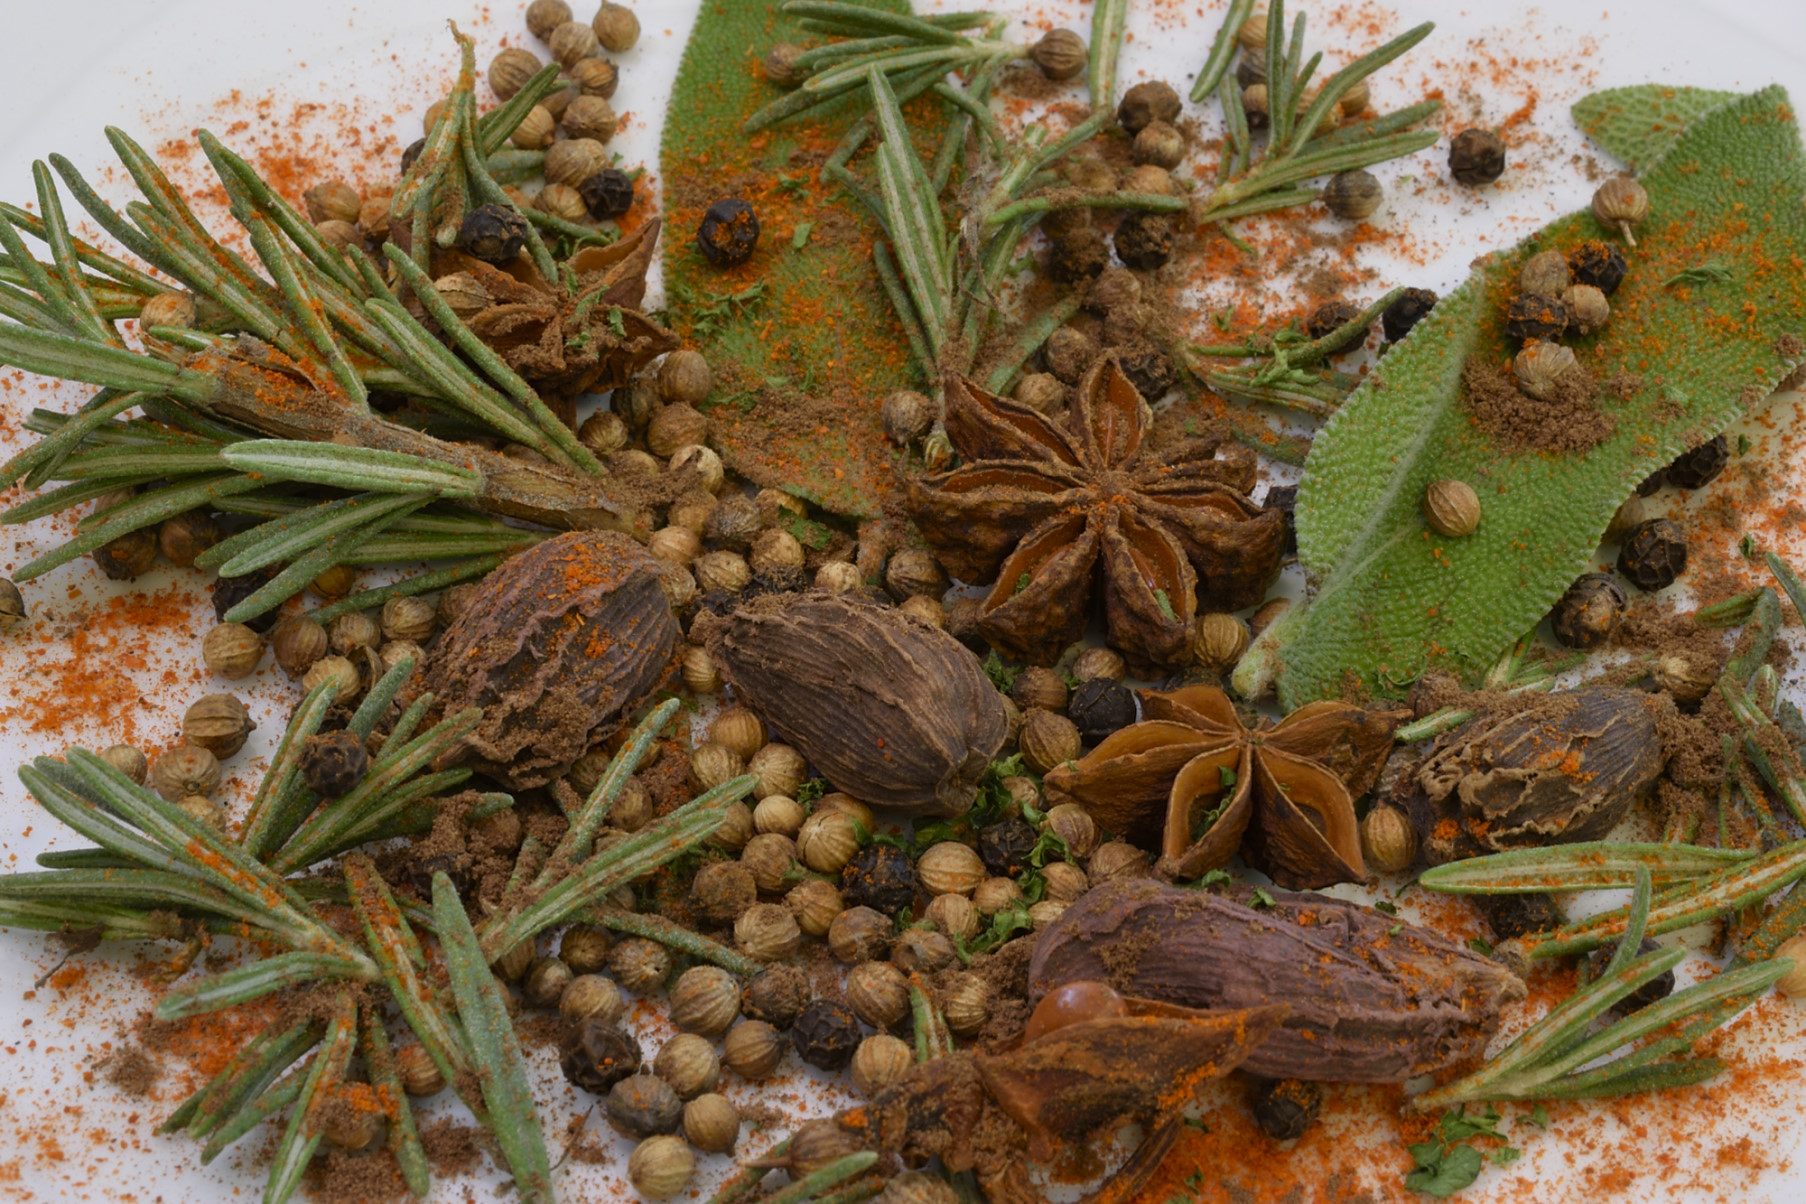
Salt and pepper is seasoning enough. With all this extra time, I decided to assemble a novel but sort of all purpose, sodium free seasoning mix to use for at least some of the presentations. I used a lot of whole spices, but only because I had a lot on hand. It’s handy to have an electric spice grinder around–if only for the heavenly bouquet created in the kitchen when you grind your own. Surprisingly, since this spice has no salt in it, it makes a good cookie, too. Sort of a ginger snap thing.
Today’s (and tomorrow’s) rub
Black cardamom, 10 each.
Chinese anise, 10 each.
Coriander seeds, 1 Tablespoon.
Black peppercorns, 1 Tablespoon.
Allspice, ground, 1 Tablespoon.
Fresh sage, 10 leaves.
Fresh rosemary needles, 2 Tablespoons.
Sugar, 1 Tablespoons.
Paprika, sweet, 1 Tablespoon.
Paprika, hot, 1 Tablespoon.
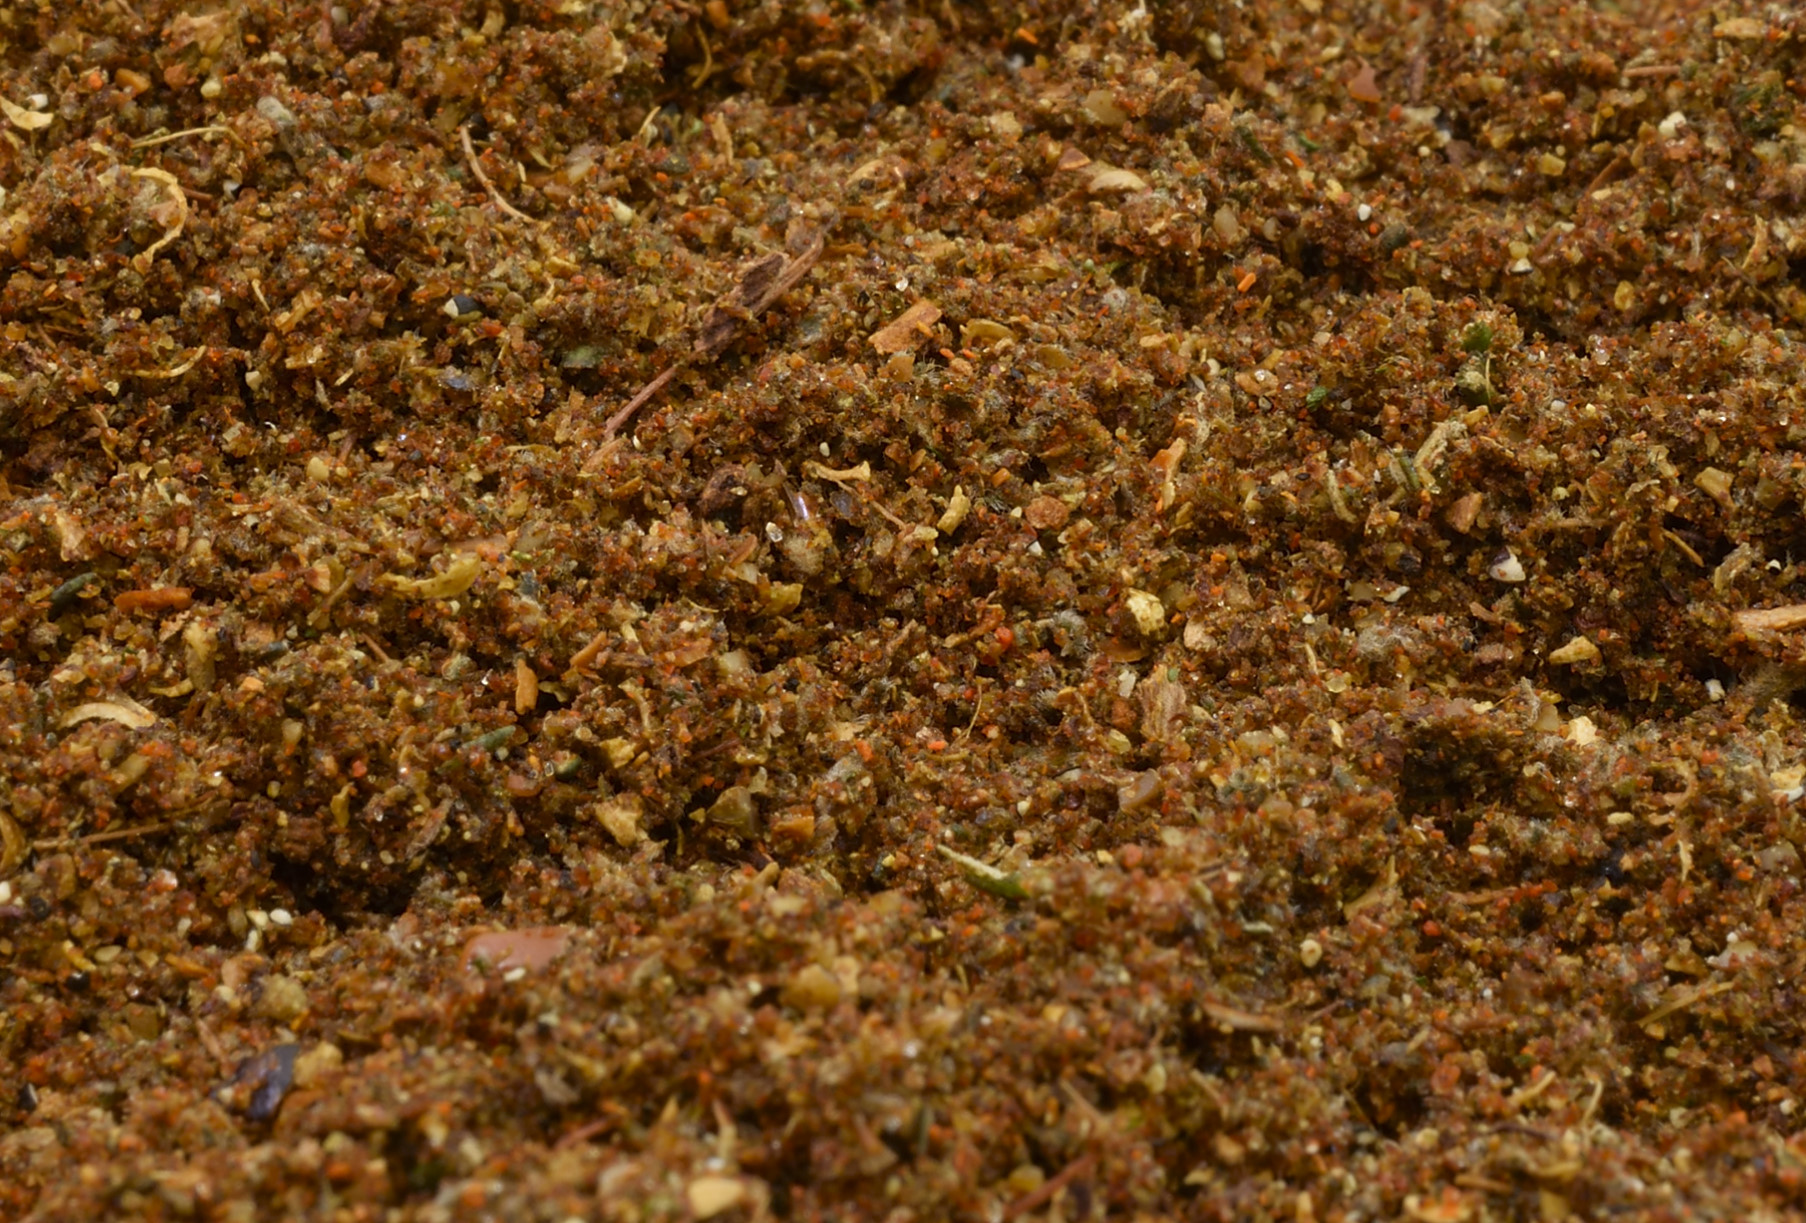
Grind and spread out on butcher paper to dry overnight if possible. Then, sift.
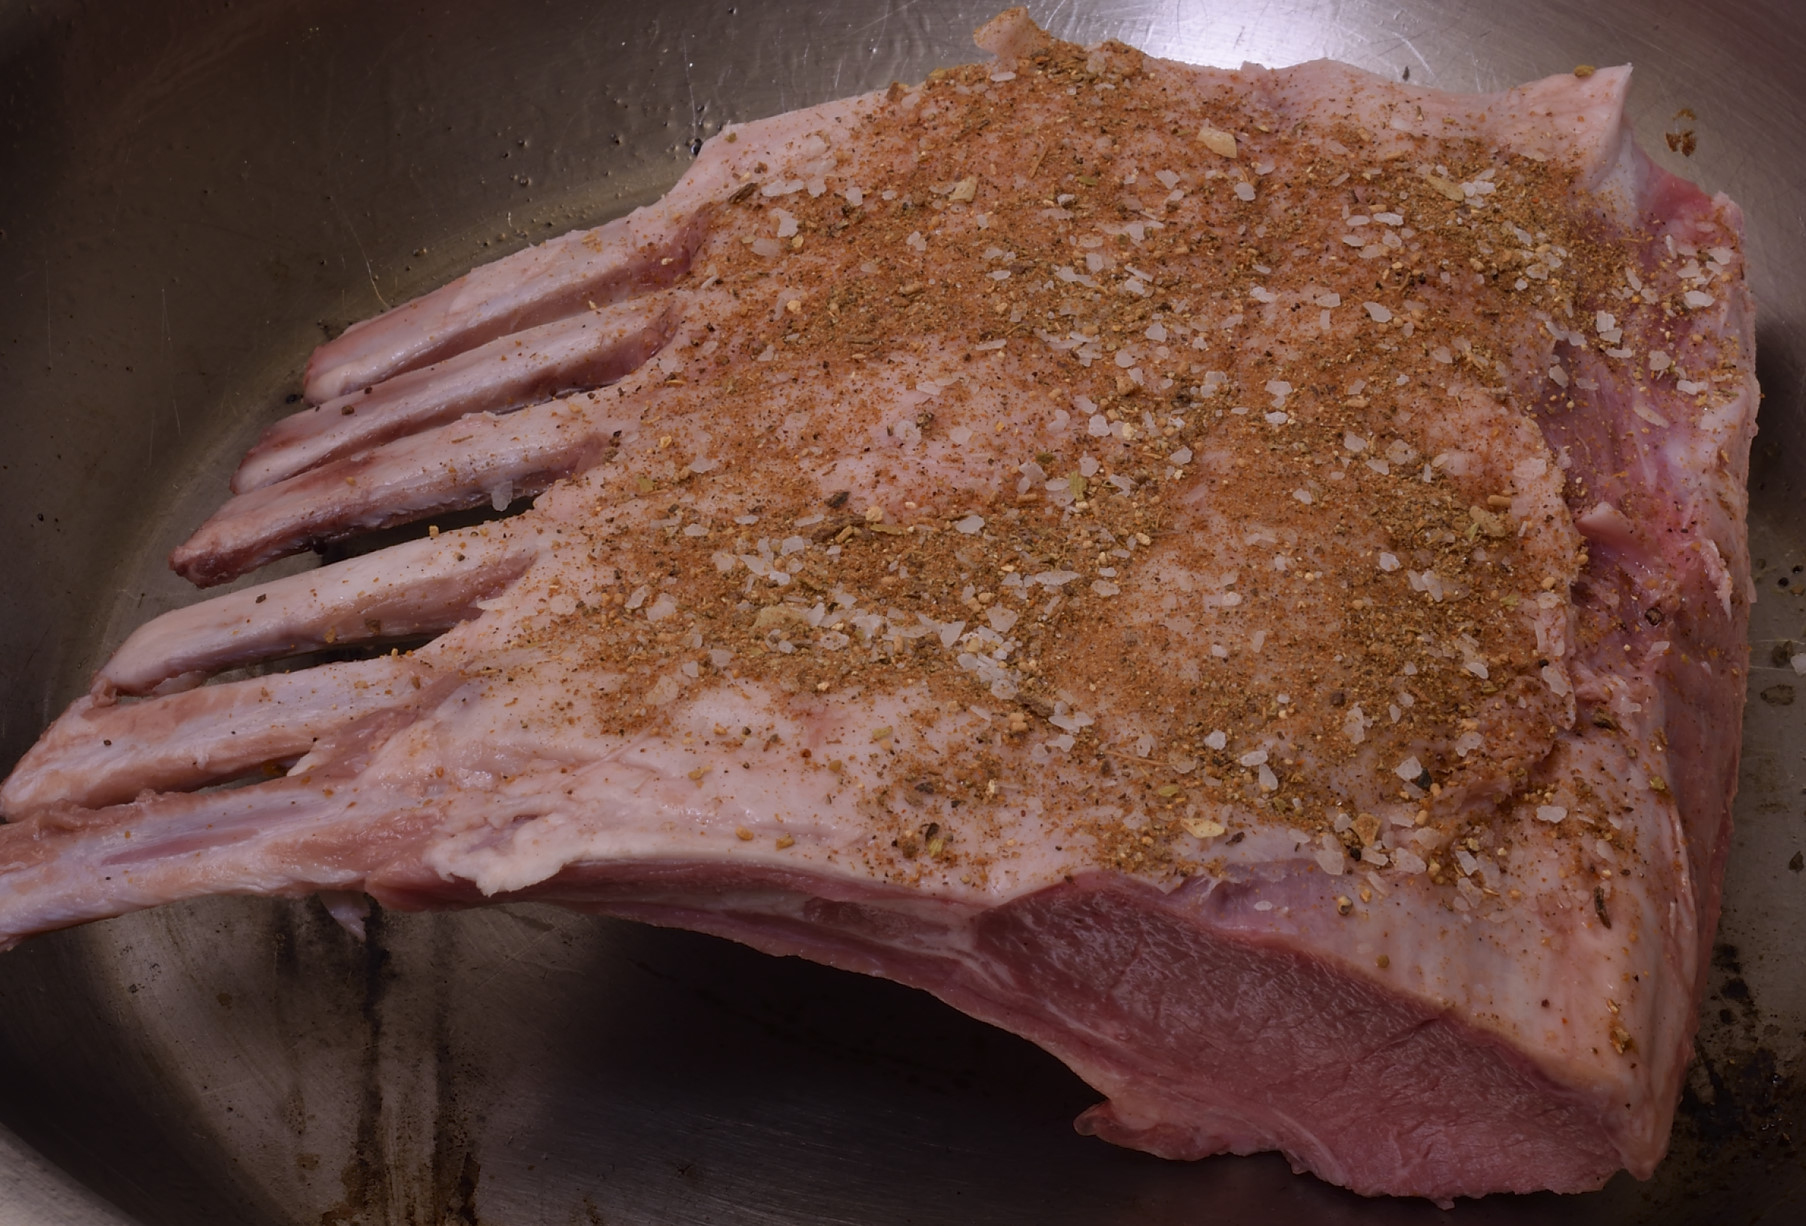
You can see how fine the powder comes out when you do this. I use a lot of egg whites, so I buy them pasteurized in cartons. A few drops applied to the surface assure that your spices cling. A very convenient and useful product. If you are separating eggs to harvest the whites, mix them with equal amounts of water when you beat them–this makes the solution a little thinner and easier to use. Salt is applied separately. I always use kosher in the amount of 1-2 teaspoons per lb.
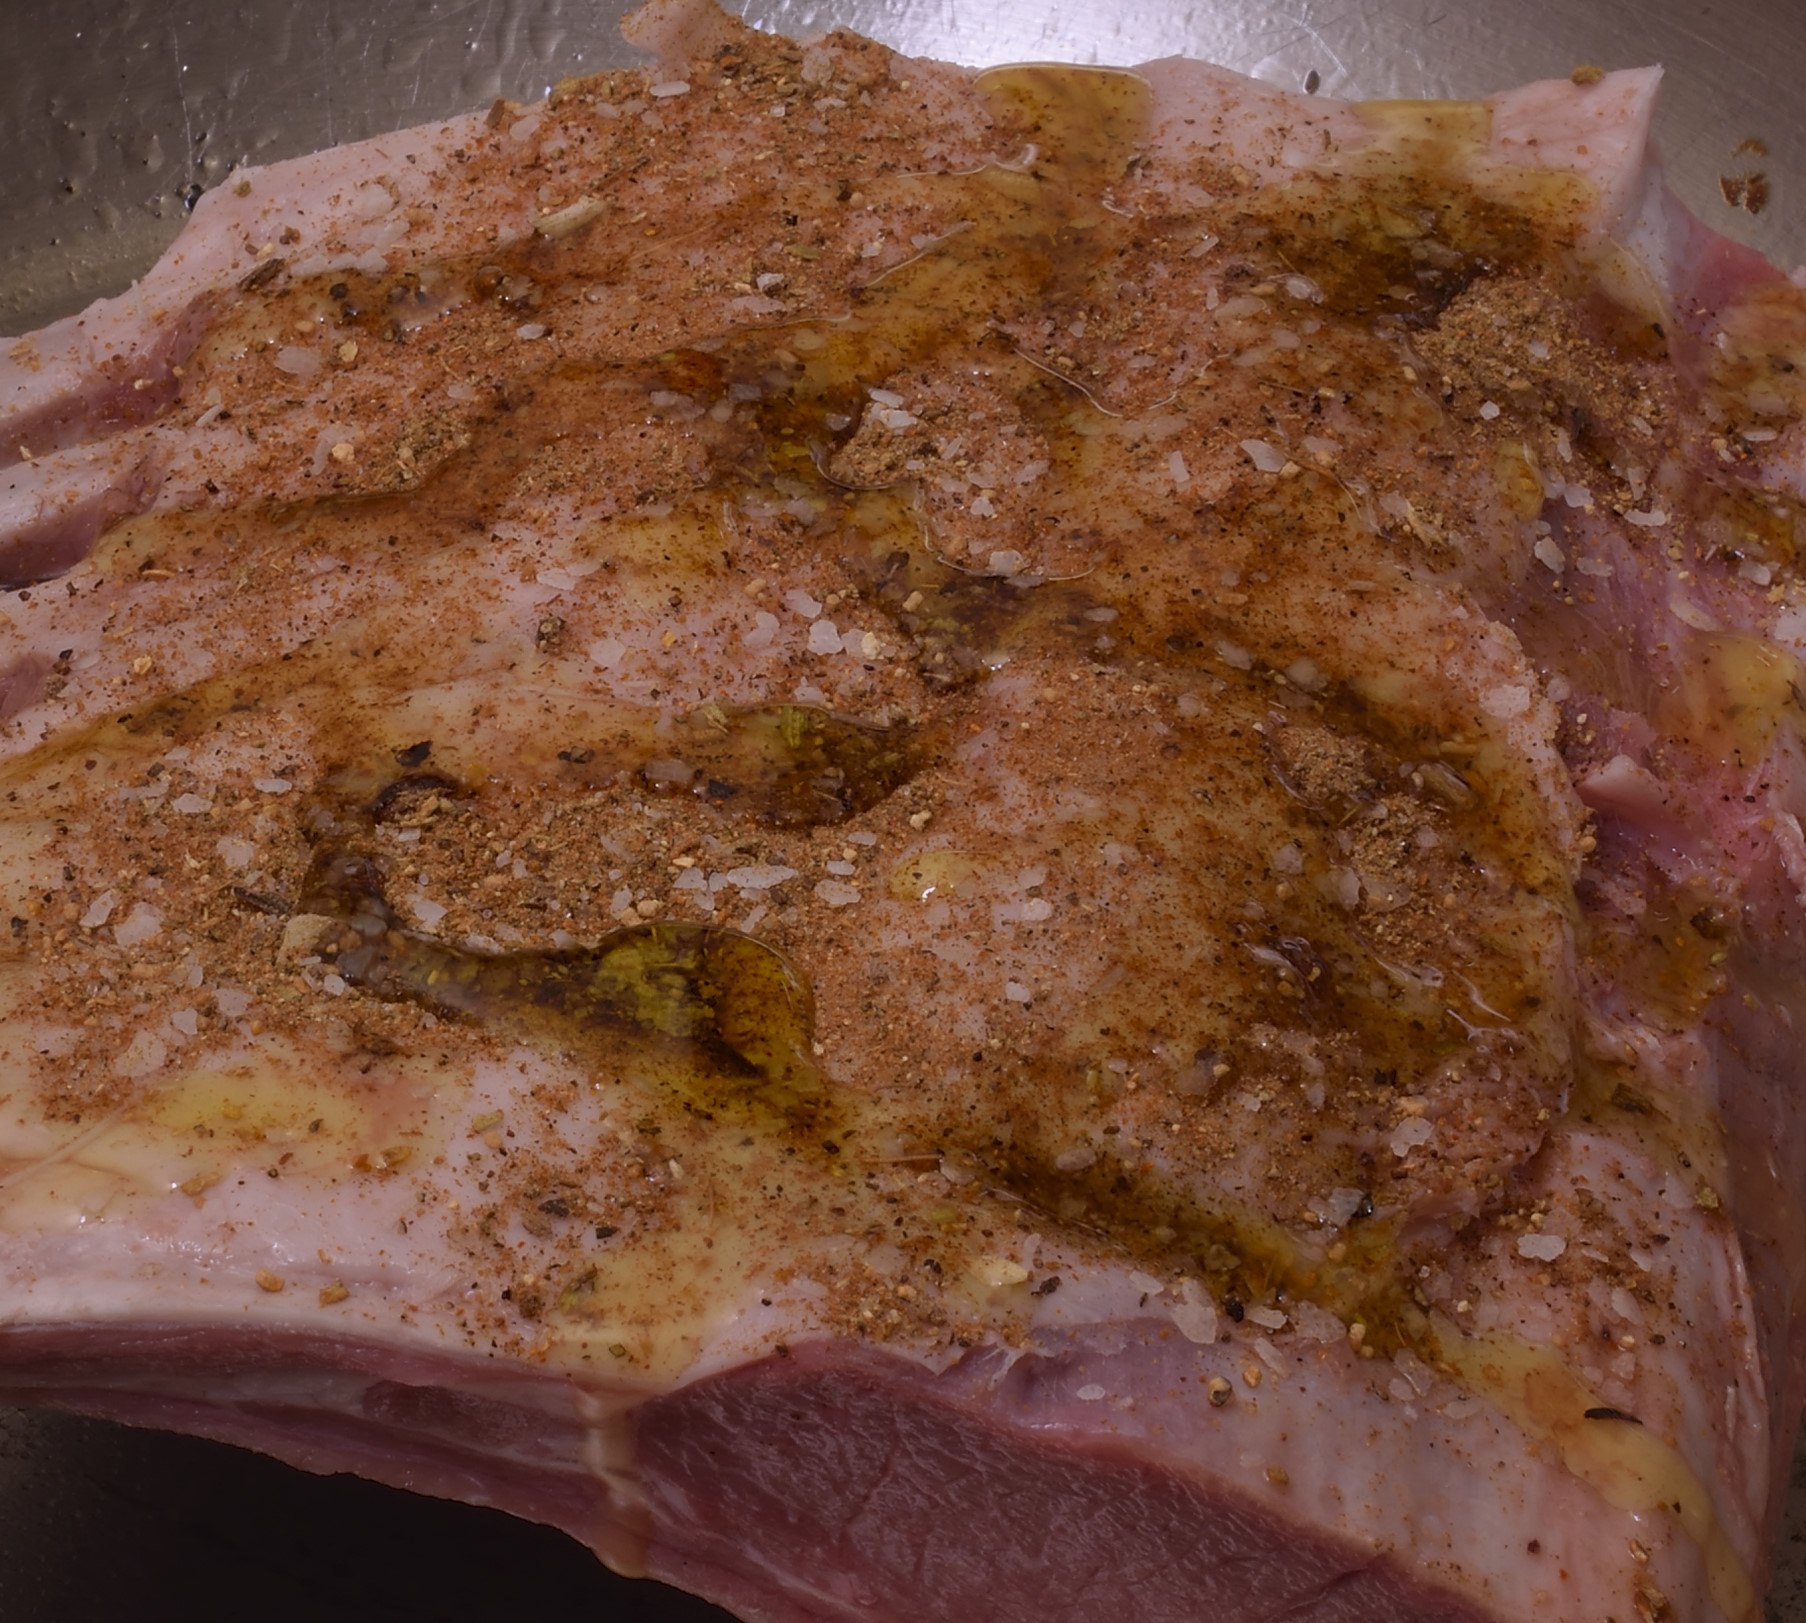
Drizzling or spraying with a little oil before searing prevents the seasoning from being left in the pan.
On to the persillé…
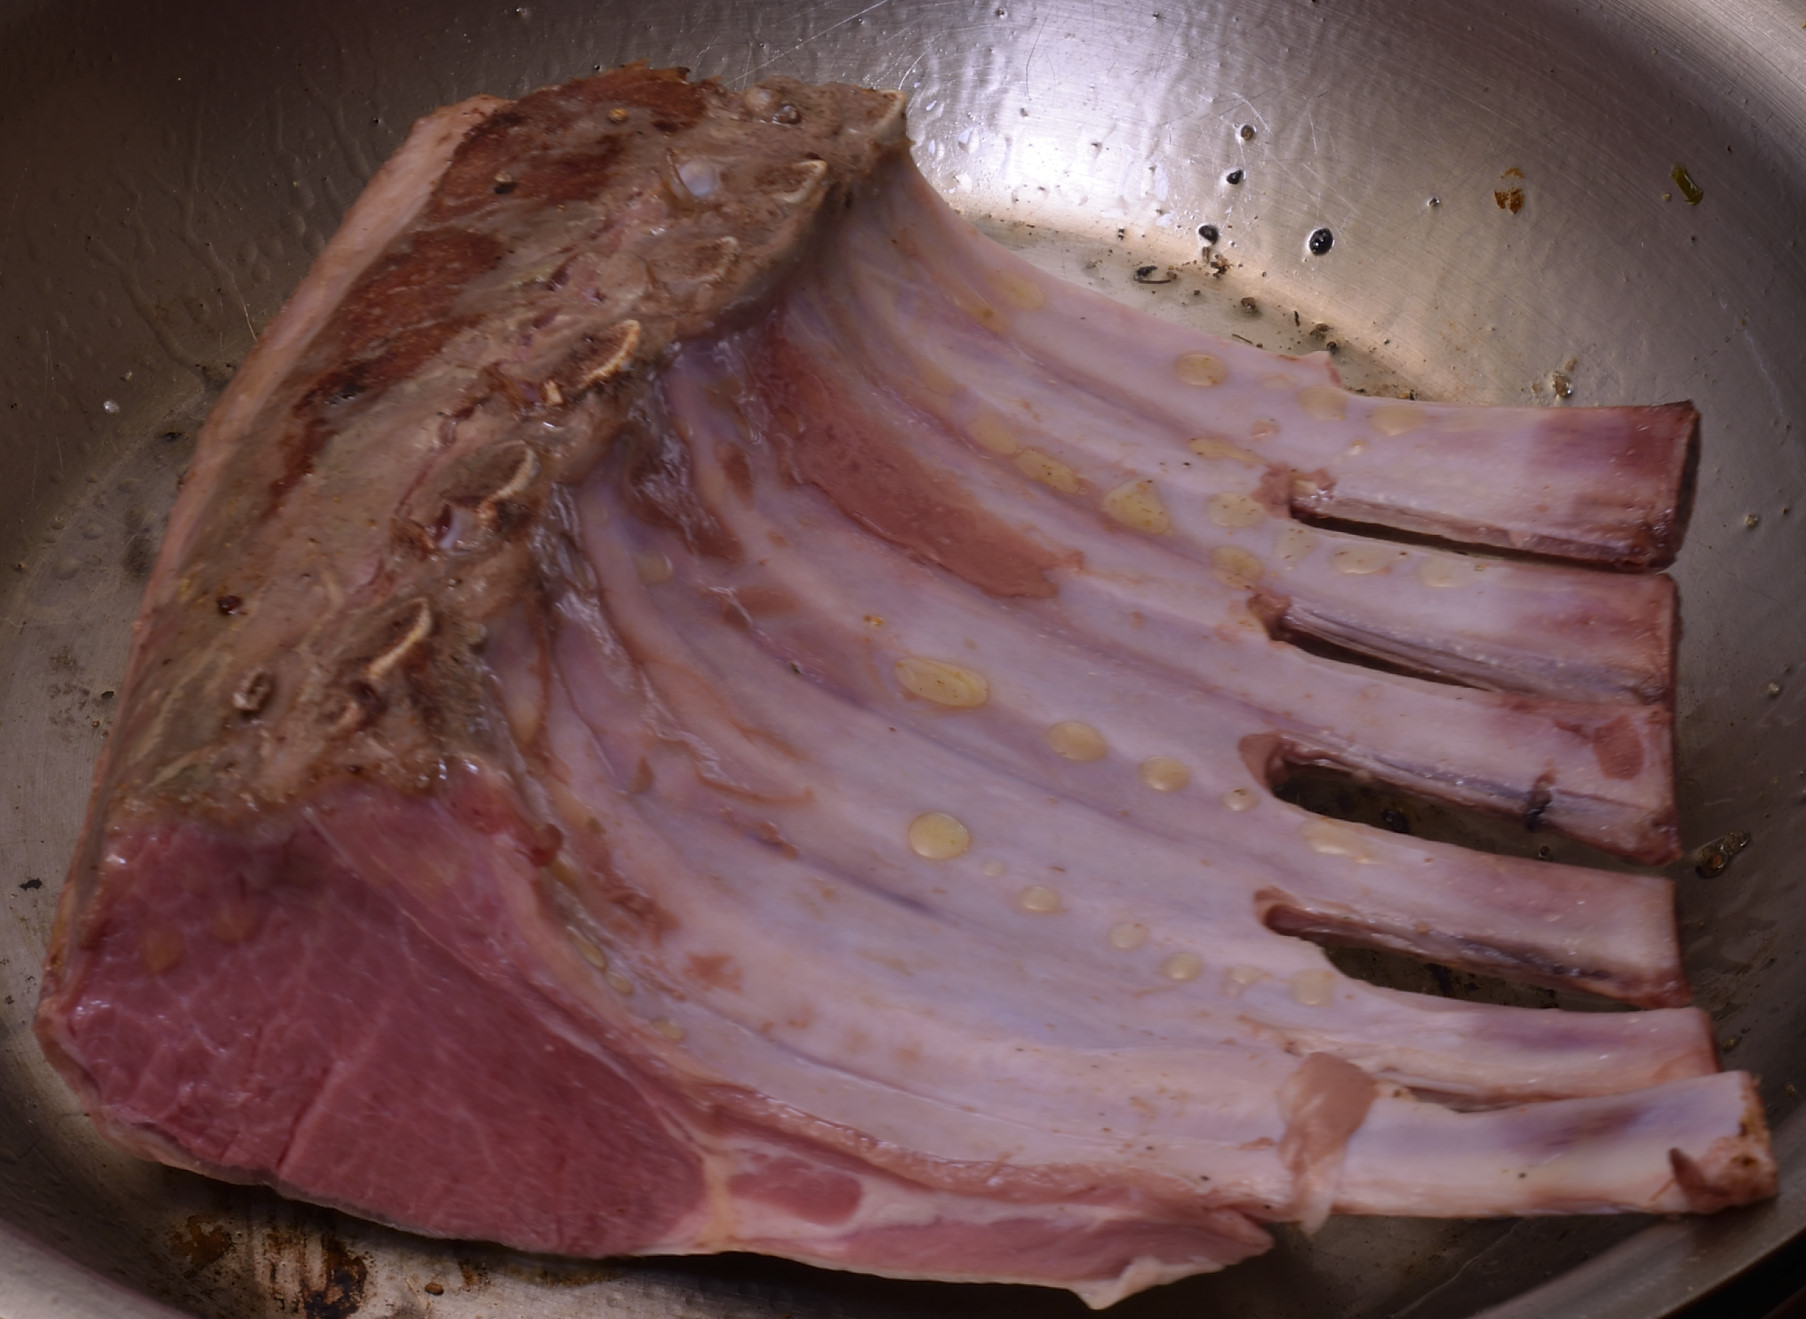
A thick bottomed saute pan preheated to about 350 F/176 C is the preferred approach. A few drops of oil in the pan too–sizzling means you have the right temp. Hissing/steaming sounds mean it’s too cool. Popping means it’s too hot. Adjust accordingly.
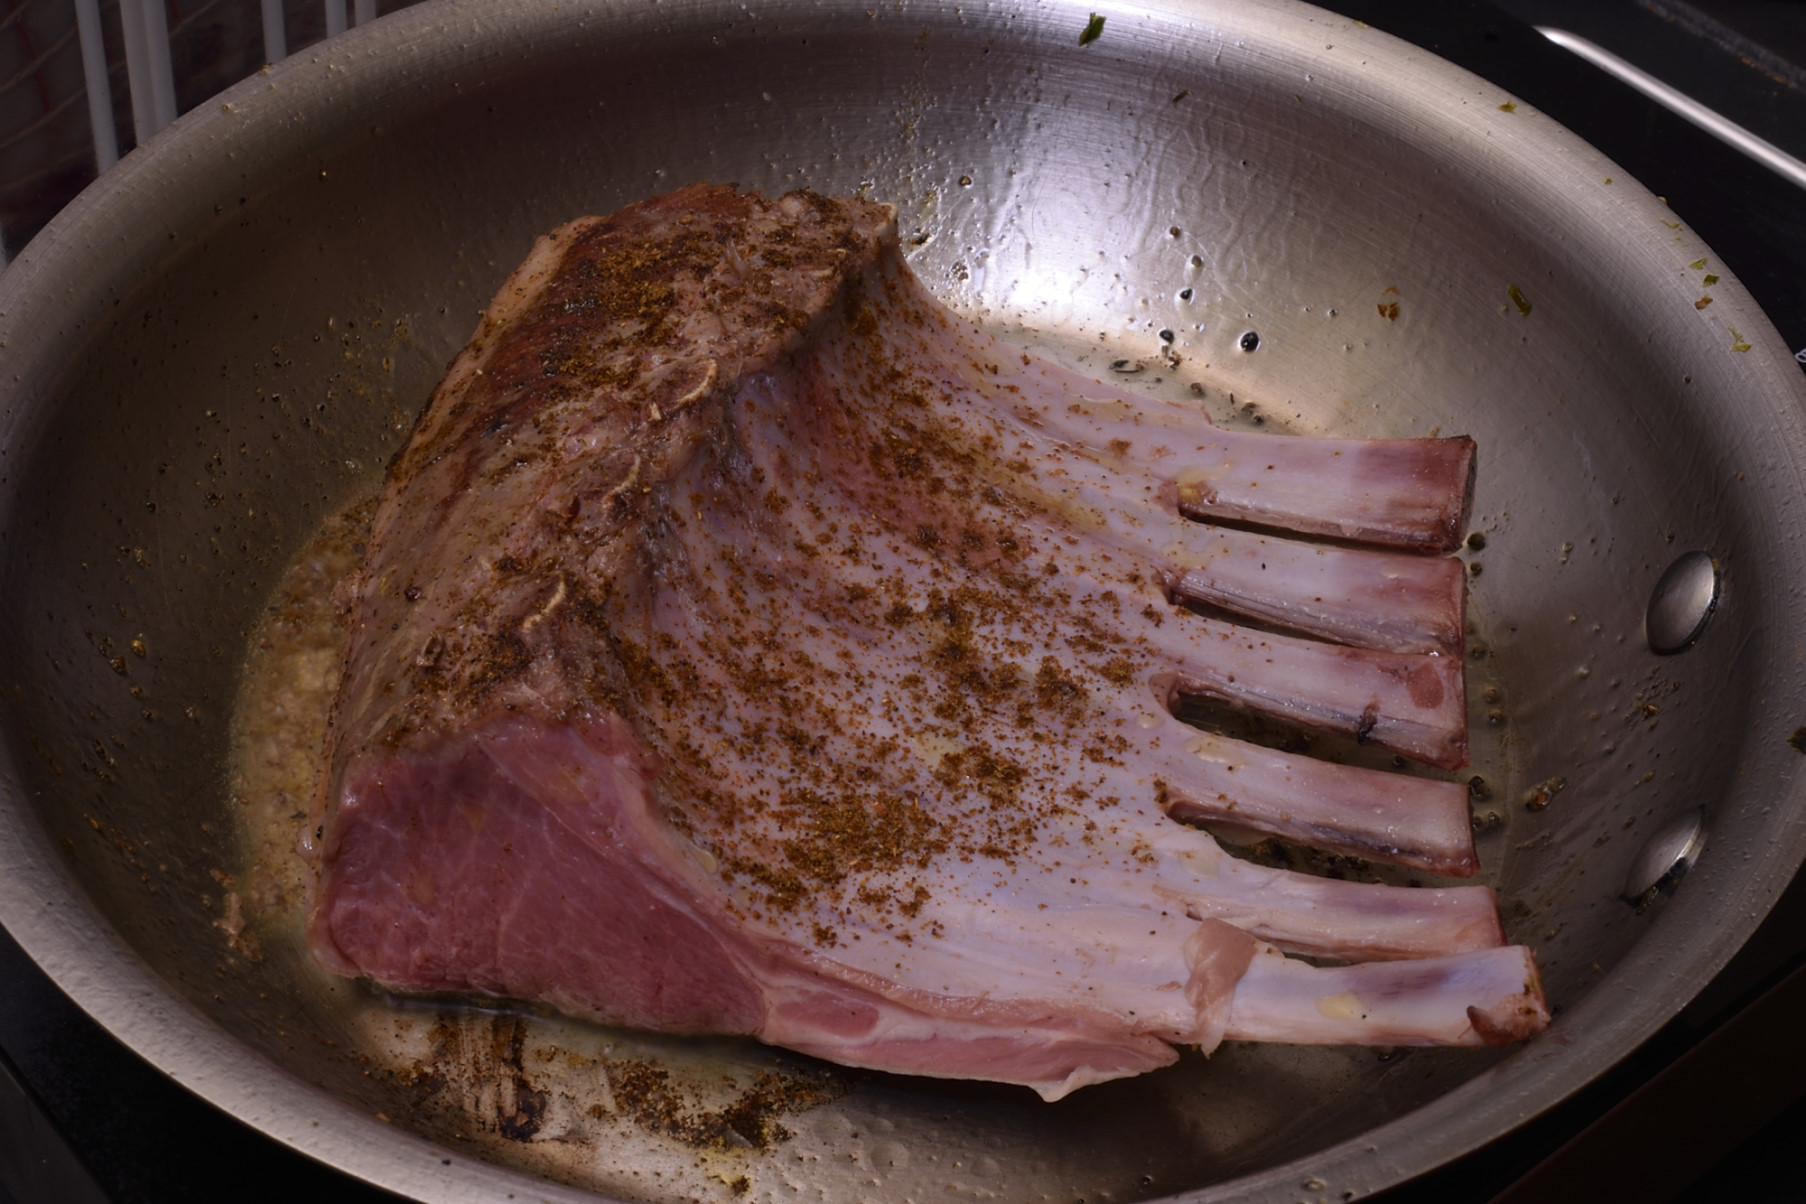
A little bit more seasoning as a matter of habit and ceremony. I might even put a bacon press or a small skillet on top to flatten the surface I’m searing. Sneaky.
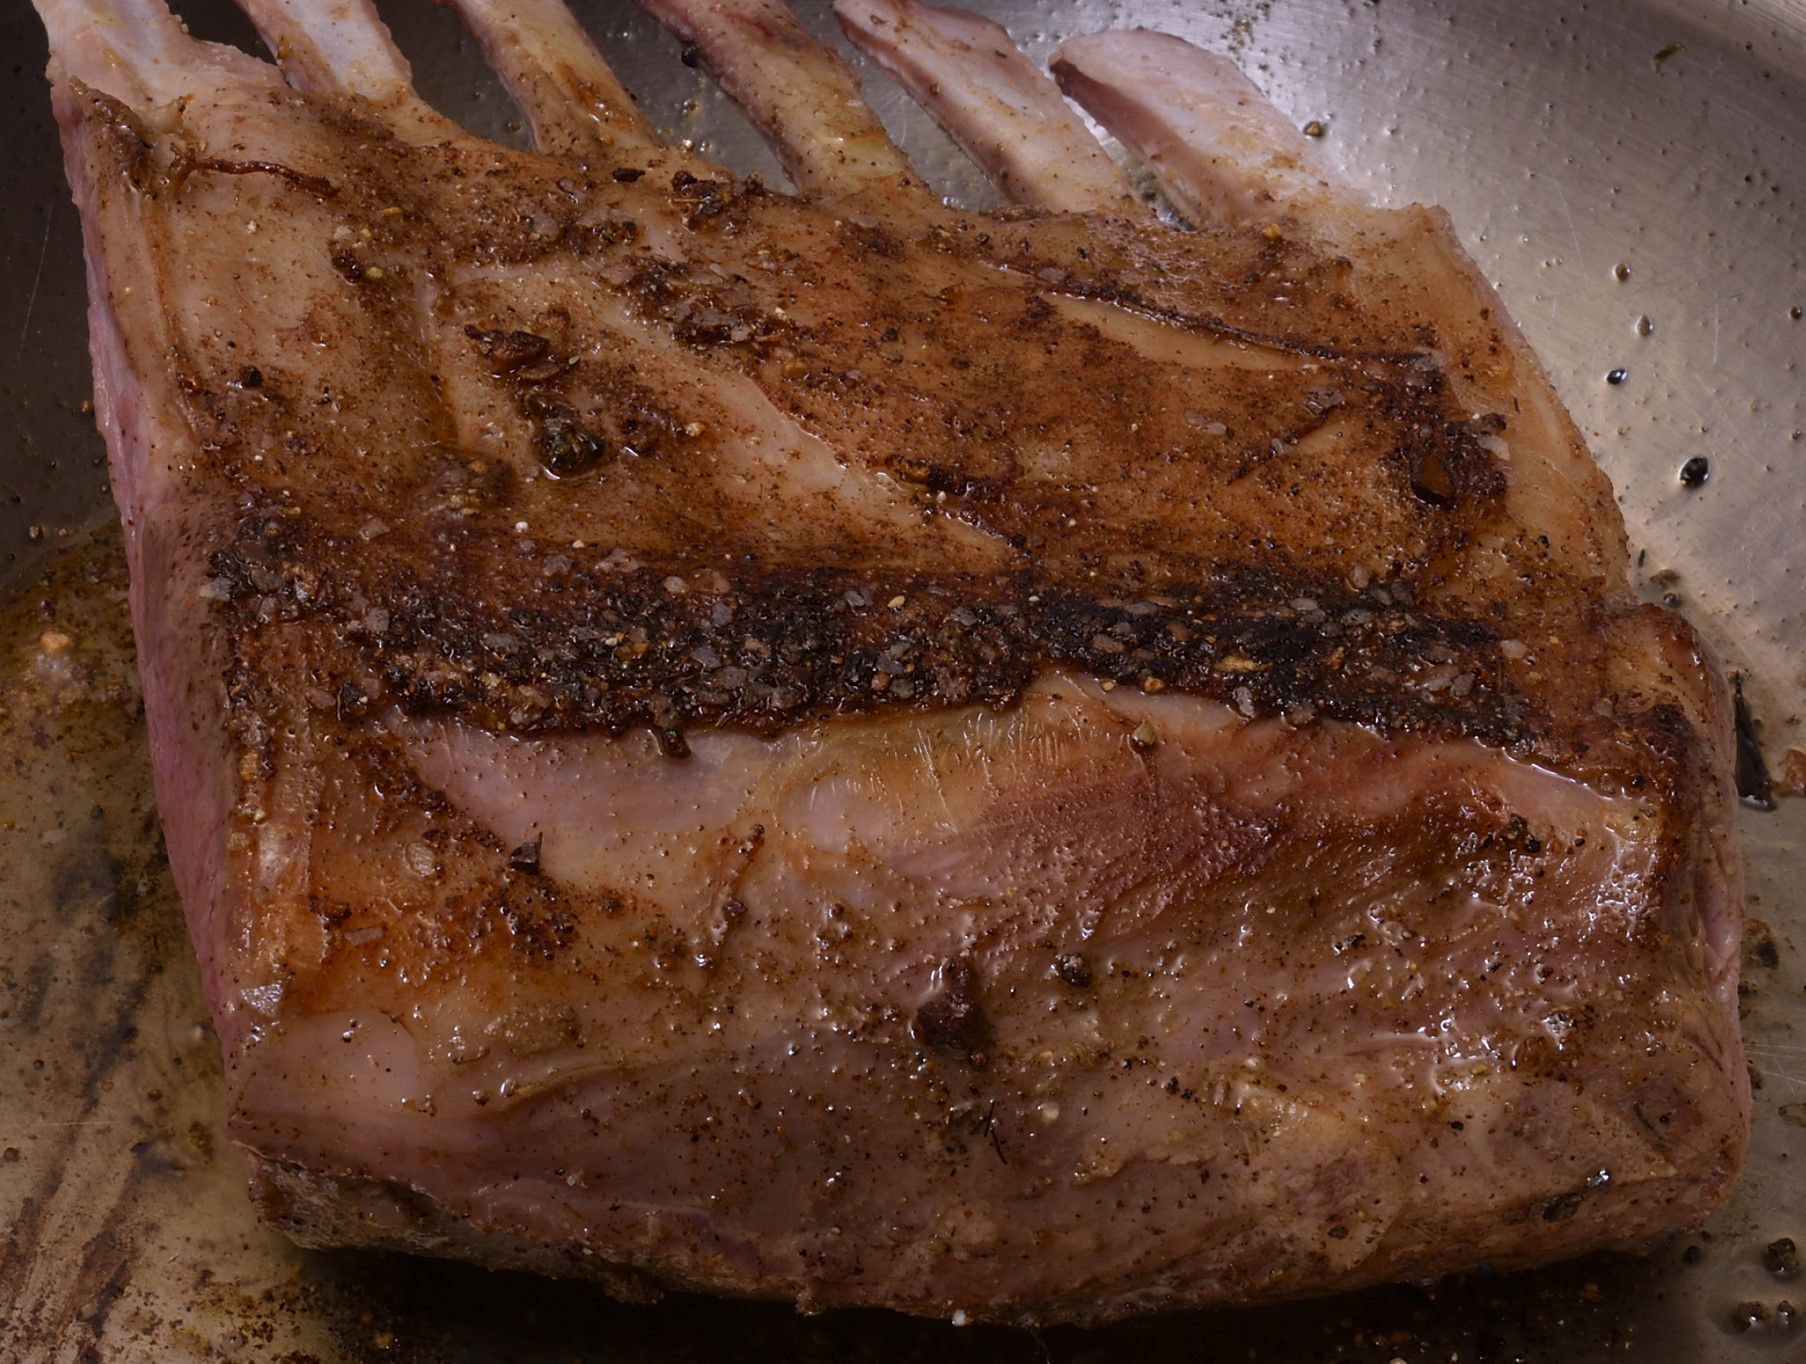
The browning process goes fast–lamb fat tastes bitter when it burns because it is kind of “waxy” (stearic acid). Usually only a minute or even less. Listen. Watch.
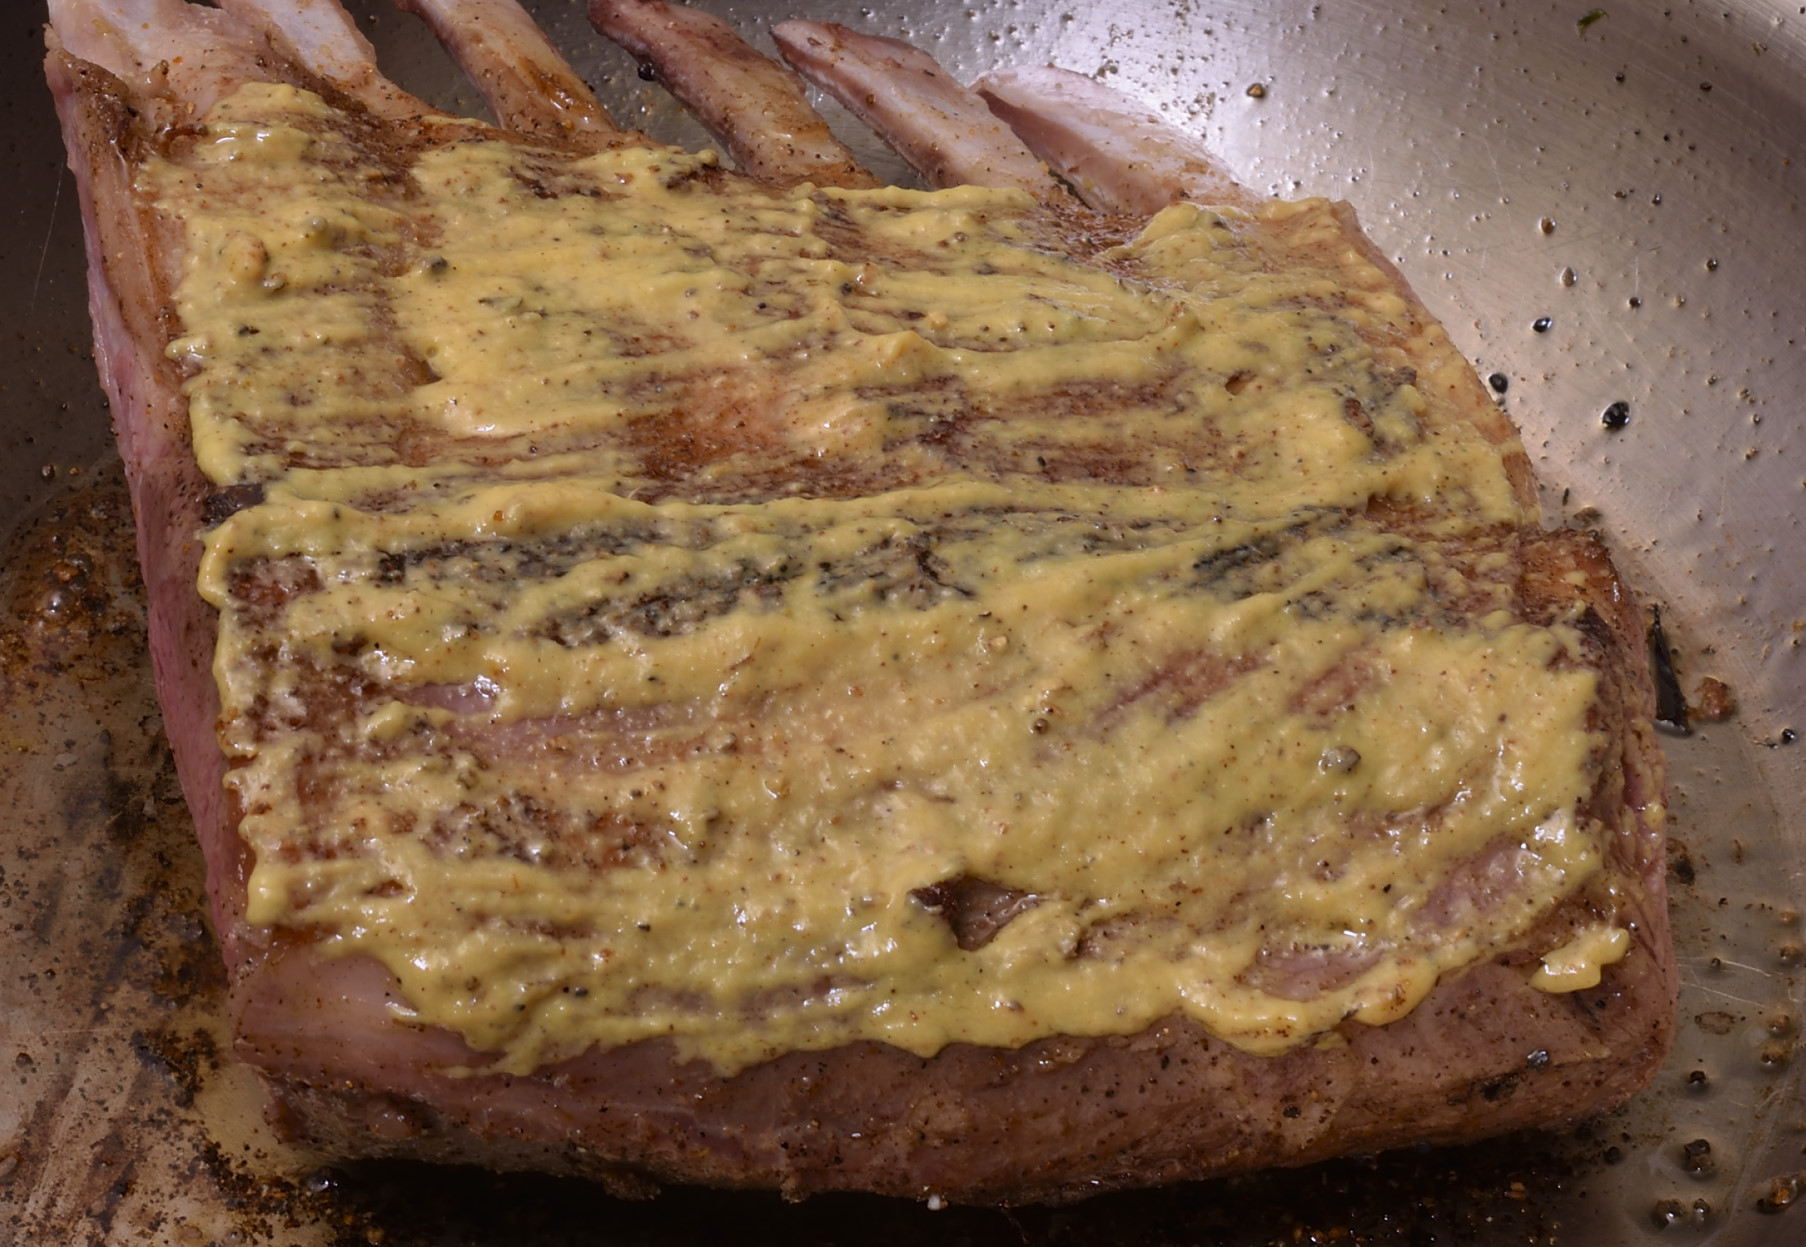
Paint with mustard, using a pastry brush, butter knife, clean hands, etc. Not much.
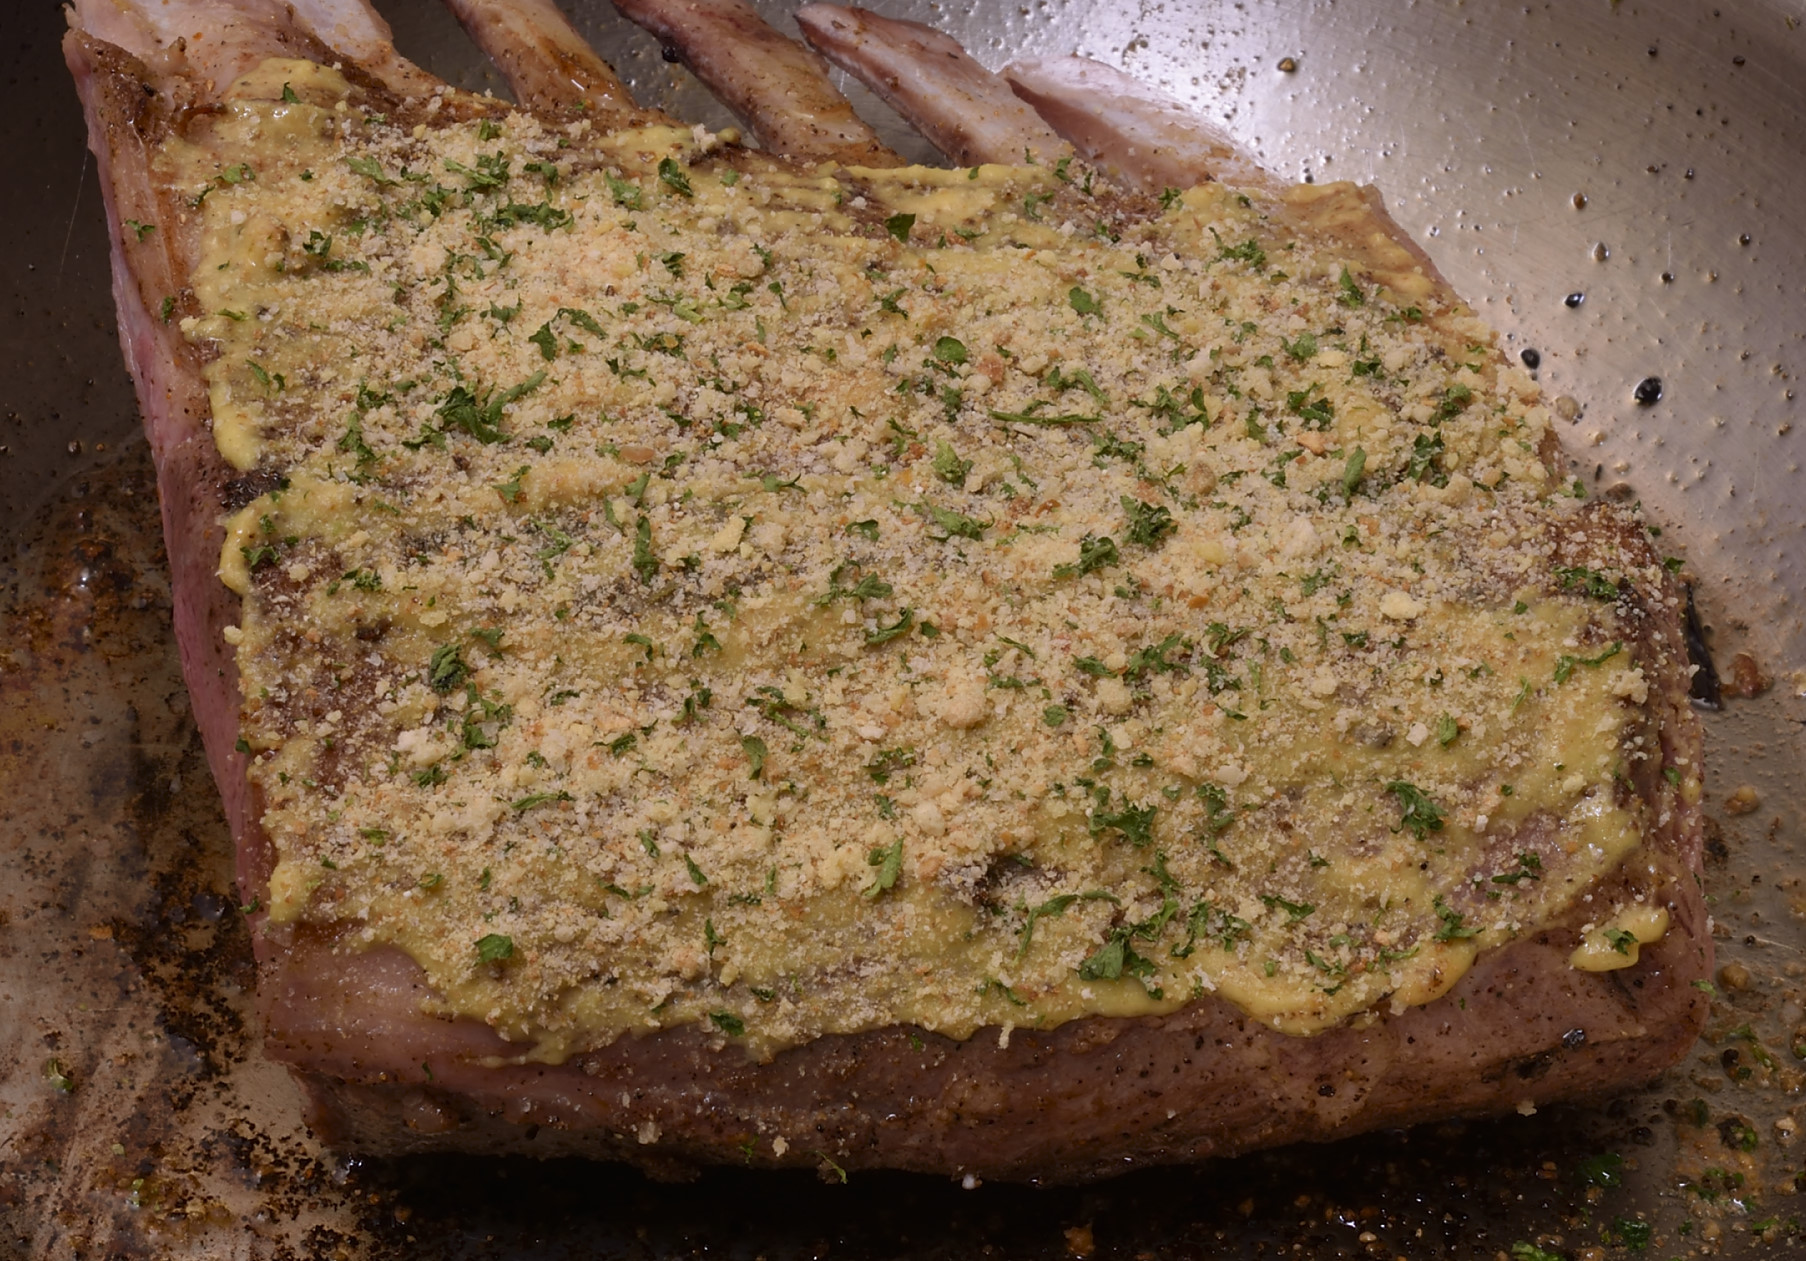
Plain crumbs mixed with some fresh or dried parsley and garlic powder. I like parsley.
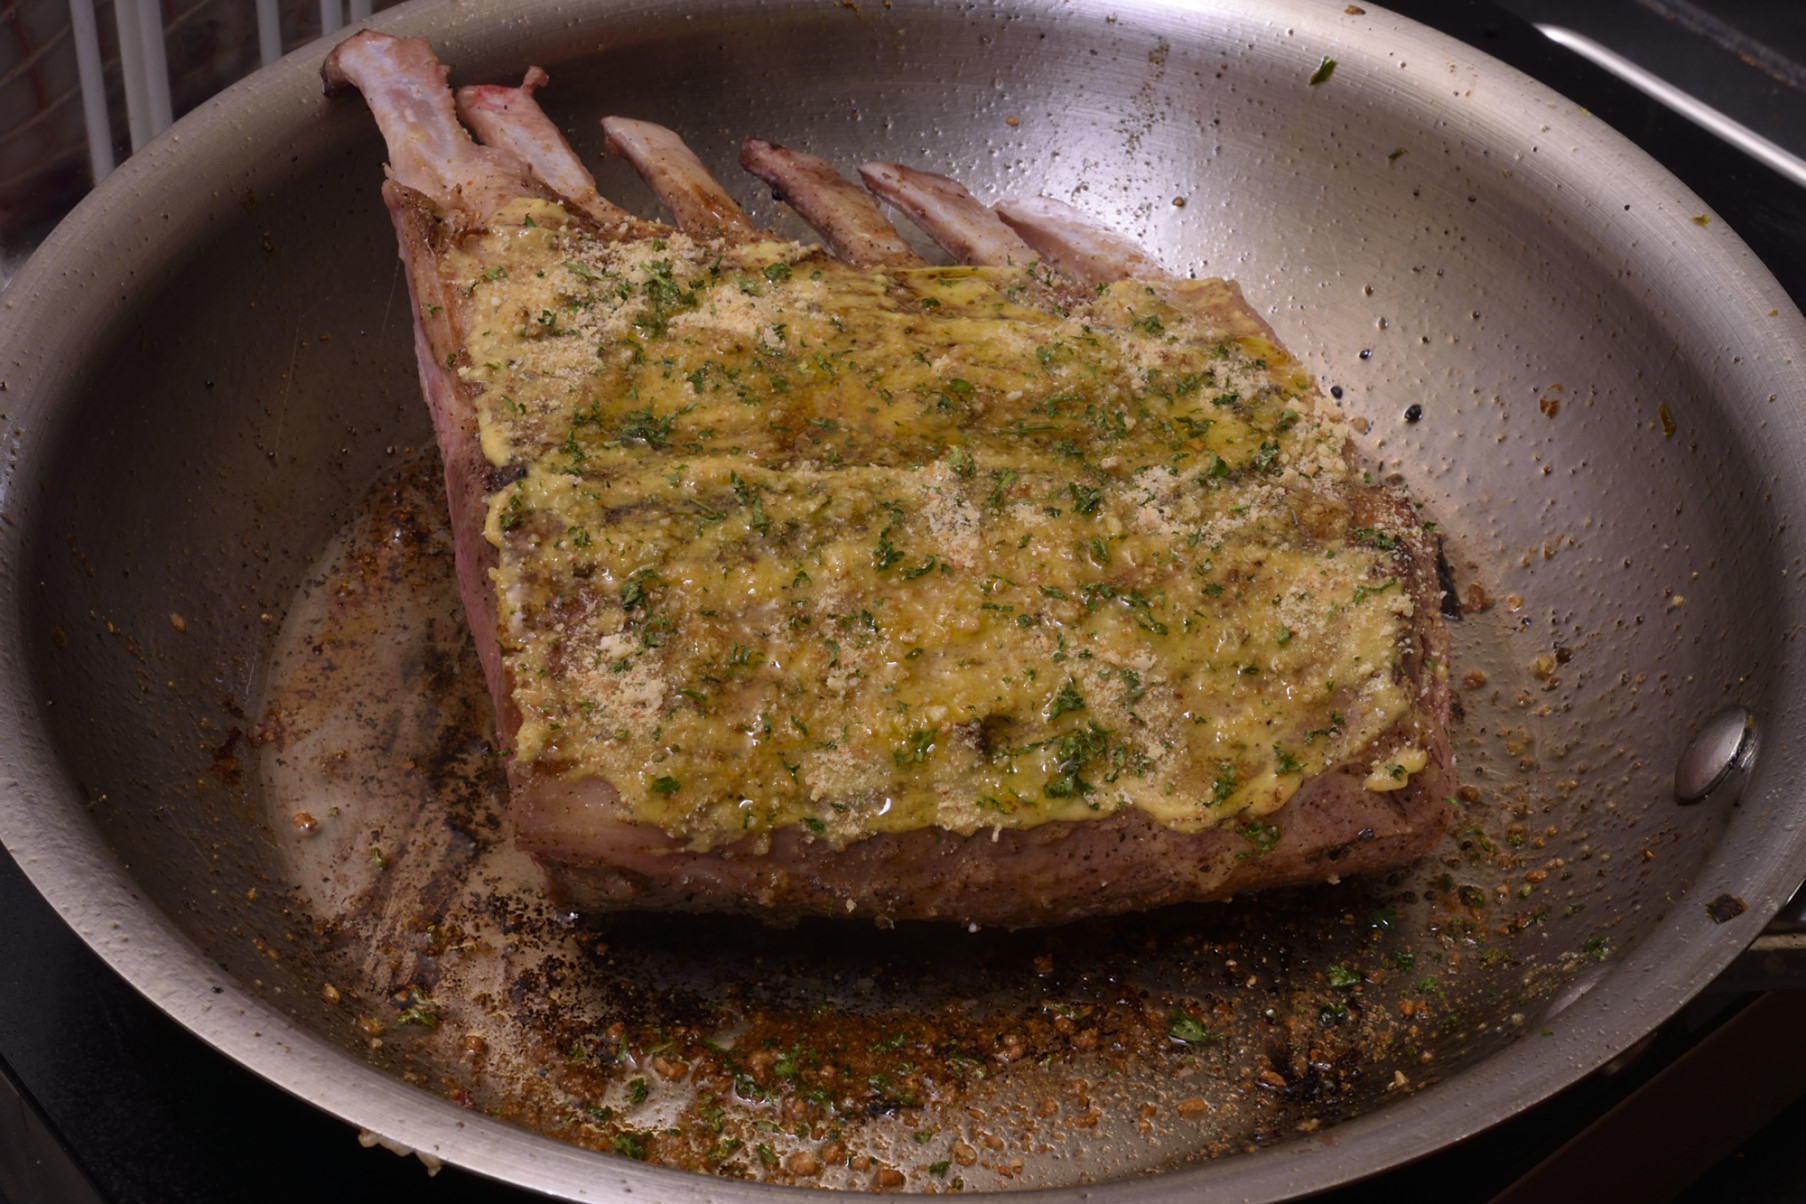
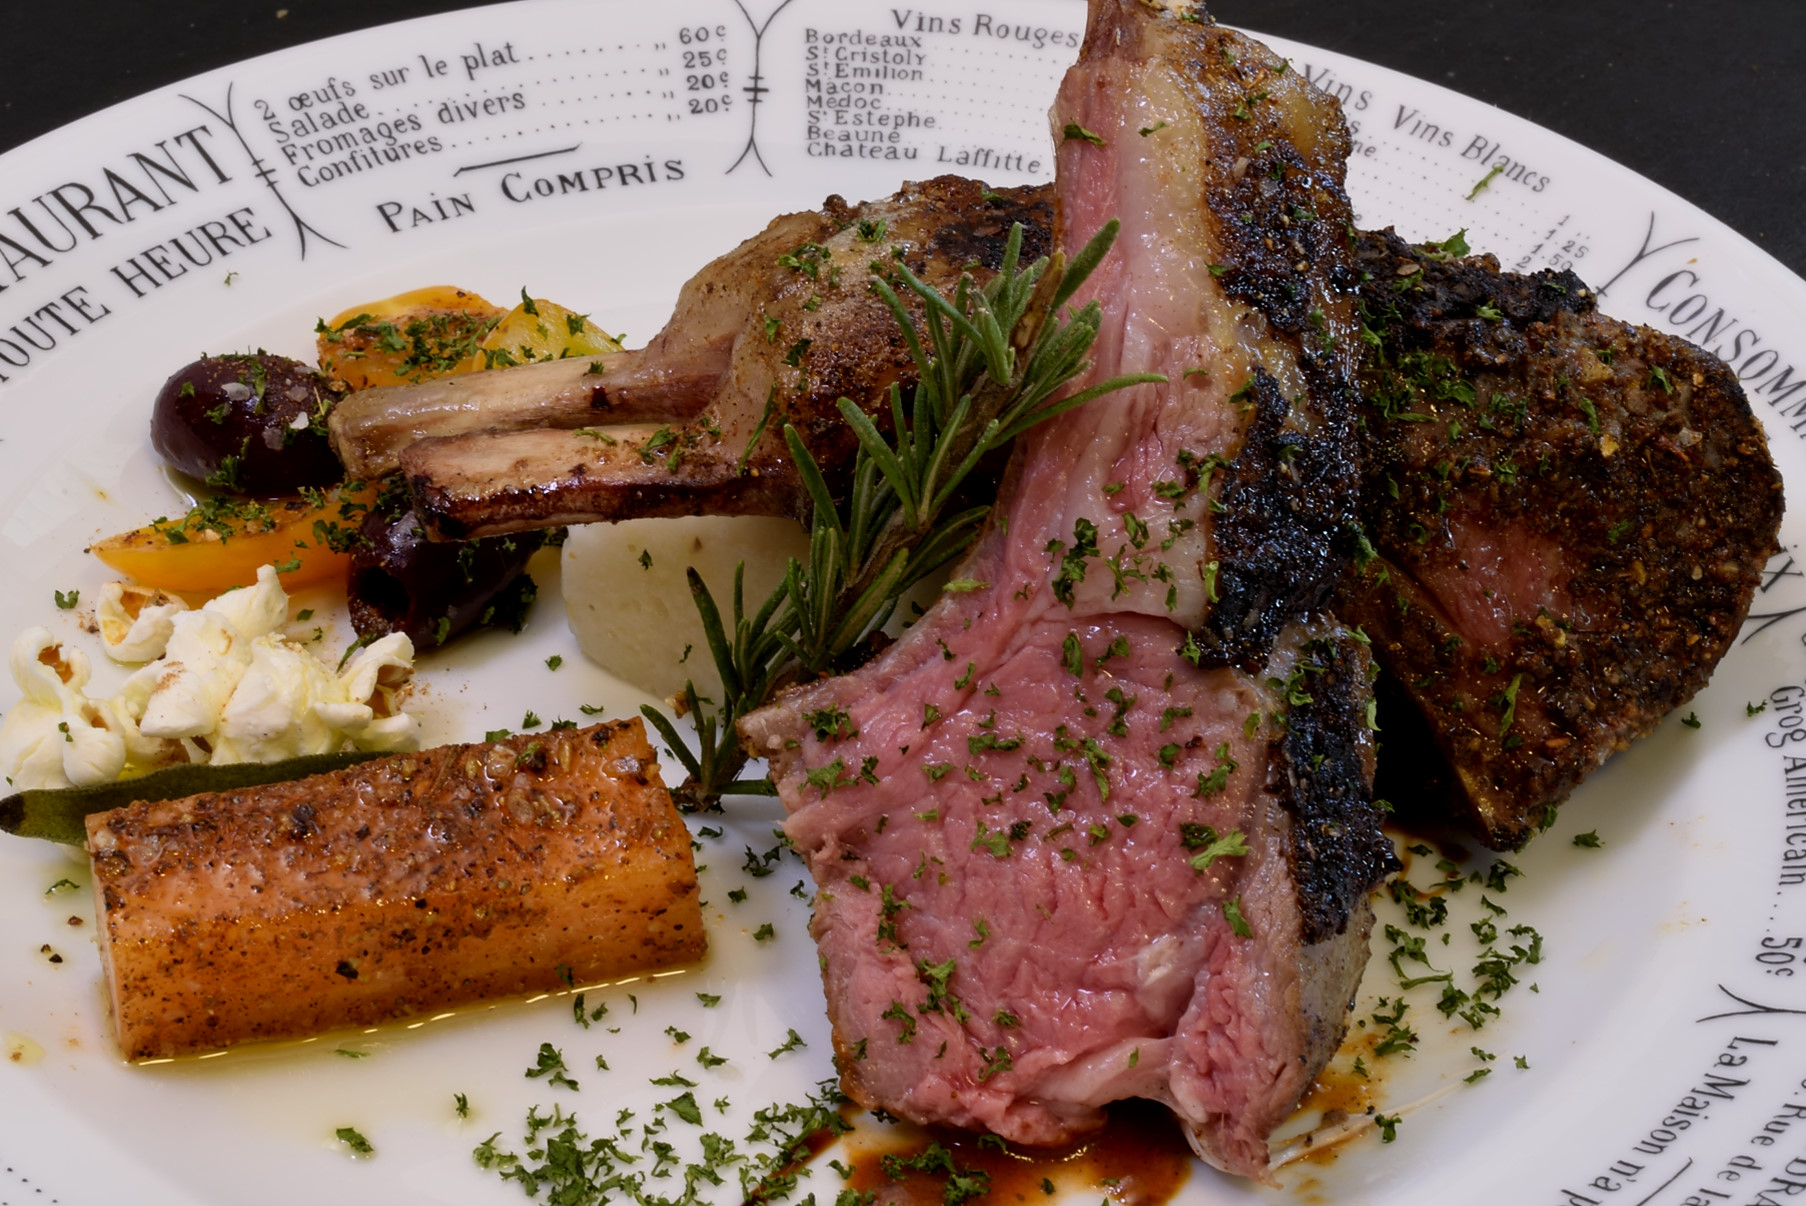
Drizzle with a little oil to secure the crust. Preheat your oven to 400 F/200 C or thereabouts. Ten or fifteen minutes will give you this:
Very forgiving, but there’s no shame in using a probe thermometer to make sure the center is at least 125 F/52 C–that’s mouth hot for most people. Anxiety is the bane of the novice. Let the thing rest for a couple of minutes on the board, it will be so much easier to carve.
Once you’ve done that…or wait. BEFORE you do that…
Cheater tip:
Carving, cooking and reheating the potatoes/vegetables takes a lot more time than the lamb spends in the oven. People wonder how restaurant chefs assemble those elaborate presentations, but it’s the opposite of what most of us imagine.
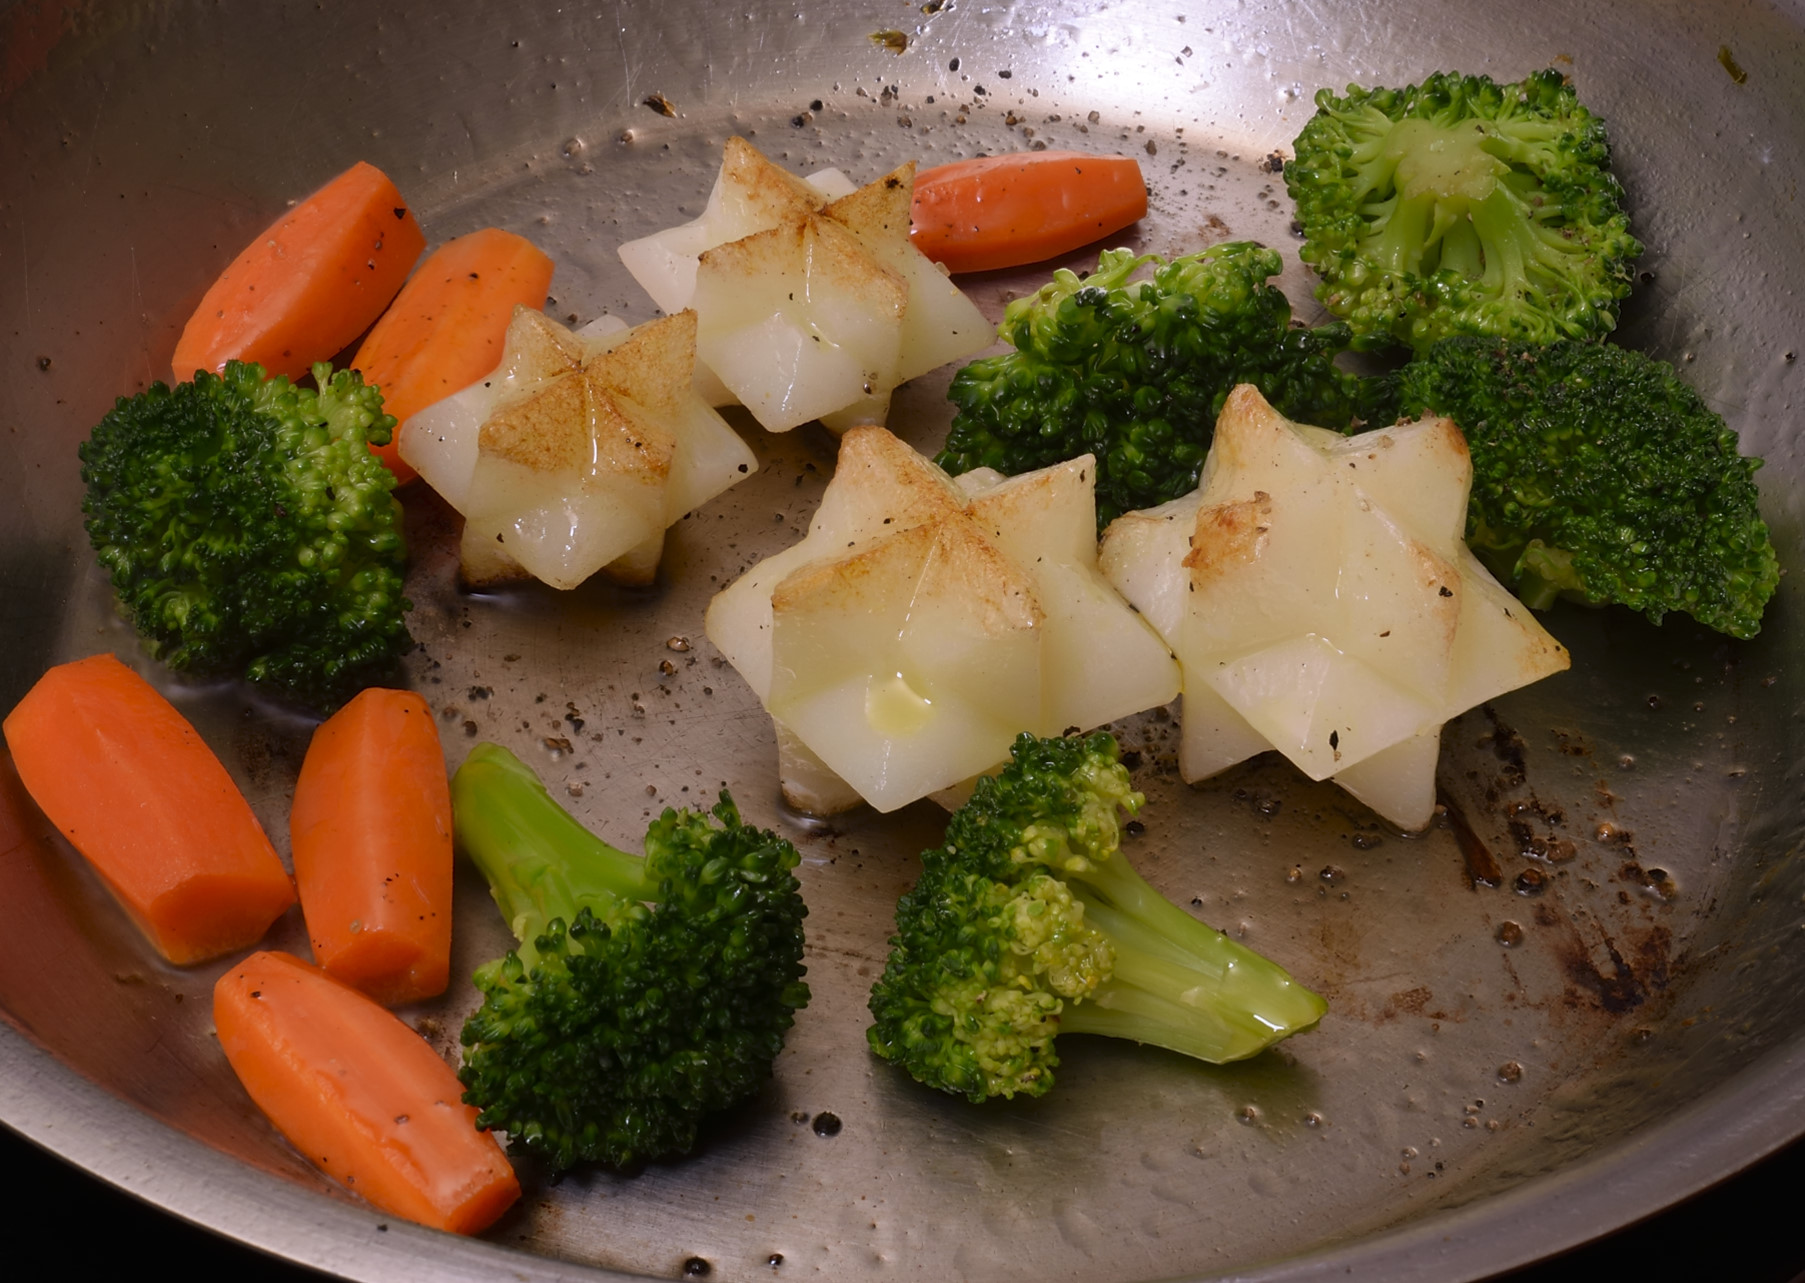
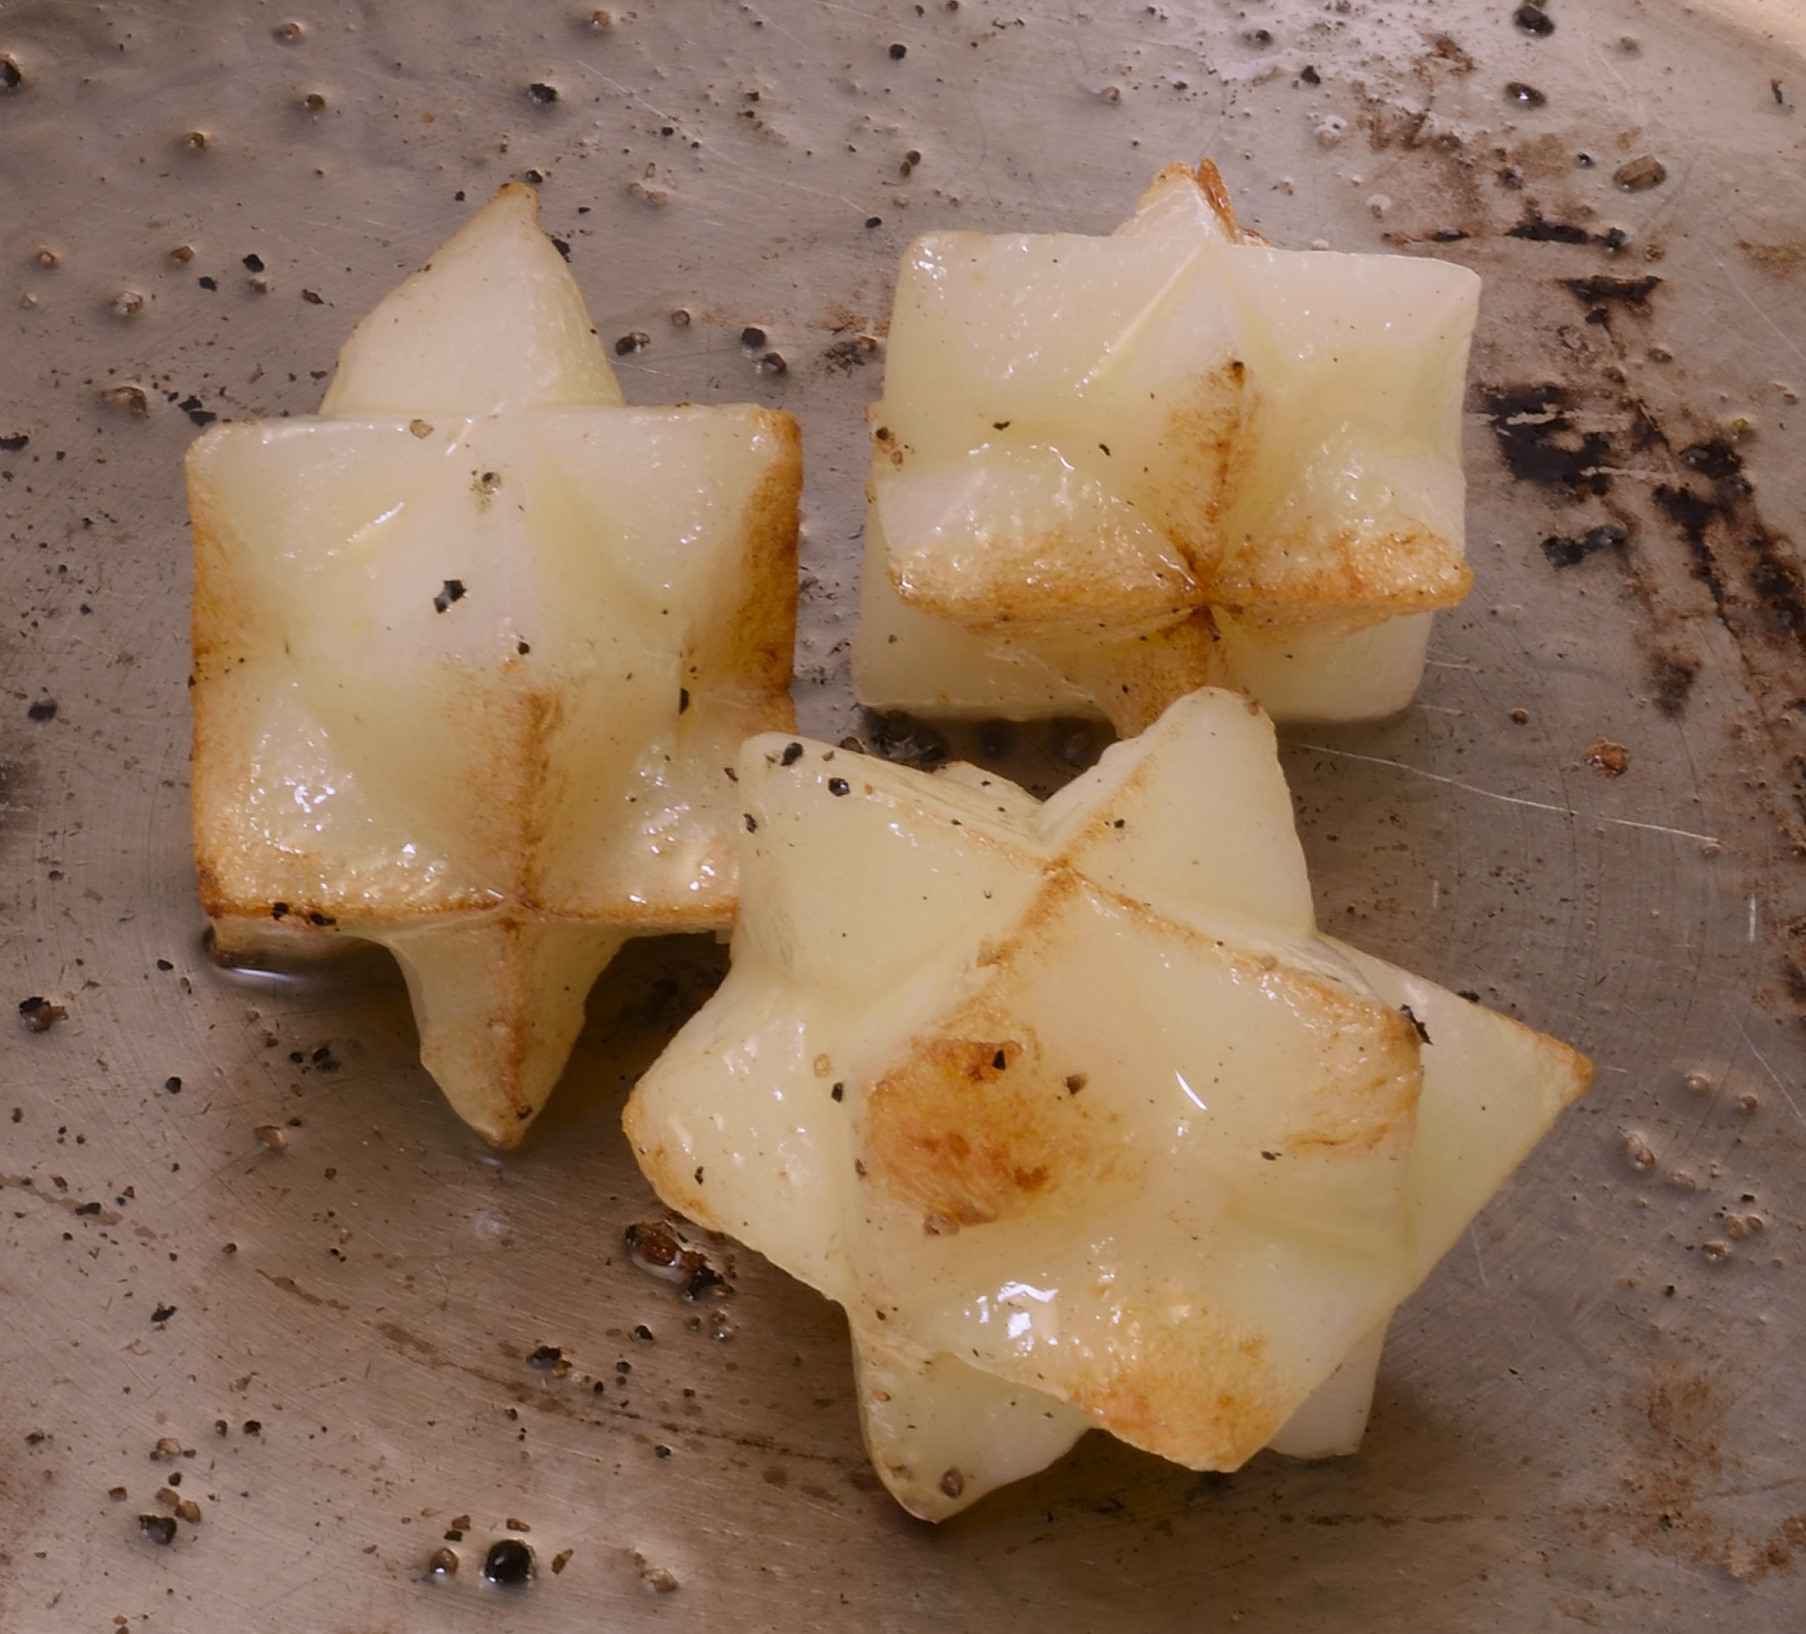
All of these vegetables were shaped and then blanched in boiling water in advance. Then, they are shocked cold in ice water, drained well and kept chilled. By the time the rack goes IN the oven, vegetables need to be “ready to go.”
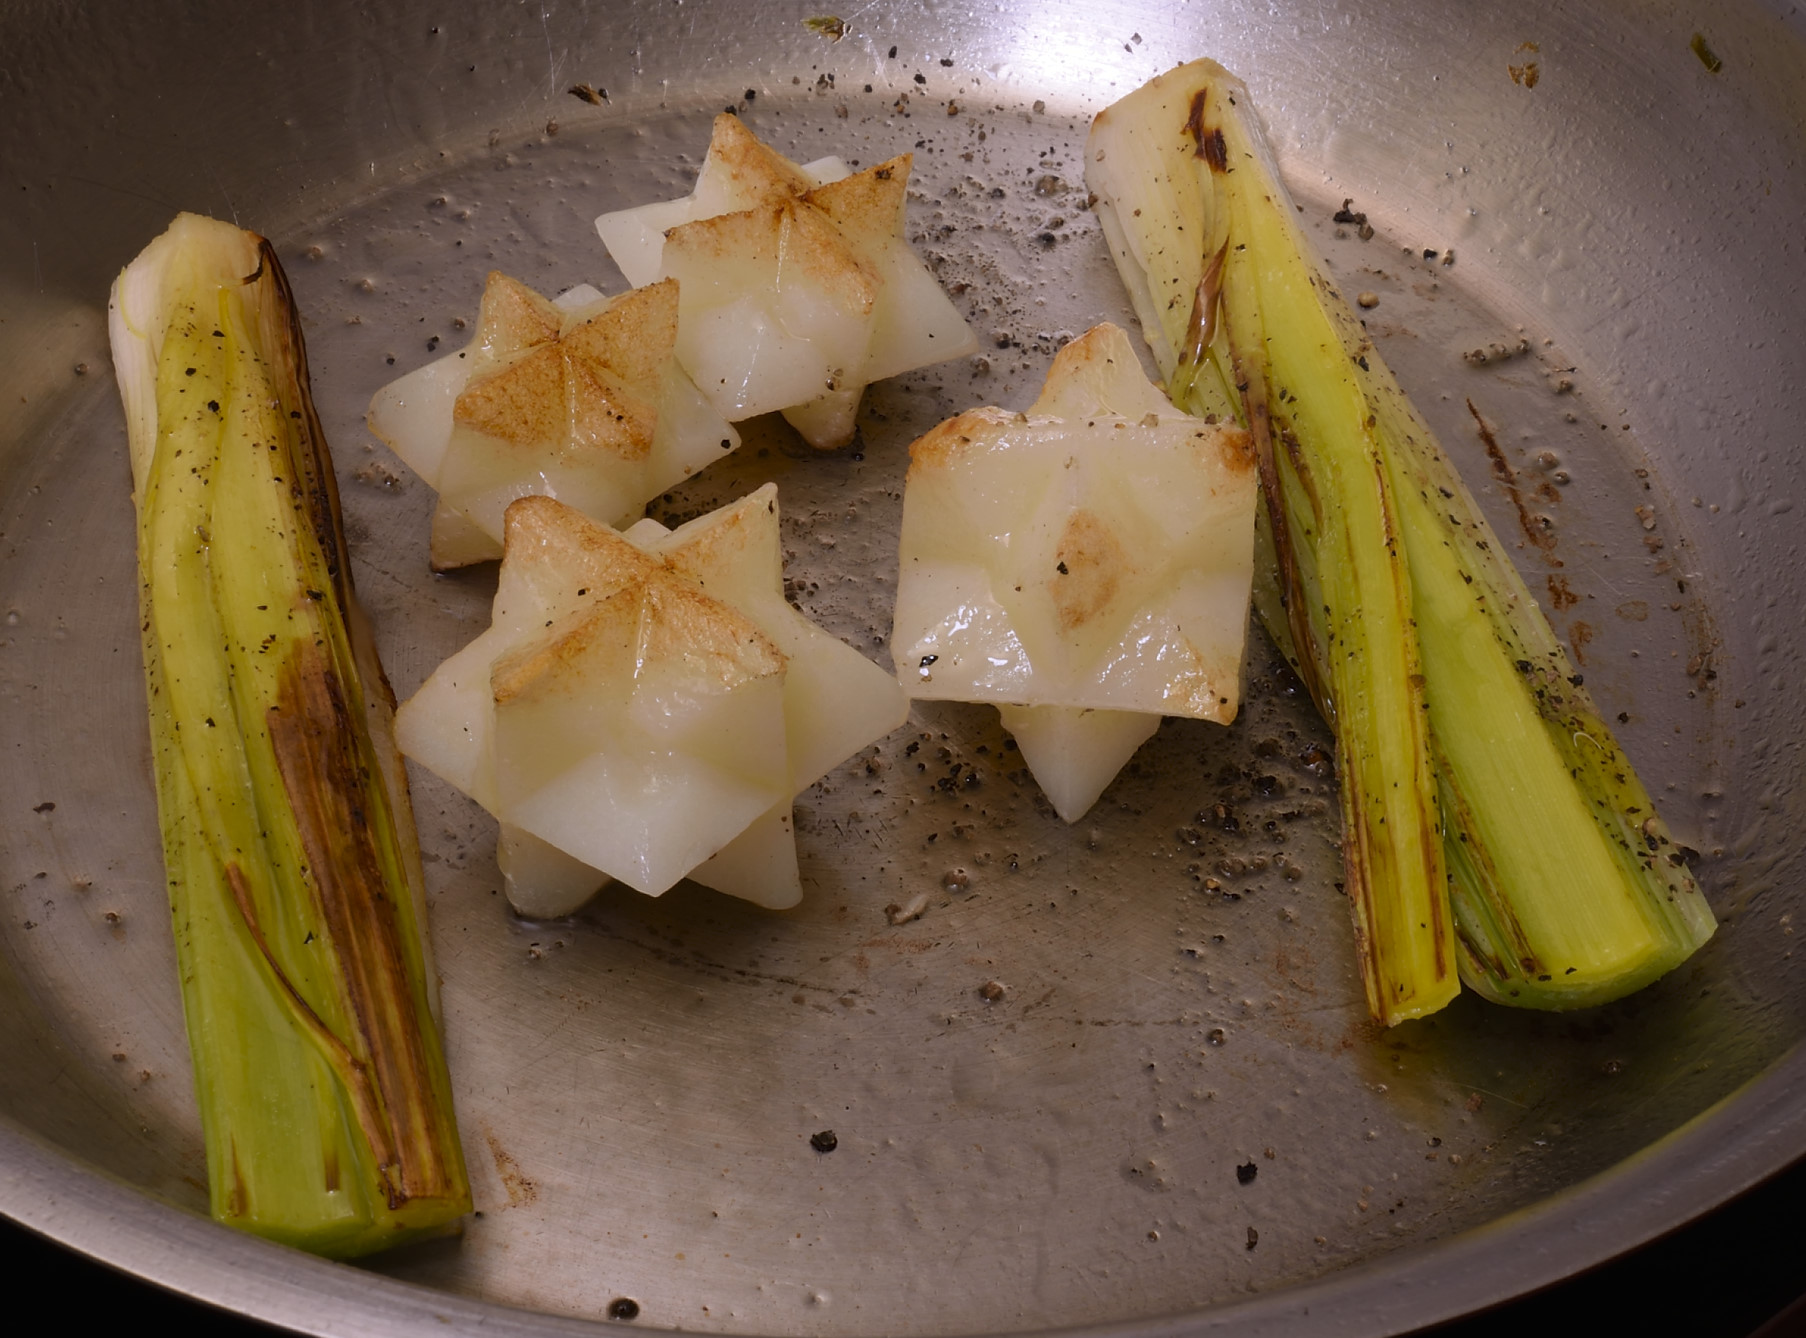
While the rack is in the oven, I season the vegetables and toss them in a hot pan with a little bit of oil. You can use butter, but it tends to burn. Chefs hate it when that happens. The vegetables are kept warm on the back of the stove or in a separate oven which I am fortunate to have. I made a little video demonstrating these potatoes, you can see it HERE. The vegetables wait for the lamb–not the other way around. The protein should always be the last thing to hit the plate.

I keep plates in the warming oven too, or they can be heated in the hot oven while the roast rests. Stovetop Demi, or one of the equivalent packaged versions. Some of them are really not so bad, and a lot easier than making it.
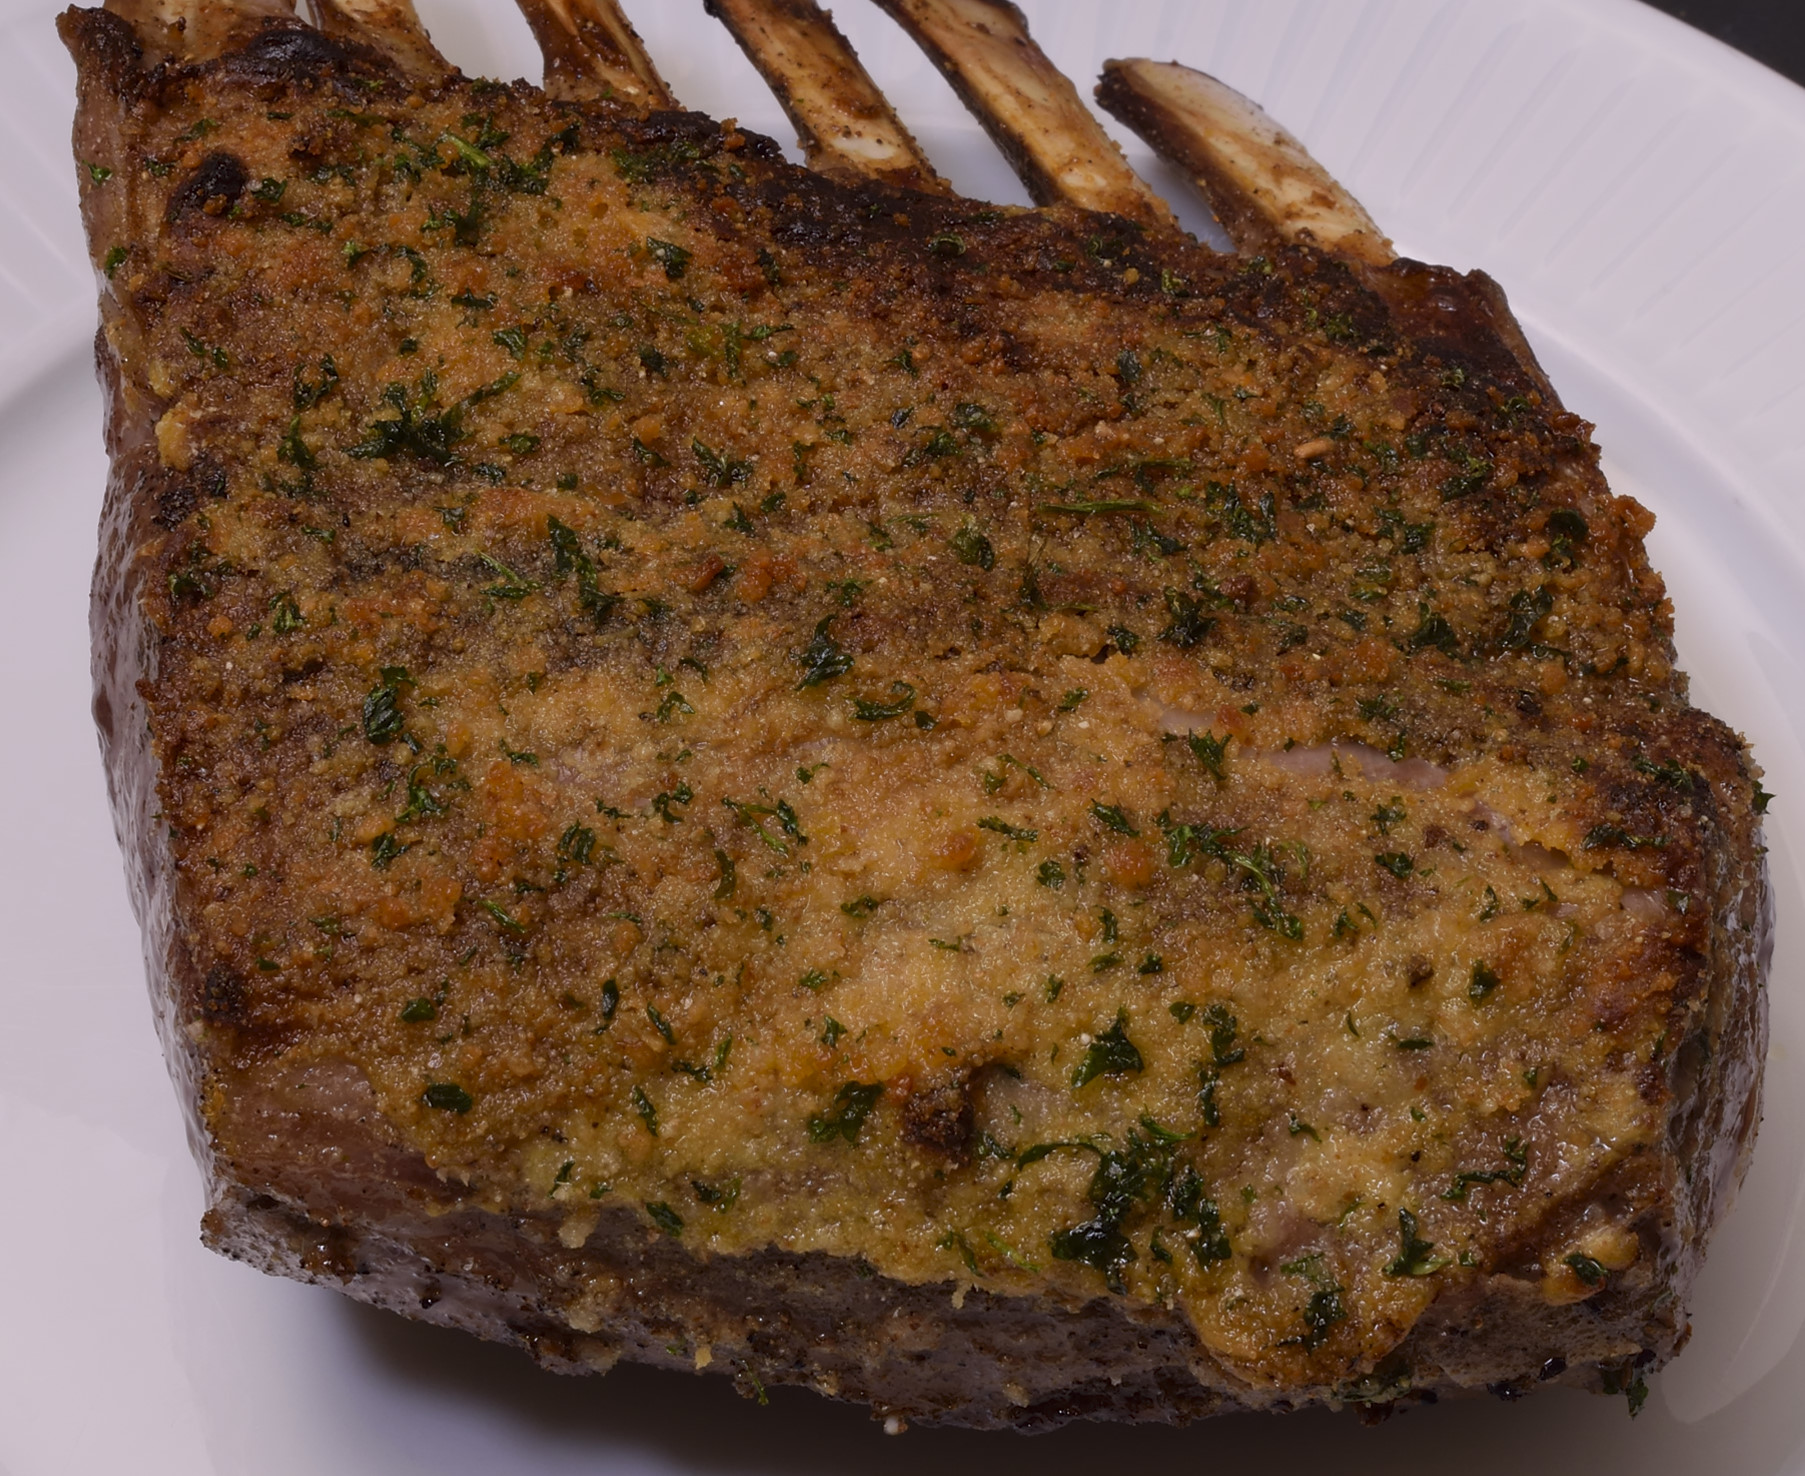
Rosemary is commonly associated with lamb and usually pretty easy to acquire. There are no rules. I like sage, too, it’s a bit stronger. Thyme is great, but harder to handle and it doesn’t keep real well. Parsley always.
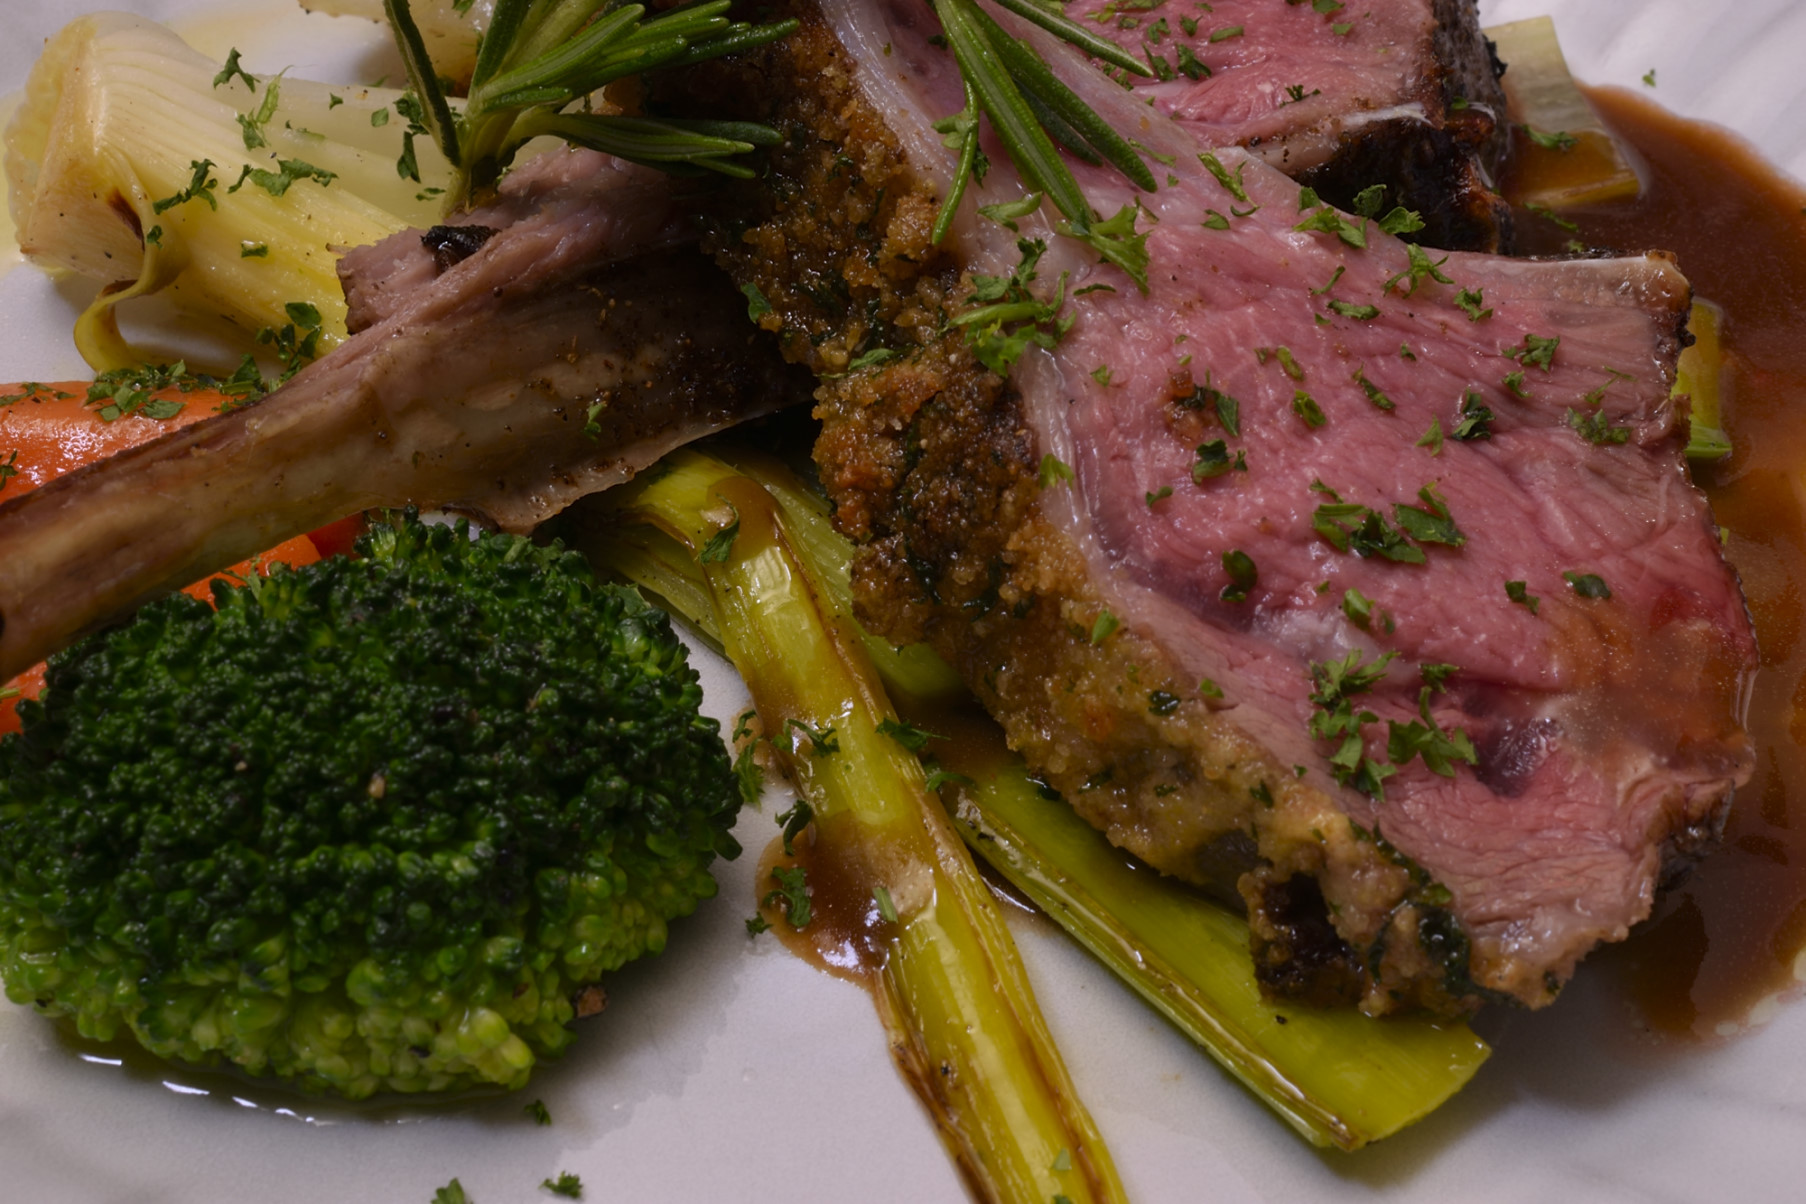
The crust is evident and brings a lot of flavor and character.
What’s not to love?
But wait
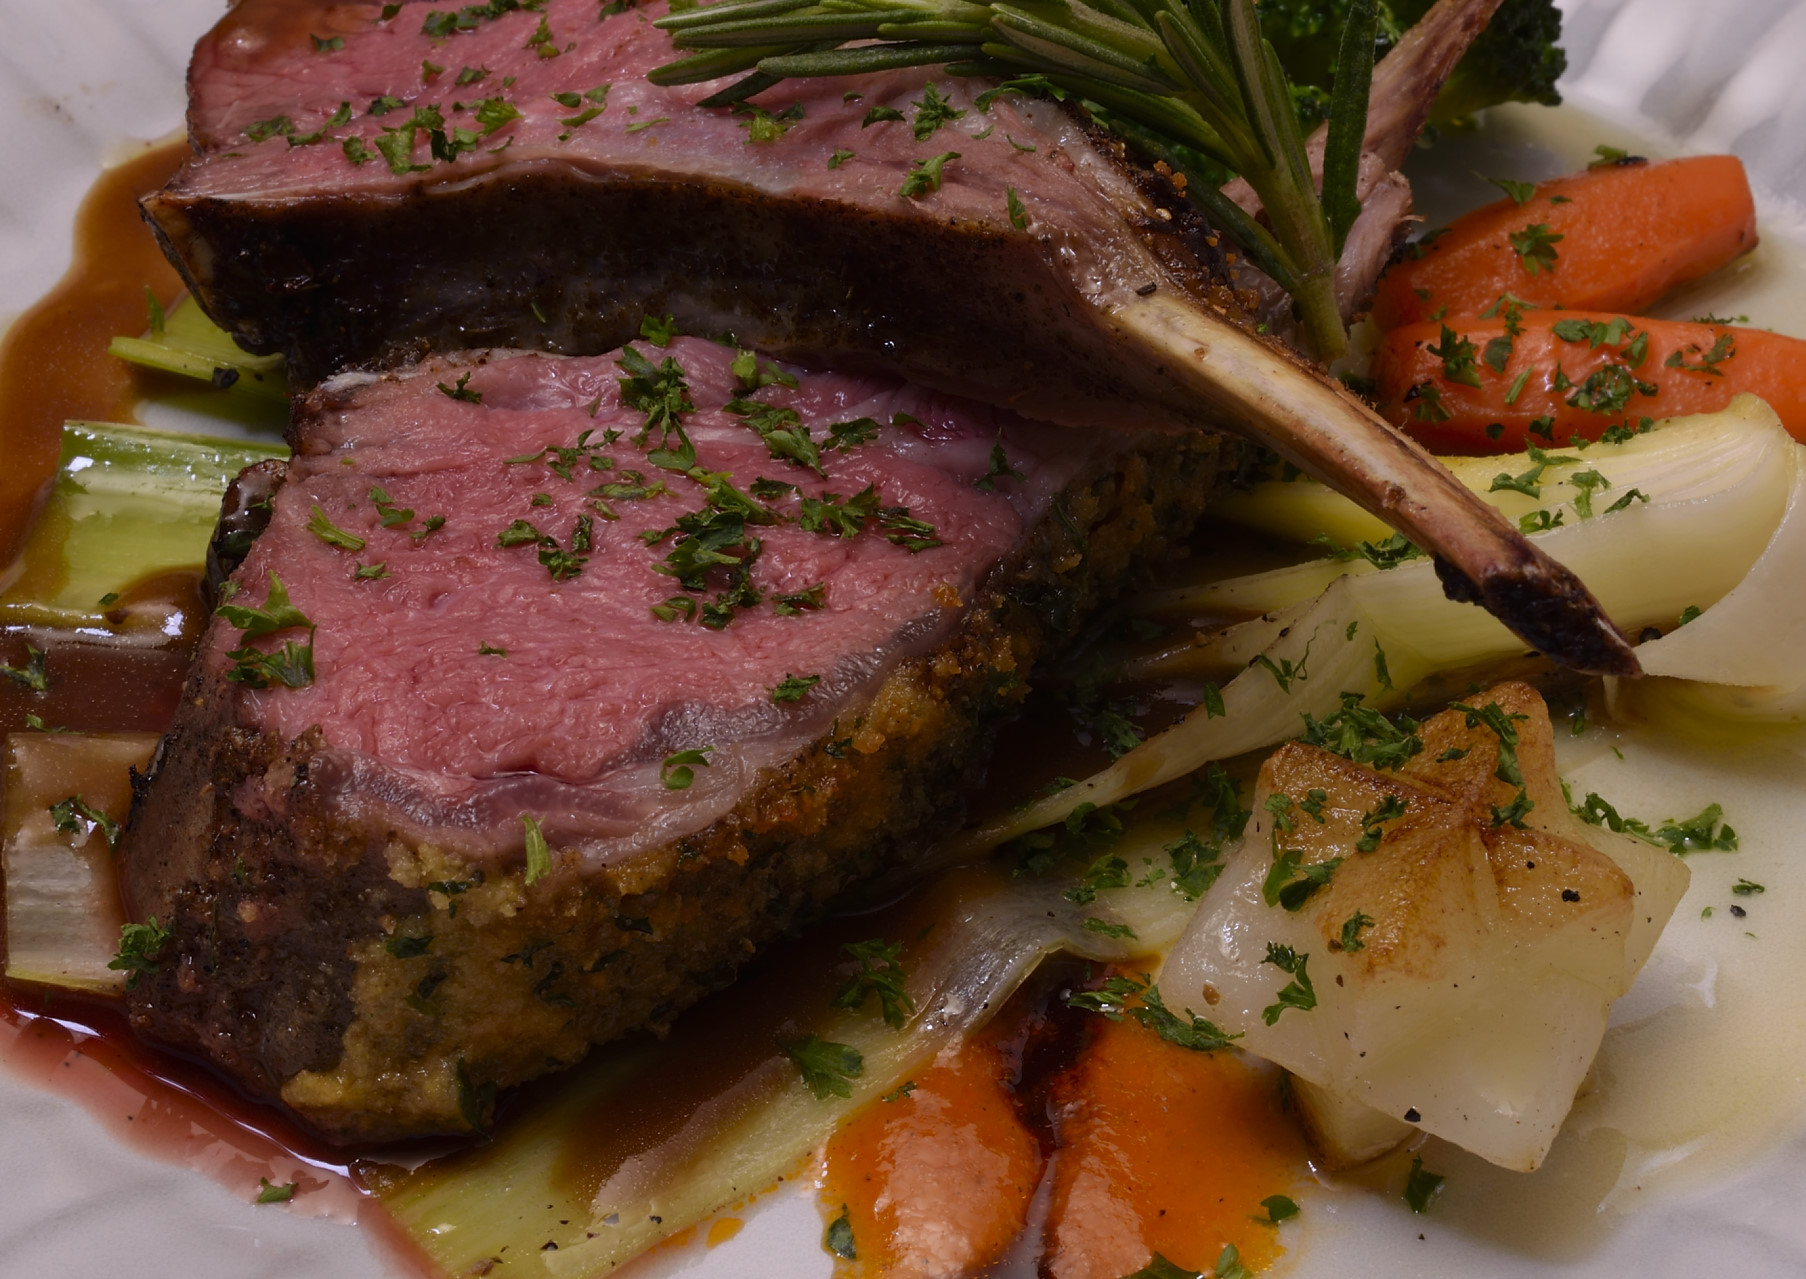
In the presentation above, those rib bones we removed from the end, creating the anatomical equivalent of a rib-eye steak.

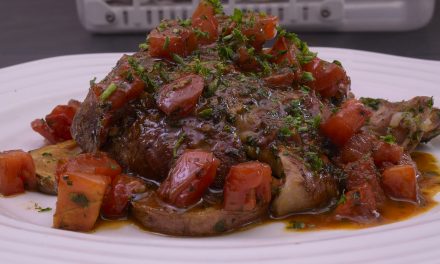
Thick sliced red potato was blanched in boiling water, shocked cold, seasoned, lubricated and grilled in the cast iron broiler pan. A Mediterranean relish sort of thing with tomatoes, capers, olives, orange wedges and EVOO.
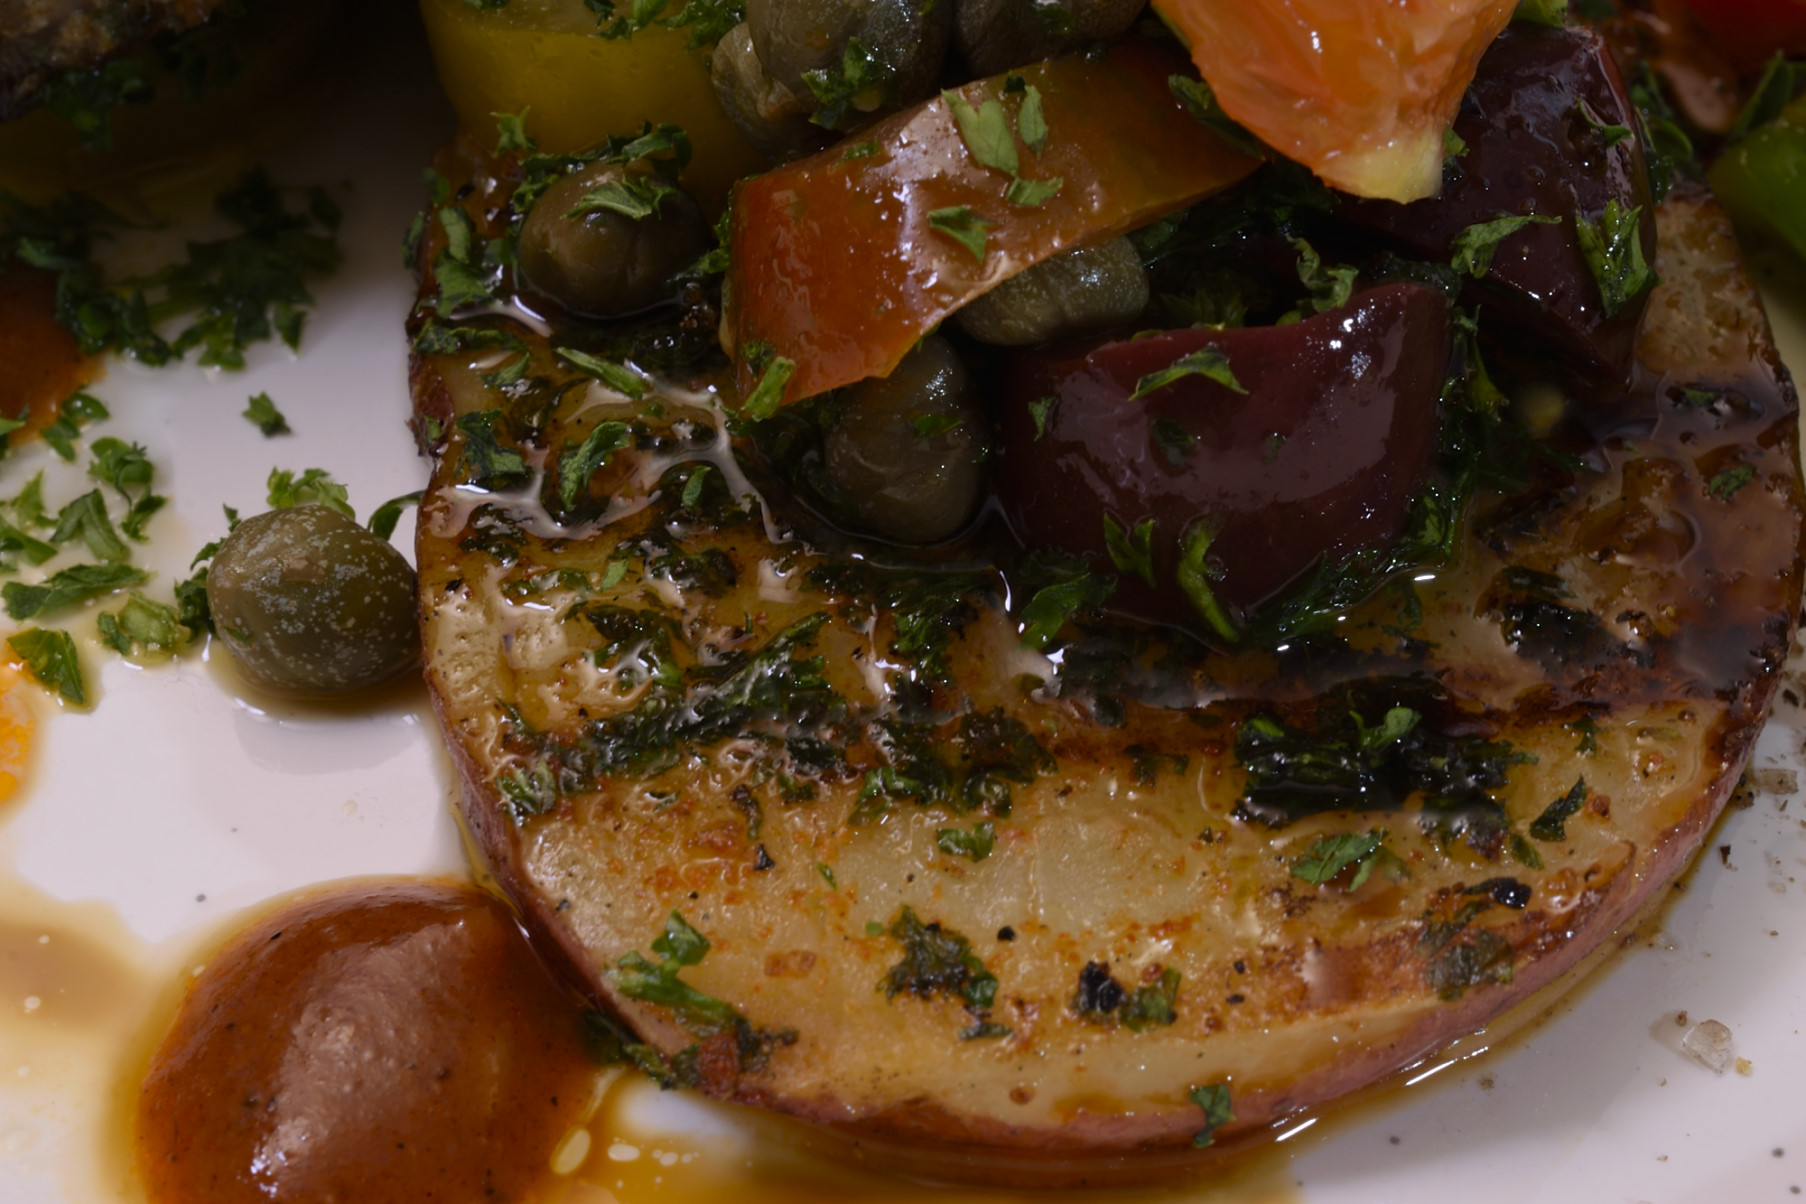
Anchovies belong in there too, but we eschewed them this time around. We bought two racks, which gave us enough of those end chops to do a couple of presentations.
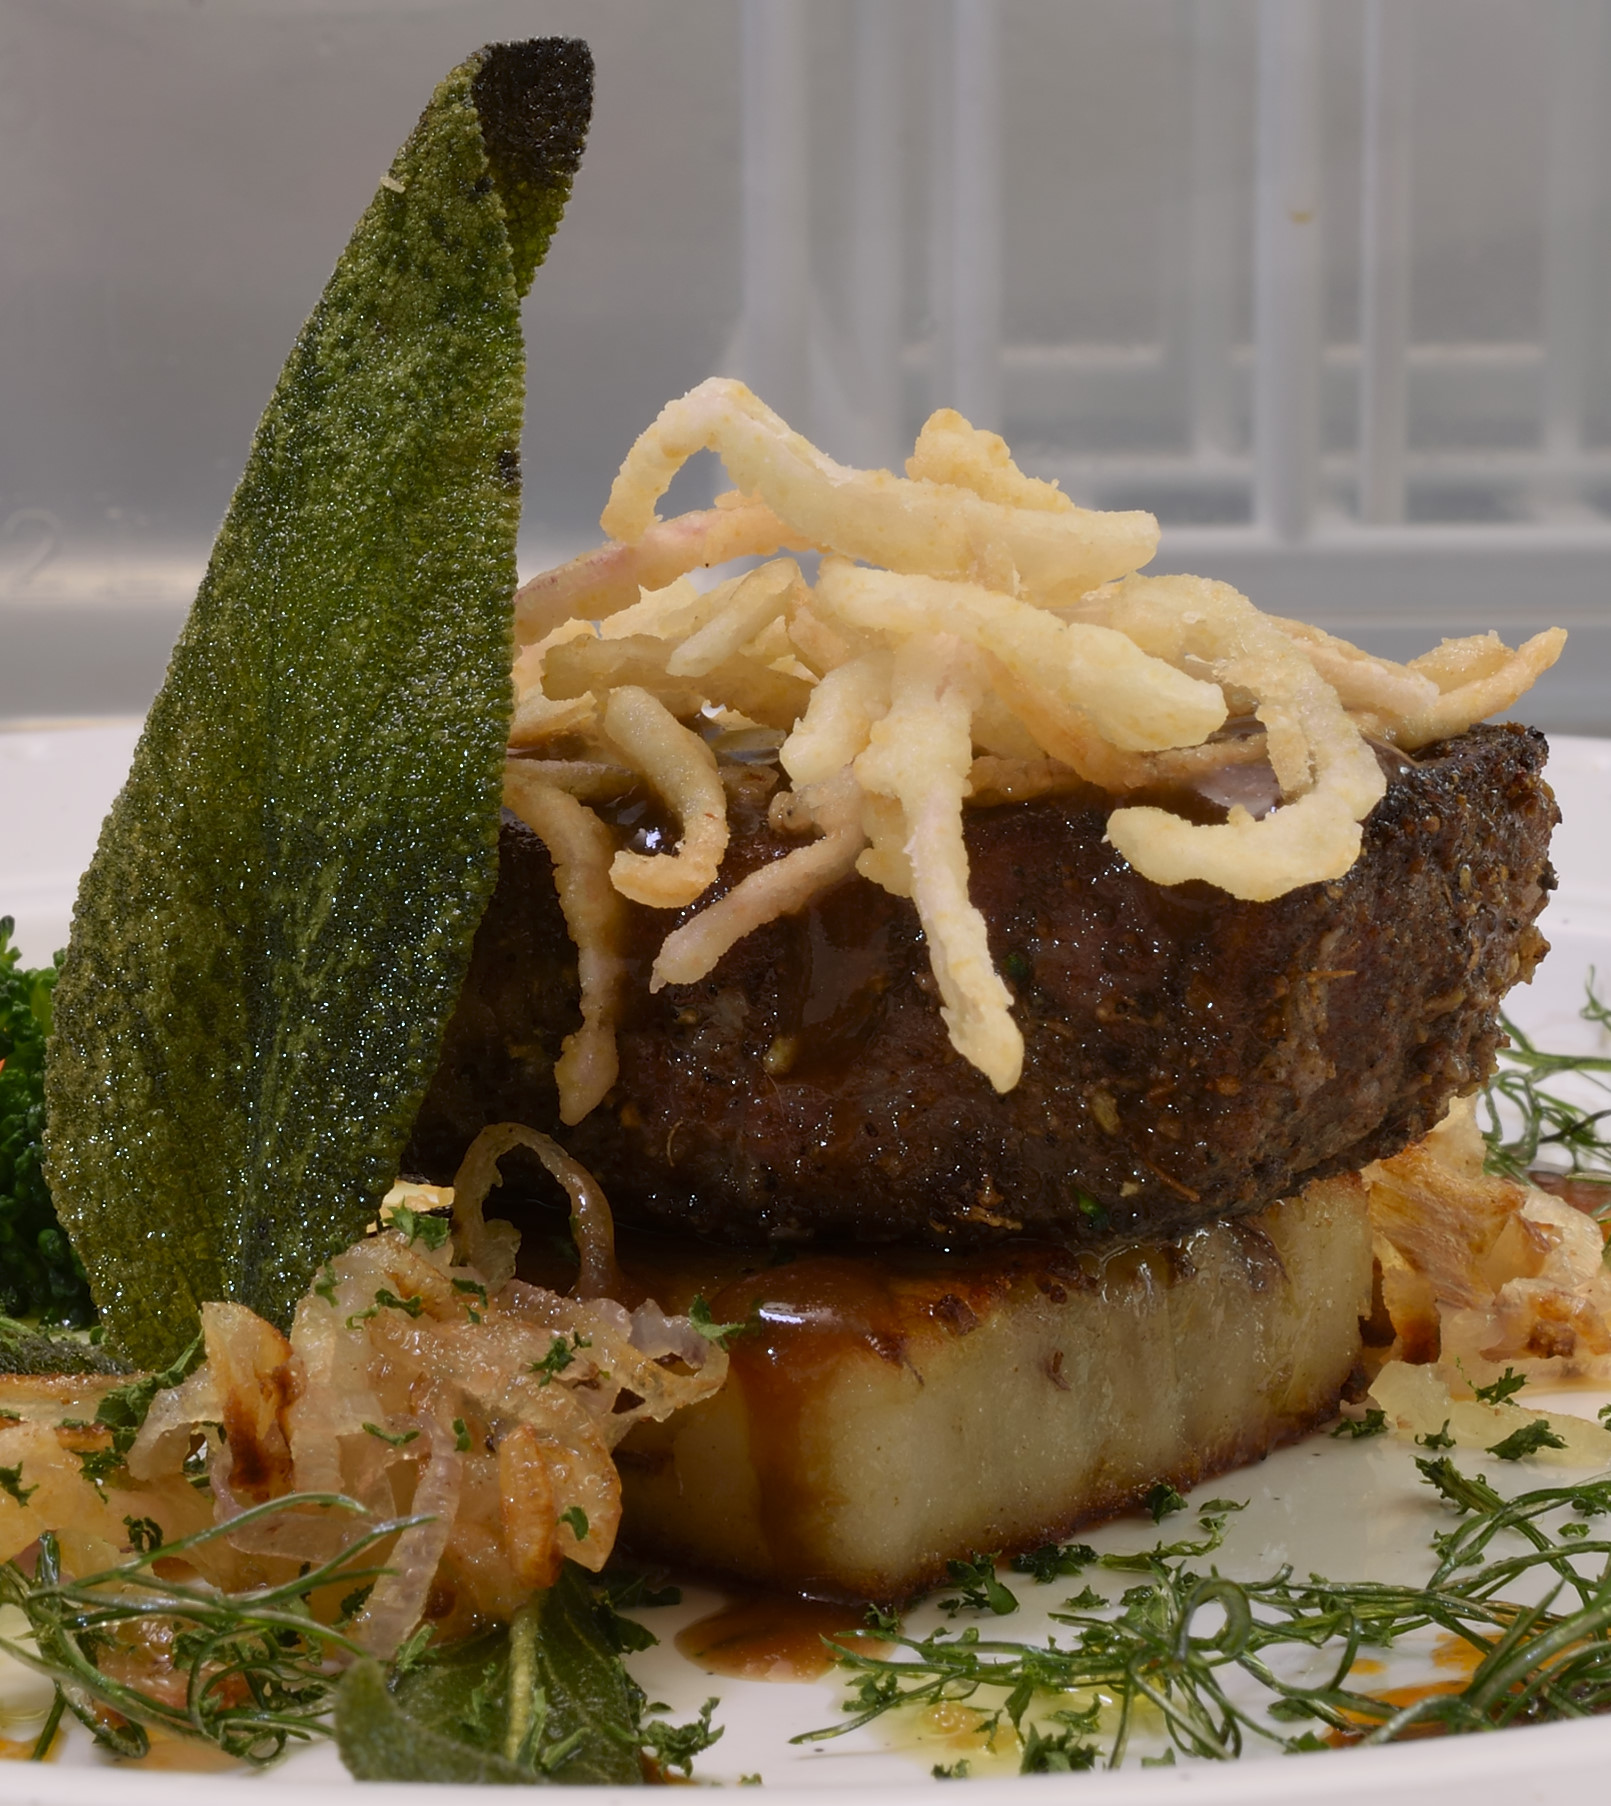
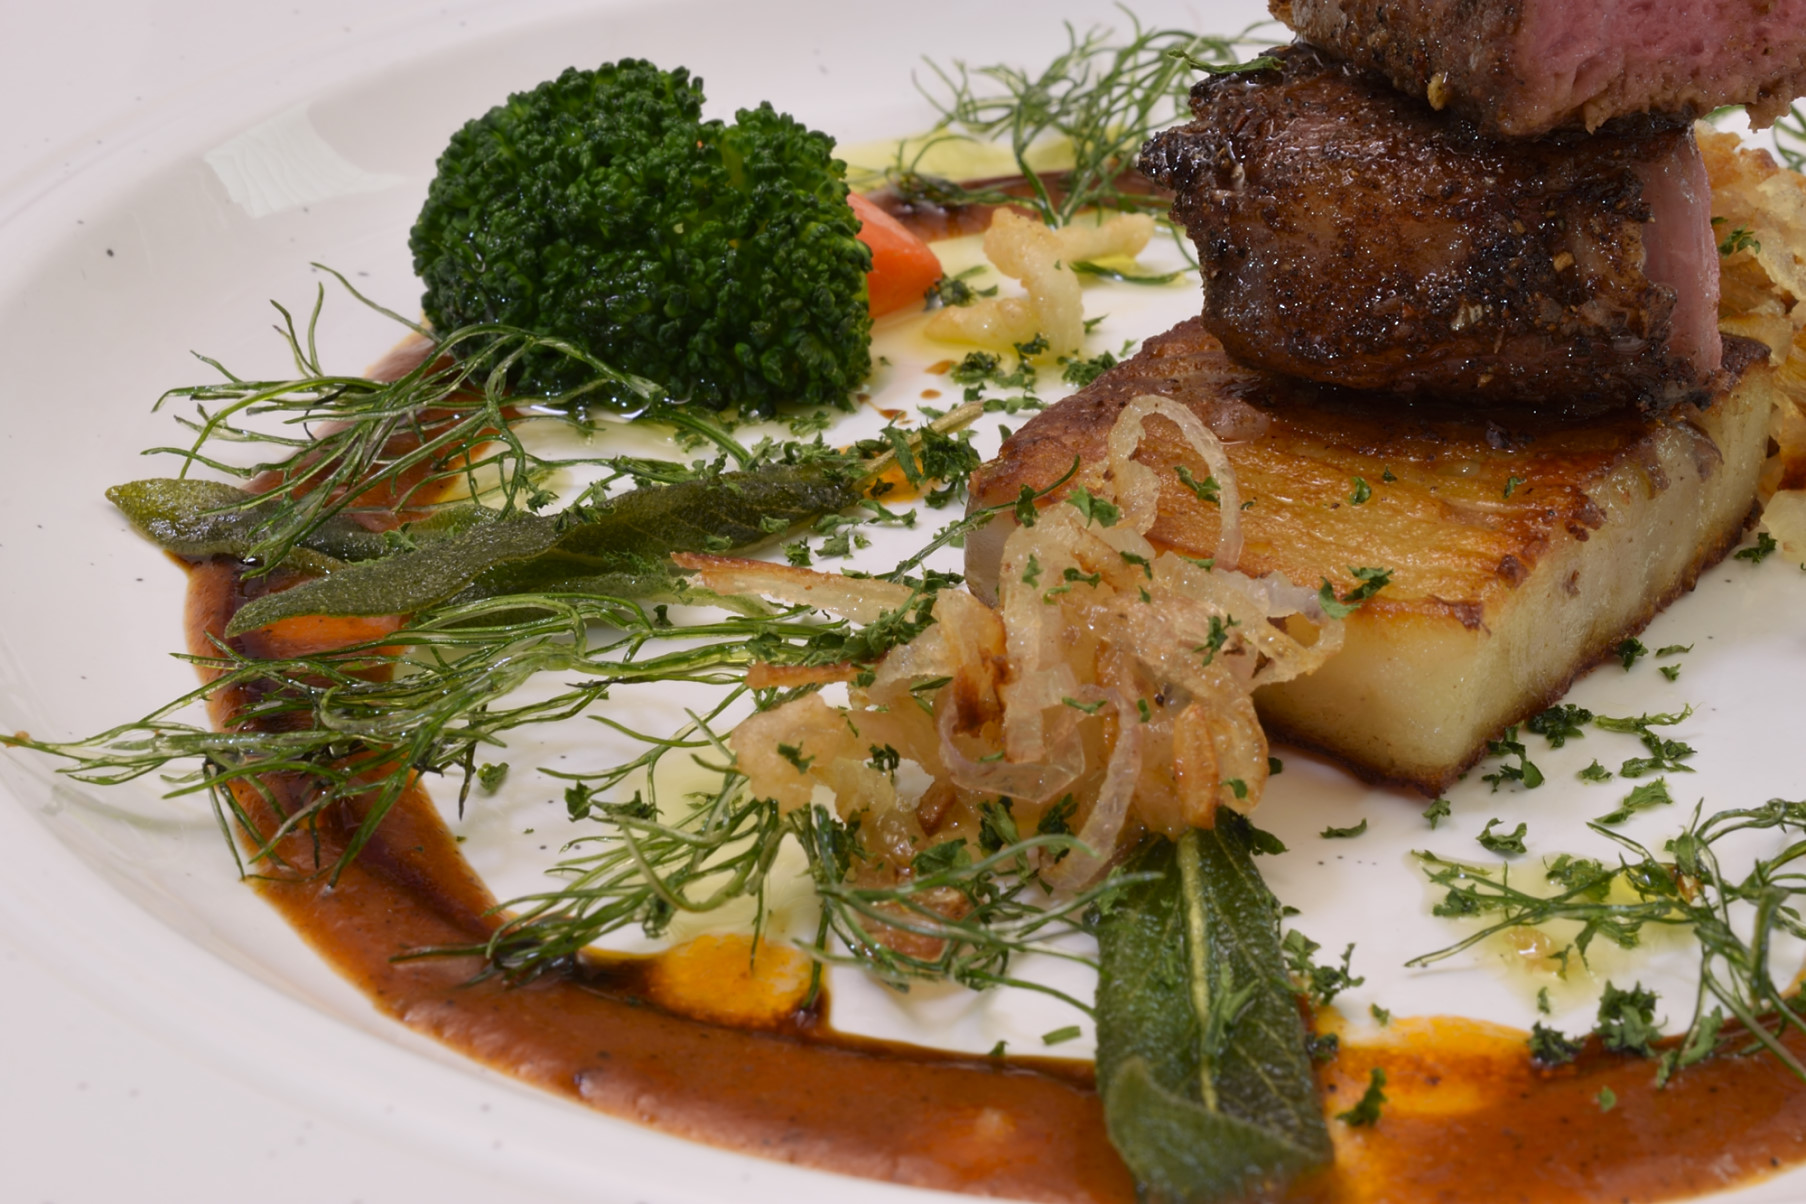
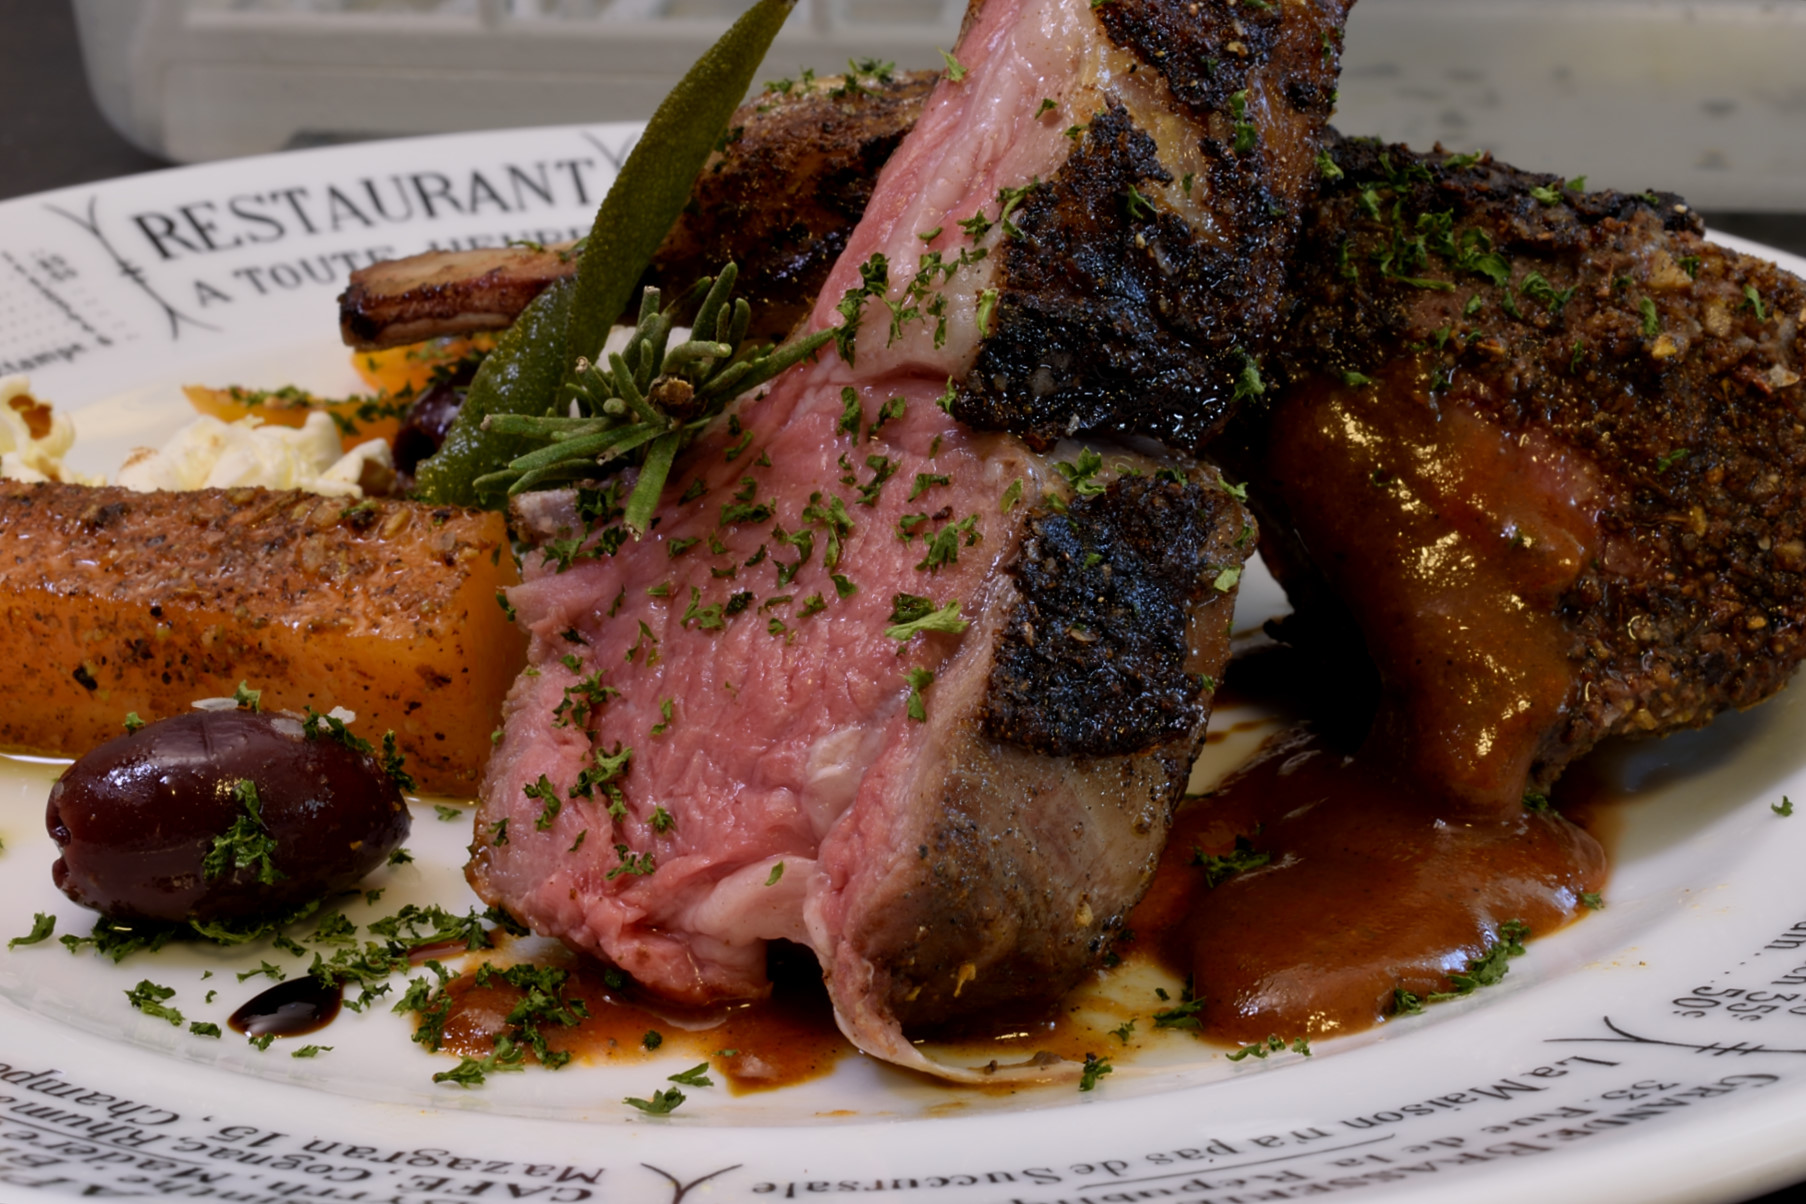
Above: another version of the boneless rib-eye with red potatoes pavé aka milles feuilles. It features shallots, fennel fronds and sage leaves, all crisped.
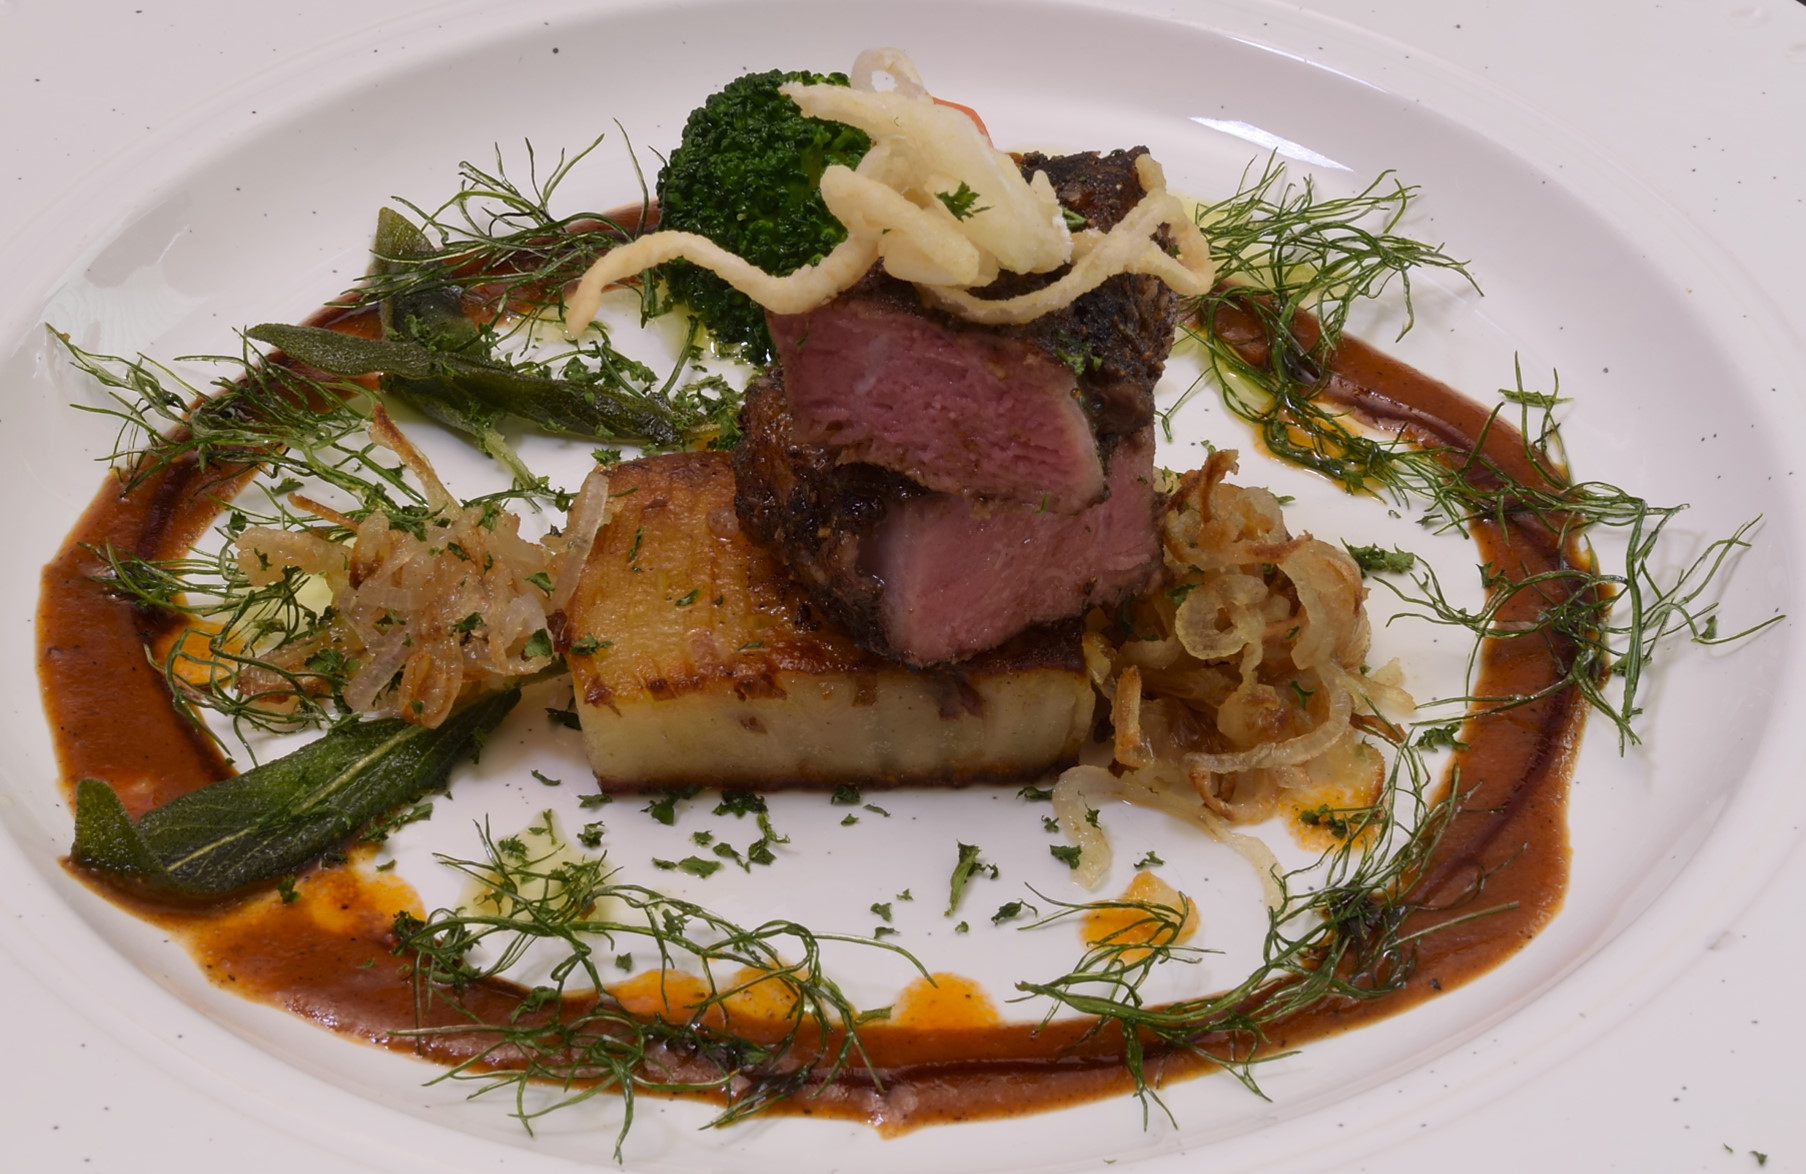
Above and below: money shots!
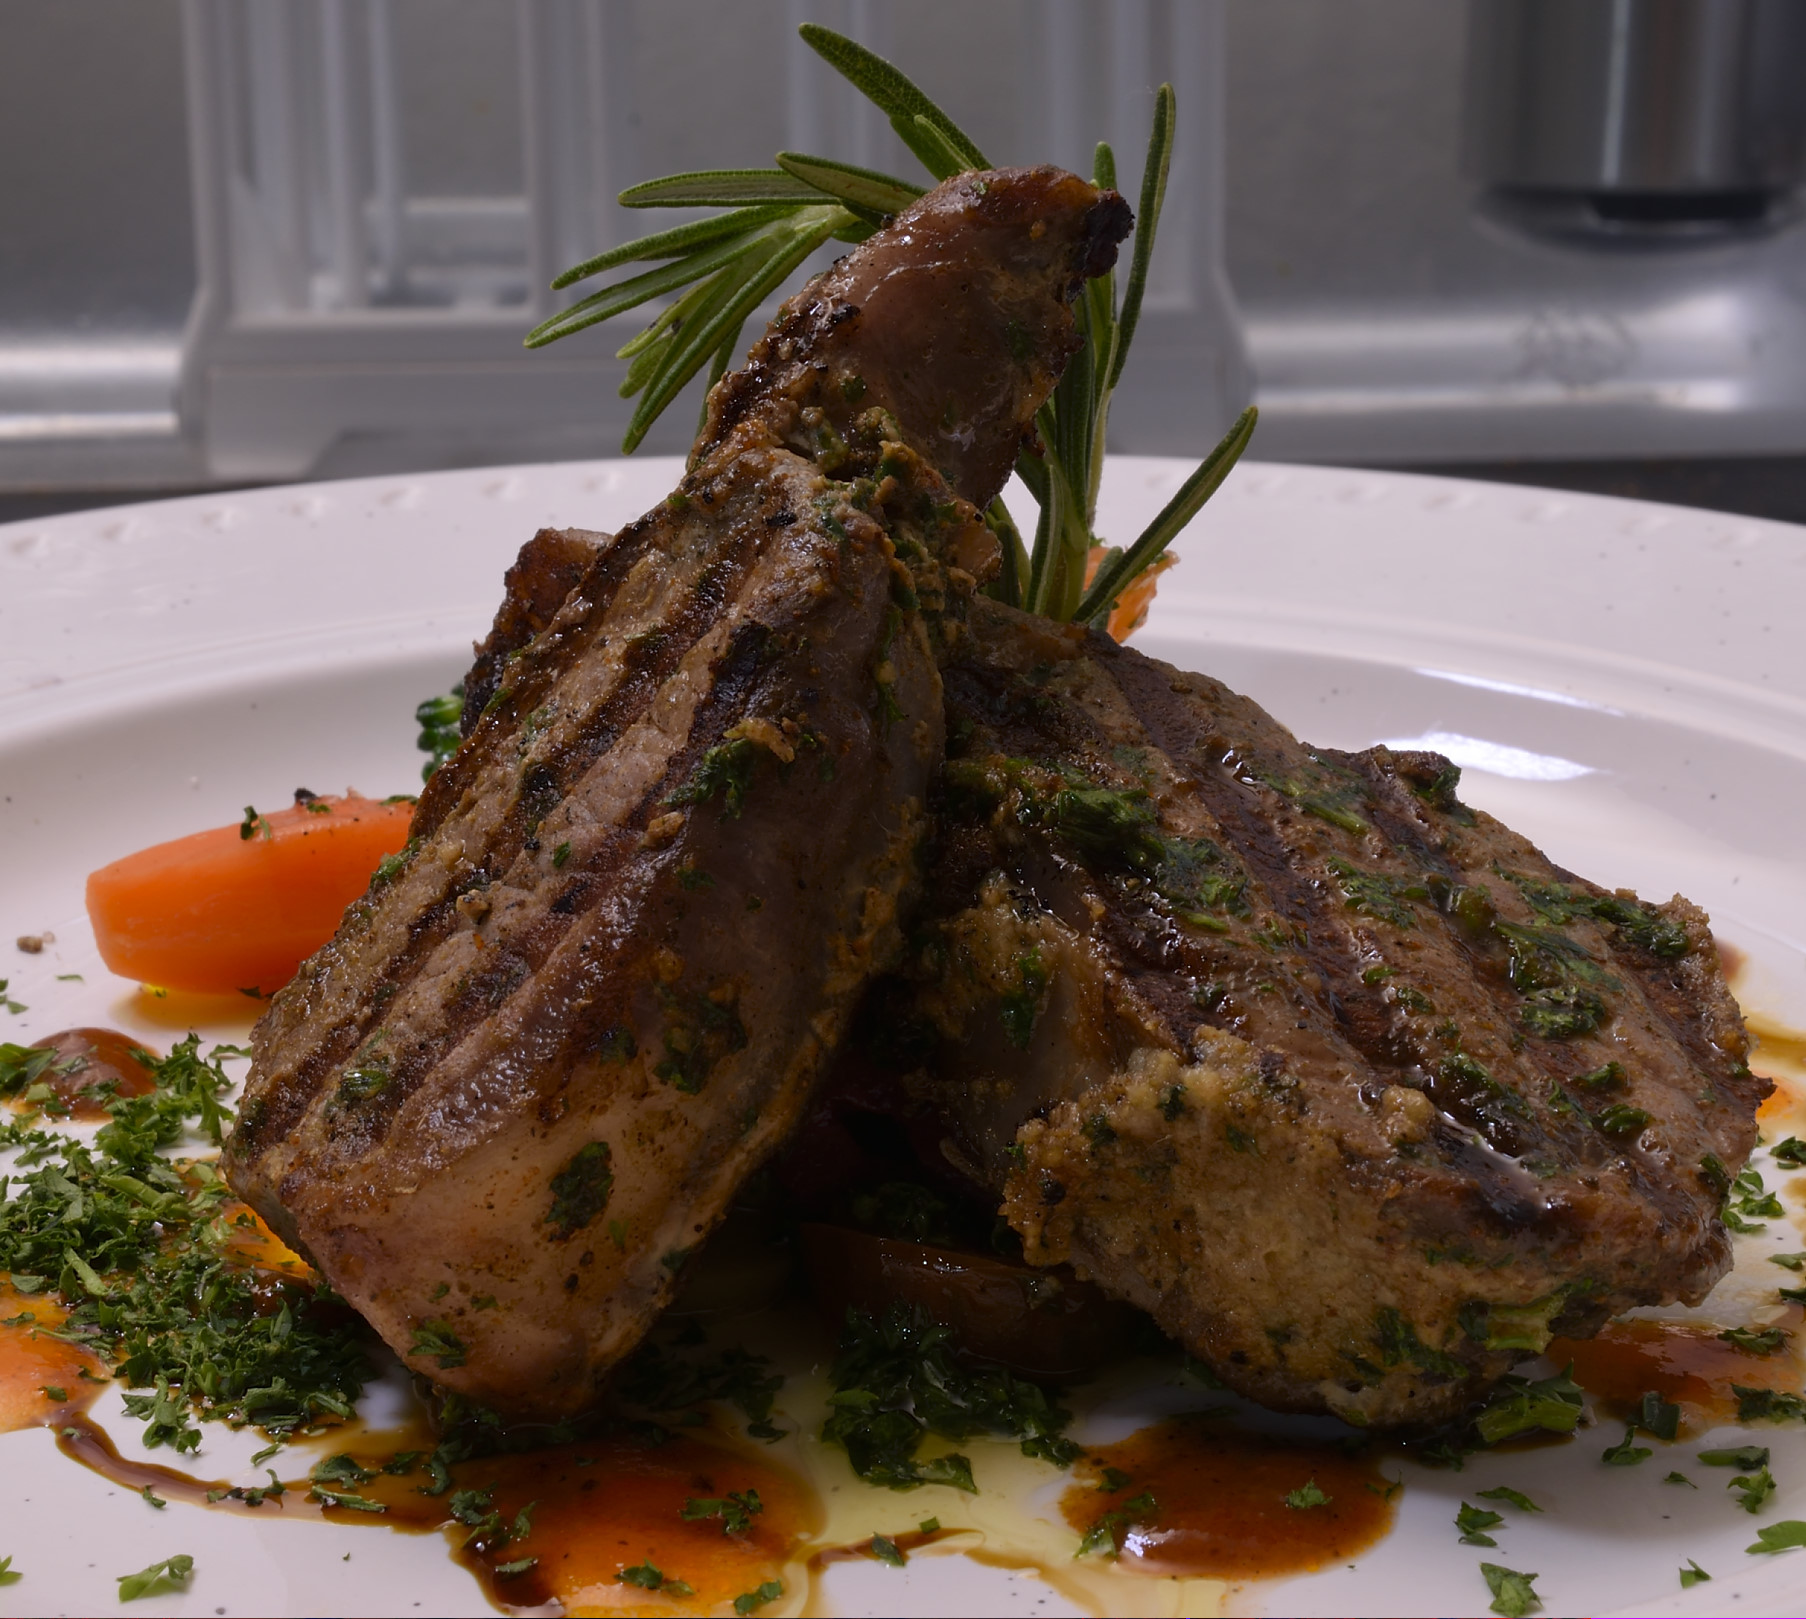
Proper chops
After processing and shocking, the racks can be cut into chops–double, single, as per your preference.
Again, the egg white sprinkle before dusting with the seasonings. Cook them just like you would a steak, to 125 F/52 C internal temp.
It’s okay to be whimsical. Popcorn adds a little shape, and makes sense with the corn based hominy polenta in the center.
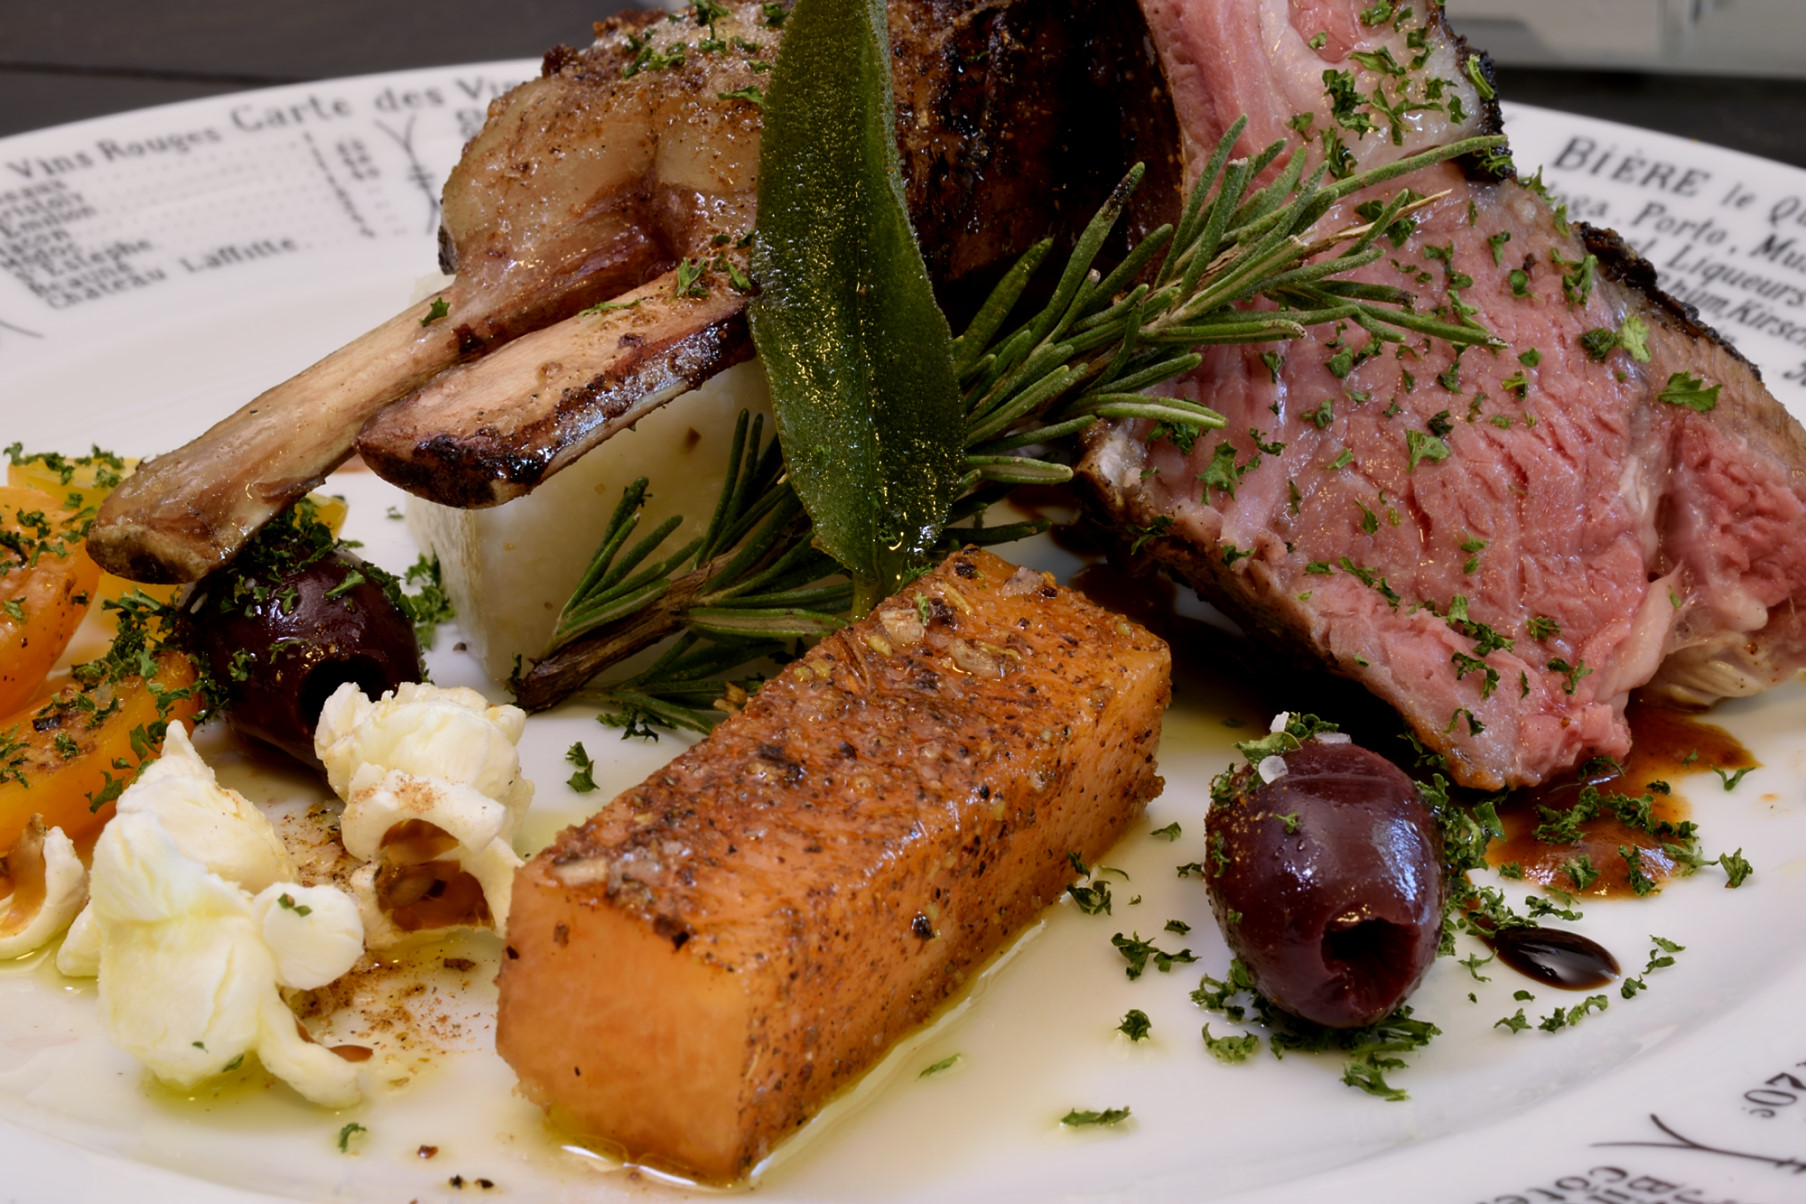
Modernists season a little rectangle of melon and vacuum it. They call it “cured,” which is a little hyperbolic, but it does provide a splashy, attention getting burst of flavor.
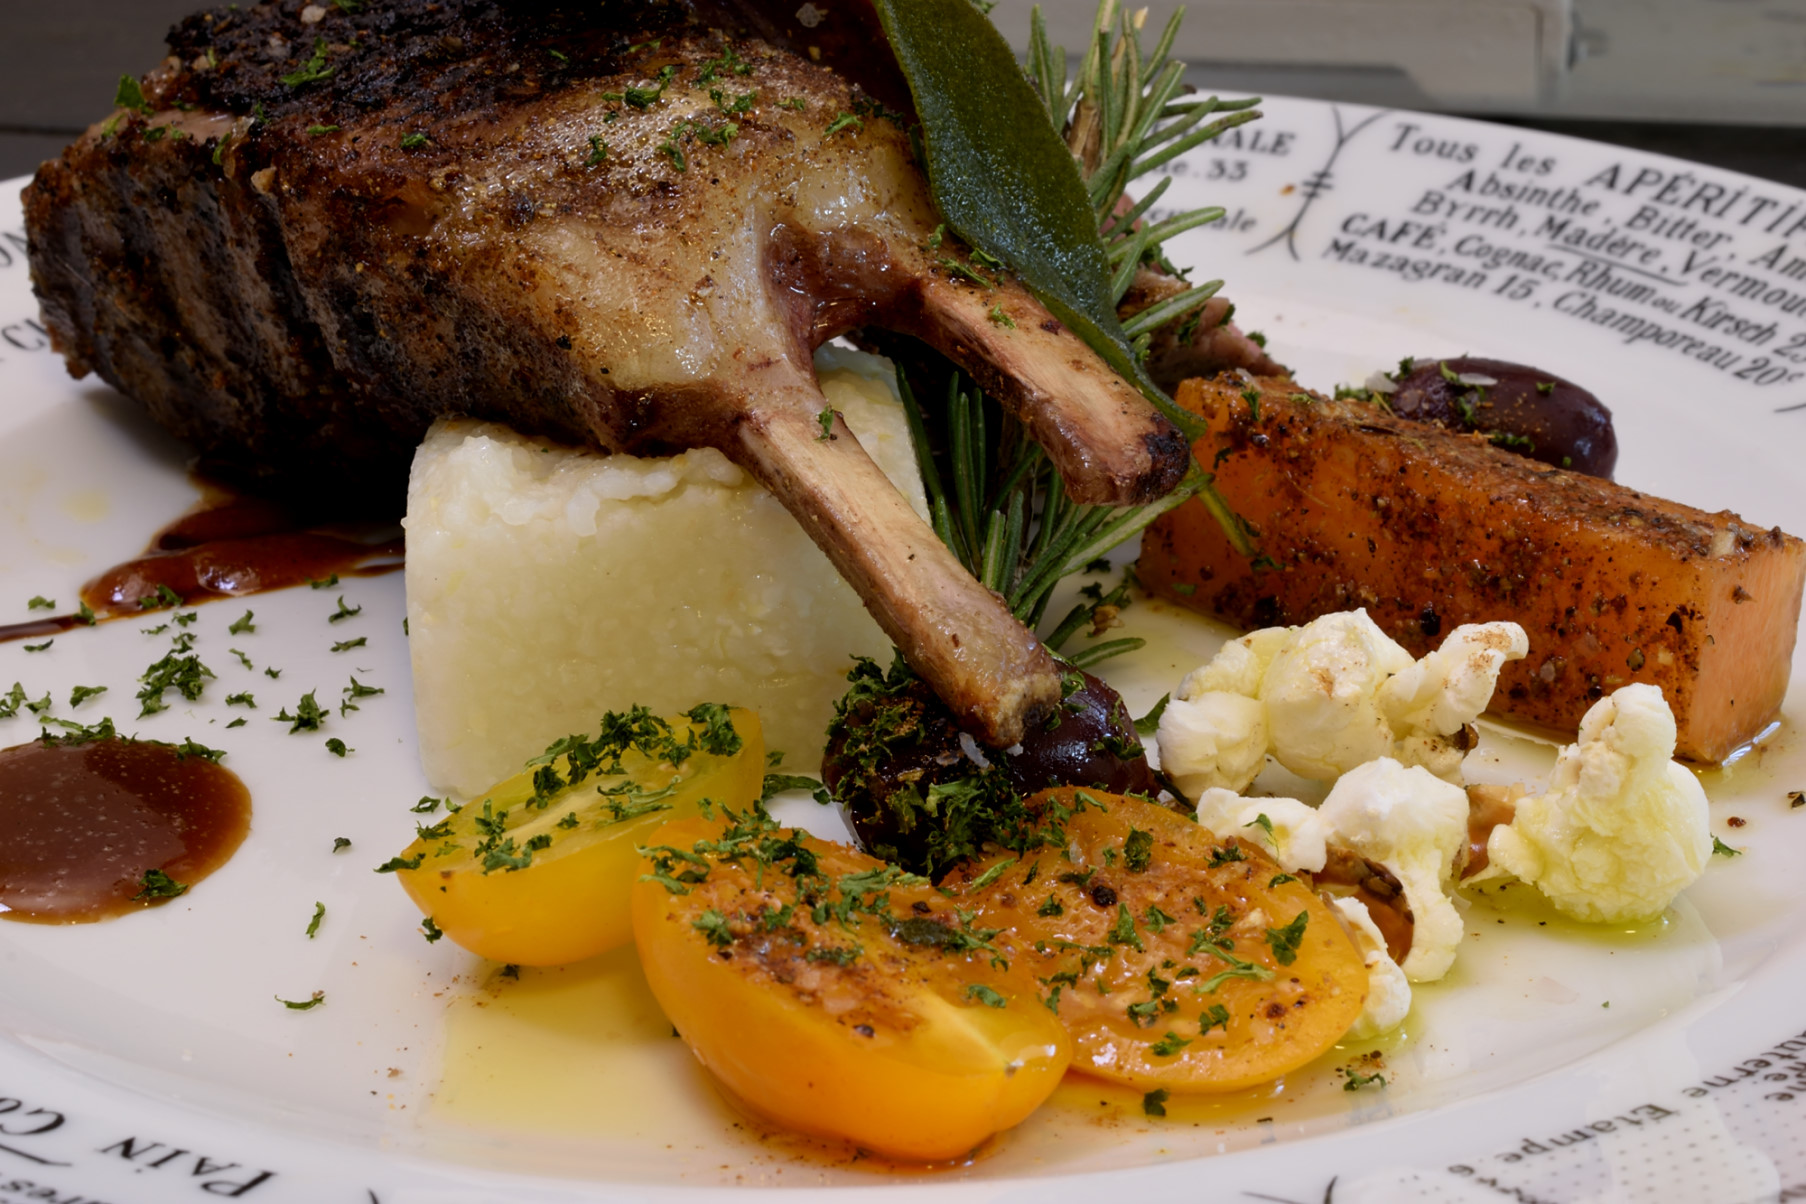
Lamb and olives, olives and lamb. Tomatoes. Parsley.
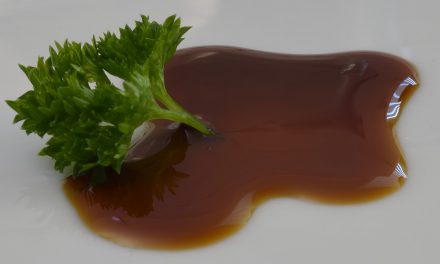
Tamarind based barbecue sauce. Safety is the only rule I enforce.

Norm
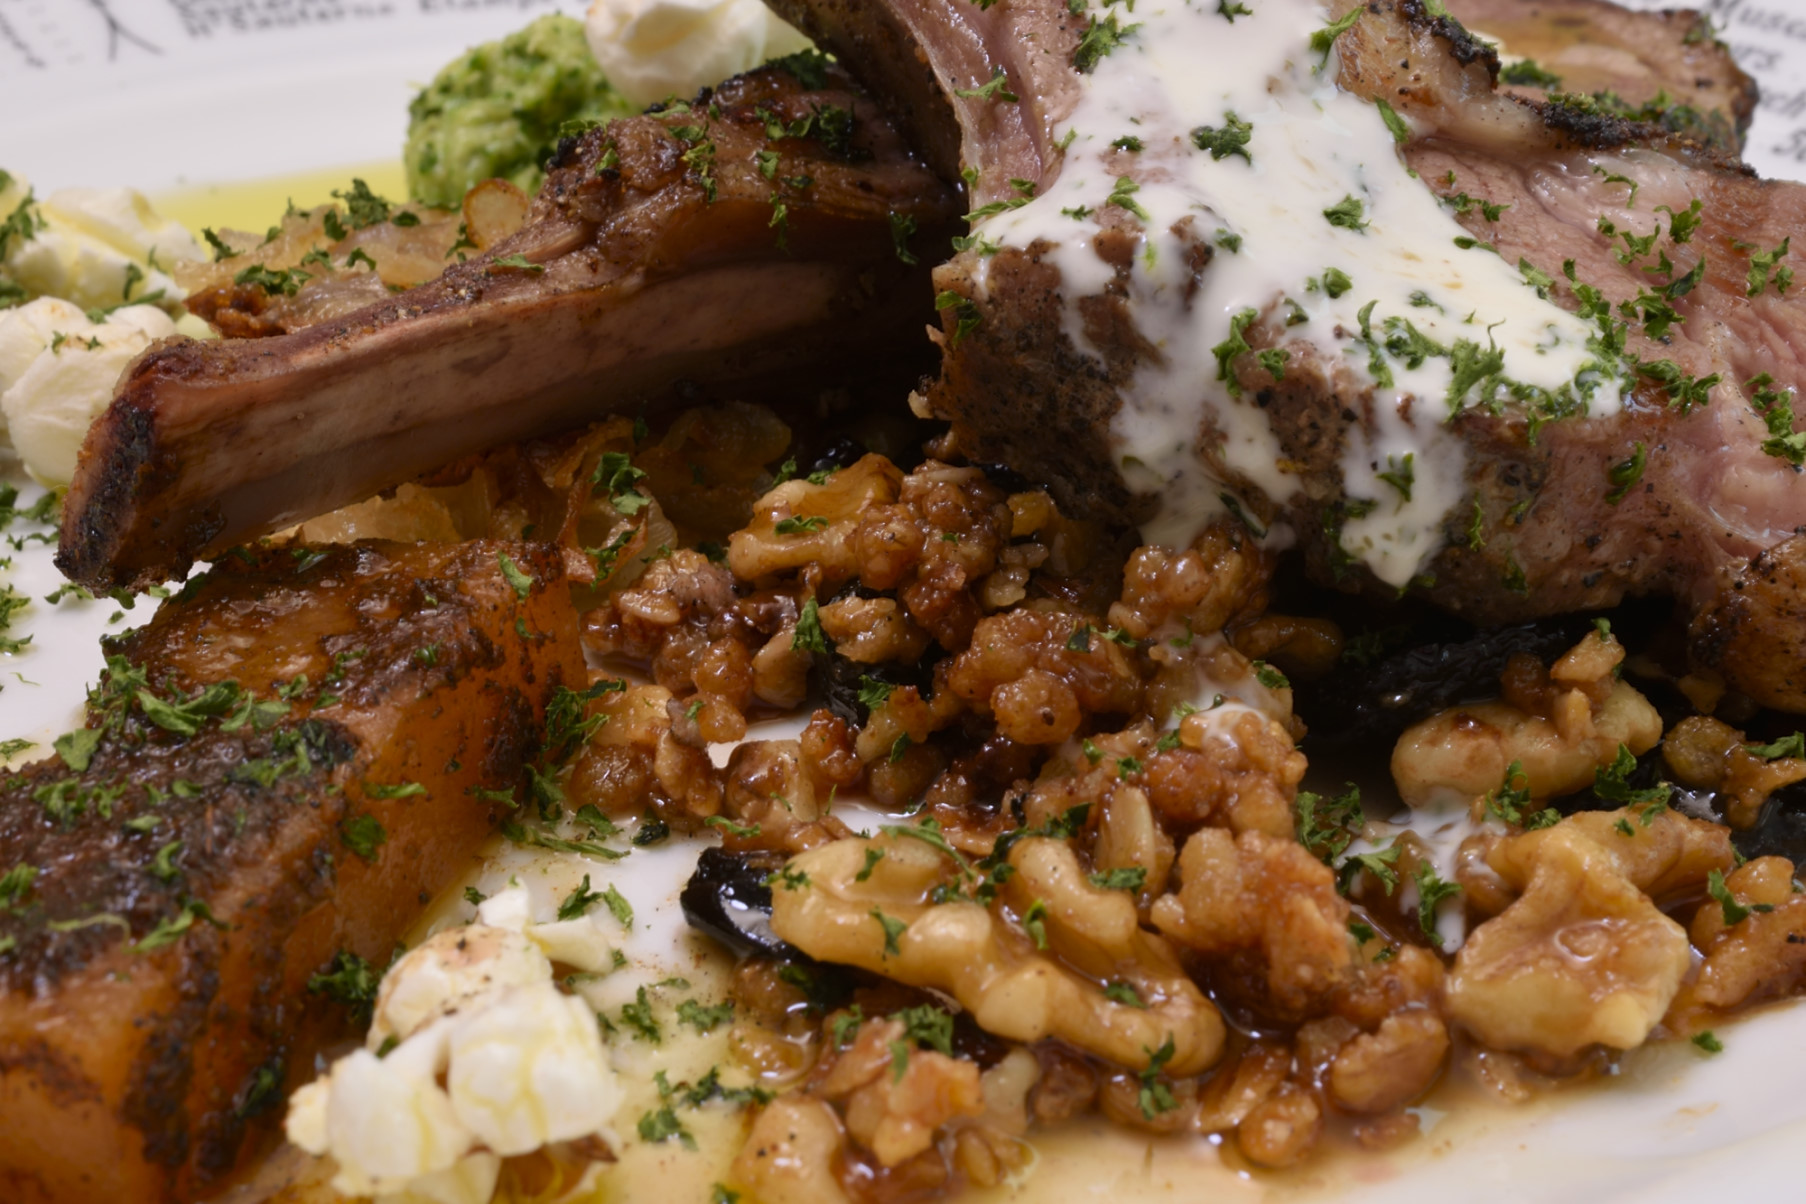
An aborted attempt at a sort of Turkish version with honey, popped grains, yogurt sauce, raisins and nuts. A work in progress.
