Dateline, 5/20/2020: Bison in the Age of Misnomers
Is even chicken chicken fried?
In Part 9, we showed how to process even the toughest cuts of bison (or any red meat) so that they could be served “pink.” We processed 10 lbs/4.5 Kg of bison chuck eye in various shapes and sizes for demonstration. No list of possible variations would be complete with the inclusion of a “cutlet,” which for some unknown reason is colloquially referred to as a “chicken fried steak,” at least when it’s made from beef. If it’s made from pork, it’s just a pork cutlet. Even if it’s made from chicken, we don’t call it a chicken fried chicken, and we don’t call it fried chicken either.
Fried chicken evokes the mental image of bones included. So, a chicken fried chicken steak is also usually just called a breaded chicken breast, or maybe a breaded chicken cutlet, or something along those lines. Maybe I should should just show how I did it. Thanks again to NickyUSA just for being there, otherwise where would I buy bison in Portland? Or elk, or who knows how many other things? Right now I think they’re even selling face masks and stuff like that, it had to happen.
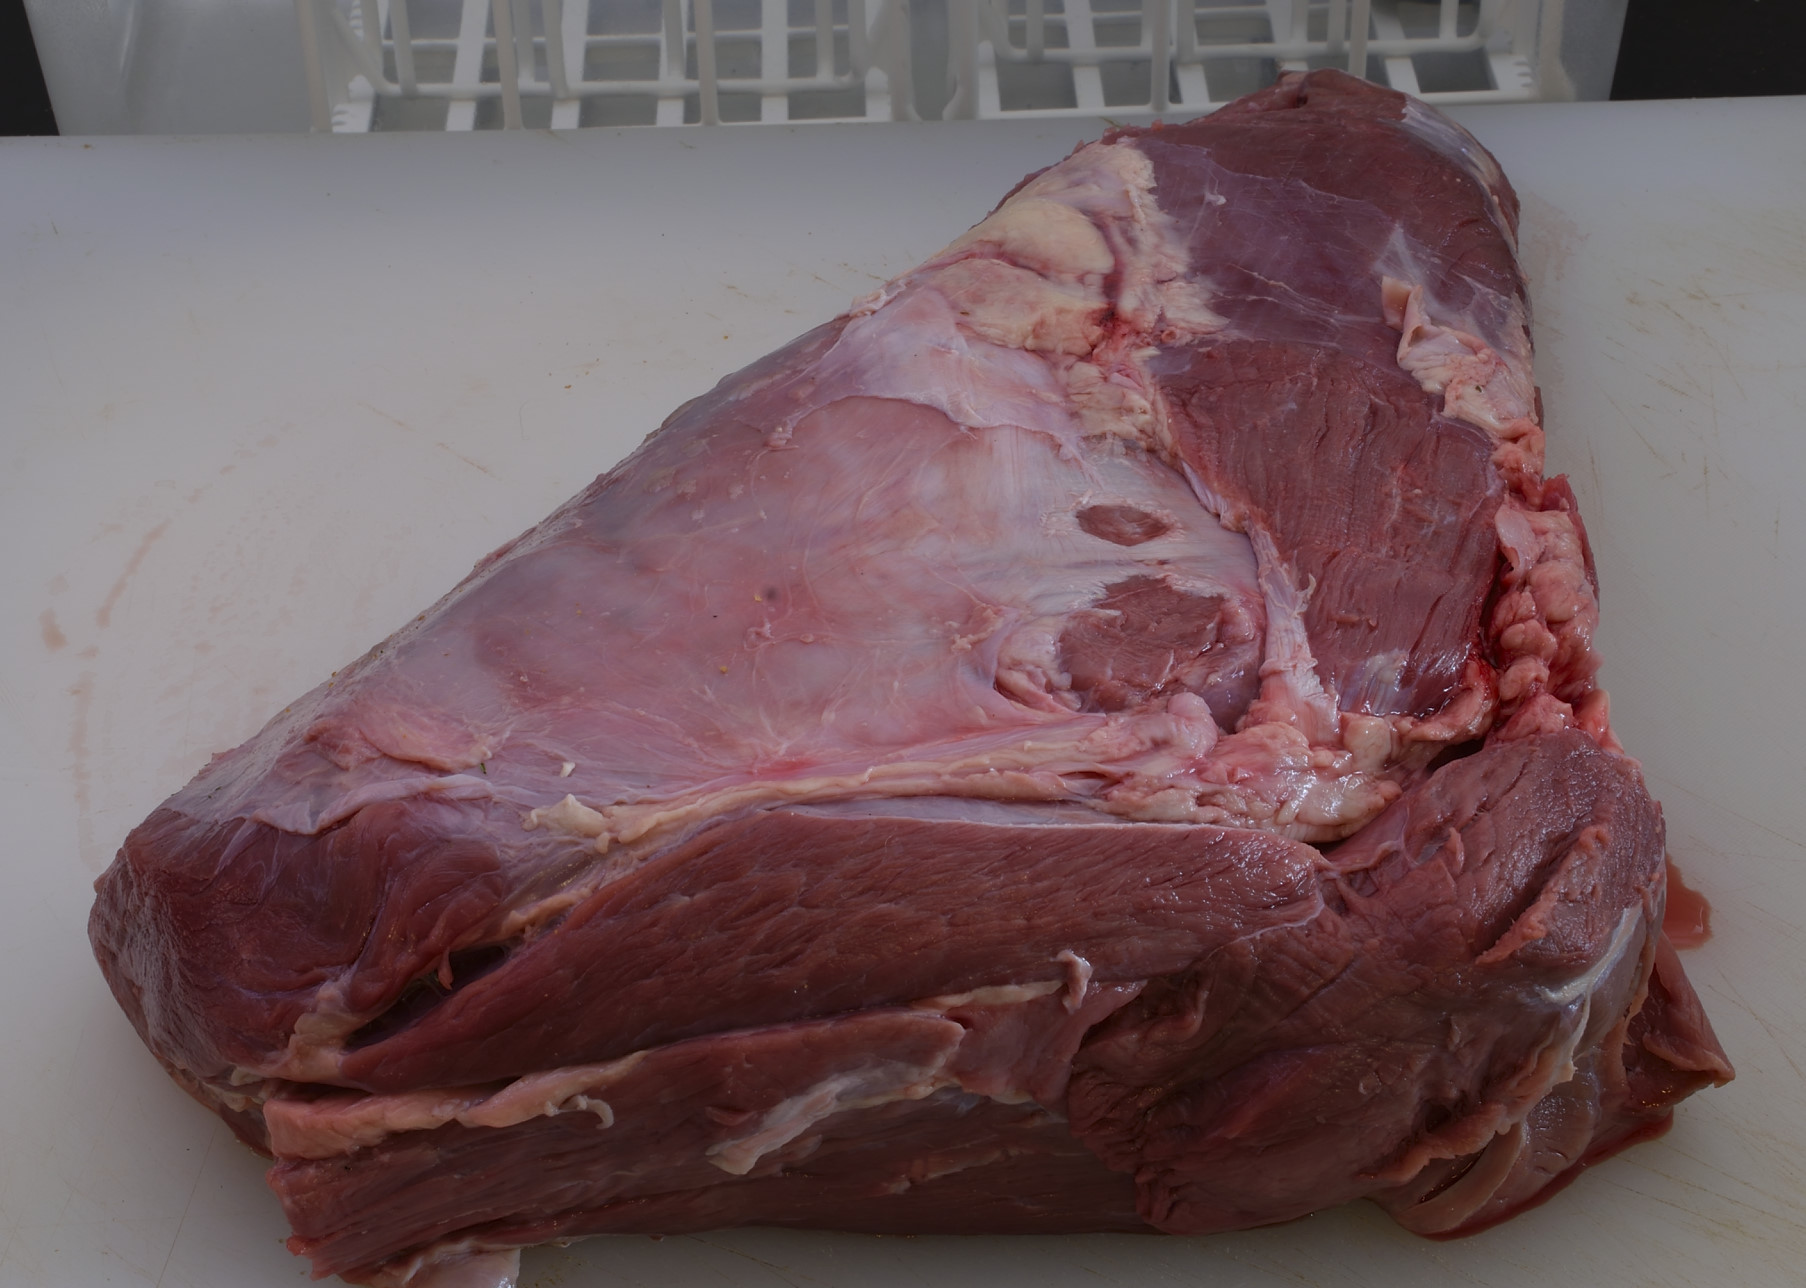
I worked my way through most of the larger pieces, which got me to…
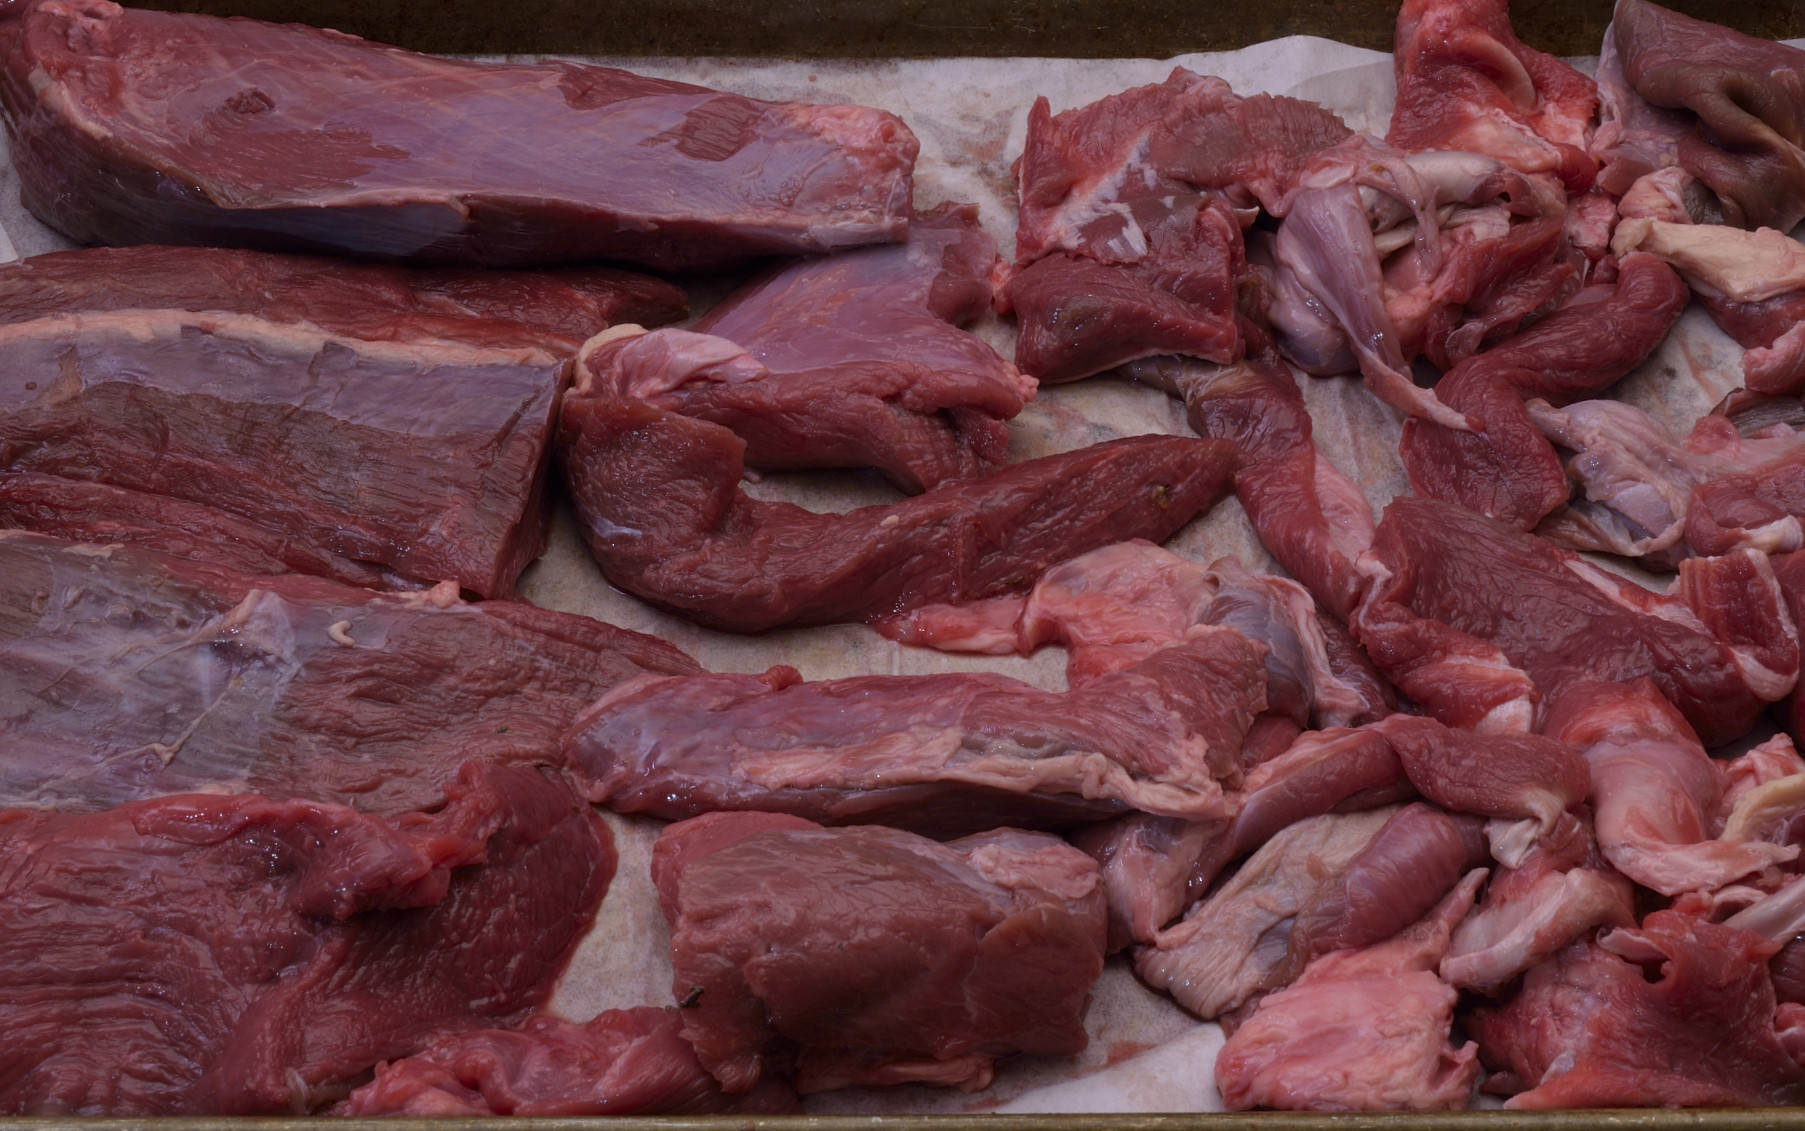
Flap meat and so forth. The scrappy stuff on the right ended up in THIS. Everything on the left became samples and this and that and of course the chicken fried bison.
Some people really do read
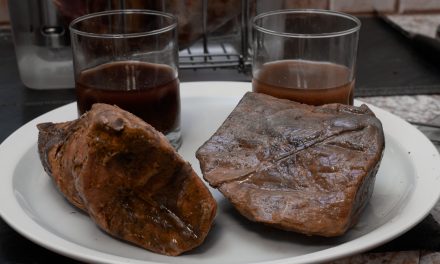
If you read Part 9, you already know that we hybridized a “medium rare” temperature, 130 F/54 C, with a very long, collagen converting interval of 60 hours. Packages were then shocked cold in iced tap water until they achieved 70 F/21 C. Those pasteurized packages were staged into the refrigerator at 40 F/4 C.
Basic Ingredients:
Bison clod, “as needed,” a 5 oz/150 g piece, or thereabouts.
Kosher salt, little bit.
White pepper, tiny pinch,
Flour, as needed to dust the cutlet.
Egg, 1 each beaten with 2 oz/60 ml water.
Breadcrumbs, as needed, it’s always good to have at least a cup to work with.
Oil to fry the cutlet, 2-3 oz/60-90 ml.
Cream Sauce (bechamel).
Butter, 2 Tablespoons (1 oz/30 g).
Flour, 1 Tablespoon, measured.
Cream, 0.5 cup/120 ml.
Milk, 0.5 cup/120 ml.
Kosher salt, about 1 teaspoon.
White pepper, a pinch.
Demi-glace, or your own preferred version of “brown gravy,” about an oz/30 ml.
Cherry tomatoes, 2 each.
Pearl onions, 3 each.
Peas, 4 each, that’s right, I said 4 each.
Parsley, chopped.
Olive oil
Kosher salt, as needed.
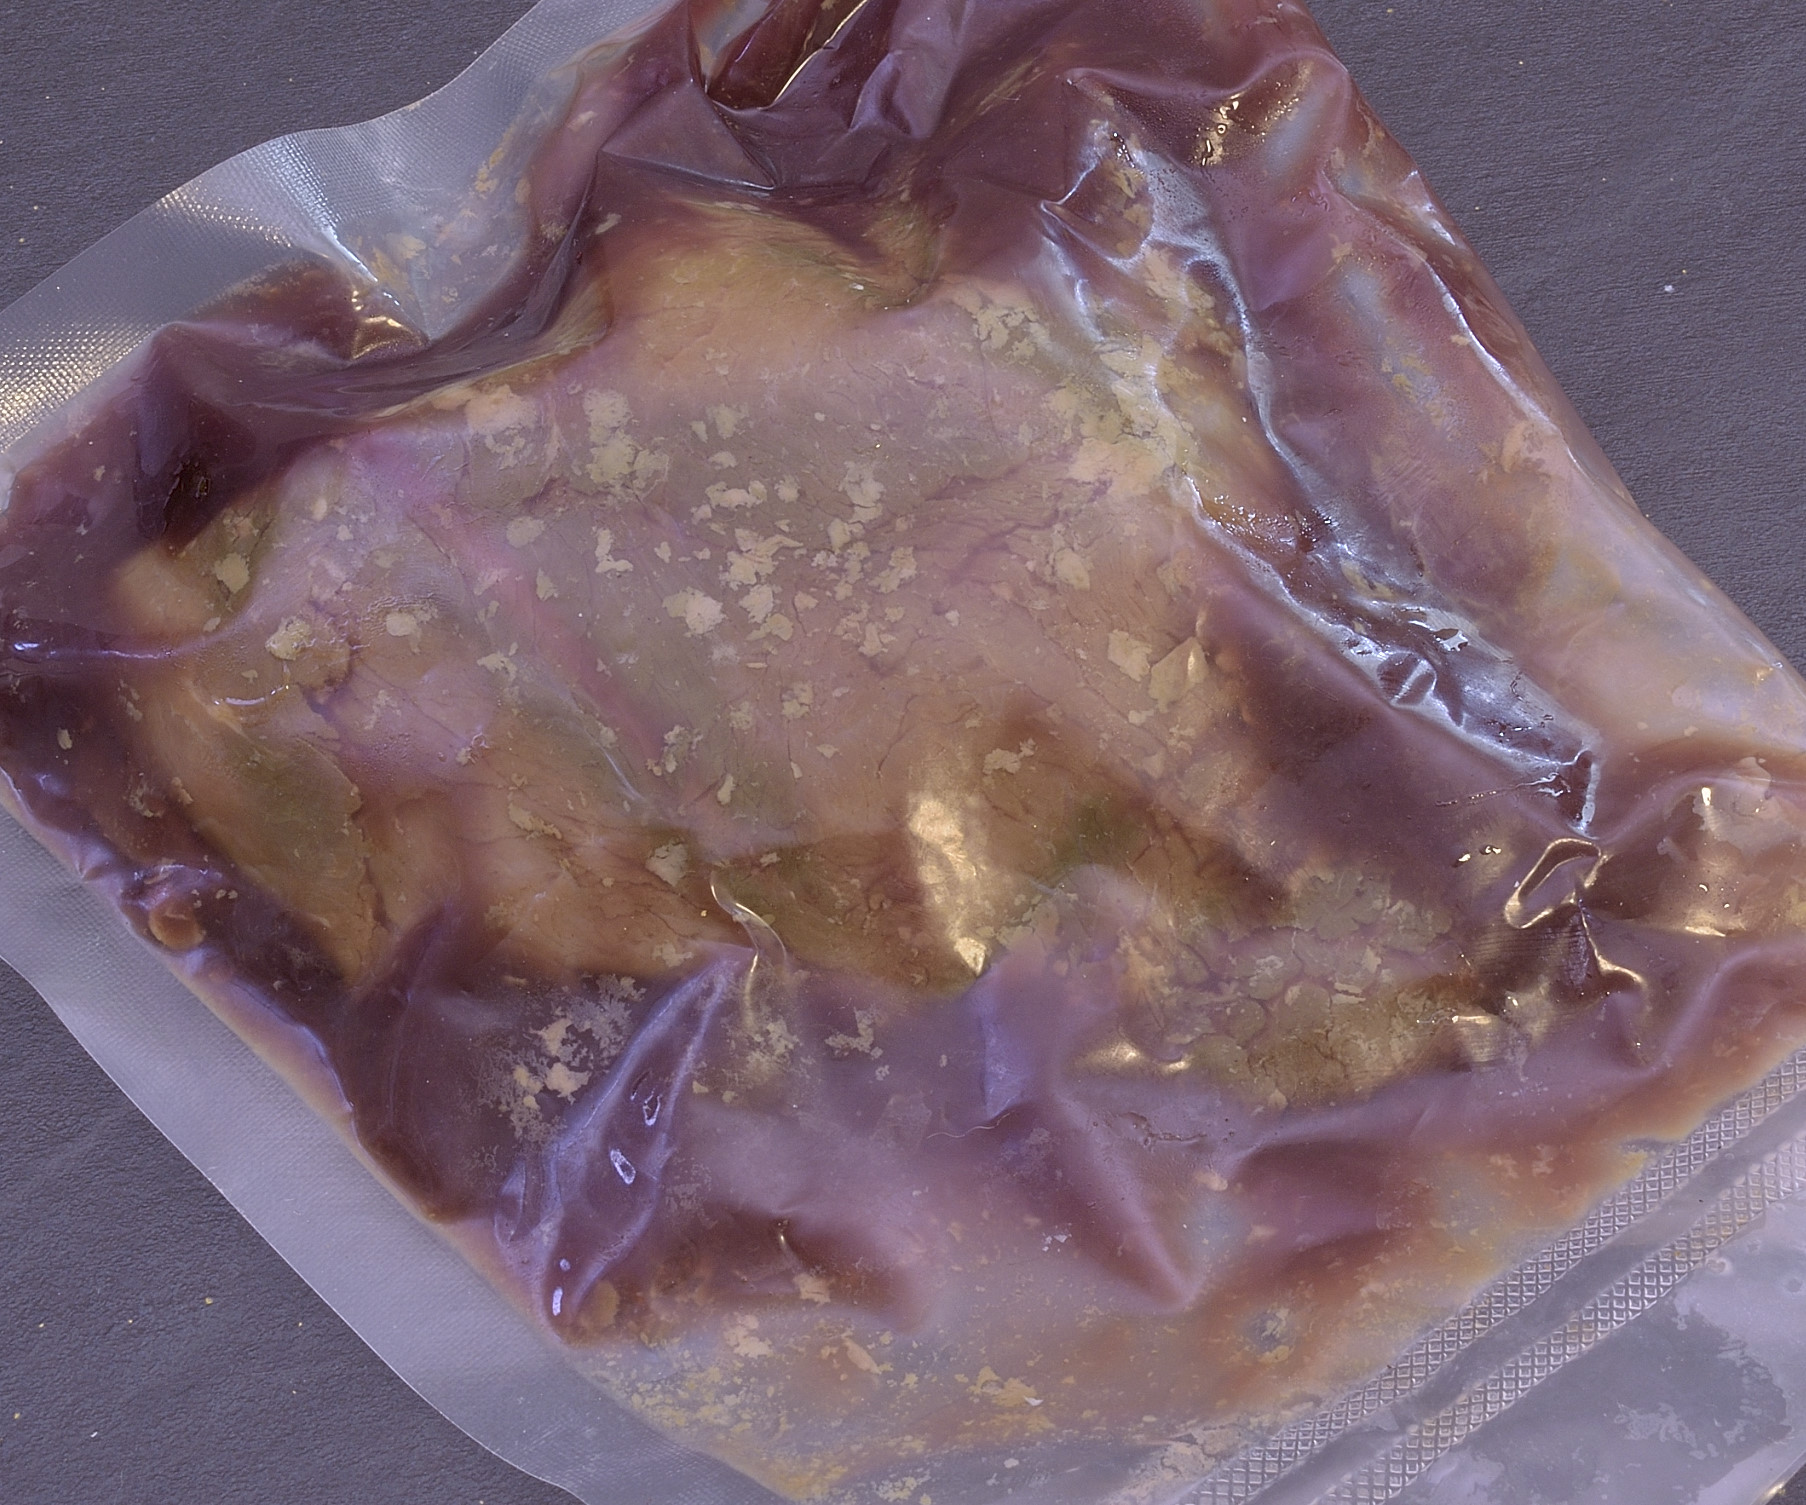
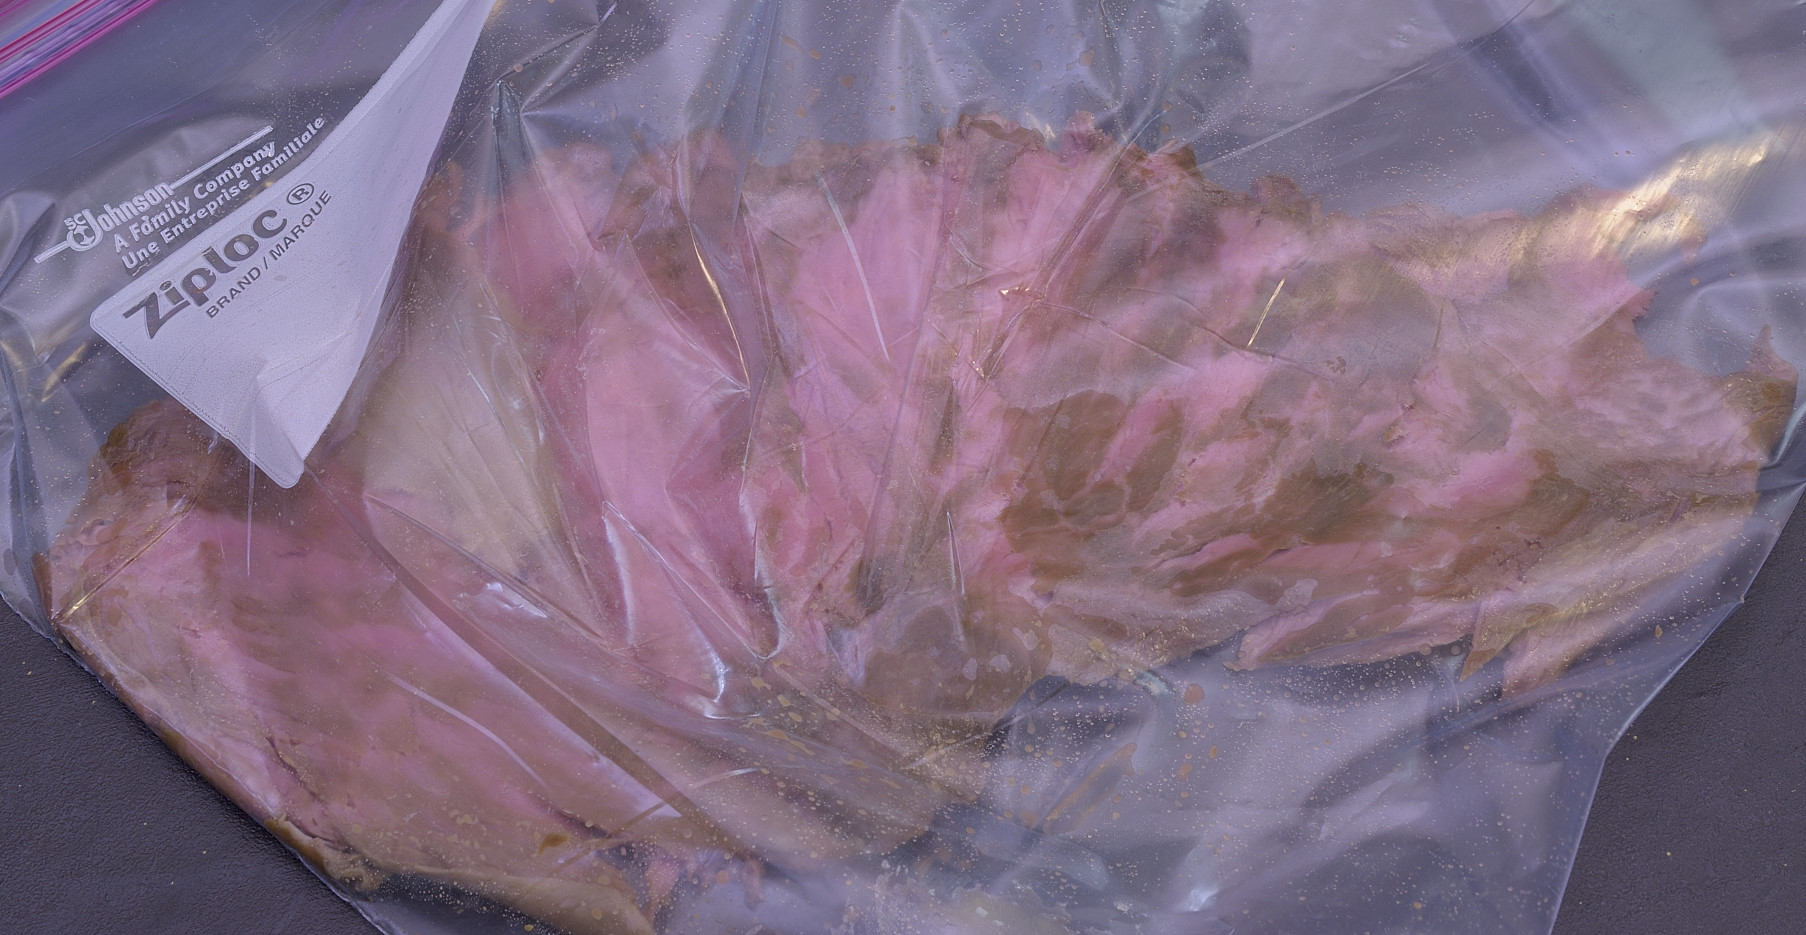
Coming out, beef and other red meats look pretty drab. We’re going to bread this thing, which for most people means a gigantic mess with numerous bowls, sticky surfaces and fingers coated with a crusty layer far superior to the one intended for the cutlet, the lonely orphan that usually hits the floor at least once during the process. We have built a better mousetrap. Several, actually, this is just one of them. Remove the meat from the pouch, discard the negligible amount of purge and pat the surface dry.
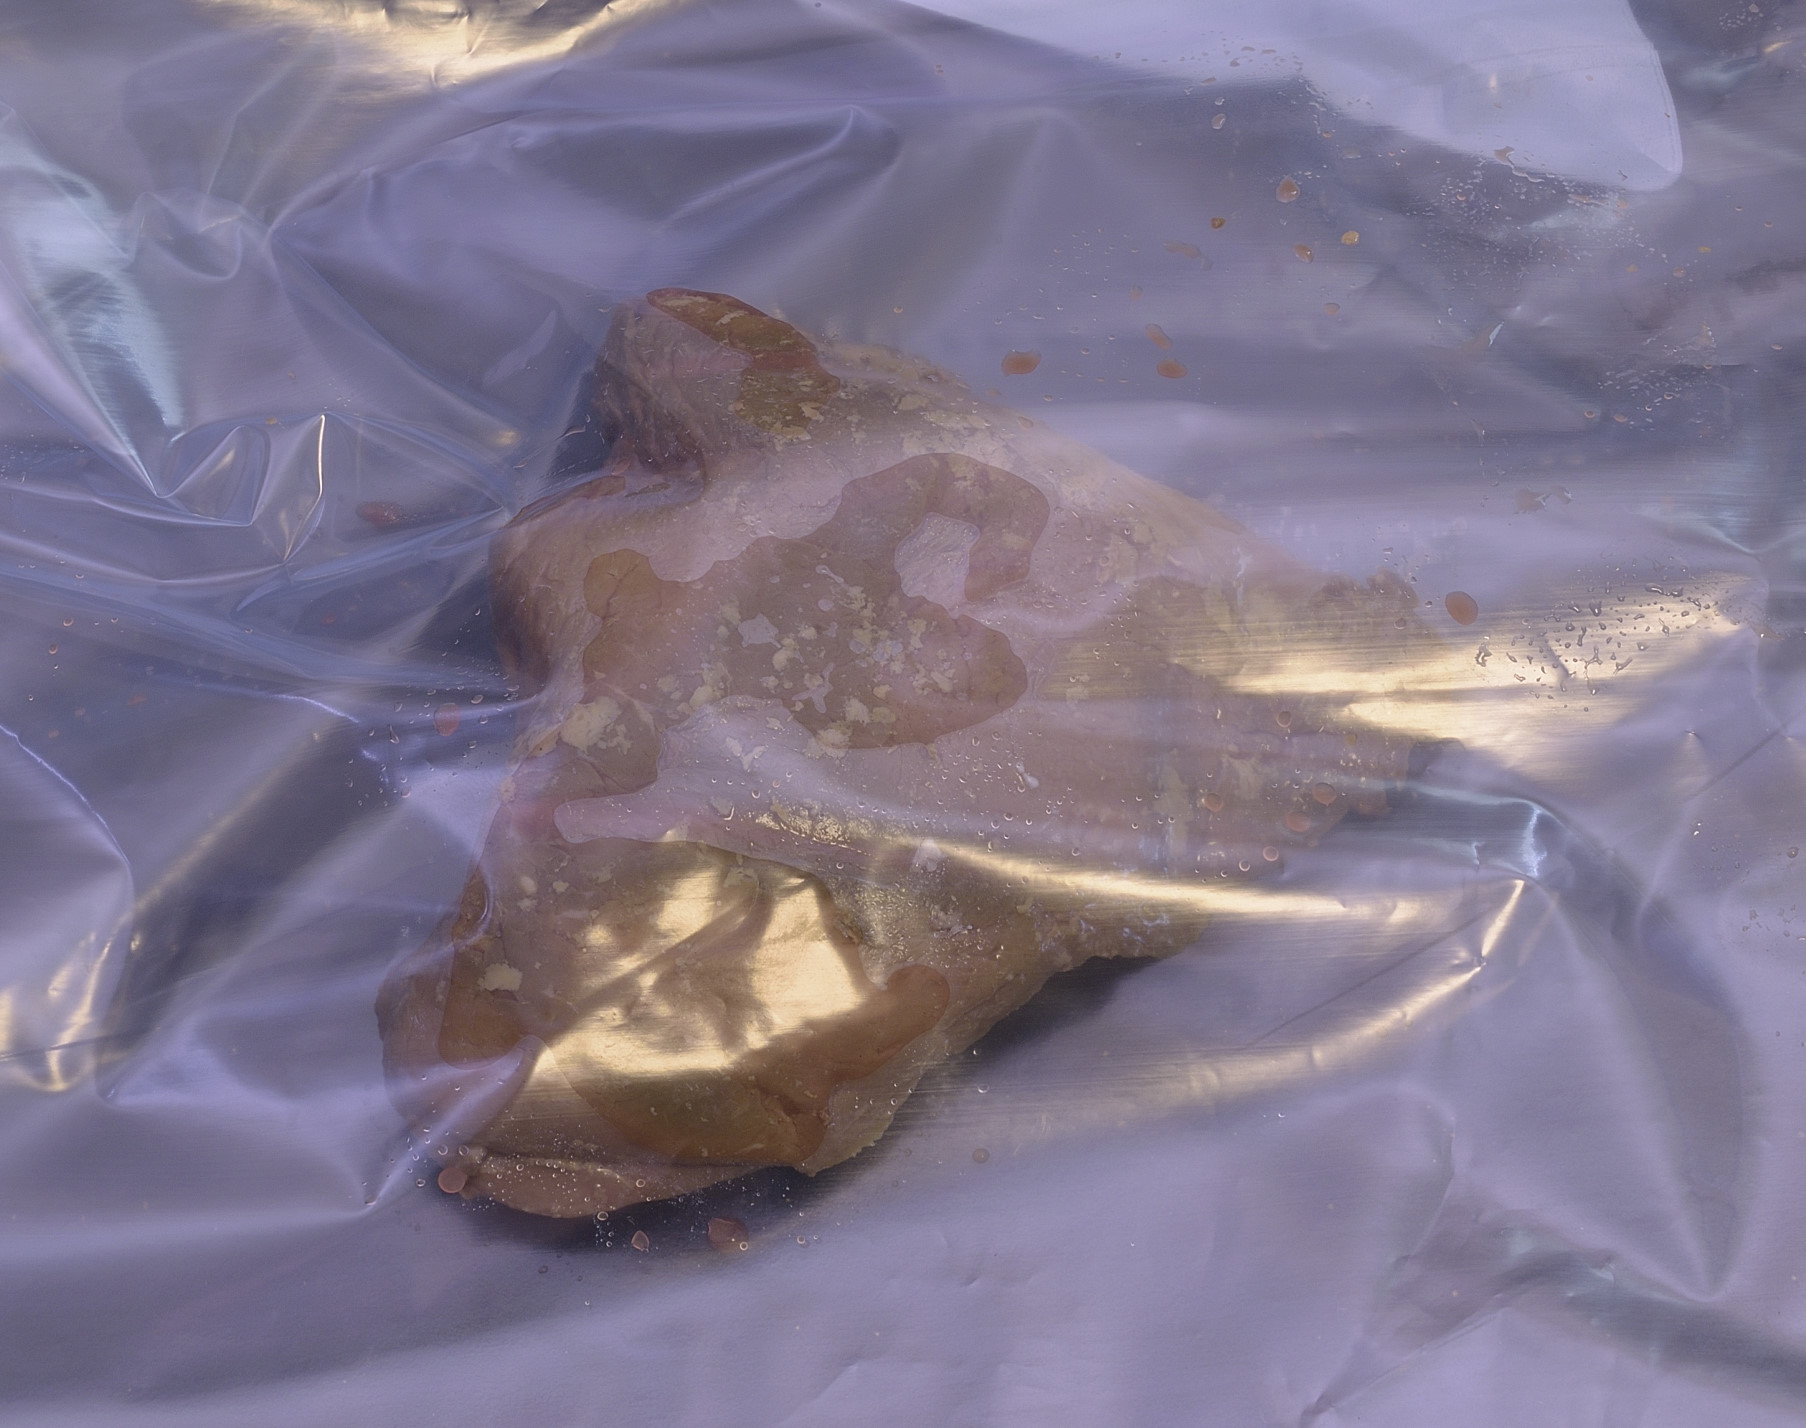
Put the meat inside a gallon sized Ziploc bag, don’t seal it.
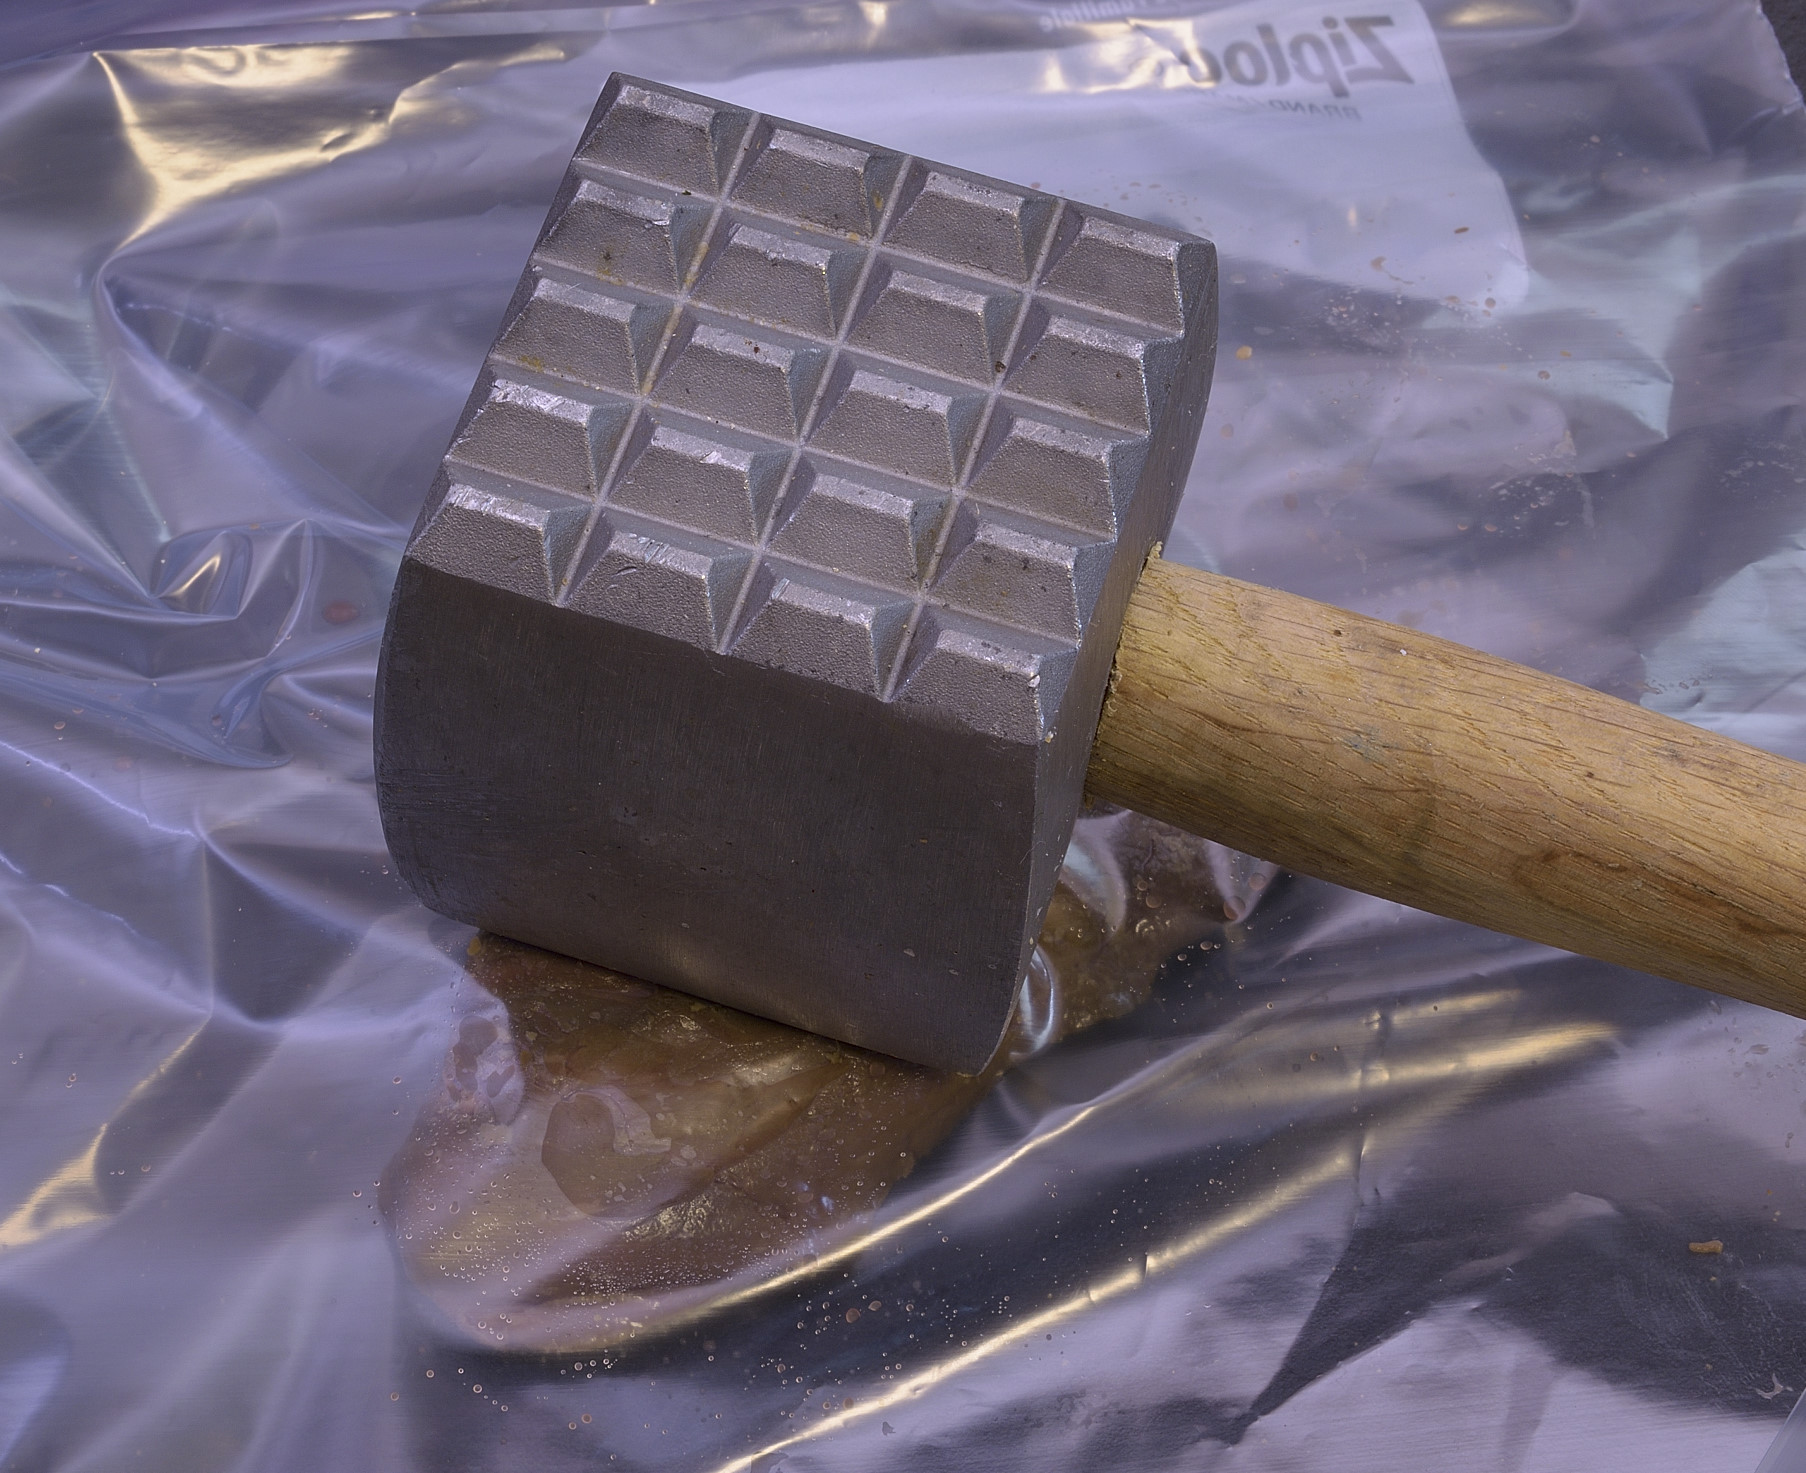
I use this type of mallet, they’re like $10, but you can use a smaller one or a rolling pin or a rubber hammer.
Pound it out as thin as you can without altering its structural integrity. Not one big swing. Small, light taps evenly distributed over the surface. If you skip the bag the meat will stick to the hammer and splatter little wet things all over the place. Flip the bag and tap it on both sides, d’oh.
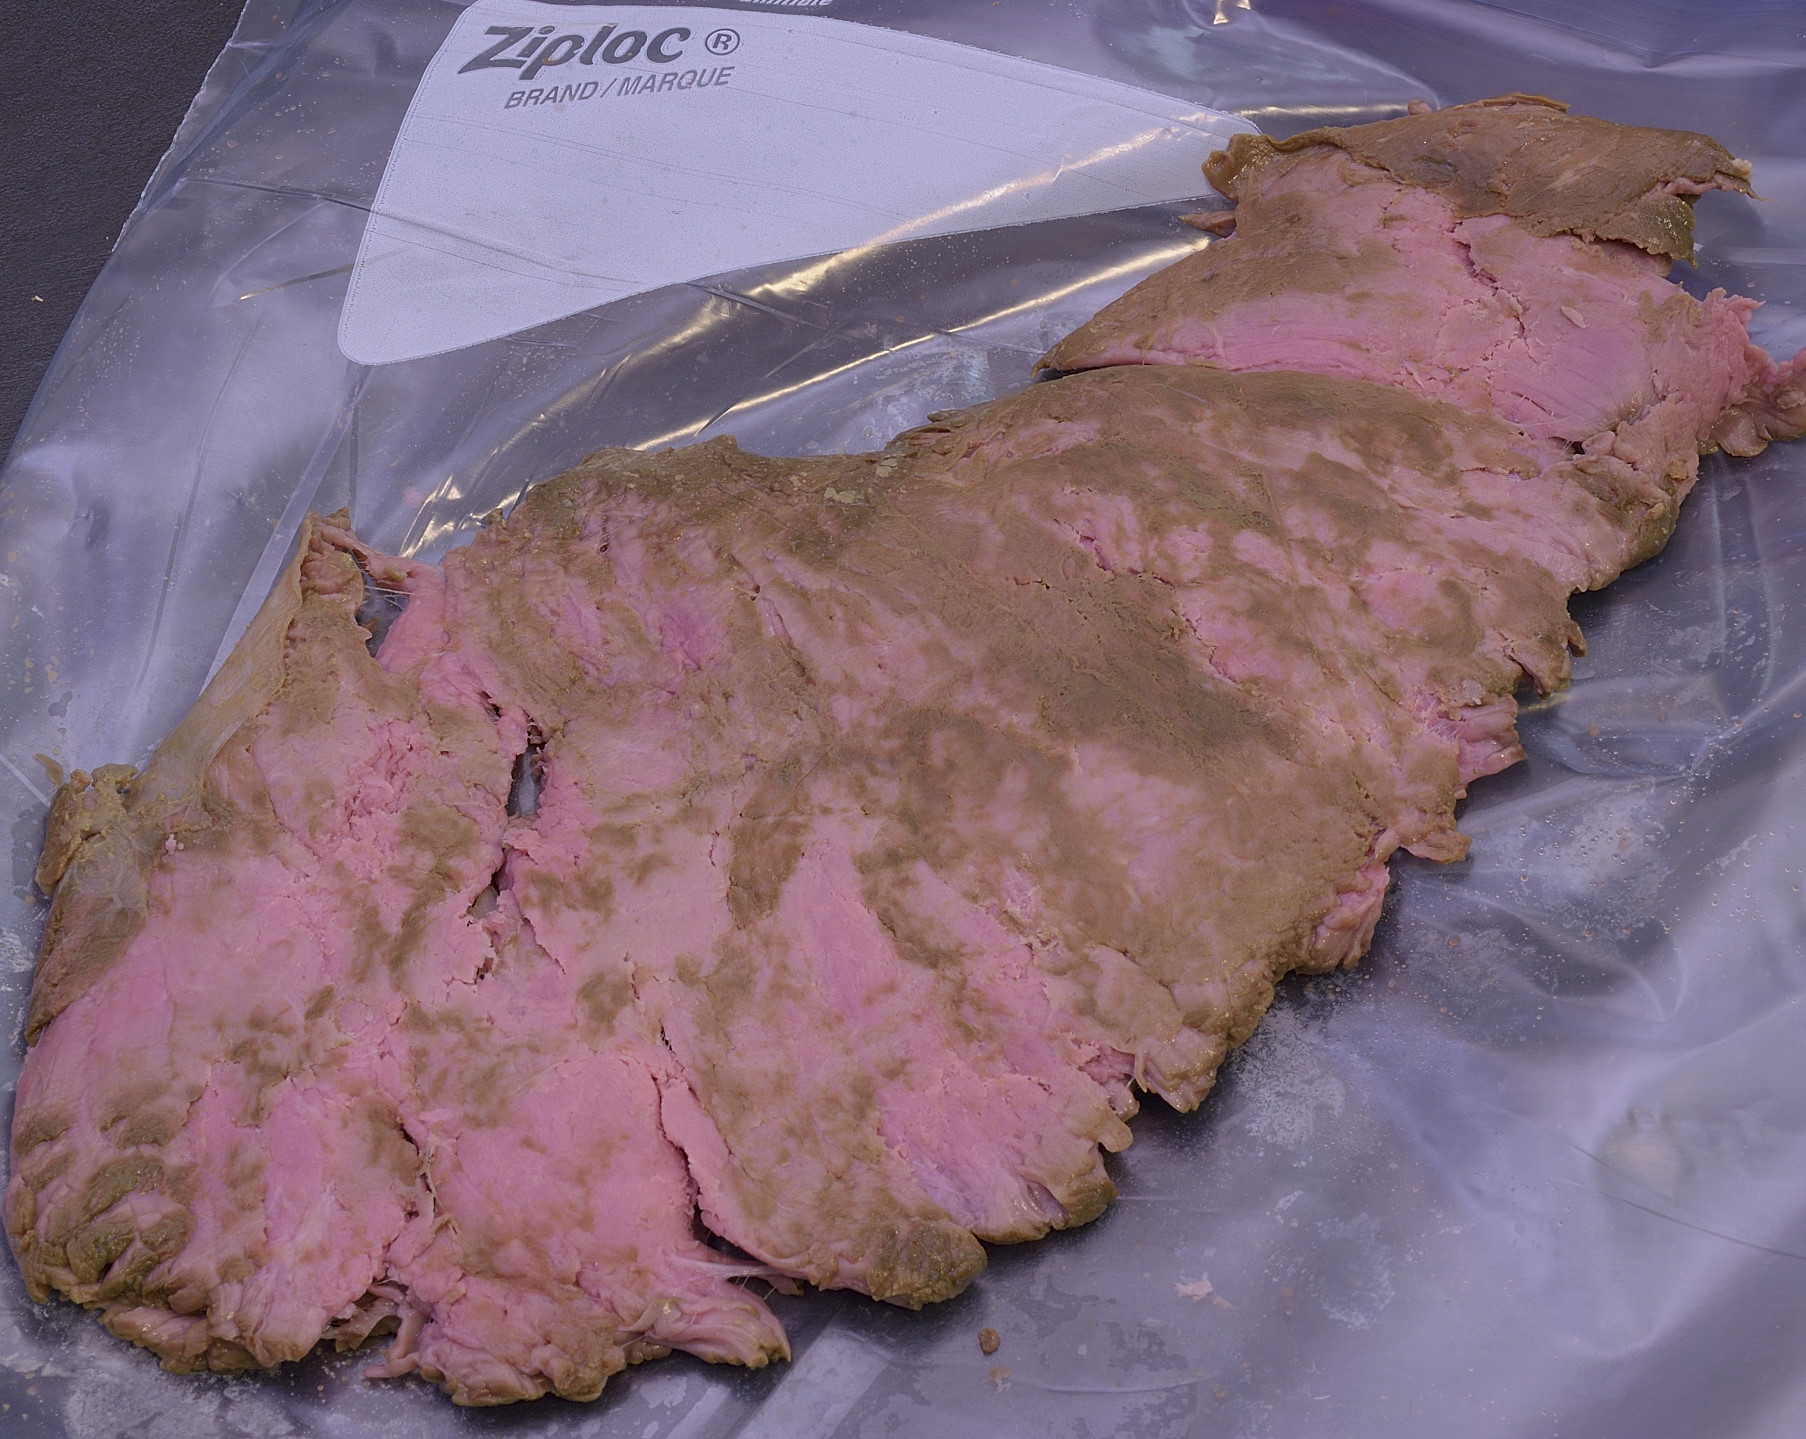
It may tear a bit and look a little ragged, just be careful moving it around. Don’t move it around. Move the bag, not the cutlet. Ignore the little discolored areas. Indulge me.
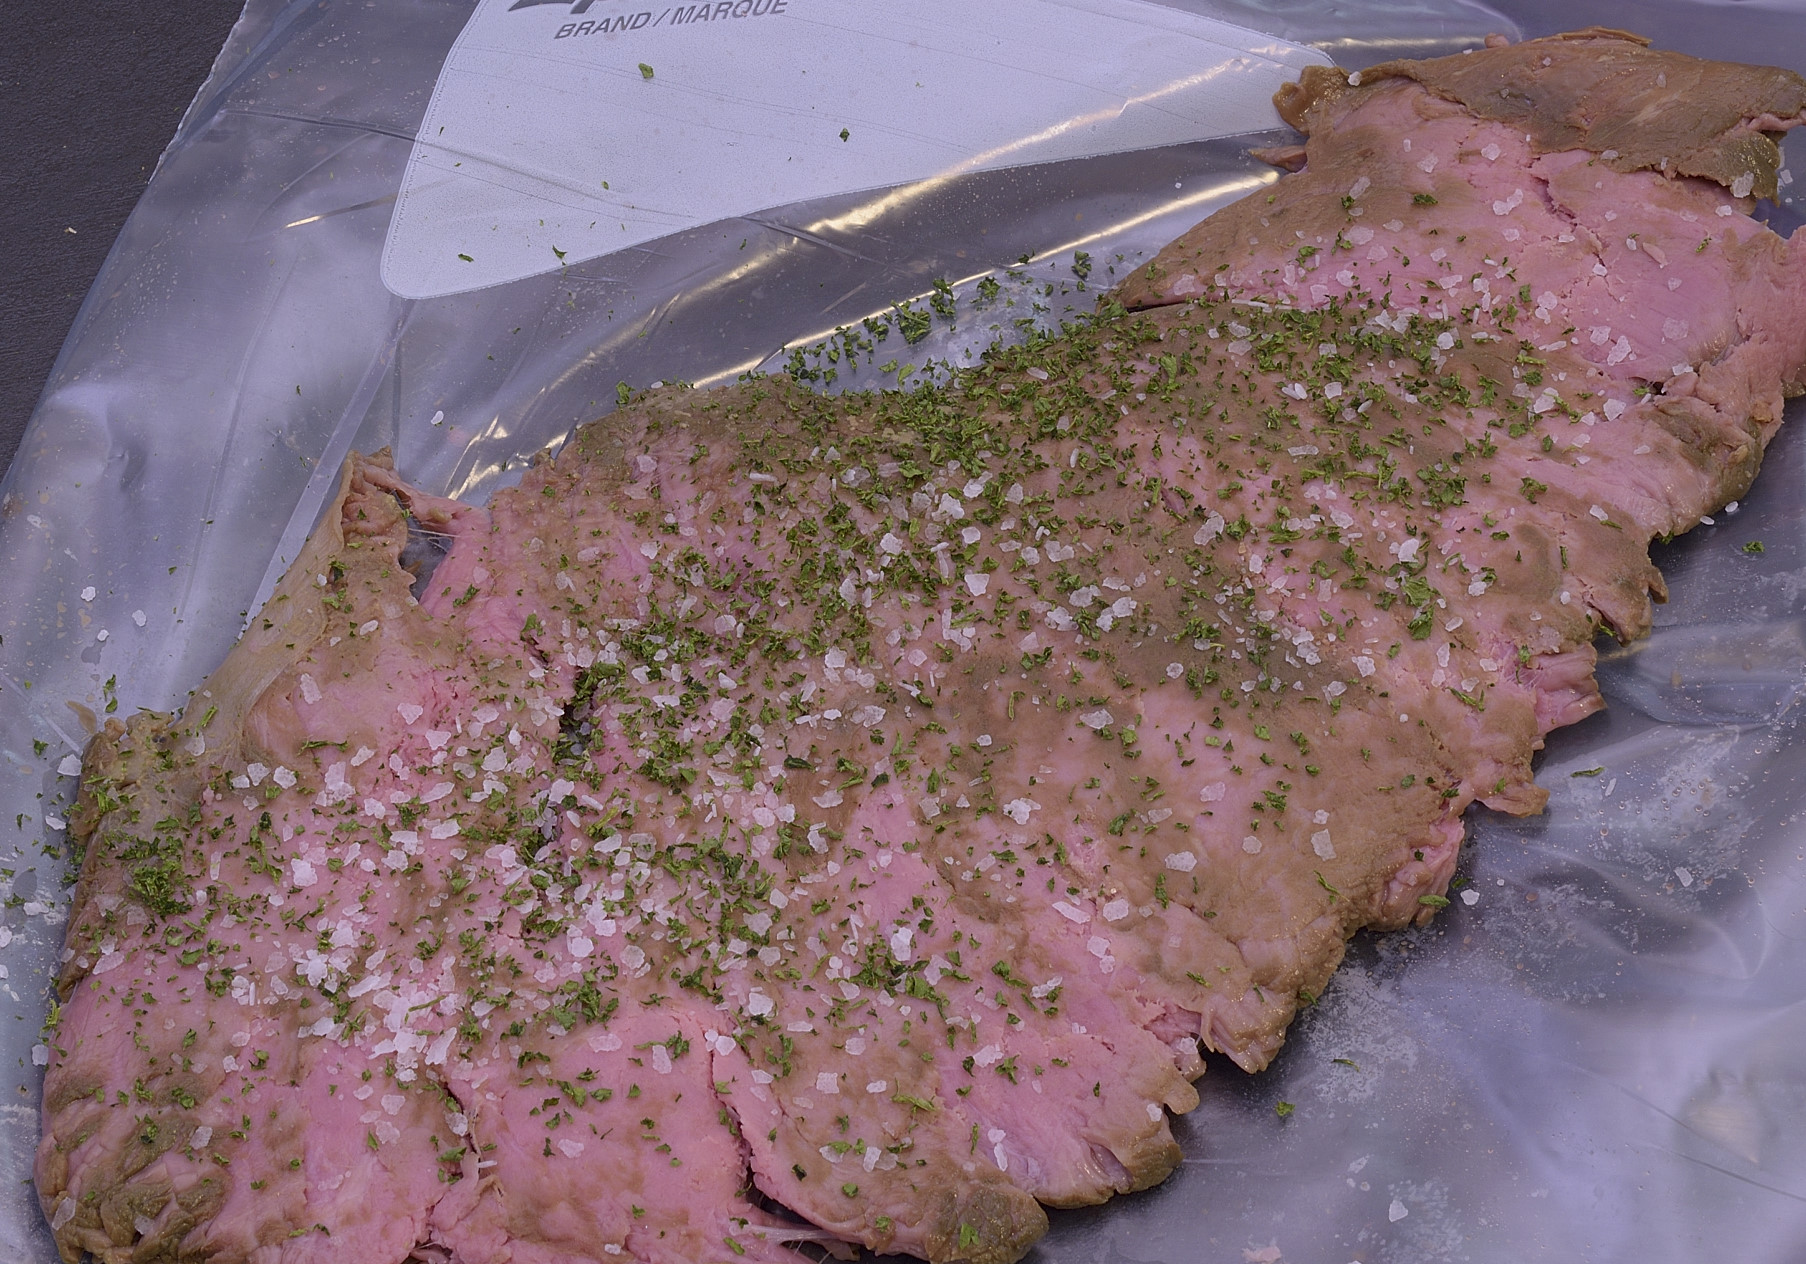
Sprinkle with a little salt and pepper. I put a little parsley on just about everything.
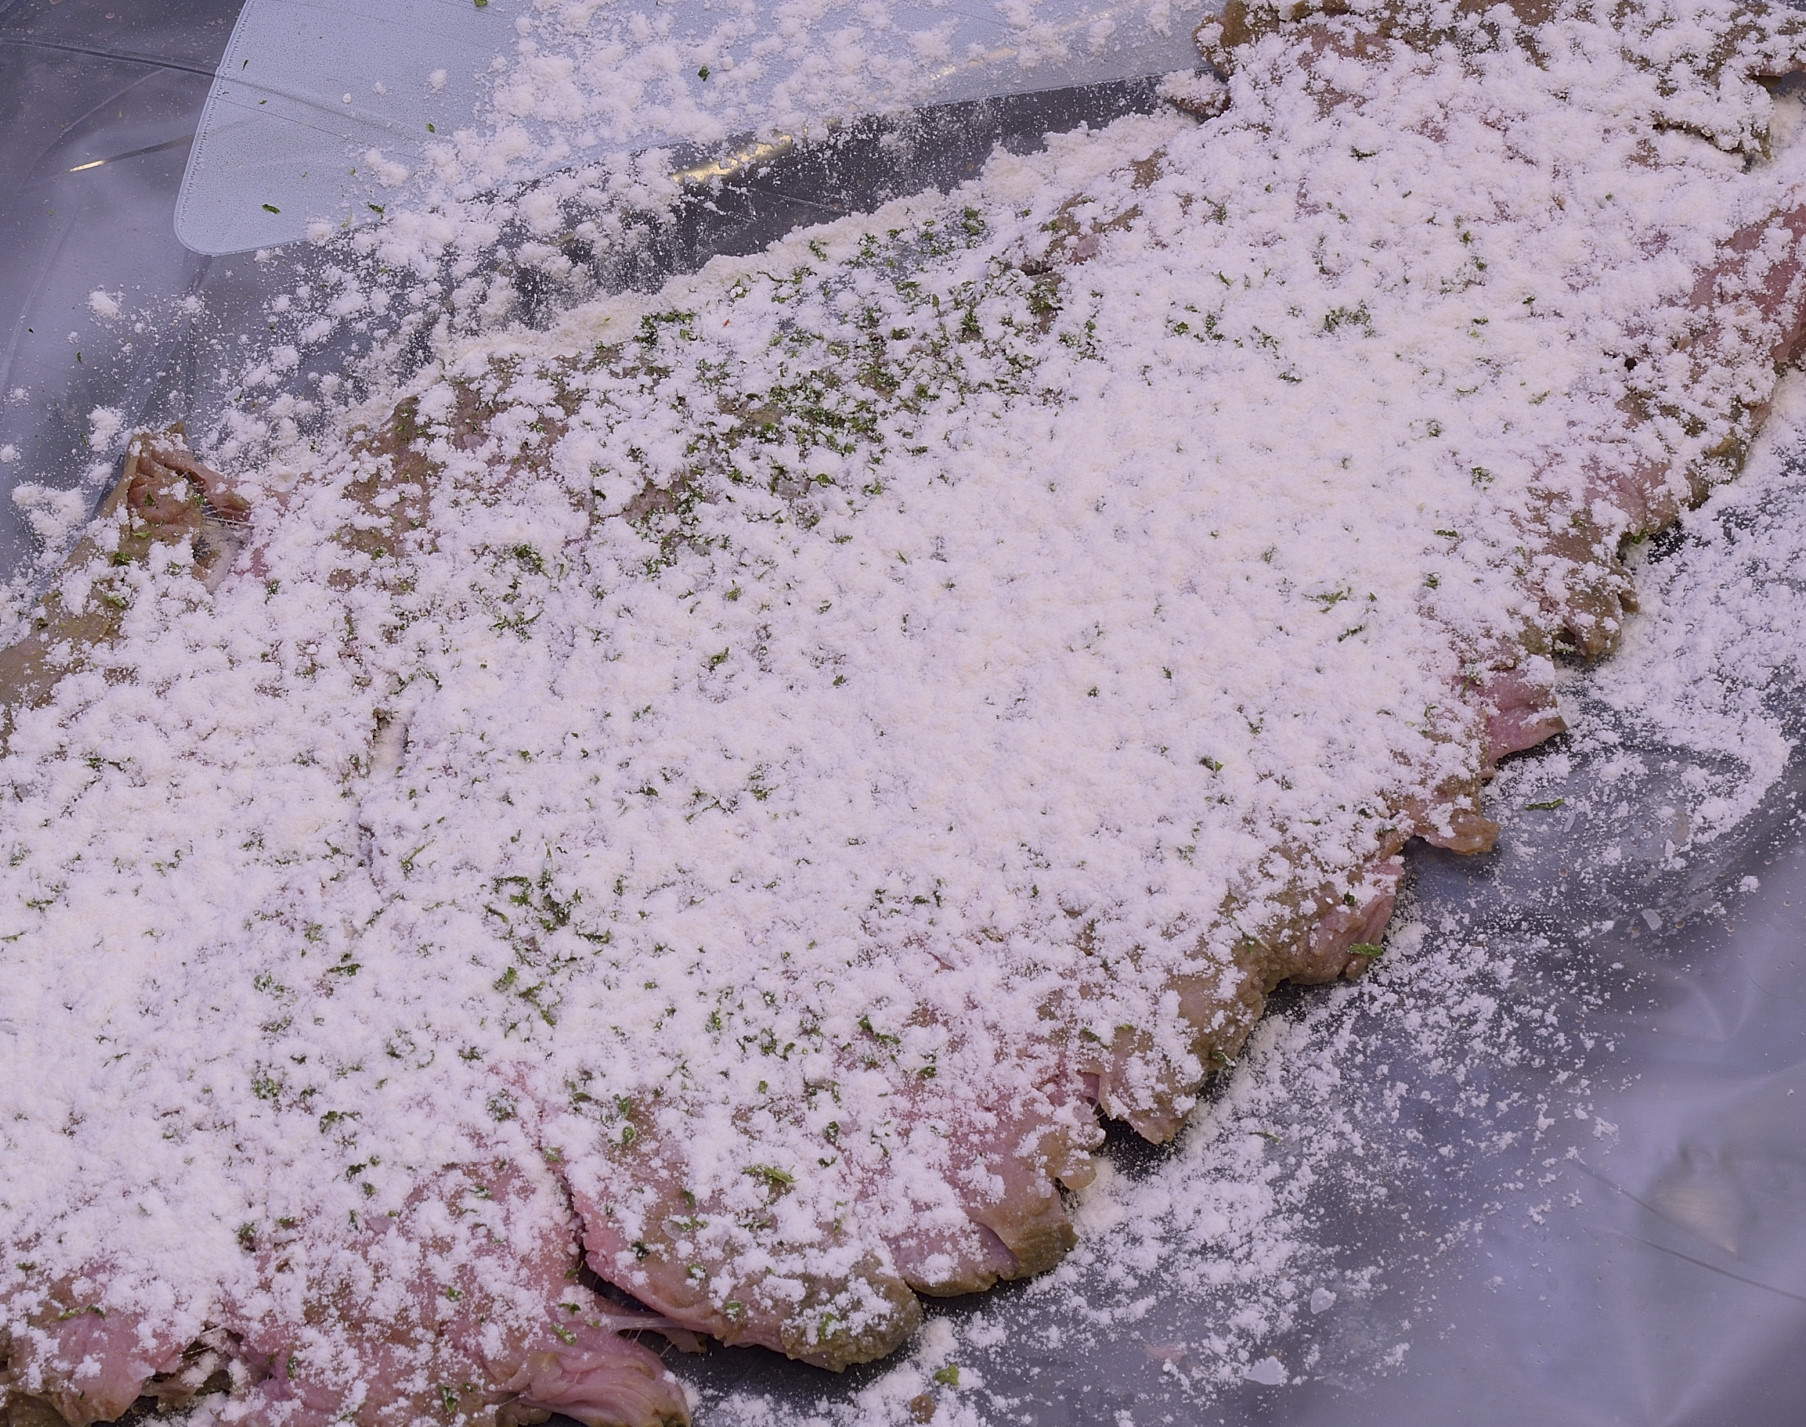
Dust with flour, I use a dredge, which most people call a shaker.
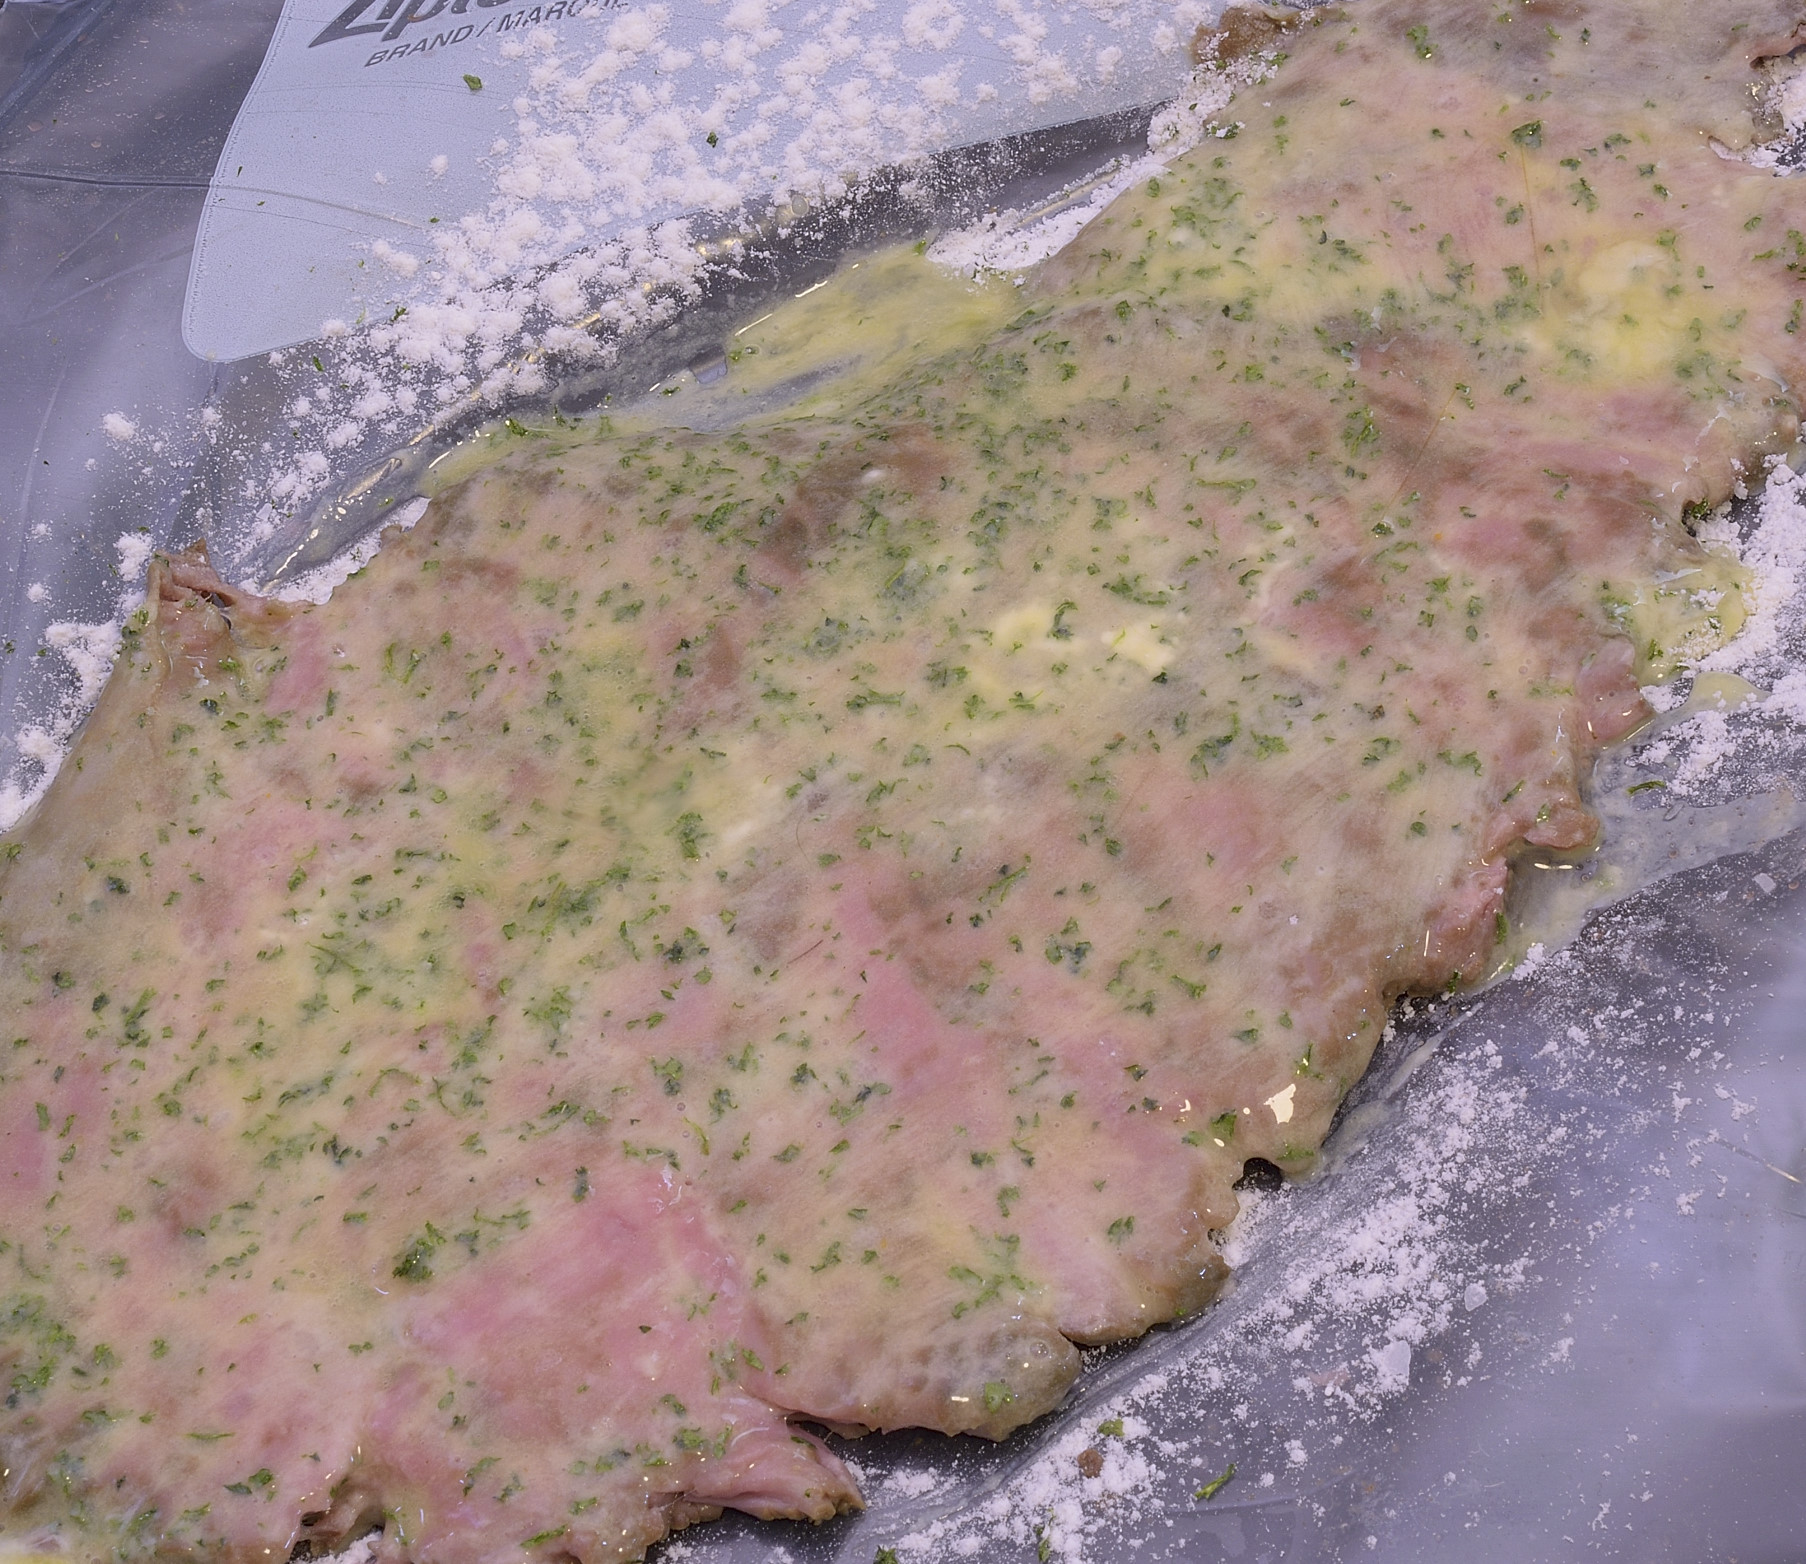
Use a pastry brush to paint/moisten the surface with the egg/water solution. Don’t miss any spots. Take your time.
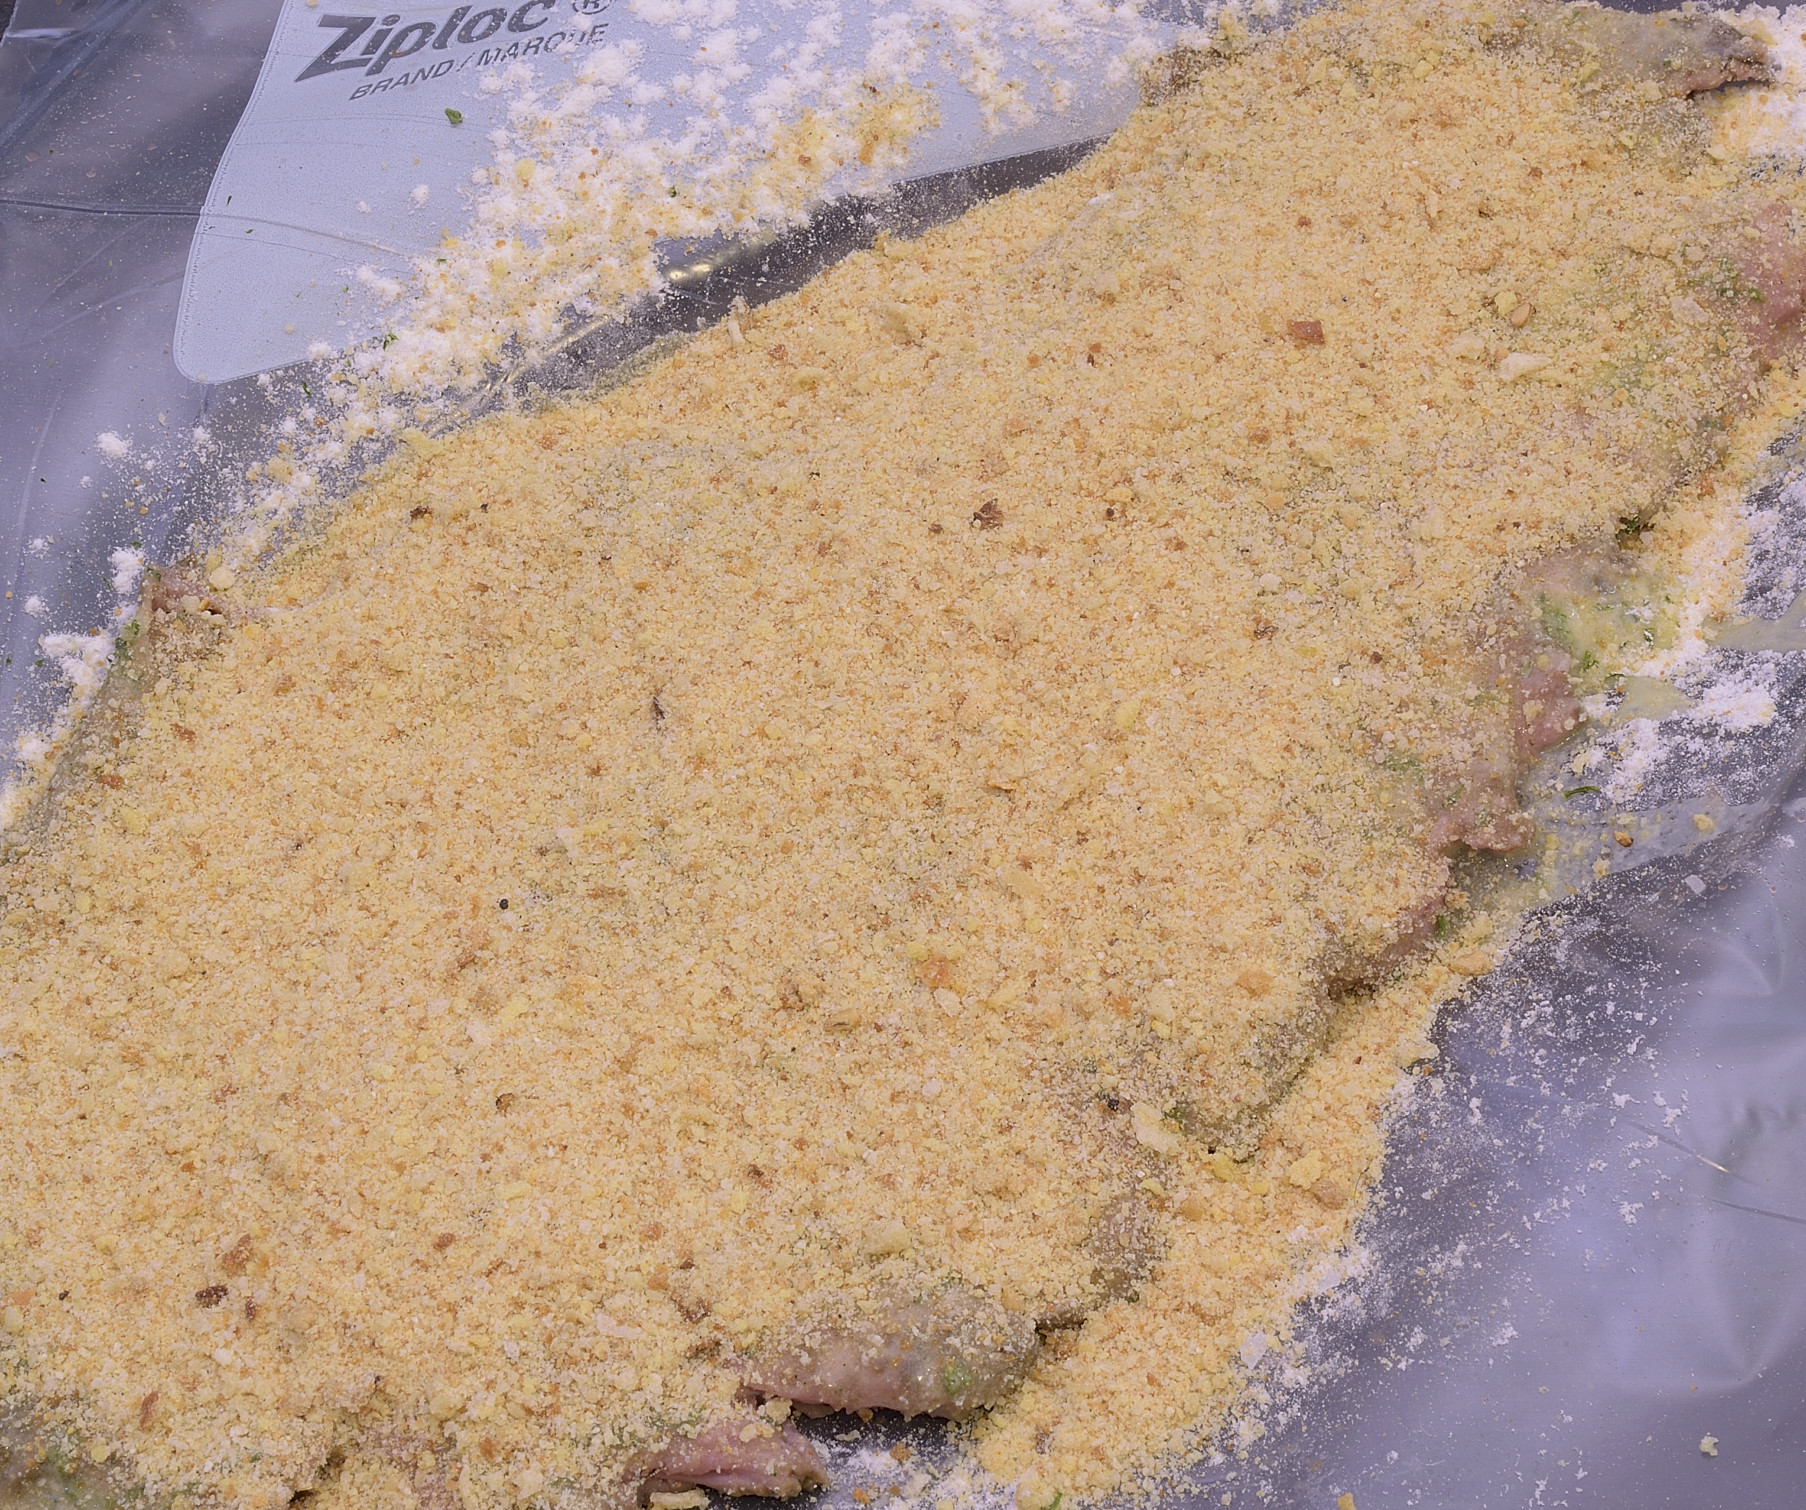
Sprinkle generously with bread crumbs and pat gently. Carefully flip the thing over and repeat the flour, egg, crumbs procedure. You don’t need to season the flip side. LET IT REST FOR HALF AN HOUR. This is important to give the breading time to secure itself to the cutlet.
Make the cream sauce.
Melt the butter on medium heat in a thick, flat bottomed skillet. Add the flour and stir to fully dissolve. TURN OFF THE BURNER.
Combine the milk, cream, and salt in a 2 cup measure and heat for one minute in the microwave OR in a small sauce pan. You want it about as hot as a cup of coffee that isn’t quite hot enough to fully enjoy.
Turn the heat on again under the flour butter mixture (roux) and add half the milk/cream mixture. Stir gently with a wooden spoon or spatula. Use a whip if you MUST but this sauce is not supposed to be whipped, a common misconception. Whipping can break this sauce, trust me.
When you add the milk/cream, the sauce should start to get thick right away. If it doesn’t, it’s because you didn’t follow the directions. Assuming it did, and you did, add the rest of the milk/cream mixture and bring to a gentle simmer again. We all know the risk of scorching, so gently rub the bottom of the pan with whatever implement you chose. Under these conditions, the sauce should not scorch because the heat is not high enough.
If the sauce scorches, again, you were hasty or you thought I didn’t know what I was talking about or you were in a hurry or drunk so that’s the way things go sometimes, start over if necessary. Once you get it right, taste it and set it aside.
We who are about to fry
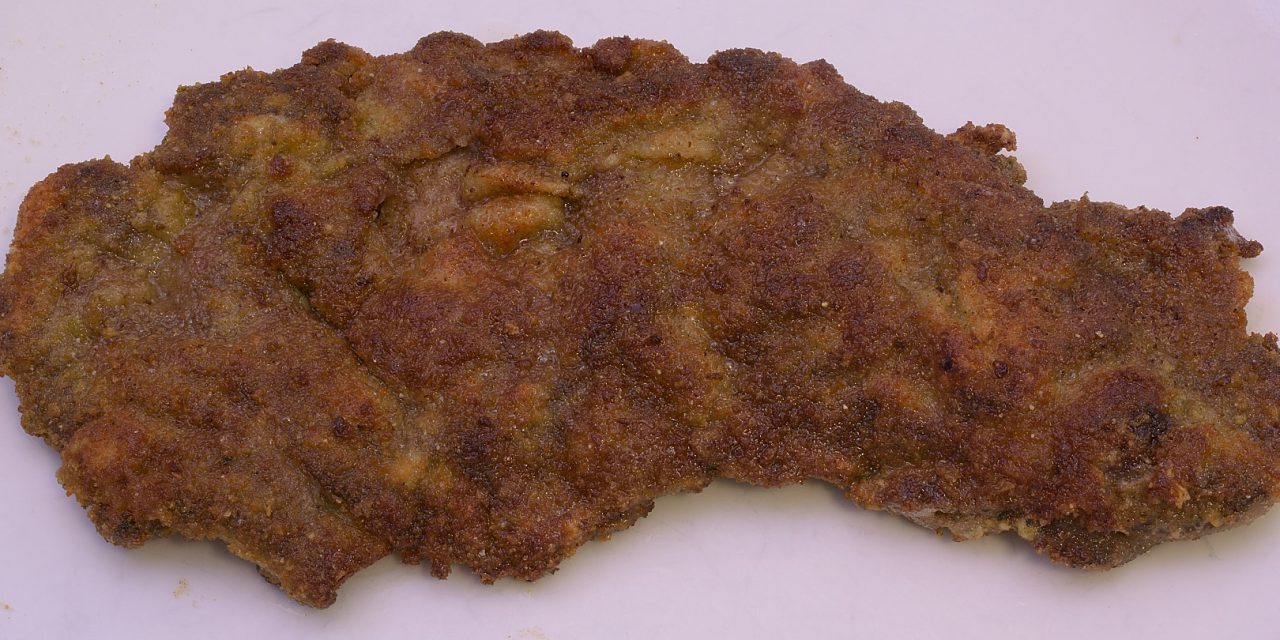
Heat a large skillet to 300 F/150 C. AFTER the pan is hot, add enough oil to be about 0.25″ deep in the pan. We are not sauteing. We are FRYING, and we don’t want dry spots on the cutlet. Gently shake/brush off the excess crumbs and carefully lay the cutlet in the pan. Move it around a bit because heat is never uniform in any pan. Watch the edges and/or lift up the cutlet a bit to evaluate the level of brownness and flip at the appropriate time. Remove from the pan and set aside.
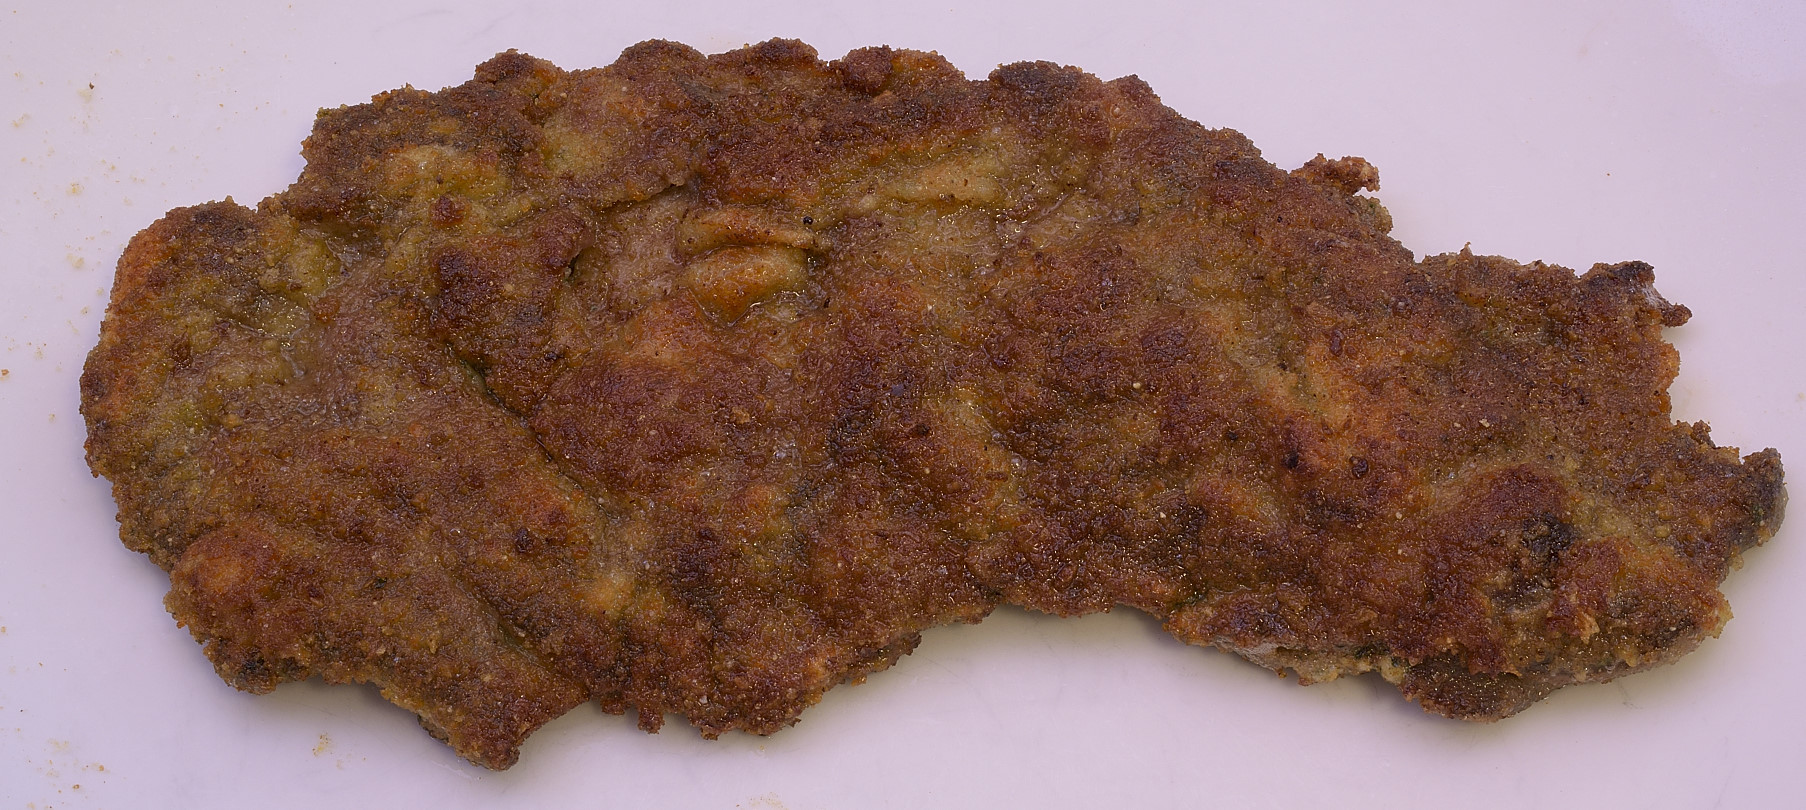
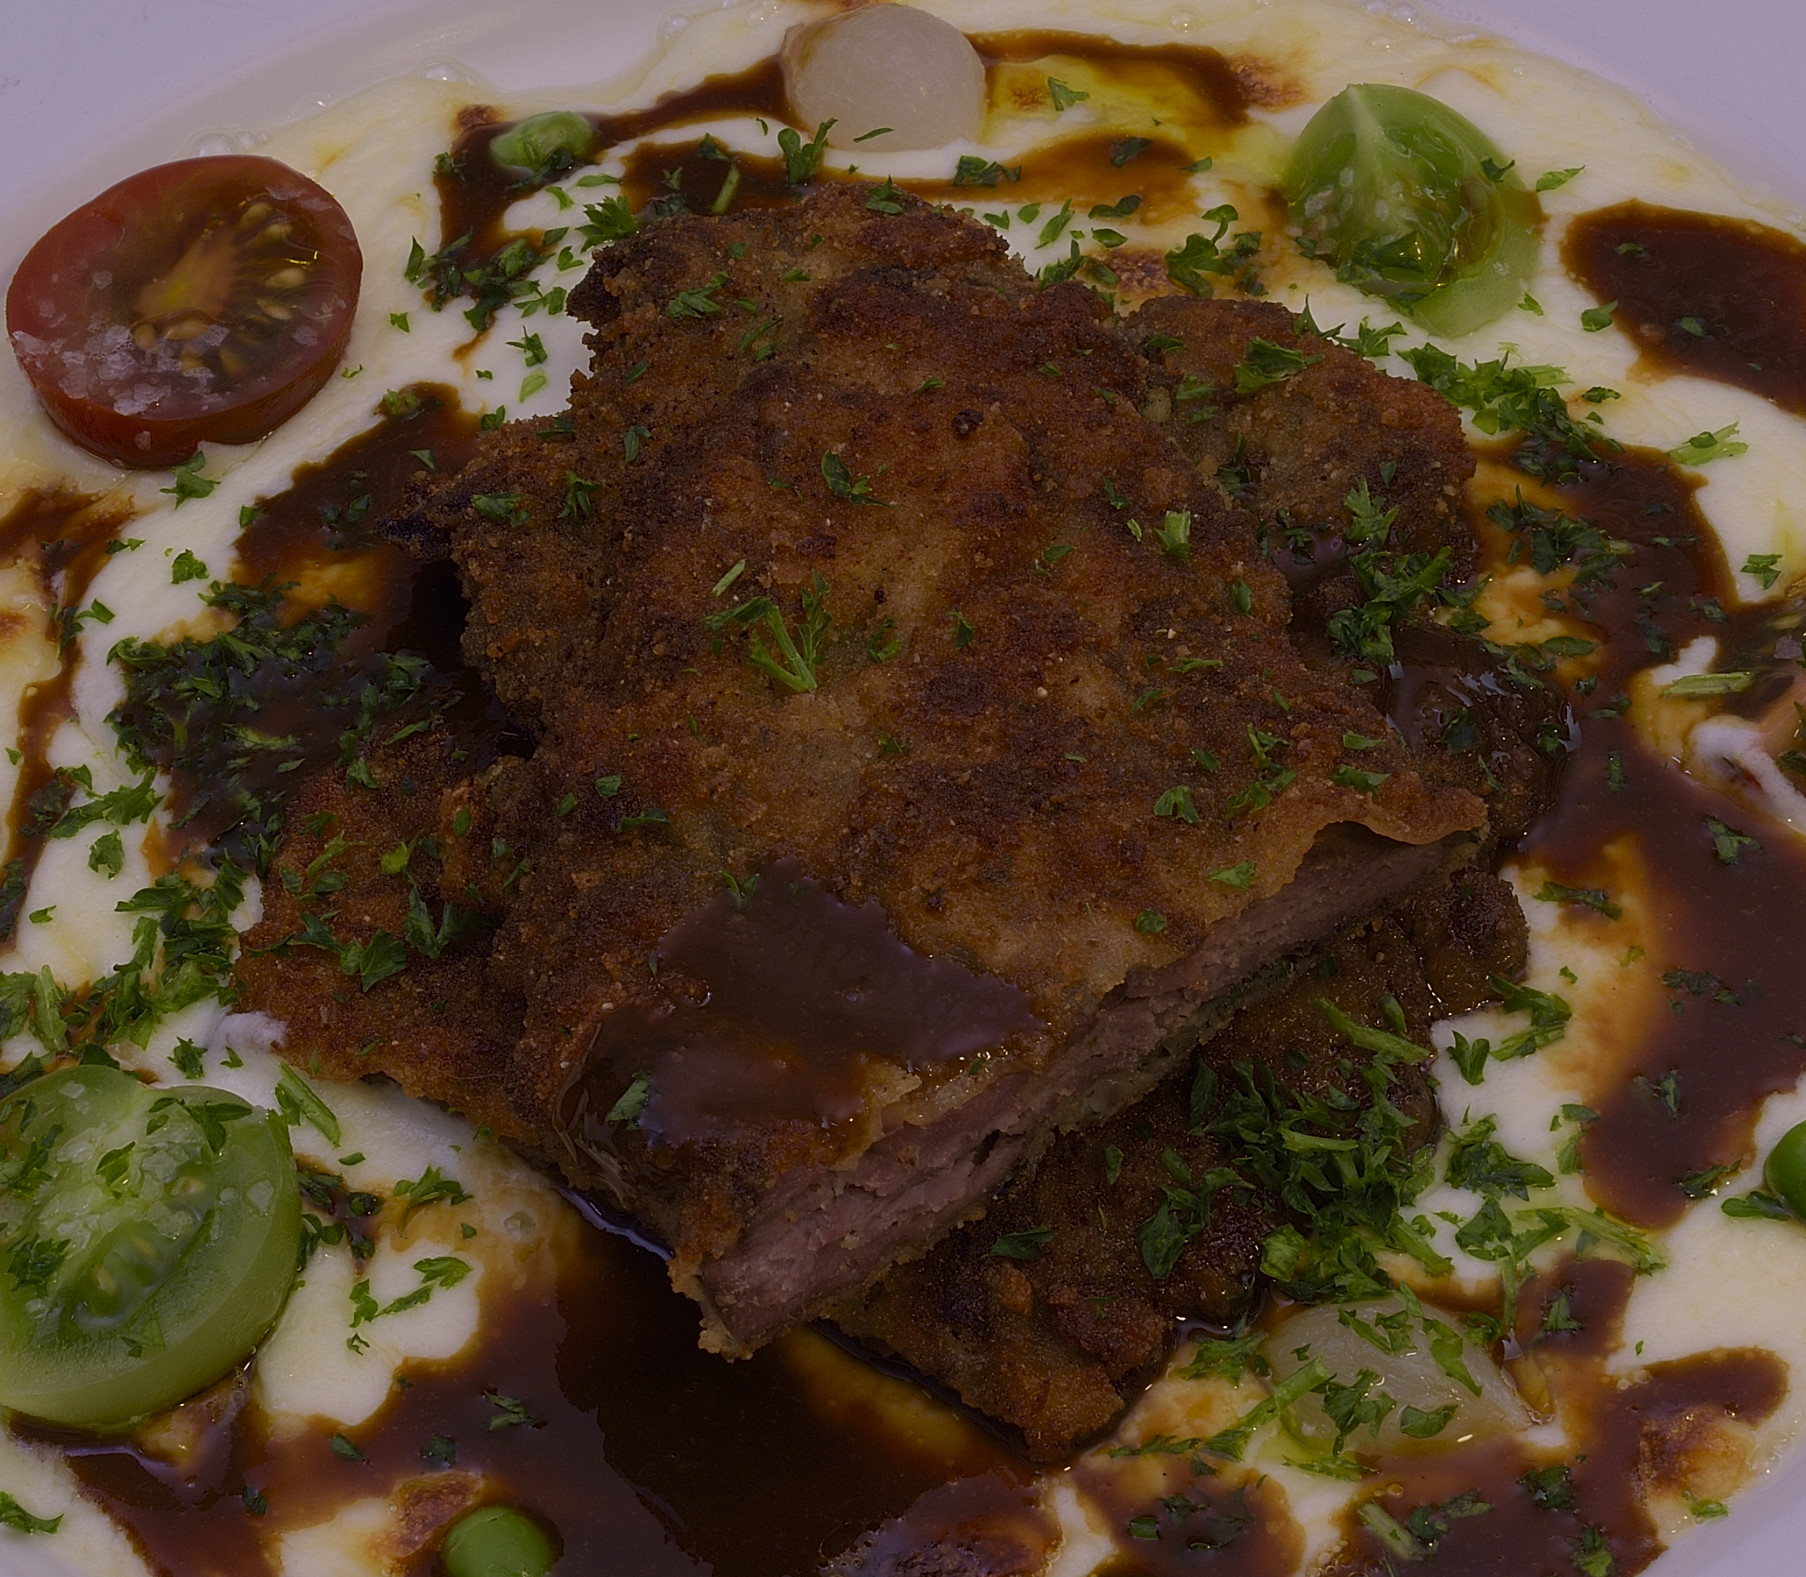
If it comes out really good, take a picture.
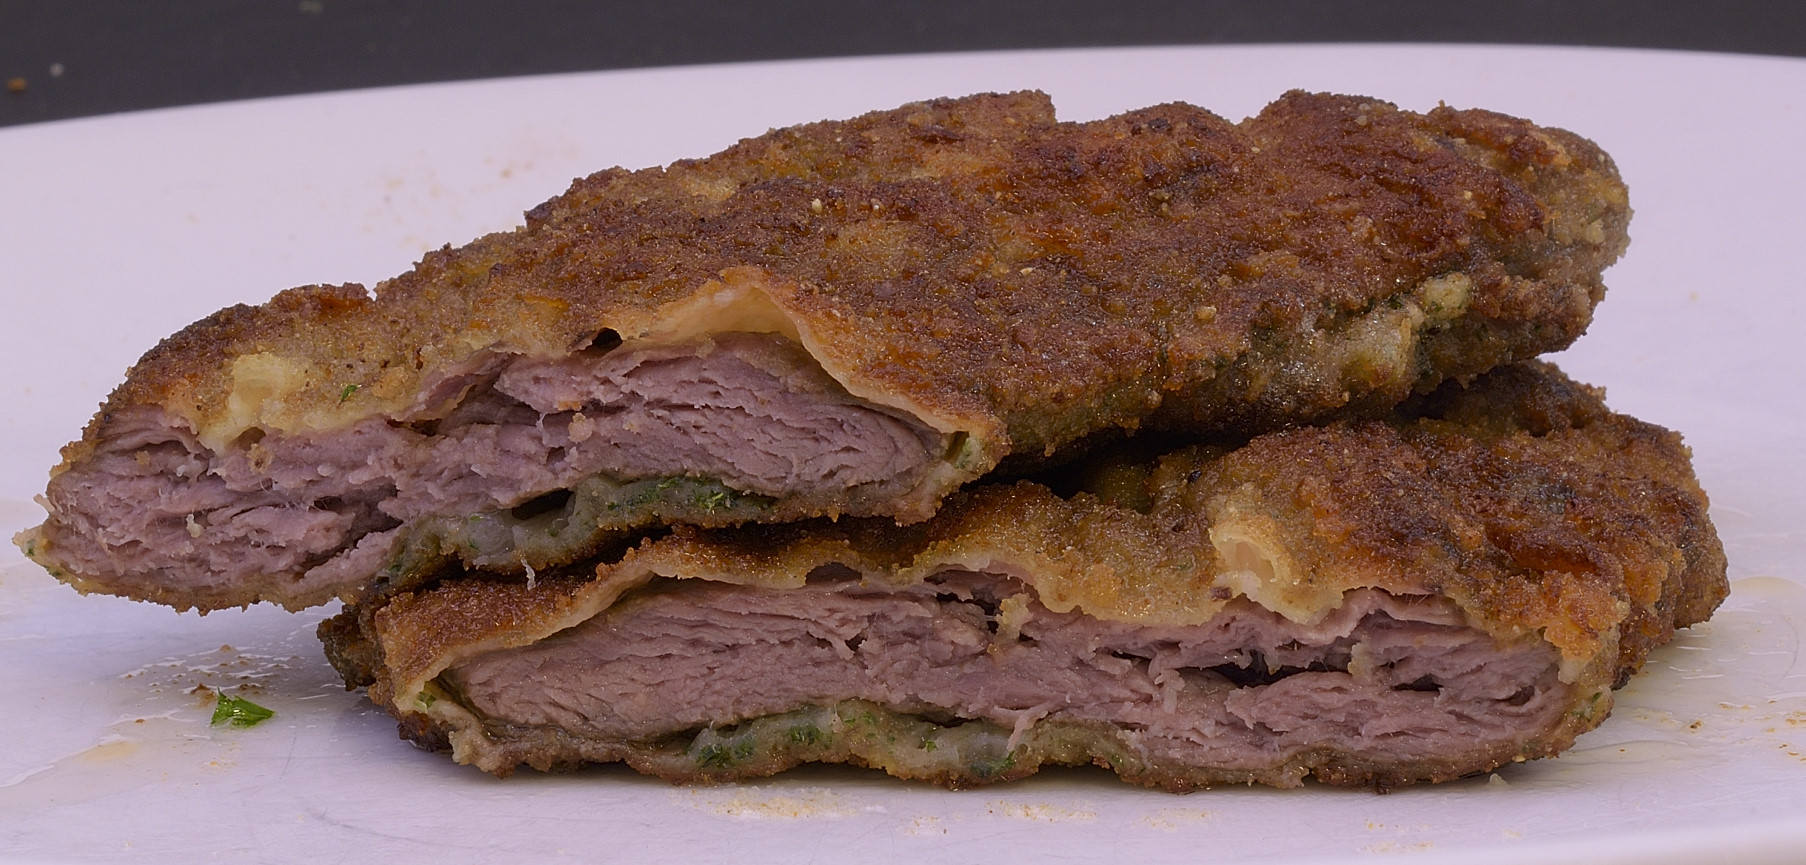
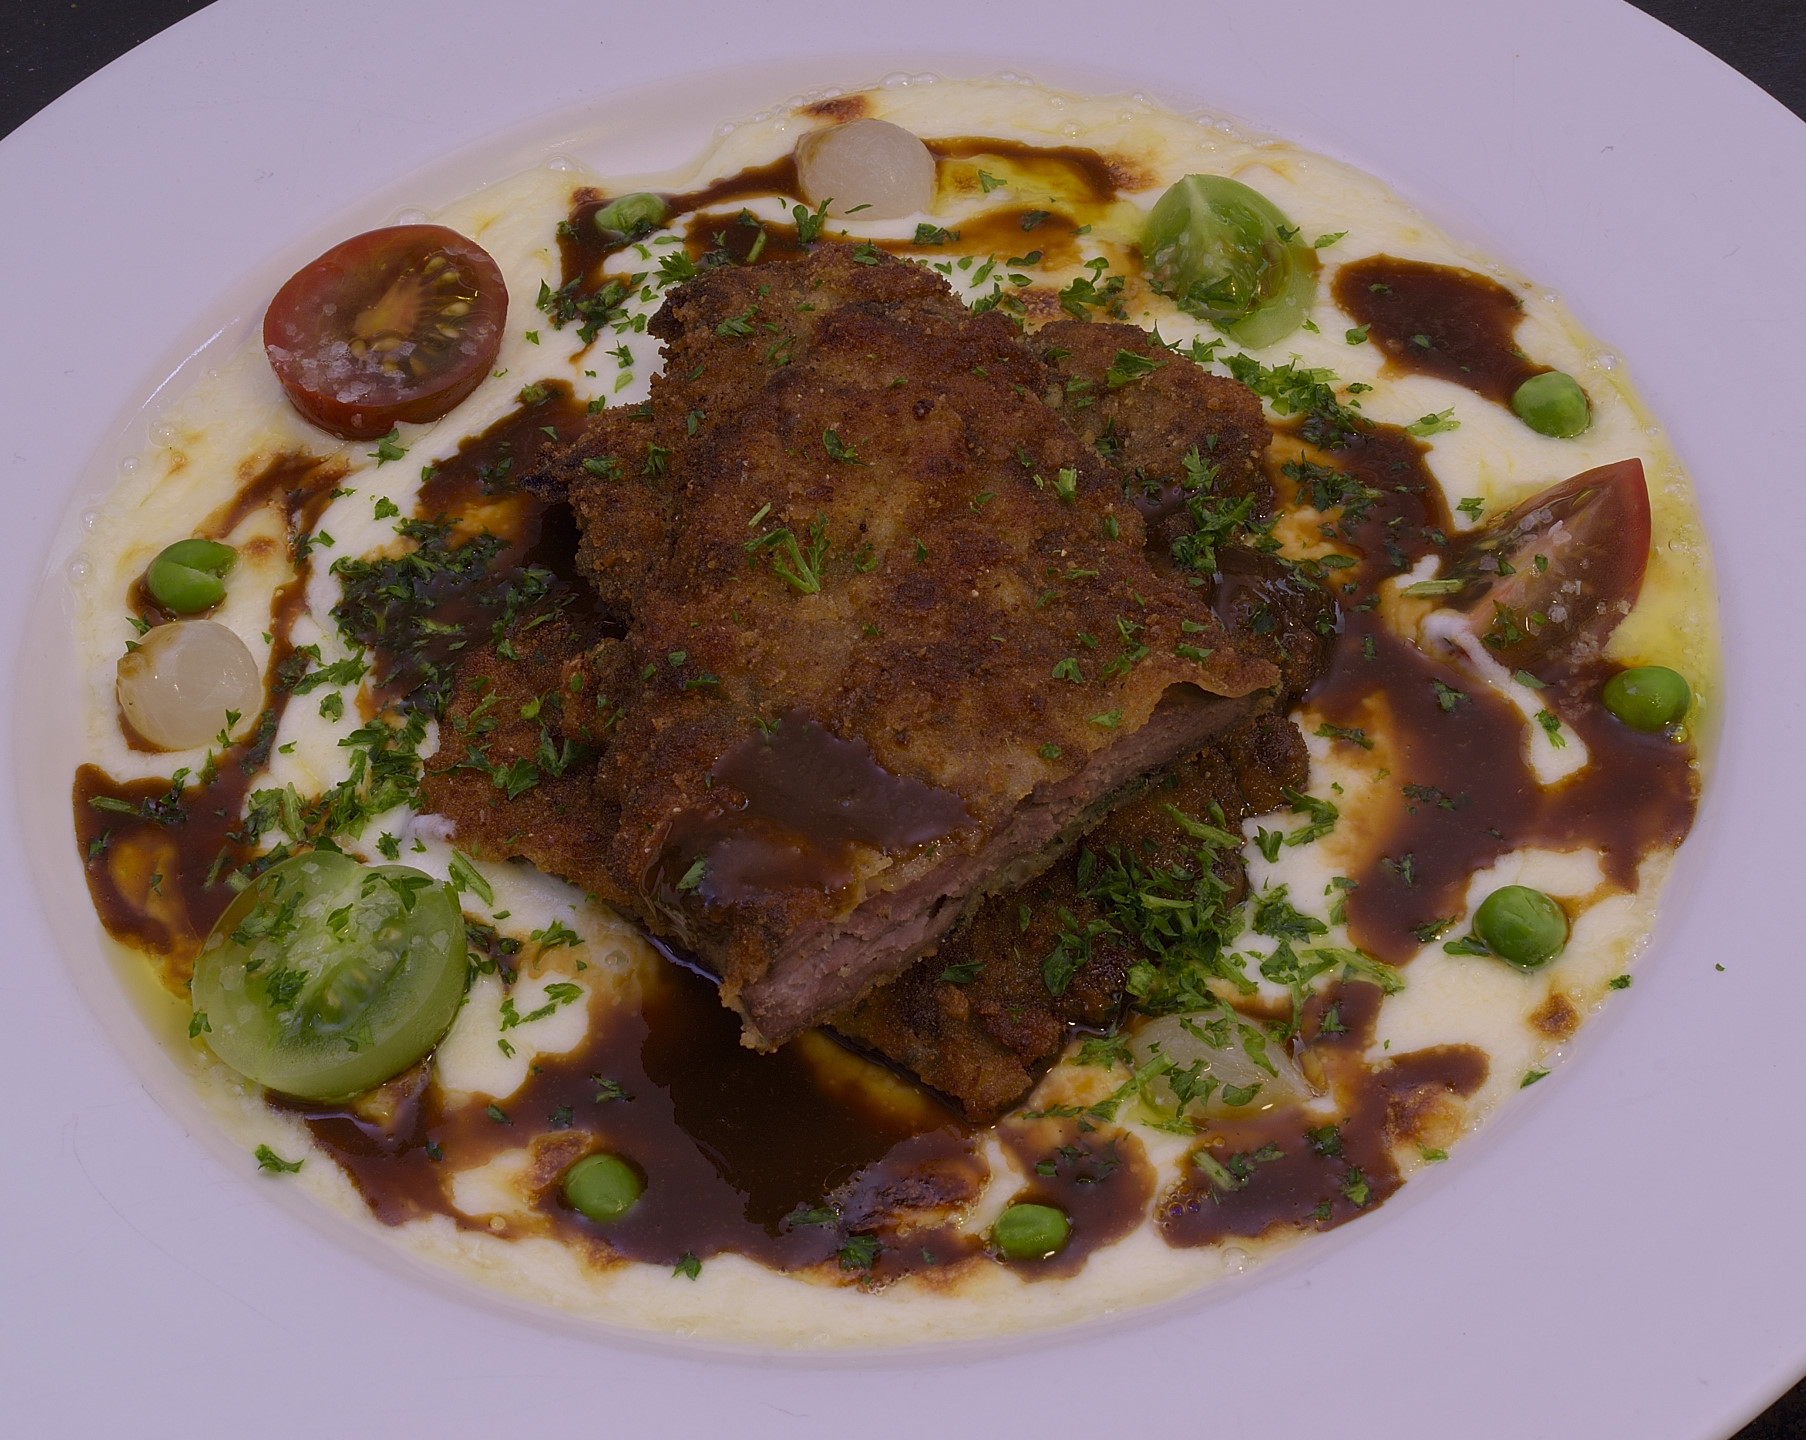
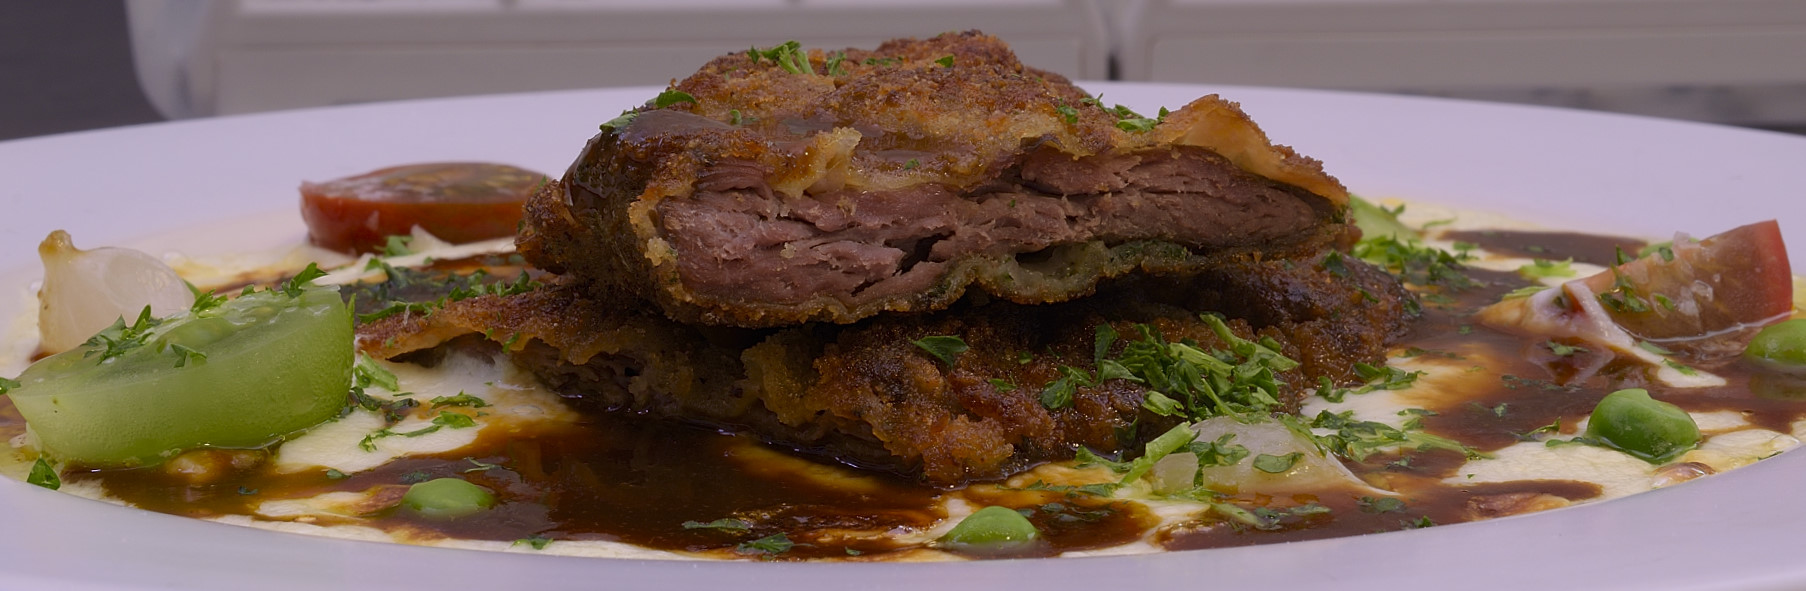
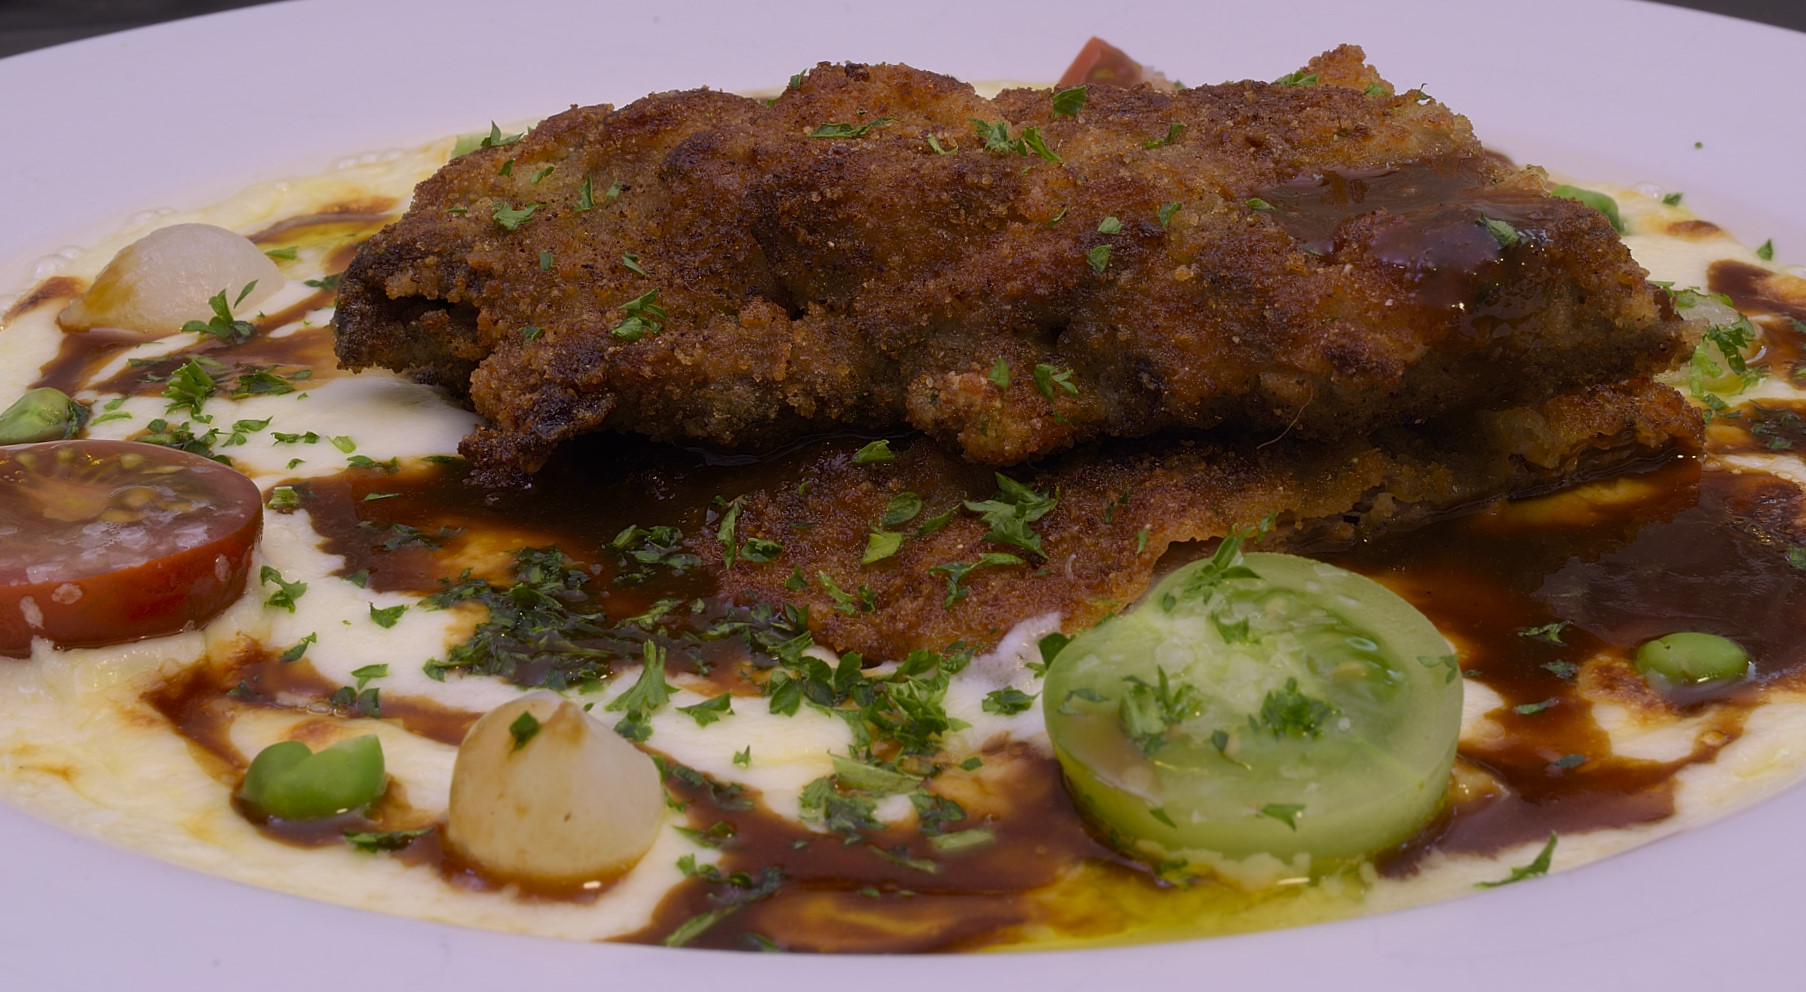
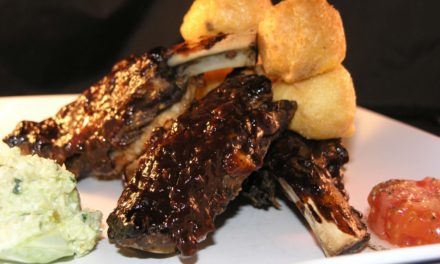
Cut it in half. Put a pool of the cream sauce on the plate. Or, do whatever you want.
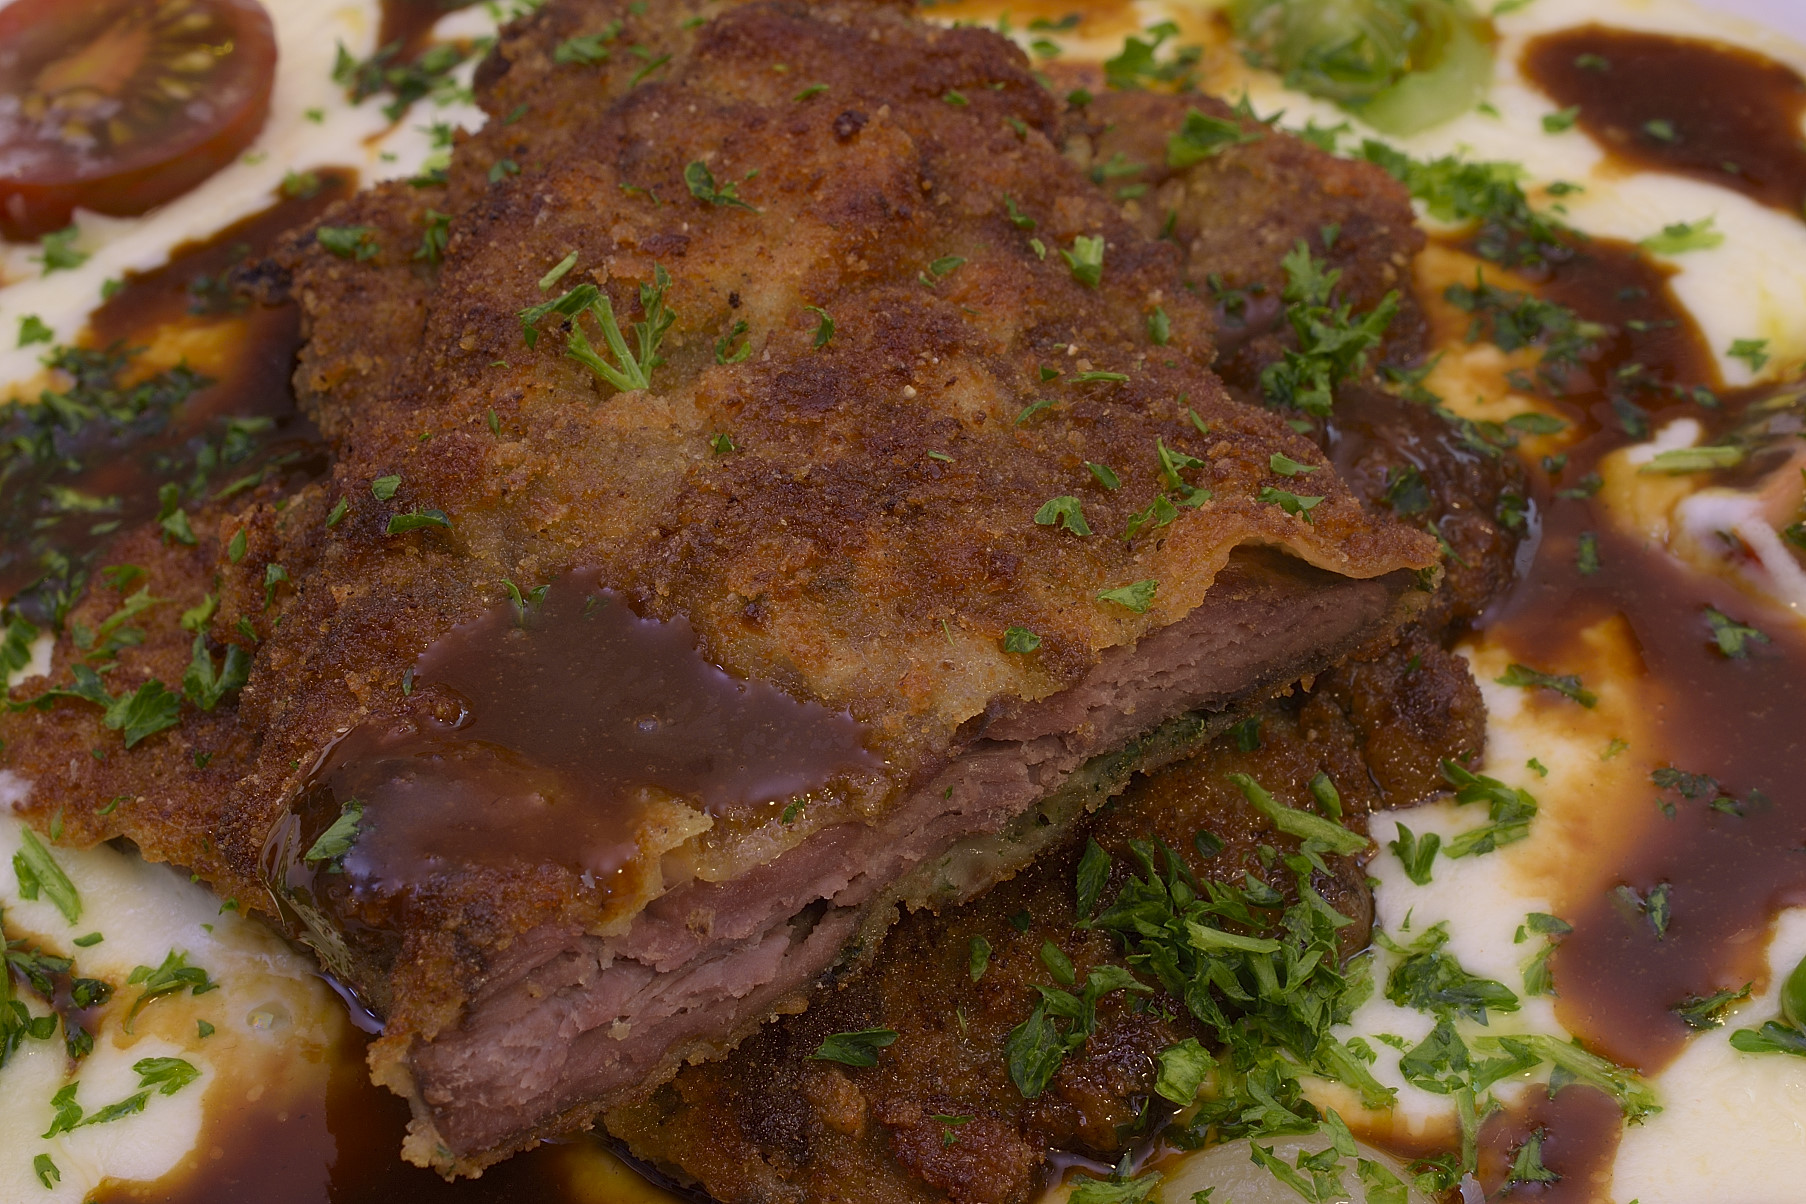
Drizzle with some of the demi, or not, whatever.
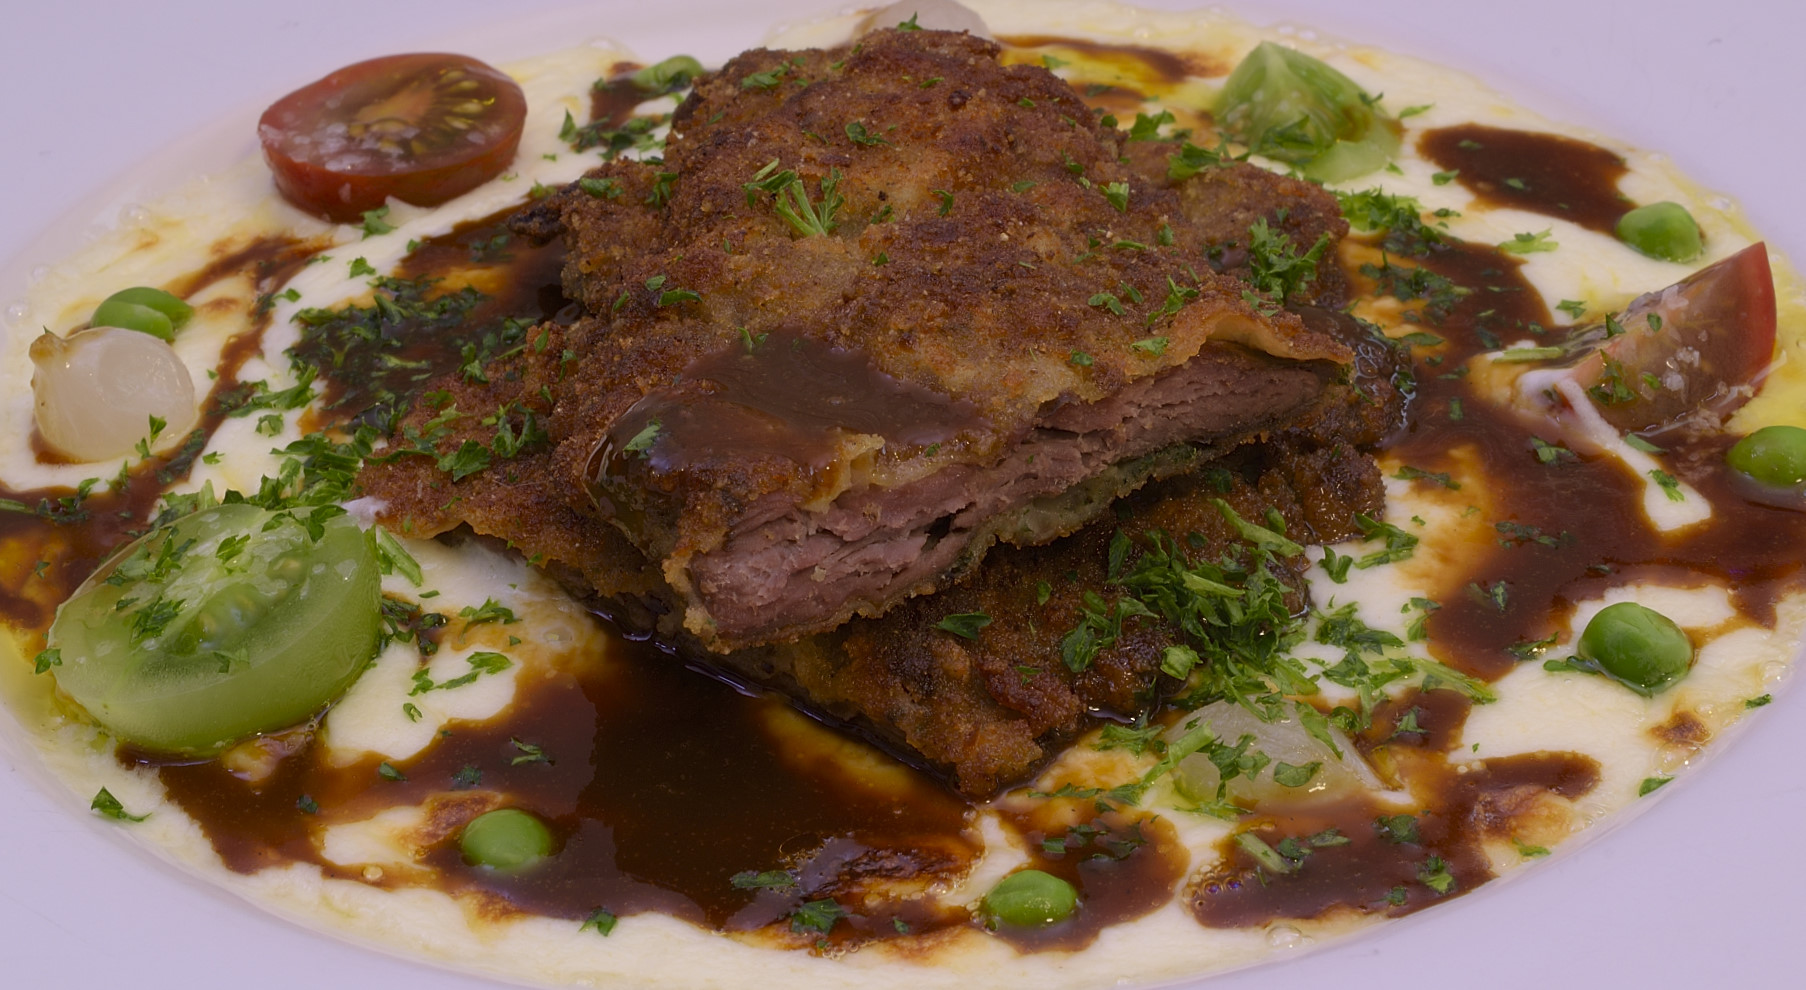
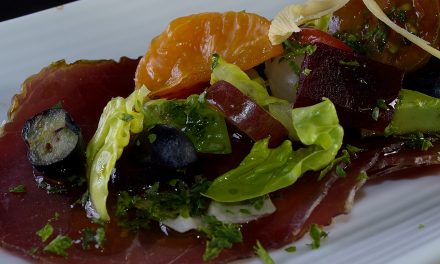
Arrange the garniture and drizzle the tomatoes with EVOO and sprinkle with kosher salt.
Norm
