
Ah, the lowly Onion Ring; the humble signature dish of greasy spoons, bowling alleys, and chain restaurants. Such a mundane, mindless dish, barely more than an excuse to eat vast quantities of ketchup. How could Sous Vide possibly improve something so plebeian, so devoid of nuance? How could Sous Vide Onion Rings even work at all?
Onion Rings In The Commercial Kitchen
I started working in kitchens in the early ’70’s, and onion rings had been around for a long time before that. We called them “O-Rings,” for short, bewildering our auto mechanic friends. Unavoidably greasy and messy, hopefully well coated and crispy, the wax paper liner in the plastic basket rustled as we snatched at their sandpapery, sizzly surfaces.
Vivid descriptions aside, I suppose there may have been a time when people (and restaurants) made their own onion rings. But, other than in culinary school, for as long as I can remember, the recipe for onion rings always started with “go to the freezer, get the box of Onion Rings.” This had to be just another of those things that restaurants were too lazy or too busy to make themselves. After all, who cut their own French Fries? There were a few places that did that, but the best ones were usually in places that mindlessly mass ordered case after case of Simplot or Ore-Ida.
Some Basics – Crumbs vs Batter
As it turns out, onion rings are just not that easy to make. After peeling whole and wiping away your tears, they need to be sliced in uniform thickness so that they look right; the first challenge. Then, the individual rings have to be separated from each other; again, they tend to stick together and break when tugged at, so we add the step of soaking in lukewarm water for a few minutes. There’s a flimsy little membrane between each ring which interferes with the breading process and renders the ring itself defenseless against the encroaching hot grease during the frying process. It should be removed. Note: it rarely comes off in one piece.
And still, there’s more. Battered onion rings exist, but the crumb coating is still the standard. If it’s any comfort, the batter doesn’t stick any better than the crumb does–it shatters and splatters and boils off and fouls the oil, so, I don’t even bother. Crumb breading itself needs certain conditions to succeed. The mantra was always “Dry, Wet, Dry, Wait.” What this means is you dip your product, be it chicken, veal, fish, or prawns (wet surfaces) in something “dry” (usually flour). The flour sticks, then, something wet (egg, usually), then, something dry (crumbs), and, then, you WAIT for at least one hour for the breading to rest and secure itself to the onion.
Wet or Dry?
Onions can’t really decide if they’re dry OR wet. They must be wet, but they feel kinda dry to the touch, and flour really isn’t that eager to stick to them. When you attempt to apply the next step by dipping them in the egg or other liquid mixture, they tend to have a lot of naked patches. If you just turn a blind eye and proceed, when you dip them in the egg, well, that doesn’t stick so good either, and by the time you get to the dry crumbs…well…you know where this is going.
Usually, your hands are better examples of good breading by this point than the onions are, and you make the decision whether to just shrug and fry, hoping for the best, or, “Go to the freezer, and get the box of onion rings.”
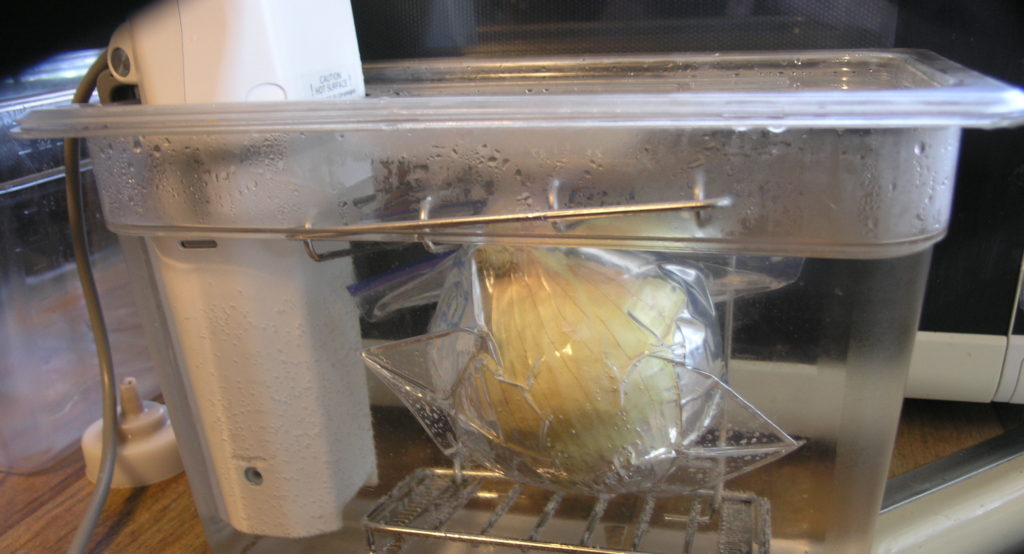
Take heart, good citizens! Sous Vide to the rescue. If you Sous Vide process your onion–whole, even with the peel on for one hour @183F and shock cold in the bag, you will notice that peeling and slicing become much easier. Save the juice, and add it to your stock. Also, there will be no crying. See the complete process below!
Sous Vide Onion Rings – Ingredients:
- 1 – large onion or roughly 1 lb., whole
- 2 – eggs
- 4 oz – water (for egg wash)
- 2 cups – flour, as needed
- 4 cups – breadcrumbs, fine, as needed
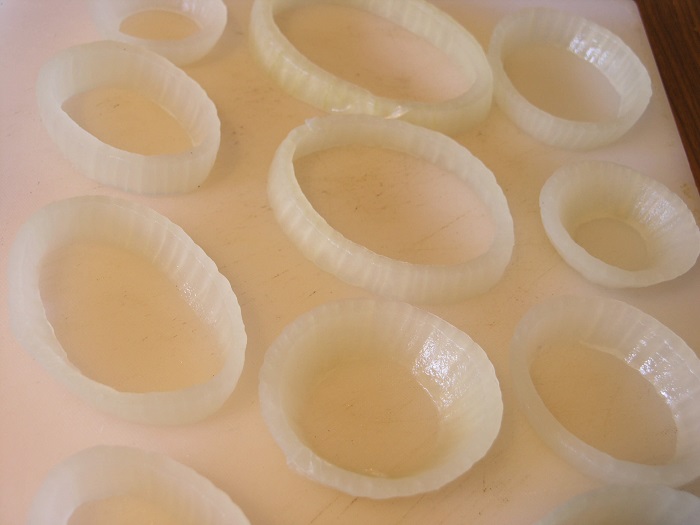
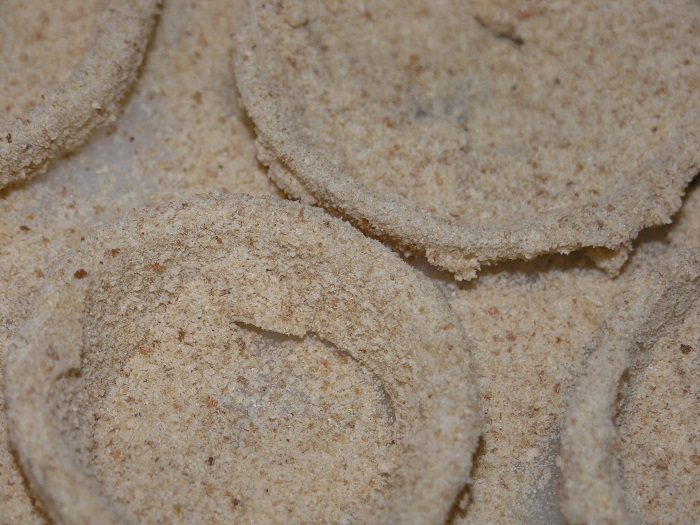
- Peel and slice the onion to desired thickness. Separate the rings; I cut this one into three equal slices, but onions vary in size and this was large. You might see a little membrane in there, but it seems to dissipate with the SV processing. The size guideline is thick enough to maintain a little strength, and thin enough to fit where you plan to put it.
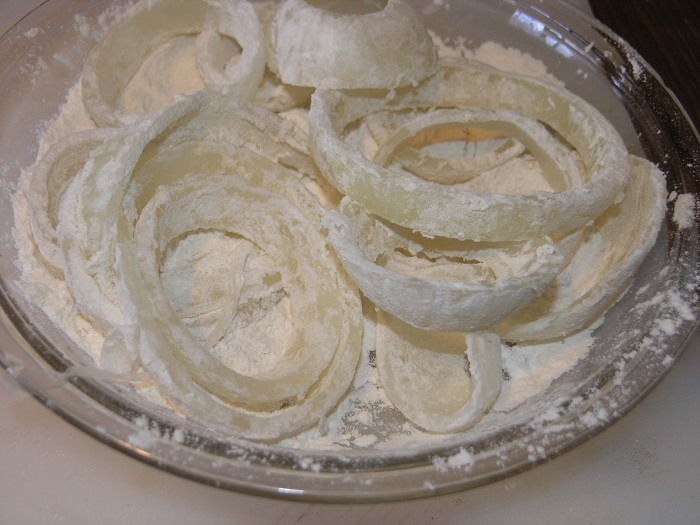
- With dry hands, gently dip, toss and sprinkle with generous amounts of flour. I start with some in the bottom of a pie pan, but the bigger dish the better. Some people even like to use a cookie sheet for this step. Lay some onions down, sprinkle, shuffle carefully, until they are all dry to the touch. It all works, it’s unavoidably a bit messy.
- Even now there appear to be bald spots, but it’s actually more of a translucence issue. This will work.
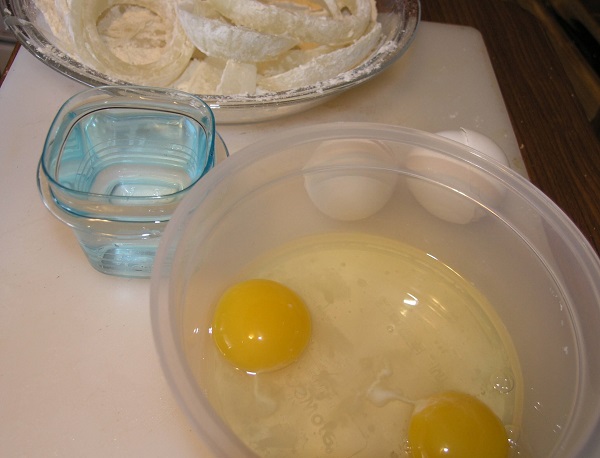
- Never scrimp on amounts. Just as you want to make sure you have plenty of flour for the first step, have plenty of liquid for the second step. I use equal volumes of eggs (2 oz each) and water.
- For this onion, we will use 8 oz. of liquid, total. There will be a little left, but it can be used again. It will have a little onion flavor, but not unpleasant.
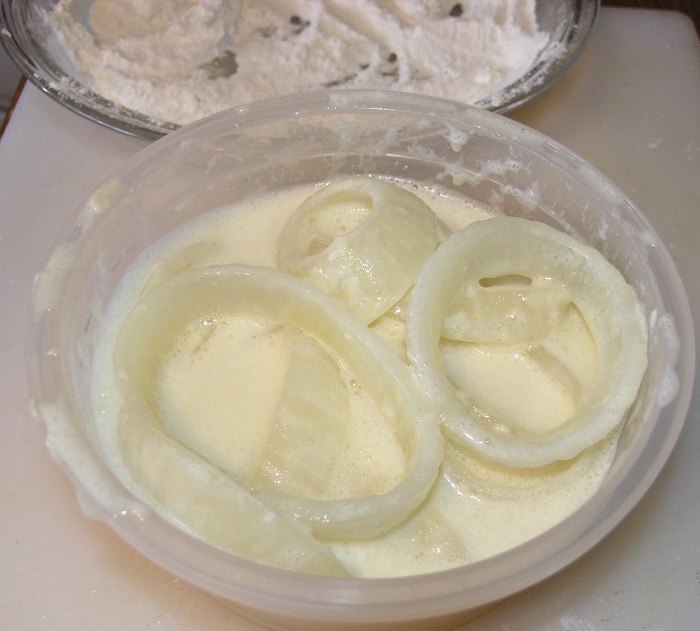
- Remove the onions from the flour and drop in the liquid solution–not the other way around. Let your hands get wet. If you add the liquid to the onions in the flour, you will end up the colloquial sticky mess. Okay, dry your hands again.
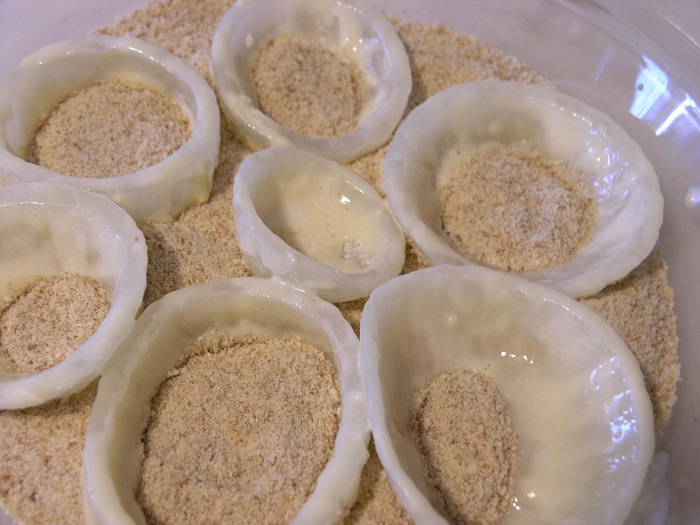
- Sprinkle some crumbs in the dish and then lay out the onions, not touching. Sprinkle heavily with more crumbs and you can get a few layers in there.
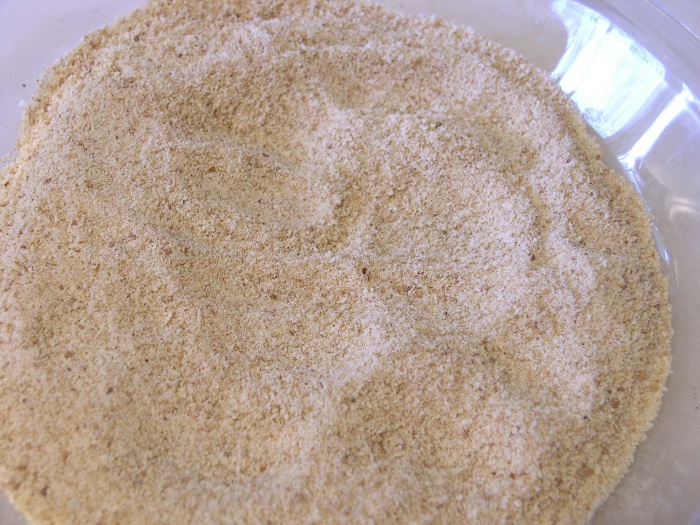
- Strain and save the crumbs when you are done. Panko works good for this too, but they are larger, so a little bit more labor intensive. I prefer crumbs that are really just about as fine as possible, your basic kitchen strainer works well for this.
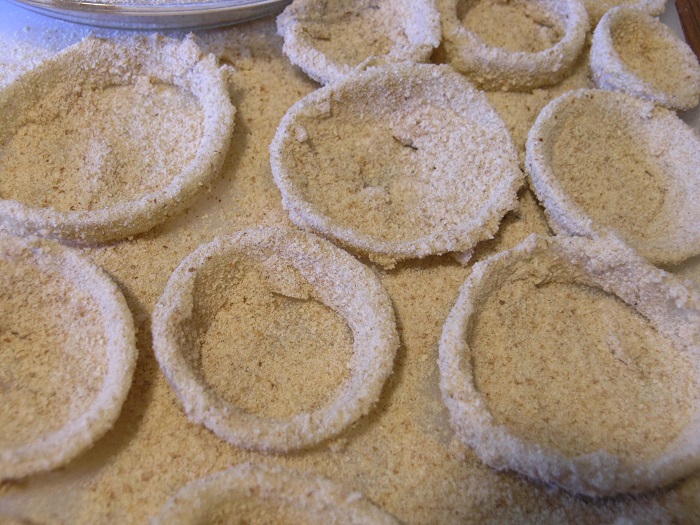
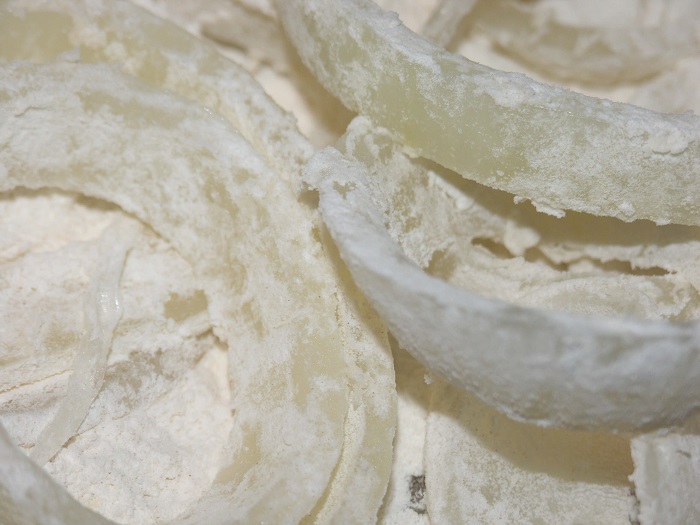
- At this point, I lay out the rings and take a quick look to see how well the coating stuck. Fingers crossed, it’s worth taking this last moment to check it out. A note from the Vault: if you see naked spots, you can very carefully dip just those little areas back into the egg mix and then into the crumbs. If you look closely at the picture below, you WILL see a bit of skin, on the second onion ring down, on the right side.
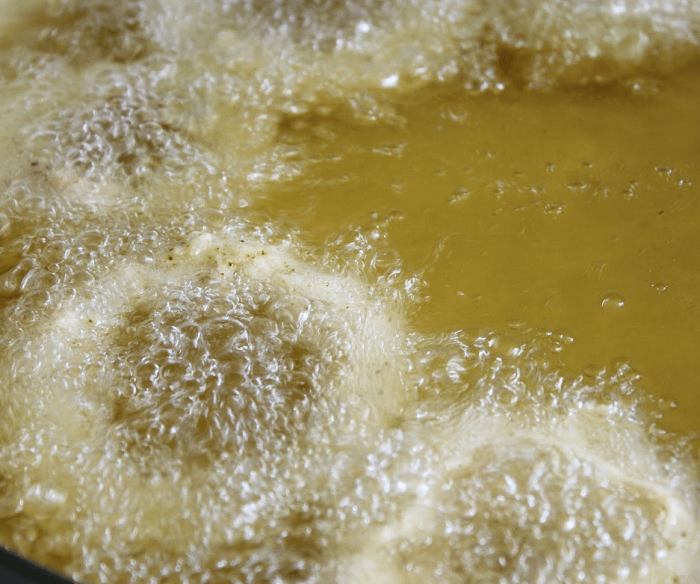
- It really pays to use clean oil, but, if you strain your deep fry oil through a paper towel every time you fry it will definitely last longer. Hydrogenated shortening dedicated to frying will definitely last longer than just plain vegetable oil. The hotter the oil, the sooner it will wear out, so I try to work between 300F and 325F.
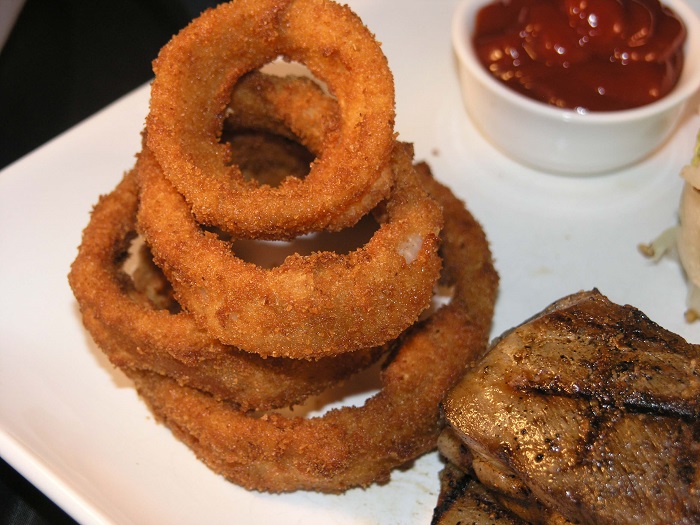
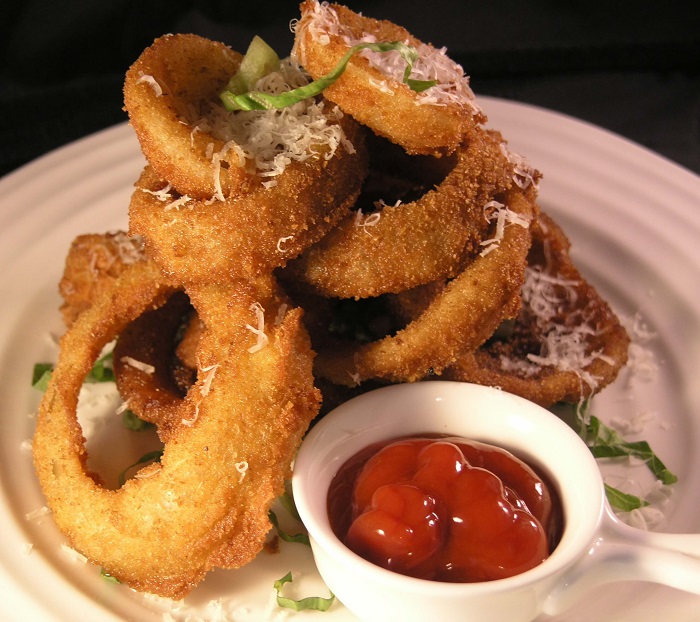
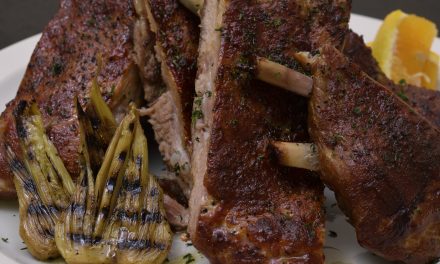
- The picture shows a little grated Pecorino Romano and shaved Romaine for zing. Aioli, Thousand Island, all good, but Ketchup remains the first choice.
- Deep fried items do not typically reheat well. However, I have found that if I cover the left over onion rings and refrigerate over night, they can be reheated in a 350F oven (uncovered) with favorable results. Refrying them is not recommended.
Norm
Be sure to visit us on Facebook at SVR–Sous Vide Resources; Low Temperature Pasteurization, Sous-B-Q™, | Facebook