Dateline, 5/17/2020: Done well or well done?
In Part 9, we pasteurized/processed the bison clod heart (chuck eye) at 130 F/54 C so it could be served “medium to medium rare.” If it wasn’t for sous vide, this would be almost impossible. There are no other common cooking processes that can convert all that collagen to gelatin without sacrificing the pink “hue.” Meanwhile, there is no shame in well done. There are plenty of sophisticated, classic dishes that depend on that dark, unctuous, cooked out, almost falling apart kind of outcome.
Even though just about any cut of red meat prepared sous vide CAN be served pink, that doesn’t mean it SHOULD be. Who wants pink pot roast, right? We figured out how to serve smoked beef brisket medium rare, but don’t expect to see it in a rib joint in Kansas City. The chef would be tarred, feathered and deservedly run out of town on a rail.
Affect or effect?
But what if you want to create the traditional braised effect using sous vide? The obvious choice would be to just increase the original processing temperature, right? If you process in bulk like some of us do, it’s nice to be able to select your preferred appearance of doneness on the day of service. Once the meat has been processed in the higher ranges, there is no way to turn the clock back should you decide to serve Bison London Broil or Chicken Fried Bison. This is what we’re going to explain: how to process bison chuck (or any tough red meat) at the lower ranges of pasteurization, but then finish it in such a way as to promptly attain that opulent “braisedness.”
Bison in Switzerland?
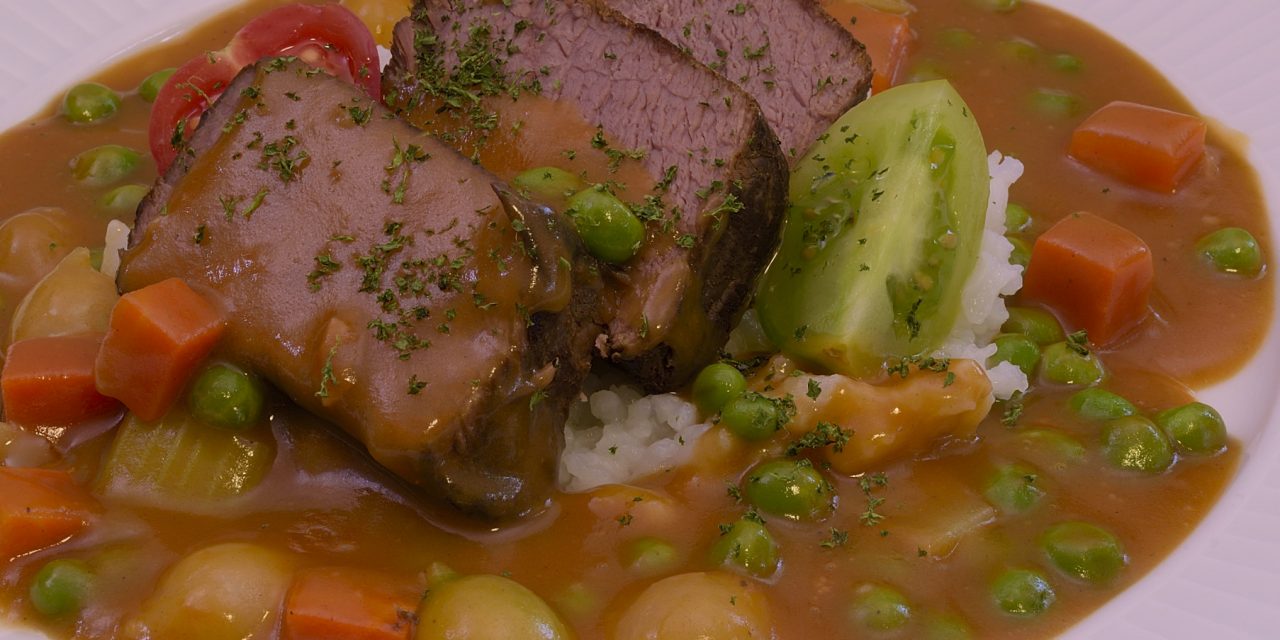
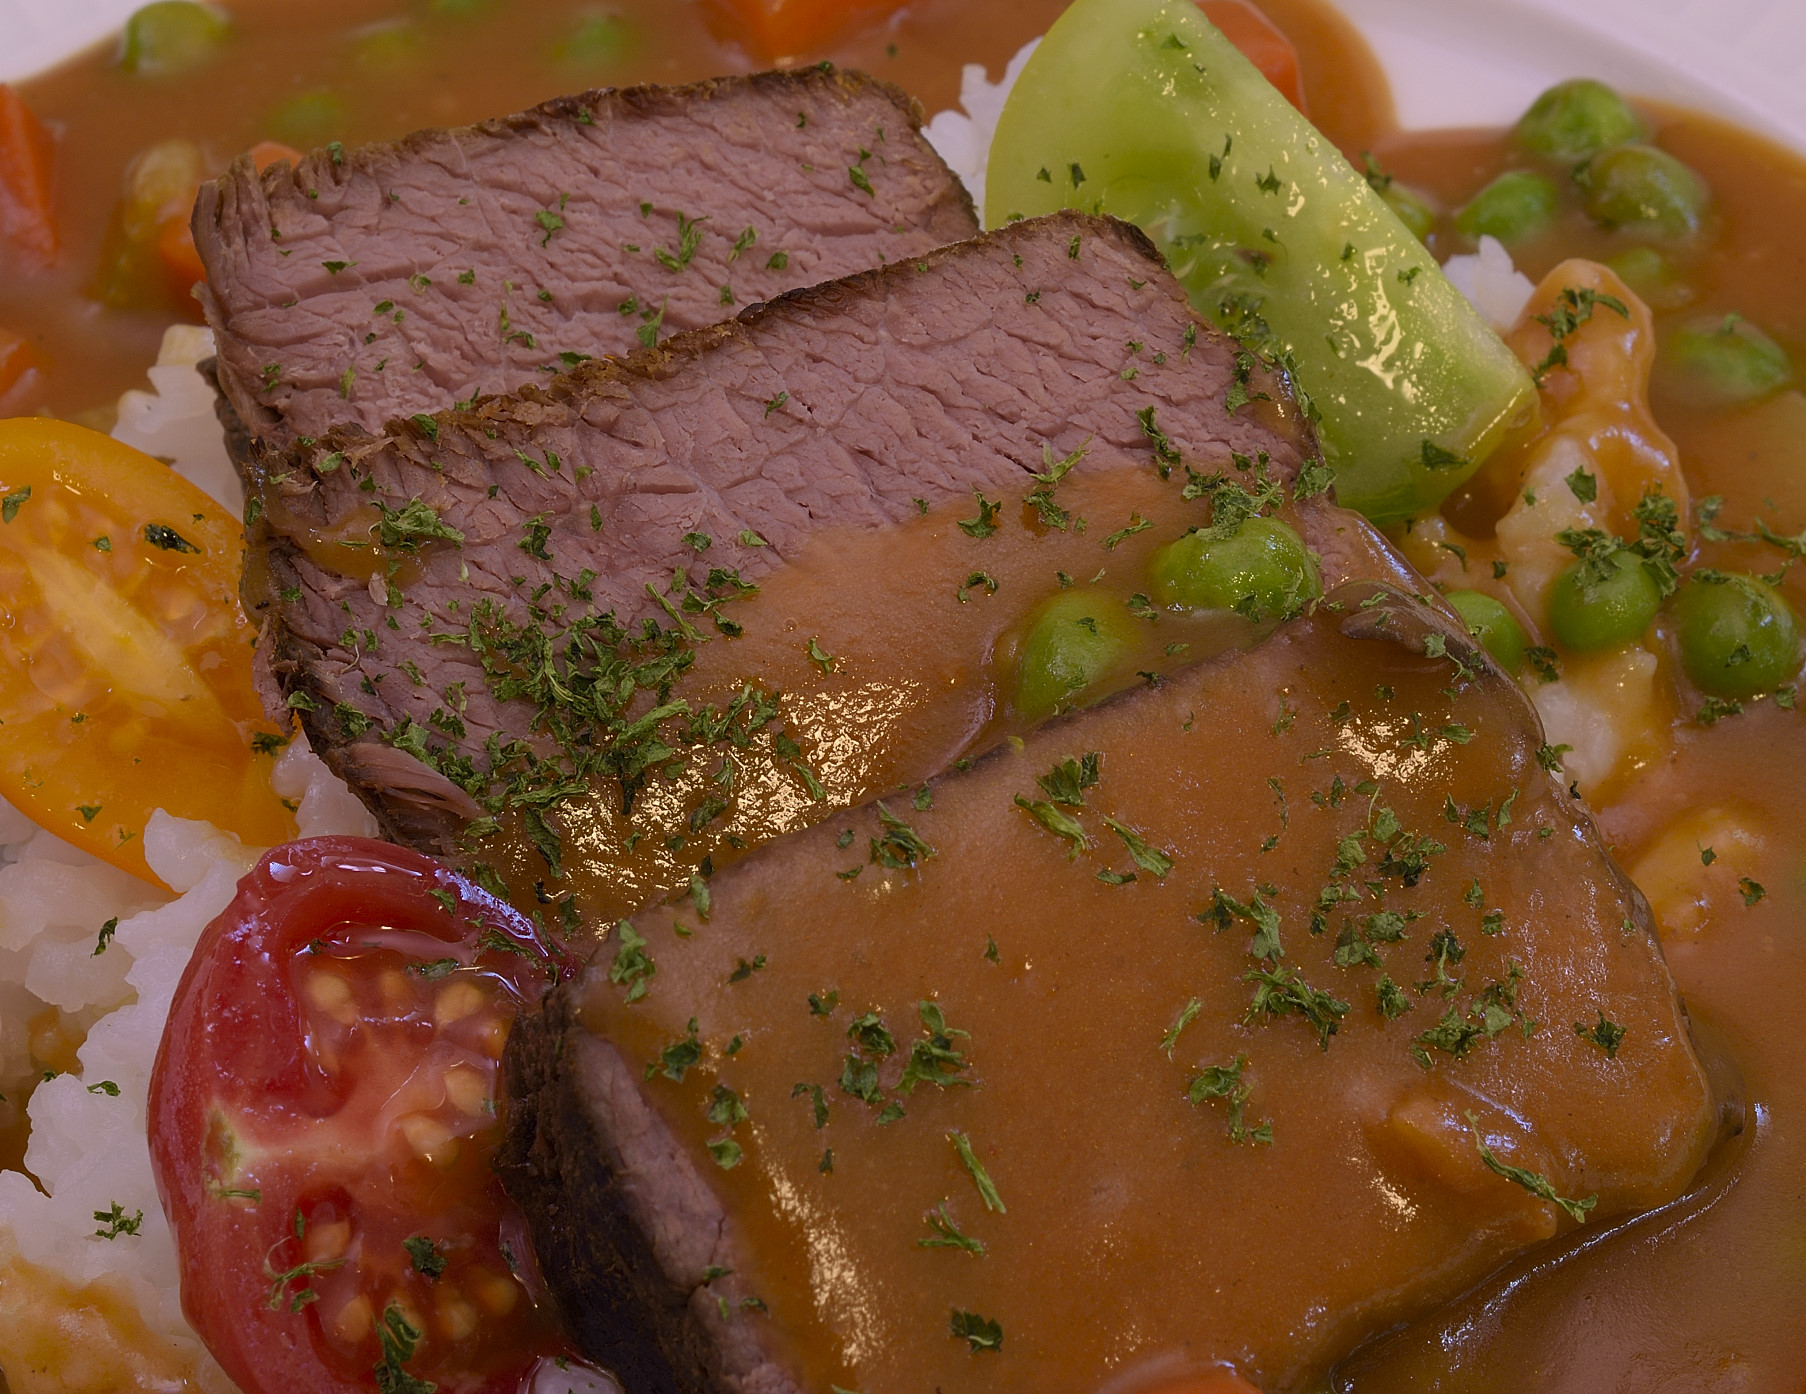
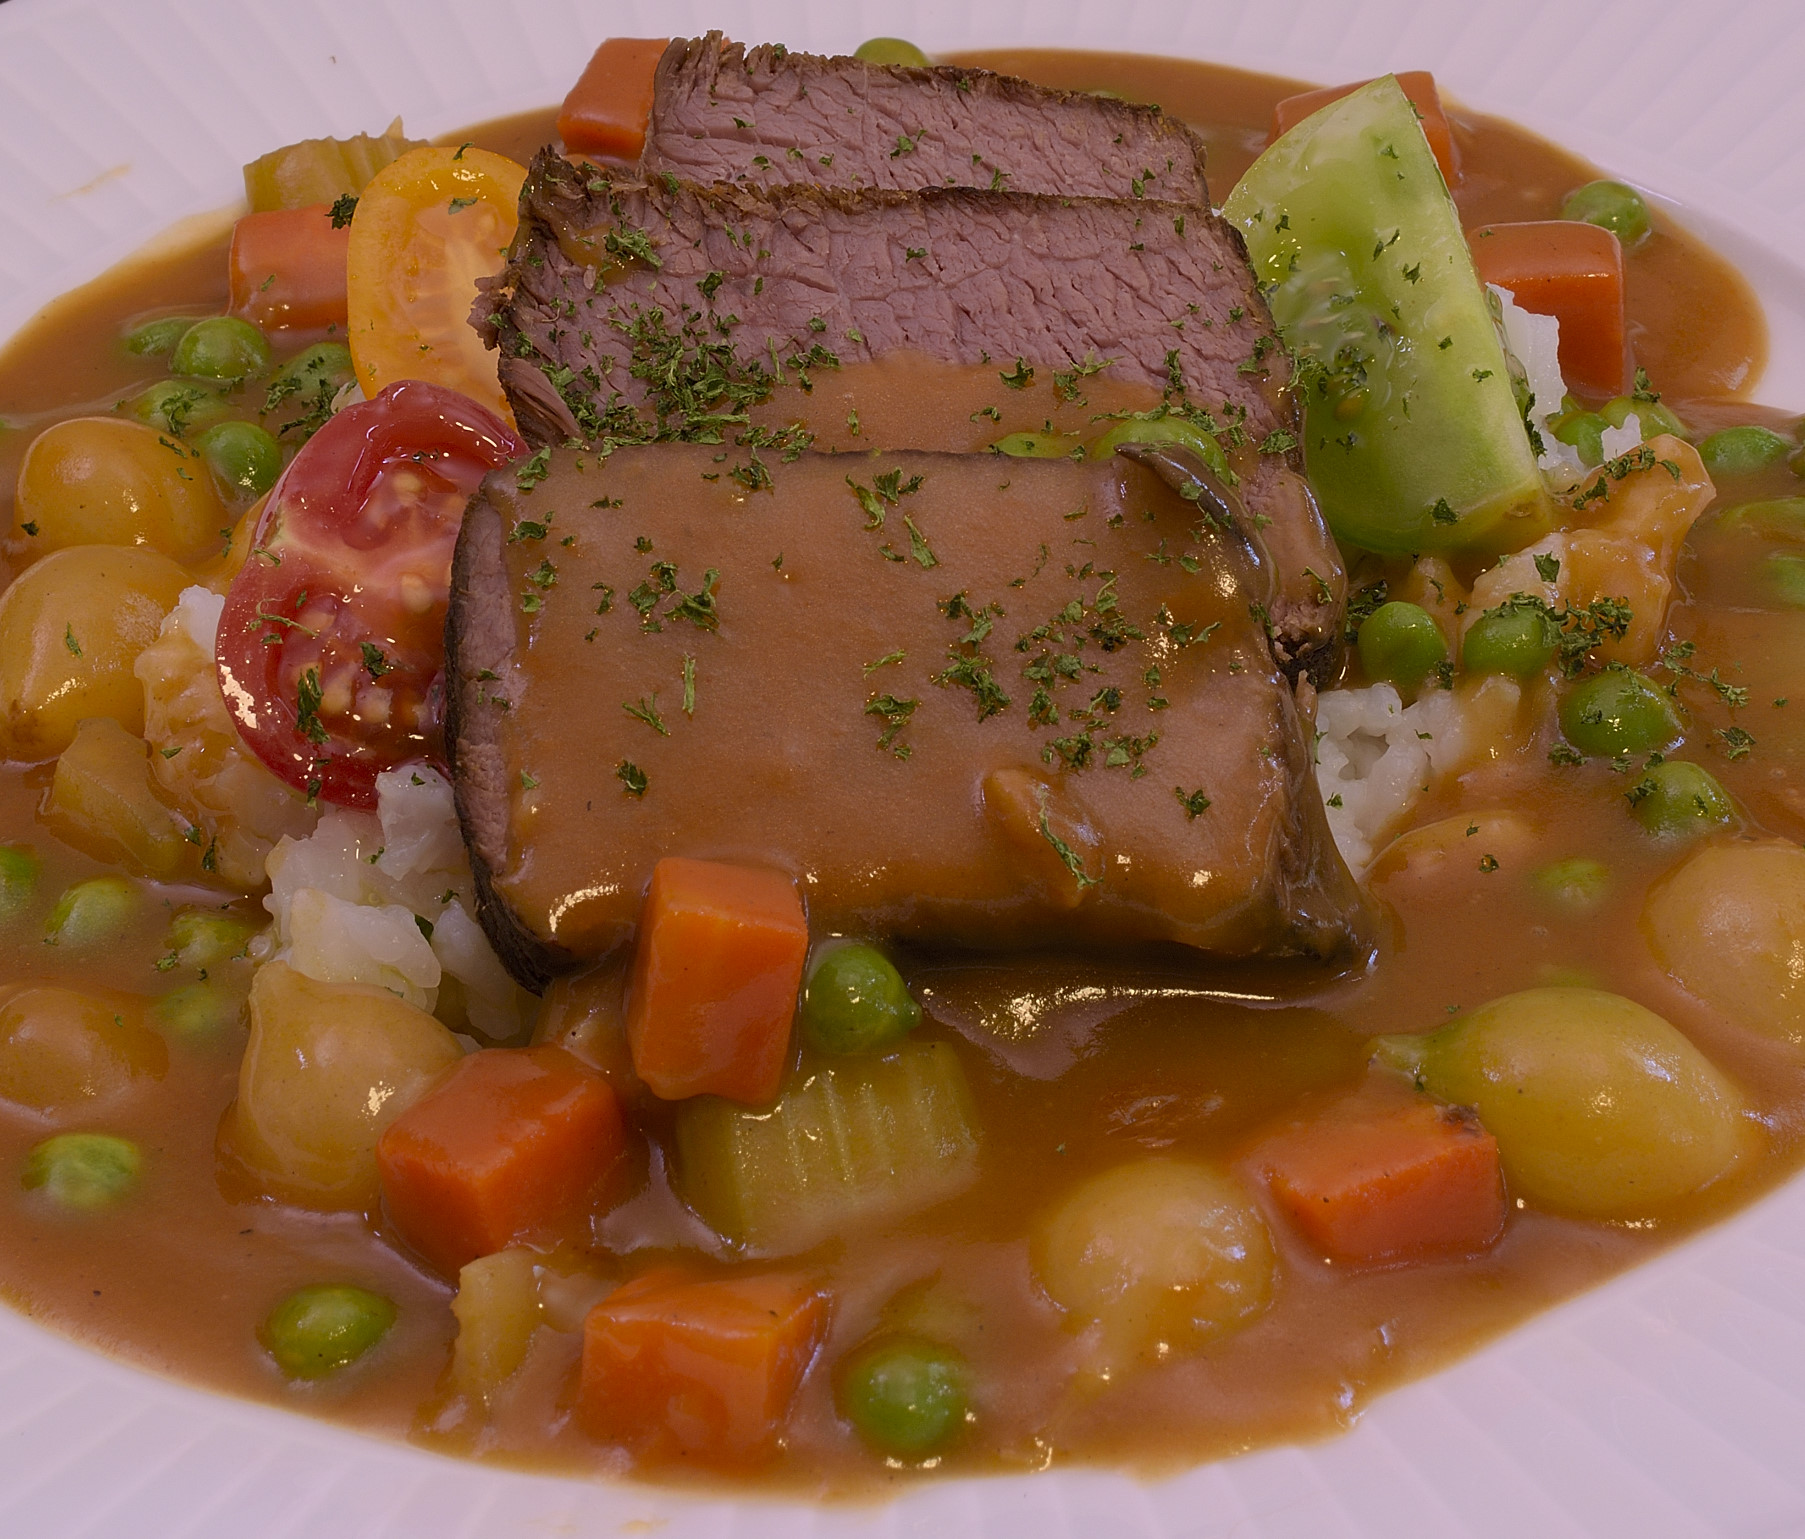
What is the difference between “Swiss(ed)” steak, pot roast, and stew anyway? Other than the size of the piece(s) of meat, there need be none. All are cooked/braised to the same extreme degree of doneness. All should swim in a rich, dark, full bodied gravy/sauce lovingly prepared using closely guarded methods authenticated in some “old country” and then solemnly passed down through the generations. Different variants may have different accouterments, but carrots, onions, celery and peas are never far away, nor are potatoes, noodles, dumplings and/or rice. And this is as it should be.
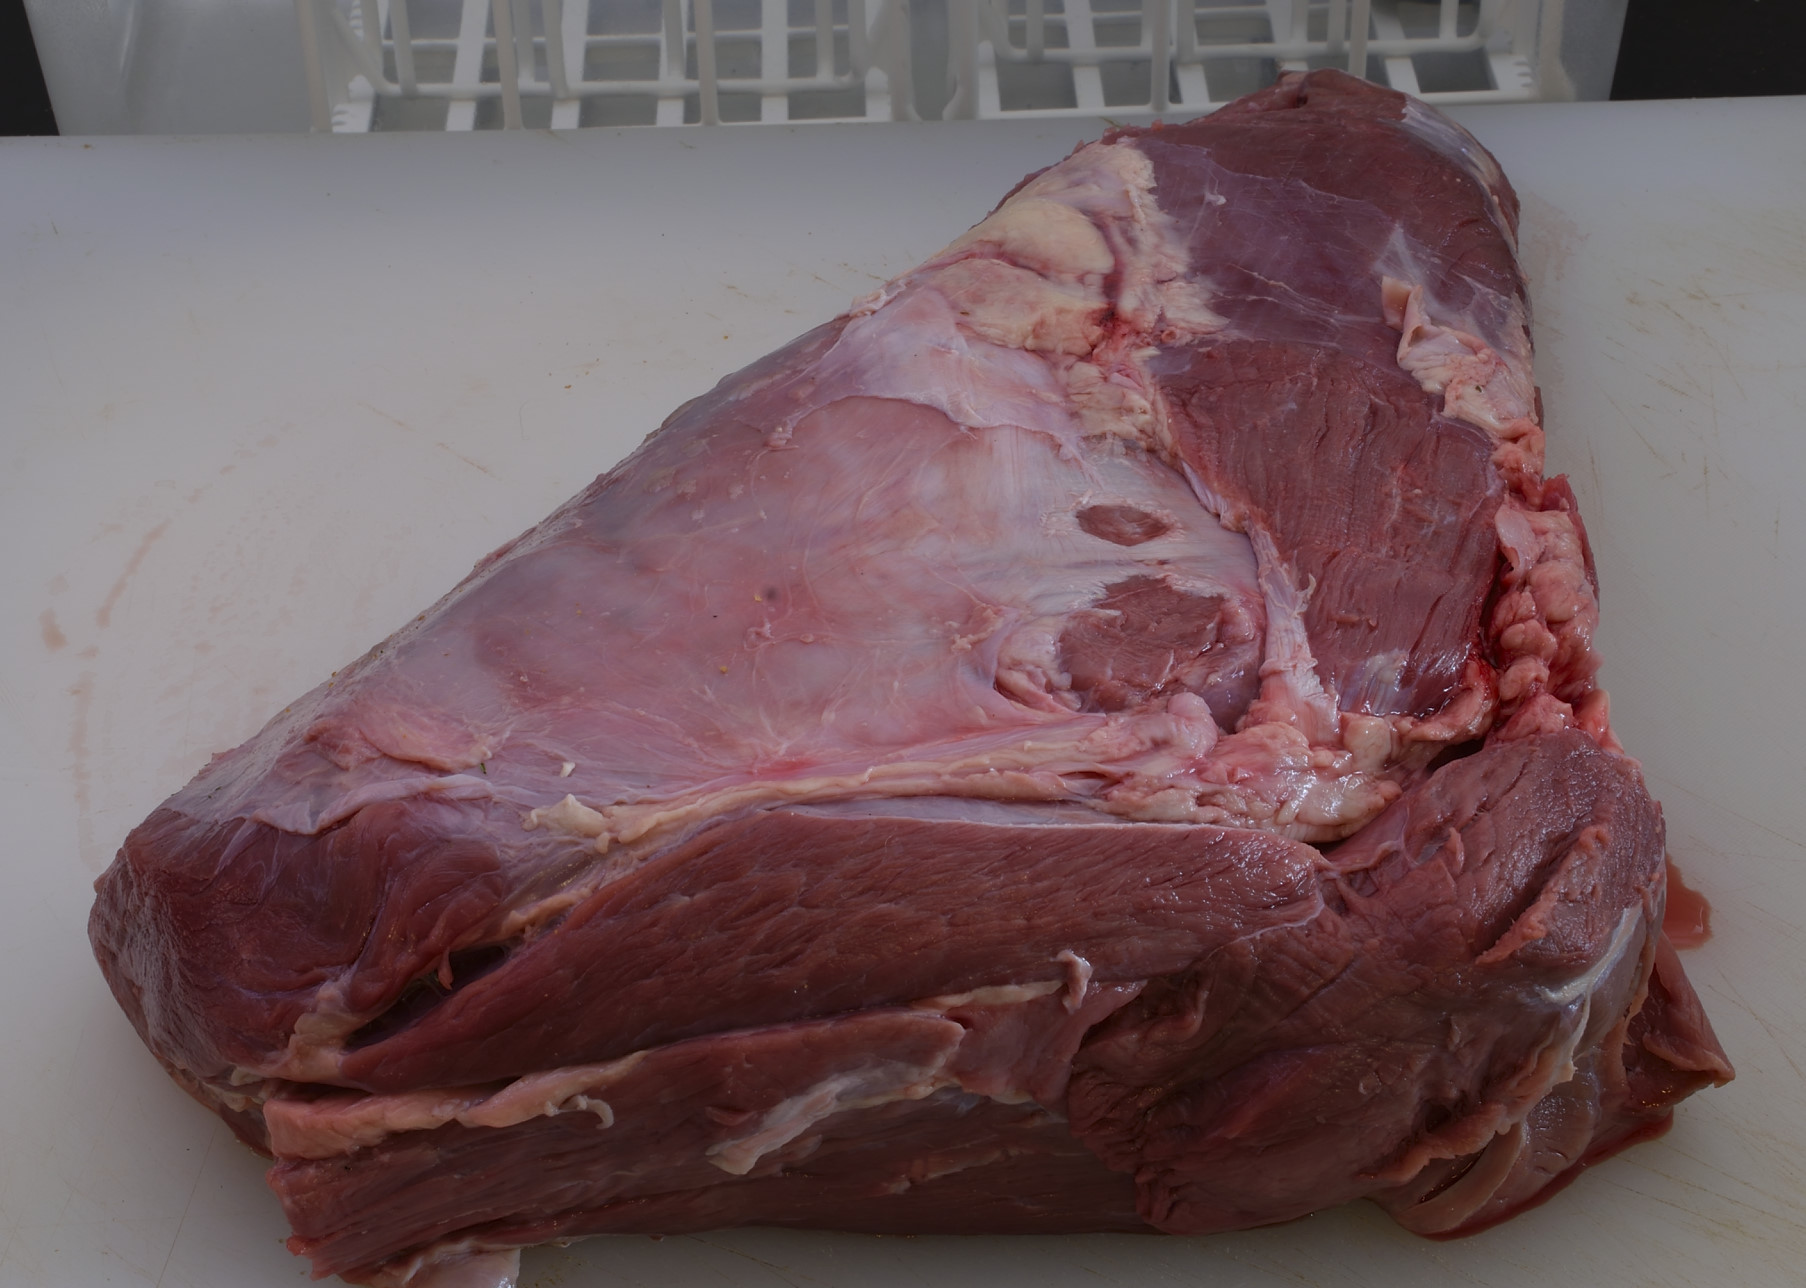
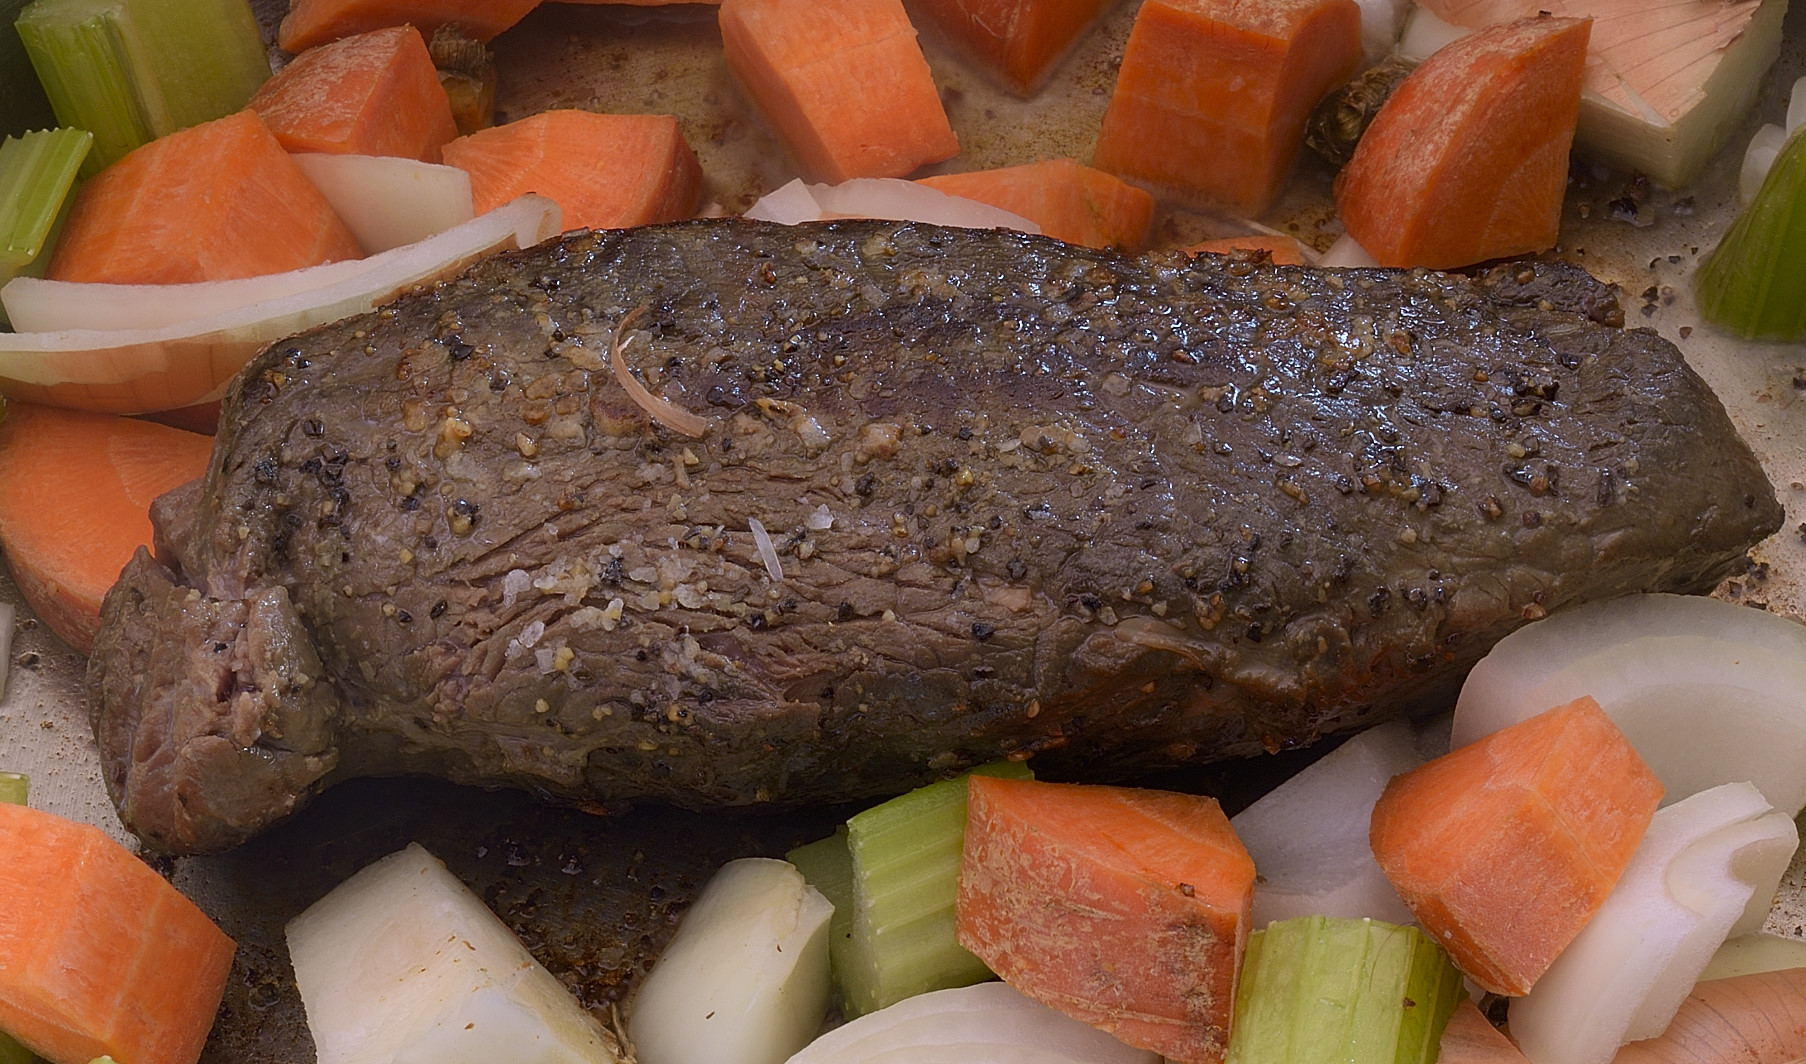
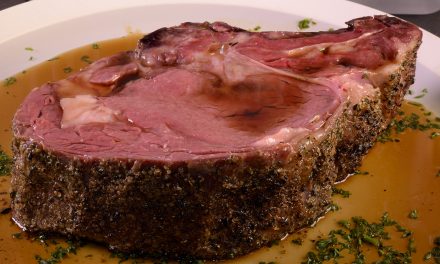
Above: the entire bison clod heart/chuck eye. For a more detailed explanation of how we took it apart, click HERE.
Ingredients:
Bison chuck eye steak (or beef), approximately 10 oz/300 g, processed as per directed in Part 9:
130 F/54 C X 60 hours, shocked in ice water to 70 F/21 C, and then refrigerated @40 F/4 C until day of service.
Mirepoix:
Carrot, cut coarsely, 3 oz/90 g.
Celery, cut coarsely, 3 oz/90 g.
Onion, cut coarsely, 4 oz/120 g.
Canned tomato sauce, 3 oz/90 g.
Sous-jus, clarified, from bag, as produced.
Water (or unseasoned sous-jus), 2 cups/450 ml.
Kosher salt, as needed.
Ground black pepper, as needed.
Roux, as needed.
2 Tablespoon of vegetable oil.
2 Tablespoon of flour.
Garniture:
Diced carrots, 1 oz/30 g.
Diced celery, 1 oz/30 g.
Pearl onions, as needed.
Peas, as needed.
Cherry tomatoes, as needed
Starch
We made rice.
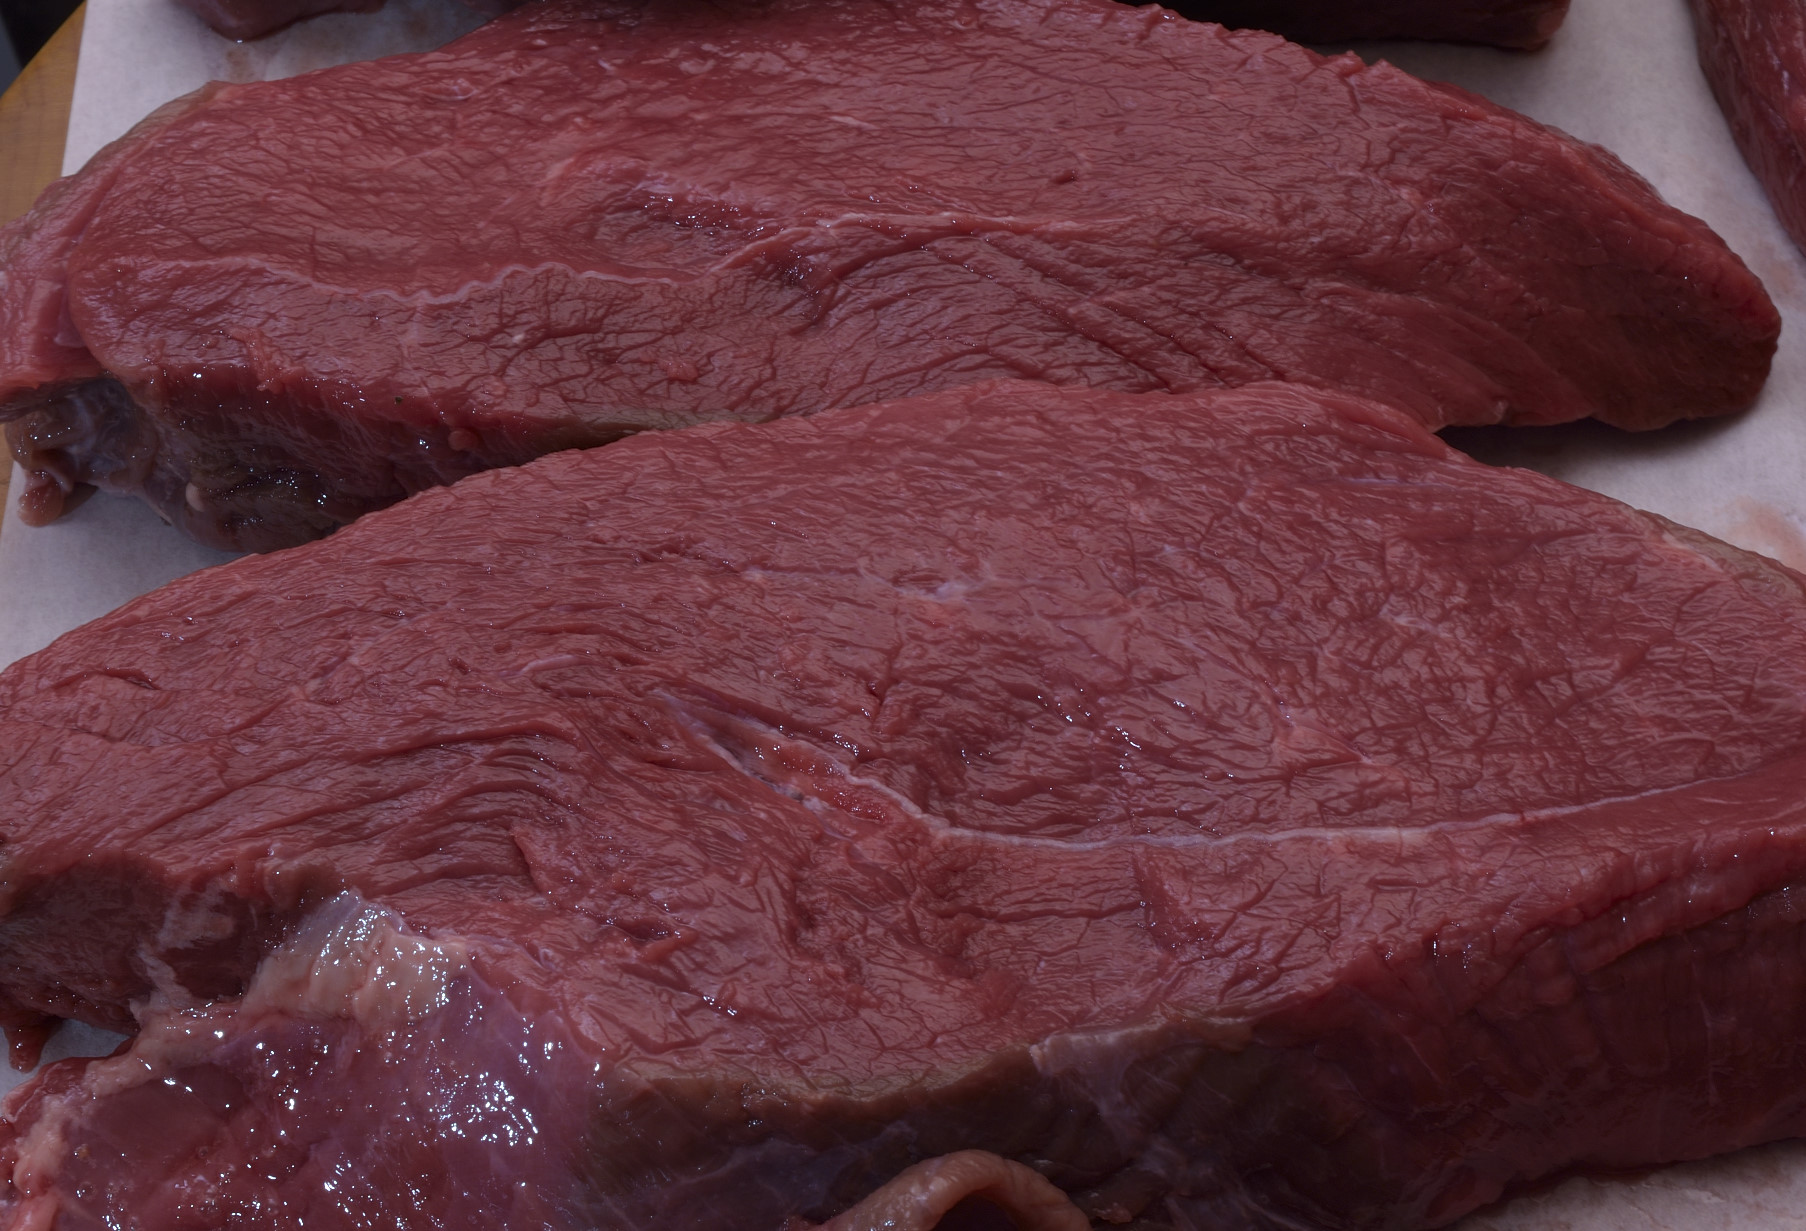
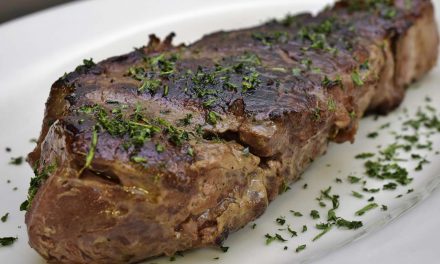
In the raw state, our “Swiss(ed) Steak” started out looking like this. Some purists insist the steak must be rolled or pounded to qualify as being “swissed.” We didn’t bother. Approximately 10 oz/280 g.
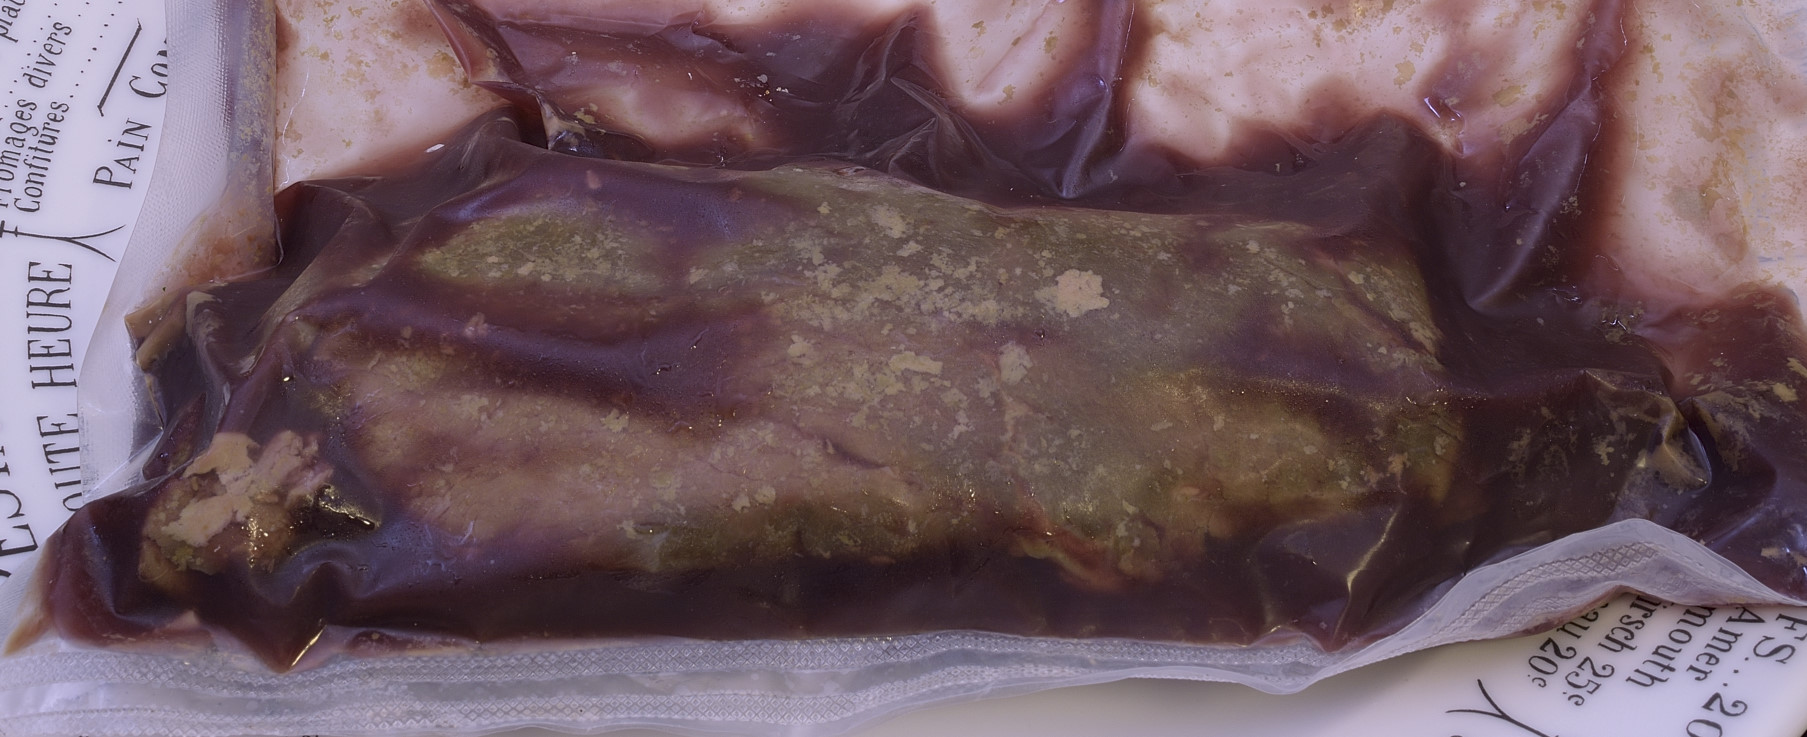
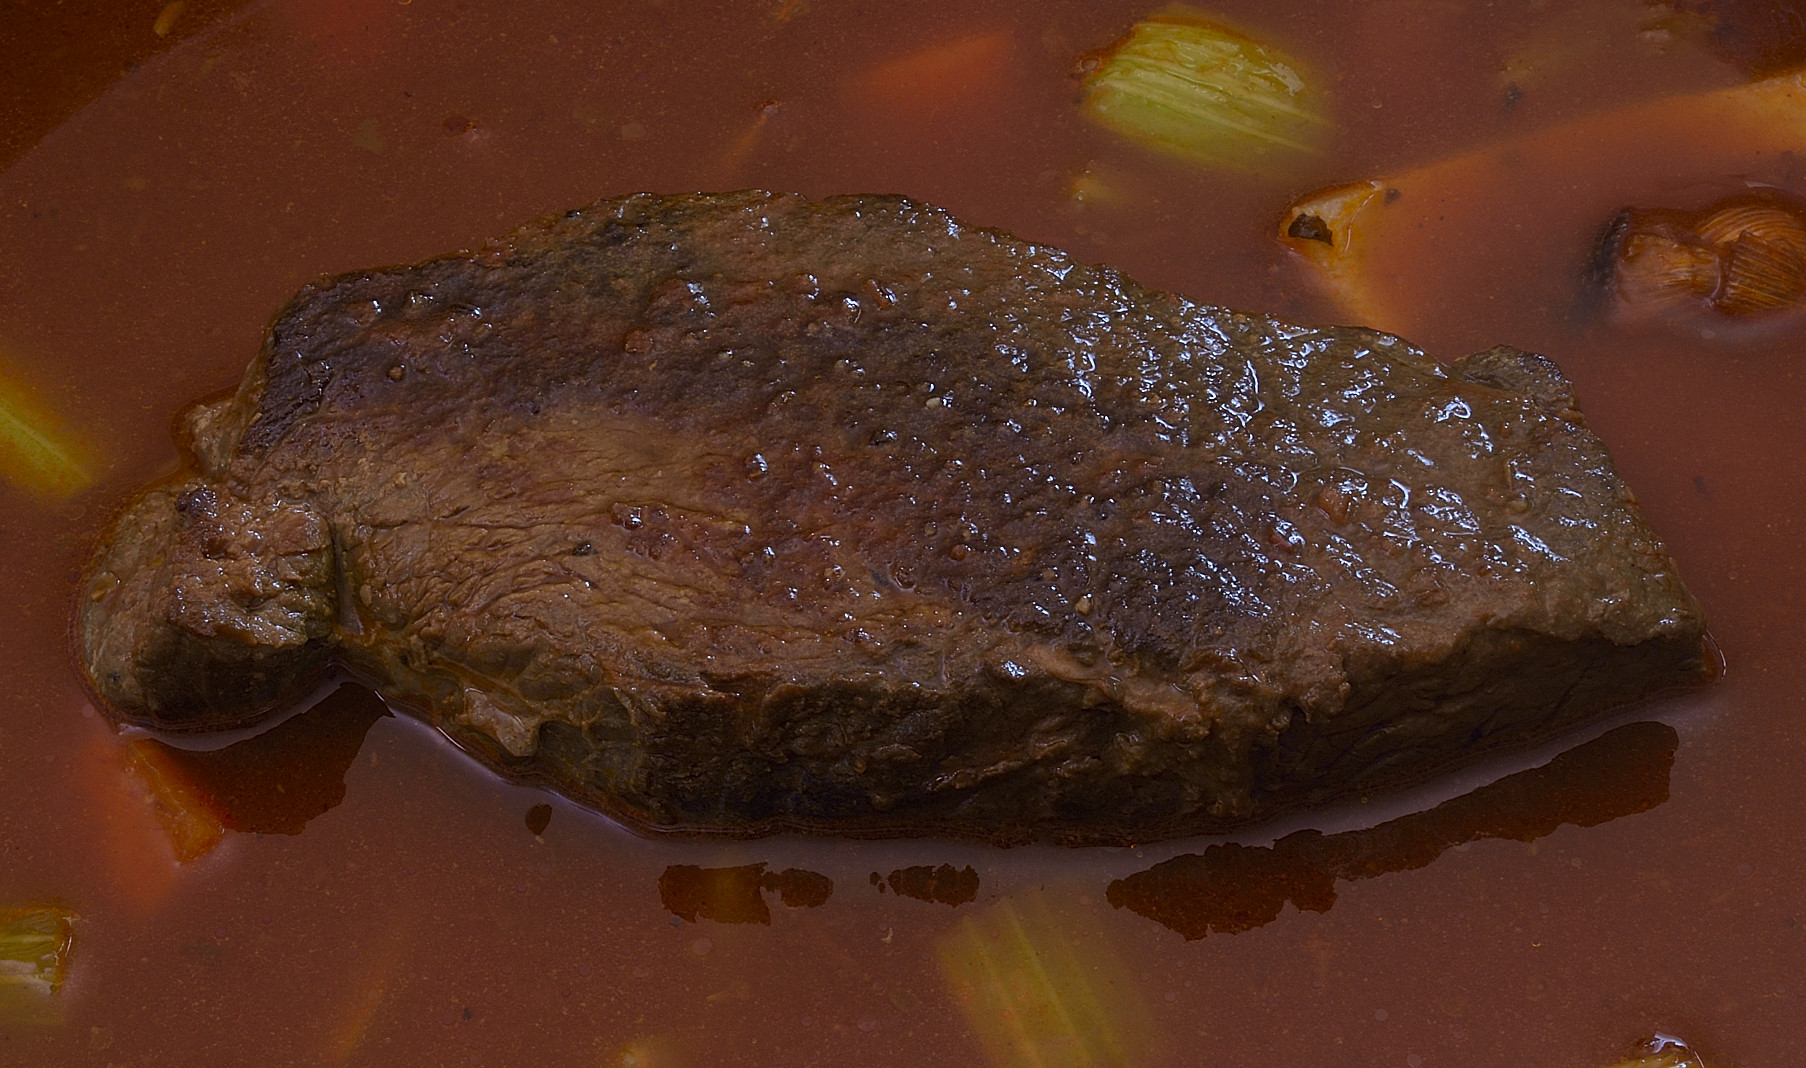
After processing, pretty much what we would expect. Other than being dark purple, pretty drab.
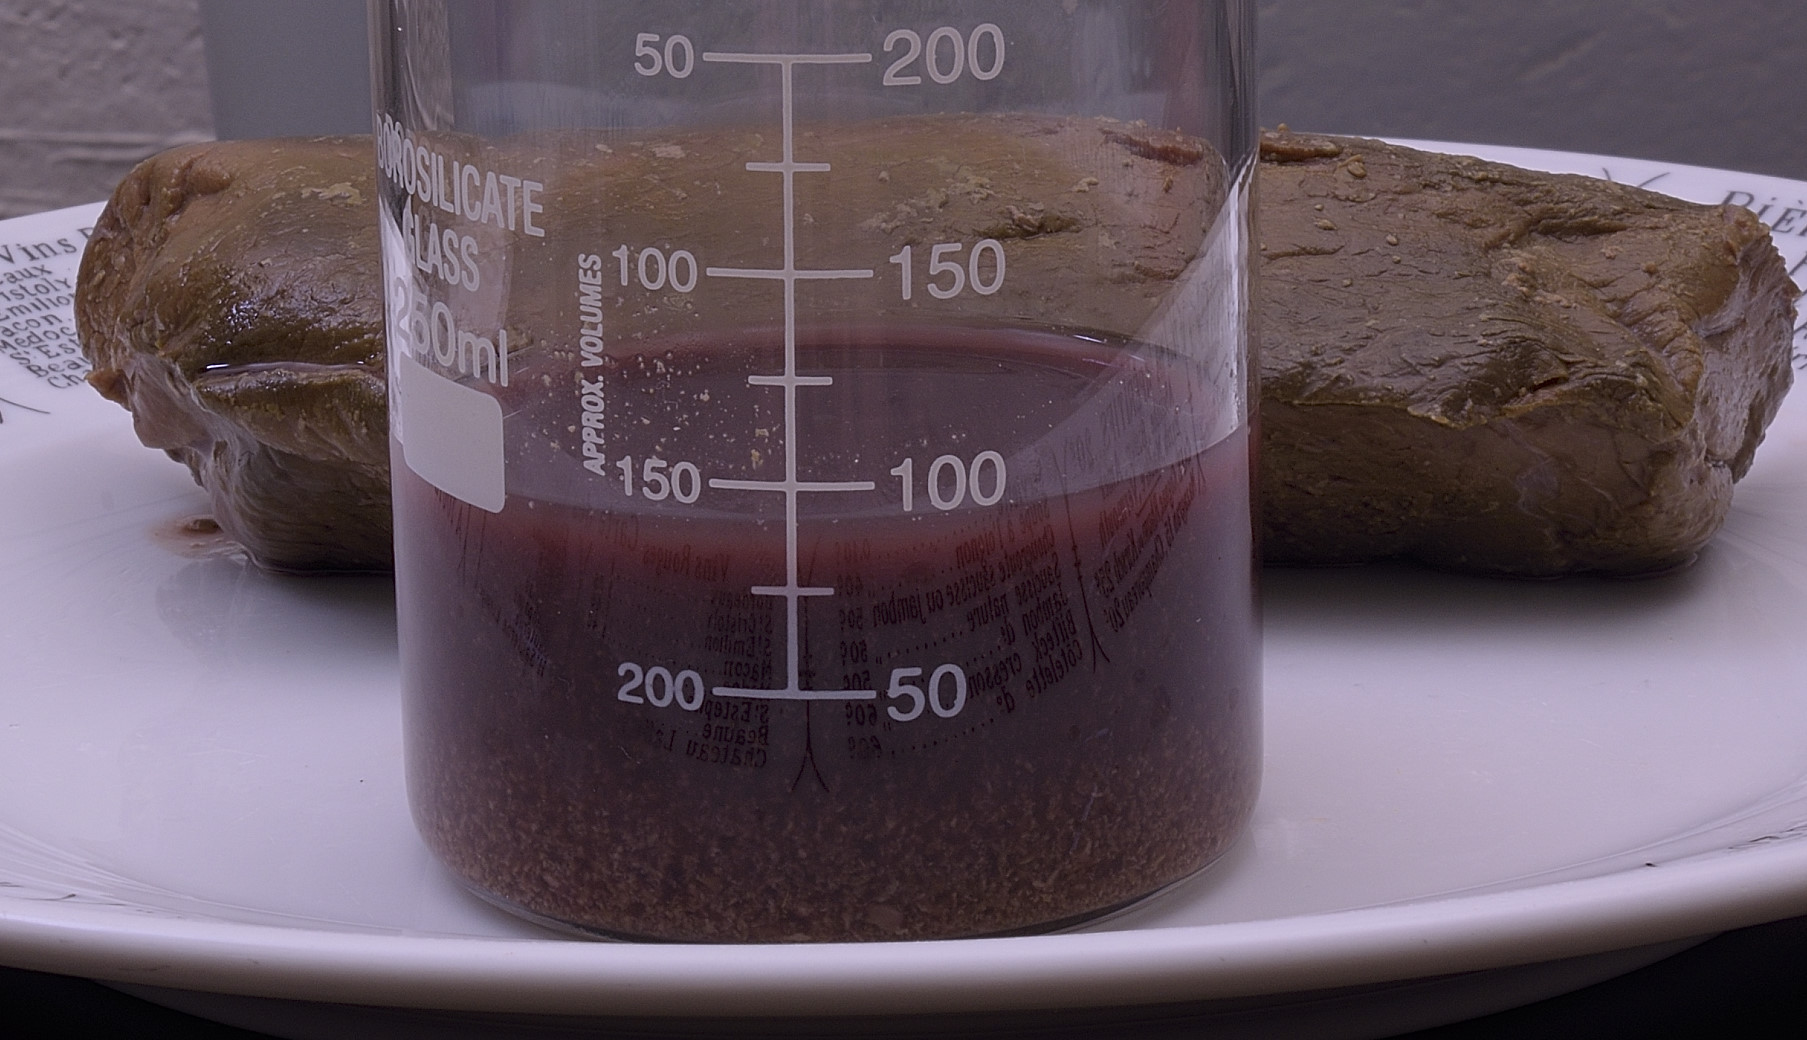
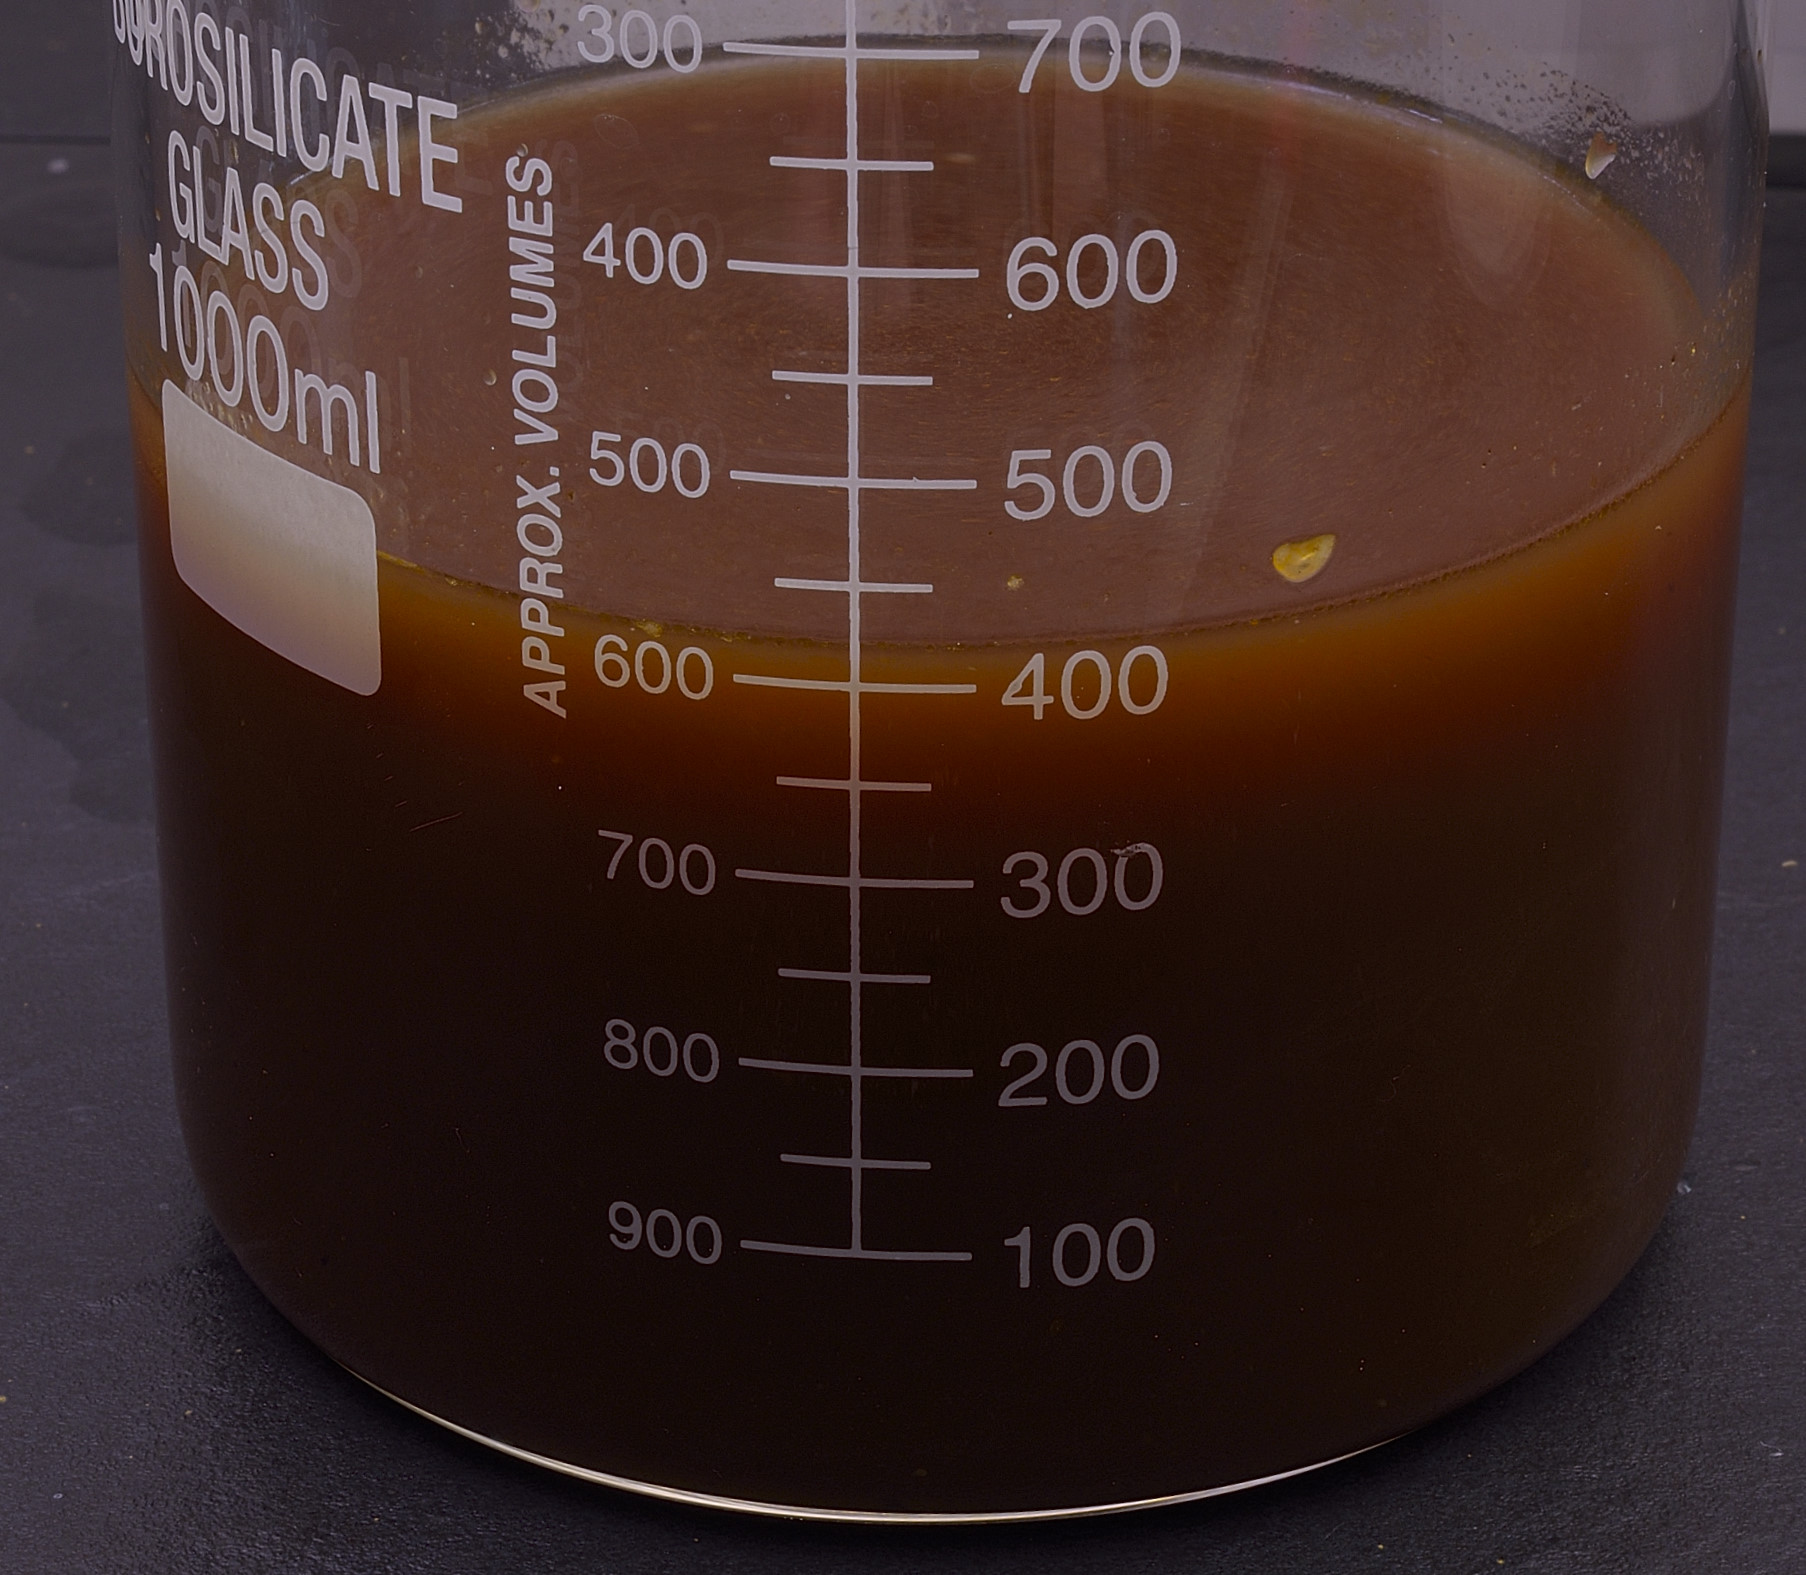
Approximately 90 ml/3 oz juices, 7 oz/200 g meat. Nothing escapes the bag.
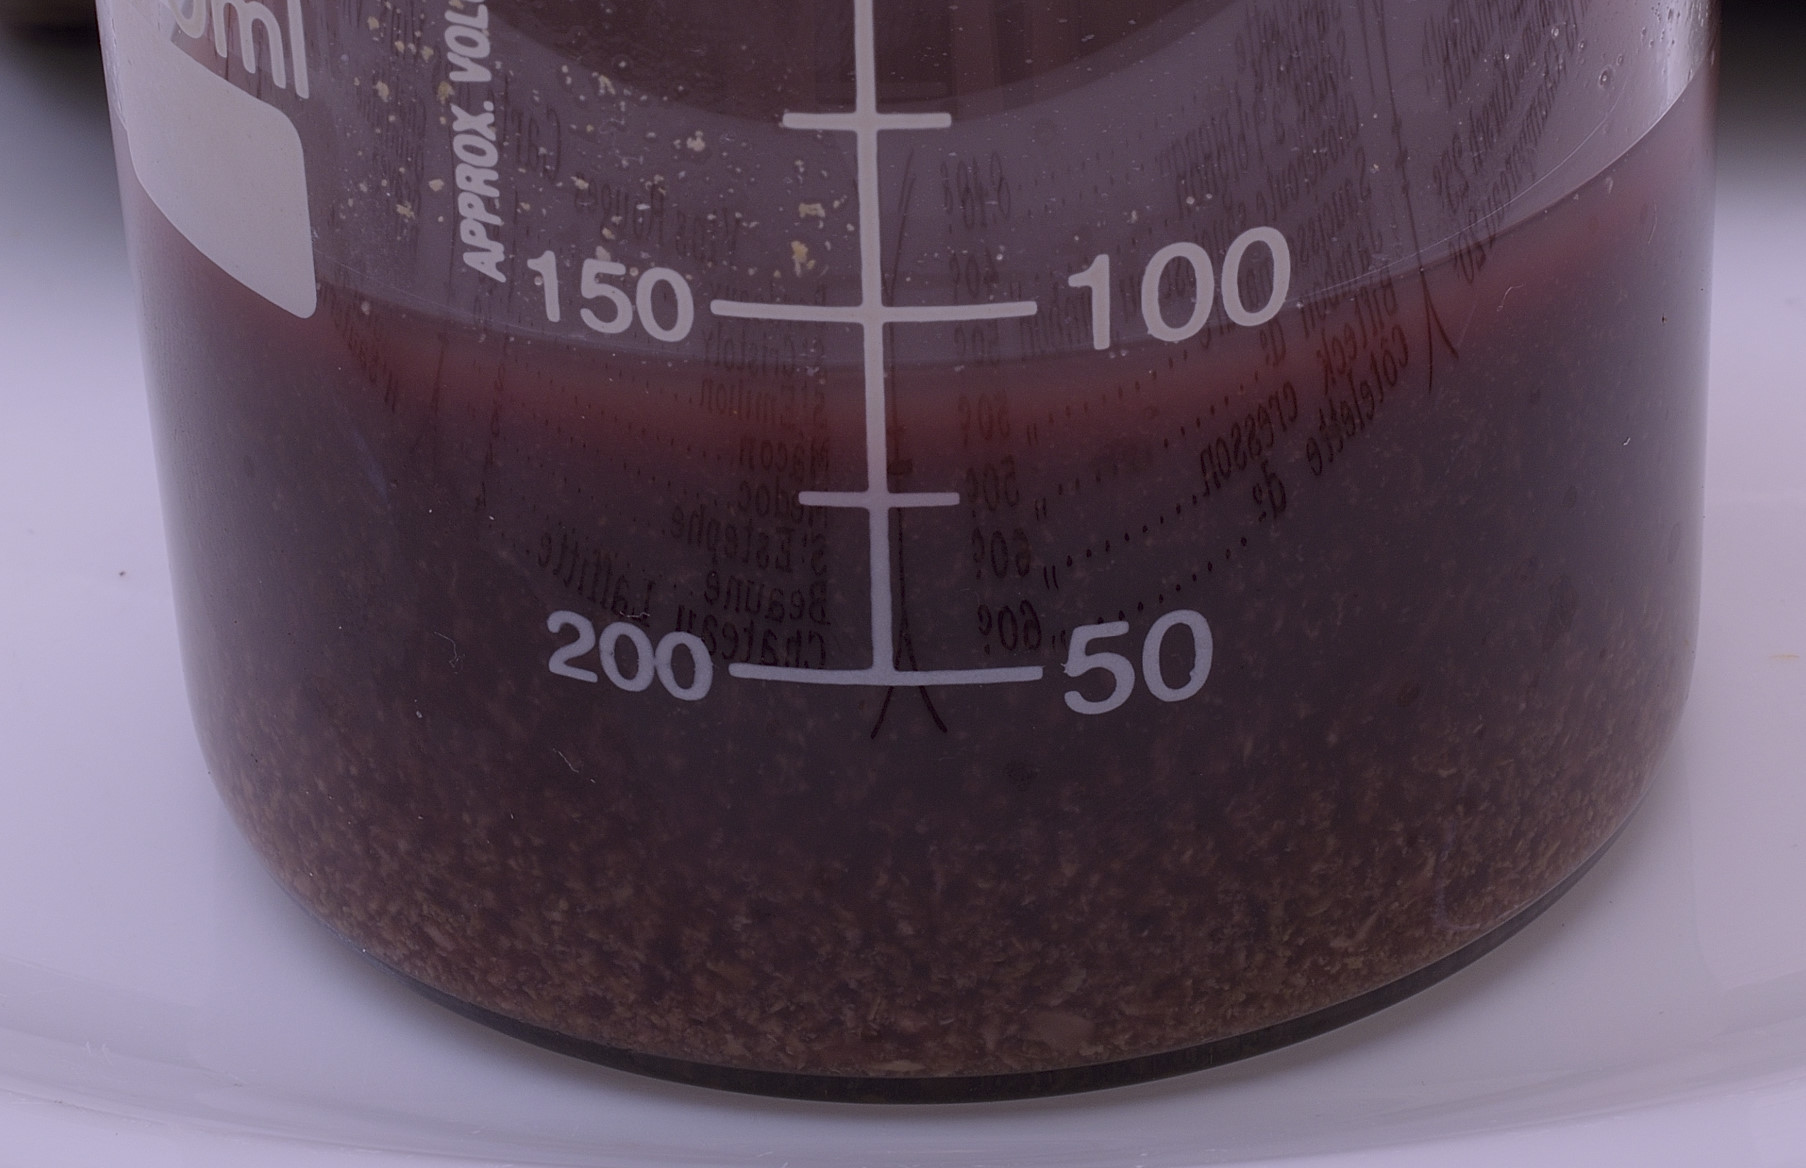
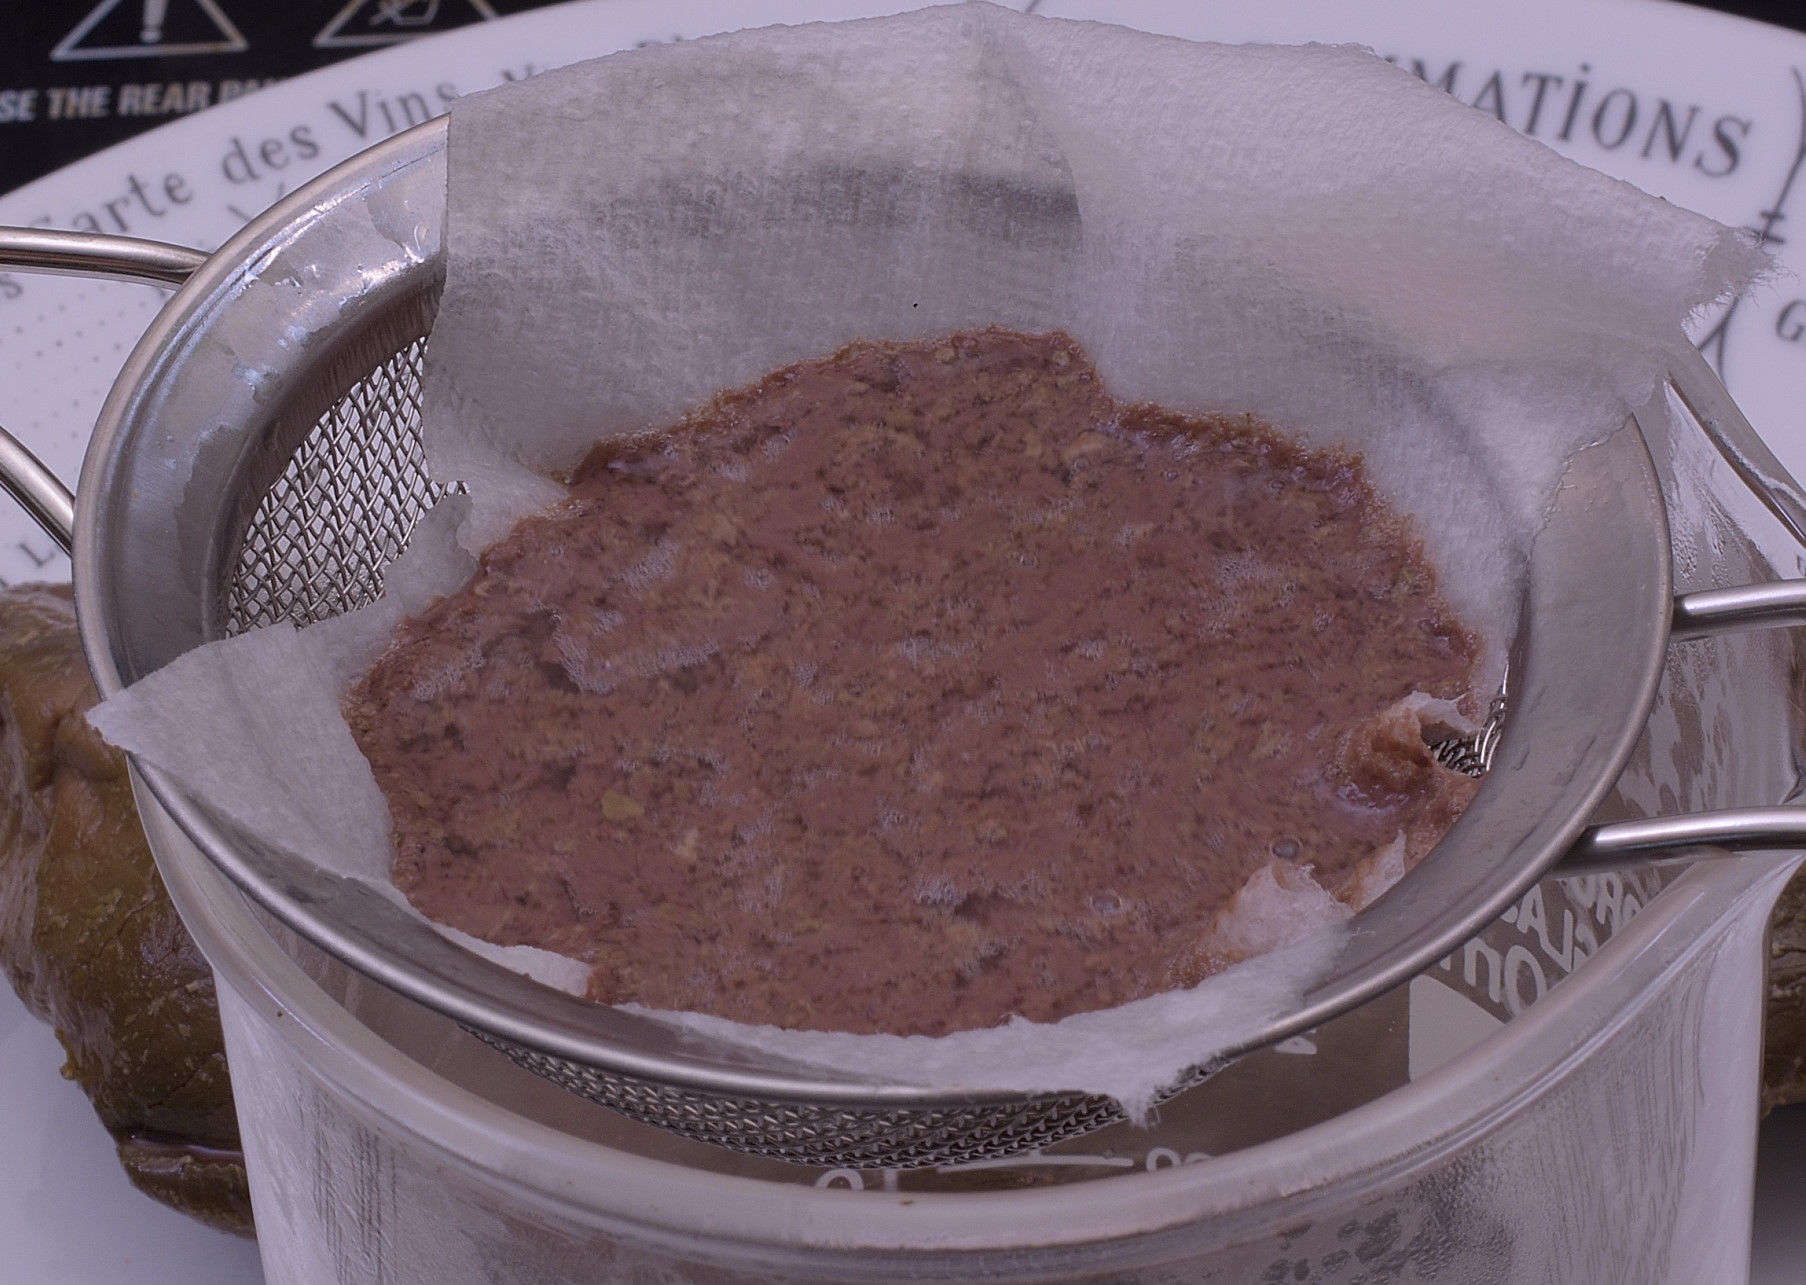
You can see the proteins drifting around. Bring the juices to a boil. I use the microwave, takes about a minute.
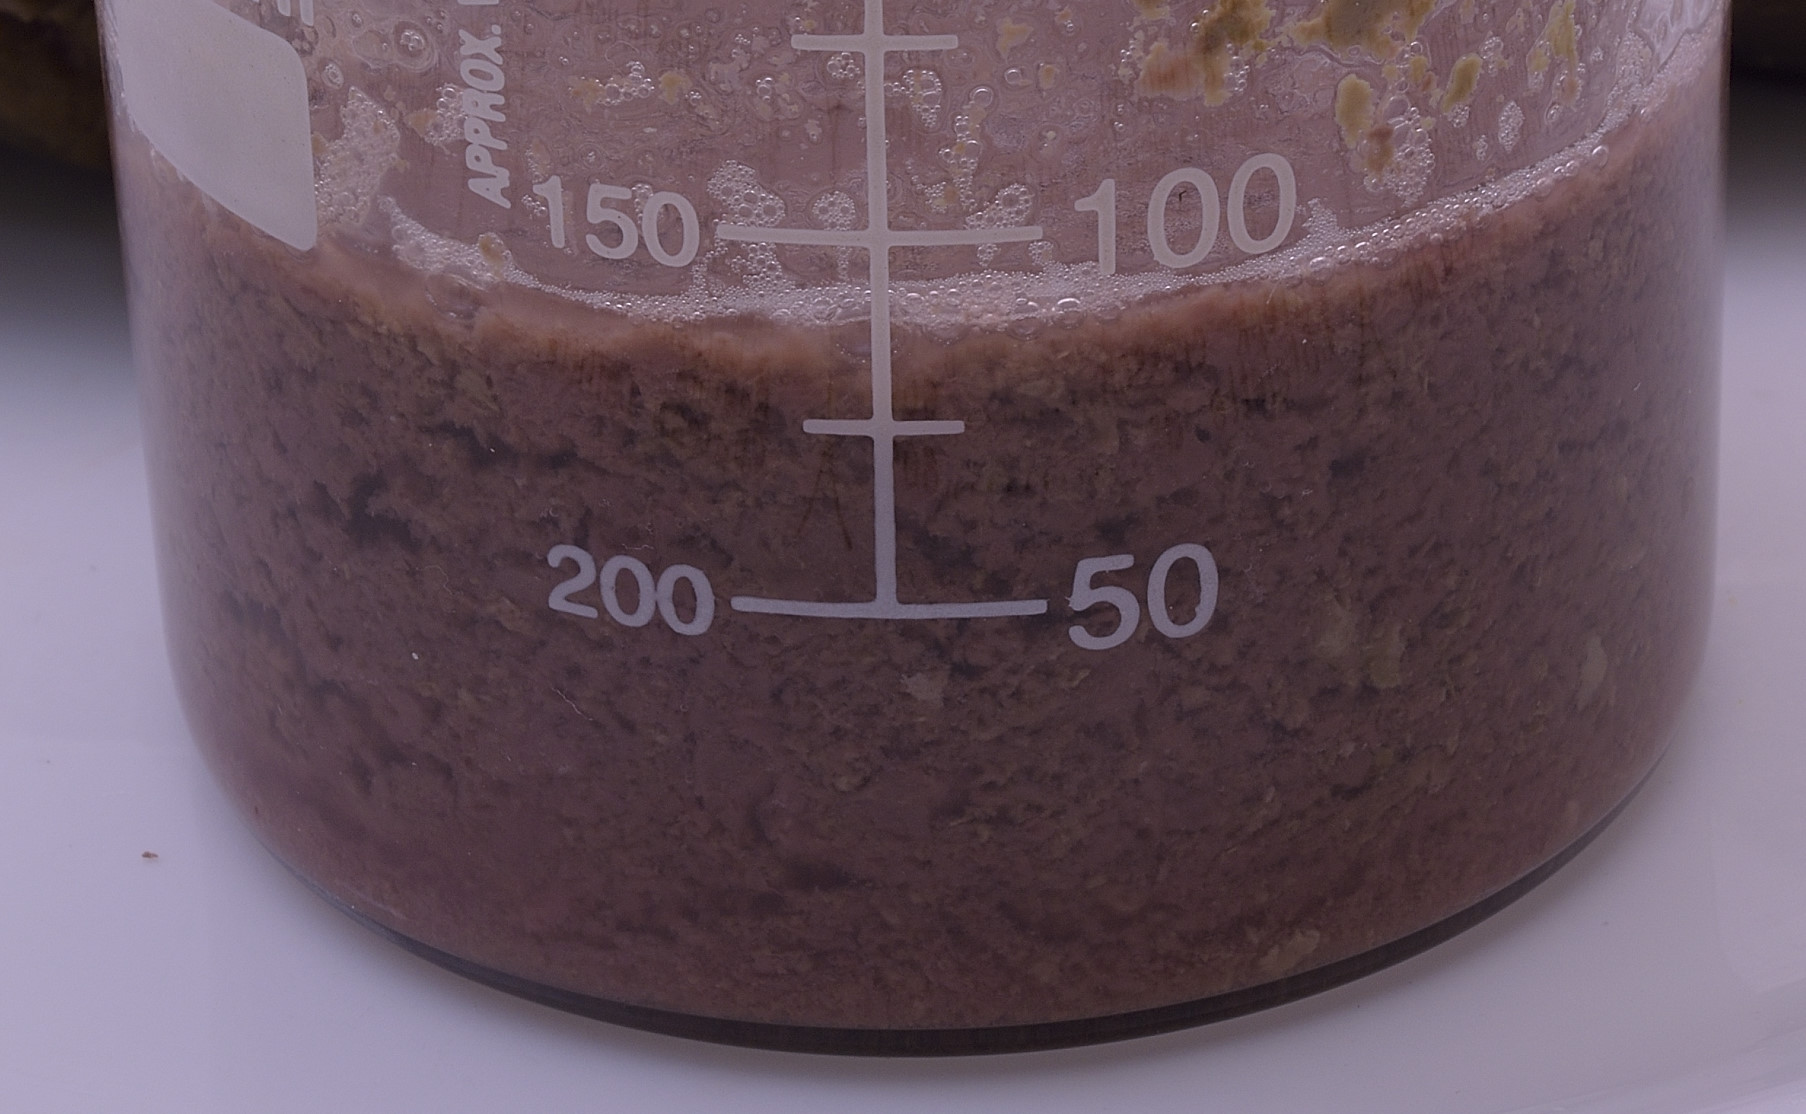
What you get looks like purple scrambled egg whites.
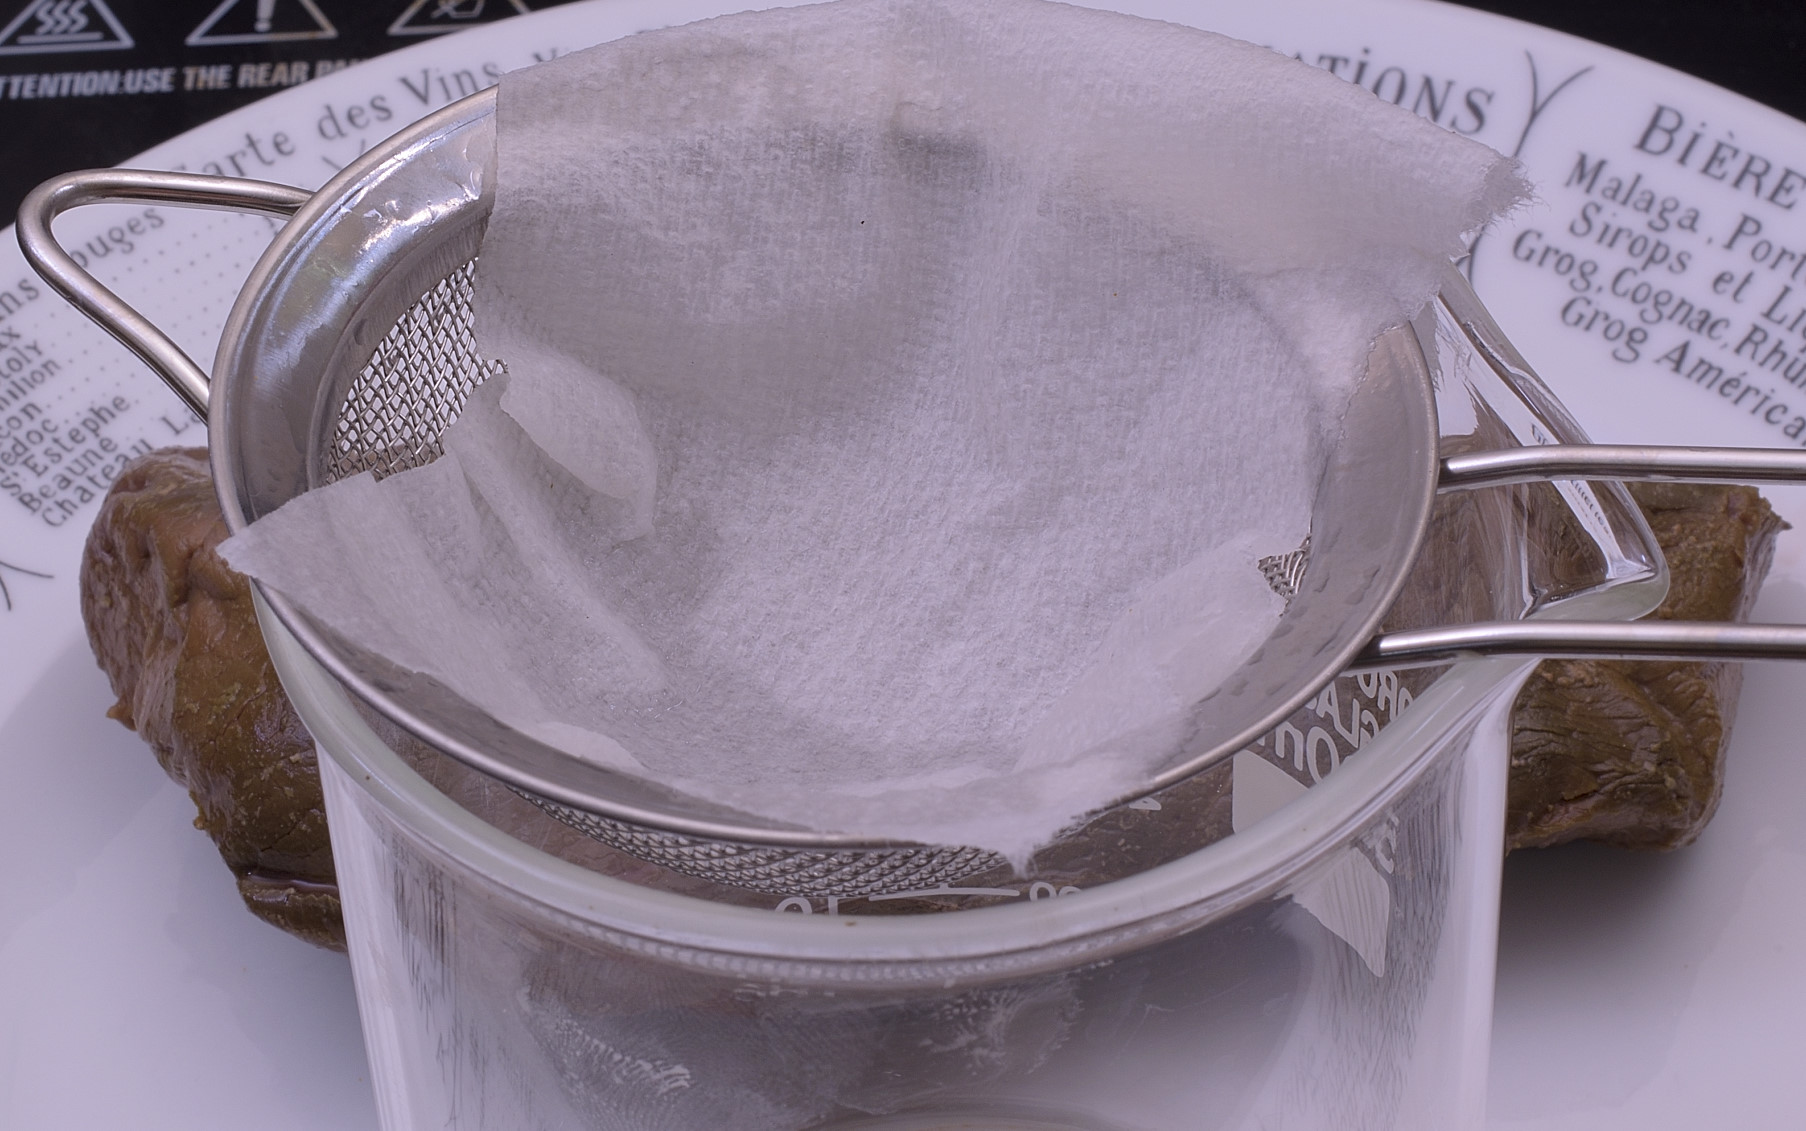
Moisten a paper towel so the boiled juices pass through it instead of clinging to it.
And to think some people actually just incorporate this into their “sauce.”
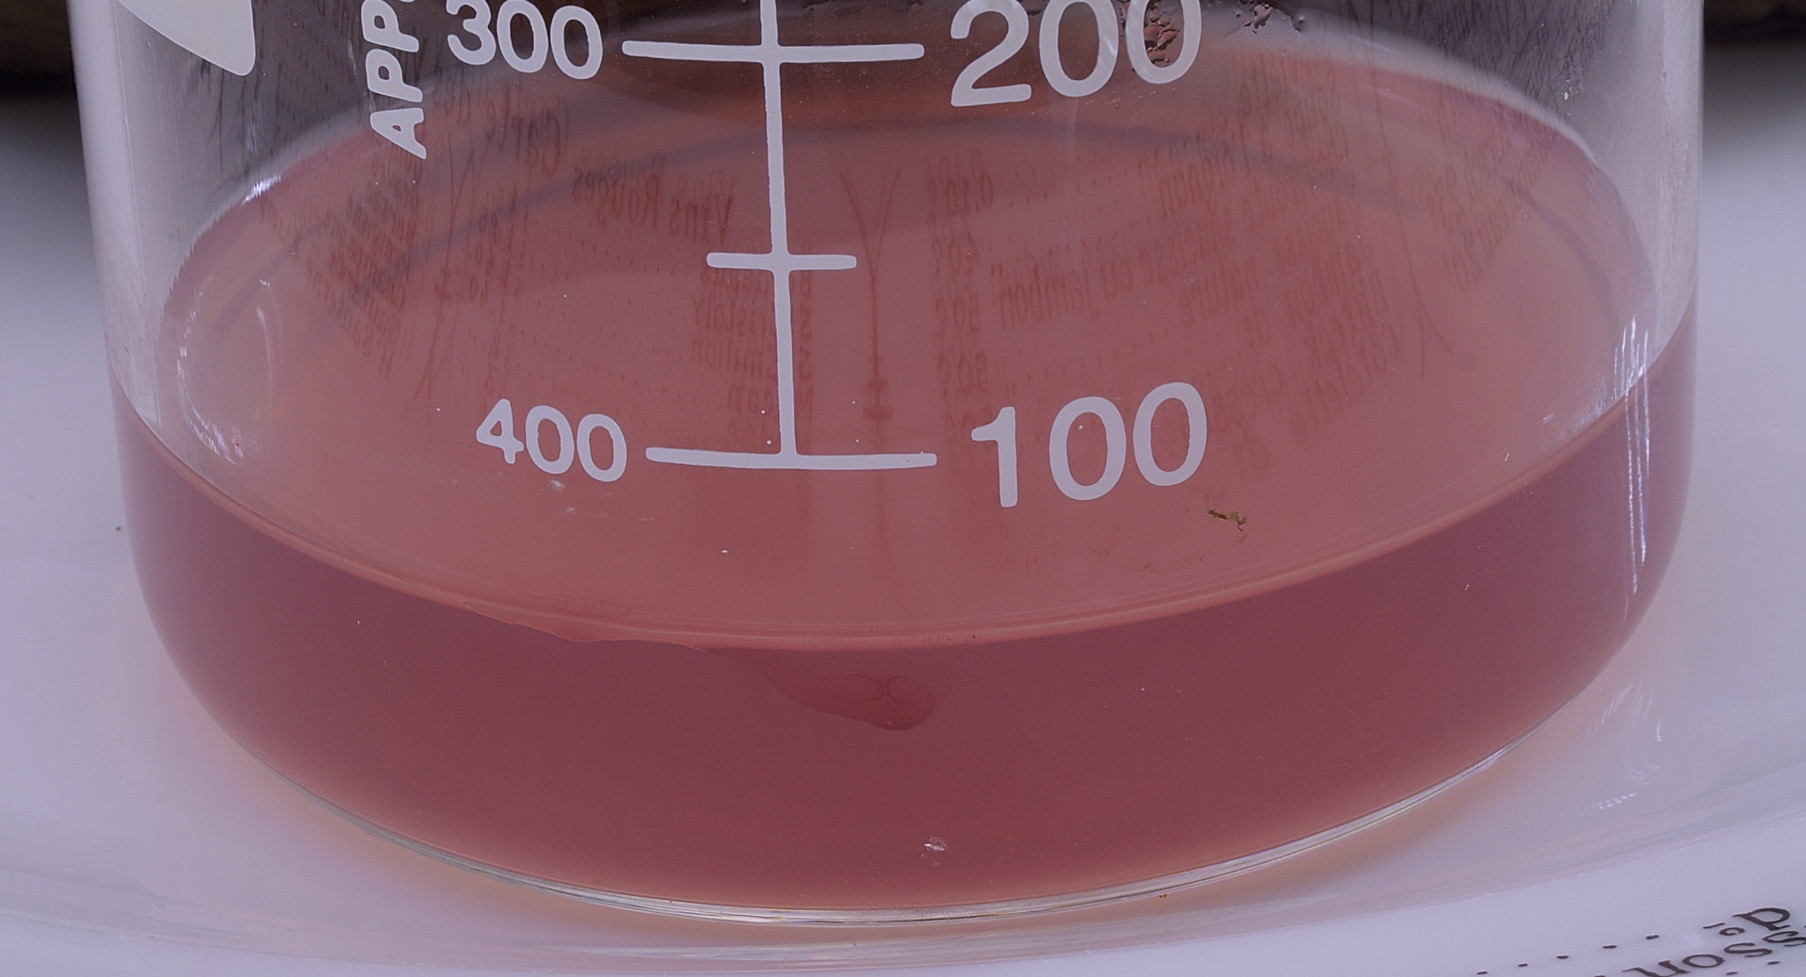
Clarified, but you can still see a little pink from myoglobin. If you boil it a little longer it will go amber, but this is close enough.
Heat a dry skillet to 300 F/150 C.
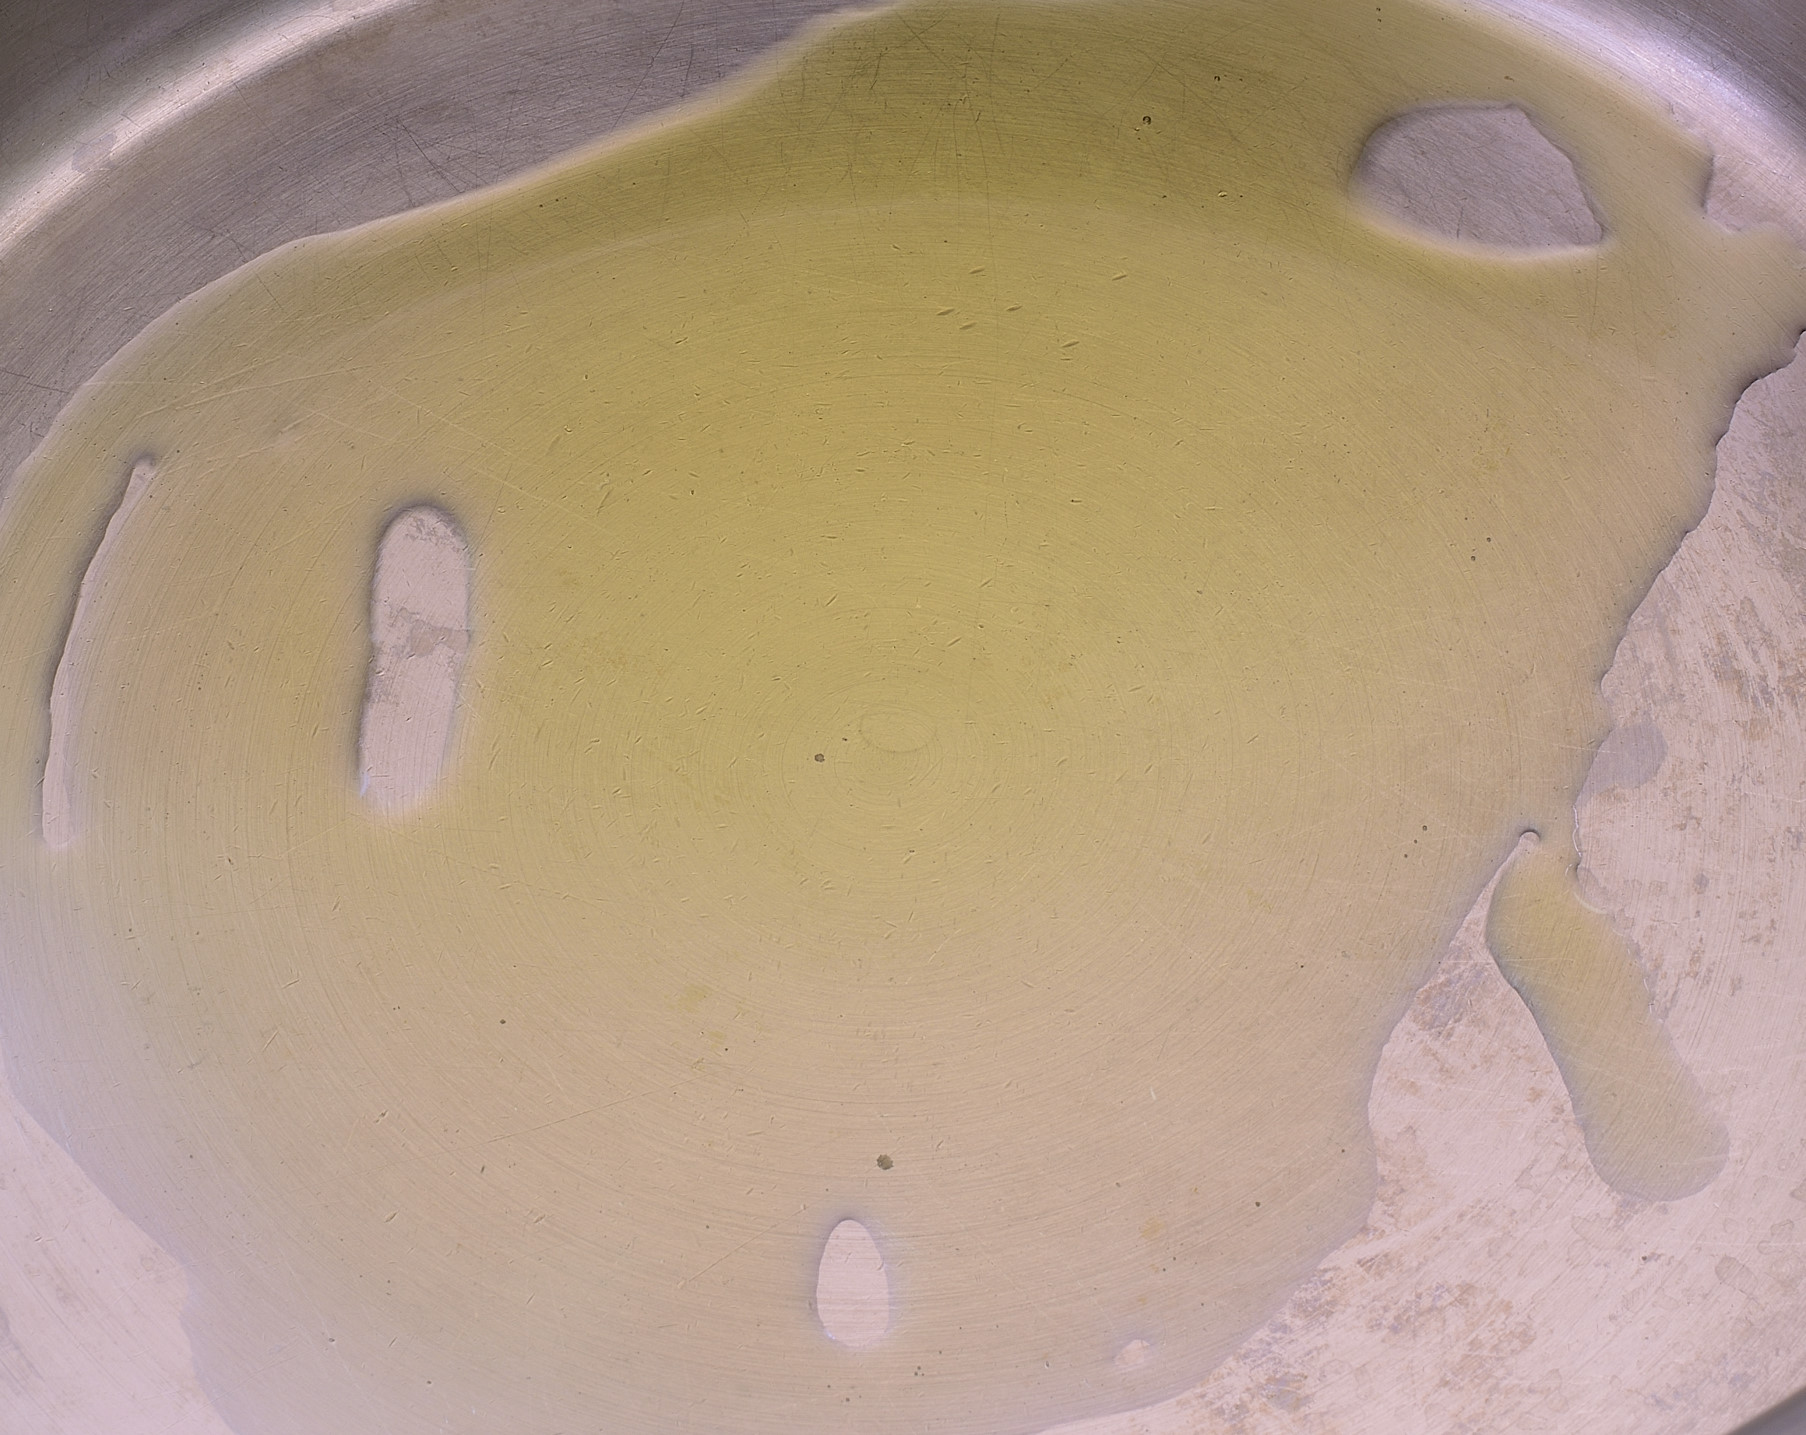
THEN add 2 oz vegetable oil. This prevents the oil from burning.

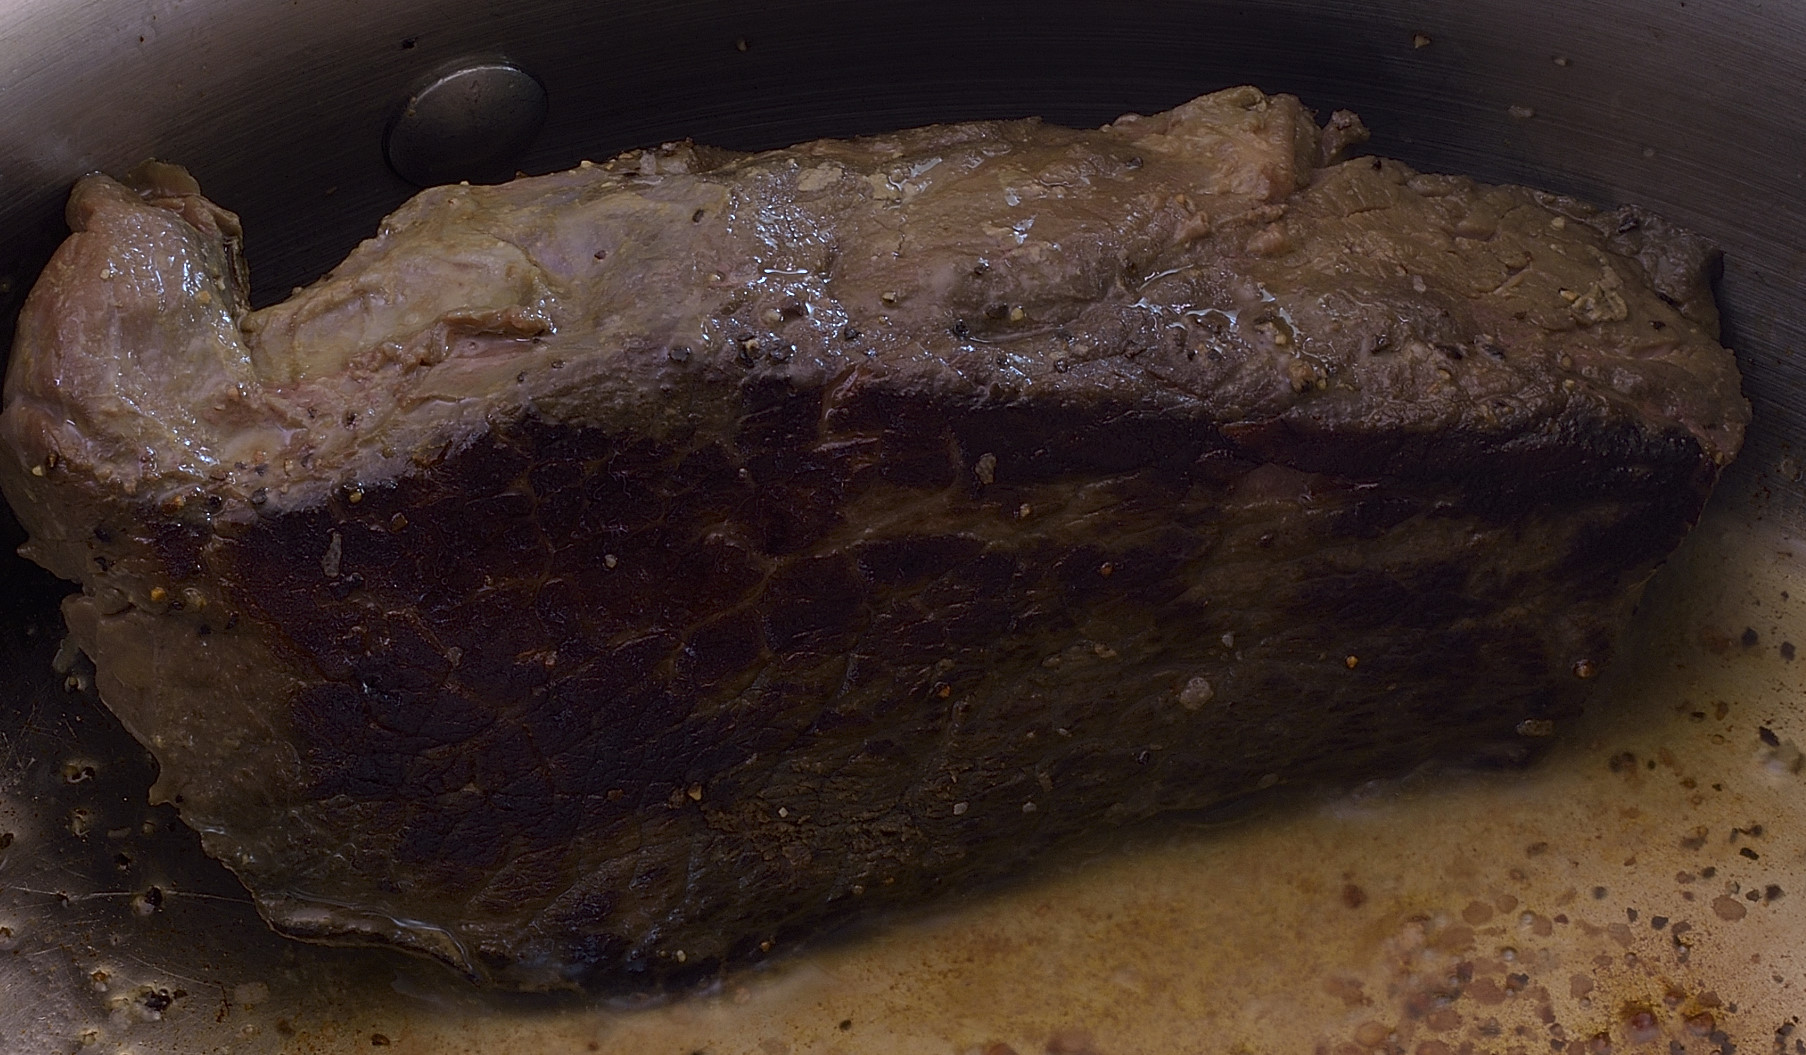
Add the meat, sprinkle with a pinch of kosher salt and ground black pepper. Seasonings will be adjusted later–this is more ritualistic than functional.

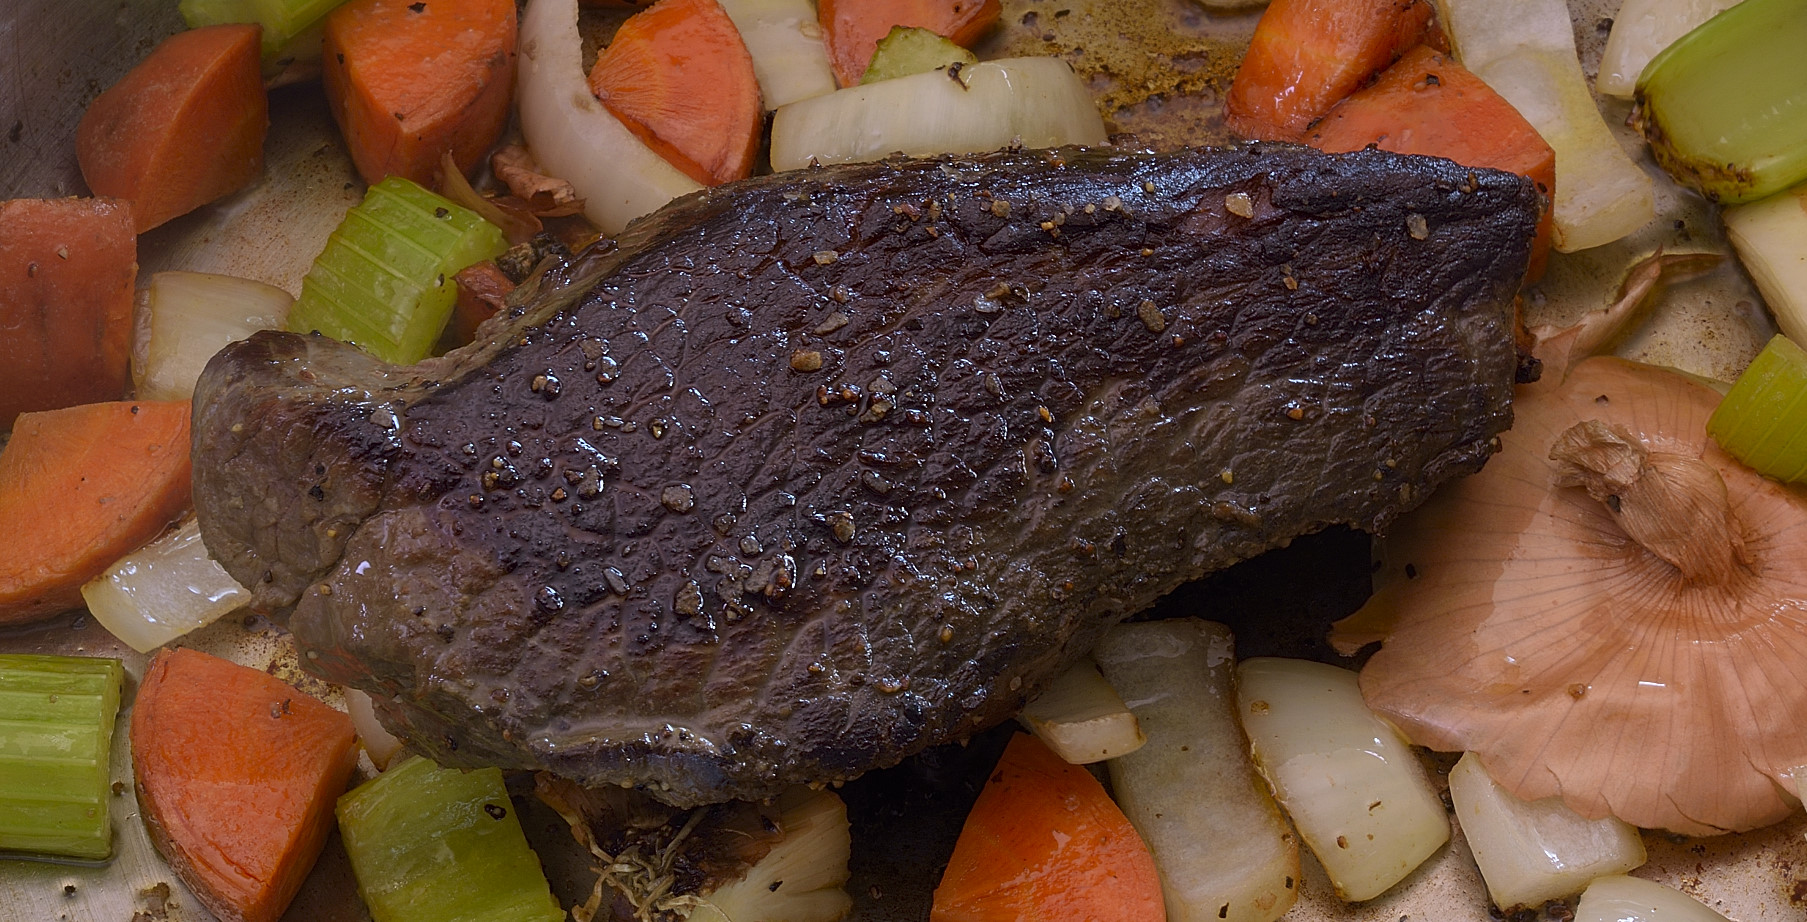
Brown the meat on all sides.
Stand it up on its edge and lean it against the side of the pan.
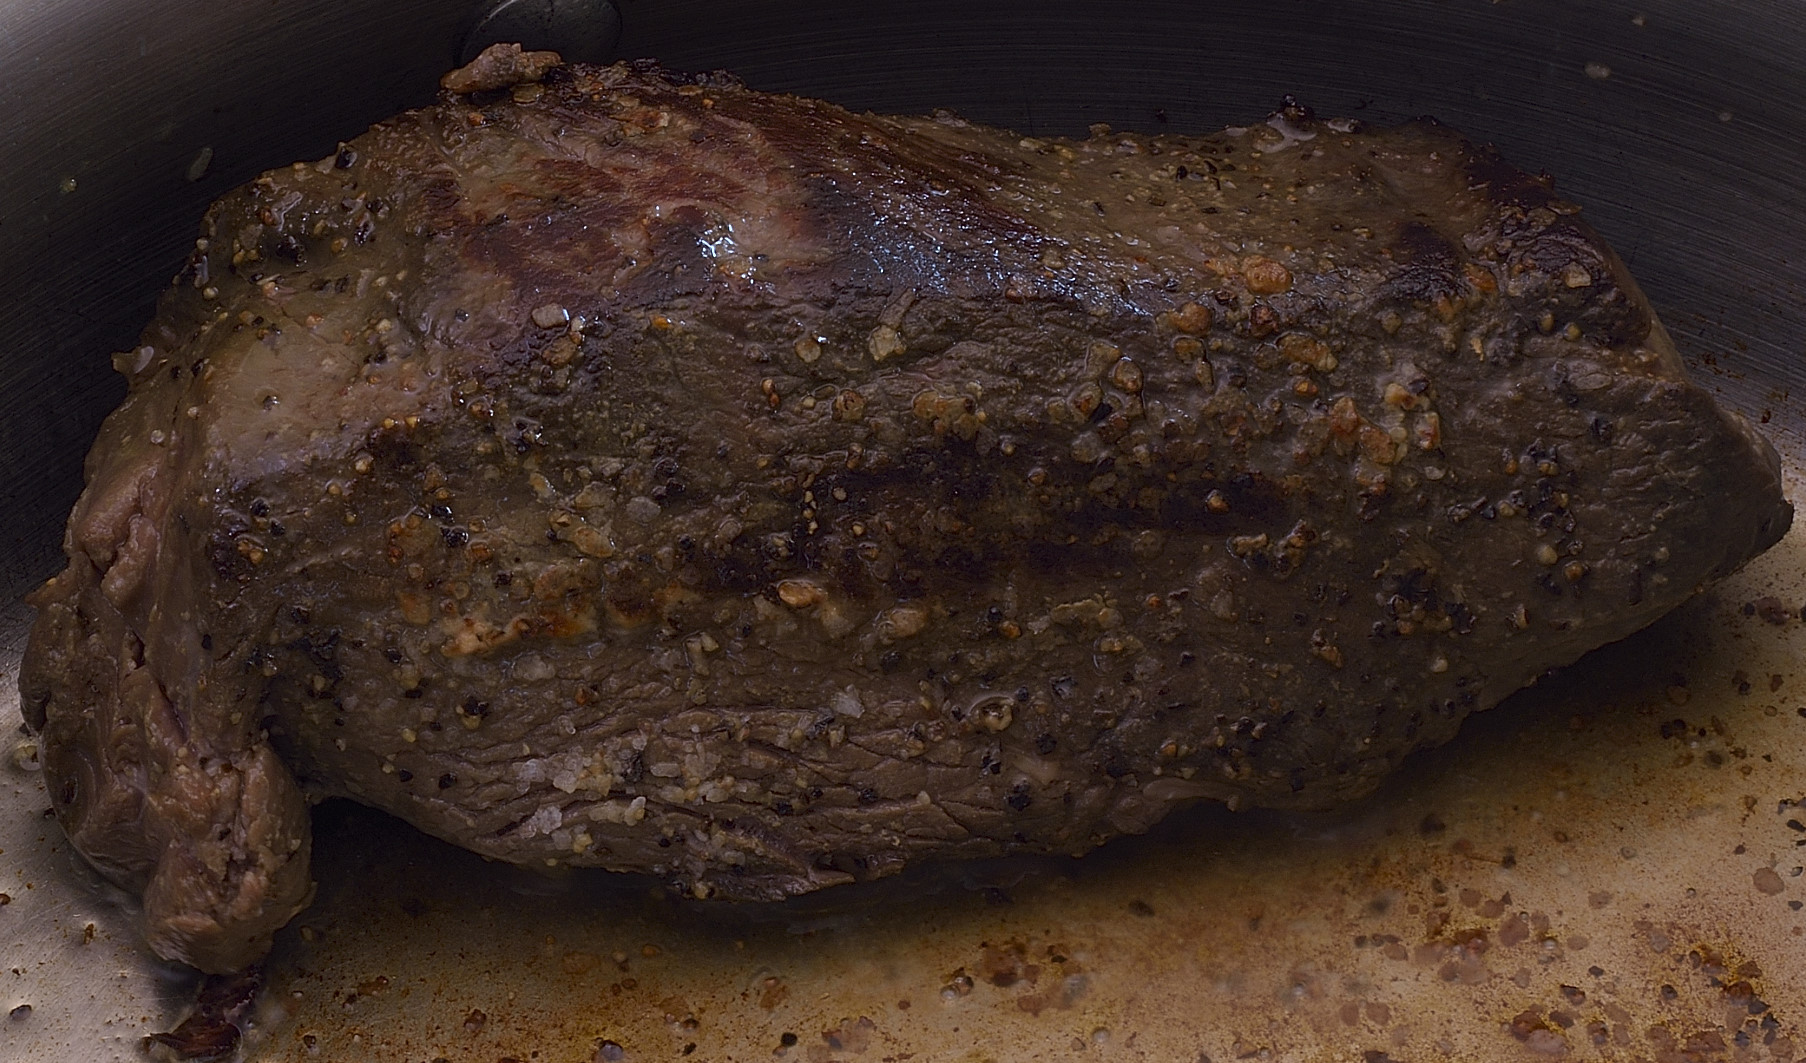
All the way around.
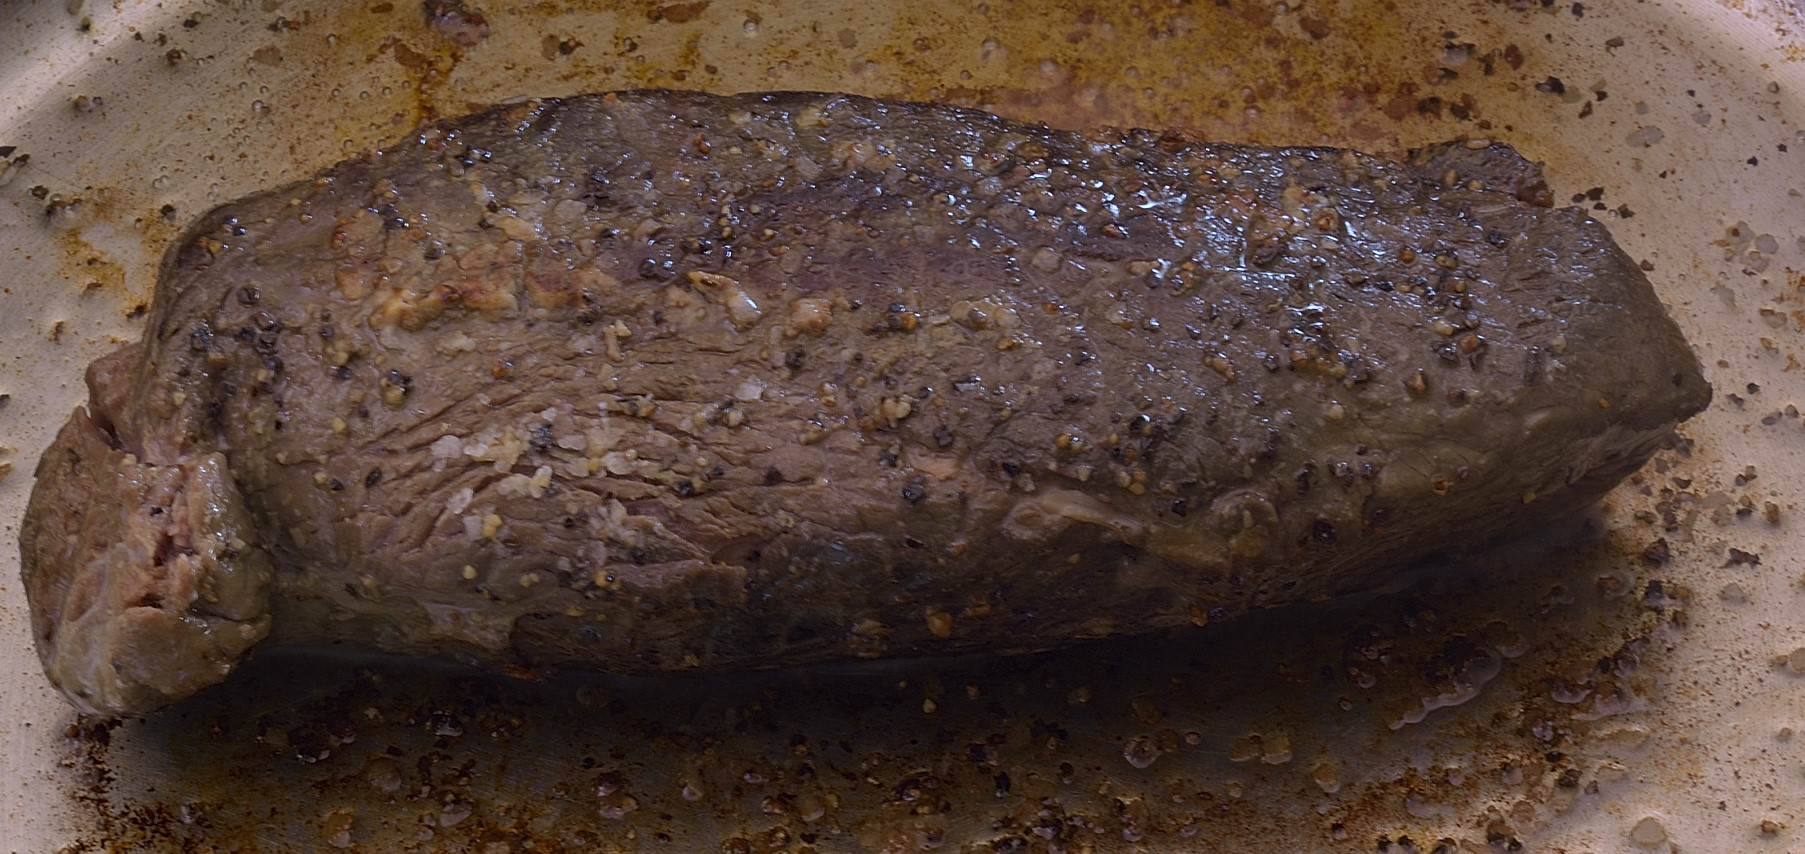
Move the meat back to the center. There should be a thin layer of oil on the bottom of the pan. Don’t worry–we’re going to go over how to remove any excess fat.
Add the mirepoix.
Shove the vegetables underneath the meat so that each piece of vegetable is in contact with the bottom of the pan with enough fat to brown.
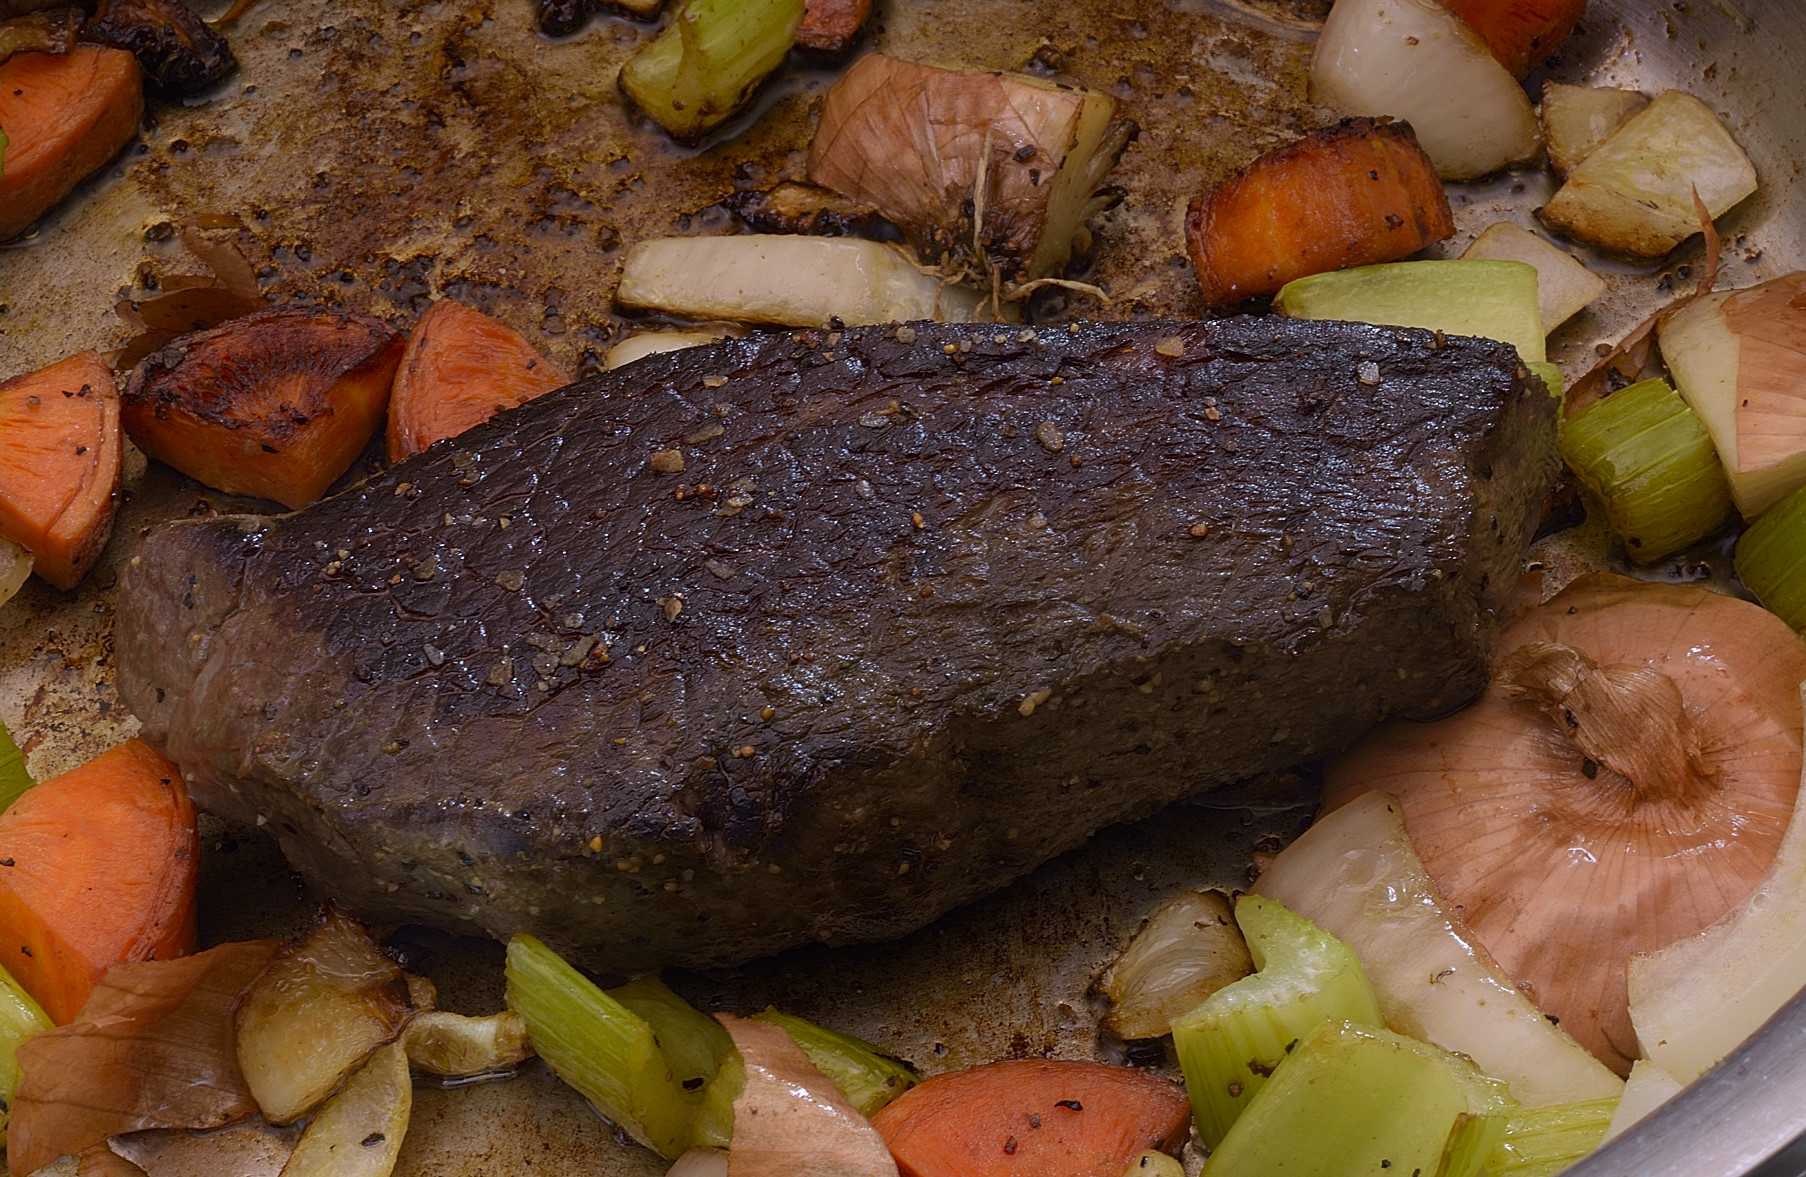
This is crucial. The browner you get the vegetables, the better and browner the sauce will be.
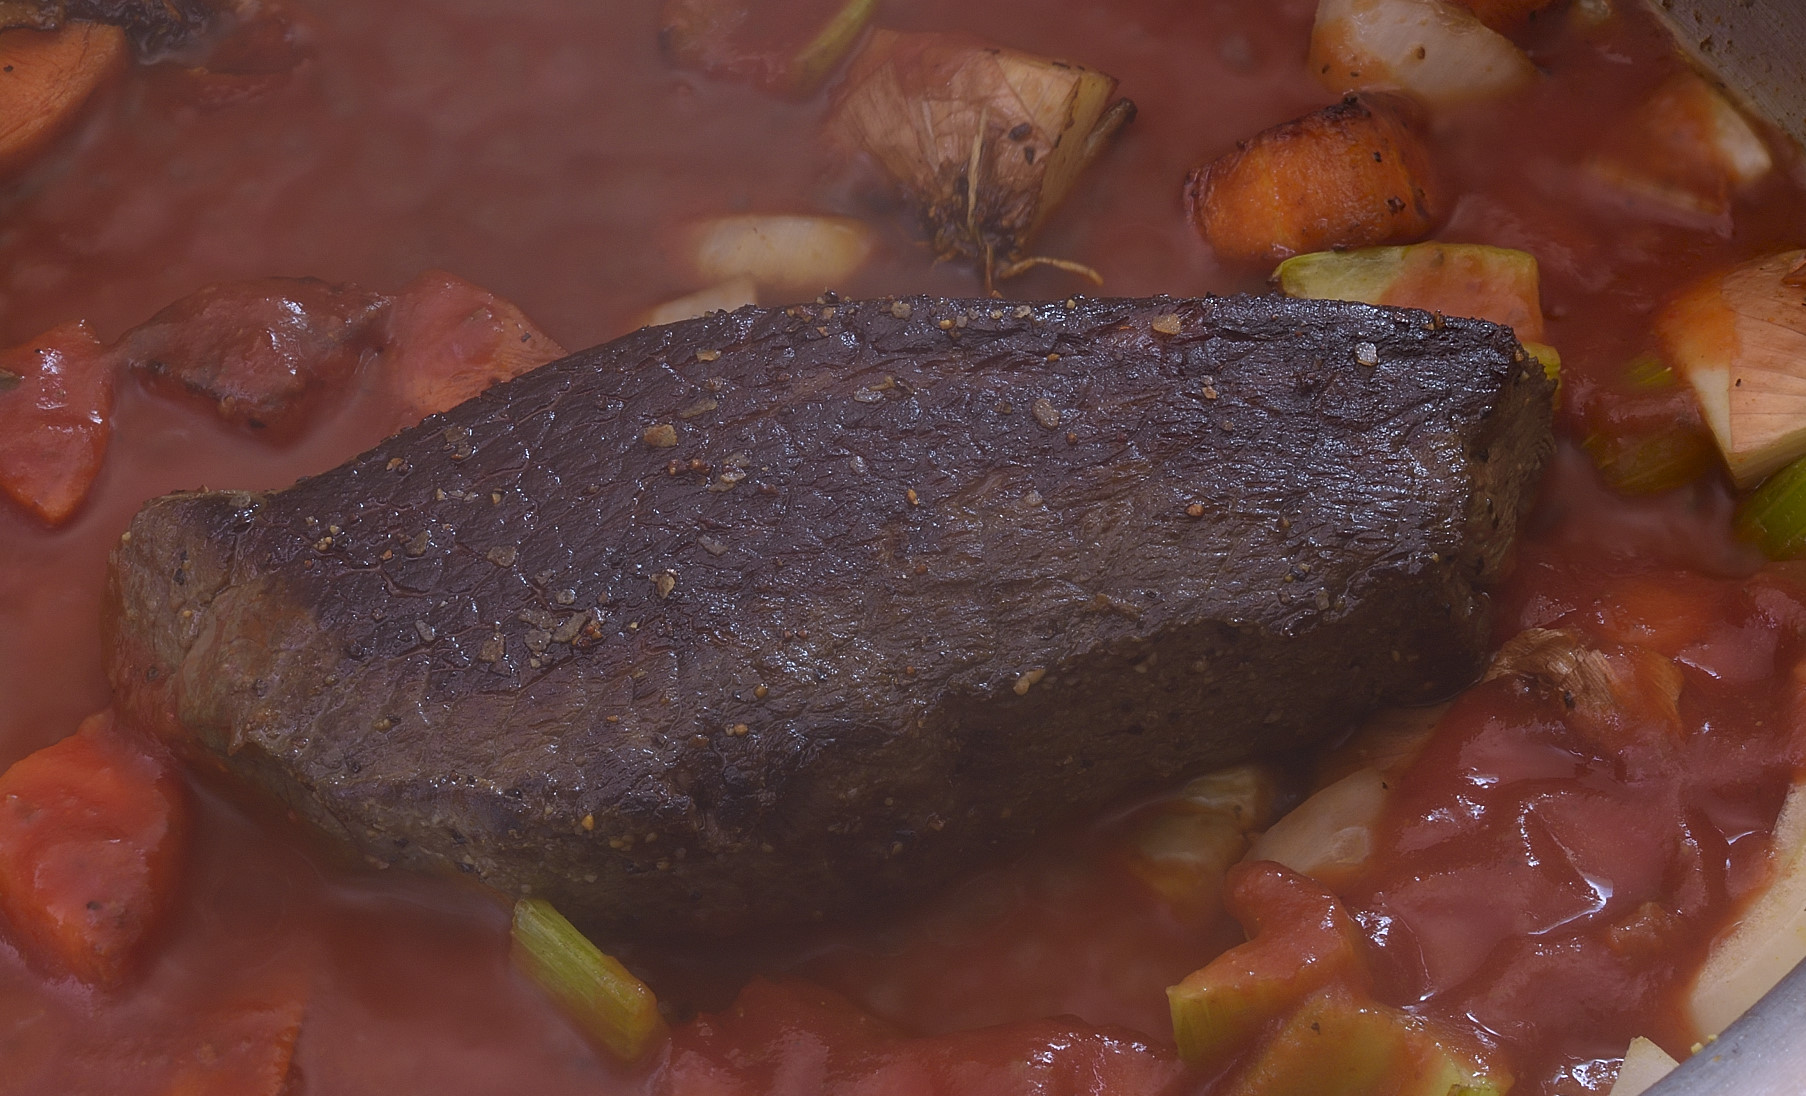
Add the tomato product, stir so that everything is coated. I say “tomato product” because you can use sauce, paste, pizza sauce, I’ve even seen ketchup used. Wouldn’t recommend it, but, well, you gotta do what you gotta do.
Again, this is critical. The tomato sauce must be allowed to brown.
I really mean it. Preheat your sous vide bath to 183 F/84 C.
Add the clarified sous-jus. If you are determined to add wine, this is the time to do it. Remember. Wine is there for flavor and color, NOT for volume. Reduce all the way to sticky again.
Add 2 cups/450 ml water.
Bring to boil, turn off the burner.
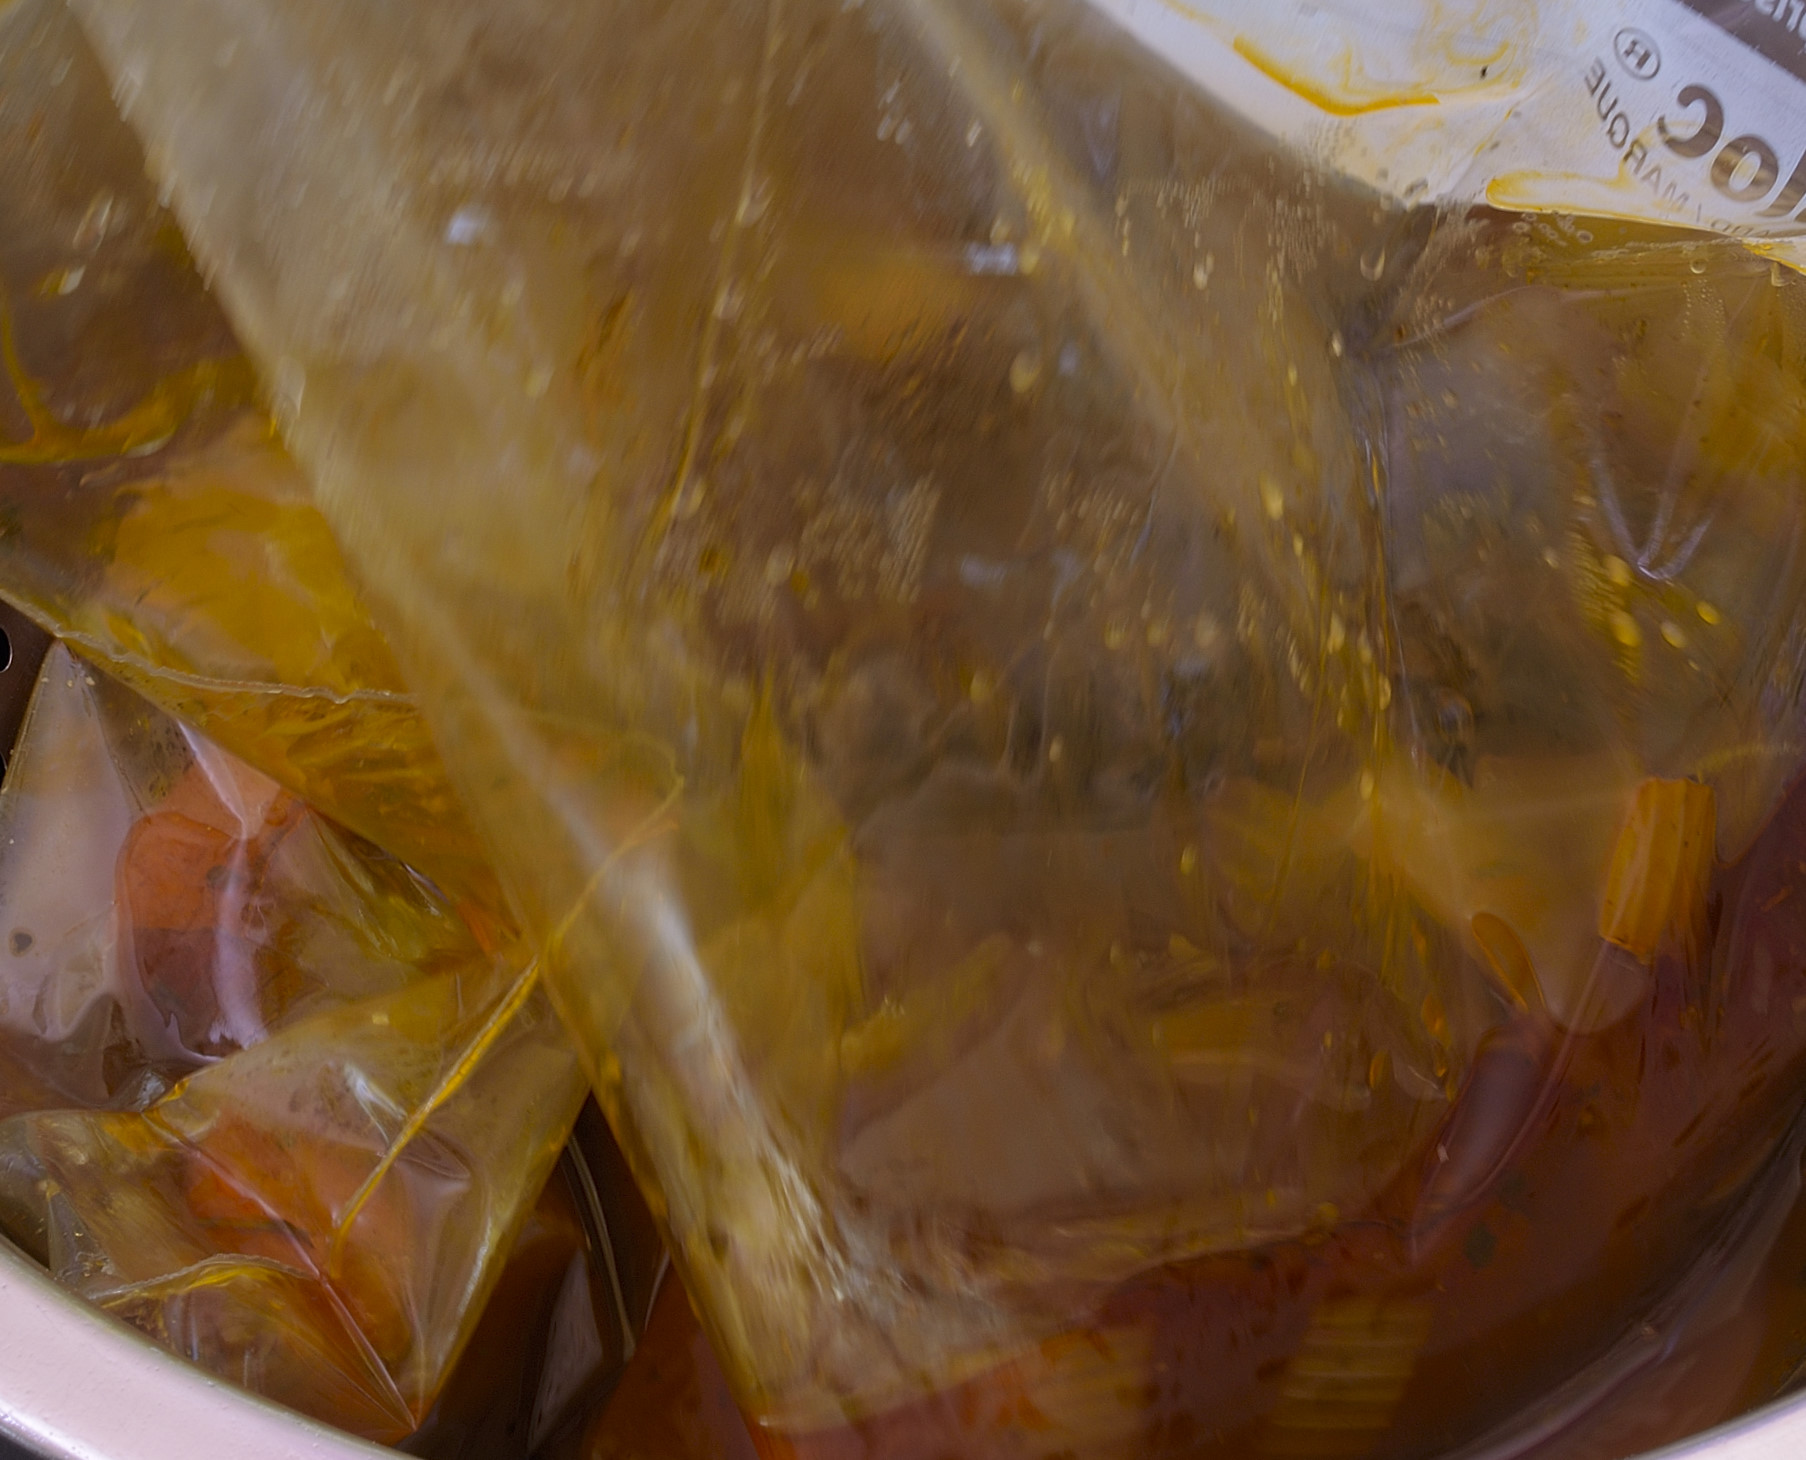
This is an easy way to stage the meat and liquid into a Ziploc bag.
Note: You don’t HAVE to stage this back into the bath. You can cover the pot and simmer for two hours and accomplish the same thing. That’s a preference. How I do it depends on what’s convenient for me. I’m not a sous vide fascist. I’m using sous vide to do as much as possible because that’s what I teach. Not necessarily what I do.
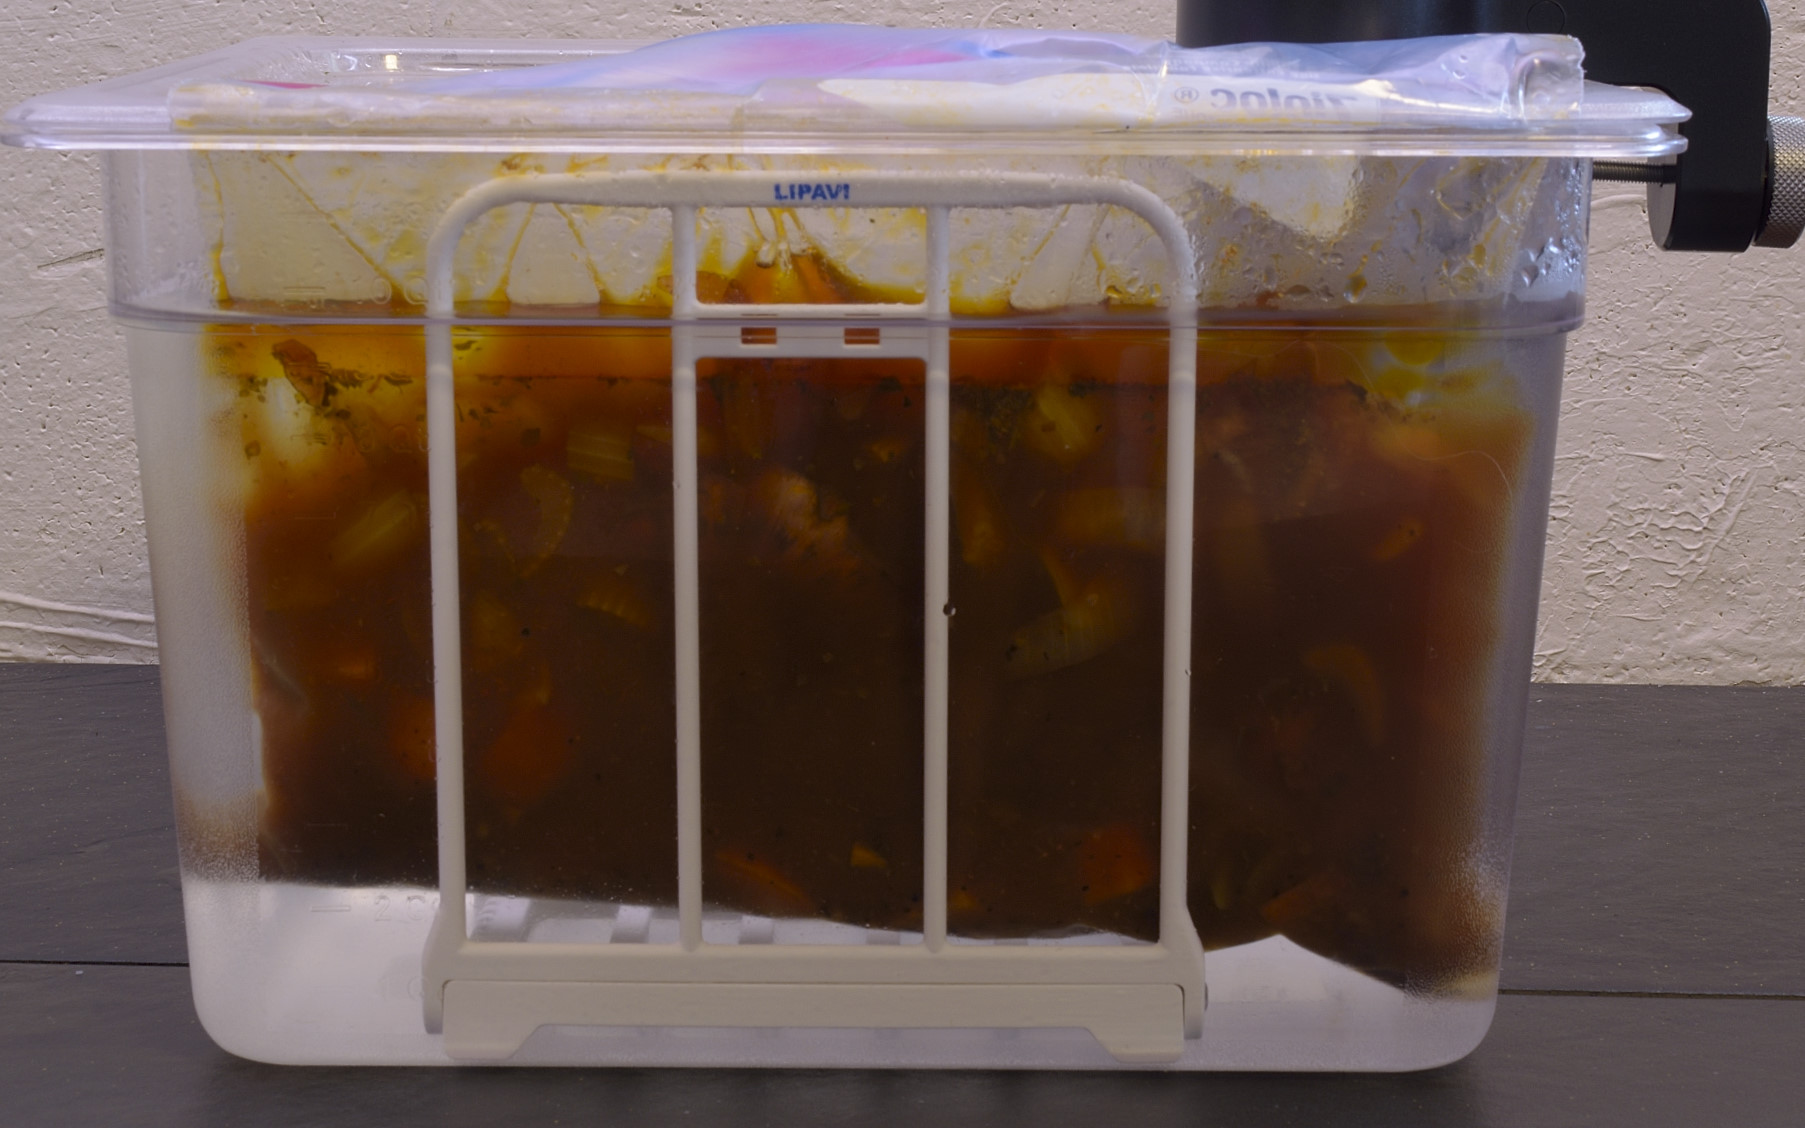
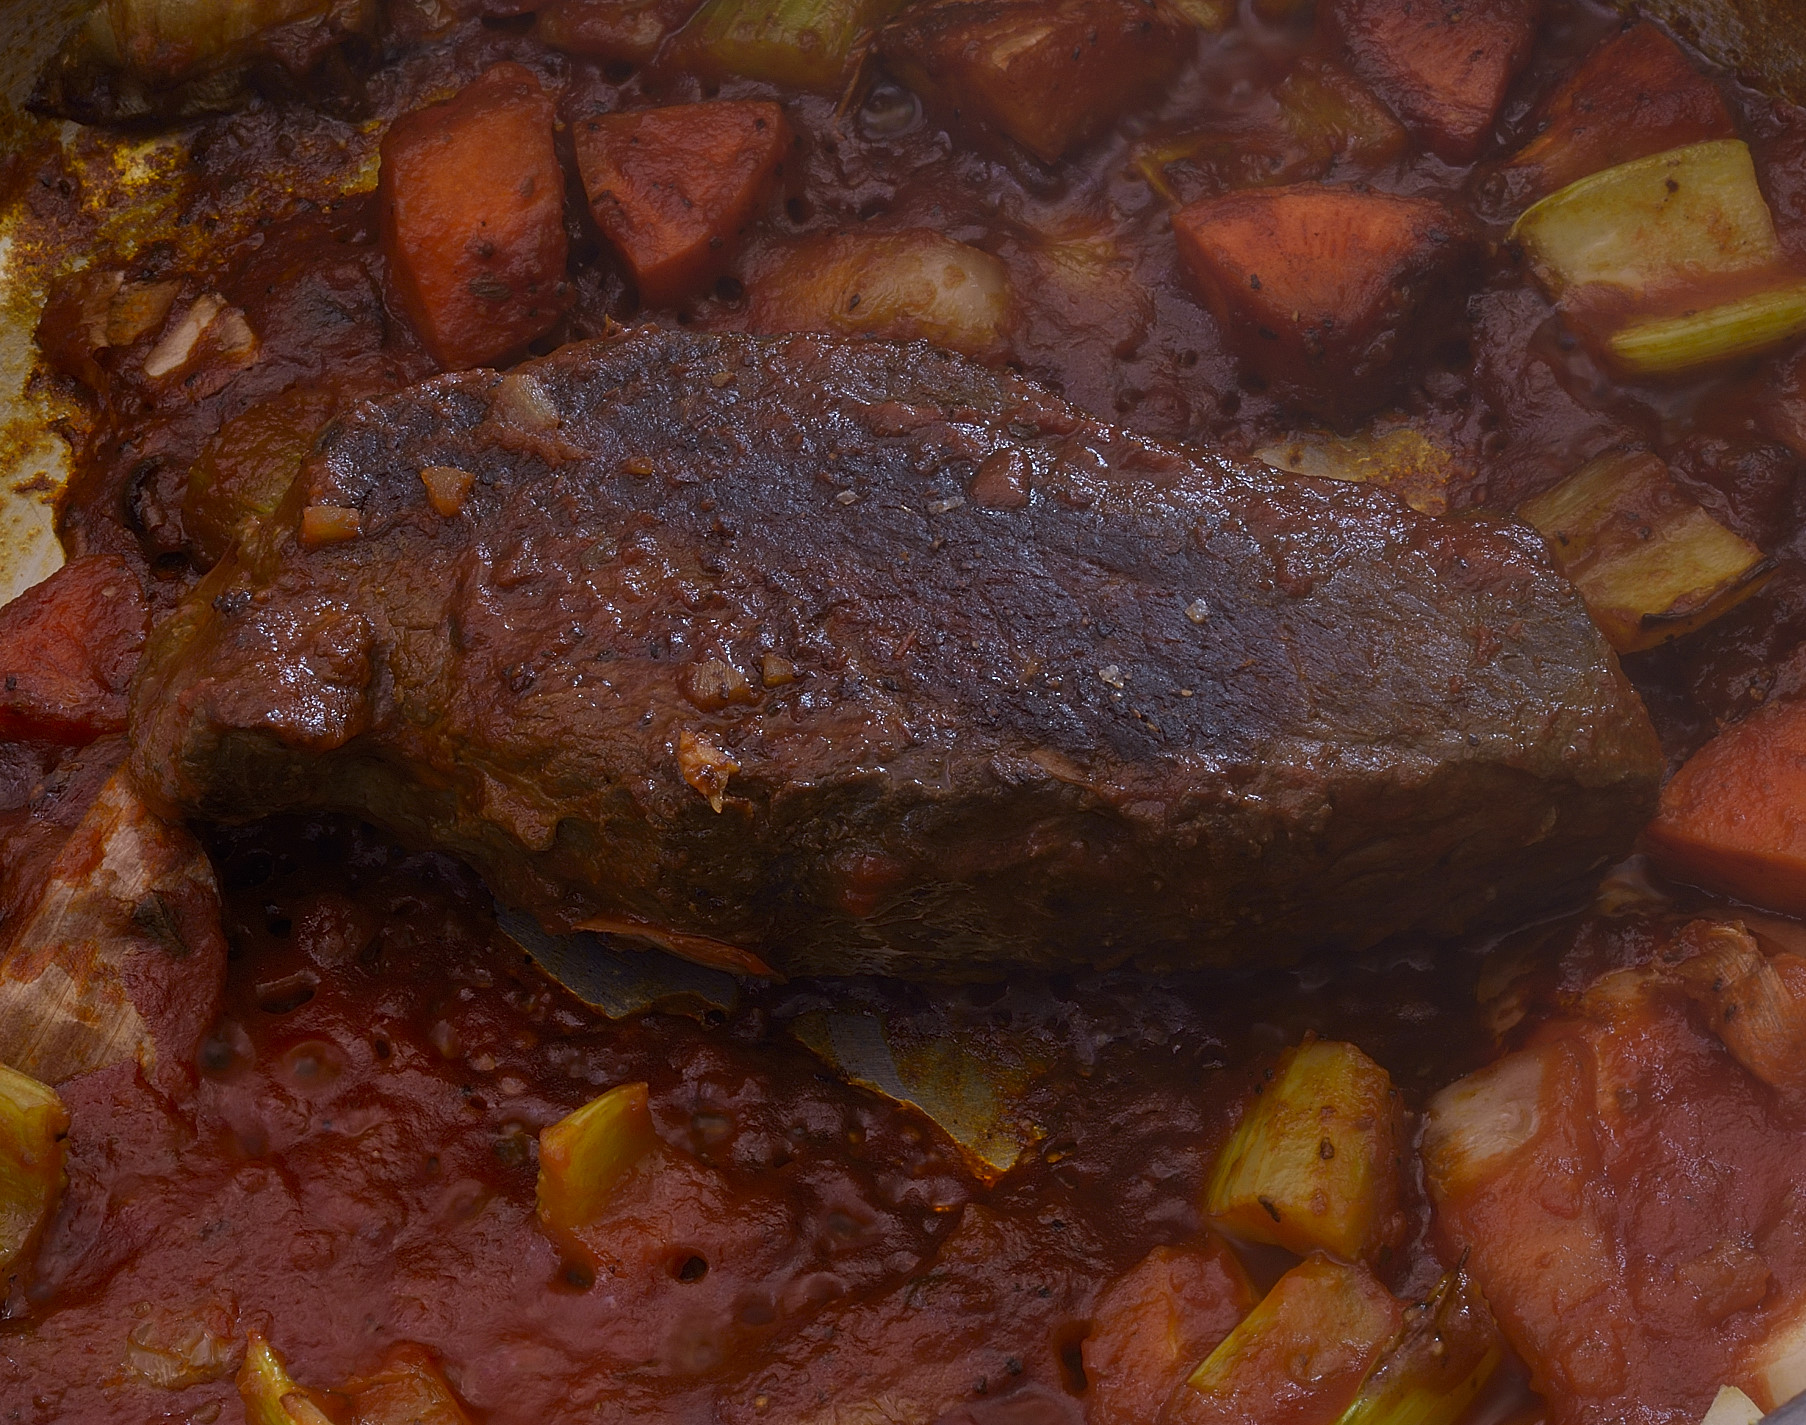
Drape the opening of the bag over the edge of the container and secure it with the lid. The temperature should be 183 F/84 C to fully denature and extract the flavor of the vegetables. If we had started with raw meat, I would be telling you to come back tomorrow. As it is, give it two hours.
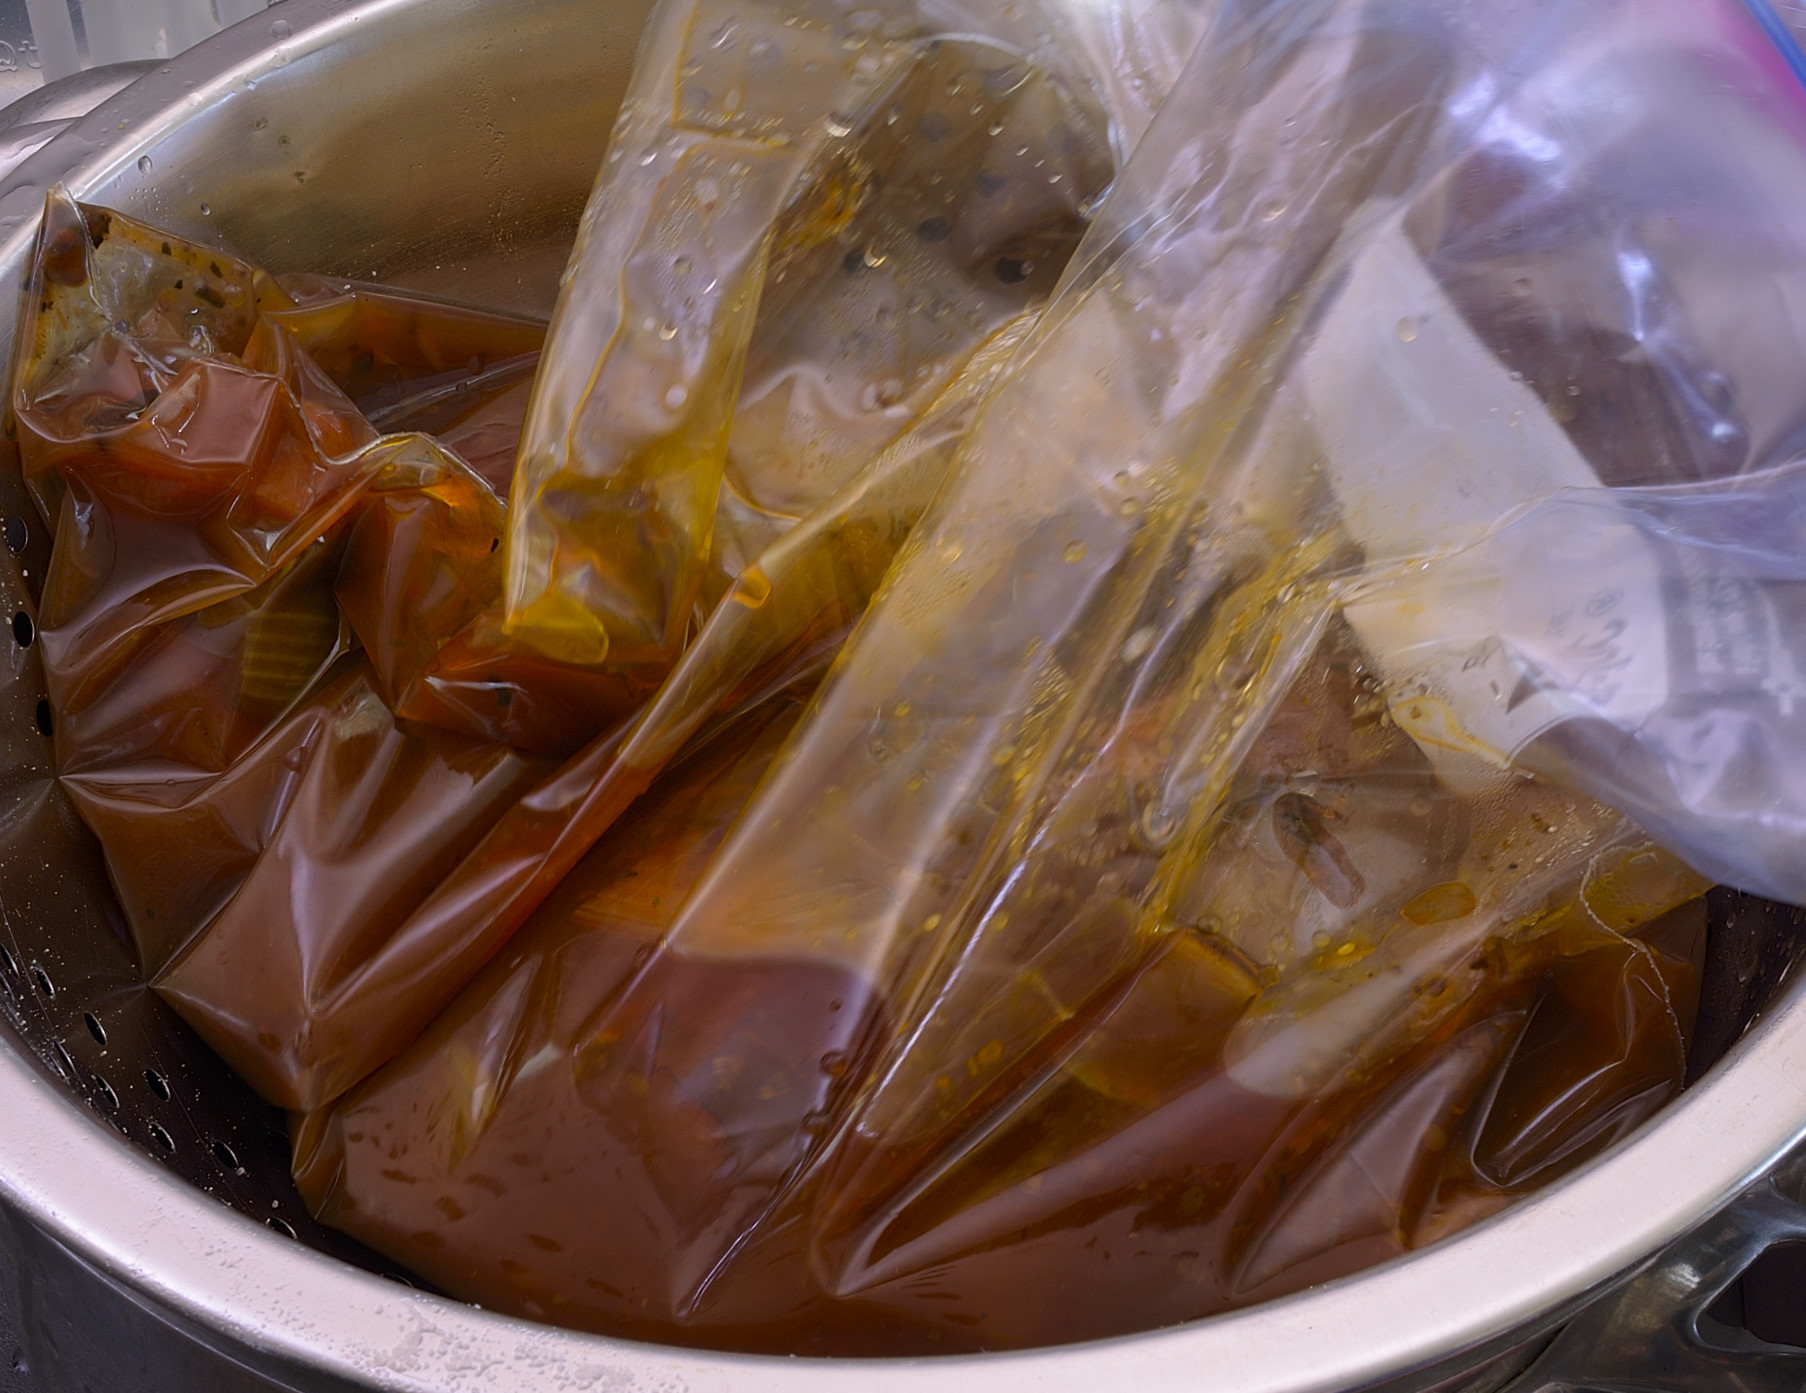
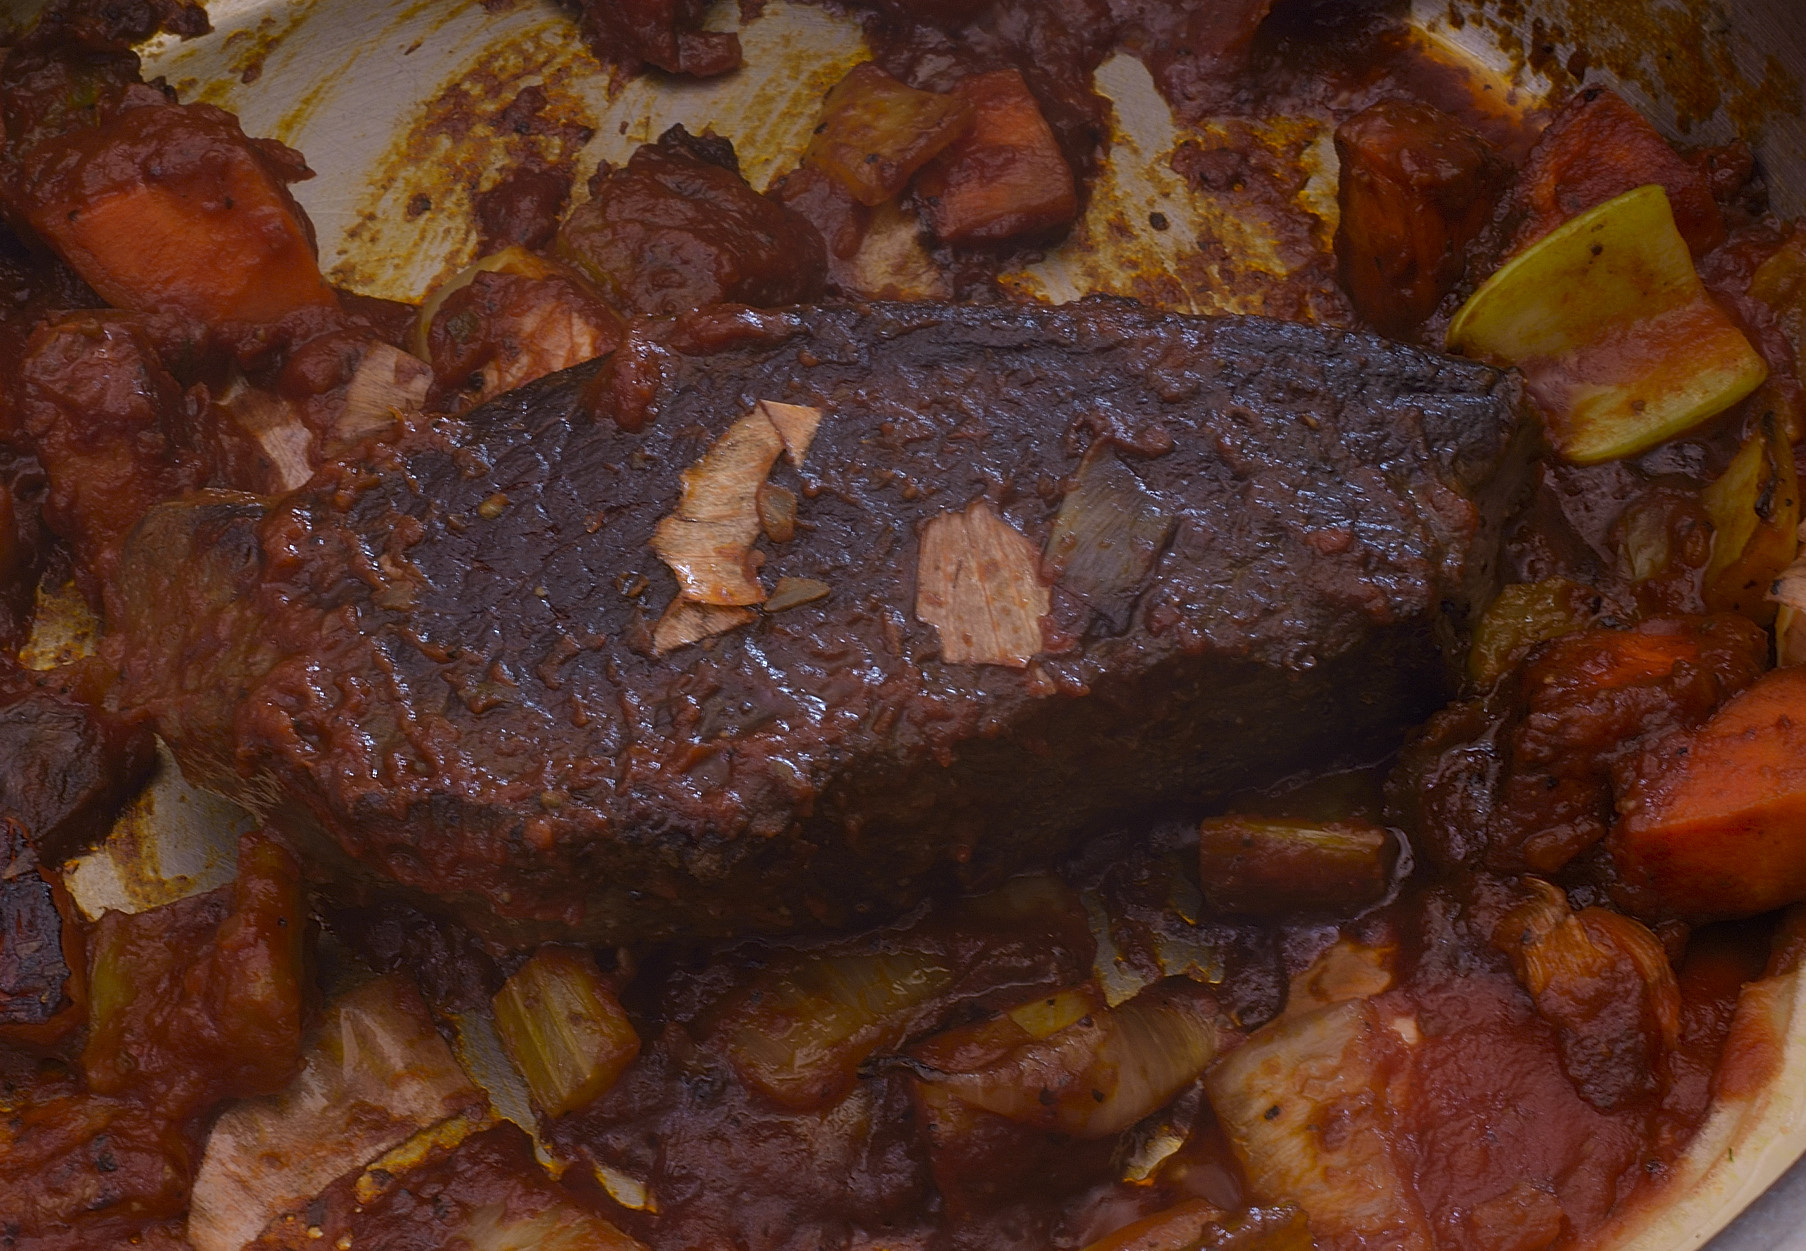
Put a large colander over an even larger pot. Lift the bag out of the container and place it in the colander.
Poke a couple of holes in the bottom of the bag and the broth will drain out.
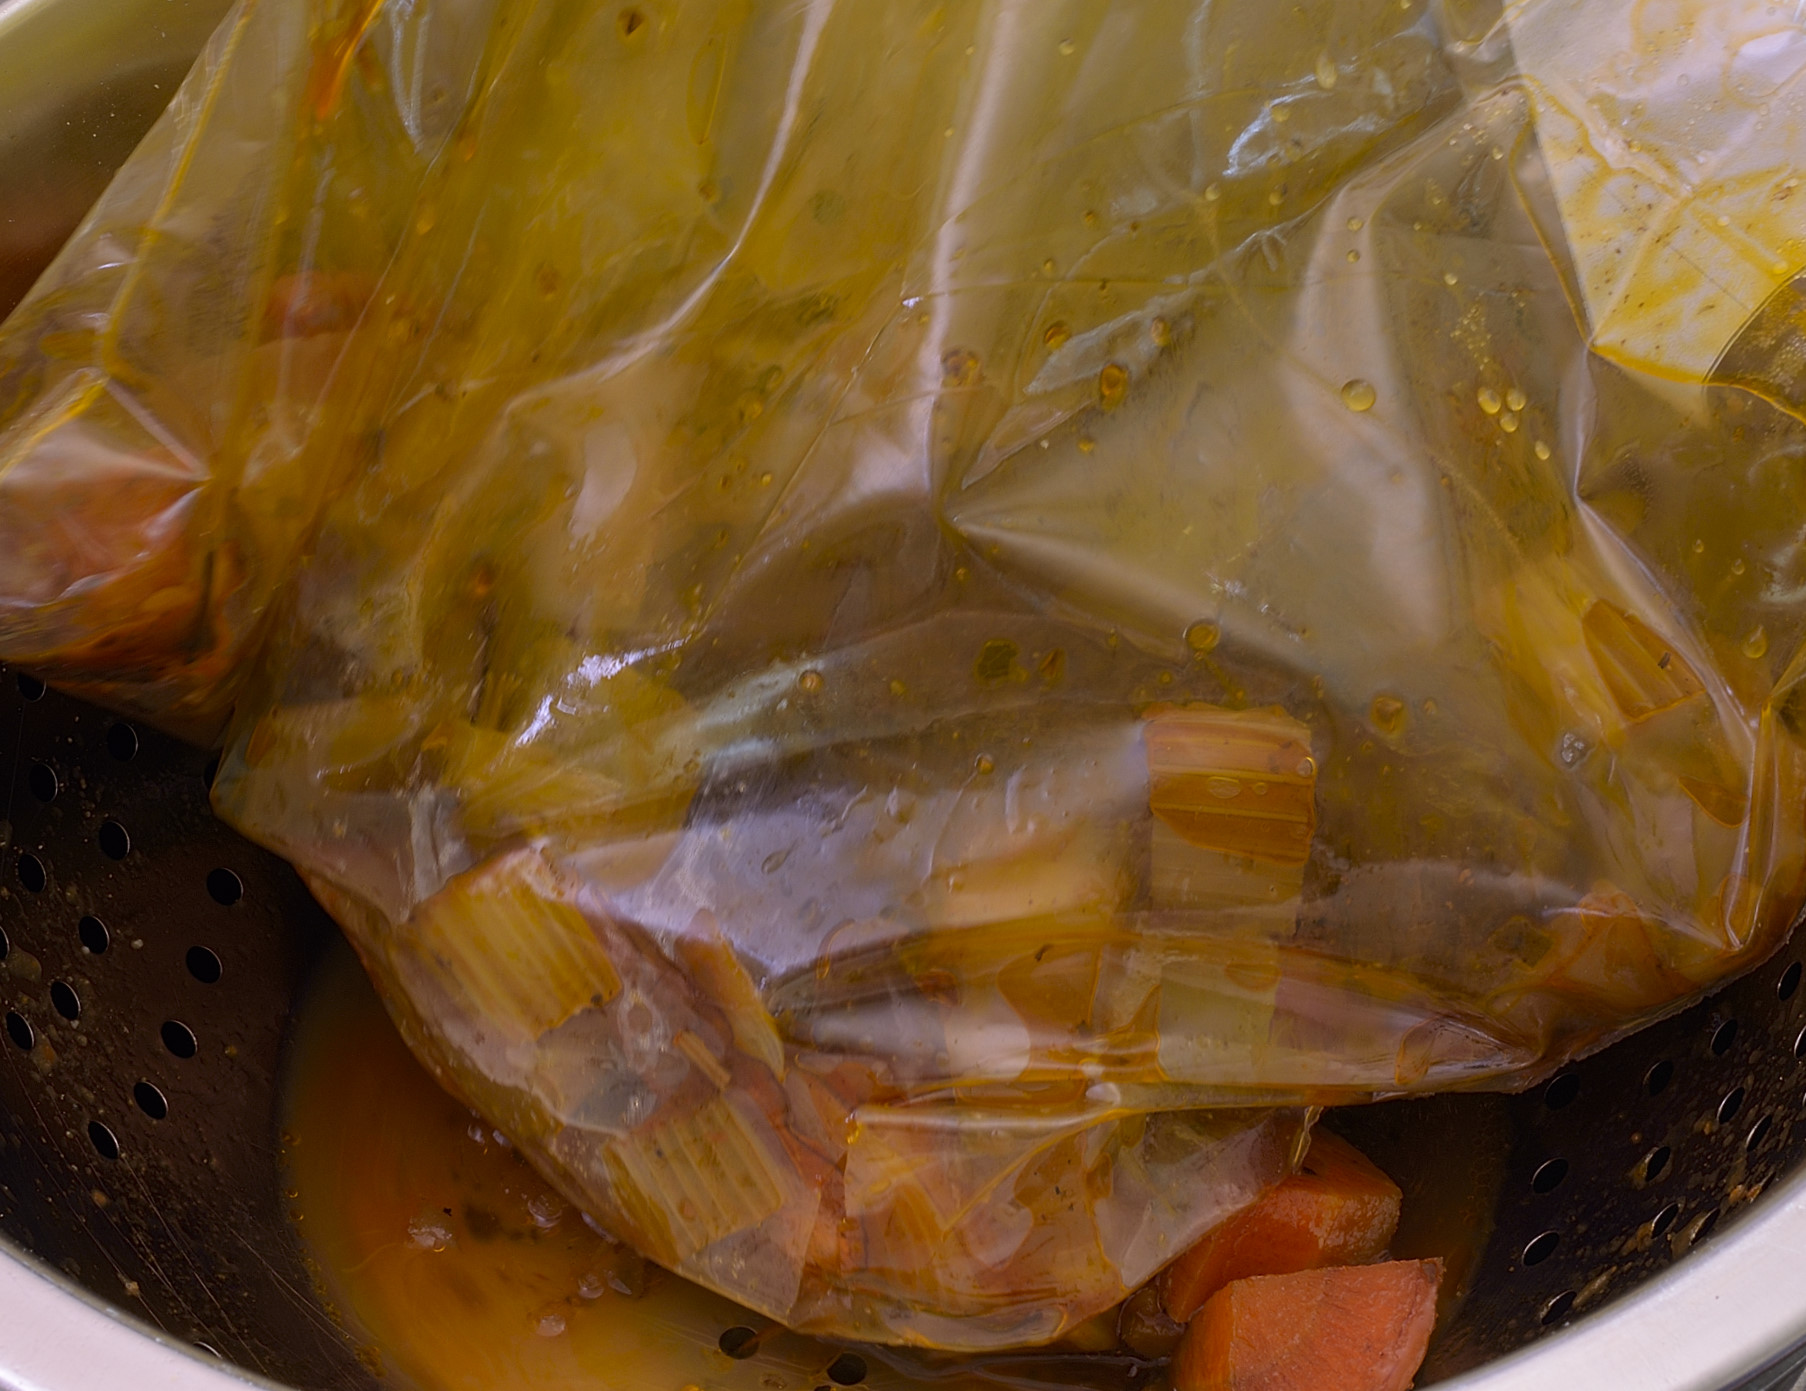
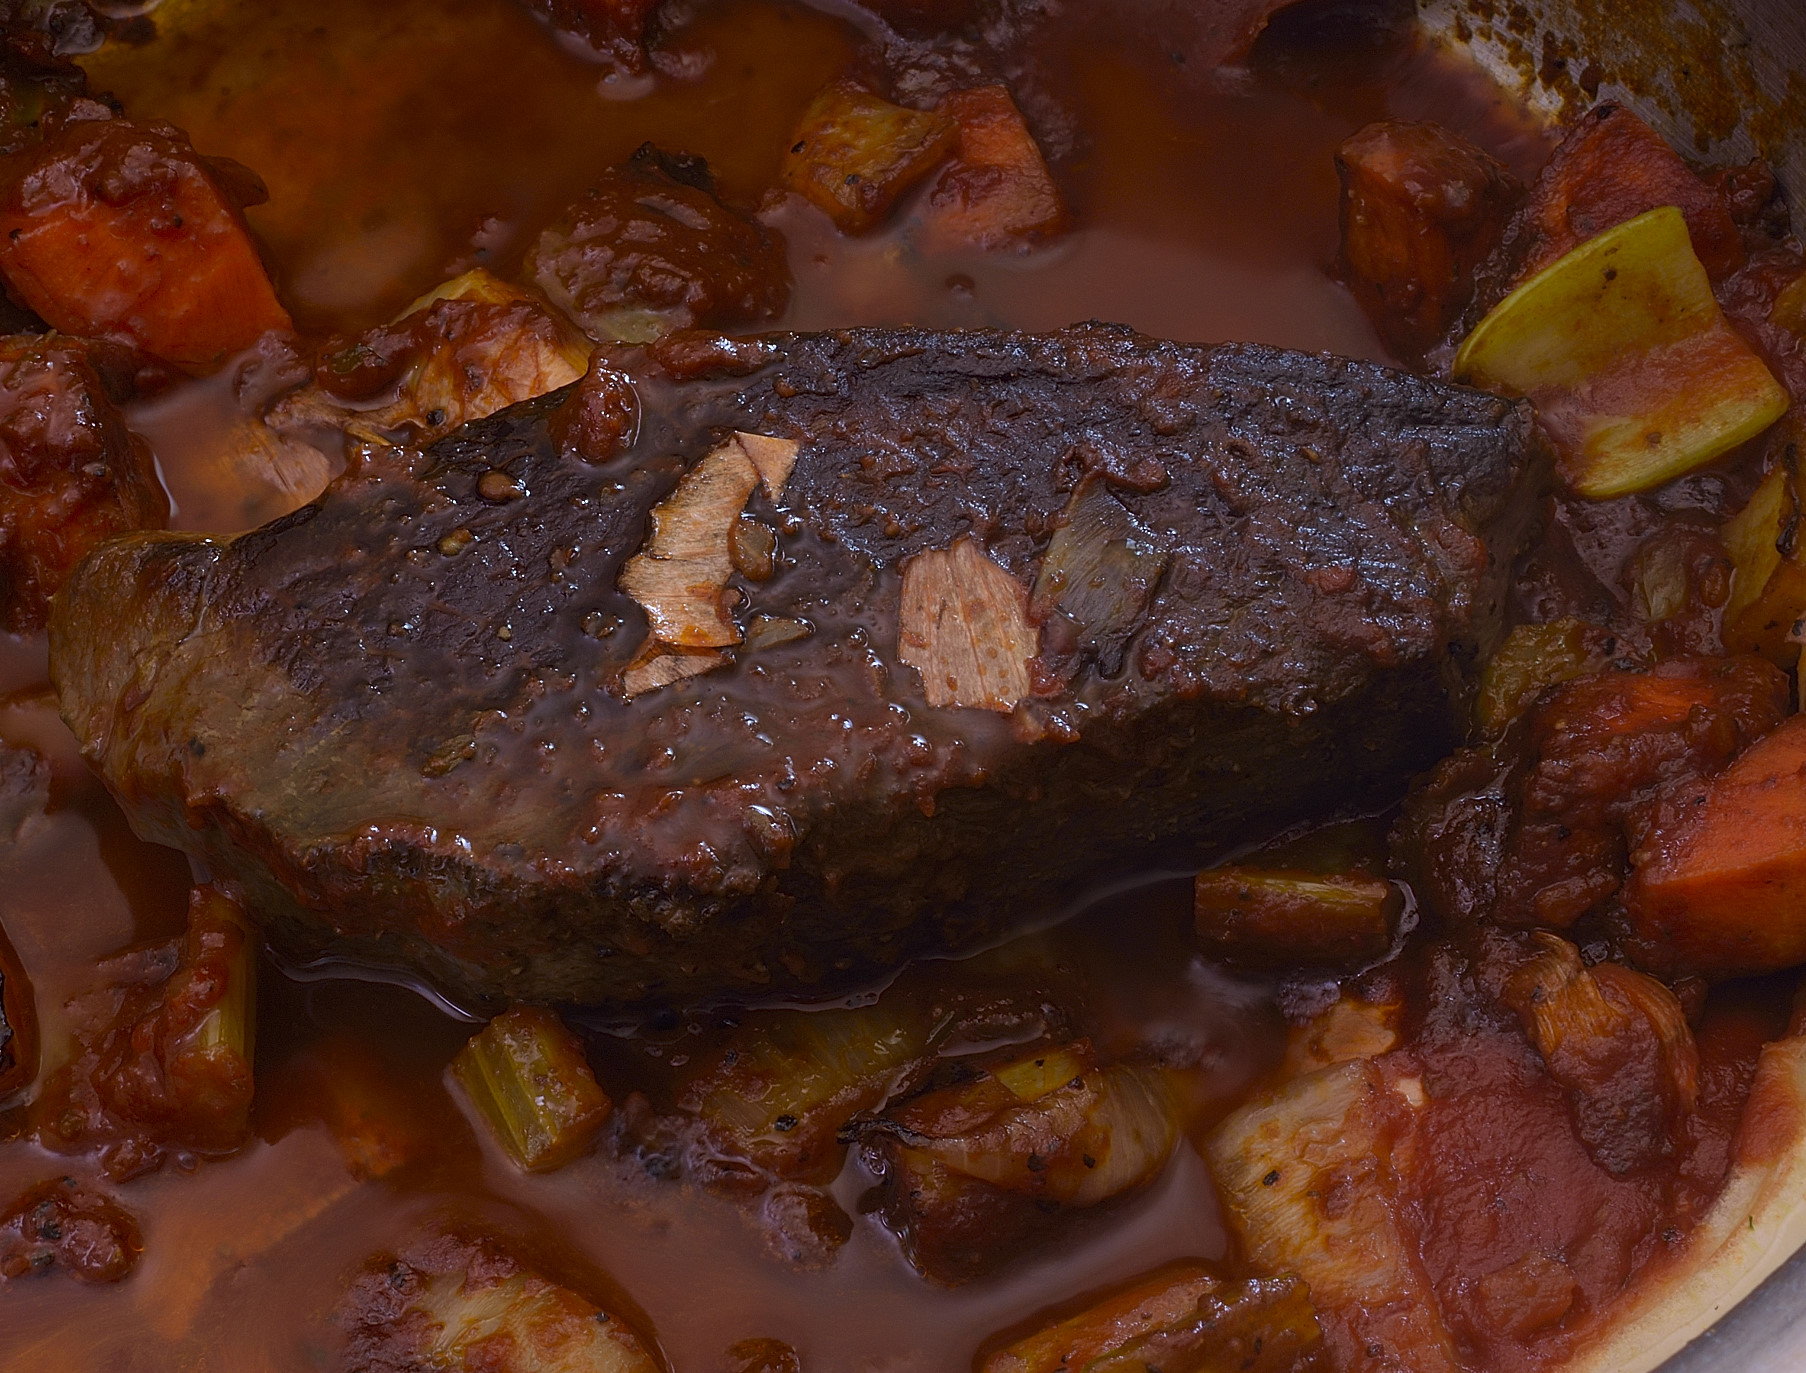
See? Reduce the heat in the sous vide bath to 140 F/60 C or thereabouts.

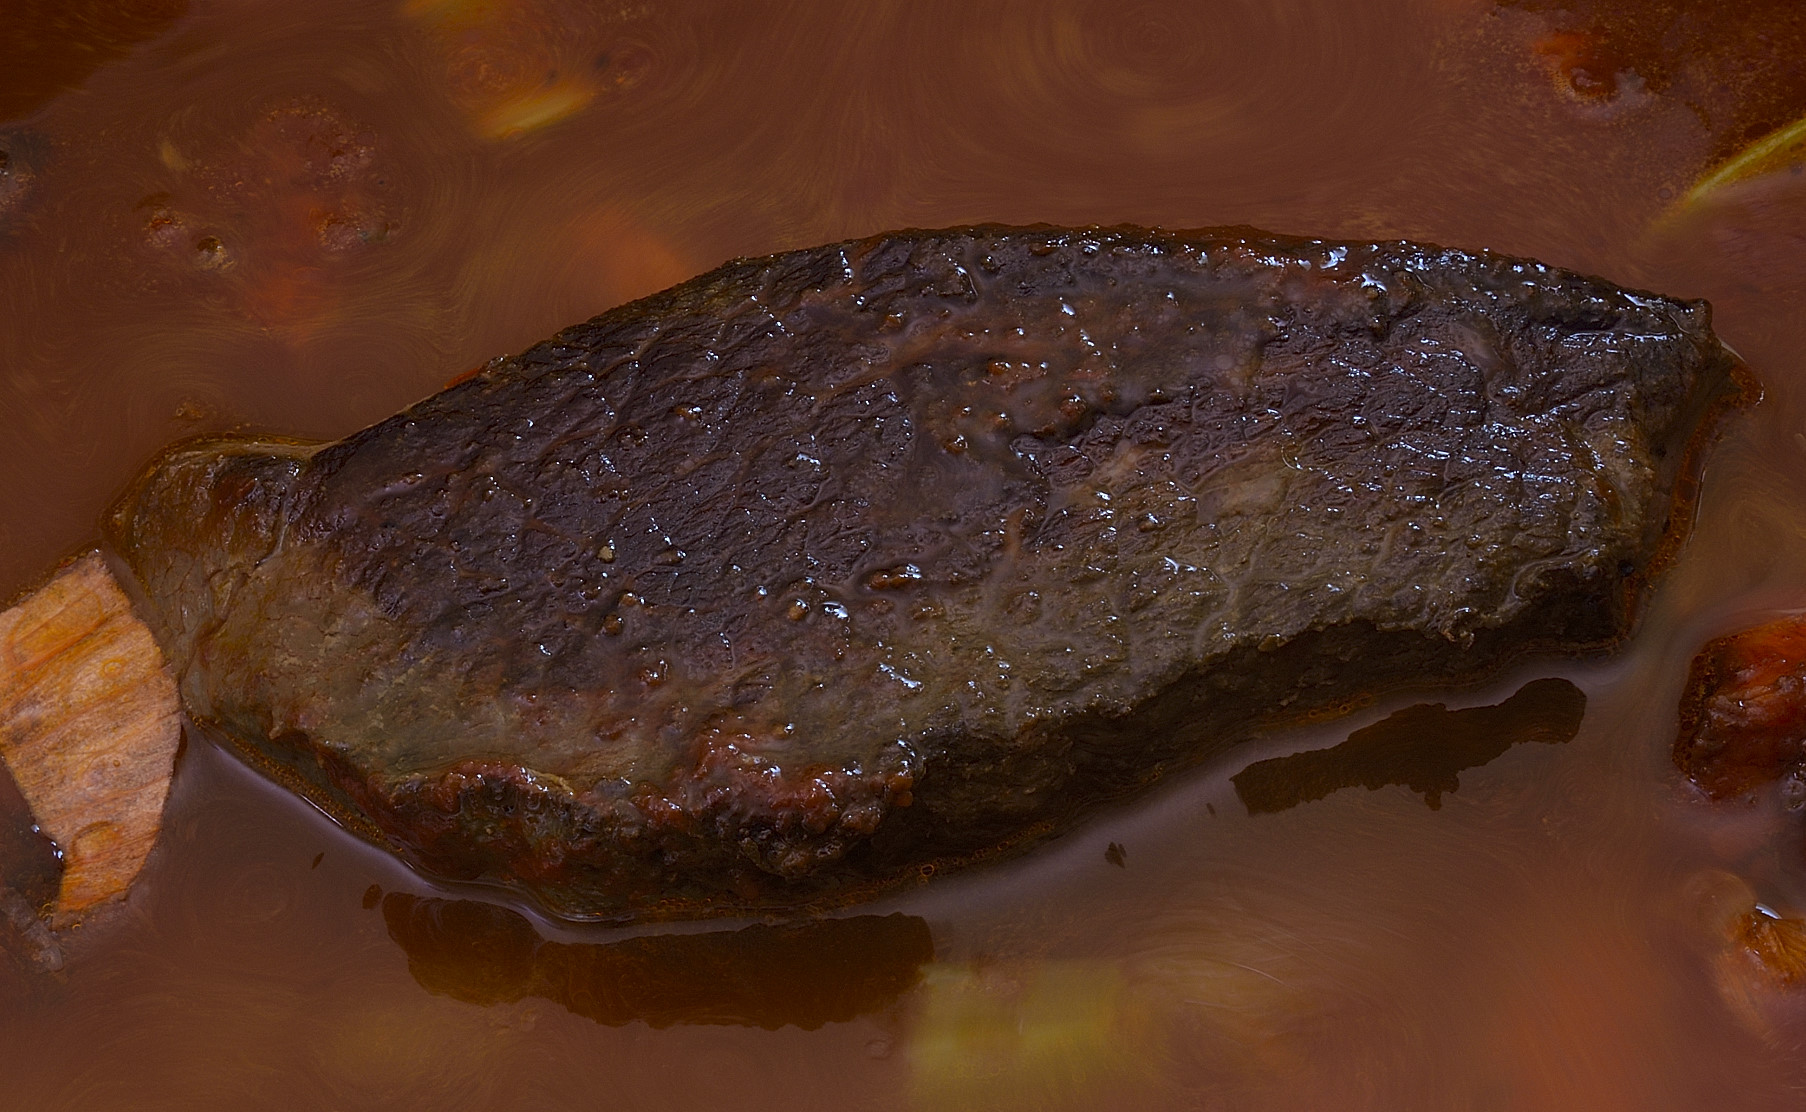
Lift the meat out and put it in the colander. Discard the bag. Easy clean-up. Put the meat in a fresh bag and hold it in the sous vide bath while we finish the sauce. Remove the colander from the pot. You can return the stock to a boil and skim the fat using a ladle, but you will see that you lose some stock when you do that. If you DO that, skim into a measuring cup or something so you can harvest that broth tomorrow. I hate waste. We’ve come this far, right?
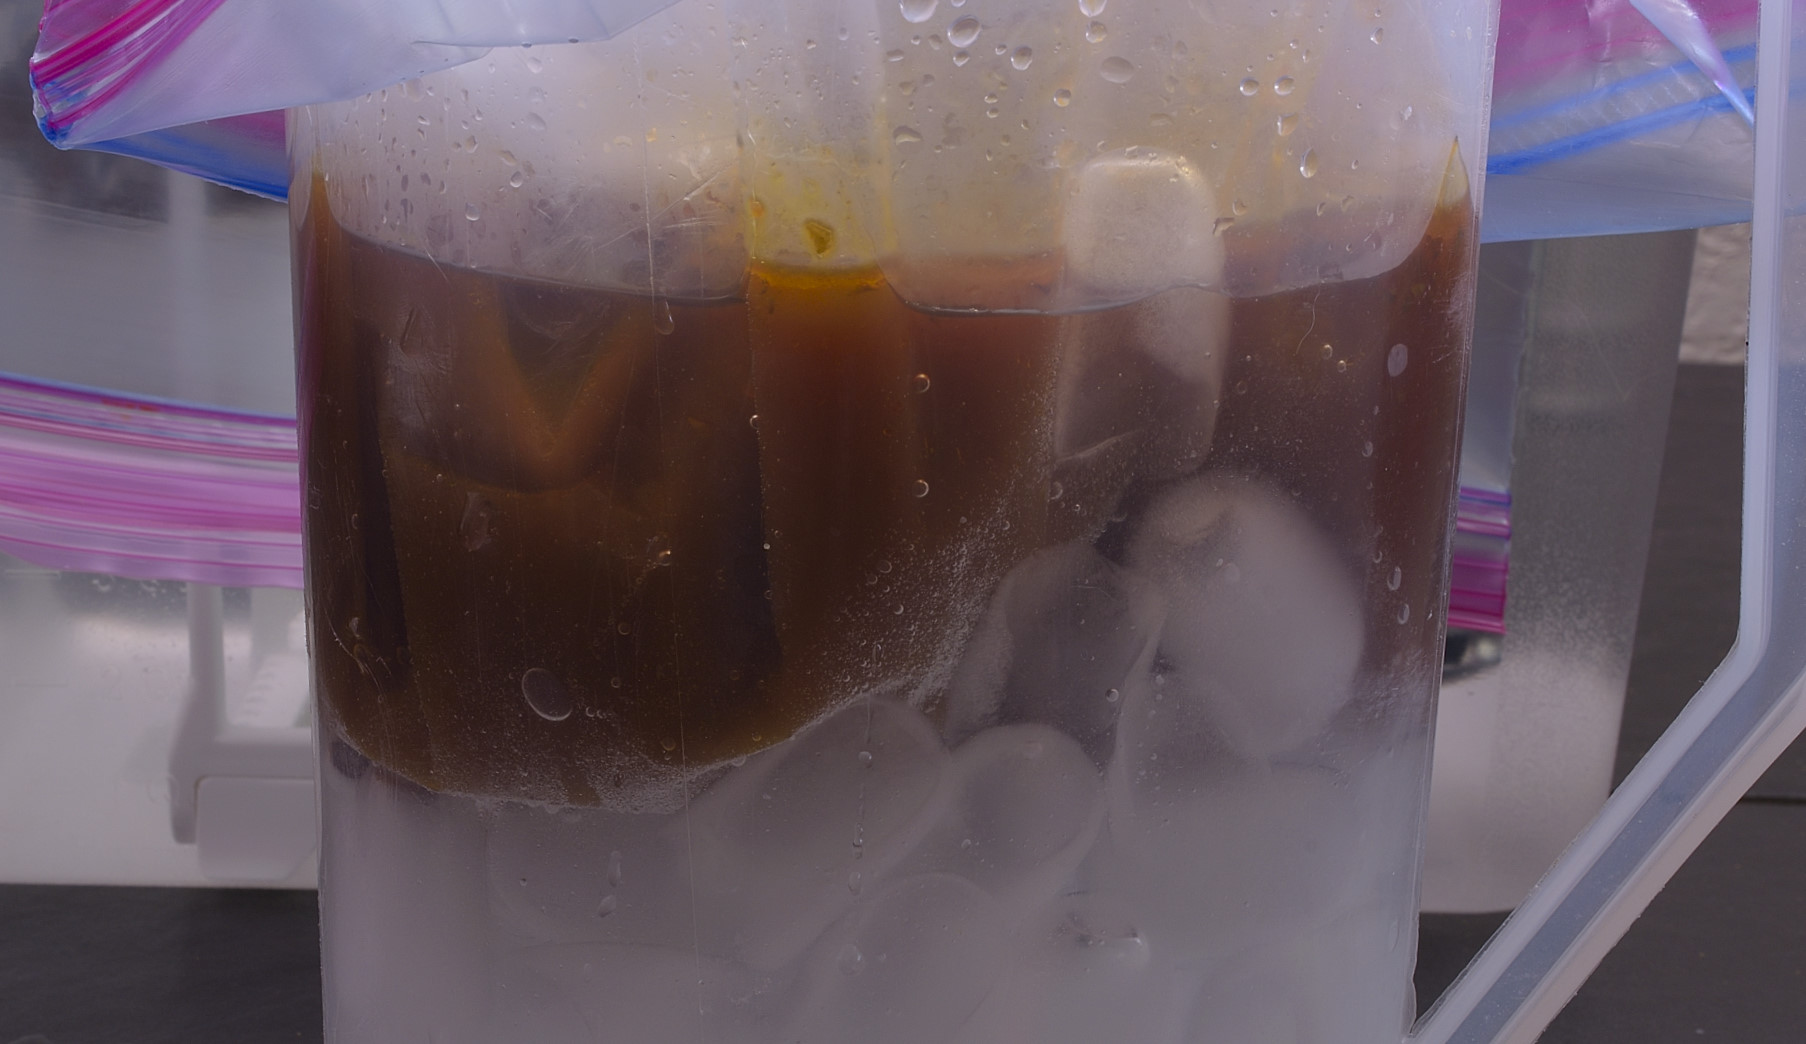
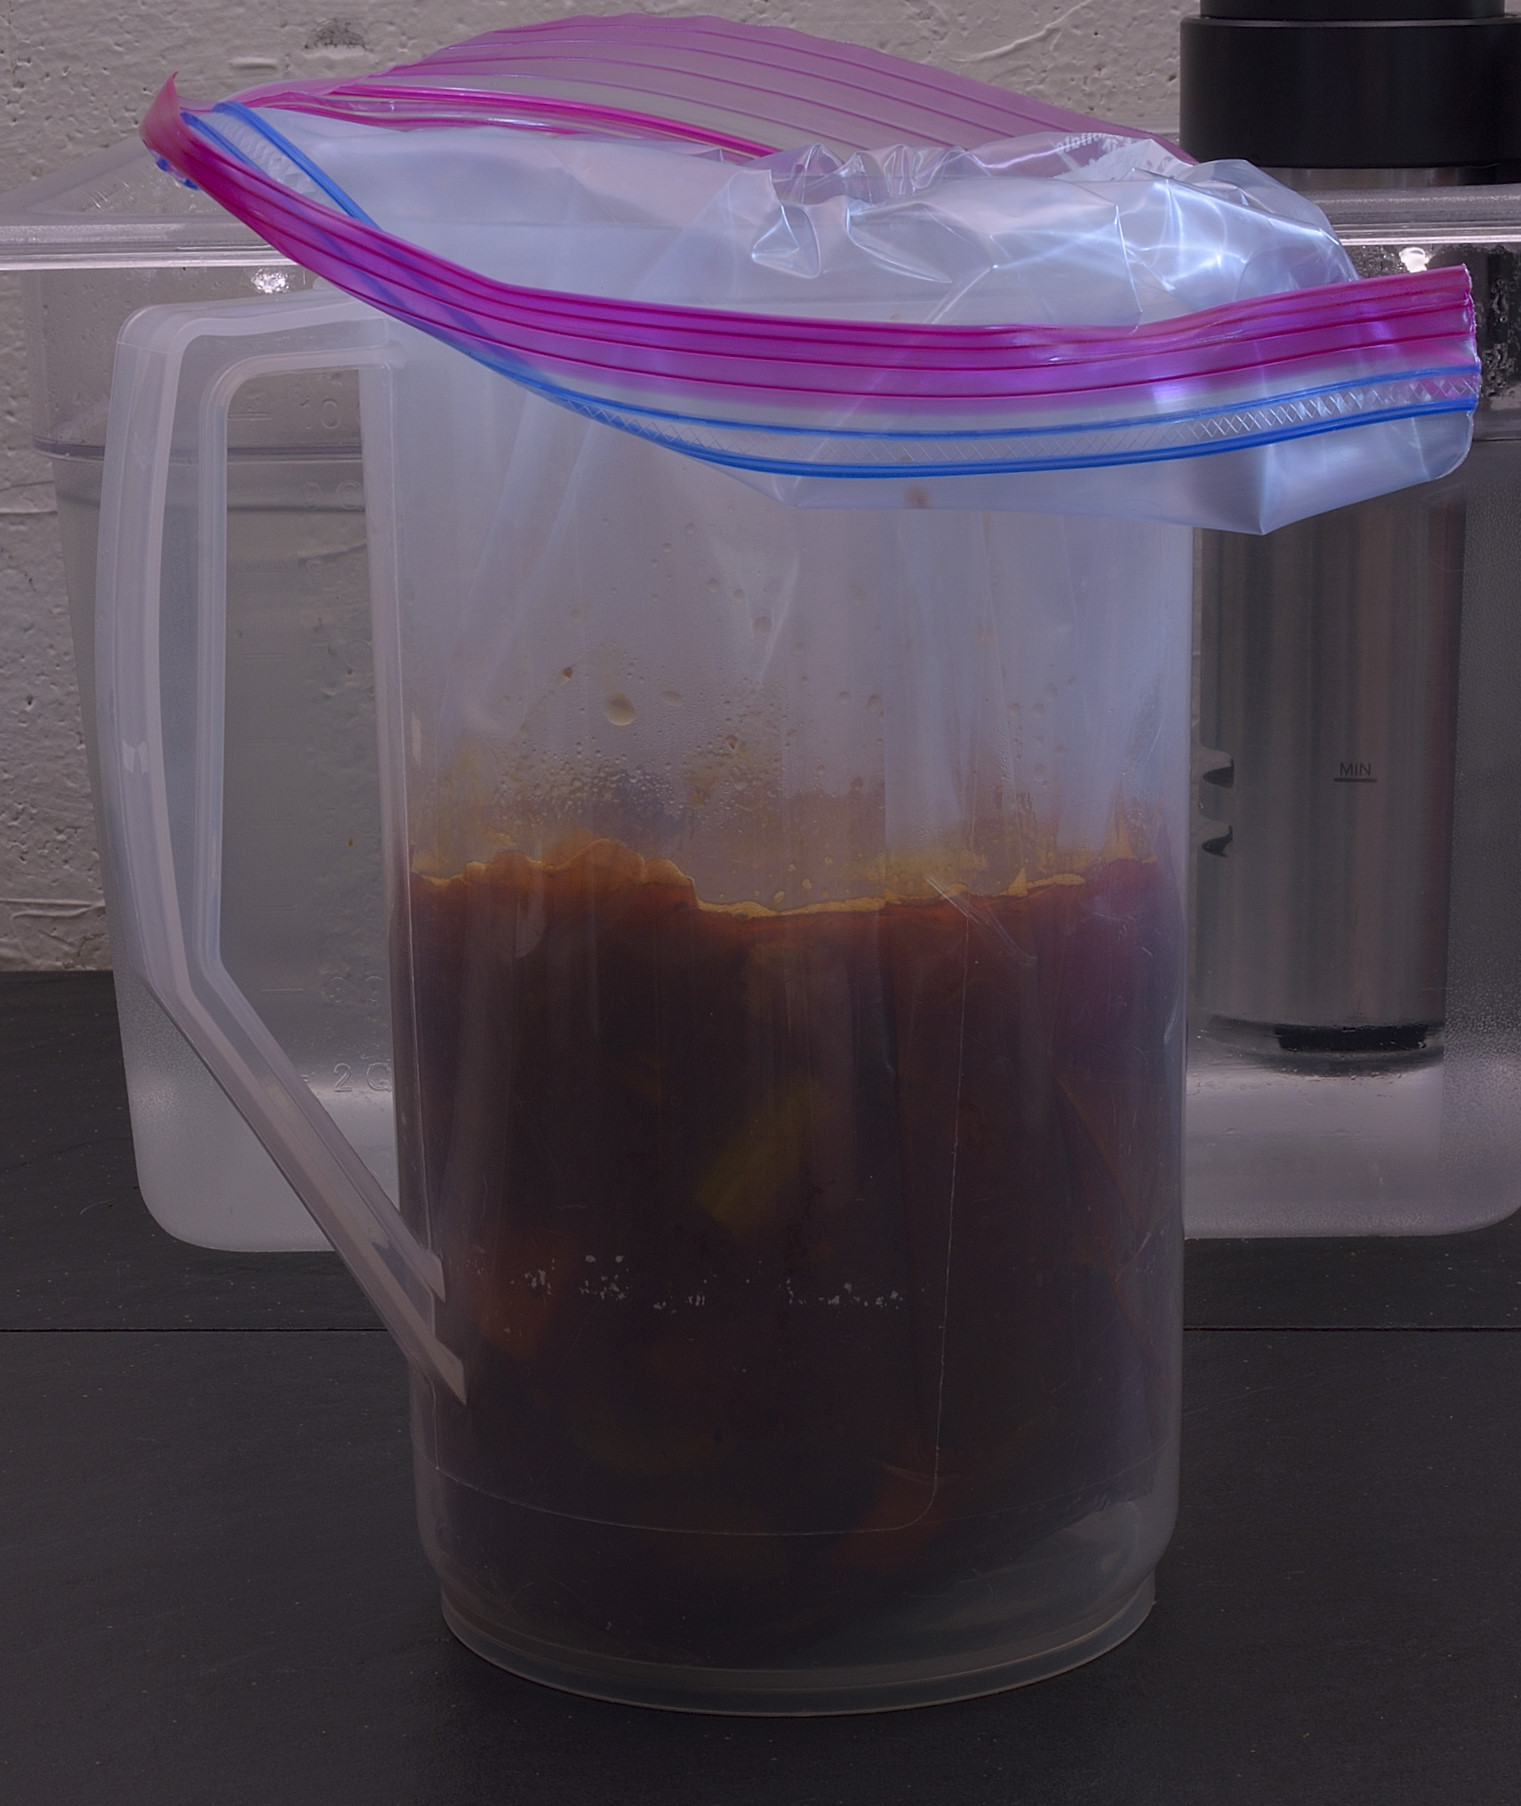
Put ice water in the bottom of the pitcher that we used before. Put a Ziploc bag on top of the ice water and pour the stock in. This will chill the stock and solidify all the fat. Takes a few minutes.
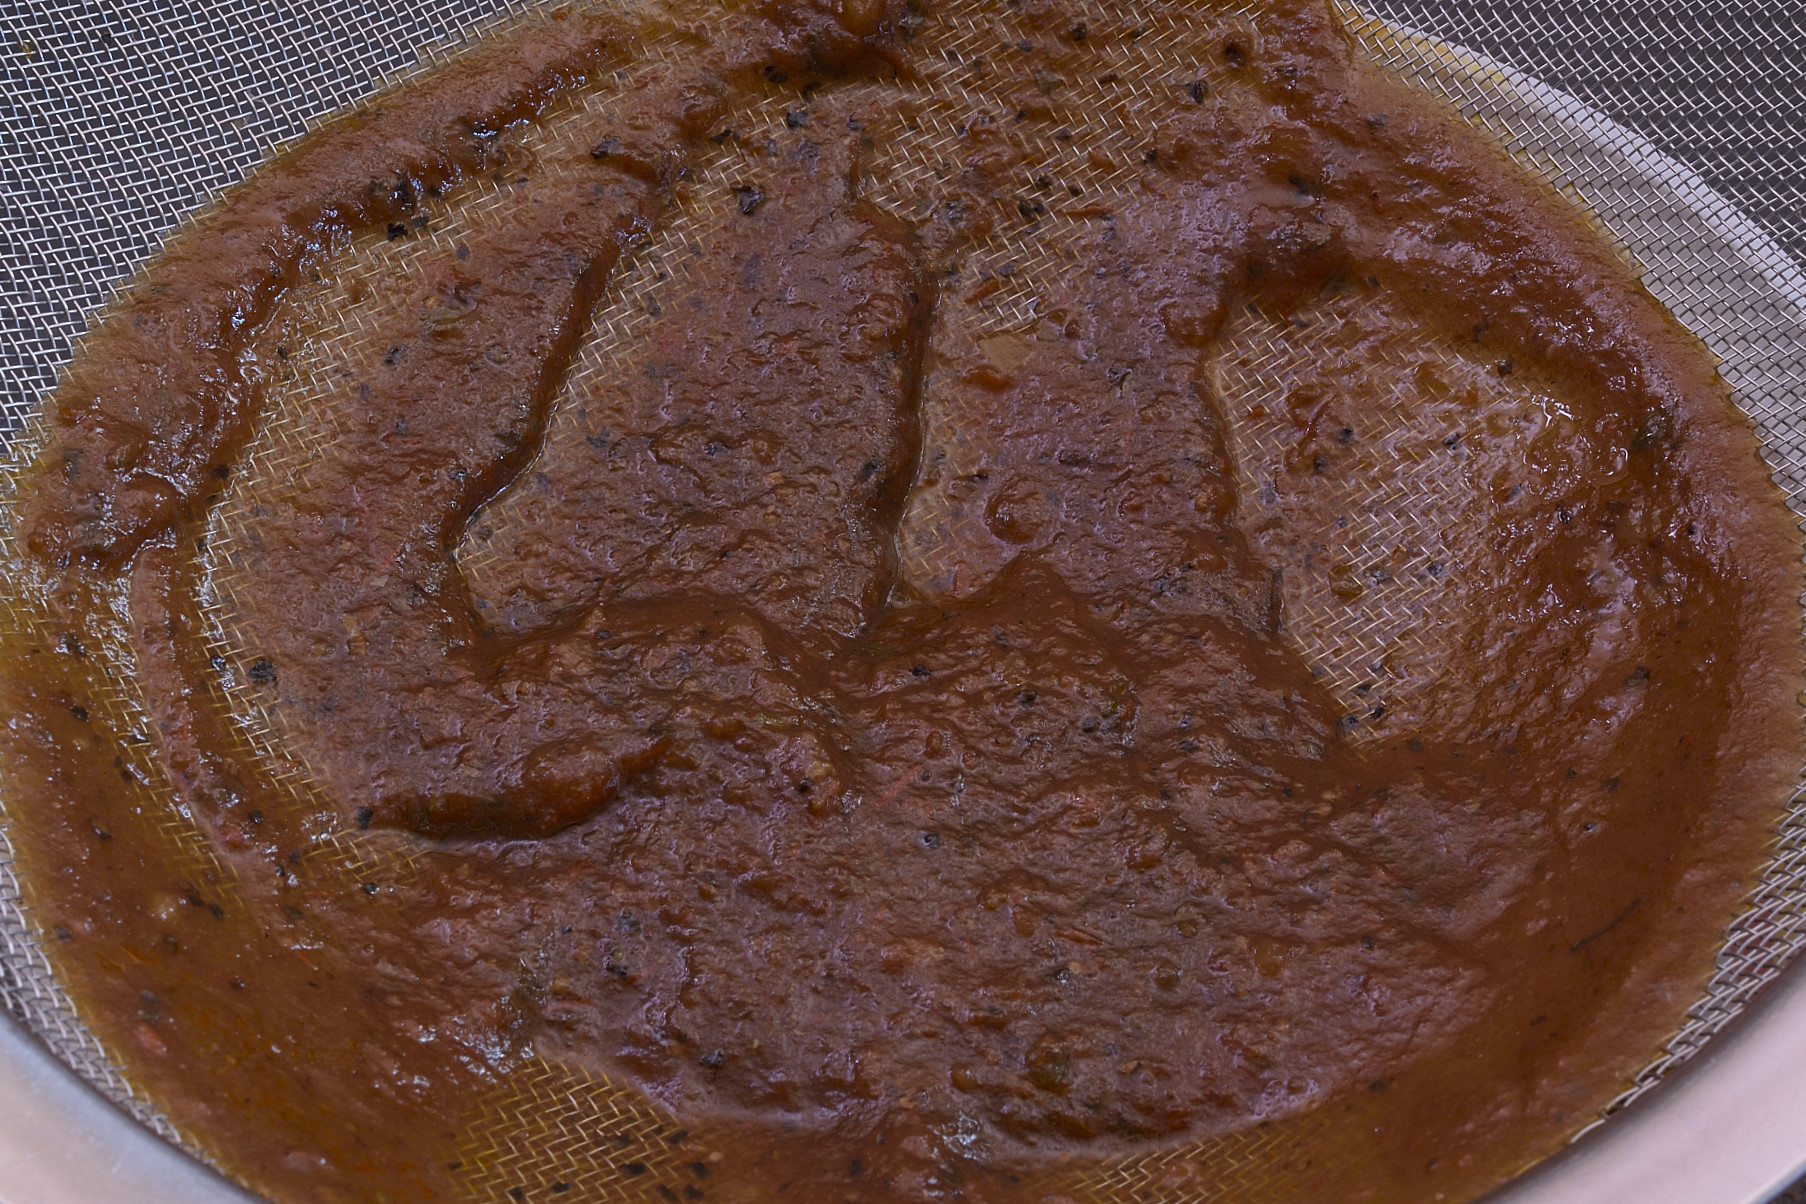
Strain the stock.
Not quite 2 cups.
Heat 2 Tablespoons of oil to 300 F/150 C. An infrared thermometer works great for this. If it starts to smoke, it’s too hot. I used EVOO, but I don’t advocate that, I just had a squirt bottle with some.
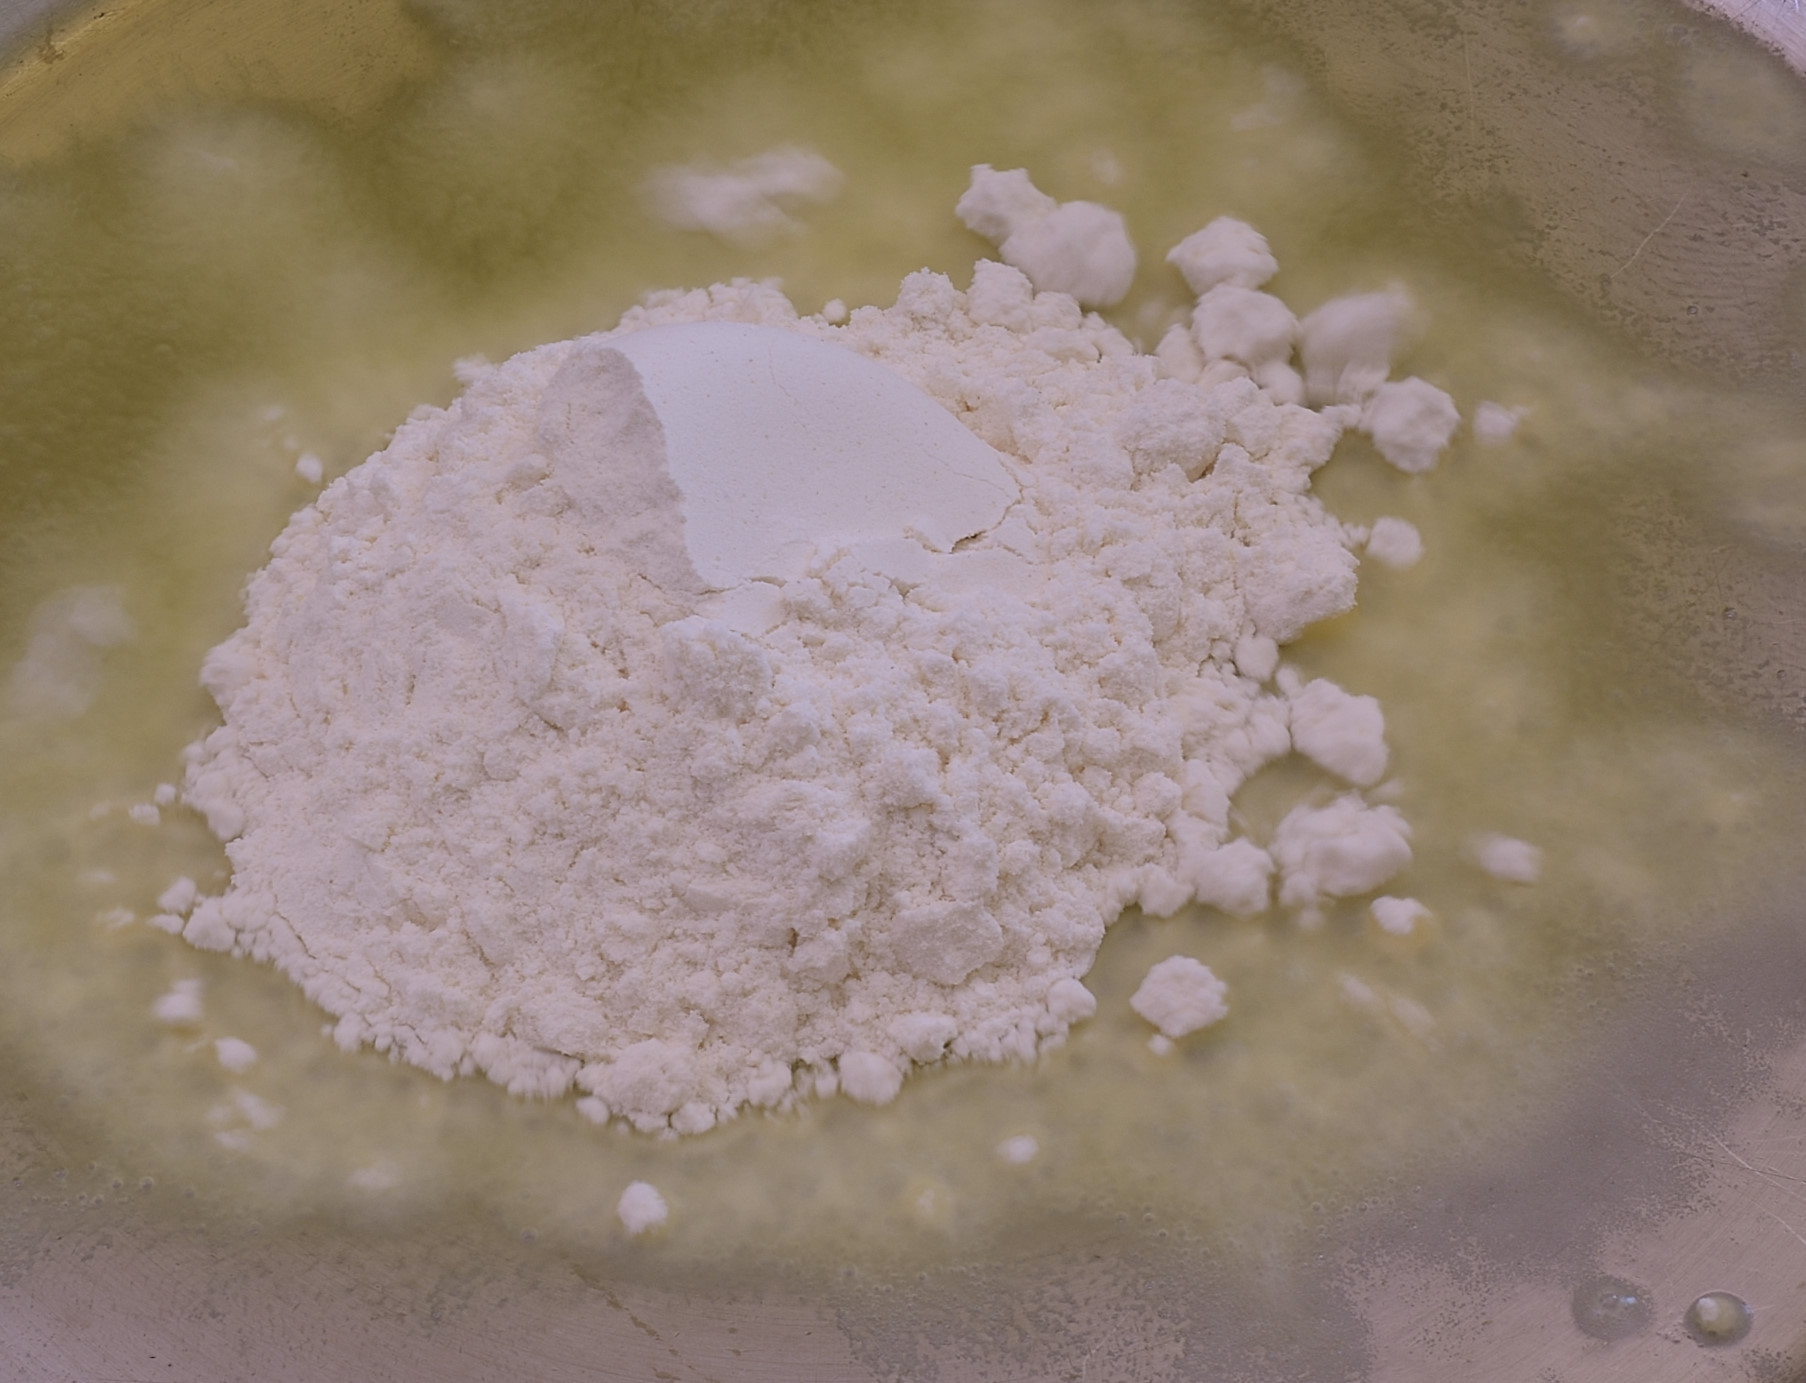
Add 2 Tablespoons of flour, and it should begin to foam immediately. If you see black dots right away, the oil was too hot, throw it out and do it again. Turn off the heat.
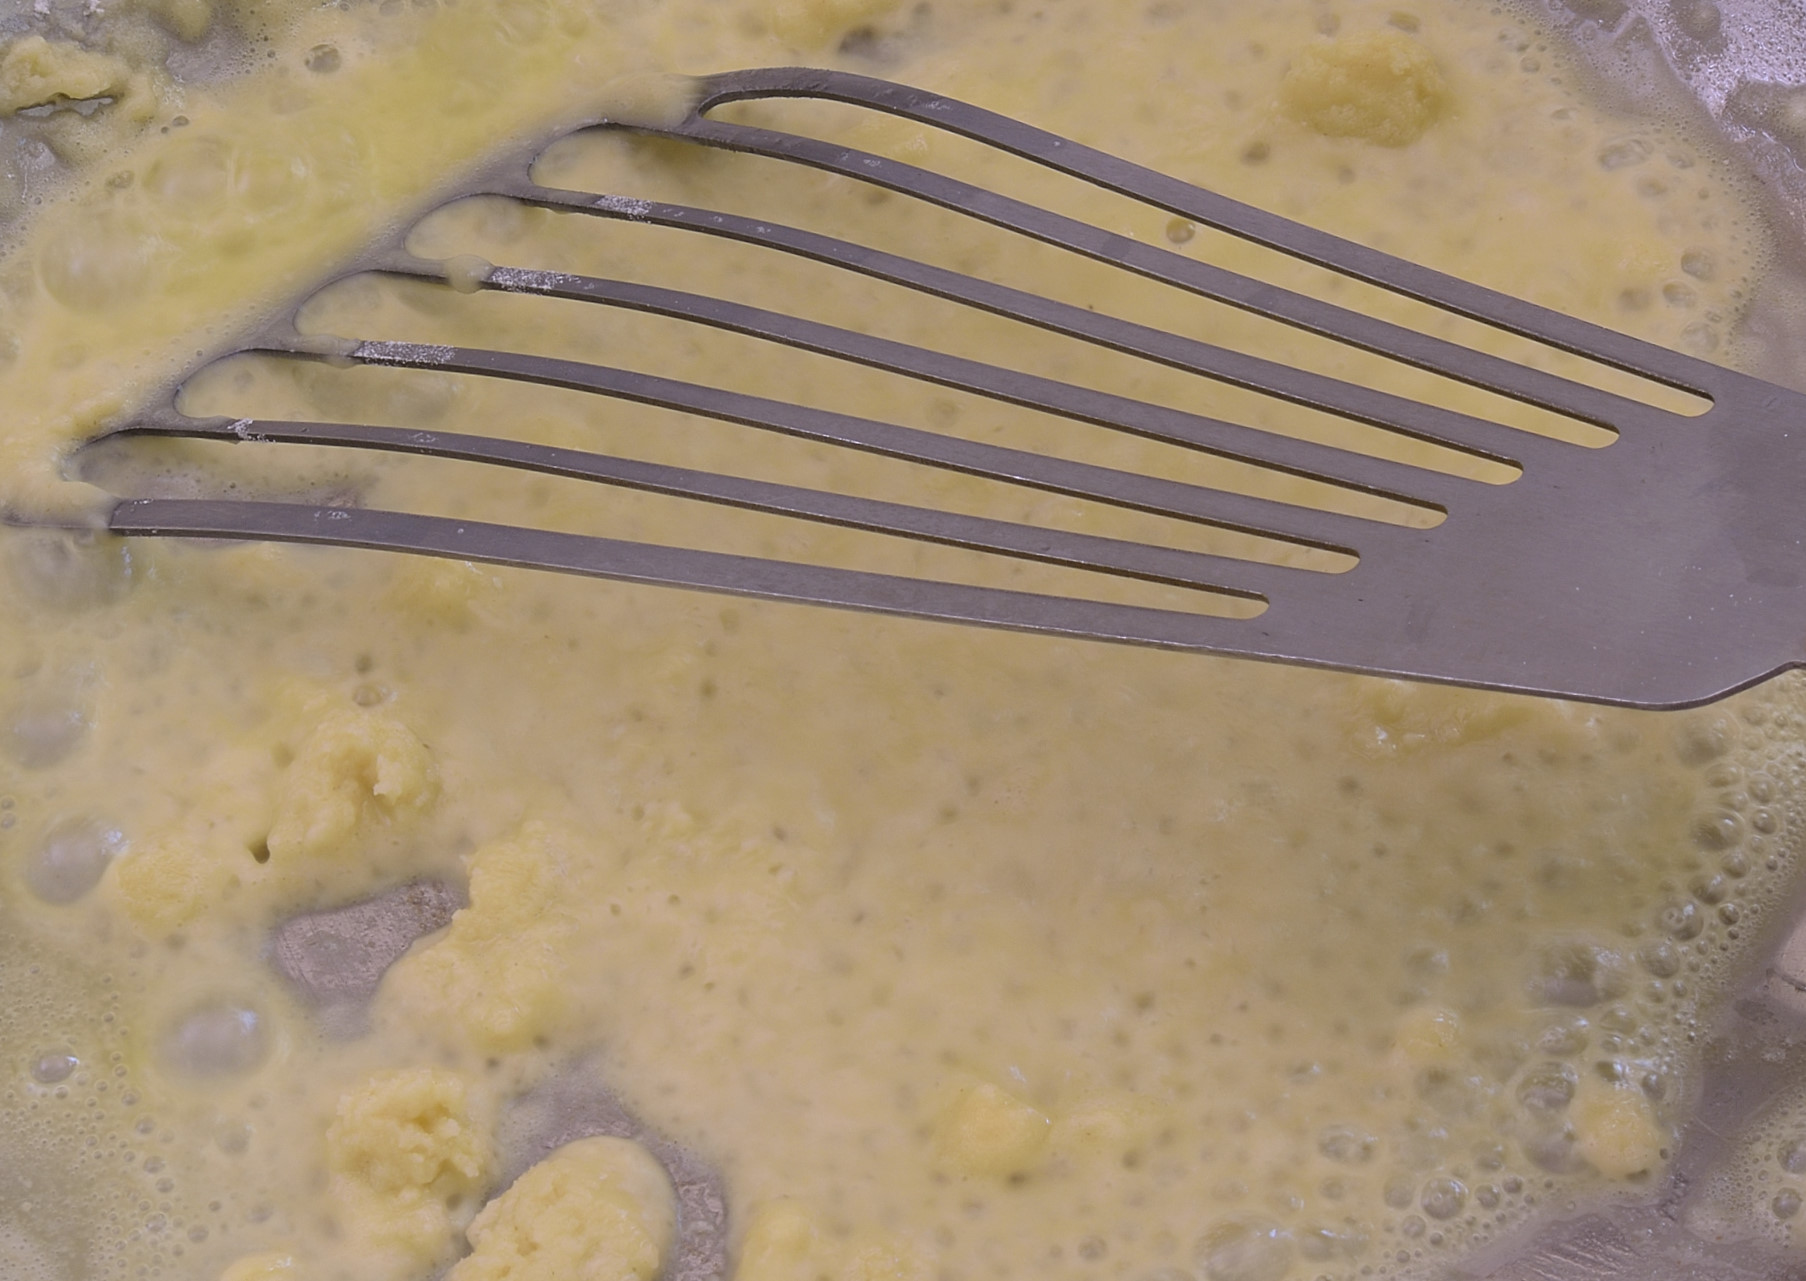
Stir the flour into the oil. Turn the fire back on medium high.
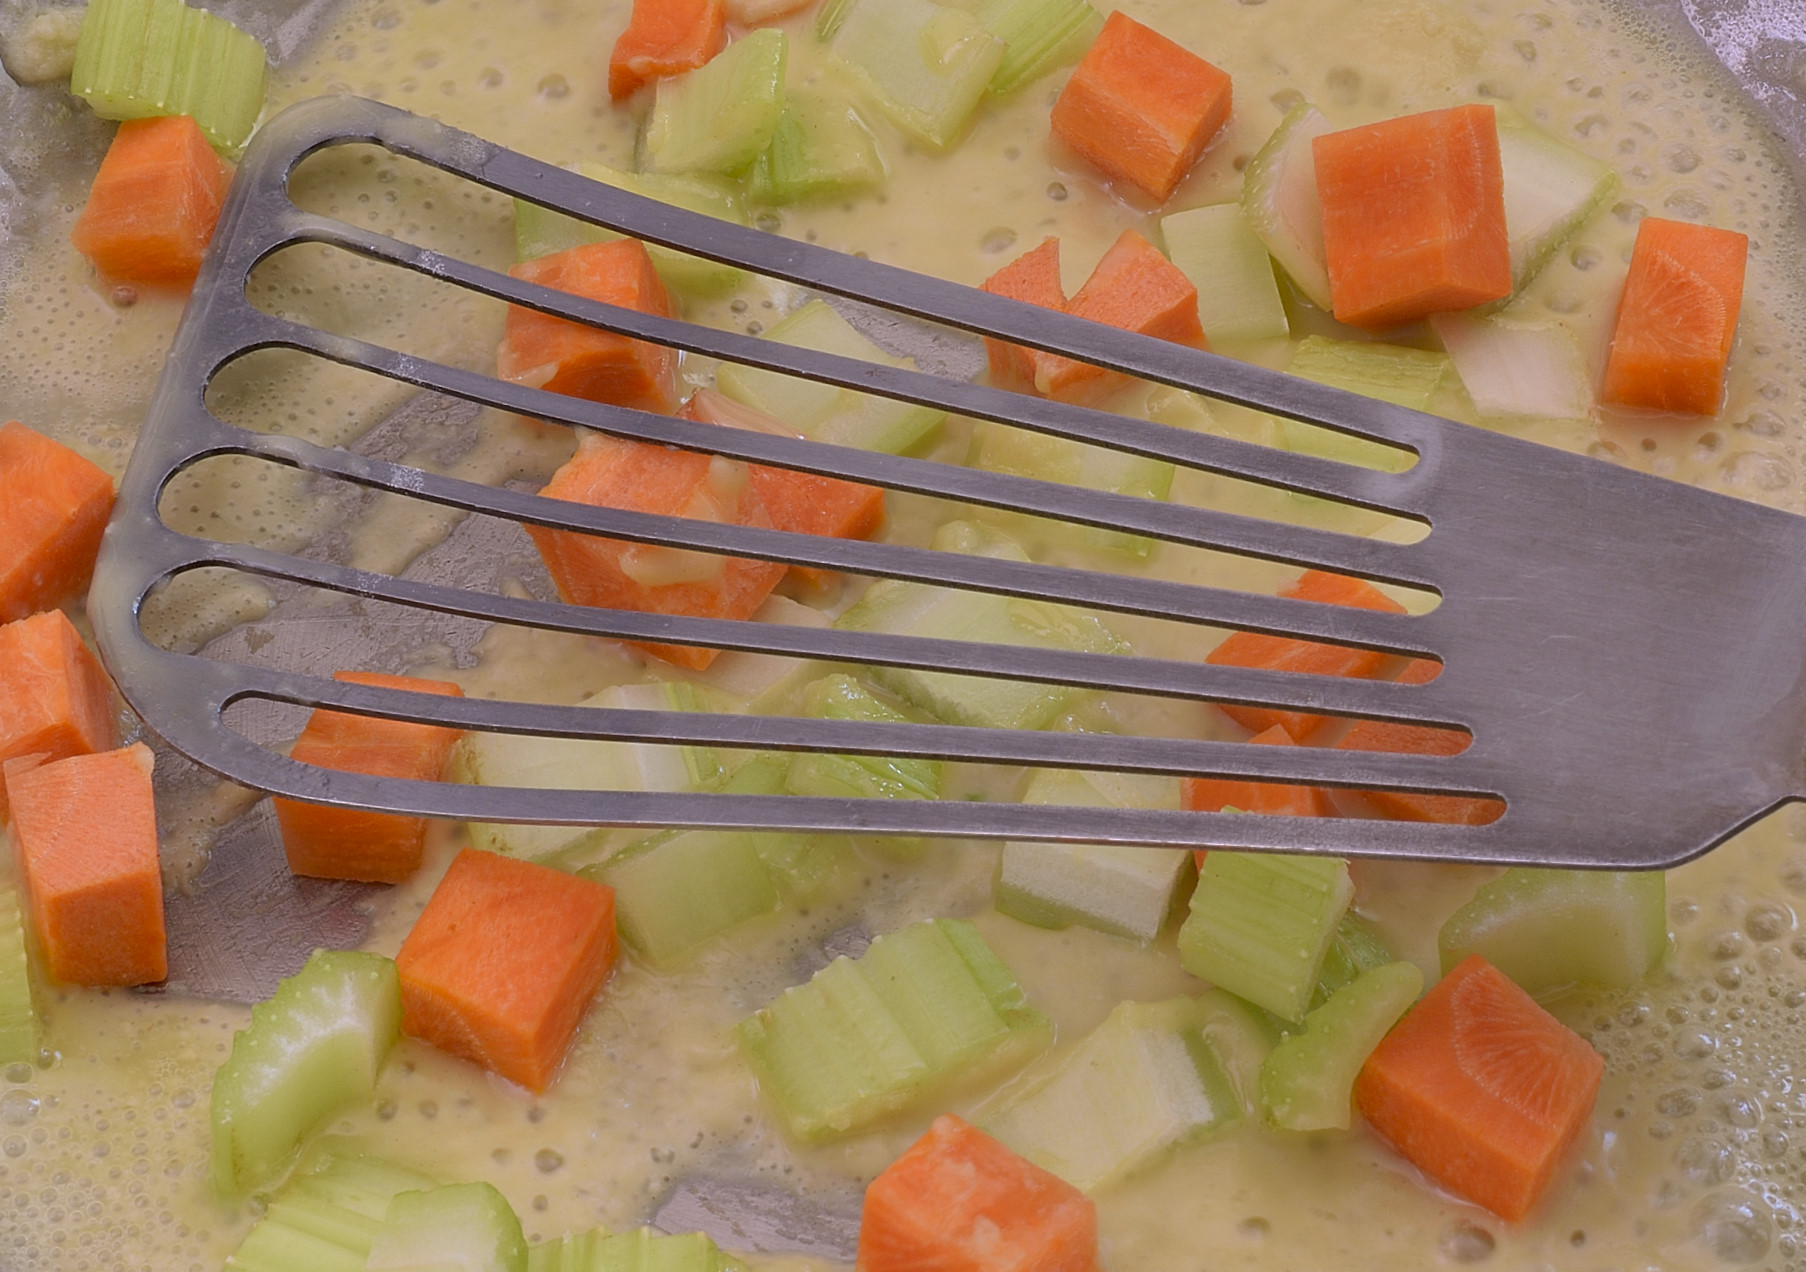
Add the celery and the carrots, because they are raw. Do NOT add the peas or pearl onions at this stage.
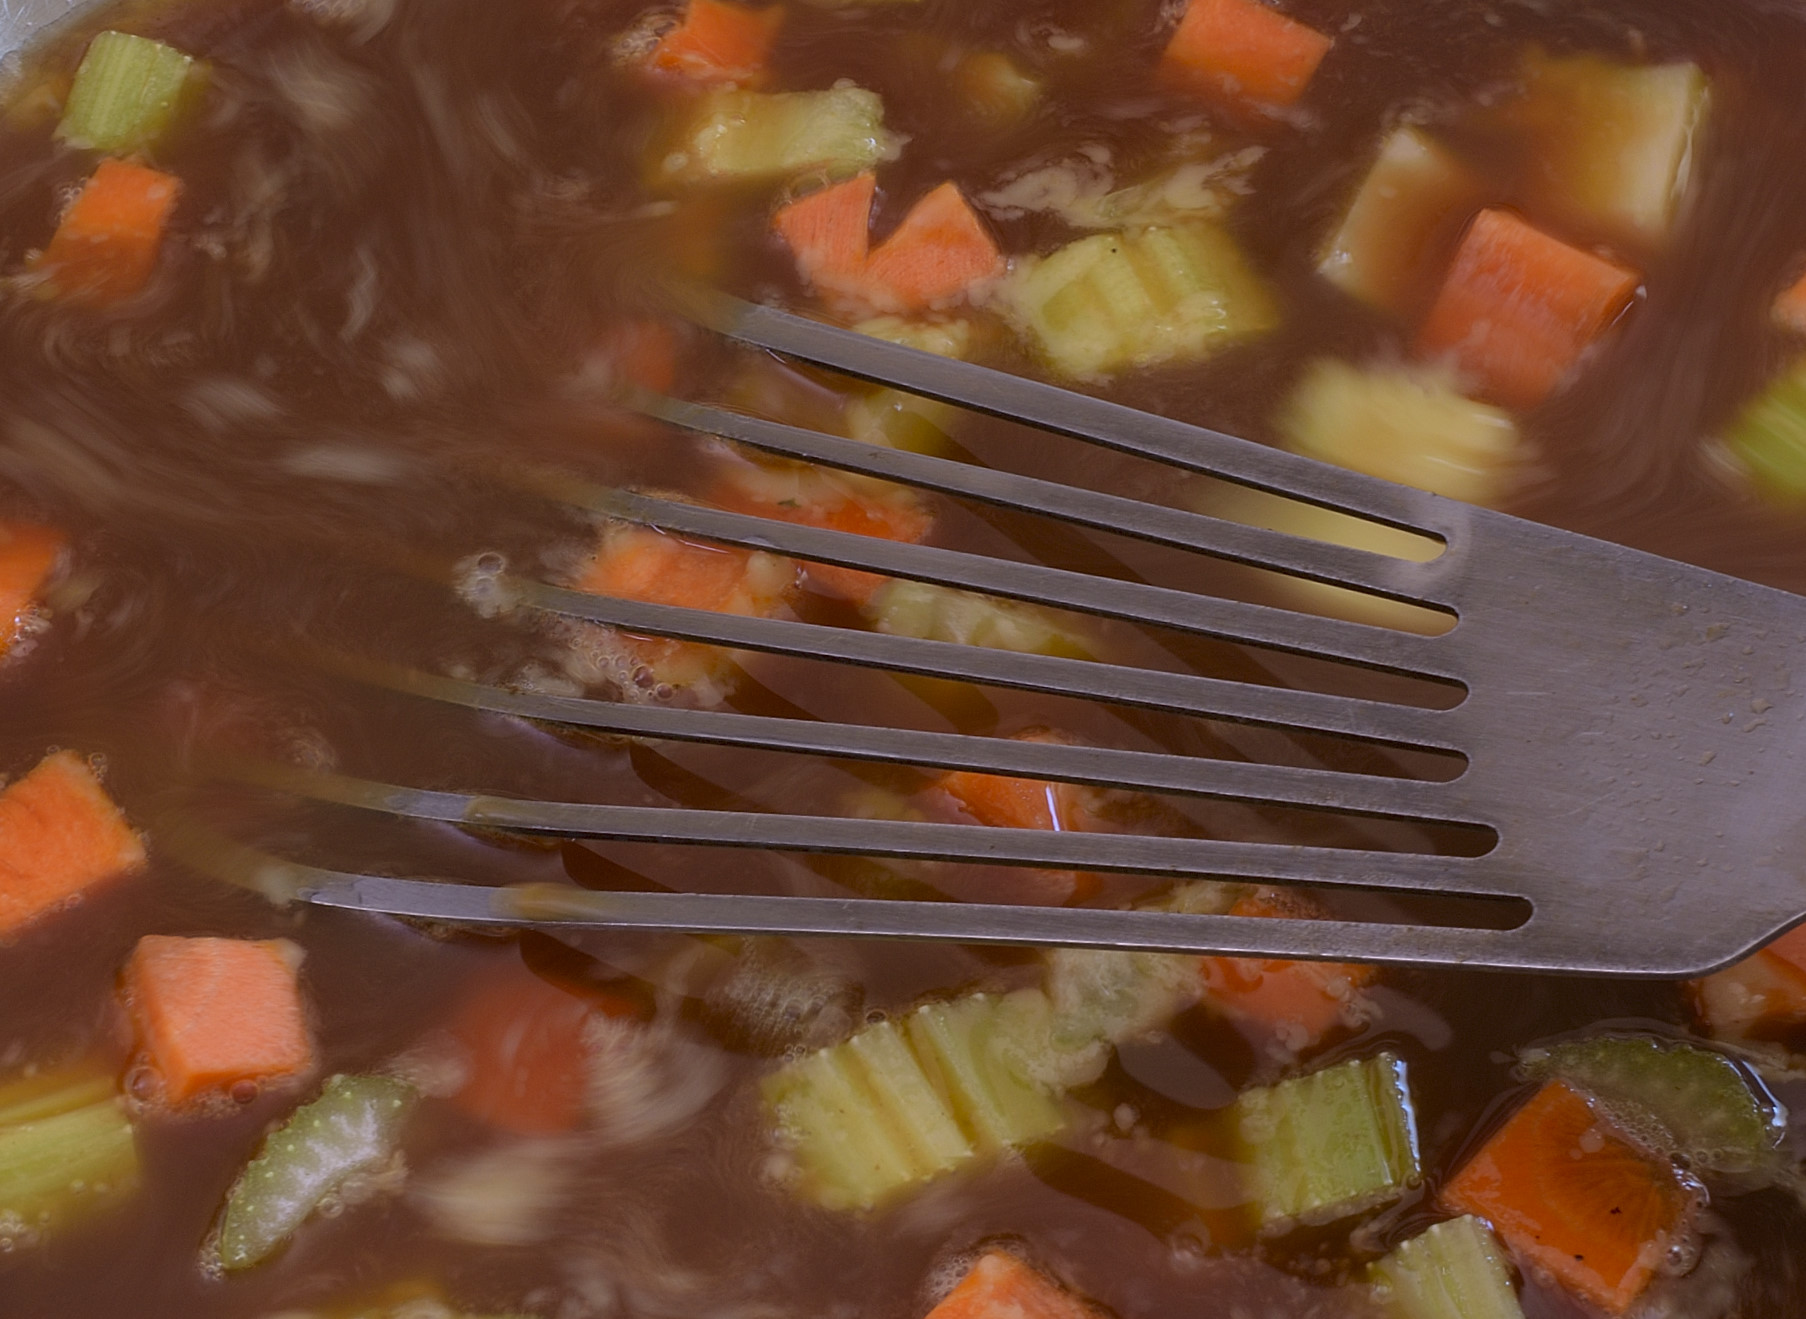
Add the stock and stir gently as it comes to a simmer. A whip is not necessary–in fact, whipping can actually break the poor sauce. Use the spatula to keep stuff off the bottom.
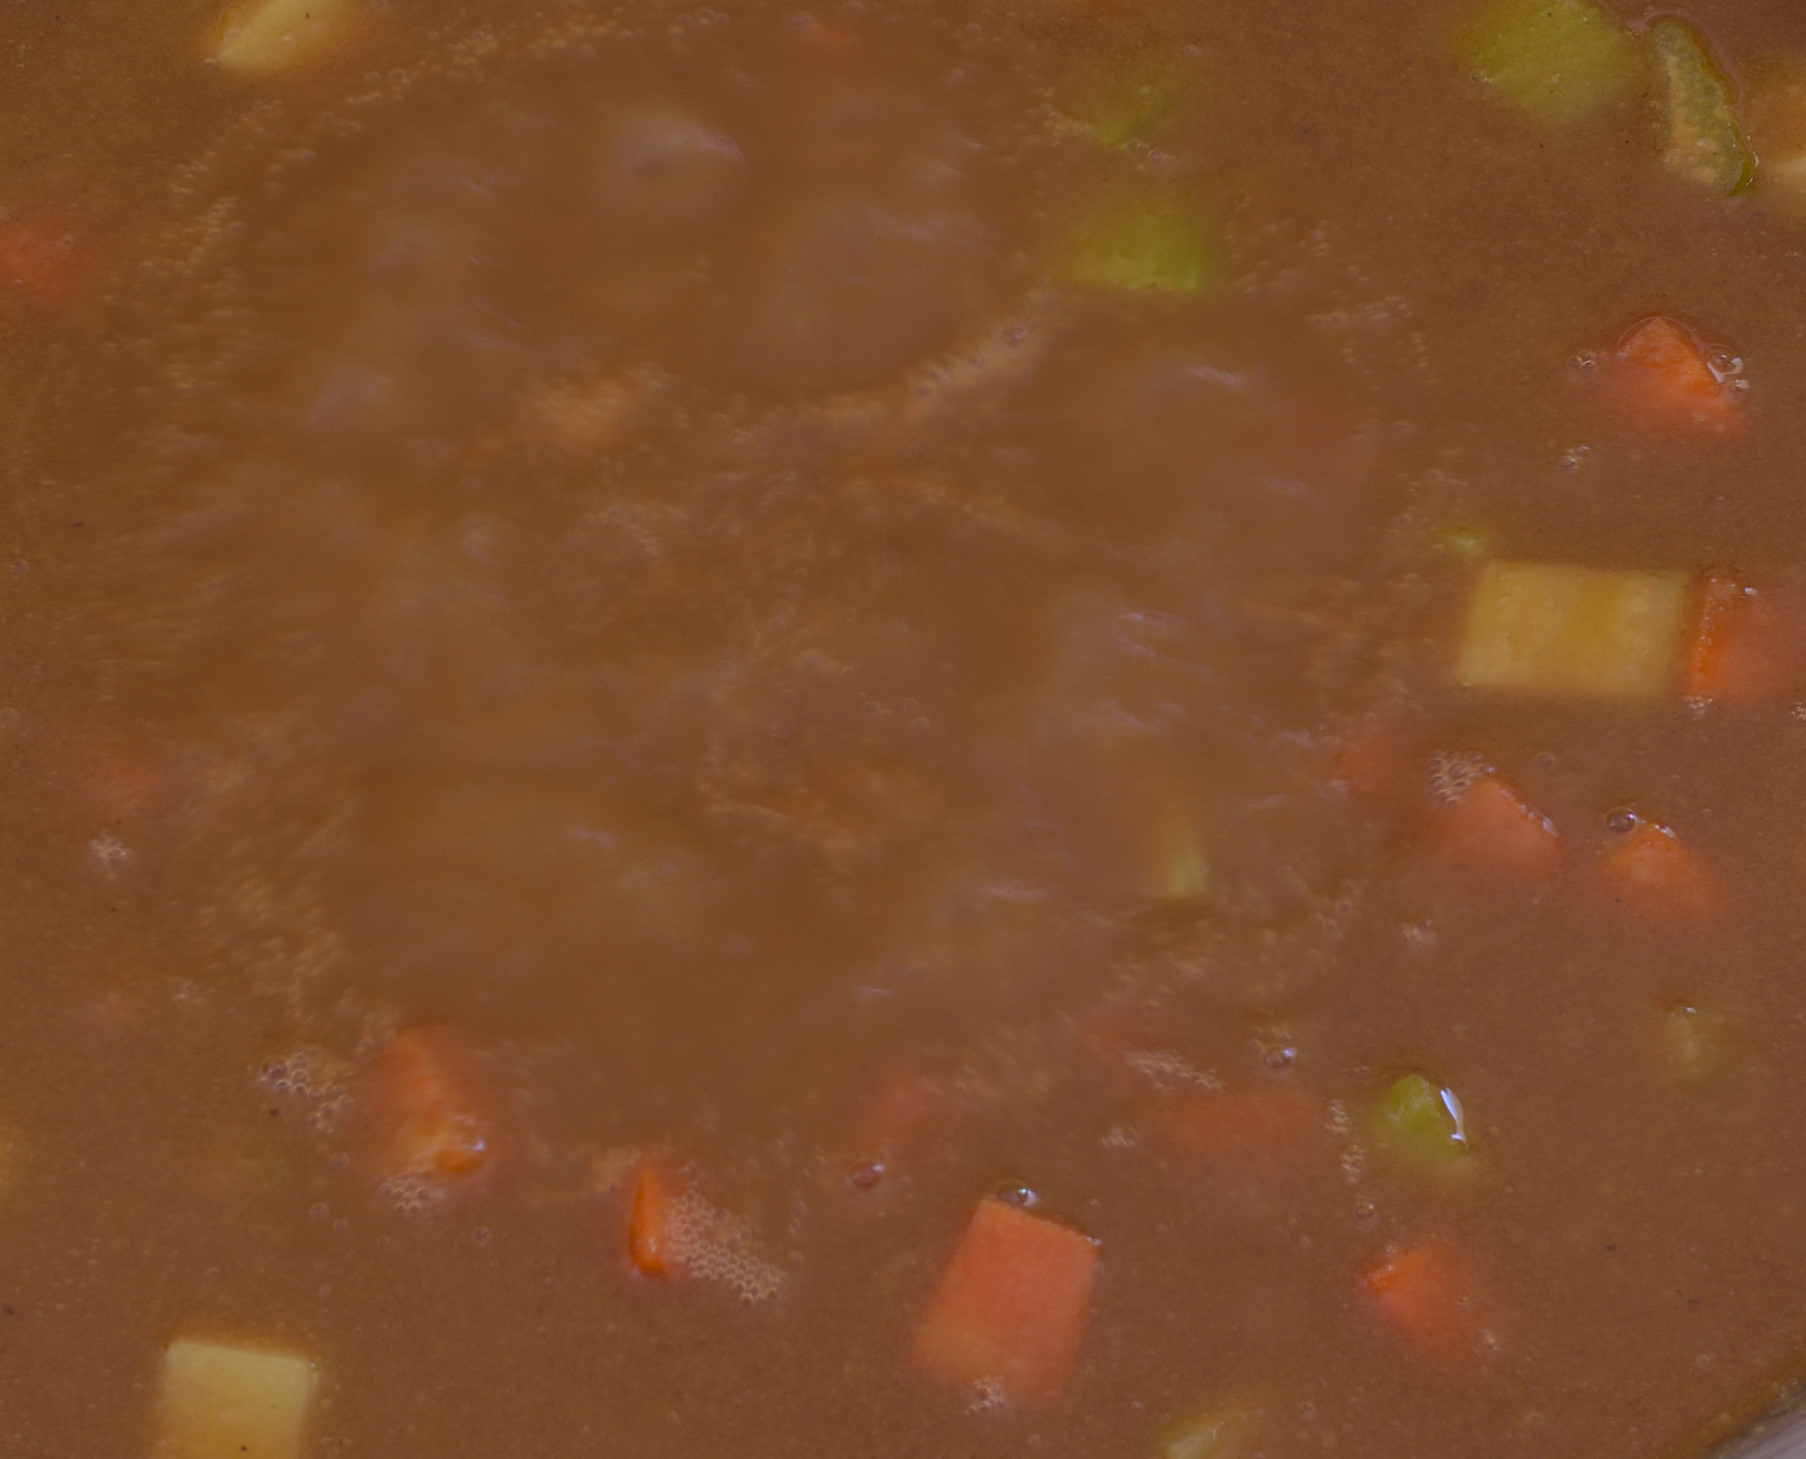
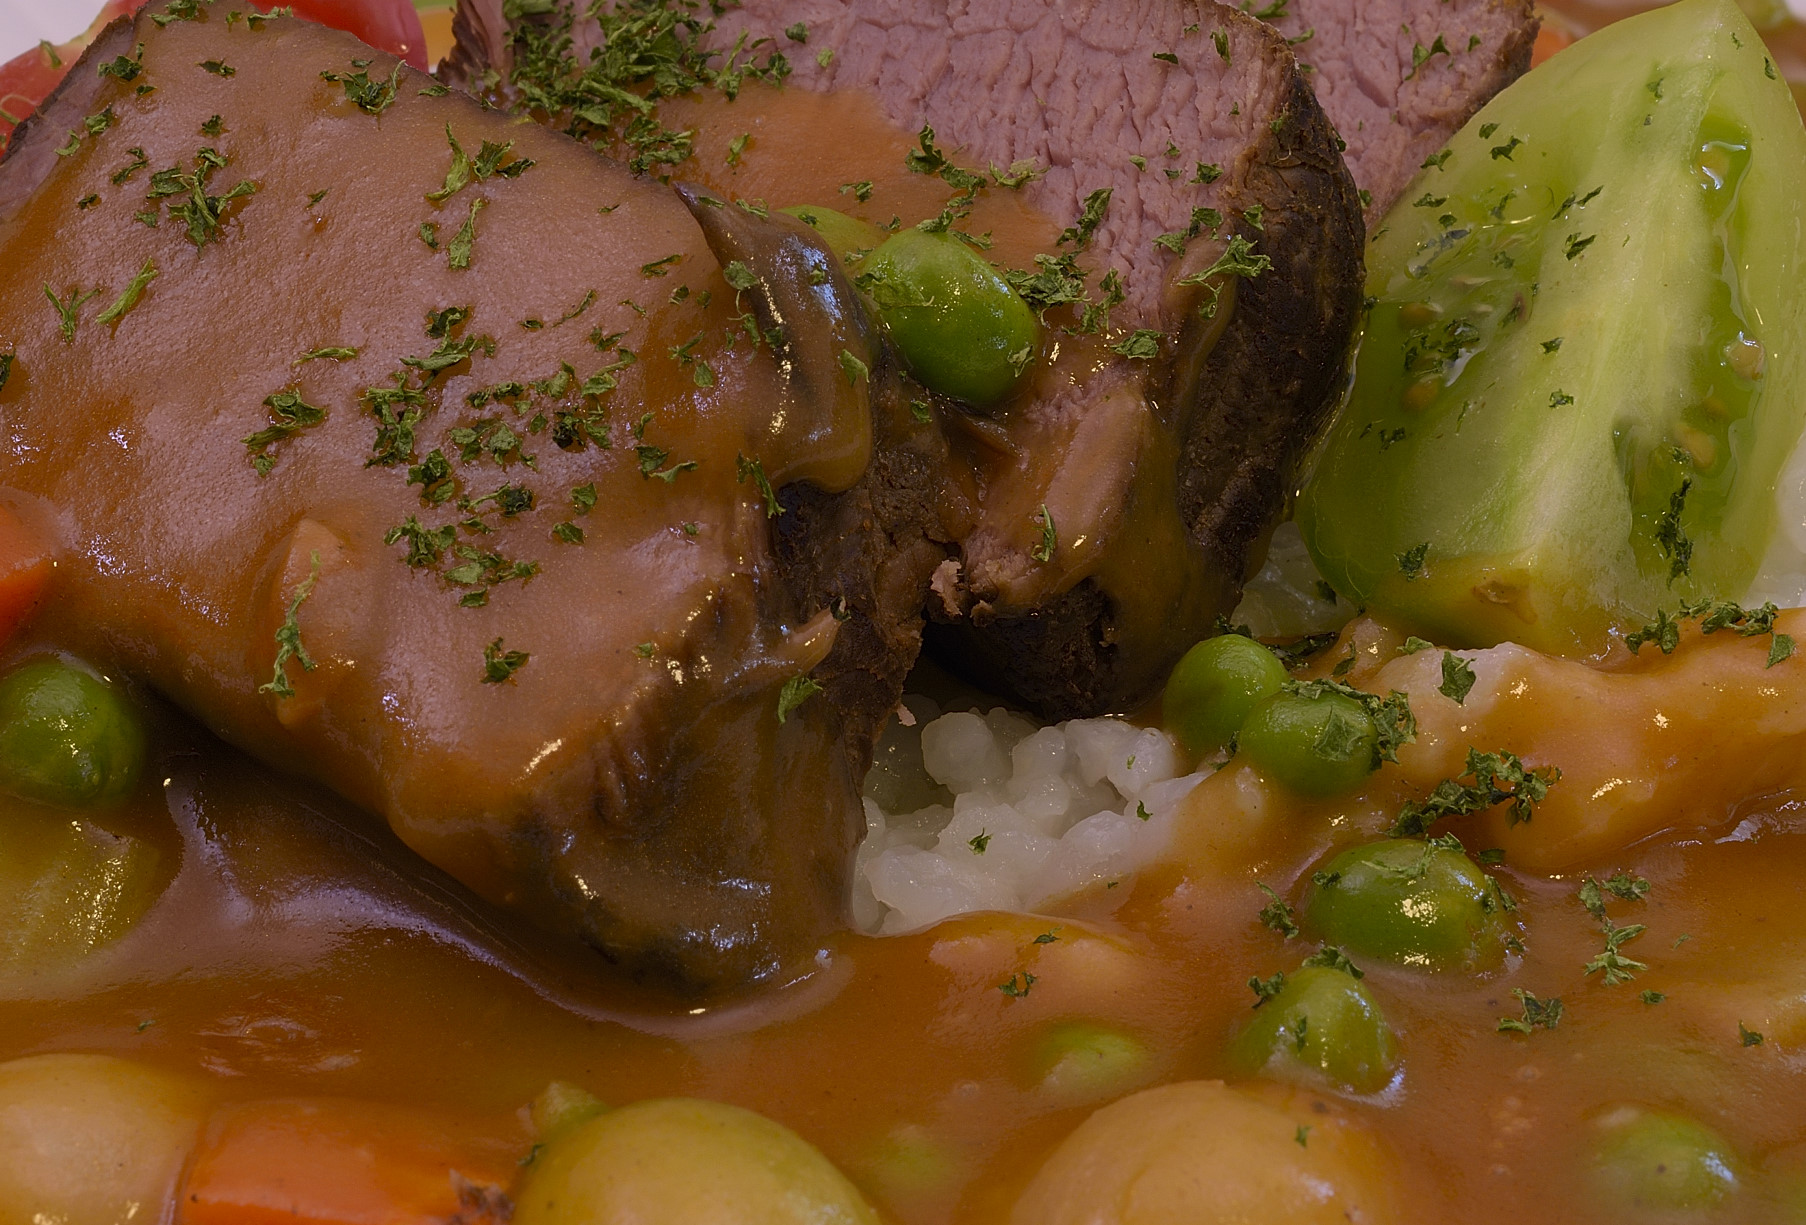
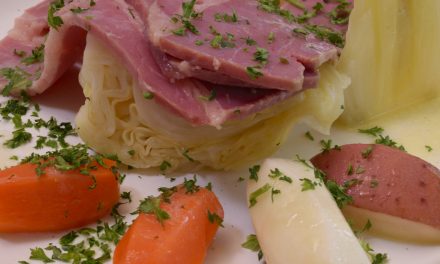
When the sauce comes to a boil, reduce heat and simmer long enough to cook the carrots and celery–5 or six minutes. Add the peas and the pearl onions to heat. Use the cherry tomatoes as garnish.
Norm