Yield: 40 stuffed dumplings.
Level of difficulty: 3.5
Equipment requirements:
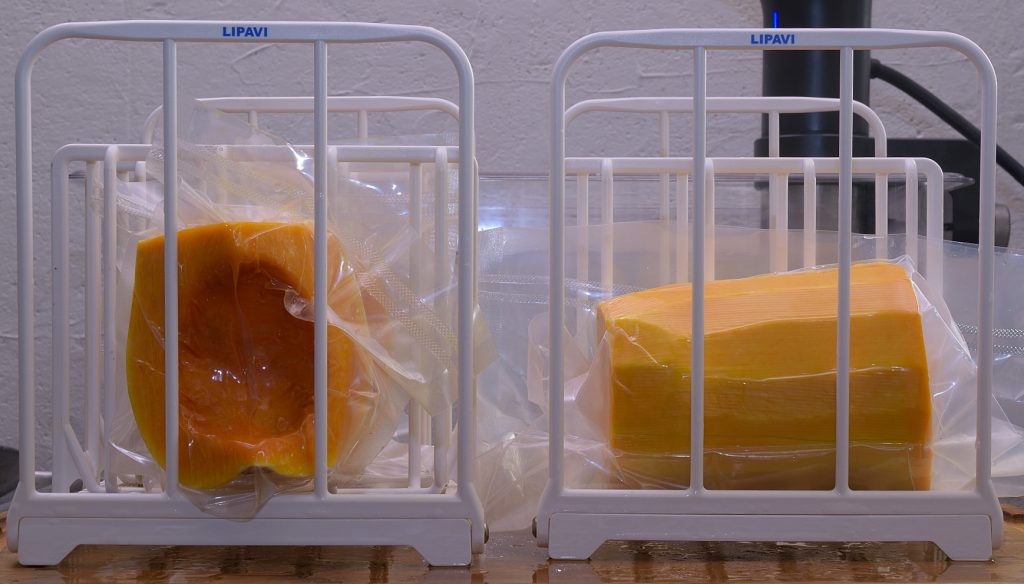
- Chamber or channel vacuum device.
- Plastic sous vide bags.
- Potato ricer or a food mill.
- Food processor.
- Pasta roller machine.
- Cookie cutter, 2.5″/6.35 cm.
- Medium skillet, approximately 2 qt./2 L.
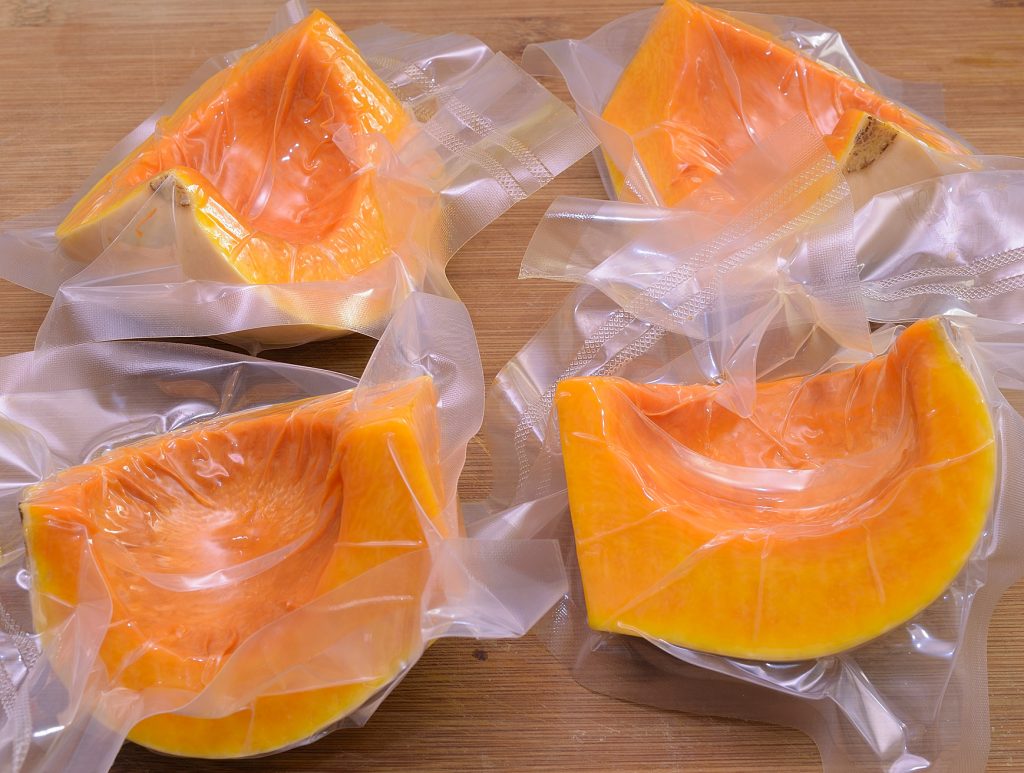
Note: his recipe calls for TWO sous vide processed Butternut squash wedges–one for the filling, one for the pasta itself.
Filling:
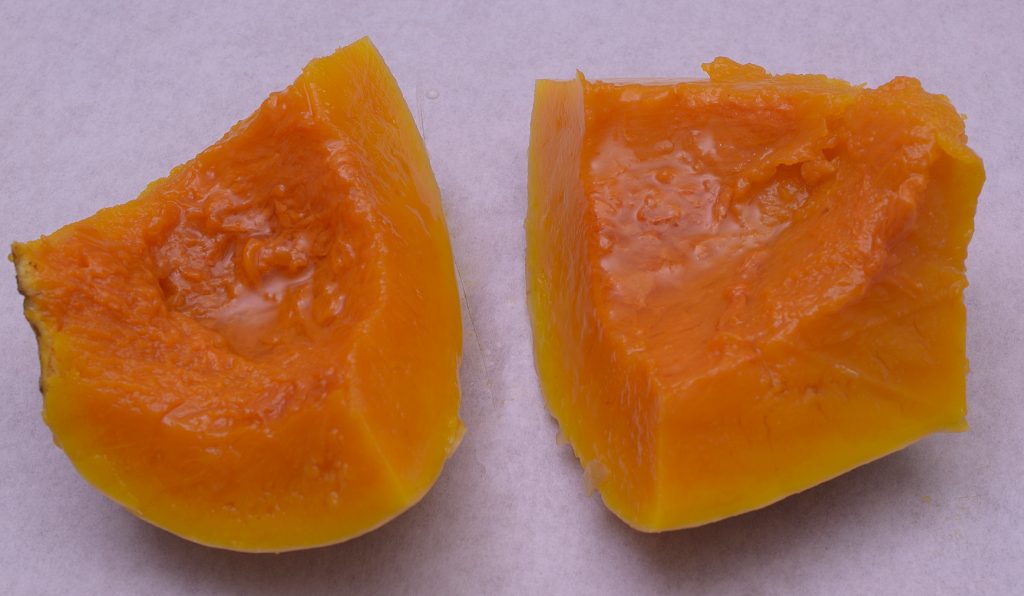
- Butternut squash; ONE wedge from the seeded section, approximately 5 oz/140 g. Process as per the method explained HERE. The carefully weighed barrel section can also be used if desired.
- Sour cream, 2 oz/60 g.
- Walnuts, 1 oz for the filling.
- Cinnamon, a tiny pinch.
- Brown sugar, 1 Tablespoon.
- Kosher salt, a tiny pinch.
- EVOO, a few drops.
Pasta:
- Butternut squash; ONE wedge from the seeded section, approximately 5 oz/140 g. Process as per the method explained HERE.
- Flour, 5 oz/140 g plus some to dust the board. It is important to WEIGH the flour. If you do not have a scale, 5 oz/140 g is approximately 1 cup. The precise amount of flour is very important to achieve the desired consistency of the dough.
- Egg yolk, 1 each.
- Kosher salt, a tiny pinch.
- Ginger, a tiny pinch.
- Vegetable oil, 2 drops.
Brown Butter sauce
- Cold butter, 2 oz/60 g.
- Walnuts, coarsely chopped, 2 oz/60 g..
- Fresh sage leaves, as needed.
- Reggiano-parmigiana cheese, grated, 1 oz/30 g..
CONCENTRATING OUR EFFORTS
What possible benefit can sous vide bring to a tortellini recipe? You can’t cook pasta in a sous vide bath; I know because I tried. You wouldn’t want to anyway. What would be the point? And what about the filling? Cooks have been making perfectly adequate pasta fillings for hundreds of years without using sous vide. Even so, applying a vacuum to certain recipe components can improve both the pasta AND the filling. So how is that again?
Water, BAD!
The answer is moisture minimalization. We know that sous vide processing removes air, but it can also be used to remove water–you just have to give the water somewhere to go. Present in all foods, water is the enemy of flavor, color and consistency. Cooks have always taken steps to counteract its presence, doing everything from simply draining well to squeezing the water out of foods manually. The curing of meat is a process specifically intended to remove water. Water dilutes fillings, making them thin and bland. If you can’t get the water OUT, you’re going to have to put some bread crumbs IN.
Excessive moisture in pasta dough makes it too sticky. This creates a problem for pasta doughs that are not made exclusively from flour. All vegetables are high in water–that’s why even spinach pasta is usually made from powder instead of fresh. Water contributes to the glutenization of flour and can make the finished product rubbery–if it doesn’t just dissolve completely. We’re going to replace all that effort and anxiety with modern technology.
Procedure:
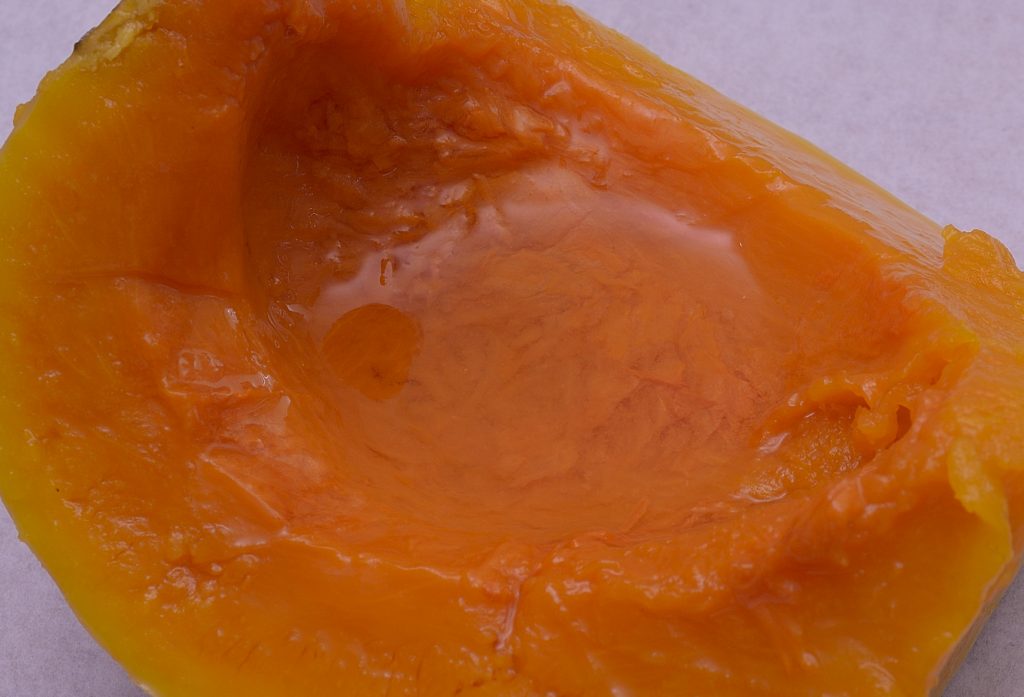
This wedge weighed about 5 oz/140 g when raw. It weighed the same AFTER cooking because of the sealed package. After processing at 183 F/84 C for one hour as fully explained HERE, we shocked the package cold in iced water until it achieved 70 F/21 C. It was then refrigerated at 40 F/4 C until we were ready to proceed. This procedure starts exactly the same way as when we made gnocchi.
Pat the wedge dry with a paper towel and cut in half. Do not remove the skin.
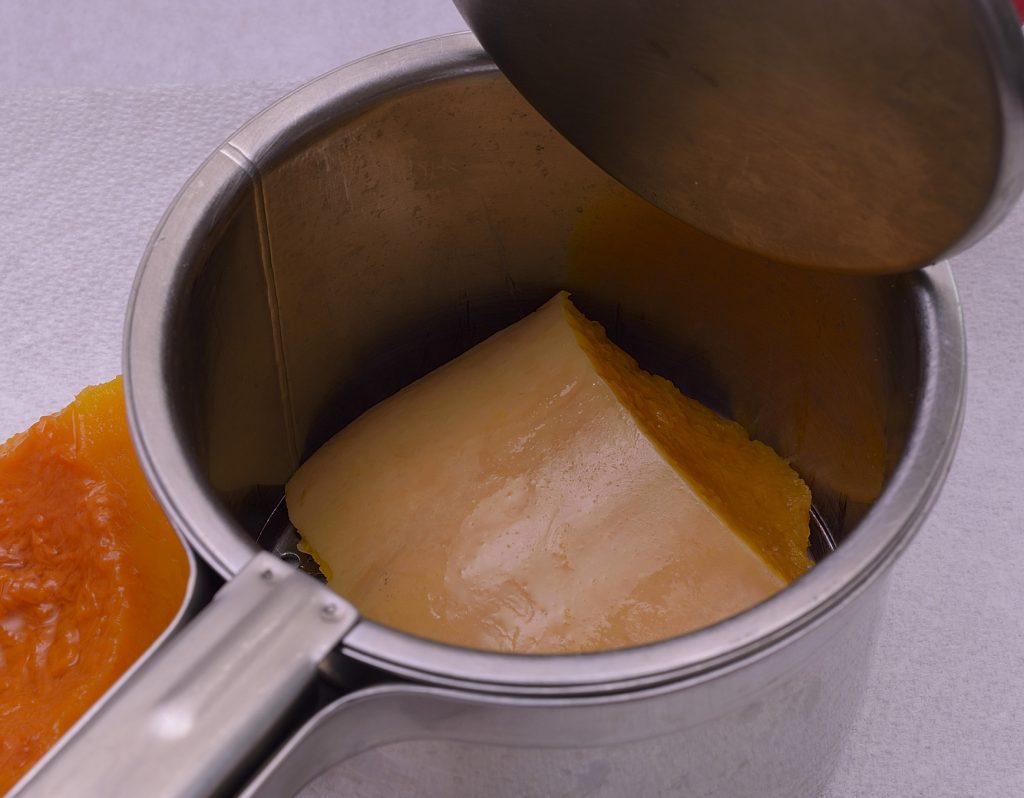
Put the half wedge in the ricer with the skin side UP.
Place the ricer above a paper towel and lower the piston into the cylinder.
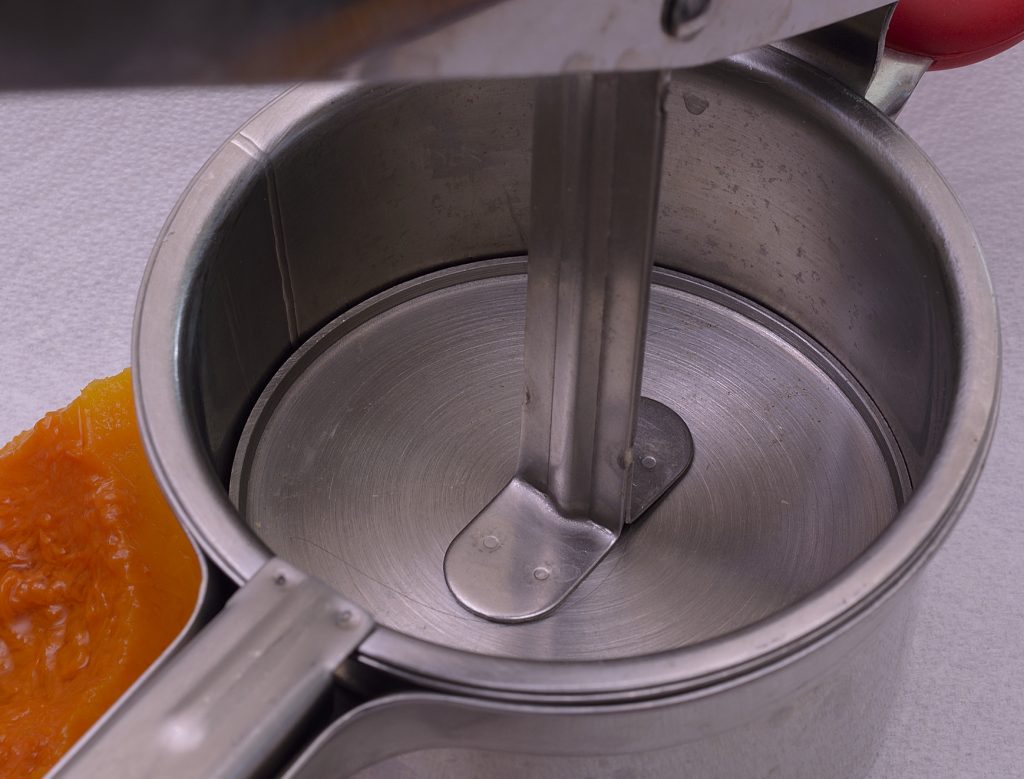
Push firmly.
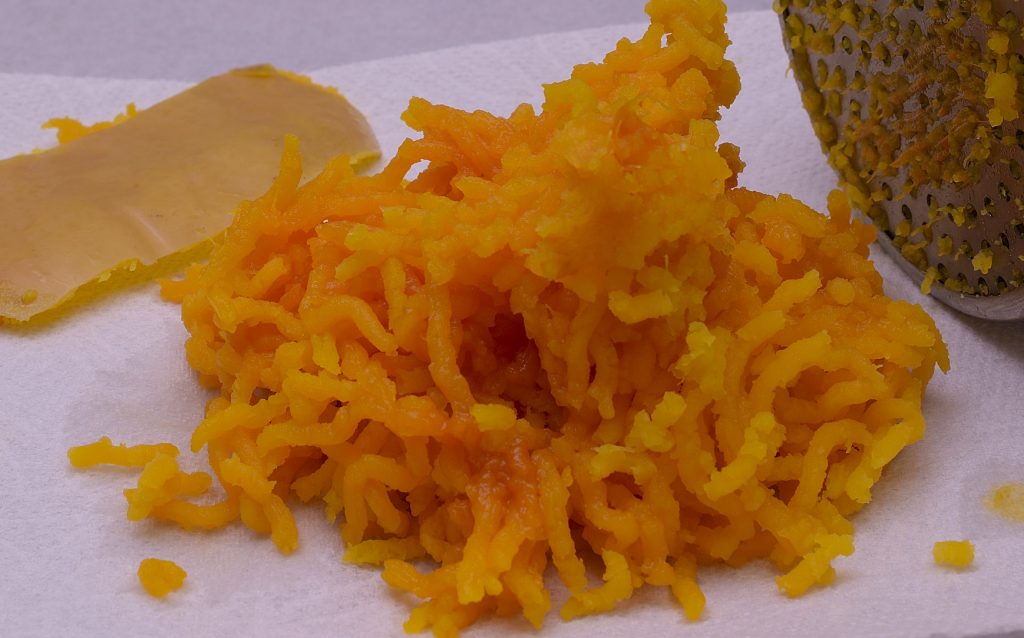
Lift up the piston and remove the skin from the cylinder.
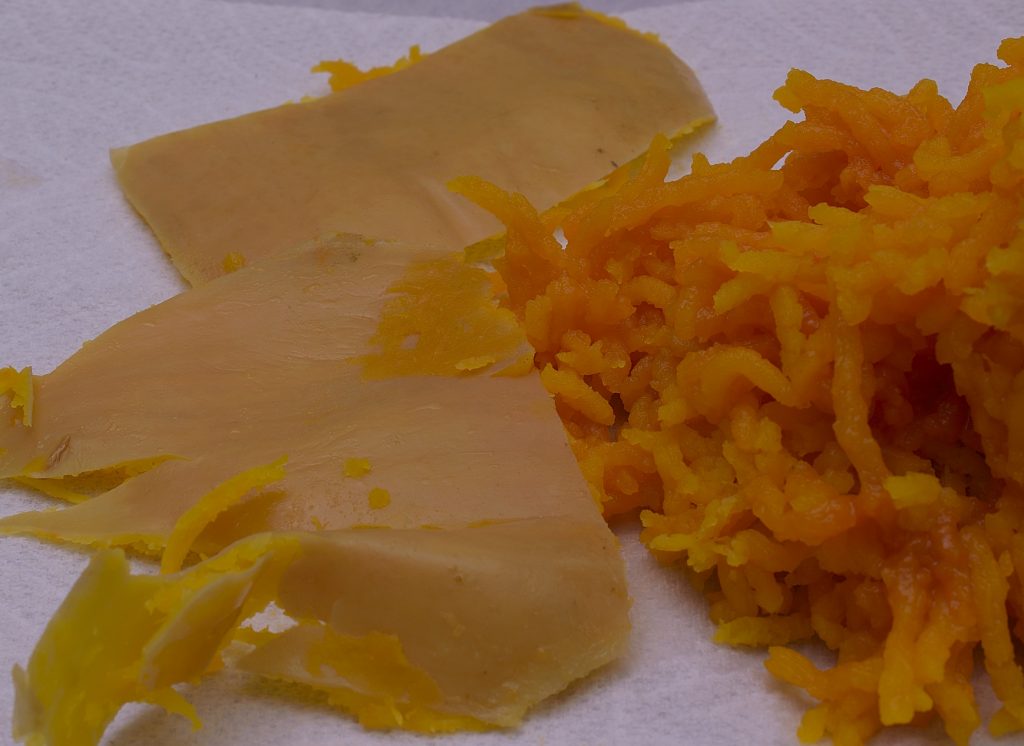
Repeat the process with the other half wedge. Discard the skin.
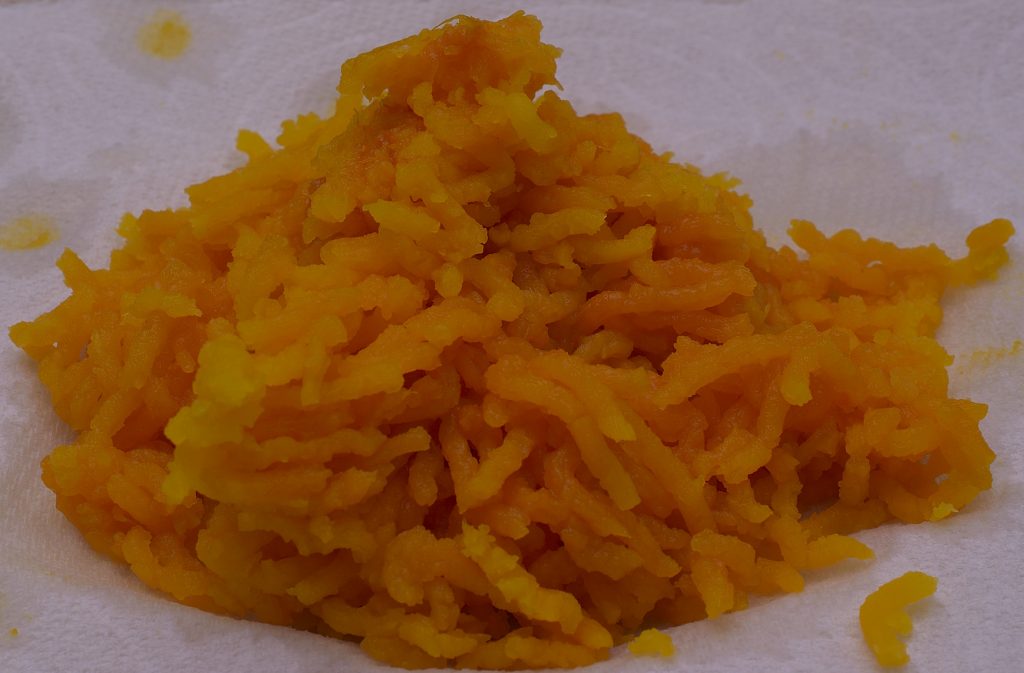
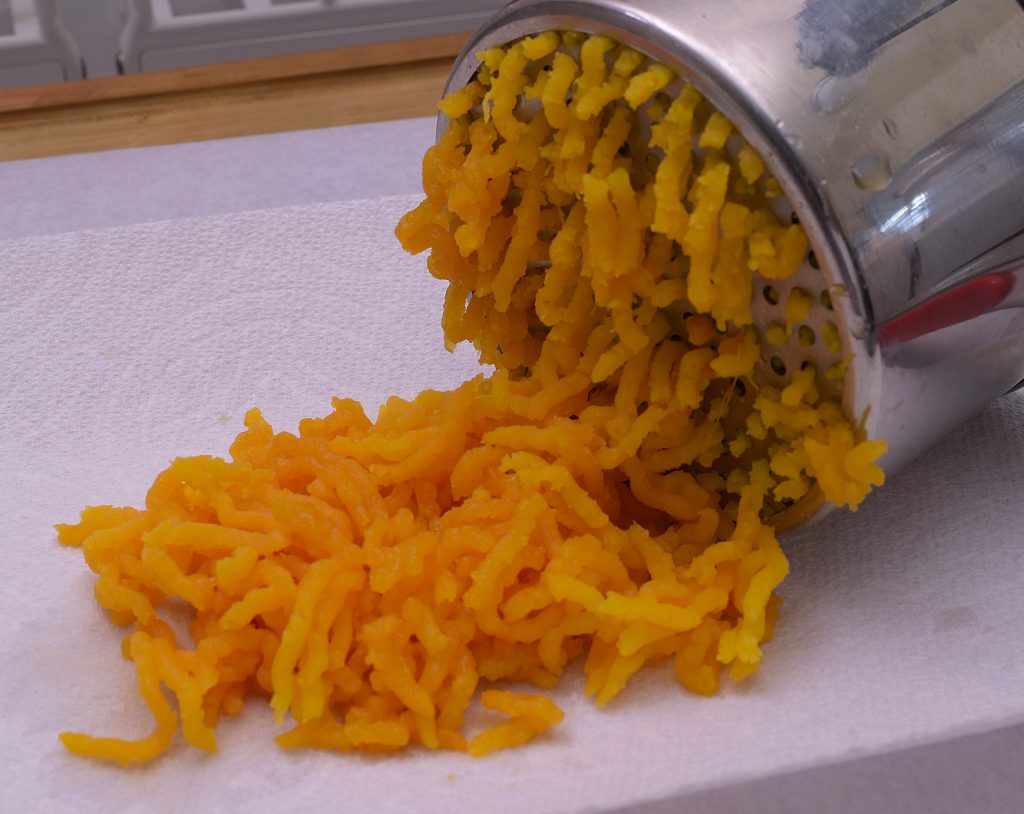
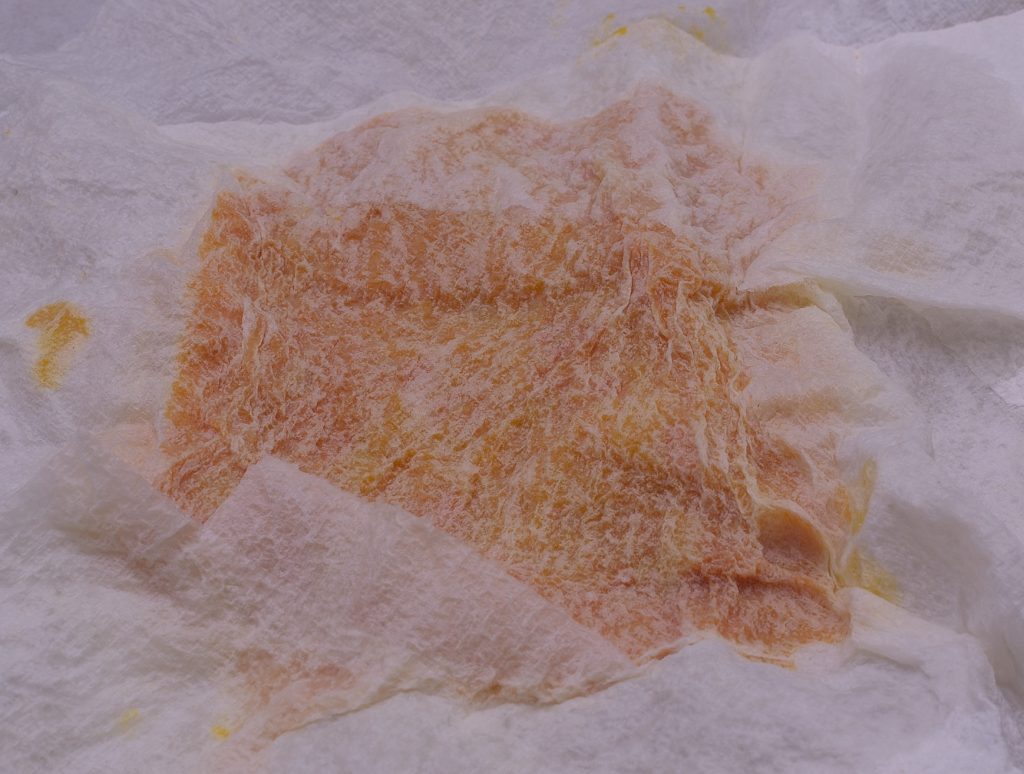
Now you should have approximately 4 oz/115 g of squashed squash on the paper towel.
Put another paper towel on top of the squash purée and wrap the whole thing up in a dry kitchen towel.
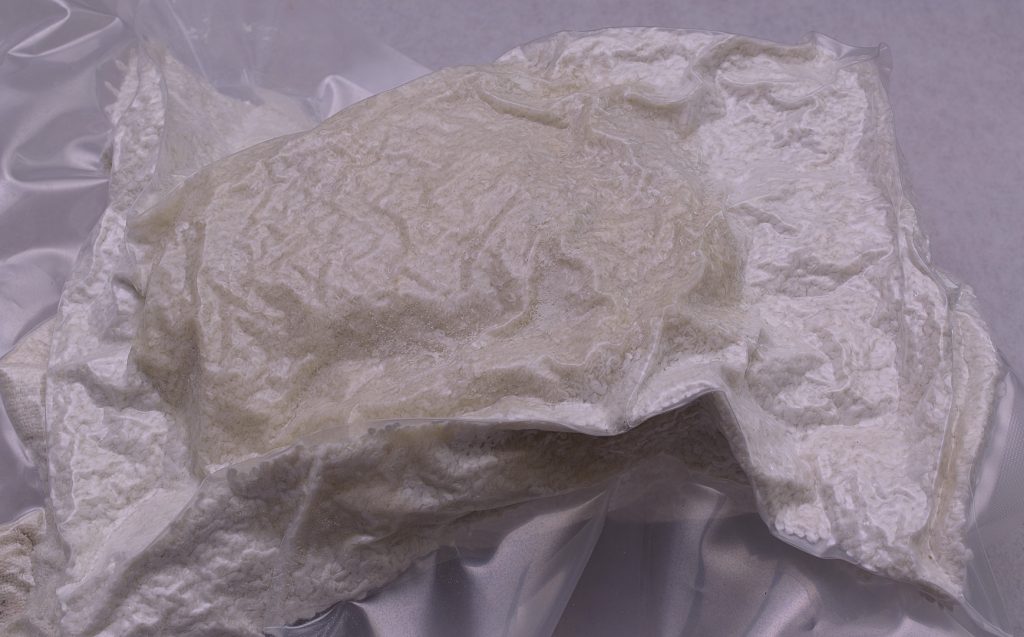
Vacuum in a sous vide bag. I use a chamber vacuum, but a channel vacuum will work as well. Wait one half hour.
Remove the paper towel “envelope” from the pouch.
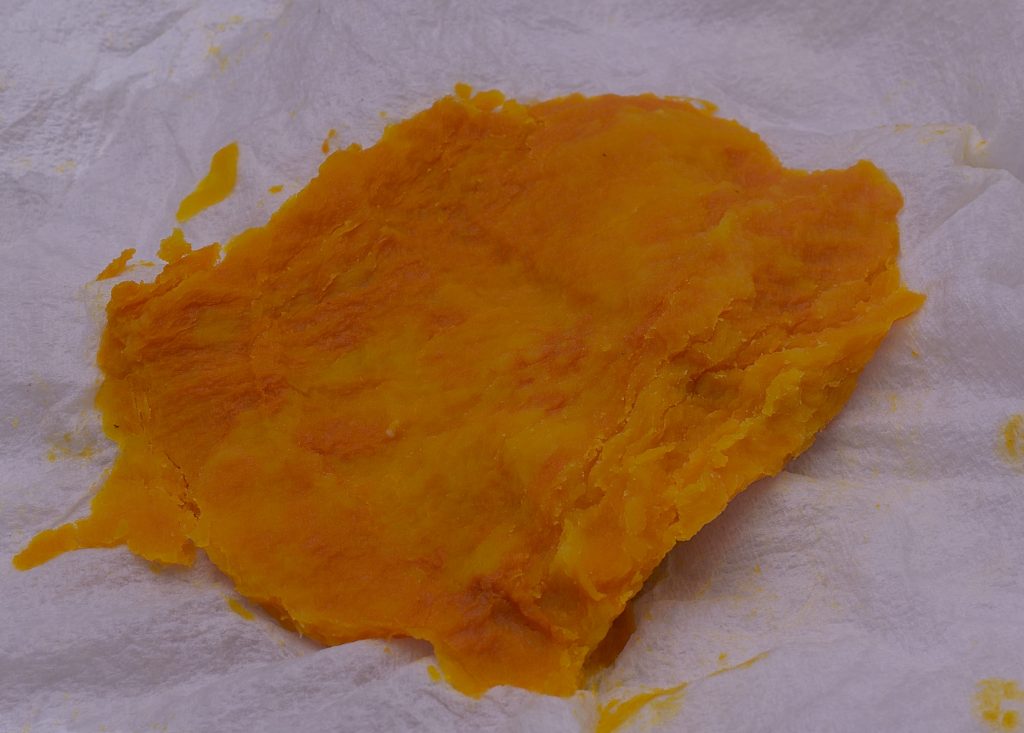
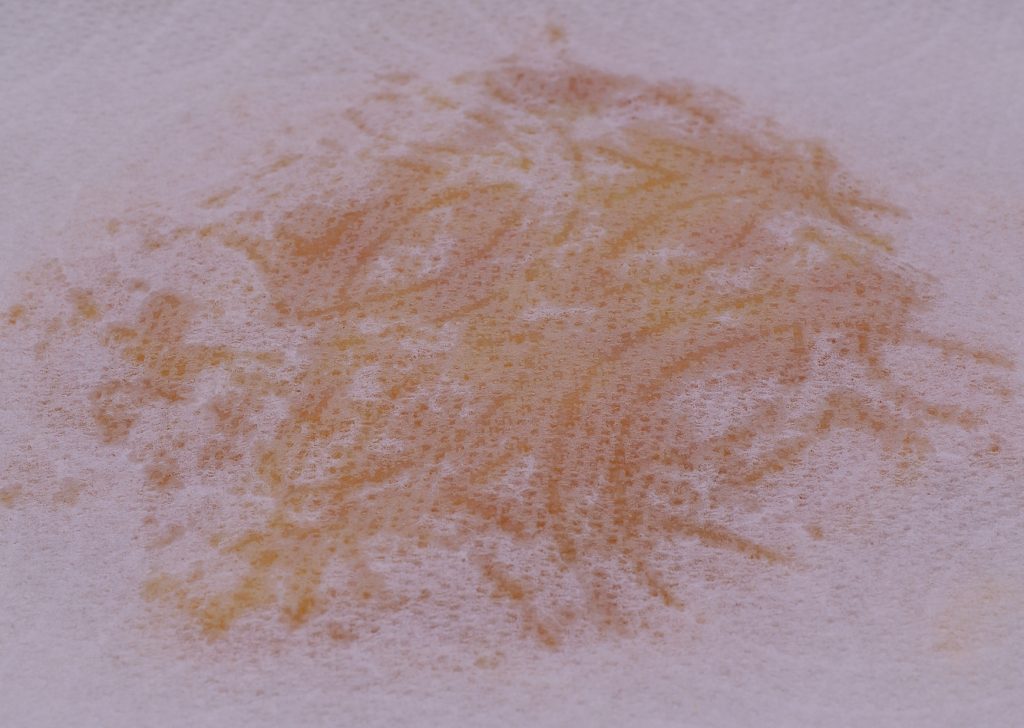
The squash will have lost almost half its weight. Set aside.
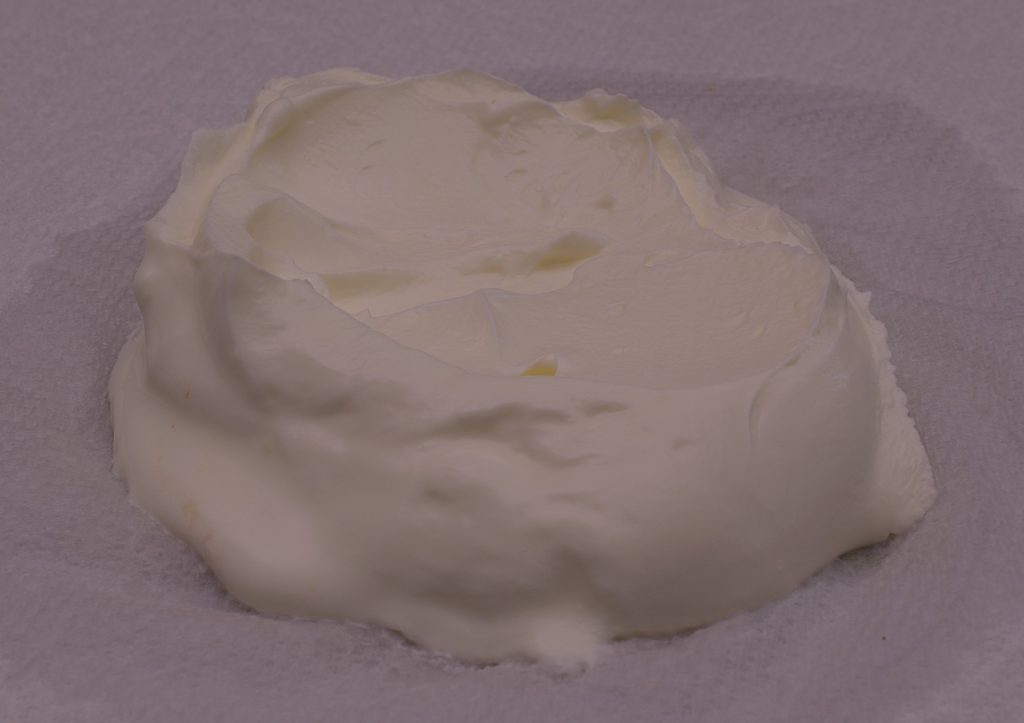
Place 2 oz/60 g sour cream on a paper towel. Place a paper towel on top, wrap in a kitchen towel, and vacuum in a sous vide pouch. That’s right. This is what you get:
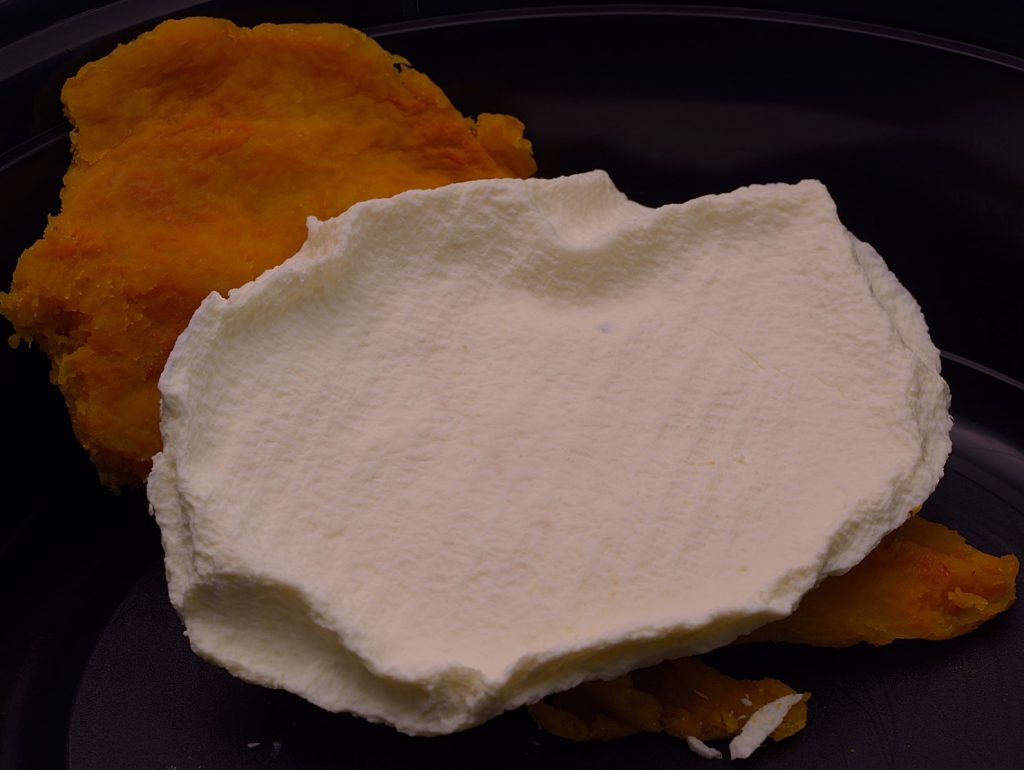
For some people this is a revelation. It’s no coincidence that the result bears a striking resemblance to other products like cream cheese and the so-called “Farmer’s cheese.” All of these products are created by curdling milk/cream and then adjusting the moisture level accordingly. That is also the difference between regular yogurt and “Greek” yogurt–moisture content. But let’s not digress.
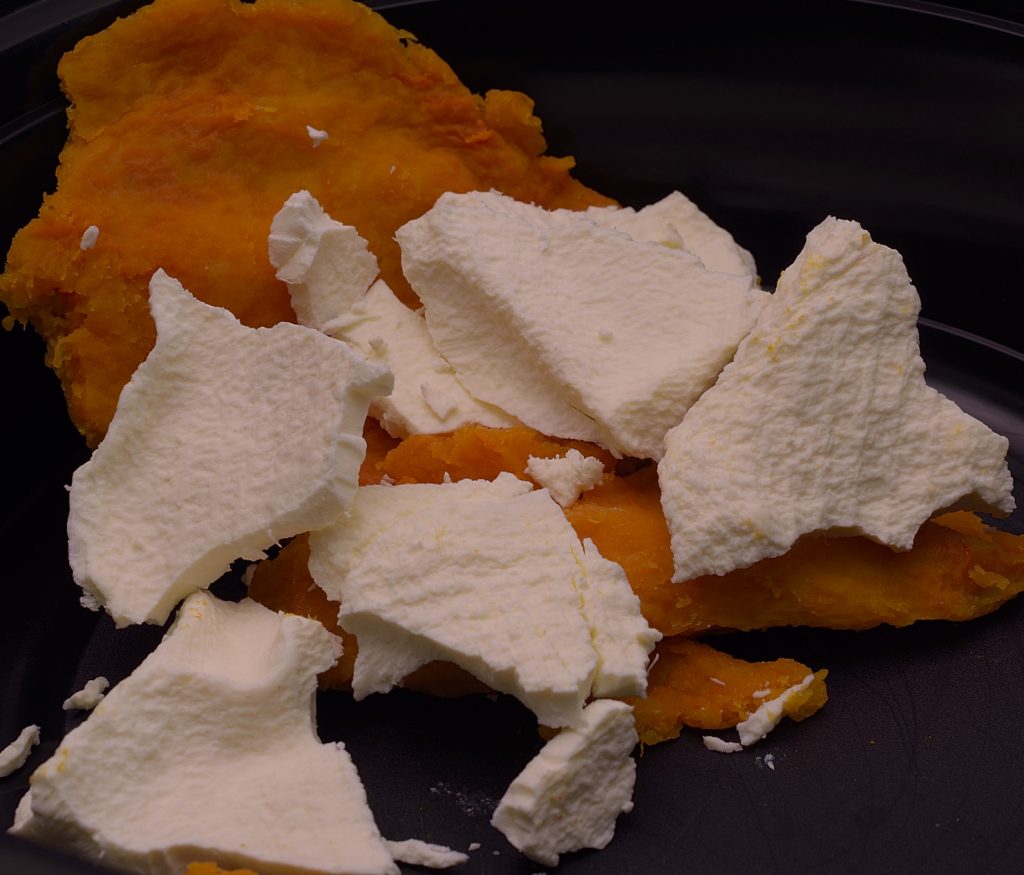
The sour cream has also lost almost half of its “water weight.” Turns out, sour cream is rather bloated! Stage the Butternut concentrate, the sour cream concentrate and the rest of the filling ingredients listed above into the food processor.
Grind into a paste. That’s a little crumb of the sour cream concentrate up at the top. Set the filling aside.
Rolling in Dough:
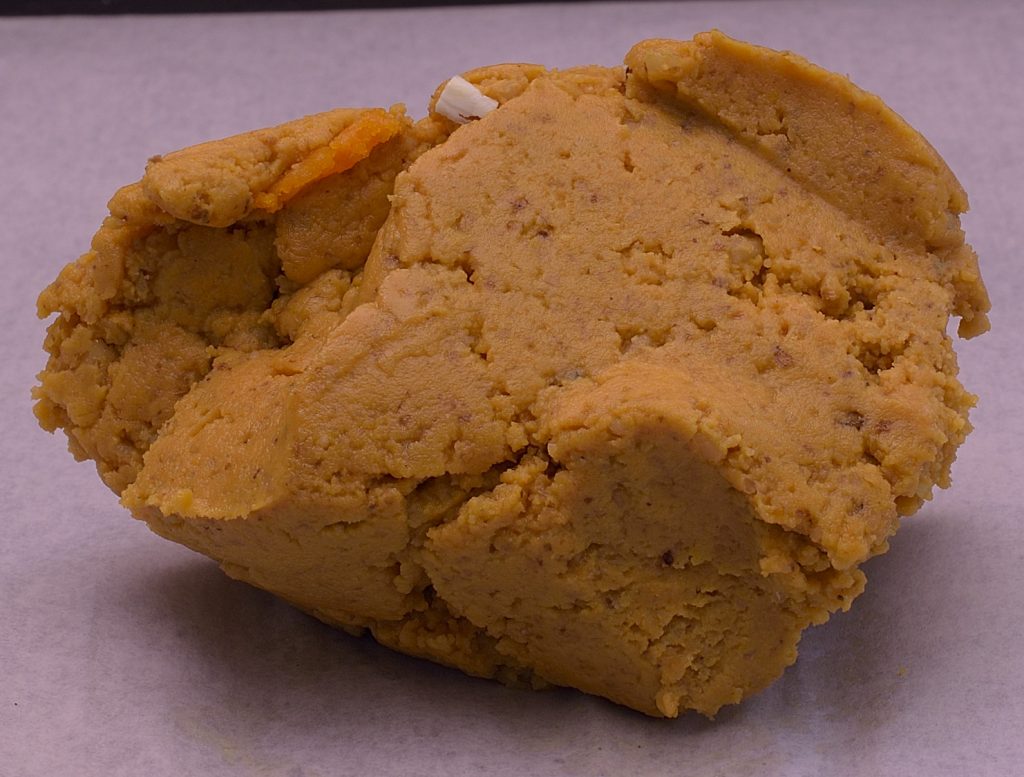
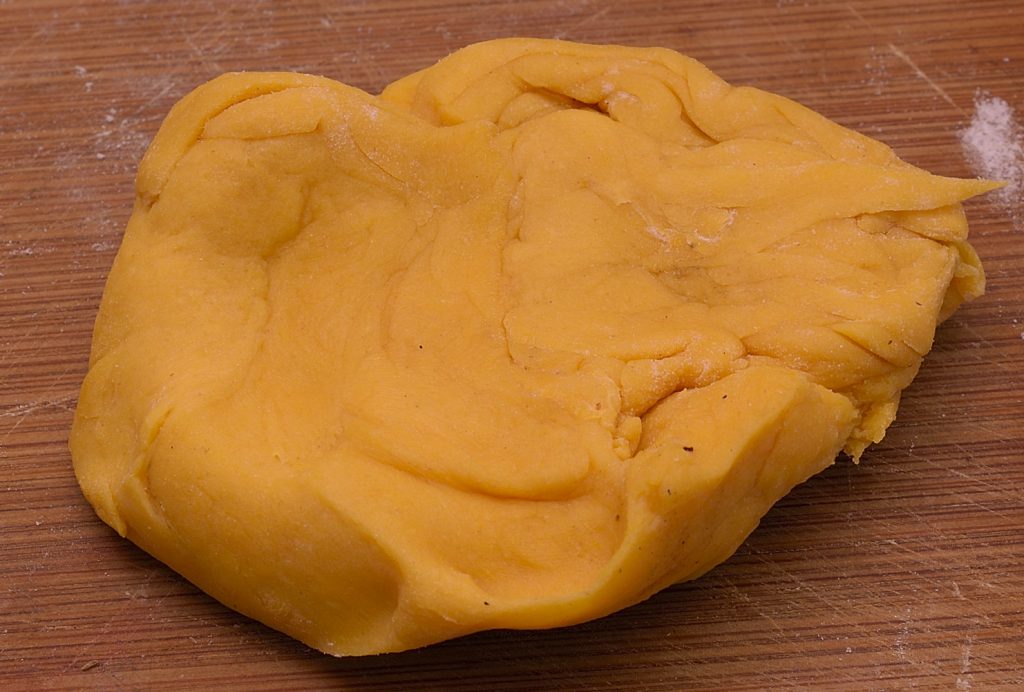
Repeat the process of vacuuming another Butternut squash wedge just like you did before. Stage into the food processor with the remaining dough ingredients and begin pulsing. It may eventually form a ball, but it does not need to. Do not add water under any circumstances!
This is moist enough.

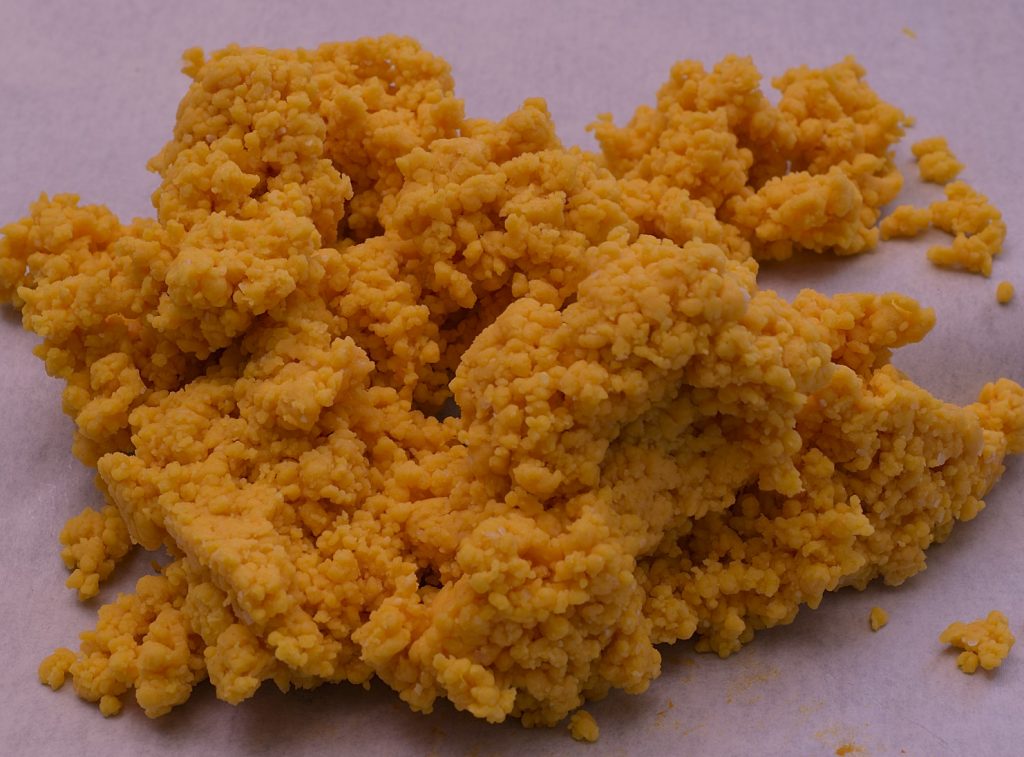
Form into a ball.
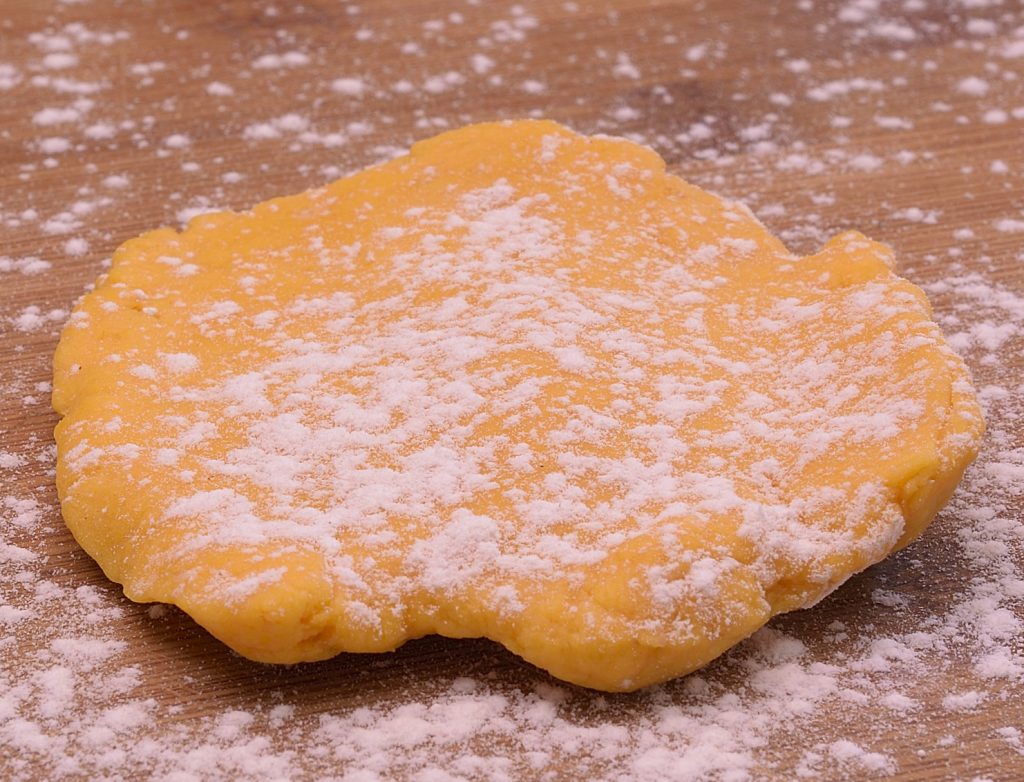
Pat into a disk and dust lightly with flour. I keep flour in a dredge/shaker, very handy. Cut the disk into quarters.
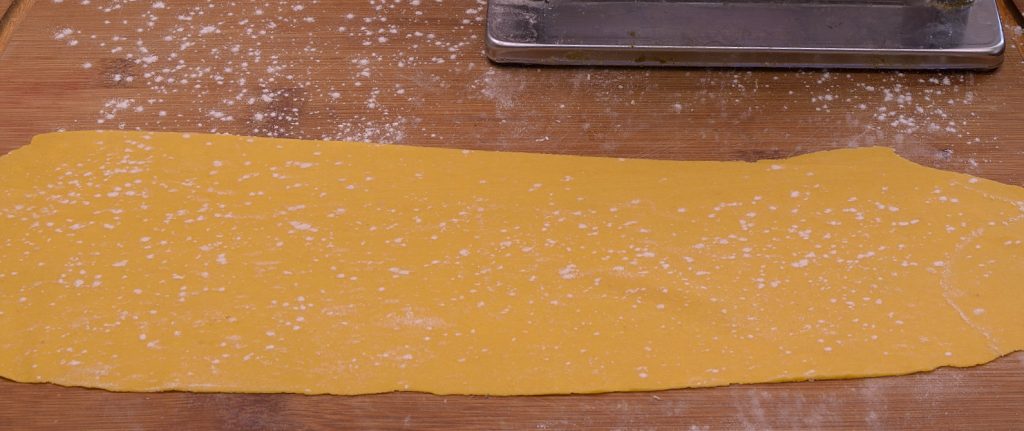
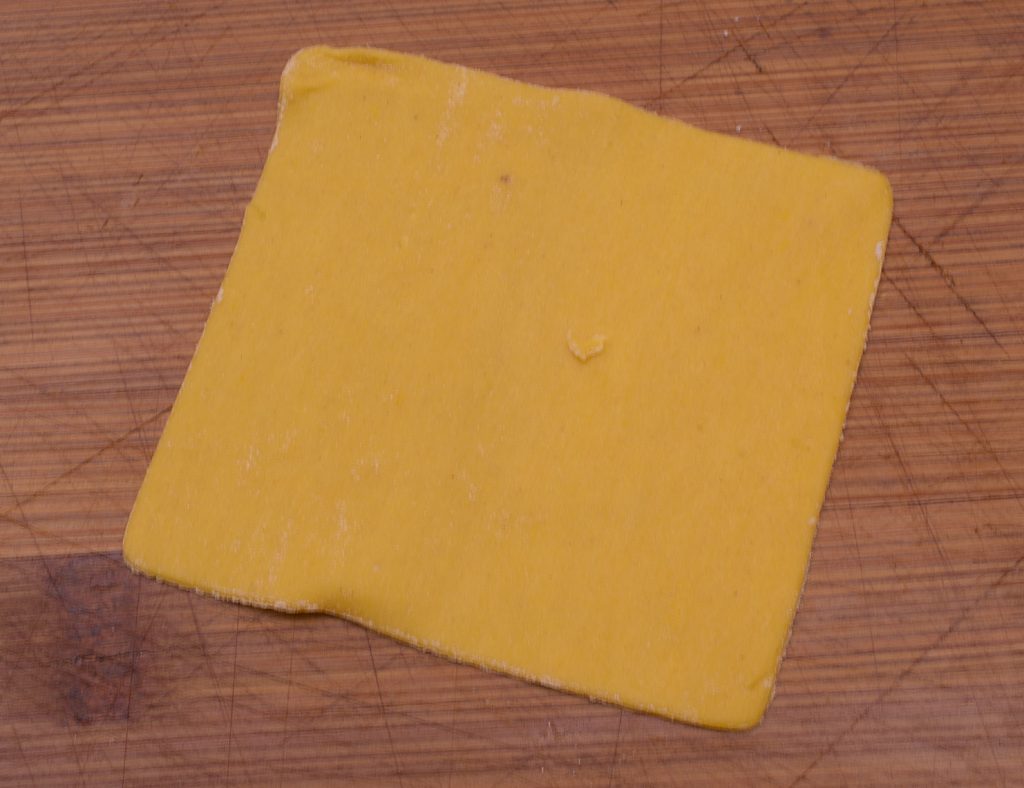
Starting on the #1 setting of the pasta machine, roll out one of the pieces of dough to the #6 setting. Most machines are fairly similar. If you are unfamiliar with this operation, there are literally millions of videos on Youtube that explain how to do it; we will not go into that here. It’s not hard, but it takes a little practice and a little feel. A LIGHT dusting of the surface will prevent the dough from sticking to the rollers. If the dough catches or breaks or does something else untoward, just form it into a ball and start over.
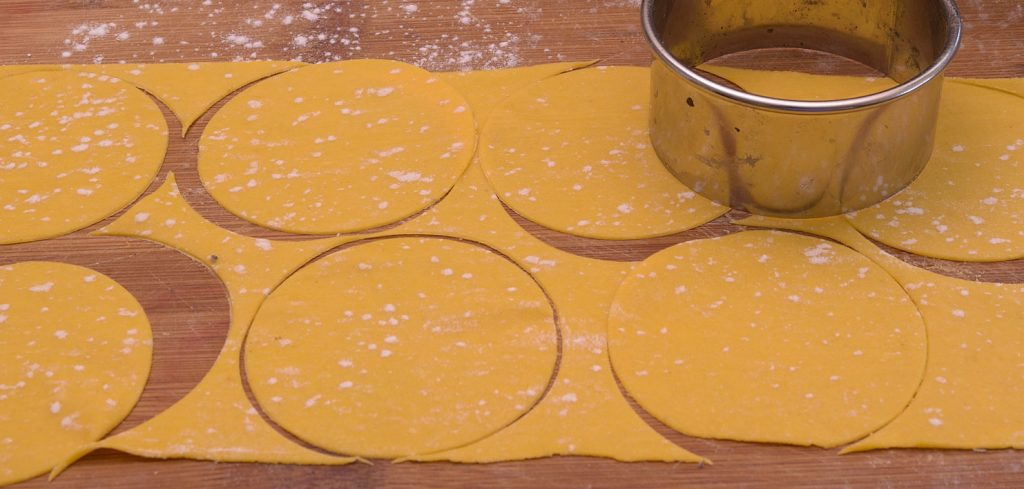
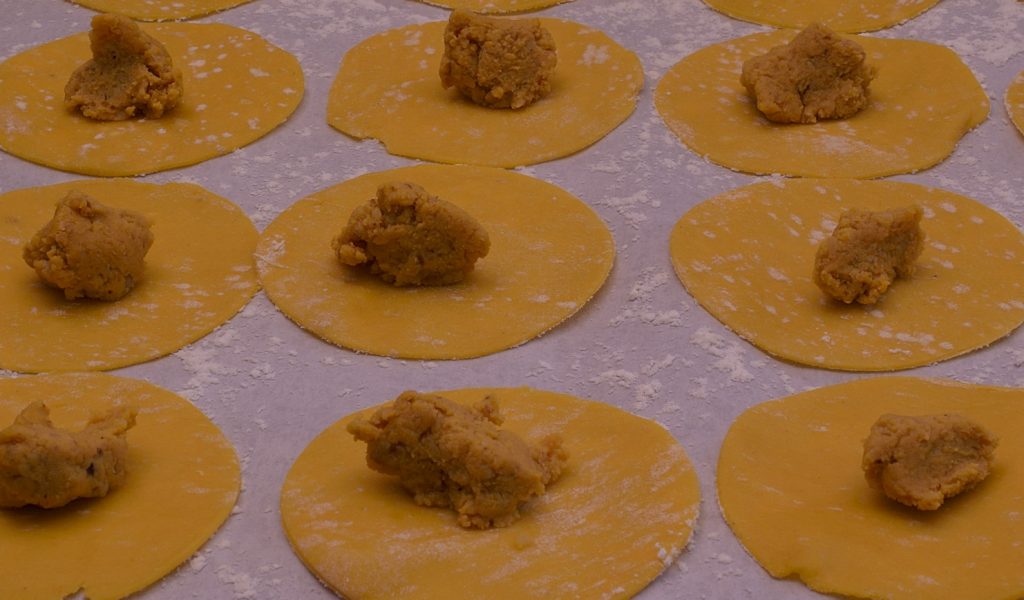
Cut the sheet into circles. Do not discard the trim!
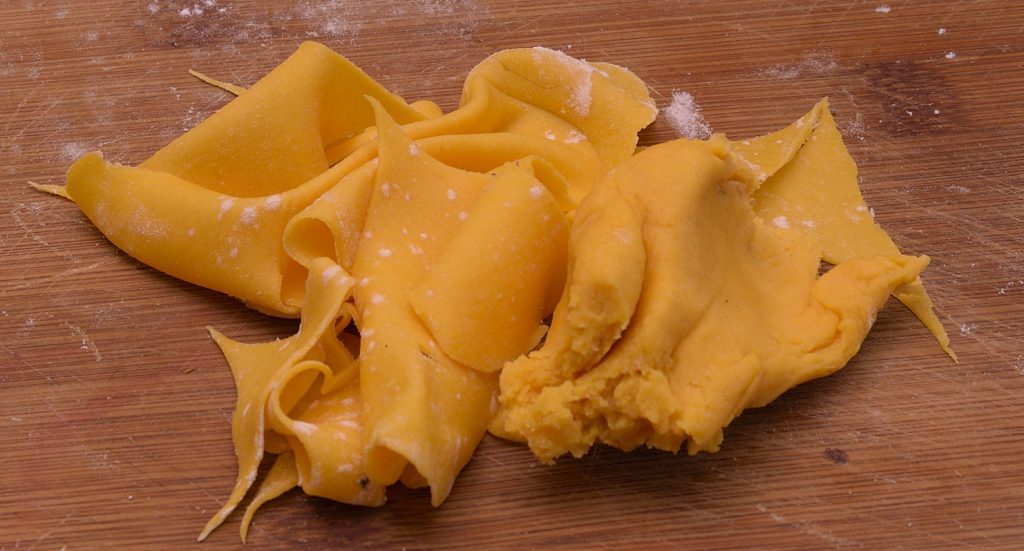
Gather the trim up and combine it with the next lump of dough.
Push it together and keep going…
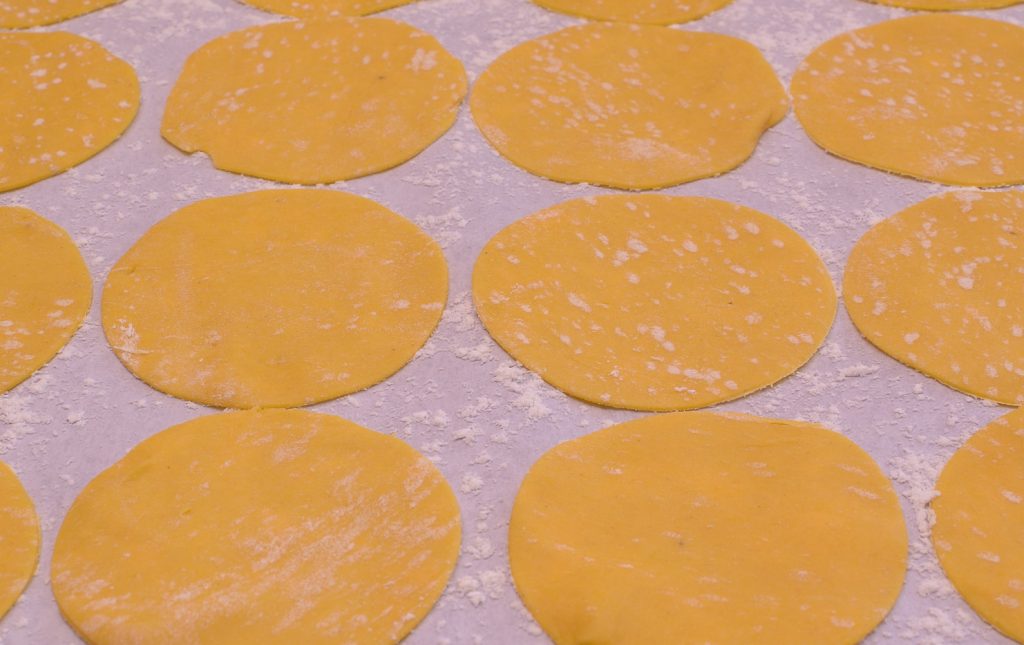
Arrange the circles on a dry surface–here we have a lightly dusted sheet of parchment, also very handy for lots of things.
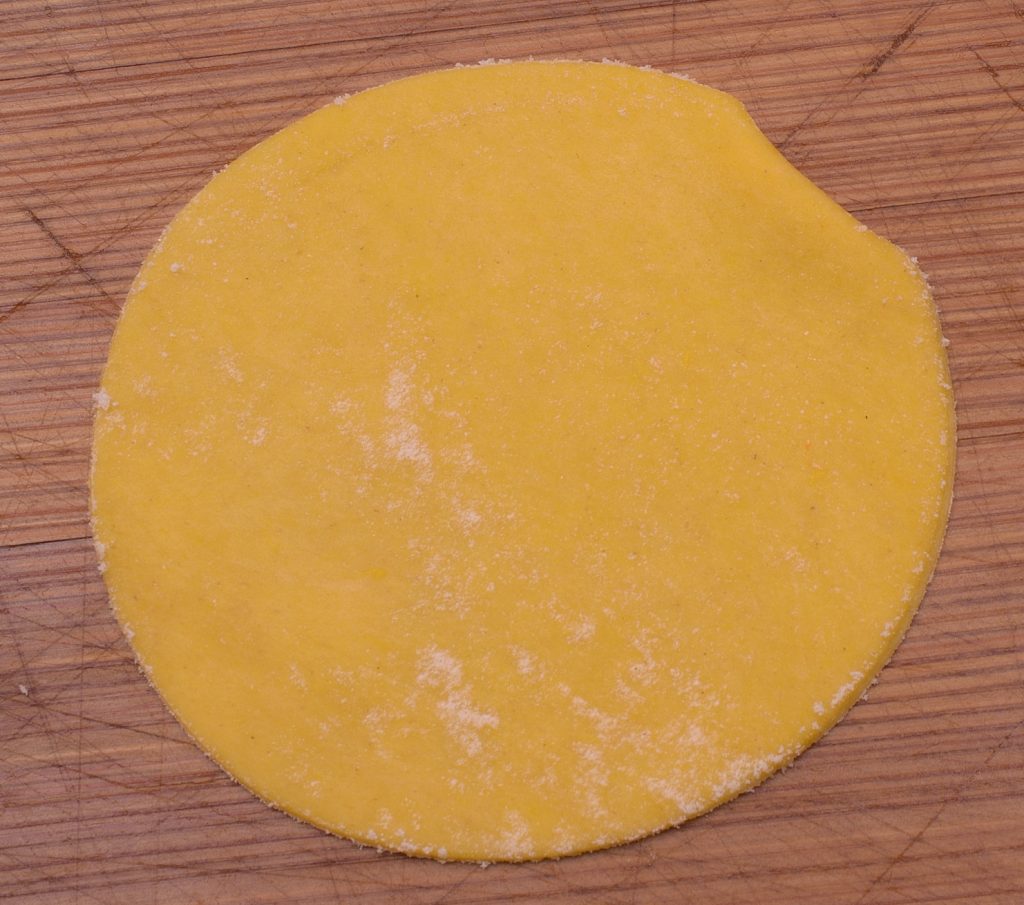
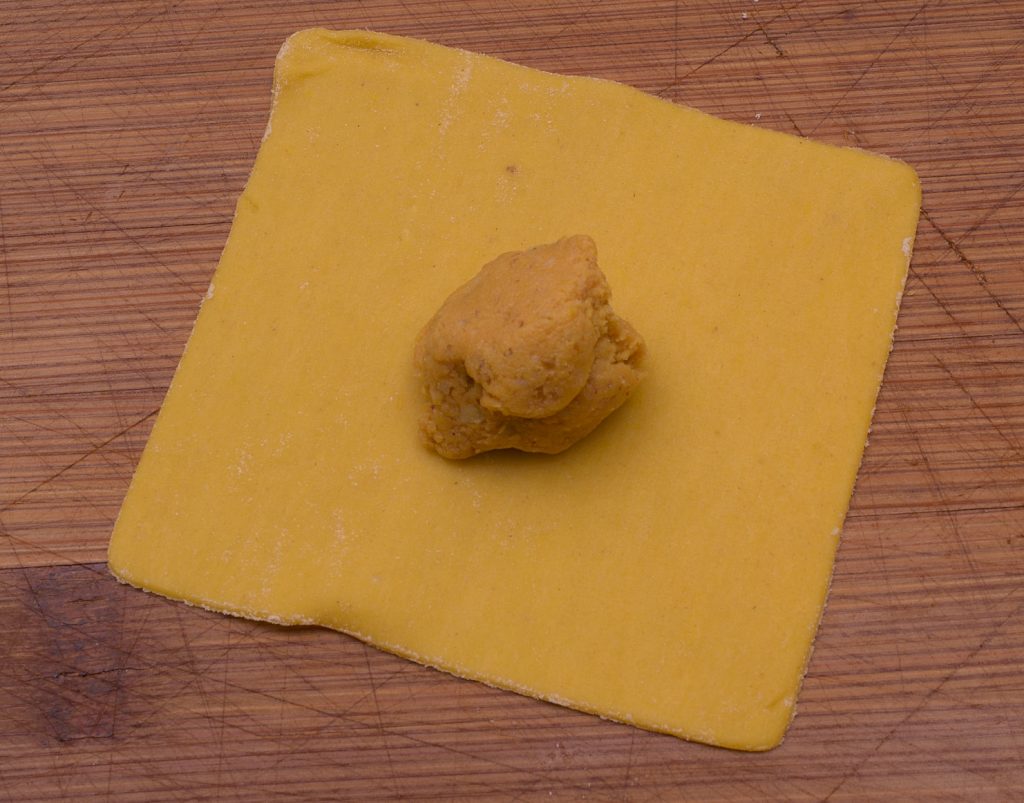
Lay a disk on a dry surface. We are using a scratched up cutting board, kind of sentimental.
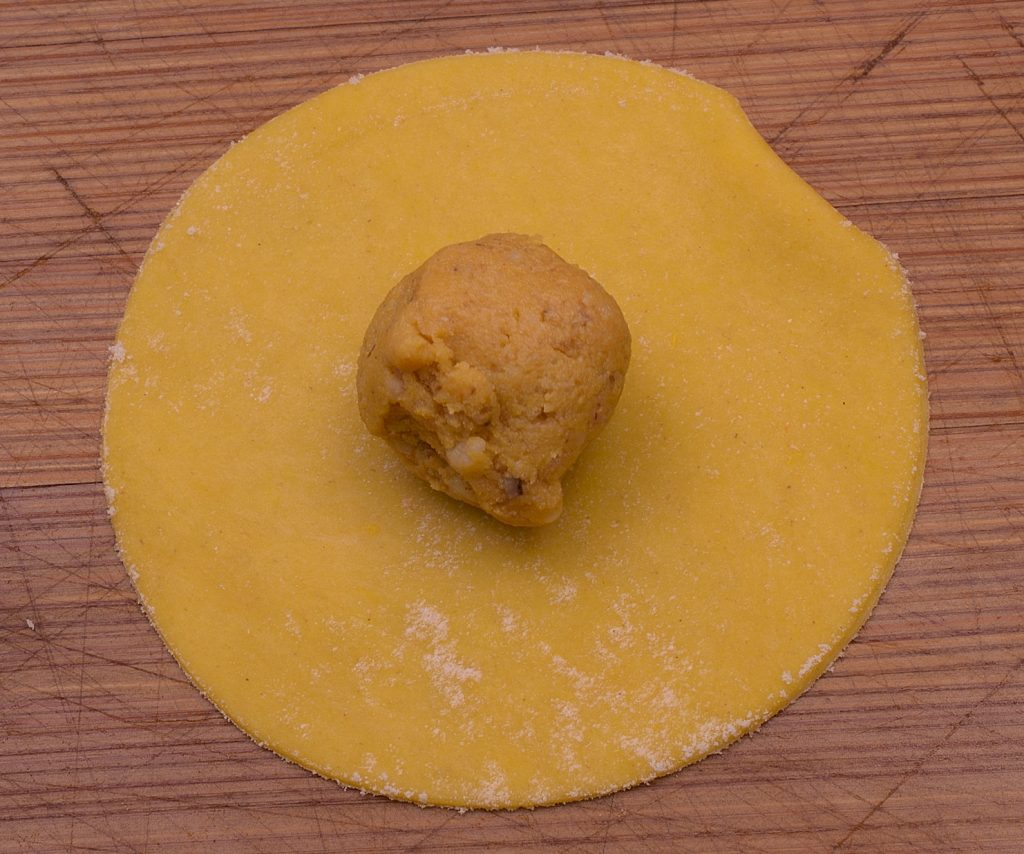
Place a little bit of the filling in the center. How much? I don’t know. You will know if you put in too much because you won’t be able to fold it all over. Doesn’t take much.
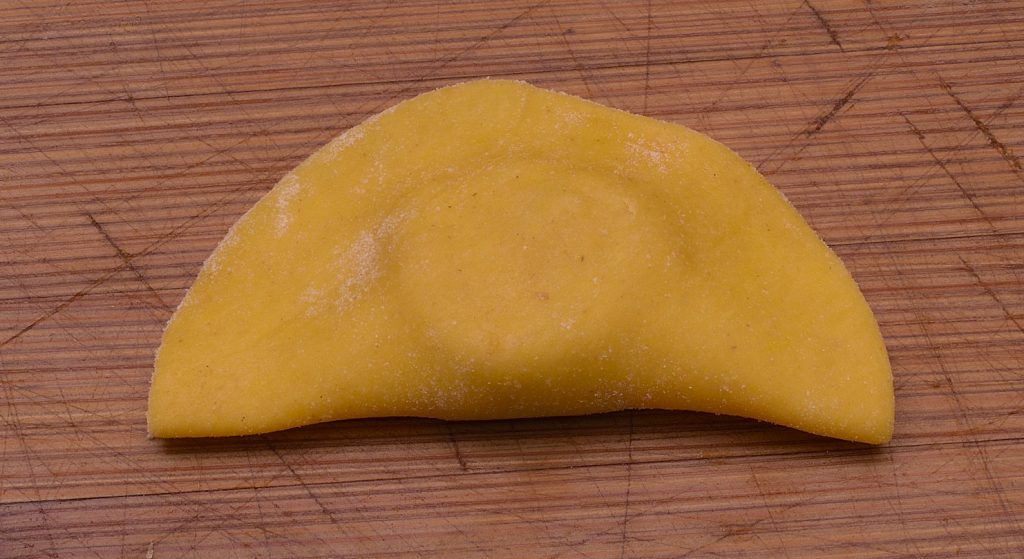
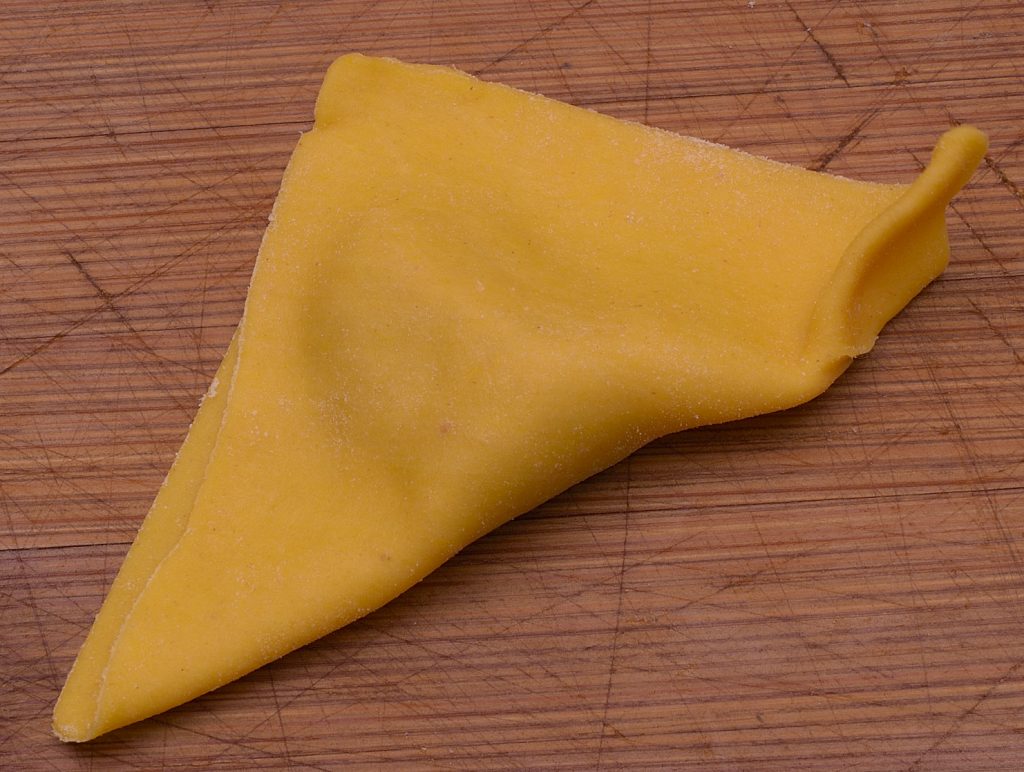
Fold upwards in half (not downwards, and you’re going to see why). No need to press to seal, just relax.
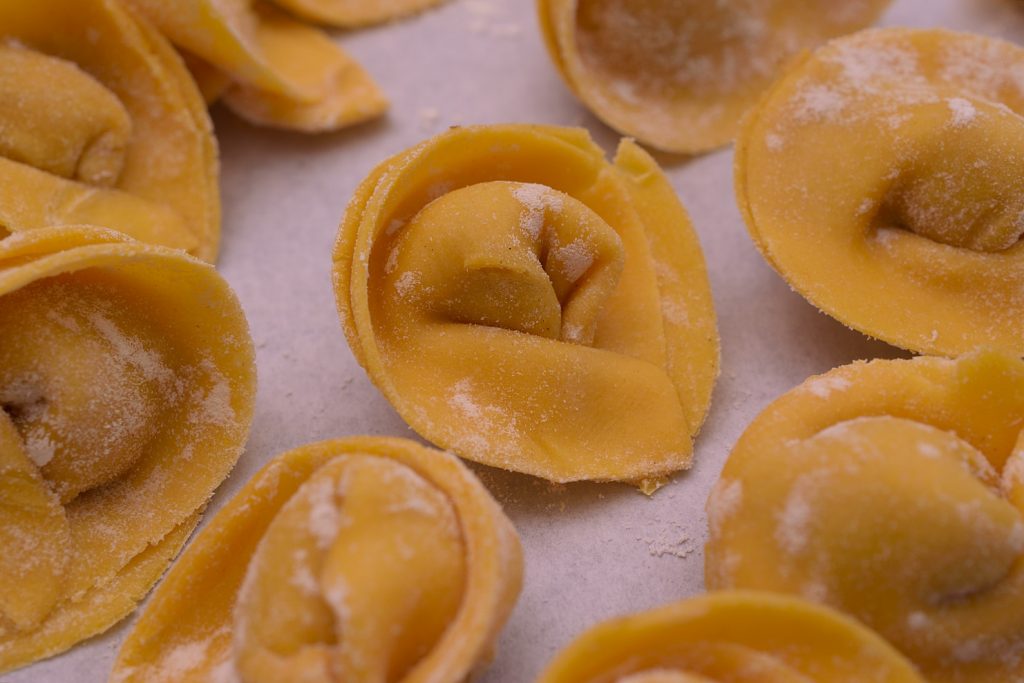
Pull the points towards each other and pinch them together. It’s supposed to look like the navel of Venus, the Roman goddess. Long story about that. Some other time perhaps.
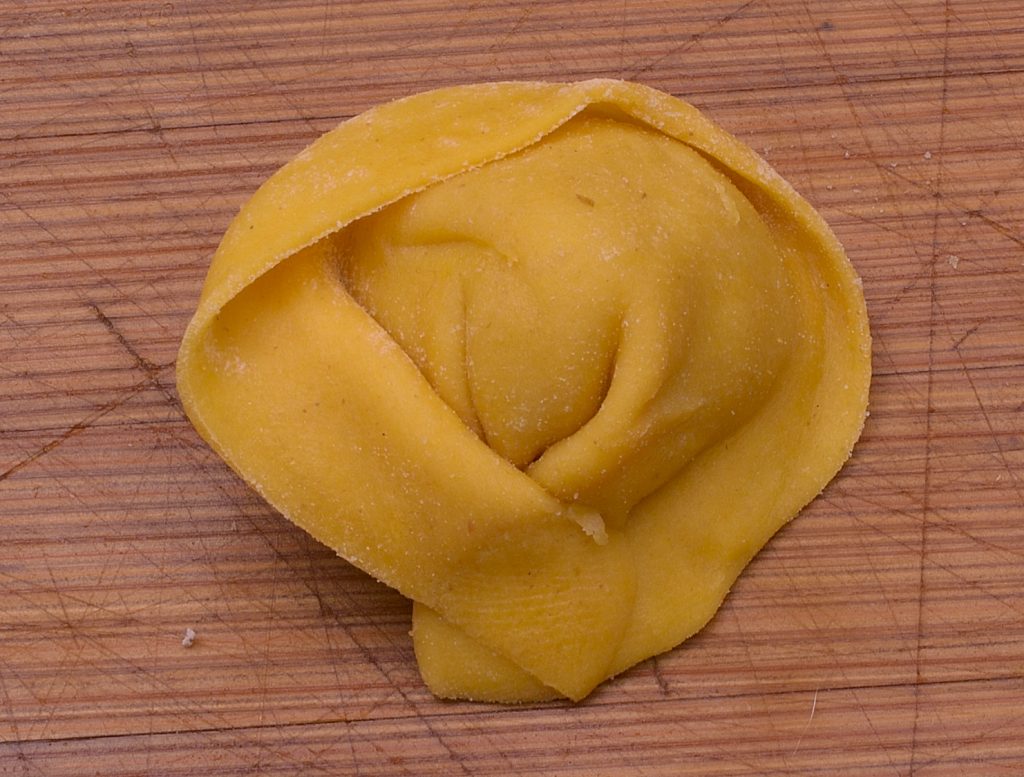
So this would be how a navel looks from the other side I guess.
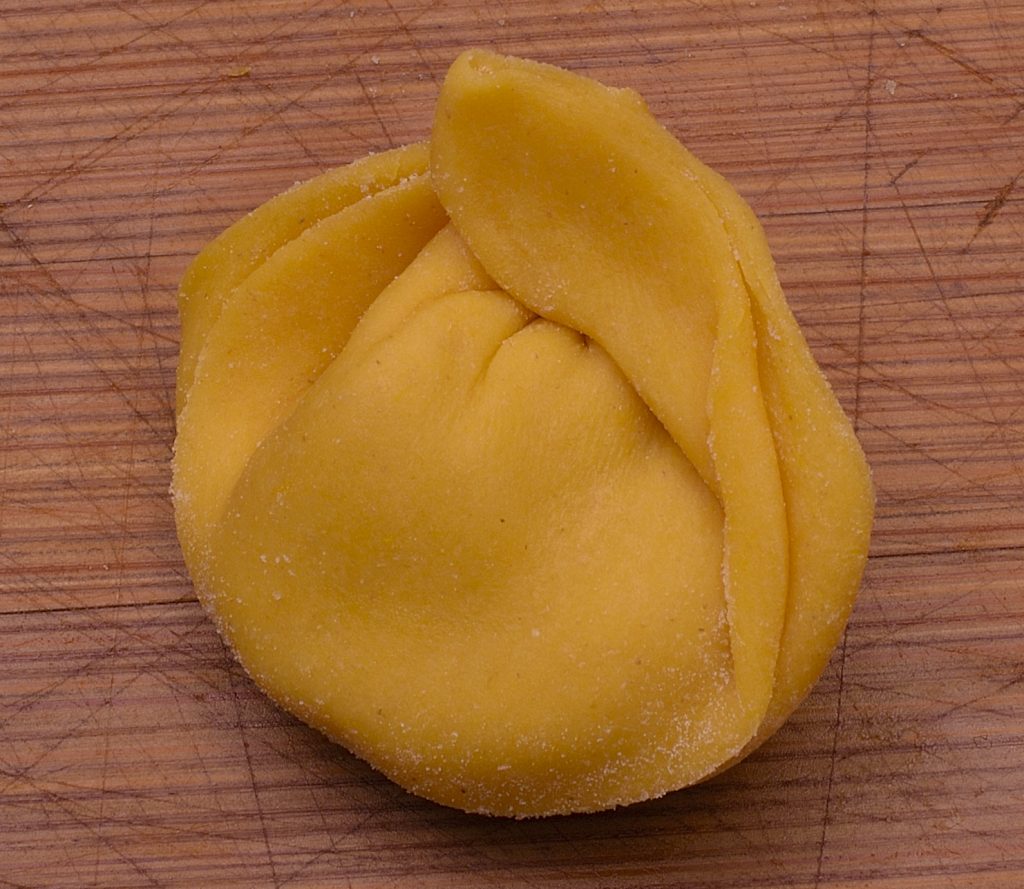
It works with squares, too.
People argue late into the night which is more authentic. “Torta” is Italian for “cake.”
Like so, and then…
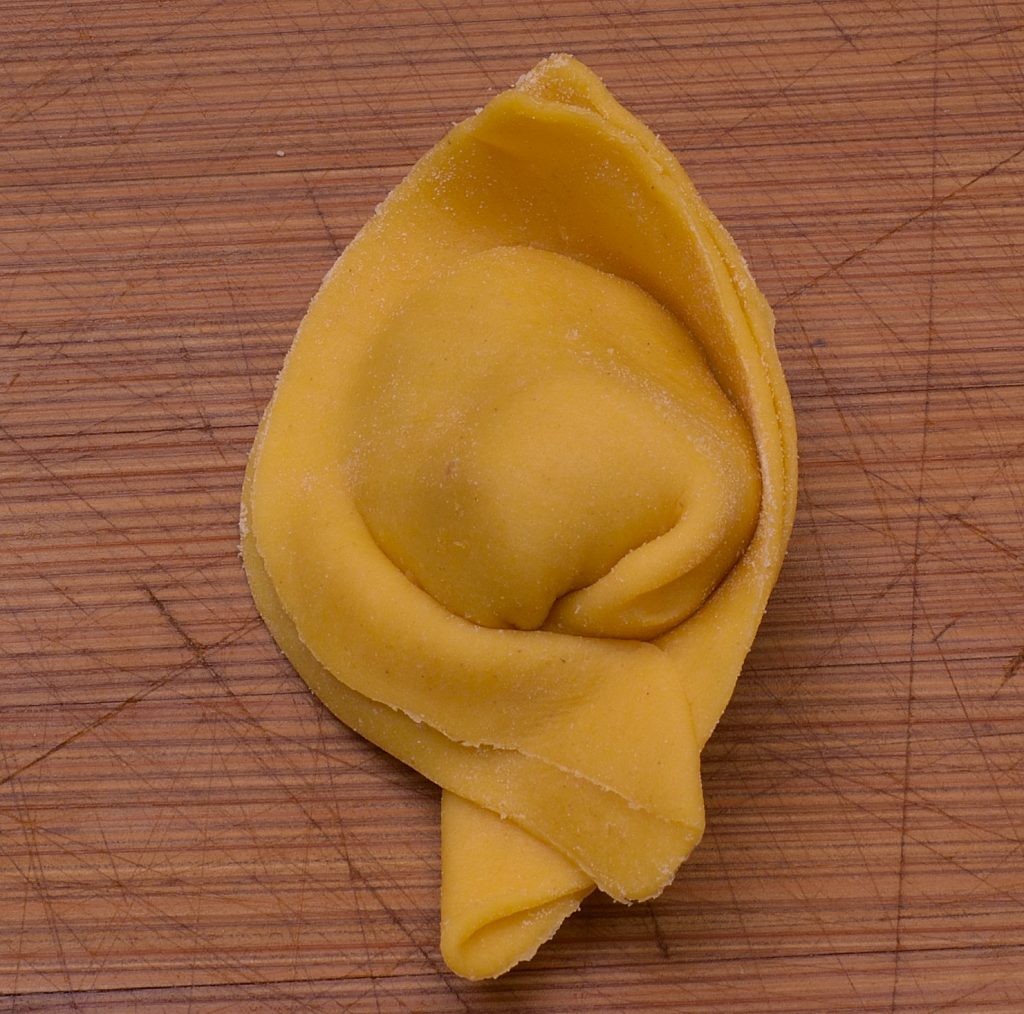
Sort of like a little hat, or so they say. They can also be called “cappelletti.”
Once you get the hang of it, this goes a little faster.
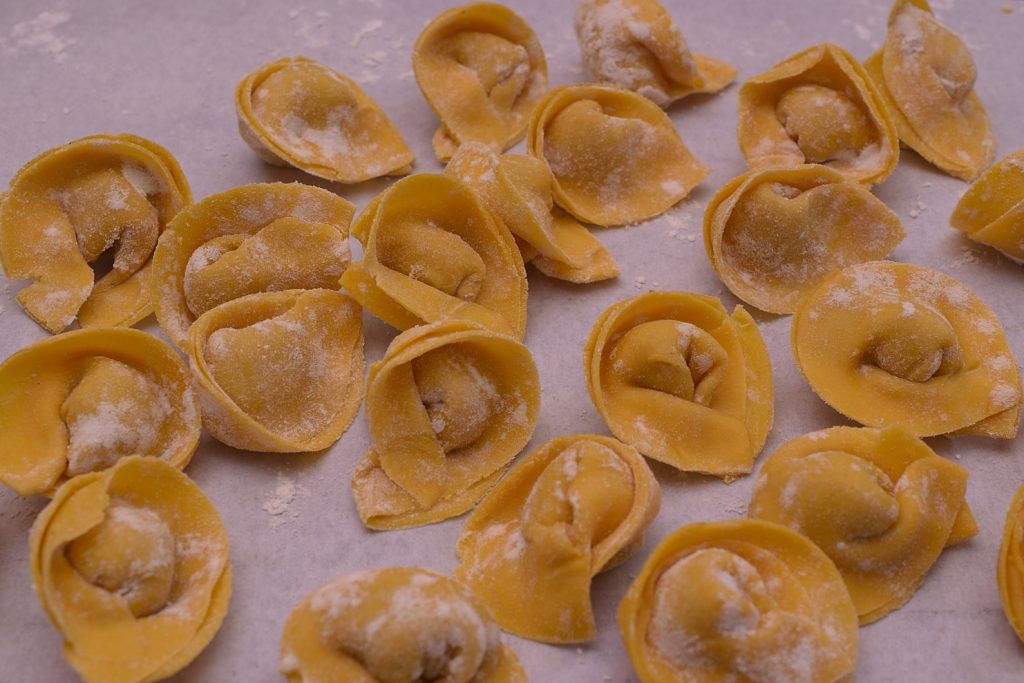
and eventually, you get this.
These dumplings can be refrigerated, but care should be taken to prevent them from coming in contact with each other for extended periods of time. There is still enough moisture in them to make them stick together. They also freeze pretty well. After fully frozen through, they can be loosely loaded in a plastic bag (not vacuumed). Use within a few days, they will crack eventually.
Finishing and Serving
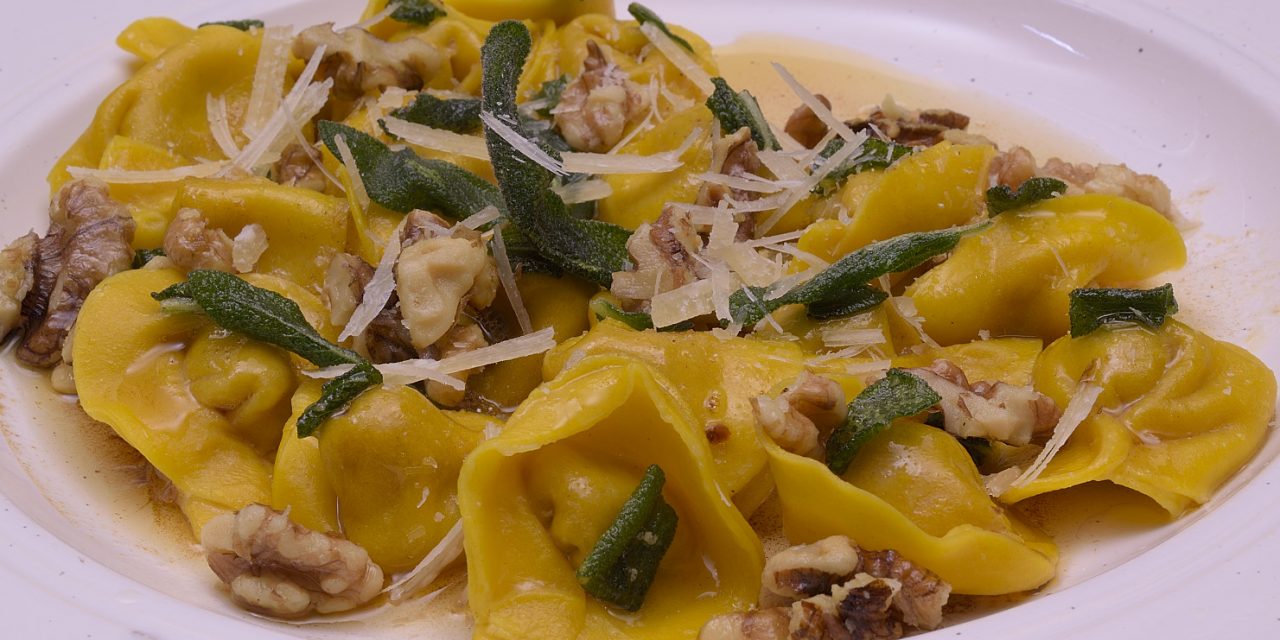
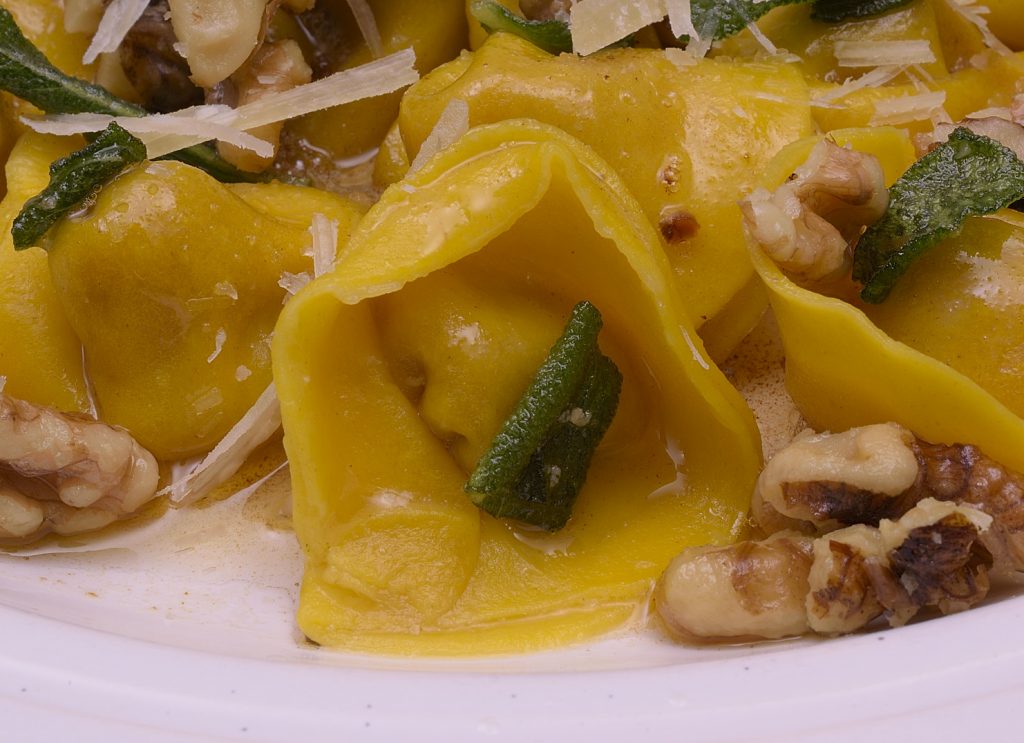
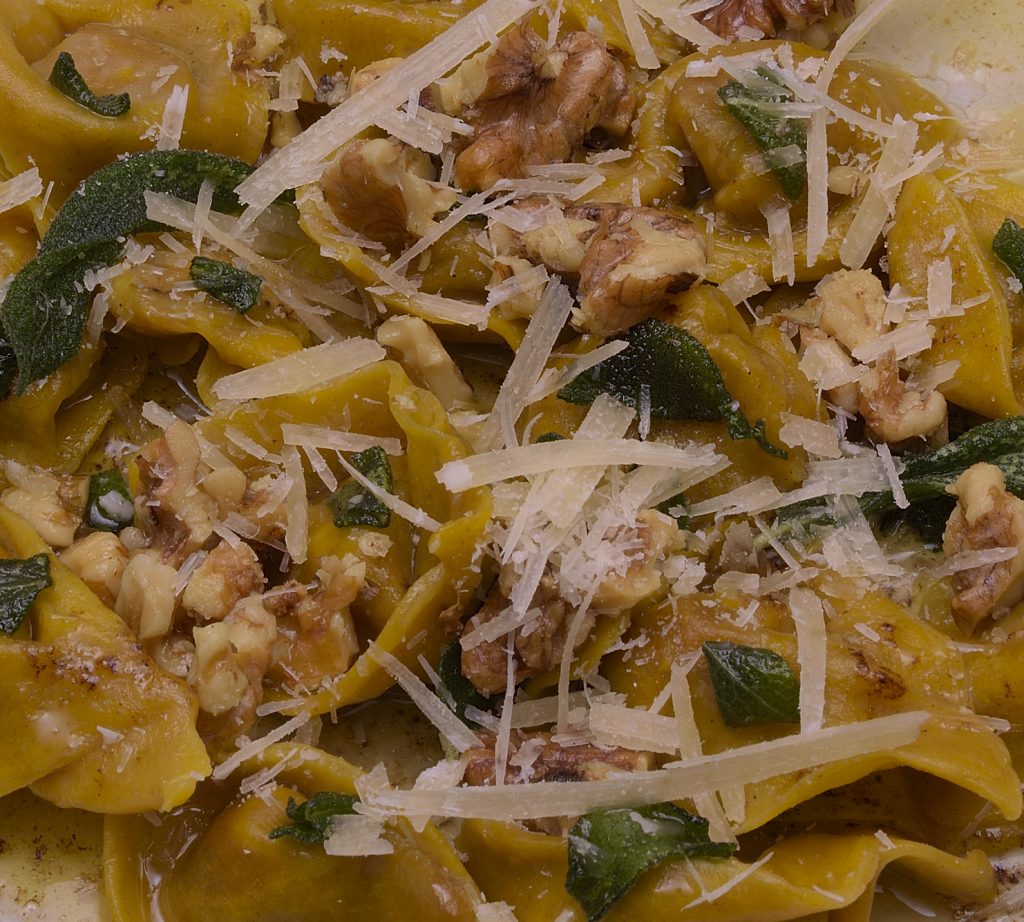
Place a colander in the sink. Bring 2 qt./2 L water to a rolling boil in the skillet. Add the tortellini. They will sink at first. Use a spatula to push them away from the bottom of the pan. The dumplings will start to bob, then they will float. You may lower the heat to medium high but the water must continue to boil. Cook the pasta for 2 minutes and pour the tortellini through the colander. If you are not ready to serve yet, submerge the tortellini in cold water to stop the cooking process. Otherwise, stage onto a platter and return the pan to the burner.
Set the burner with the saucepan on high. Add the butter and let it start to bubble. The butter will begin to foam. The degree to which you brown the butter is up to you. Add the walnuts to coat and the sage leaves just long enough to wilt. Add a pinch of salt and pepper and pour over the pasta. Top with grated Reggiano. If preferred, you can toss the tortellini in the pan with the butter sauce before staging on to the platter. If you cold shocked the tortellini after cooking, simply submerge them in boiling water for one minute to return them to 140 F/60 C.
Make sure you visit us on https://www.facebook.com/groups/272128179509149