
Sous Vide in Particular
Sous Vide is not magical or mysterious. It is among the simplest and most predictable methods of cooking. Minimizing loss of moisture, it creates a uniform appearance of doneness throughout and can be used to pasteurize food. This feature greatly extends shelf life. Sous vide temperature and time parameters are the essential keys to sous vide success.
Seasonings in the bag?
While putting seasonings in the sous vide pouch is usually safe, the scientific evidence says that it is for the most part ineffective. Salt in the form of sodium ions can penetrate the surface of meat, but does so very very slowly. For more information on this hotly debated subject, read the articles linked HERE and HERE.
STARTING POINT.
Food sealed in heat rated plastic packaging is submerged in the pre-heated bath. At onset, the food should either be refrigerated at approximately 40 F/4 C or frozen–somewhere between 10 F/-12 C and 0 F/-17 C. Allow half an hour extra per inch of thickness if your project is frozen. The USDA recommends AGAINST bringing food to “room temperature” before cooking. Proteins should never spend more than a total of four hours COMBINED in the “temperature danger zone” between 40 F/4 C and 125 F/52 C. This means on the way up and on the way down, combined. Time limits are as important a component of pasteurization as safe temperatures.
TEMPERATURE determines the “appearance of doneness.”
While beef and lamb are commonly cooked with the appearance of “rareness” in mind, the same principles of food safety apply to all land and/or air dwelling proteins. Sous vide is well suited to pasteurize, provided the temperatures and times used correlate with the scientifically accepted guidelines. Click HERE to view detailed scientific data about sous vide and food safety in general.
Appearance of Doneness Preferences
Here are some commonly accepted temperature setting guidelines:
Rare: 129 F/54 C.
Medium rare: 132 F/55 C.
Medium: 135 F/57 C.
Medium well: 140 F/60 C.
Well done: 150 F/66 C.
One note on rareness:
The presence of myoglobin is what causes meat to appear rare. Myoglobin is not blood. Myoglobin is a protein that transports energy within muscles–it does not course through veins. Temperatures above 132F/56 C will cause the myoglobin to start to denature, oxidize and lose its color. Time itself contributes to the dissipation of myoglobin as well, so a steak processed for 4 hours will be brighter red than the same steak processed at the same temperature for 16 hours–even at the lowest of safe processing temperatures.
The higher the temperature, the faster the tenderization process will occur and the greater the loss of moisture there will be. This is why experienced practitioners usually apply lower temps for longer times.
TIME determines texture/tenderness.
Moist heat over time converts collagen to gelatin. This is the difference between tough and tender meat. The longer meat is processed, the more collagen will be converted to gelatin. In the case of steaks that are low in collagen, they may be tender before they even go in the bag. They will become more so as time passes, but they will do so very very slowly if the lower ranges of temperatures are applied. Tougher cuts may take up to 72 hours to become tender but the toughest of cuts will eventually get tender, even @124 F/52 C, but not below.
Even though time determines tenderness, time cannot be used to accurately MEASURE tenderness. The method for evaluating tenderness in real time is linked HERE.
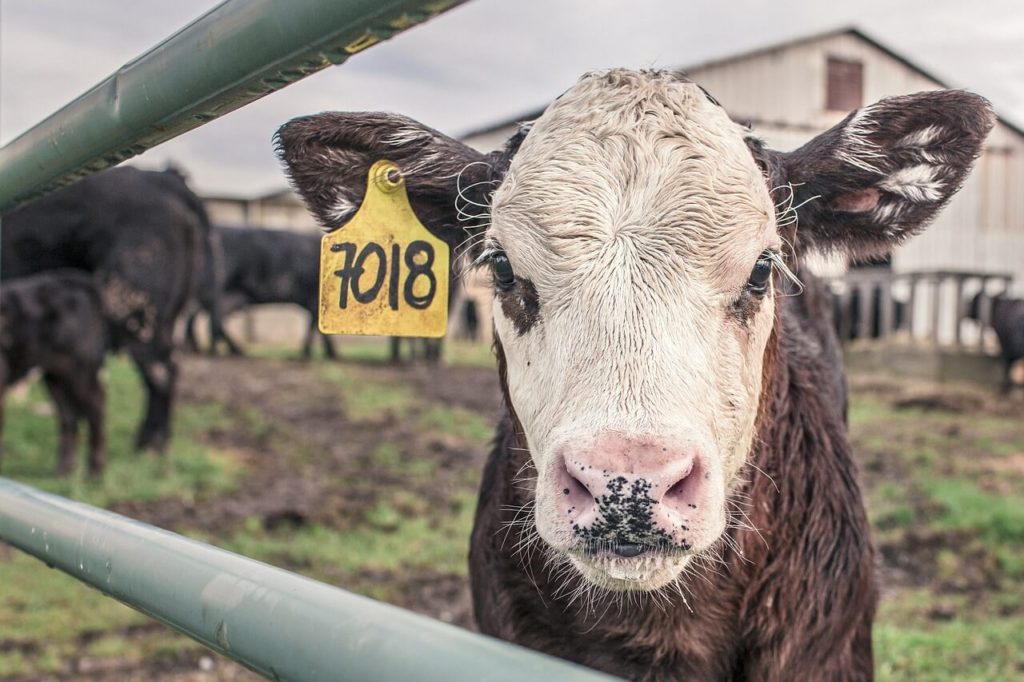
Beef–fresh, fresh ground or cured
Processing temperatures for beef (and most wild game, venison, moose, stag, etc.) usually start at 129 F/54 C (rare). If there are bones still attached to a large cut, 132 F/56 C should be considered to compensate for the difference in thermal conductivity of bone vs meat. Higher temperatures can be used but to fully take advantage of the SV process they rarely exceed 150 F/66 C.
Individually cut filets, New Yorks and rib eyes usually achieve the desired internal temperature within 2-3 hours. They are usually finished and served promptly to avoid time driven myoglobin dissipation. Ground beef shares the same processing guidelines as a tender steak. Tough cuts like brisket, chuck, eye of round, round, etc., achieve the pasteurized state at the same rate, but can take MUCH longer to achieve tenderness. Depending on the temperature used, some cuts can take as long as 96 hours to become tender. Since MOST tough cuts are preferred “well done,” 140 F/60 C will usually achieve desirable results within 48 hours.
Always implement the pinch test if only to fully familiarize yourself with it. In the case of corned beef, the concept of rareness becomes moot. Temperatures between 140 F/60 C and 150 F/66 C create the highest quality product and cause the least color degradation.
It’s time for tenderness
Tender steaks do not require pasteurization as long as you intend to finish and serve them immediately after processing. 2 hours is usually enough to achieve the desired internal temperature for most steaks of a pound or less, but up to four hours will still give you great results.
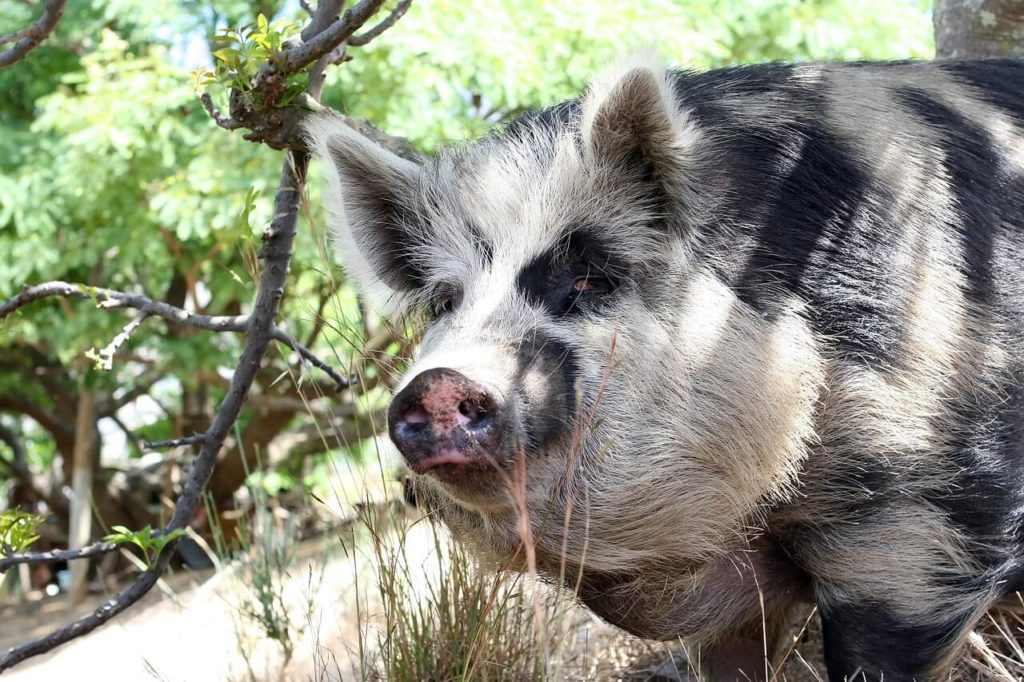
Pork-Fresh or Cured
Safe processing temps can start as low as 129 F/54 C. Higher temperatures can be used but to fully take advantage of the SV process they rarely exceed 150 F/66 C. Even though pork can be safe at 129 F/54 C, most people are much more familiar with and prefer the absence of pink. Therefore, boneless pork is typically processed at temps starting at about 135 F/57 C. Cuts with a lot of bone may require an extra 5 F/3 C to minimize “pink along the bone.”
Most pork cuts are then shocked cold to 40 F/4 C and “reprocessed” via BBQ, smoker, oven, fryer, etc. The results still benefit from the sous vide processing, as most practitioners discover in short order.
Packaged in single layers, tender cuts like chops and tenderloin achieve pasteurization @135 F/57 C within 4 hours. Tougher cuts like shoulder, leg, spareribs and belly achieve the pasteurized state at the same rate but take longer to achieve tenderness, depending on the temperature used. @135 F/57, most cuts of pork will be tender after 24 hours; some practitioners use a higher temperature to achieve the “pulled pork” result. Again, use the pinch test to refine results.
A word about fresh pork: Fortunately for us, our romantic notions about food safety have been dispelled as a result of learning about sous vide. Not so for the public. If you plan to serve fresh pork “right out of the bag” and you process lower than 145 F/63 C, you may find yourself making last minute adjustments to accommodate your guests.
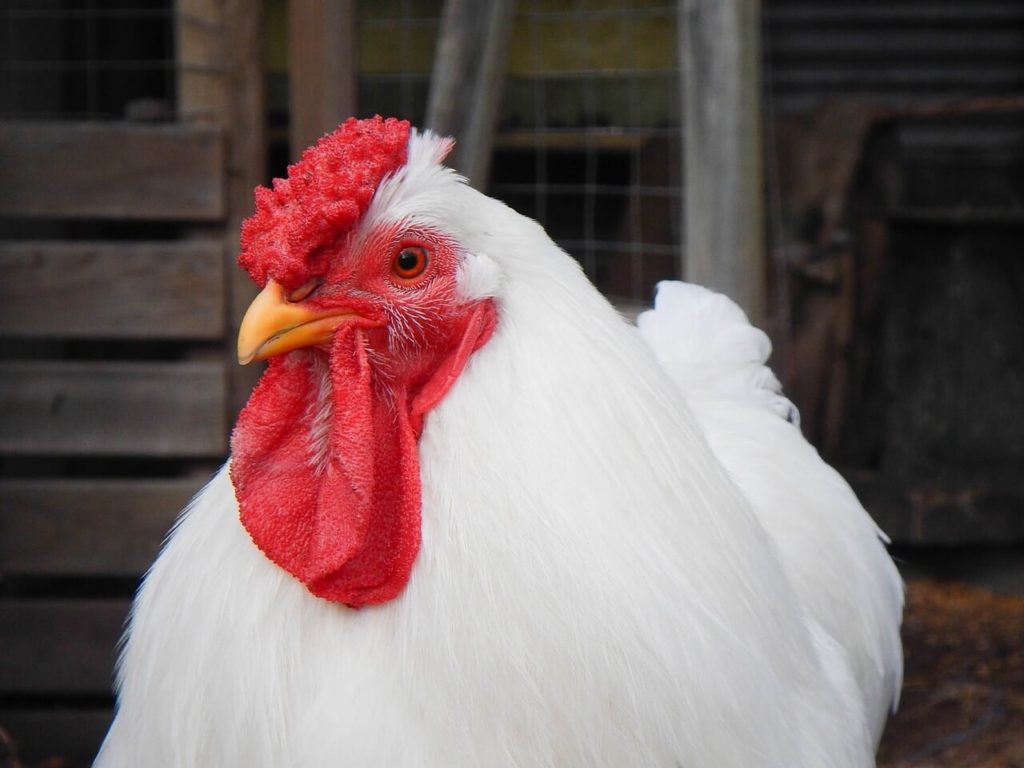
Poultry
Safe processing temps can start as low as 132 F/56 C. Higher temperatures can be used but to fully take advantage of the SV process they rarely exceed 150 F/66 C.
Even though poultry can be safely processed at 132 F/56 C, most people are much more familiar with and prefer the appearance of well done with the occasional exception of magret duck breasts. Therefore, poultry is typically processed at temps starting at 135 F/57 C.
Chicken (and other poultry) are typically cold shocked to 40 F/4 C and then “reprocessed” via BBQ, smoker, oven, fryer, etc. The results still benefit from the sous vide processing, as most practitioners discover in short order.
Single layers of disjointed chicken legs, thighs, wings and breasts achieve pasteurization @135 F within 4 hours. Turkey takes longer because the distance from the surface to the geometrical center is greater, so 6 to 8 hours is recommended. Some people prefer to process drumsticks and thighs longer or higher, but this is optional. Tenderness is rarely an issue with poultry, but the pinch test can still be applied as desired.
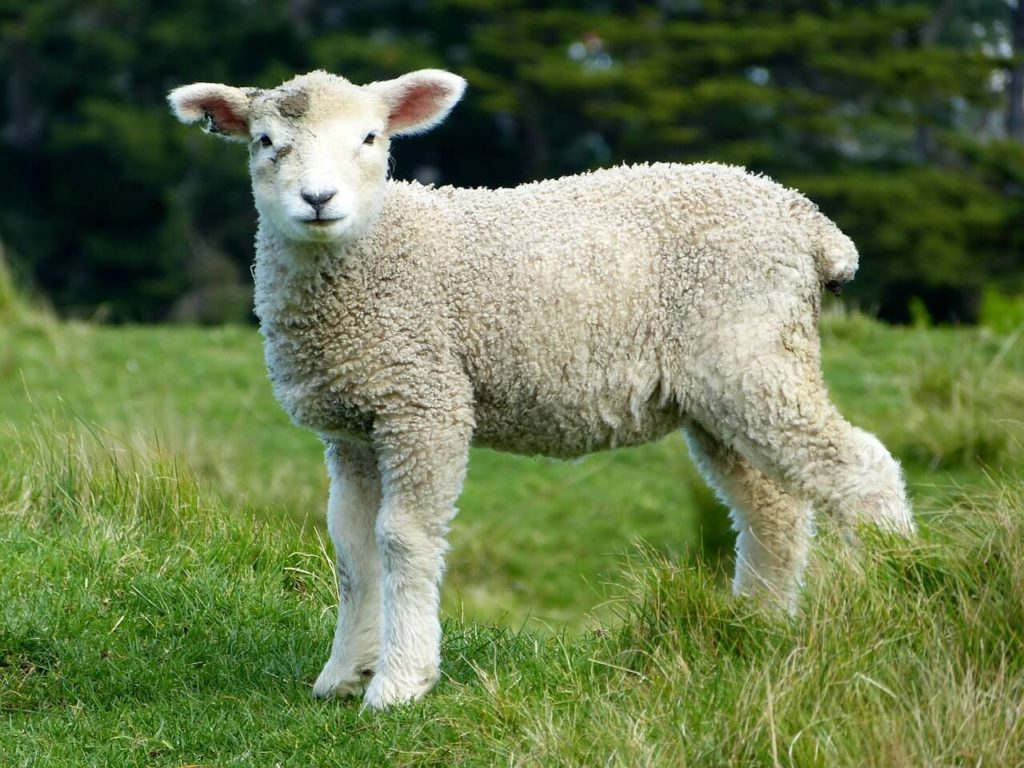
Lamb
Safe processing temps start at 129 F/54 C (rare) and can go considerably higher. If there are bones still attached to the meat, 132 F/56 C is recommended as the starting point to compensate for the difference in thermal conductivity of bone vs meat. Higher temperatures can be used but to fully take advantage of the SV process they rarely exceed 150 F/66 C.
Tender cuts like racks and chops achieve pasteurization @129 F, “rare” within 4 hours. Tougher cuts like leg and shoulder achieve the pasteurized state at the same rate depending on thickness, but take longer to achieve tenderness depending on the temperature used. @132 F/56, most cuts will achieve excellent results within 24 hours. Again, use the added application of the pinch test.
IT’S AS SIMPLE AS THAT.
The PINCH Test
Time results may vary, so, the best way to tell if your meat is tender to your liking is to “pinch” it, while it is still in the bag. It’s pretty easy to tell using THIS METHOD, even for the novice.
Shocking
Shocking refers to putting a completed sous project into cold and/or iced water to quickly reduce the temperature to safe levels (40 F/4 C). This cannot be achieved practically by just putting a hot package in a refrigerator, and, it also puts surrounding foods at risk by raising the temperature inside the fridge. Therefore, sealed packages to be served later should be cooled in ice water to 70 F/21 C as quickly as possible after processing, and then refrigerated unstacked to 40 F/4 C.
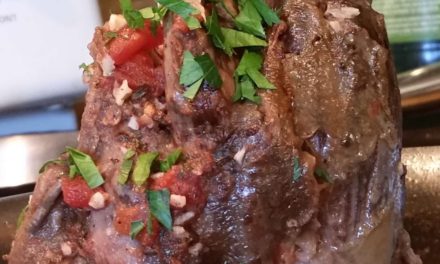
Seasoning, searing, coating and crusting.
Despite furious debate, seasoning is most effective when applied AFTER sous vide processing because it depends on its ability to cling to the surface. In the sous vide environment, applied heat causes meat/proteins not to “circulate” fluids, but to simply release them. This tends to wash off whatever was rubbed on the meat beforehand.
HERE’S the link.
Norm King
Notes: there are a number of Facebook groups on sous vide now. Many of them are pretty good places to TALK about sous vide. THIS ONE is a good place to LEARN about sous vide.
