Part I
We Have All Been Here Before
Unless this is your first foray into sous vide, you are probably aware that sous vide effectively eliminates the difference between tough and tender. If this IS your first foray into sous vide, I will start by telling you that sous vide effectively eliminates the difference between tough and tender. With sous vide, the toughest of cuts become as tender as any cut that started out that way. In many cases, sous vide can achieve this conversion of collagen to gelatin while still preserving the appearance of “rareness” typically limited to quick-cooking cuts like tenderloin, strip loin, and rib eye, etc.
As you have probably noticed, the title of this article does not specify which cut we are using for this demonstration. That is because it doesn’t matter, thanks to sous vide processing. Okay, there are a few cuts that might not excel for this application–shanks. tail. liver. I’m thinking. If you put your mind to it, even well trimmed brisket will work for this dish. We are using top sirloin flap, because, well, that’s what I had in the fridge. So what is a top sirloin flap?
I Knew That, I Think
There is more than one kind of flap on a steer. I have always suspected that the cryptic terms for different cuts of beef intentionally obscure an unsettling actuality. For almost every cut/muscle on a cow, there is a corresponding “cut” of meat on human anatomy. Nobody wants to see a menu that offers a charcoal grilled biceps femoris that originated as part of a gluteus medius. That is why menus describe this cut as a coulotte, bavette, and the hotly debated picanha. Sports fans might be interested to know that the top sirloin is the “oblique” group of muscles, the source of a common sports injury.
Once we get past all the debates and the creepiness, it seems apparent that meat can be simply divided into two large categories–tough and tender. Either high in collagen (6%), or low in collagen (almost none). Or at least, that used to be the case.
Required Devices, Ingredients, and Procedures:
- Pasta machine, manual–the kind with a roller. These are readily available, and vary widely in price for basically the same thing. They start around $40, and the on-line retailer named after a Brazilian river has a number of suitable choices.
- Food processor and/or Kitchenaid type mixer.
- Channel or chamber vacuum machine, vacuum bags.
Serves: 4+
- Start with a lean cut of beef that weighs at least two pounds/one kilo–top sirloin, tri-tip, top round, bottom round, chuck eye, brisket–any well trimmed, lean cut.
- Flour, 1 cup/5oz/125g.
- Vinegar and/or lemon juice, a few drops.
- Vegetable oil, a few drops.
- Salt, a pinch.
- Water, 1/3 cup/65ml.
- Spinach, fresh, 8 oz 200g.
- Feta cheese, 4 oz/100g.
- Butter, unsalted, 4 oz/100g.
- Vegetable oil (for deep frying) as needed–usually 3-4 cups/600-800ml.
Sous vide process the beef at
129F/54C
until it is tender.
How long is that? Well, it depends on the cut. If it starts out as a tender cut like tenderloin or strip loin, it doesn’t need to be sous vide processed at all. It is already tender. Kind of defeats the whole purpose of sous vide. But if it’s a tough cut, it could take up to 48 hours in the bath to achieve the desired tenderness. In this case, we processed the top sirloin flap for 24 hours. How do you know when it’s done?
There is no “moment” when proteins need to be immediately removed from the sous vide bath. Typically, for cuts other than steaks that are already tender, increments occur in multiples of six hours–6, 12, 18, etc. You use the PINCH/POKE test to measure tenderness along the way. Unless you are new to sous vide processing, you should really know this already, especially if you have read any of our previous posts. If you ARE new to sous vide, you should familiarize yourself with the Pinch/Poke method, conveniently linked above. It is very easy to learn, and you will never have to ask how long something should be sous vide processed again. Unless you are just trying to make conversation, anyway.
Phyllo Dough
While the beef is being processed, make the phyllo dough:
Put the flour, vinegar/lemon, oil and salt in the food processor or mixer.
Bring the water almost to a boil, and pour it into the flour mixture while the machine is running. At first it will be crumbly and dry. Continue to mix; eventually, it will begin to clump together, and then form a ball. Turn off the machine, remove the dough, wrap in plastic, and refrigerate. If the dough is too wet, it will still work, but it becomes much more difficult to roll out later.
Cured Spinach
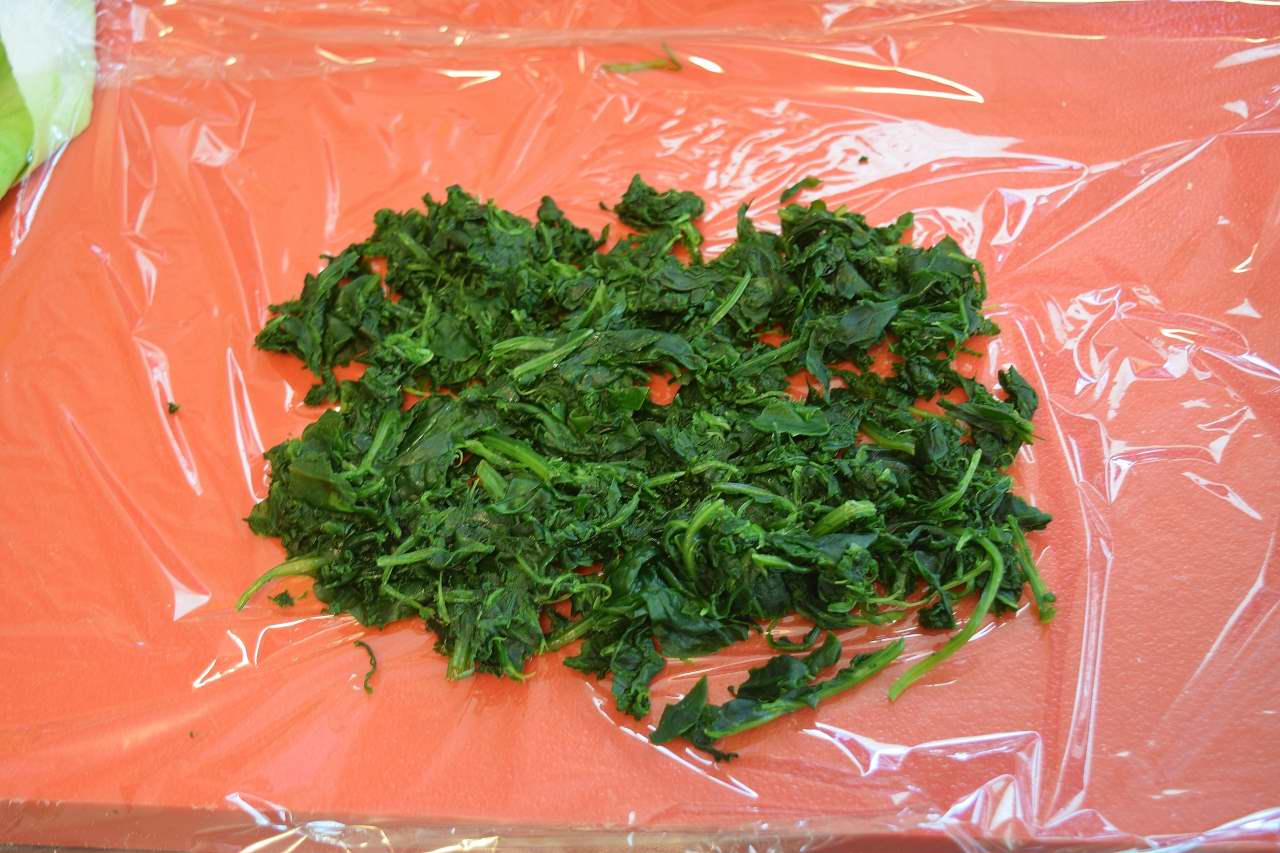
Attach the paddle to the Kitchenaid type mixer and turn it on slow. Add a pinch of salt, and then start adding small handfuls of spinach to the bowl, letting it continue to mix. After you add the last handful of spinach, you will see that the spinach is now dark green and very wet.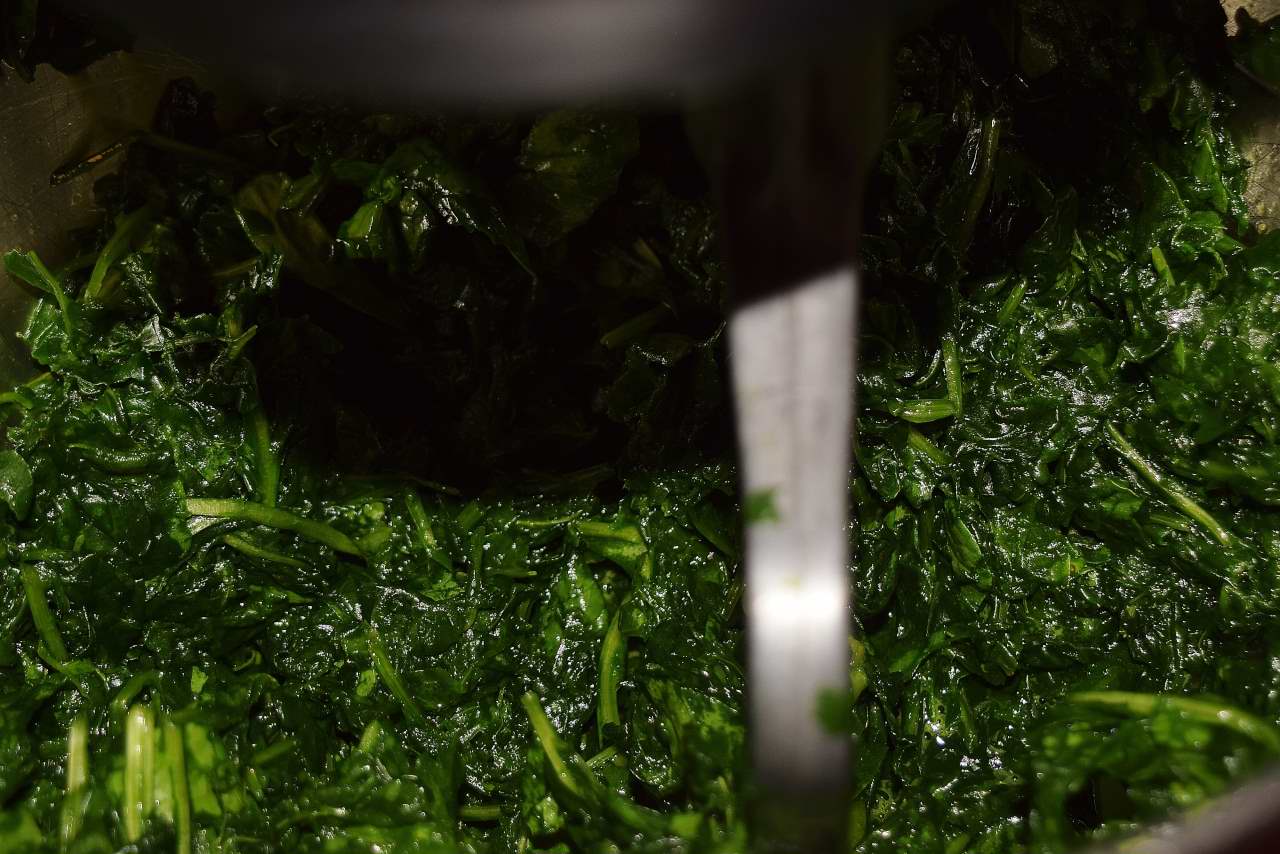
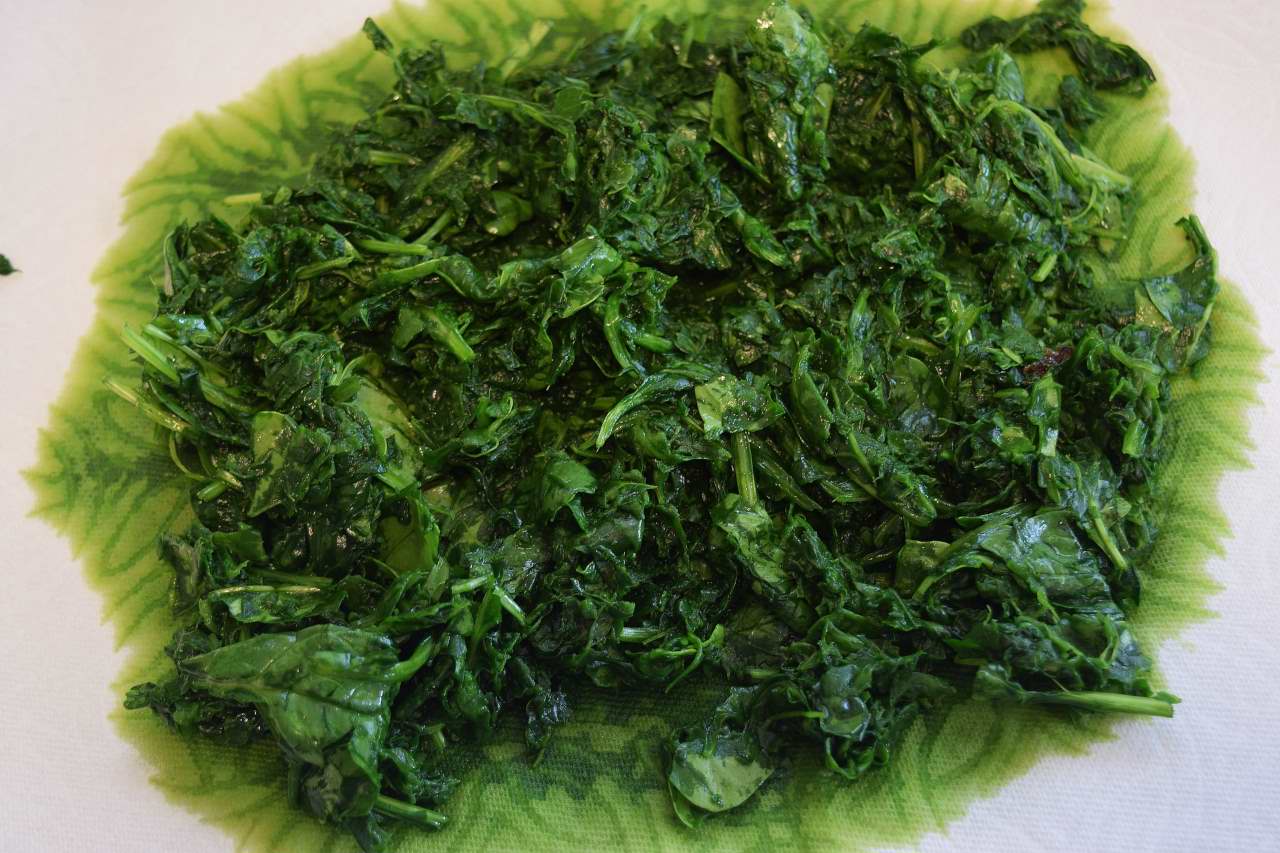
This process makes it unnecessary to cook the spinach. Drain the bruised spinach in a colander to remove most of the water.
Wrap the spinach in a clean towel/paper towels and put it in a plastic bag suitable for sous vide. Vacuum the bag to remove the rest of the water.
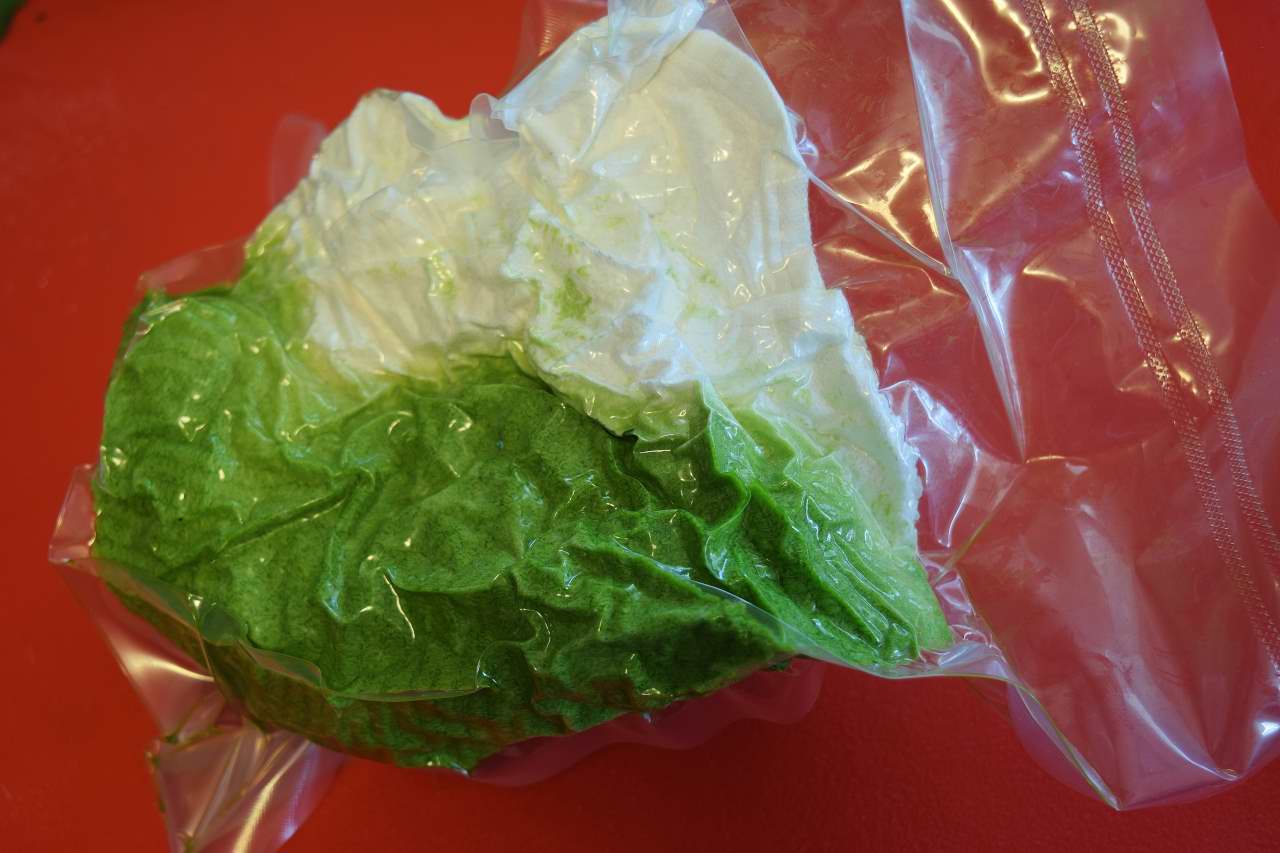 If it is still wet when you open the bag, repeat the process. You want the spinach as dry as possible.
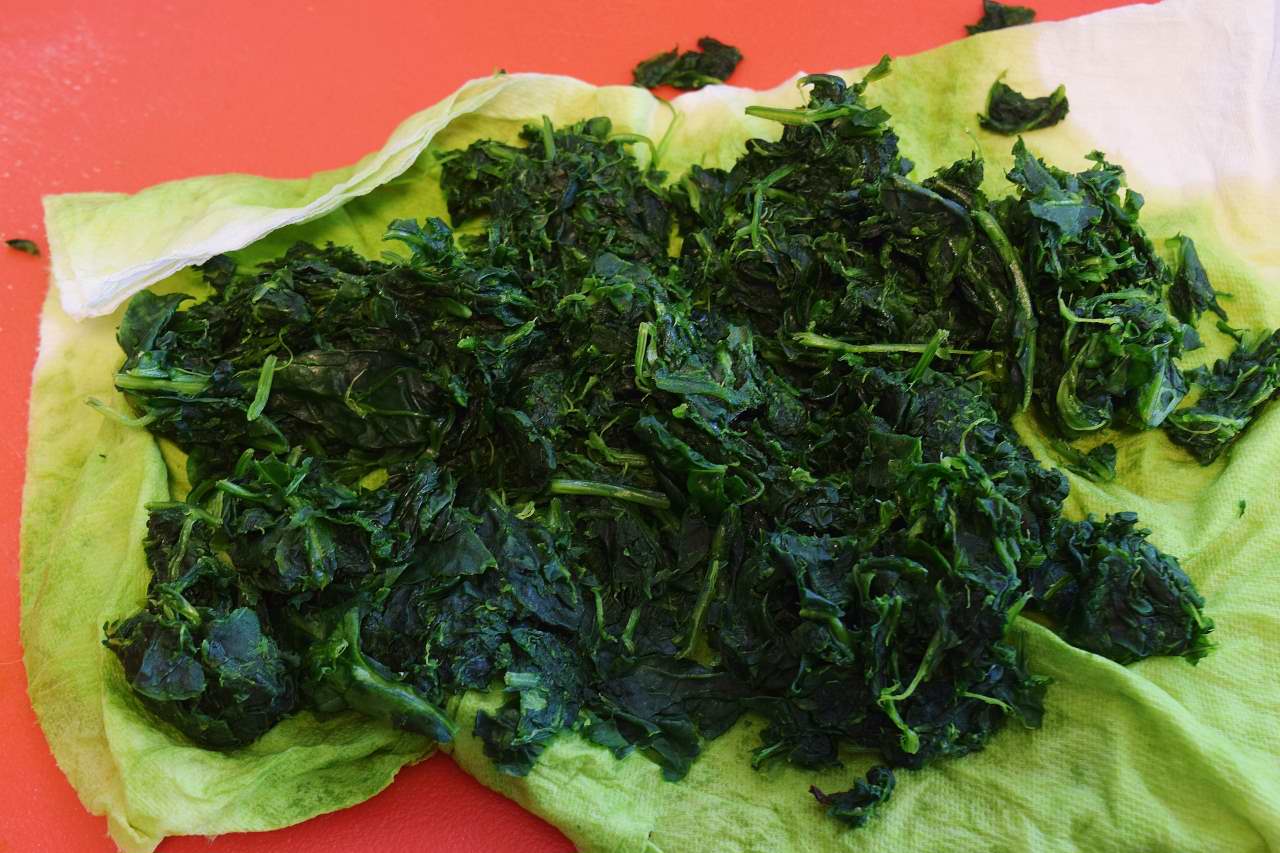
Water is the enemy!
Set the spinach aside.
Measure and break the Feta cheese into crumbles; set aside.
Back to the Dough
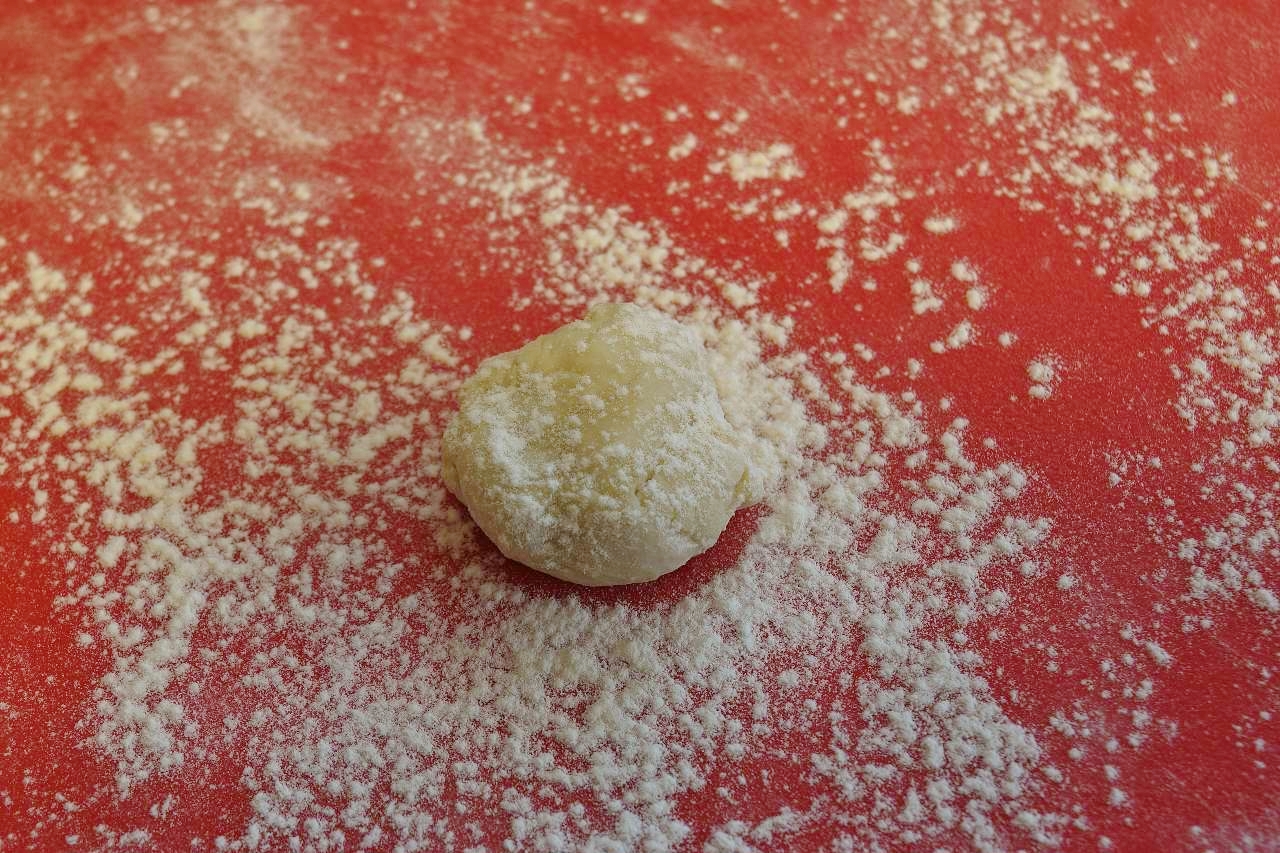
Divide the dough into eight, one ounce balls. It should make exactly that much, because we started with 5oz flour and 3oz water. Below is a one oz. ball of dough.
Set up the pasta machine on a dry board dusted with flour. Run each ball through the pasta machine, starting on the widest setting. Continue reducing the setting, turning the dough 90 degrees at a time until it gets almost as wide as the rollers. After you get to the fifth setting, you will notice that the dough feels a little cool and even slightly moist–dust both sides with flour, brush off the excess, and continue rolling all the way to the narrowest setting–usually “#9”.
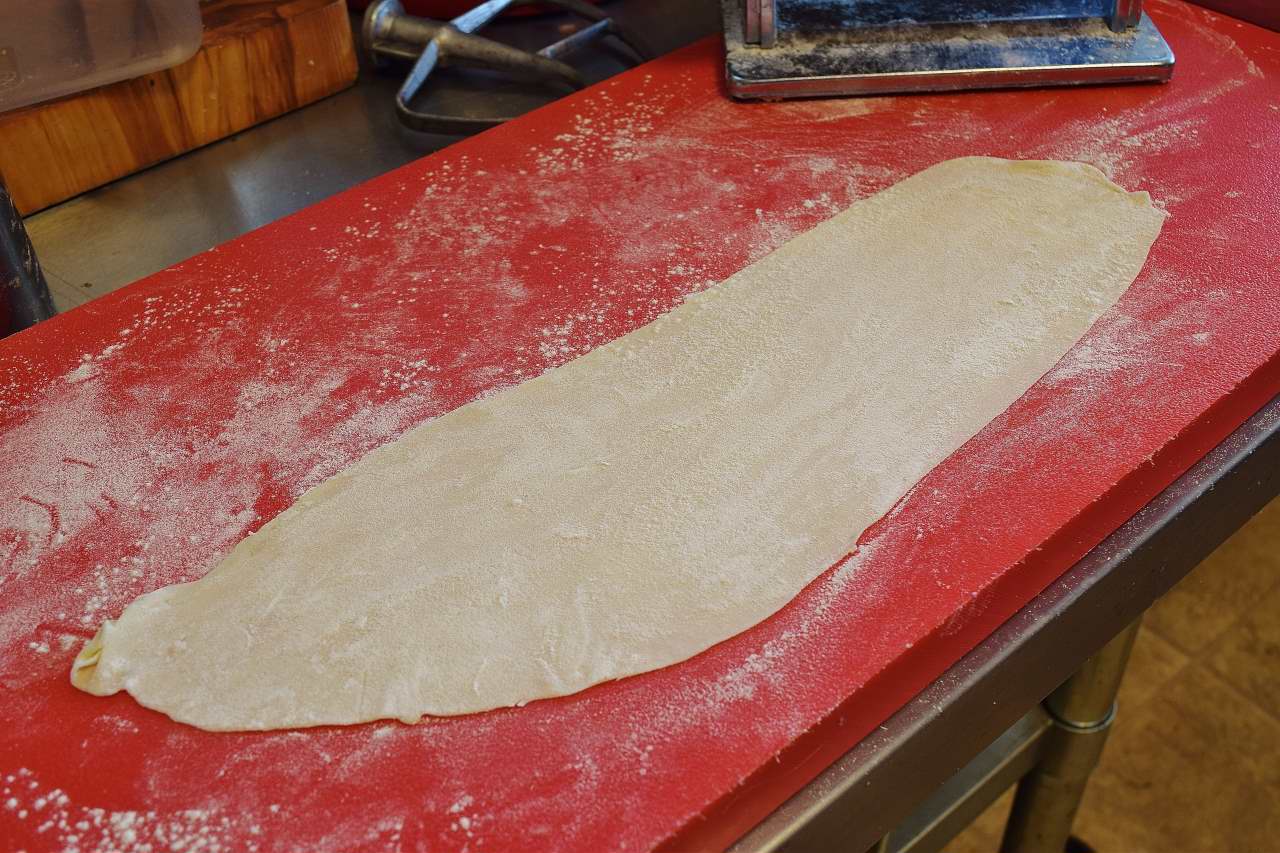 Dust again, very lightly. It should be approximately 16″/40cm long and at least 5″/125mm wde.
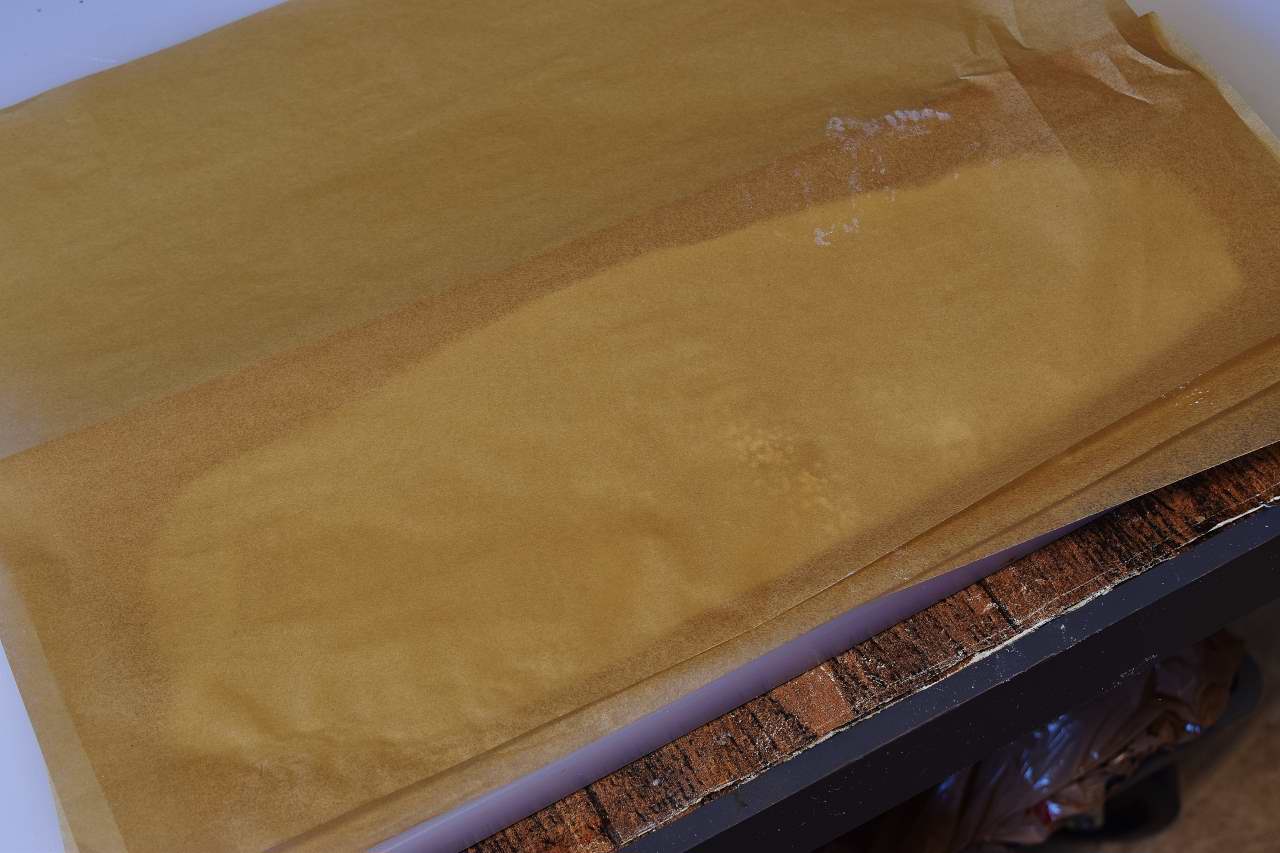
Lay the sheet/strip on dusted parchment, butcher paper, wax paper, etc, and fold the paper over the top to keep the sheets from drying out. Just keep stacking them up until you have 8 sheets. At this point, you can refrigerate if desired. Just roll the whole package up from end to end and put it in the fridge.
Back to the meat
Once you have processed your roast-sized piece of beef, do not remove it from the bag. Cold-shock it in ice water until it achieves
70F/21C
Once it achieves that temperature (usually about a half an hour), refrigerate at
40F/4C
until you are ready to use it. This is the easy part. This is a good time to take a break.
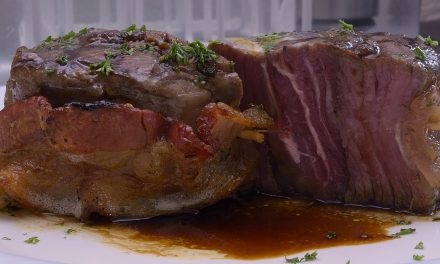
This is the top sirloin flap after processing/pasteurization.
Part II
Things We Already Knew, and Tried to Forget
Sous vide does not replace other methods of cooking. Sous vide is typically introduced as a facilitating step in recipes that already exist. This revelation discourages some people. Cooking is complicated enough, why add another step? I am going to assume that my readers have already resolved this issue in their minds. Once we have exhausted our repertoire of sv steaks and chicken breasts, the ambitious among us take an interest in other ways in which sous vide can be applied.
Sous vide enthusiasts frequently renew their interest in sauces. Sous vide can be applied to sauce making, but it does not offer the same benefit as it does to proteins. No matter. We were already interested in cooking when we discovered sous vide, weren’t we?
Phyllo Dough is NOT a Sous Vide Thing
Pastry is a thing. It is not new. It has been successfully executed for hundreds of years by uneducated cooks with very primitive equipment. This belies the fact that pastry is very difficult for many of us. I plead guilty to having bought pre-made pie crust just to avoid waiting for a cool and breezy day to make it. Those recipes always start that way, and that’s enough to make most of us slam the cookbook closed and head for the freezer section.
Phyllo dough is no exception. Even though it has a little lemon juice/vinegar, salt, and a few drops of oil, the active ingredients are really just flour and water. Even the purchased stuff is really difficult to handle, and must be carefully unrolled from the package, kept dry but not too dry, wet but not too wet, and on and on.
From a scream to a whisper
The difficulty continues when you see how phyllo dough was made traditionally. Even though a rolling pin is used to get started, the round, paper-thin sheets of dough are eventually hand stretched over a form like a big smooth rock, a thick round table, cutting board, etc. I have seen it done in the home and, well, they make it look easy but you can tell that it’s not. And you don’t just make one sheet, either. You make like twenty. Was this created as a form of punishment?
This is where the pasta roller comes in. I did not invent this method–there are YouTube videos that illustrate it very skillfully. I have found a way to make it even easier than they show on the videos. Just make a little. Never more than one cup of flour–even a half cup of flour will make enough for four “packages” that are long enough to cut in half and serve as appetizers.
This sample was made with ONE sheet of the dough. Pretty cool. Little bit of Tzatziki on there, we’ll talk about that later.
We are ready to make our first package.
Cut a small piece, approximately twice as long as it is thick, like the picture above. Don’t worry if it’s not perfect. I don’t do perfect. I do practical. Somewhere between one and two oz–25-50g.
Season with S+P, coat with a few drops of oil, and sear on each side for just a few seconds in a 400F/204 skillet. In reality, the searing is not even necessary. It is cosmetic, but you won’t be able to see it in the package. Some people think it’s necessary to make the steak tender or tasty, meh, not so much, really. Give the meat a couple of minutes to cool.
Combine half of the cured spinach with half of the Feta cheese.
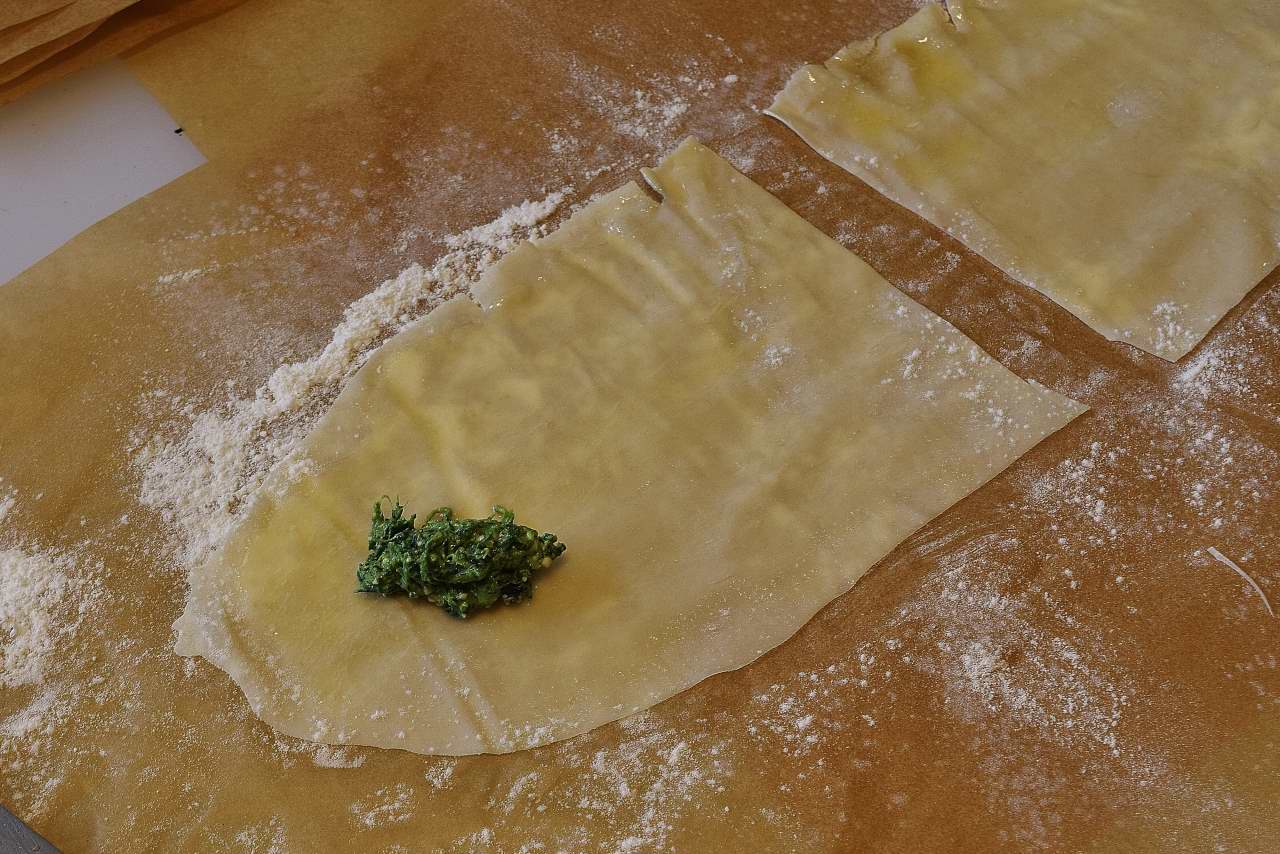
Cut one of the sheets in half as shown. Paint with melted butter, and put about a tablespoon of the spinach/Feta mixture on top.
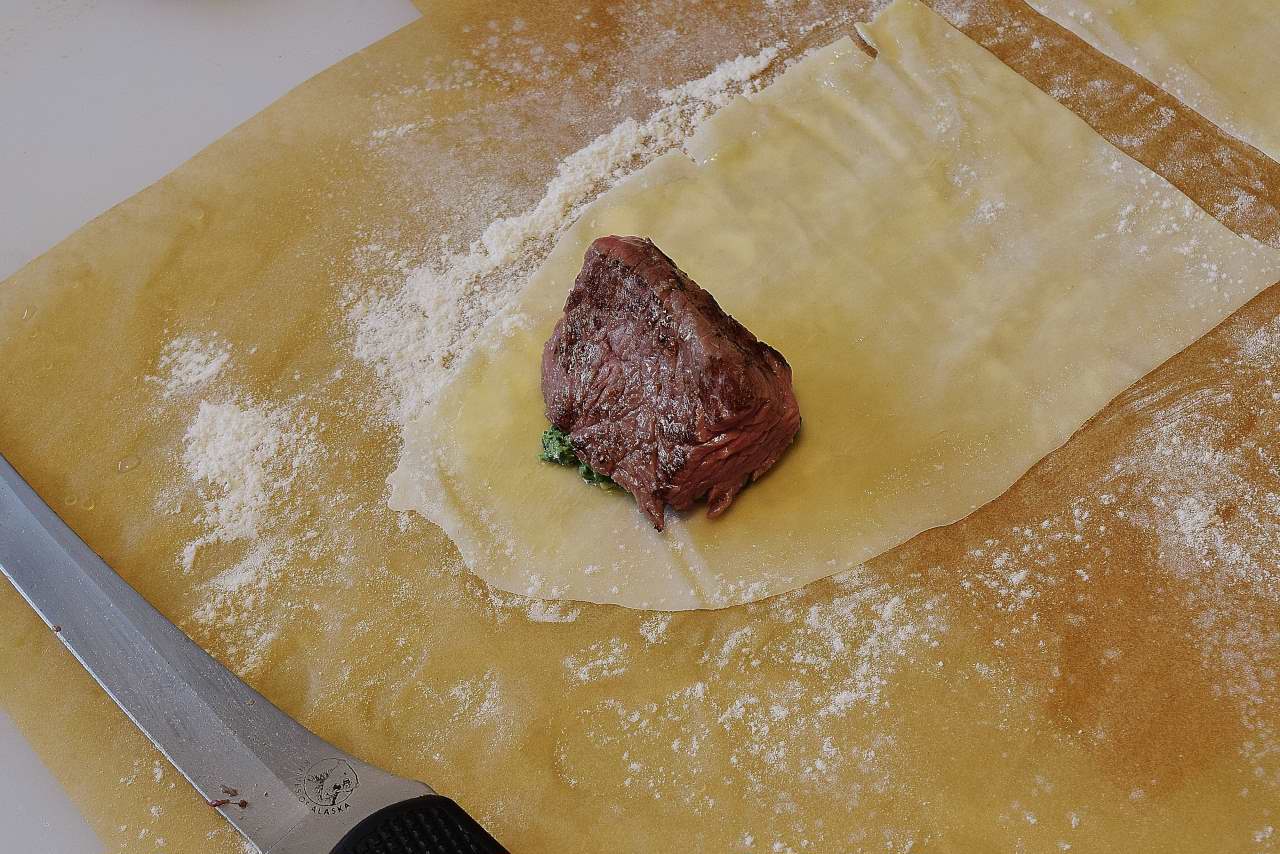
Lay the meat on top of the spinach.
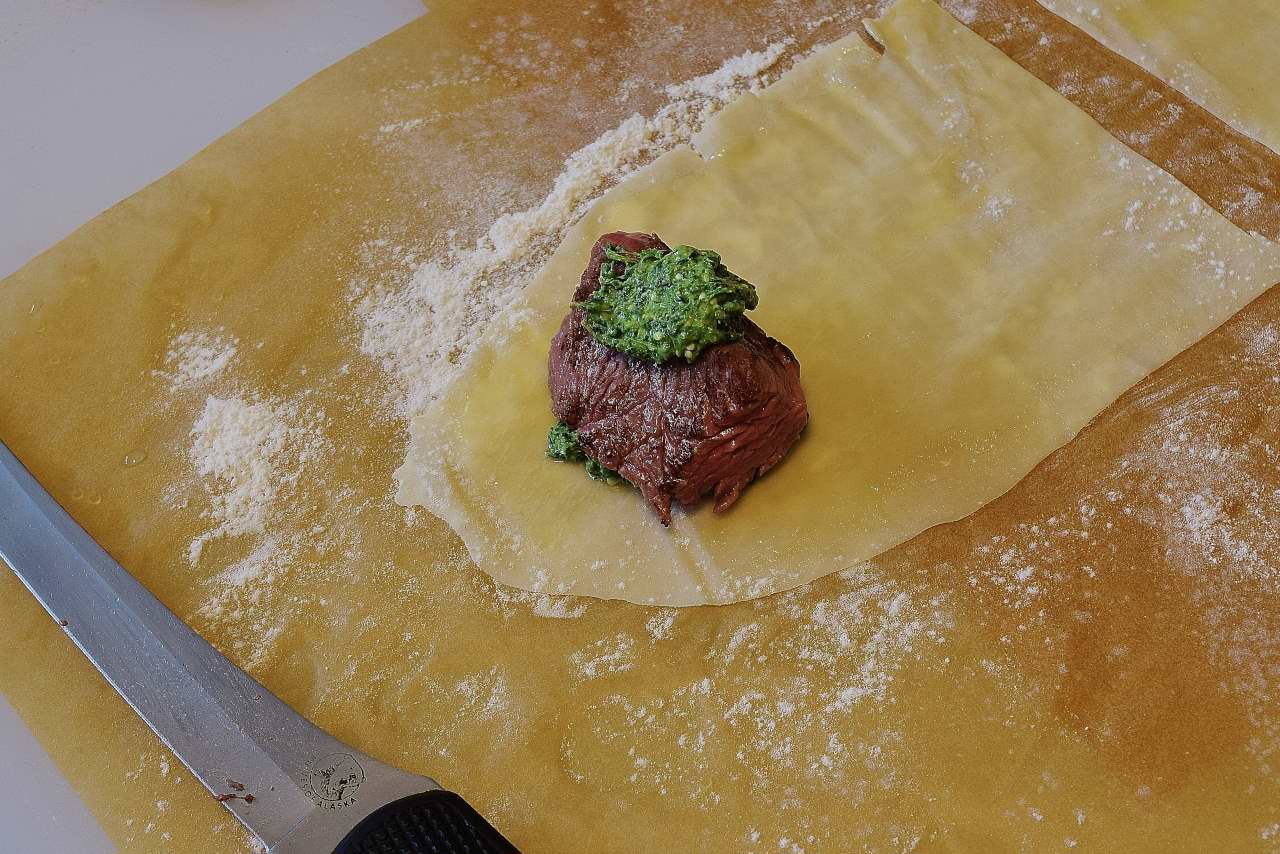
Add a little bit more spinach.
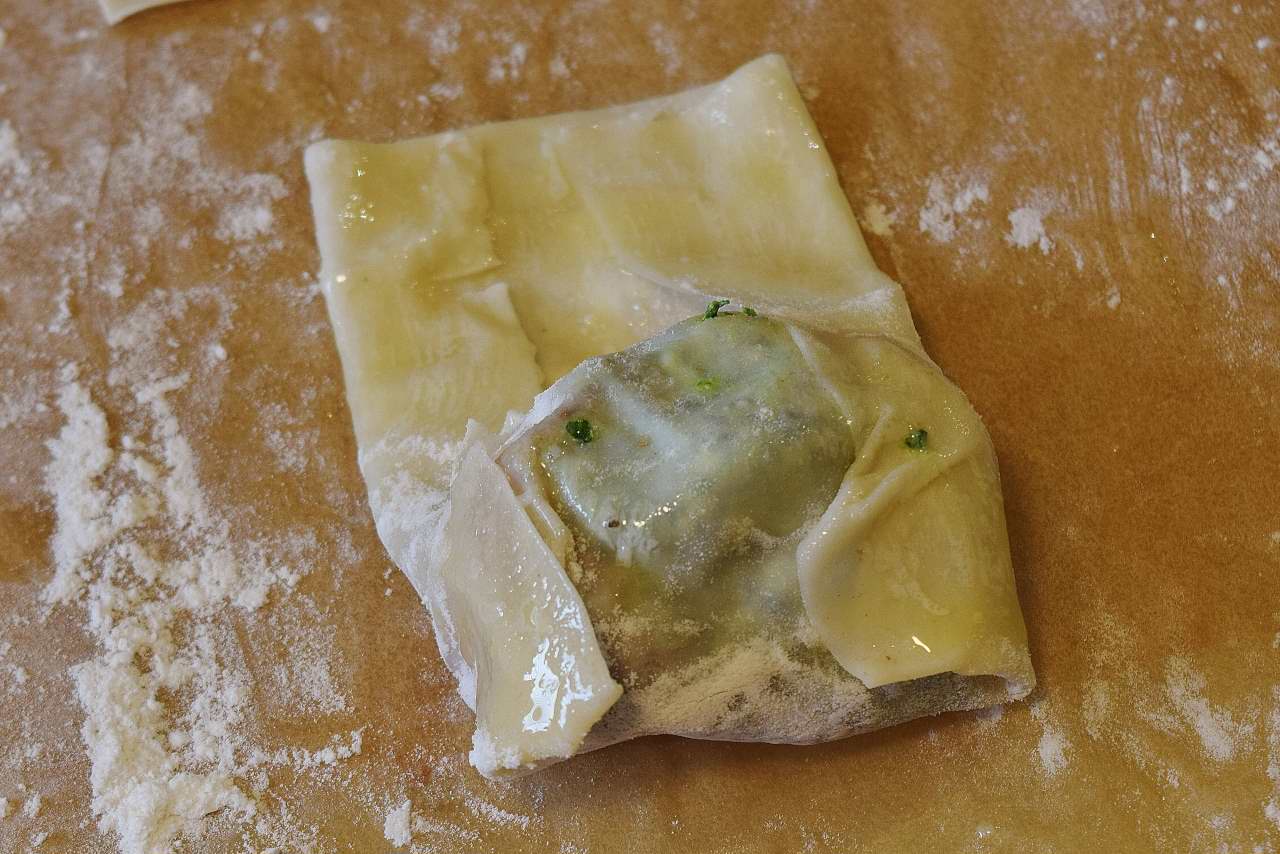
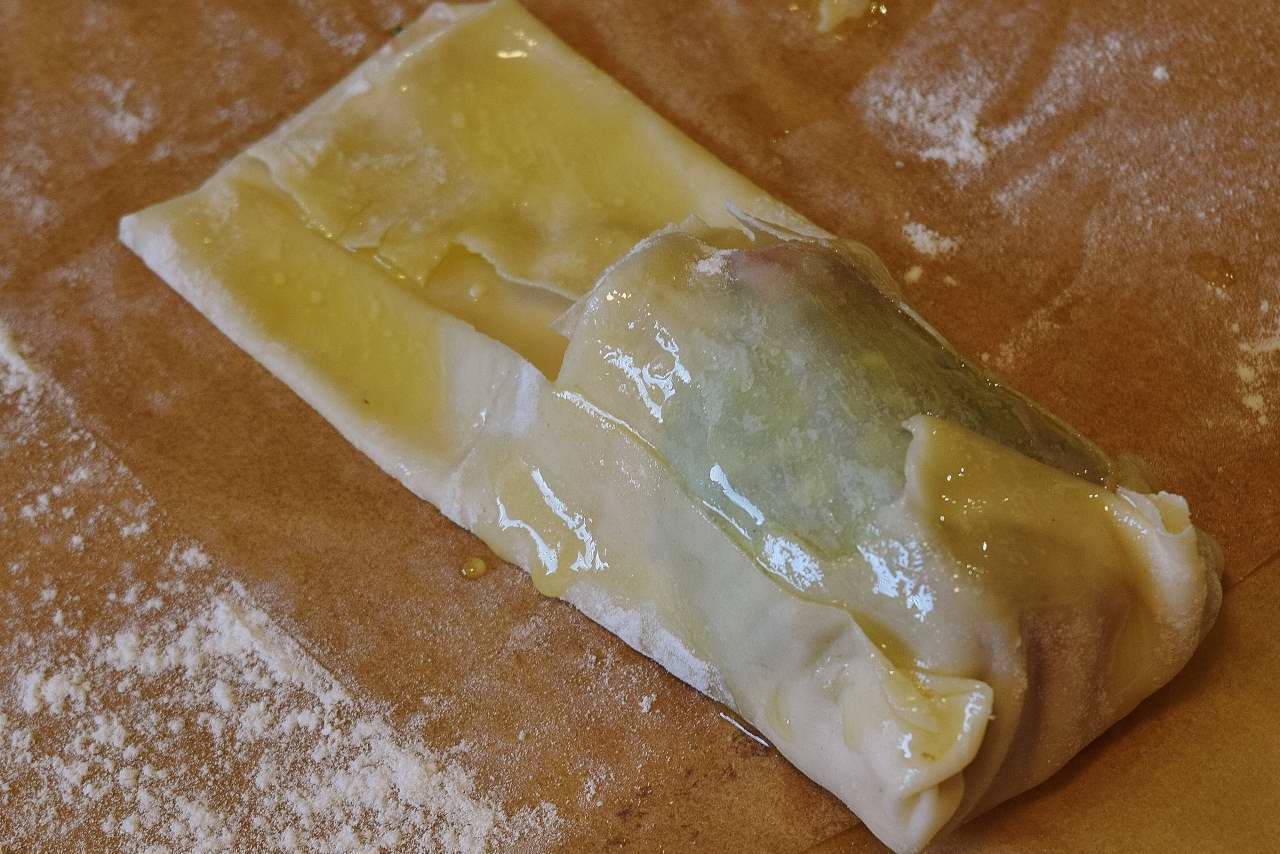
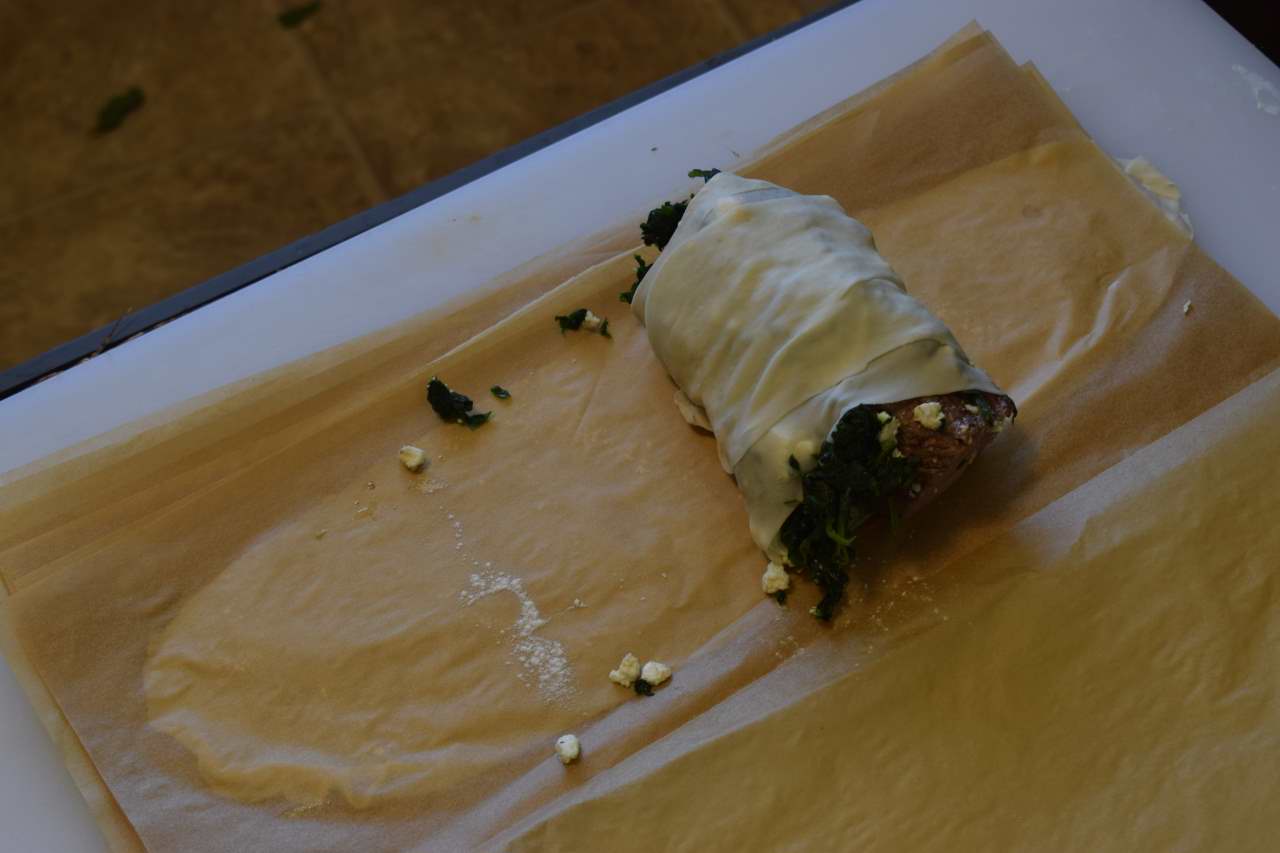
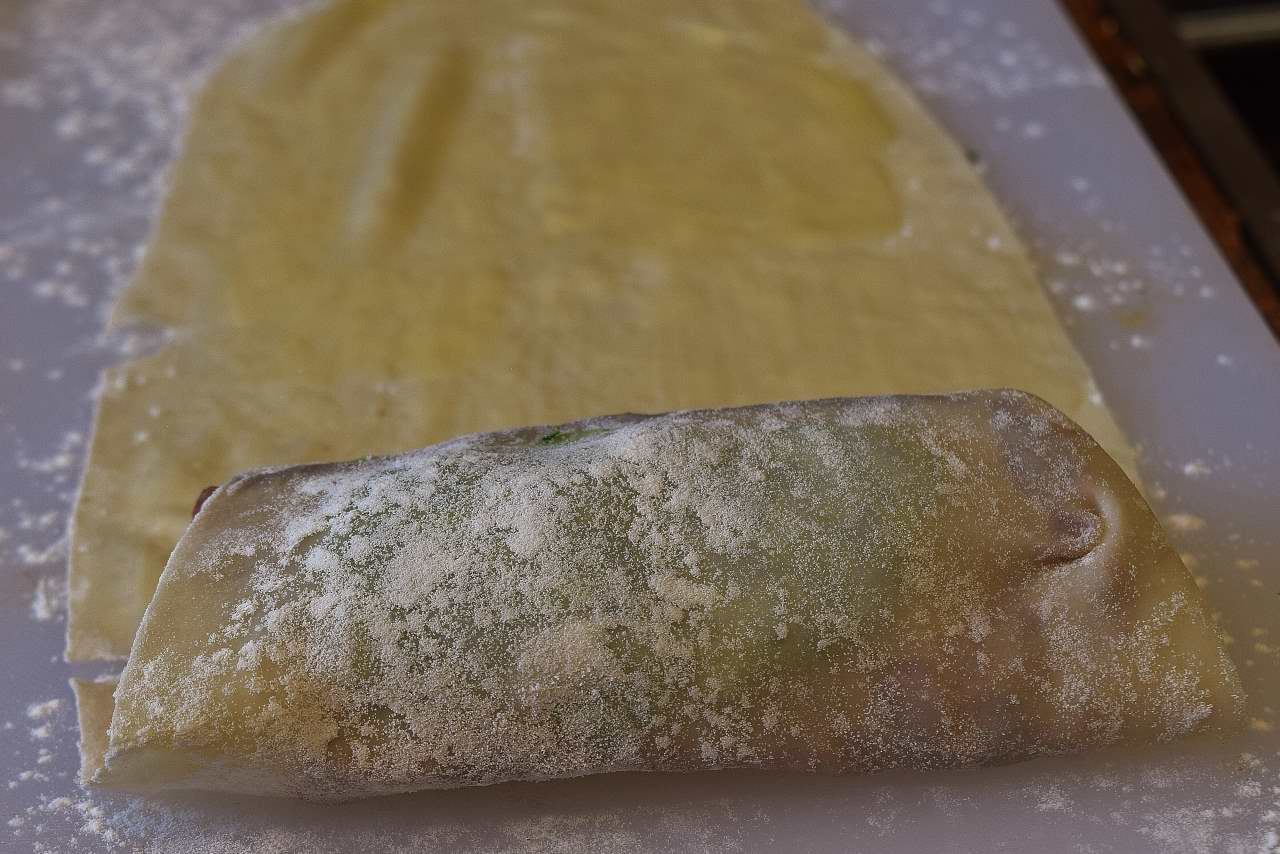
Relax. Curb your anxiety. Take your time. Fold the end of the dough over the meat, and then fold the sides up as shown. Very logical. Paint the little tabs of dough that you folded up with the butter. Butter is glue, in this case. 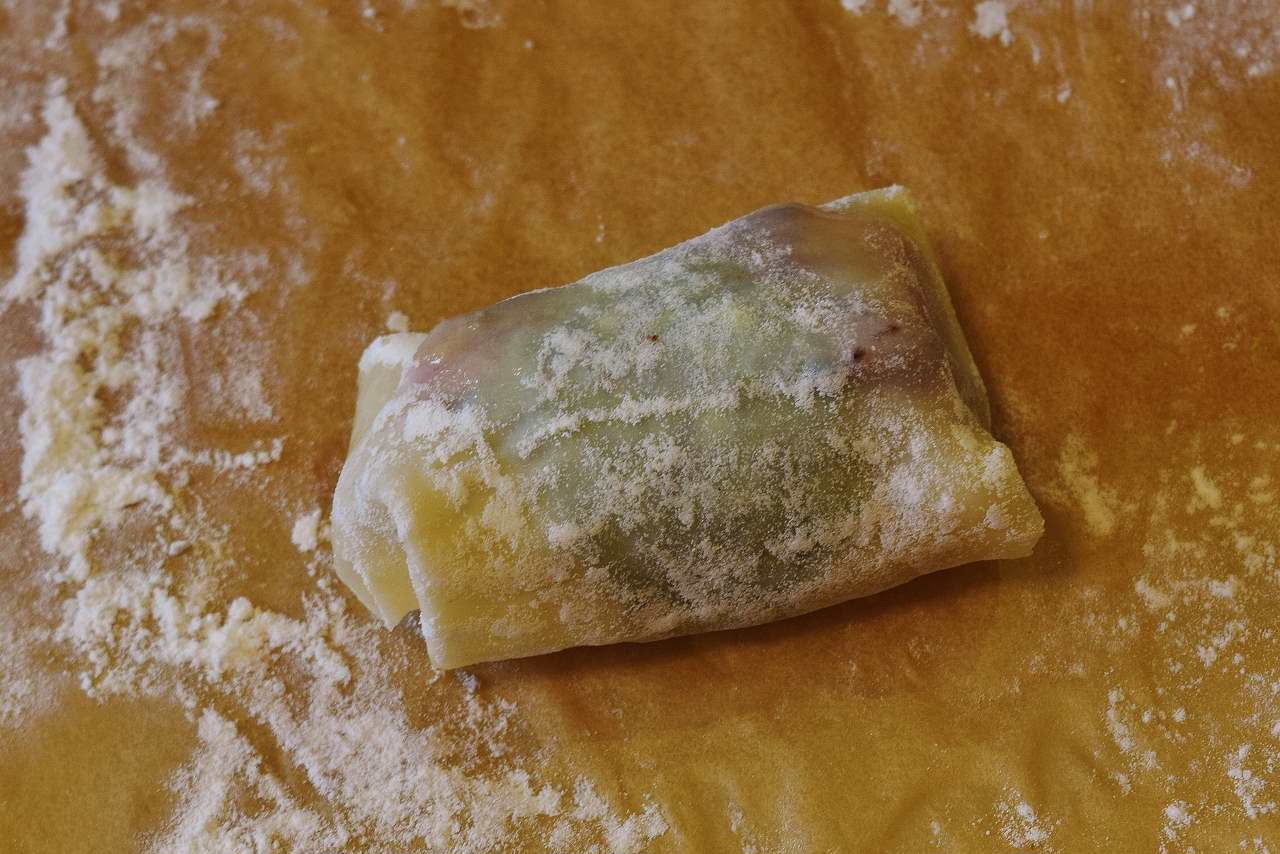
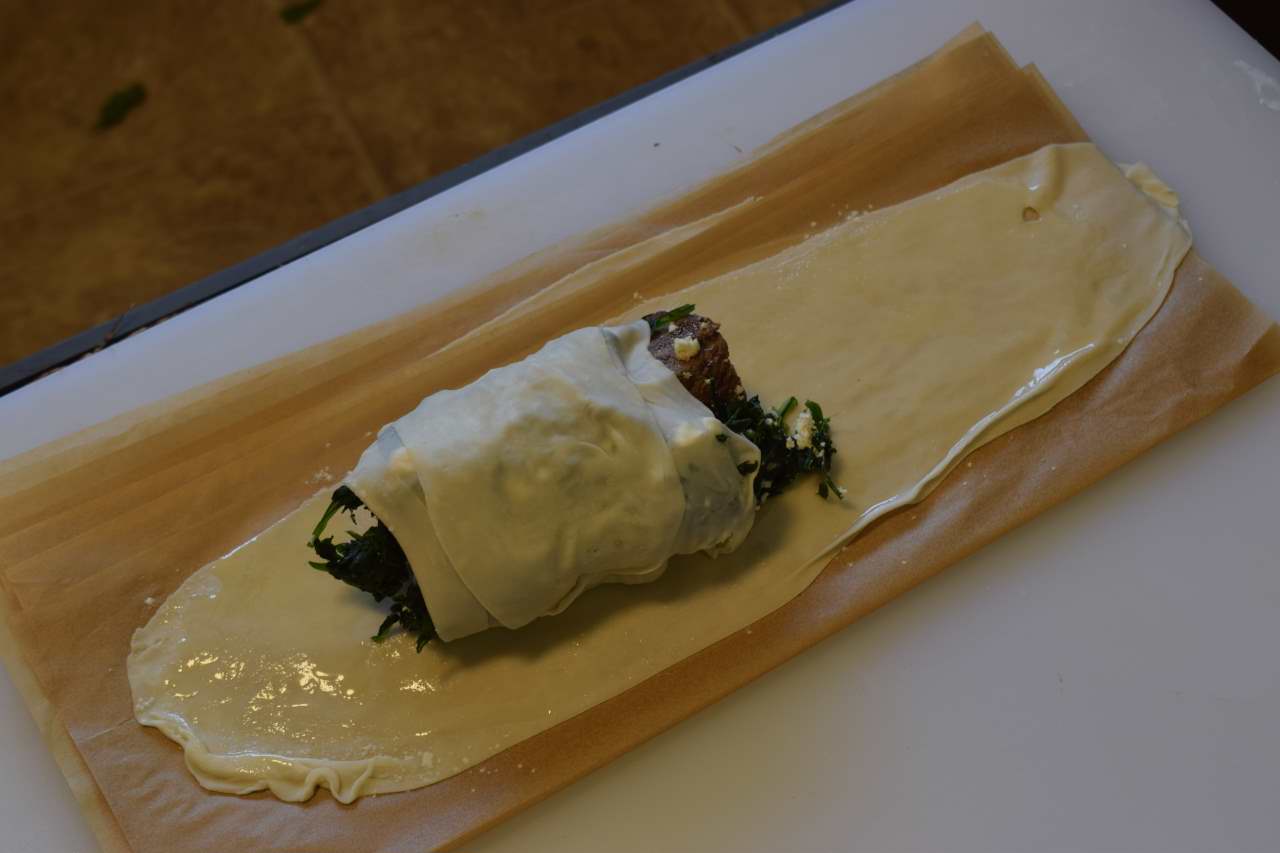
Finish rolling the package up. Remember–you have only used half a sheet so far.

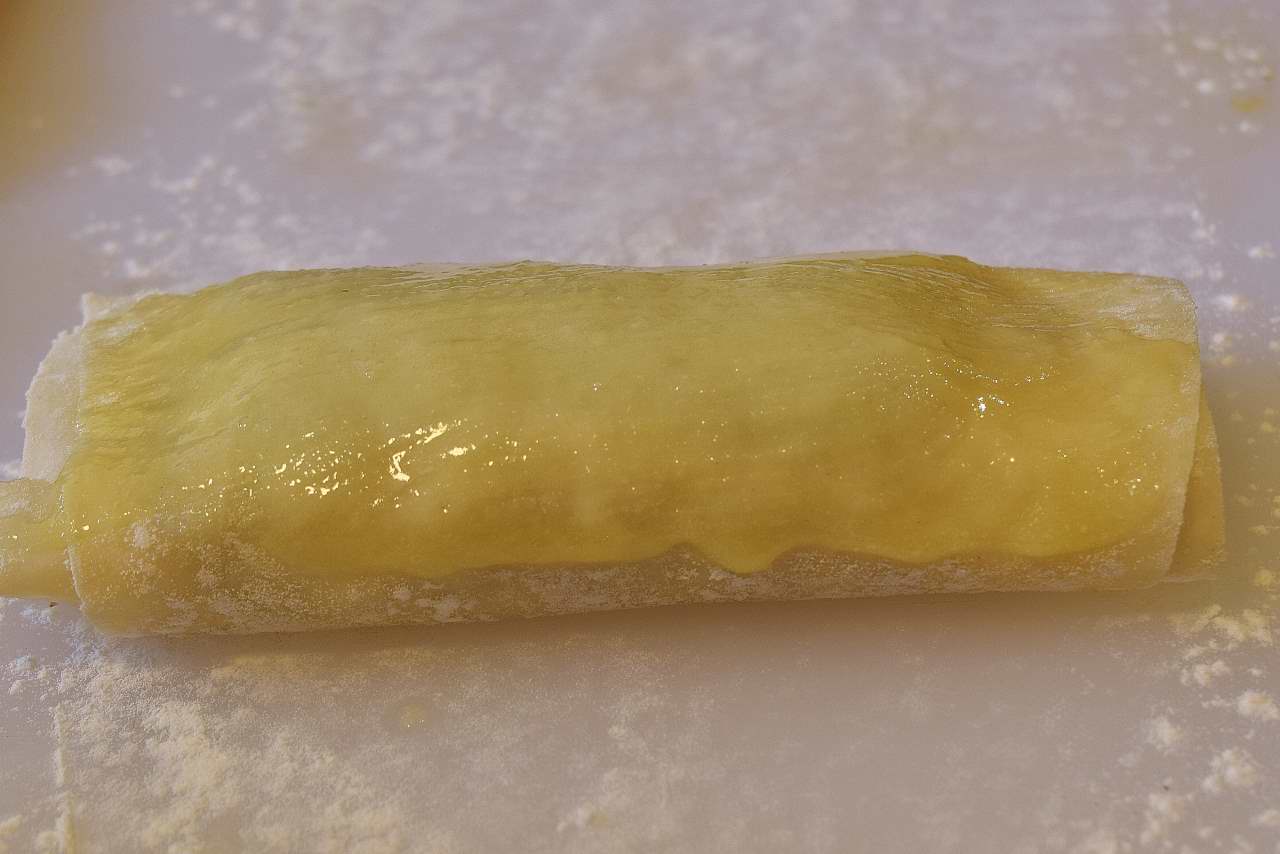
Turn the package 90 degrees, and repeat the process on the other half of the buttered sheet of dough.
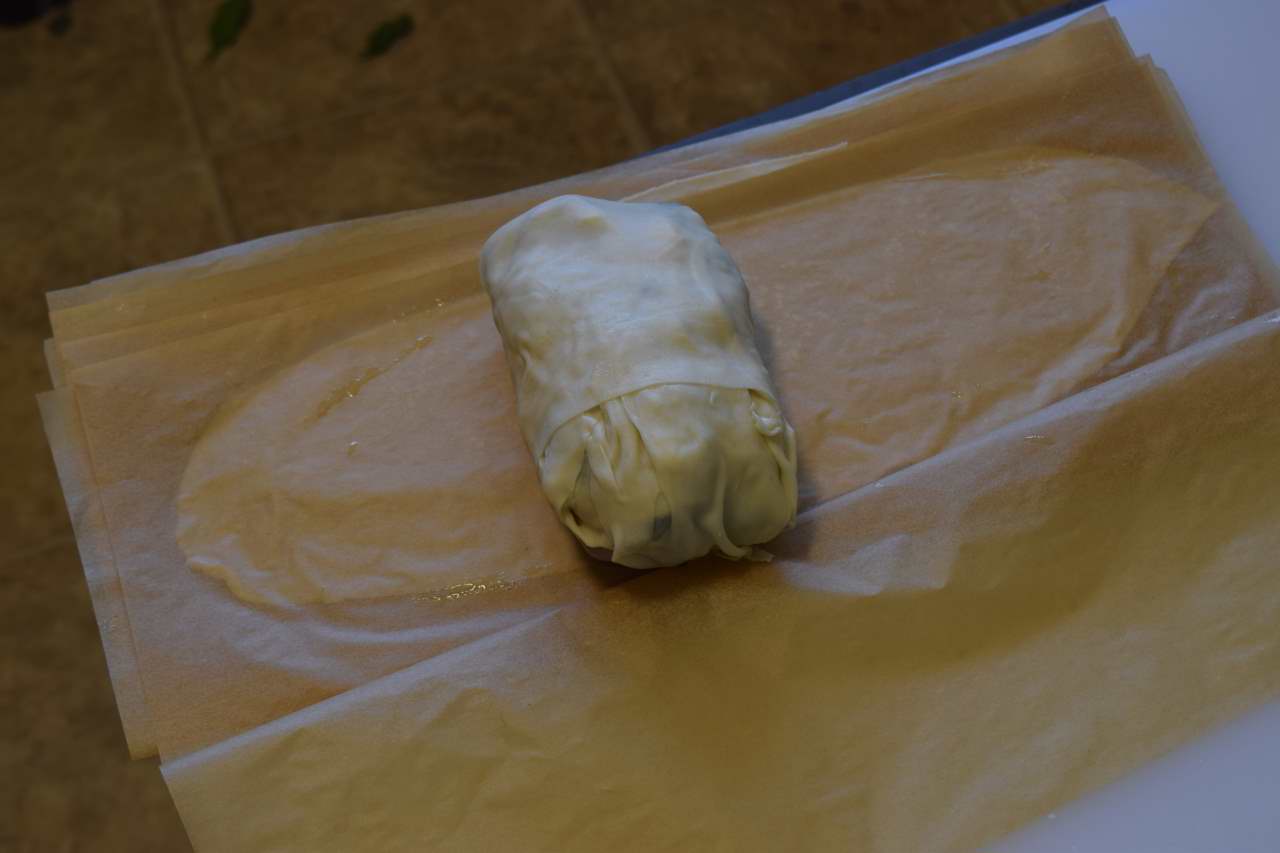
Make sure you butter the little tabs.
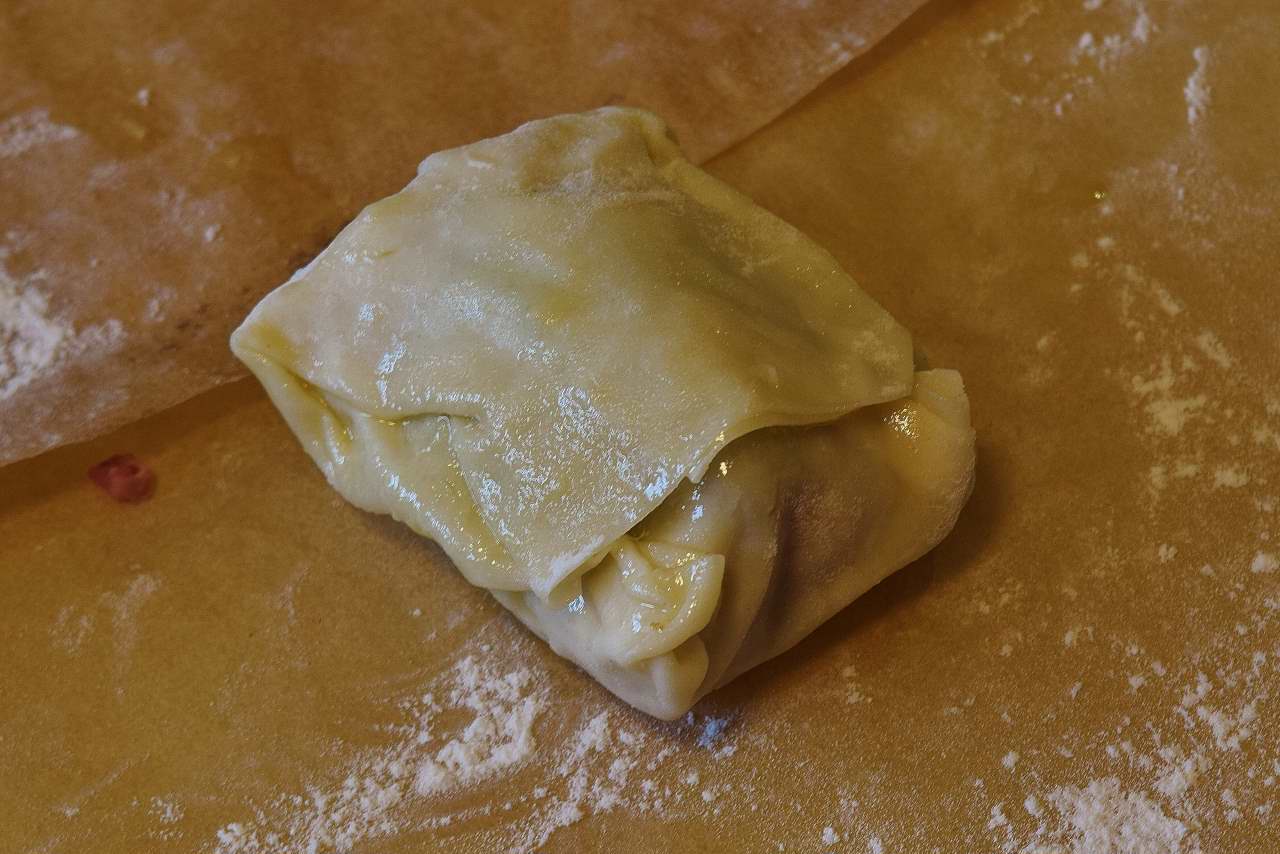
Set the package aside, refrigerate, and make more if you like. If you are like me, you want to know if it worked. See? I knew it. All good. Go ahead. Heat the vegetable oil/shortening in a small, deep pan so that the package can be fully submerged. Heat the oil to
350F/177C
Use the point of a knife to poke a hole in the package. WHAT? The idea that these sorts of packages benefit from being sealed is a myth. The contents of the package are heating up, so the steam they emit prevents oil from entering the package. If you don’t poke a hole, you will get a bubble, which will appear in the end result.
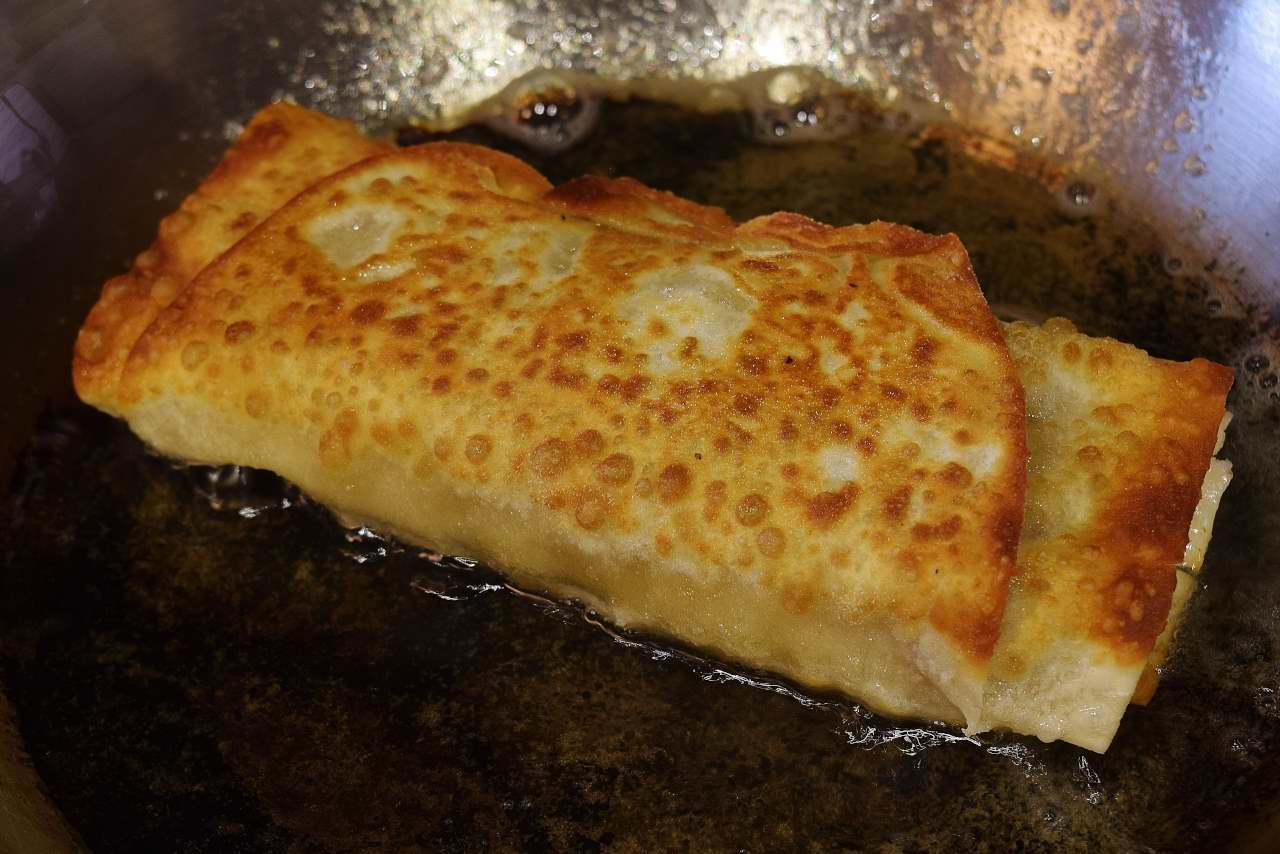
Using a slotted spoon, carefully lower the package into the oil with the seam side DOWN. Either way will work. The package will sink for a few seconds, and then float to the top of the oil. Do not attempt to flip the package. Push it under the surface of the oil with the slotted spoon.
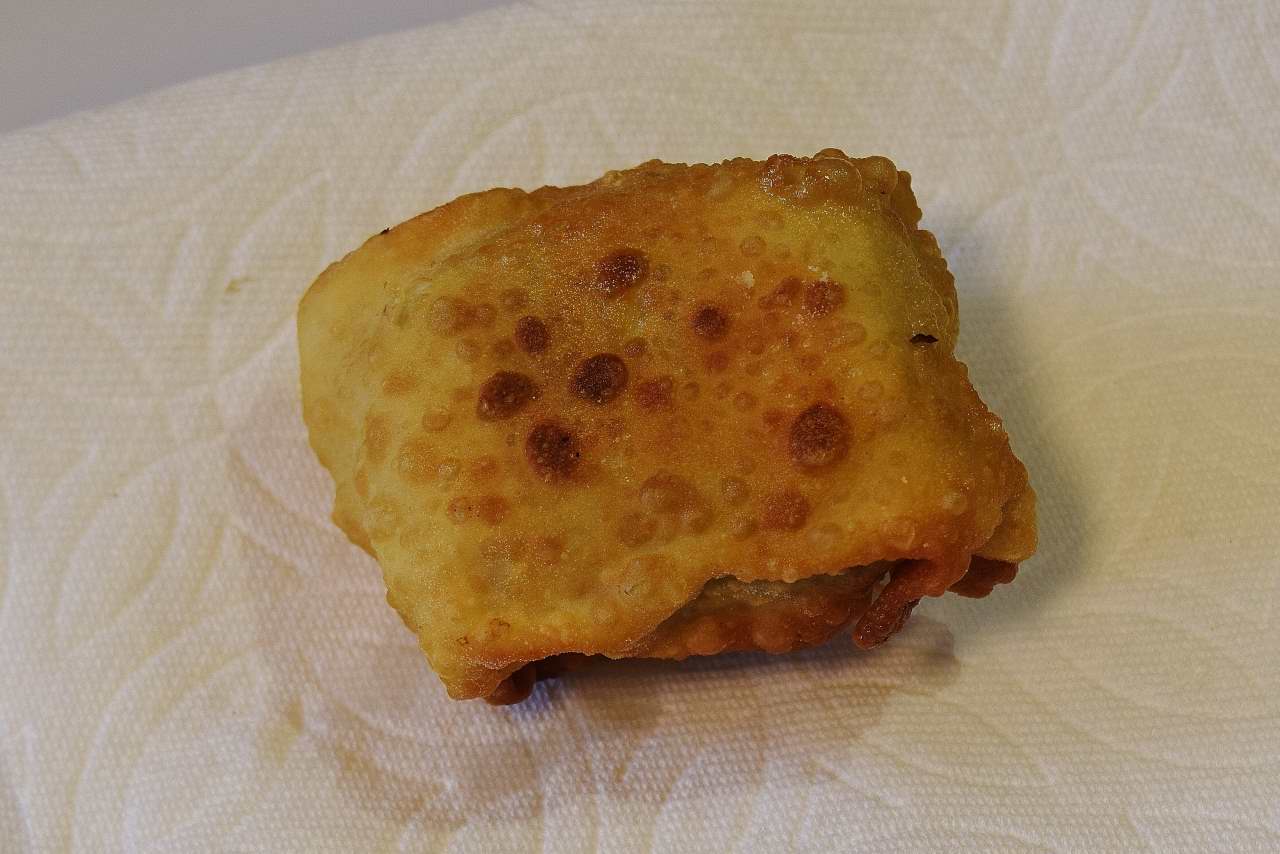
I did this one wrong side up. You can see how the surface is a little inconsistent and even a little overly browned–that’s because the surface came in contact with the bottom of the pan. No matter, it’s all good.
This next step is important. Using a long slicer, and using long, light, slow strokes, cut off ONE end of the package. Then, cut the whole thing in half. Then, remove the OTHER end of the package. The order of this prevents the package from falling apart, which, as you can see, it really wants to do.
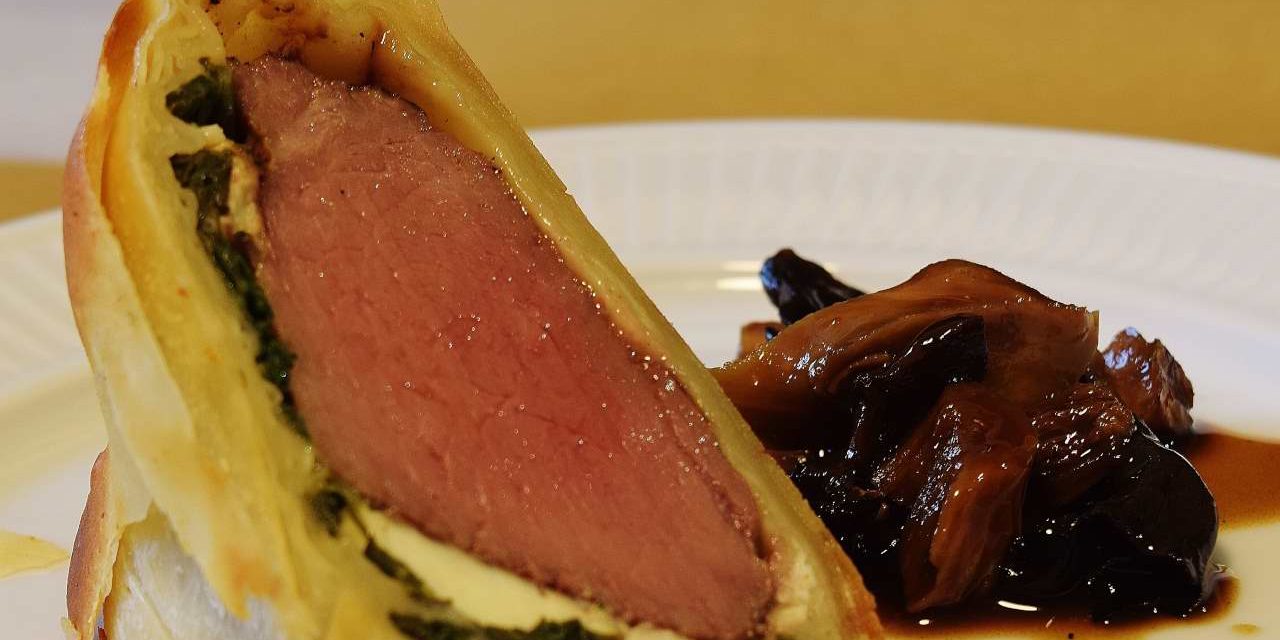
Even if it shatters a little bit, it’s all good. Look at it this way. If it shatters a little, that means you succeeded in getting it perfectly crispy. Handle carefully, stand up, lay down, very nice.
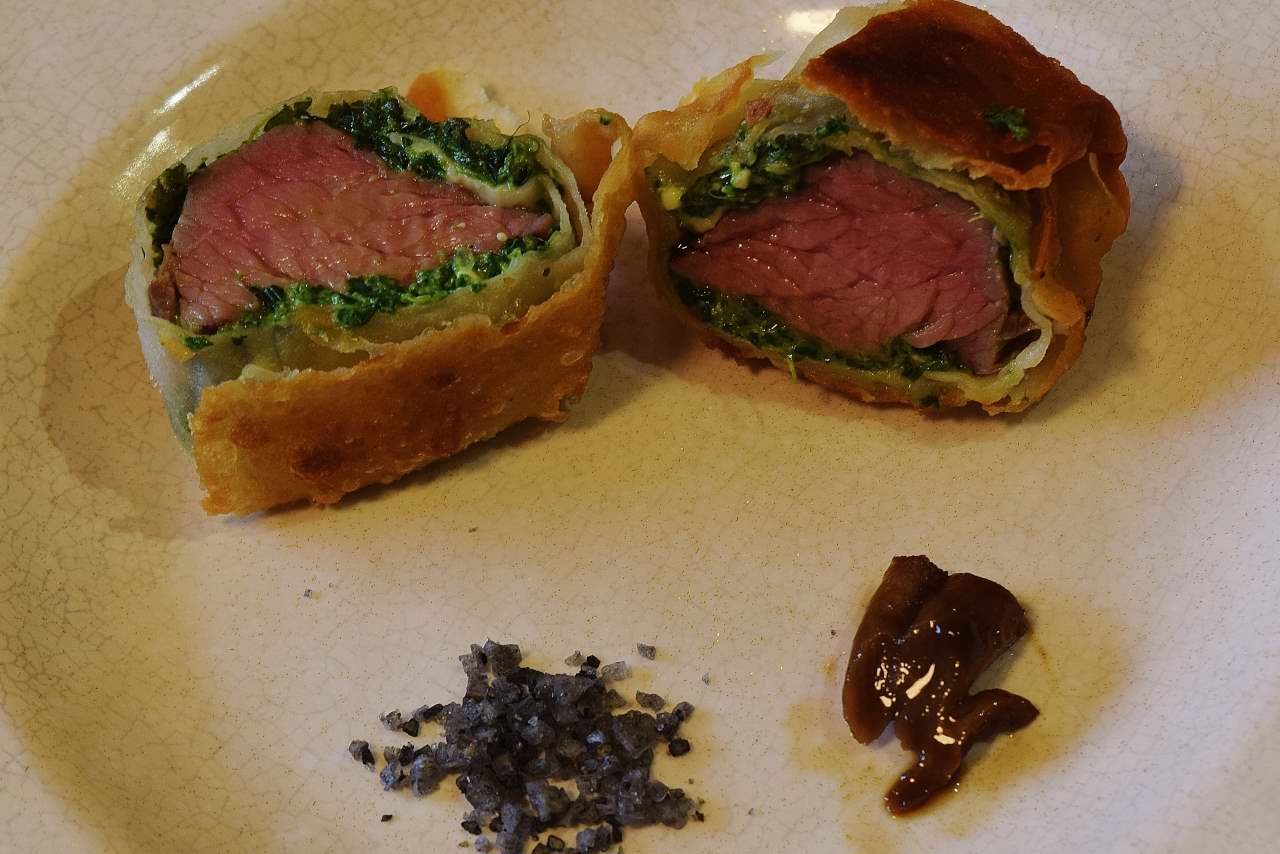
I garnished this one with a little of that volcanic sea salt, sort of like the Himalayan stuff. Two small pieces of sauteed mushroom. Very simple. Here’s another one:
Again, that’s a little Tzatziki, which is just grated cucumbers, garlic, thick yogurt and mint. I do the cucumbers sort of like I did the spinach. Grate them in the food processor, then wrap them in a towel, bag them, and vacuum. You can do that with yogurt too. Next to it is a sort of Greek-ish Kalamata Olive/walnut relish, few drops of EVOO, a nice counterpoint.
What about the rest of the dough?
We are not done. Next we will make an entree sized package. Actually, almost two entrees.
Cut an 8oz/200g steak, three times as long as it is wide. S+P, coat with oil, sear at 400F/204C just long enough to darken it. Set aside to cool.
Lay out a 16″/40cm piece of plastic wrap, and spread out 2oz/50g of the cured spinach.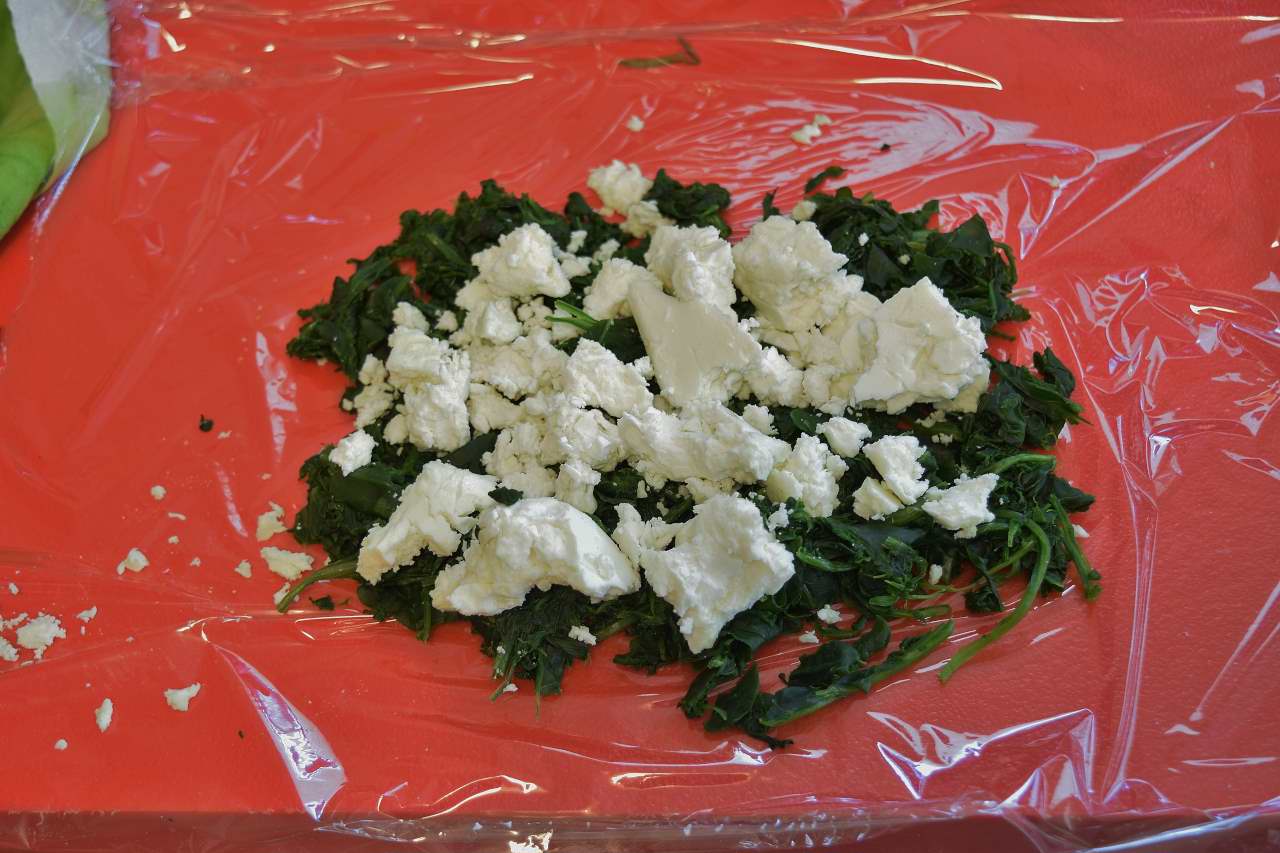
Top with the crumbled Feta cheese, I didn’t weigh it. That’s about 1oz/25g. You know, enough.
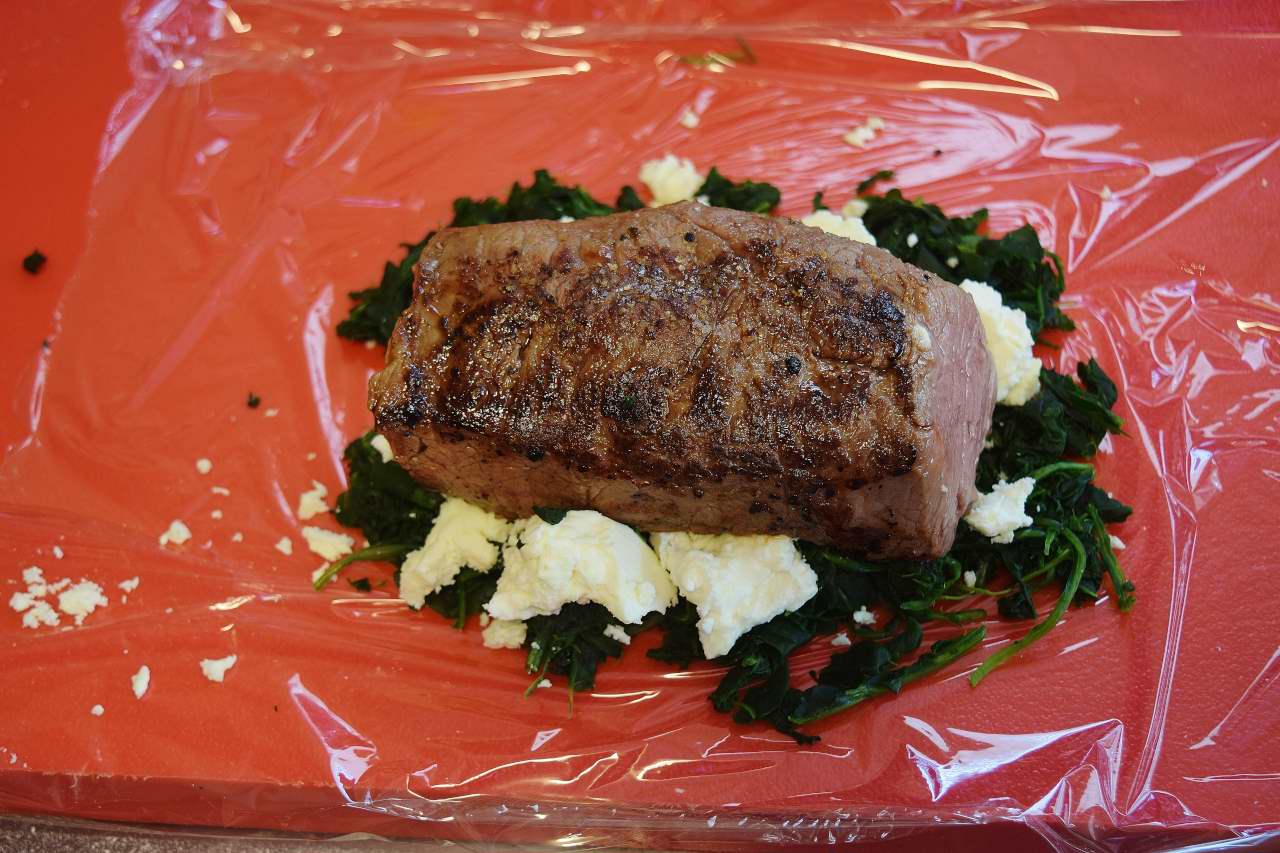
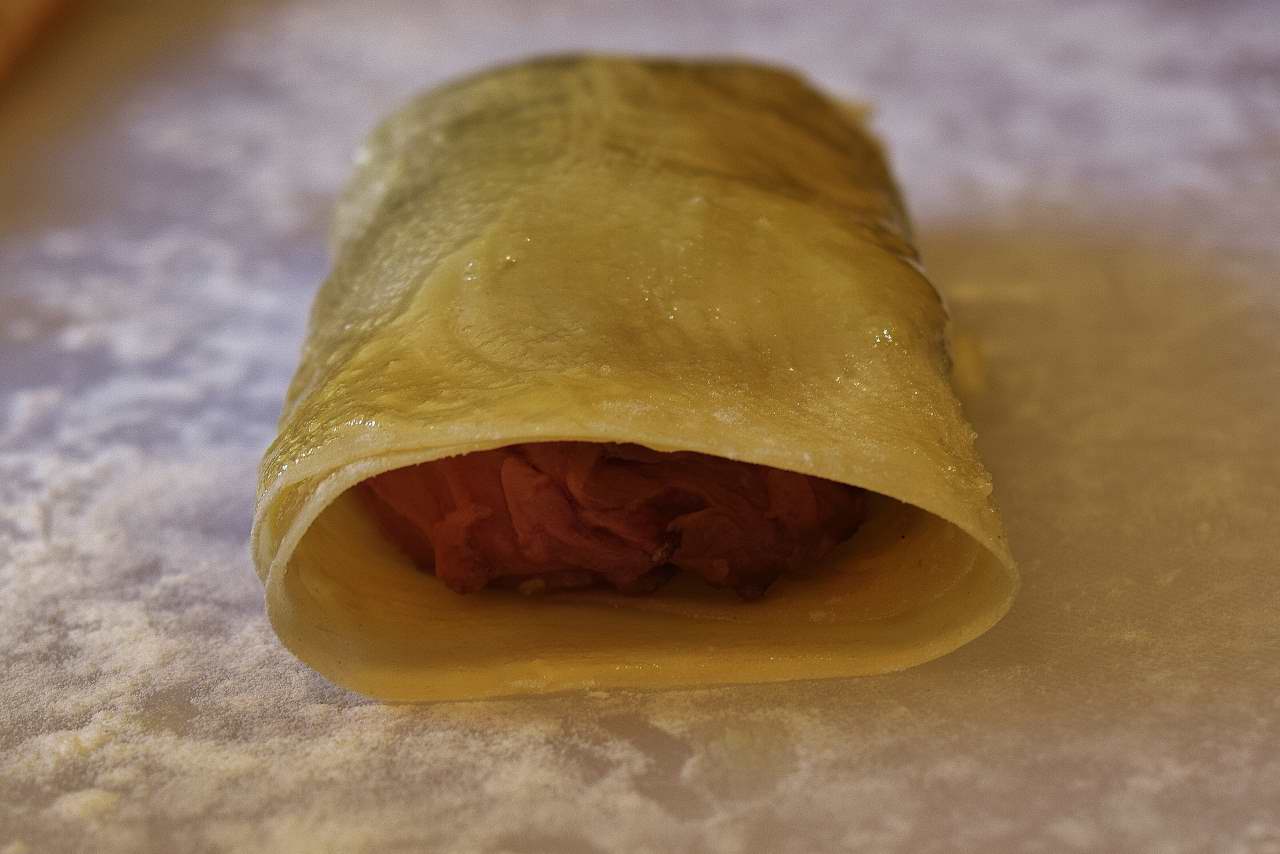
Fit the steak on top. Adjust as necessary, just try to get it so it wraps the steak most of the way when you roll up the plastic and make it look like this:
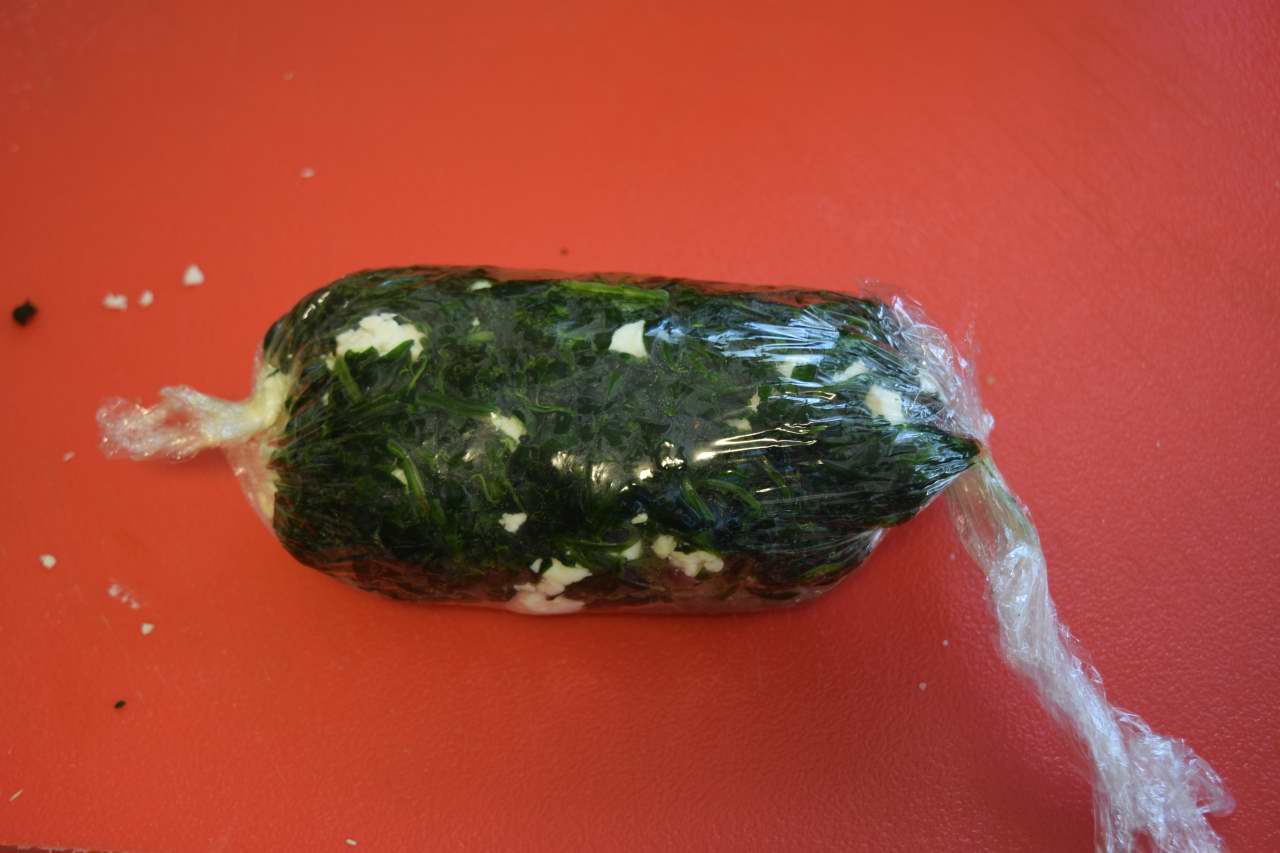
No big deal, just twist the ends. You can twist them the opposite direction from each other, or the same direction, whatever feels right. Some people like to freeze it in this state to make it easier to handle, not a bad idea. I didn’t this time.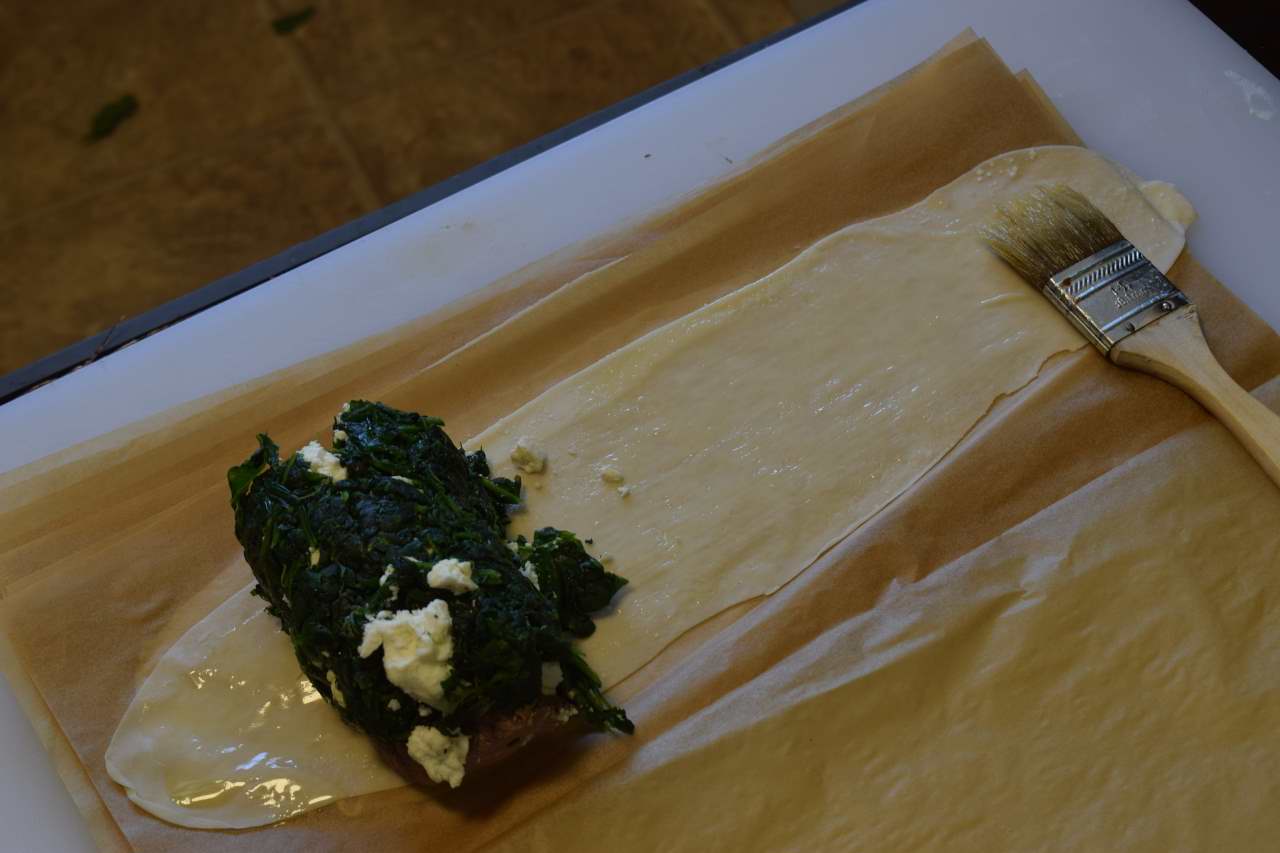
Paint one of the sheets with melted butter (not hot), and lay the thing on it.
Roll it up. You can see how it looks rough, and cookbooks and videos usually try to make everything look perfectly neat. That’s great, but it’s not necessary. As long as it holds together, it’s going to get neater and tighter as we go along.
Just like we did the appetizer, butter another sheet, turn the package ninety degrees, and topple it along the strip.
Keep repeating the process until you have used FIVE (5) sheets. By then it will look pretty tight. And, even if it doesn’t, IT DOESN’T MATTER, because the presentation will compensate. Don’t forget to poke the hole. I forgot to poke the hole this time.
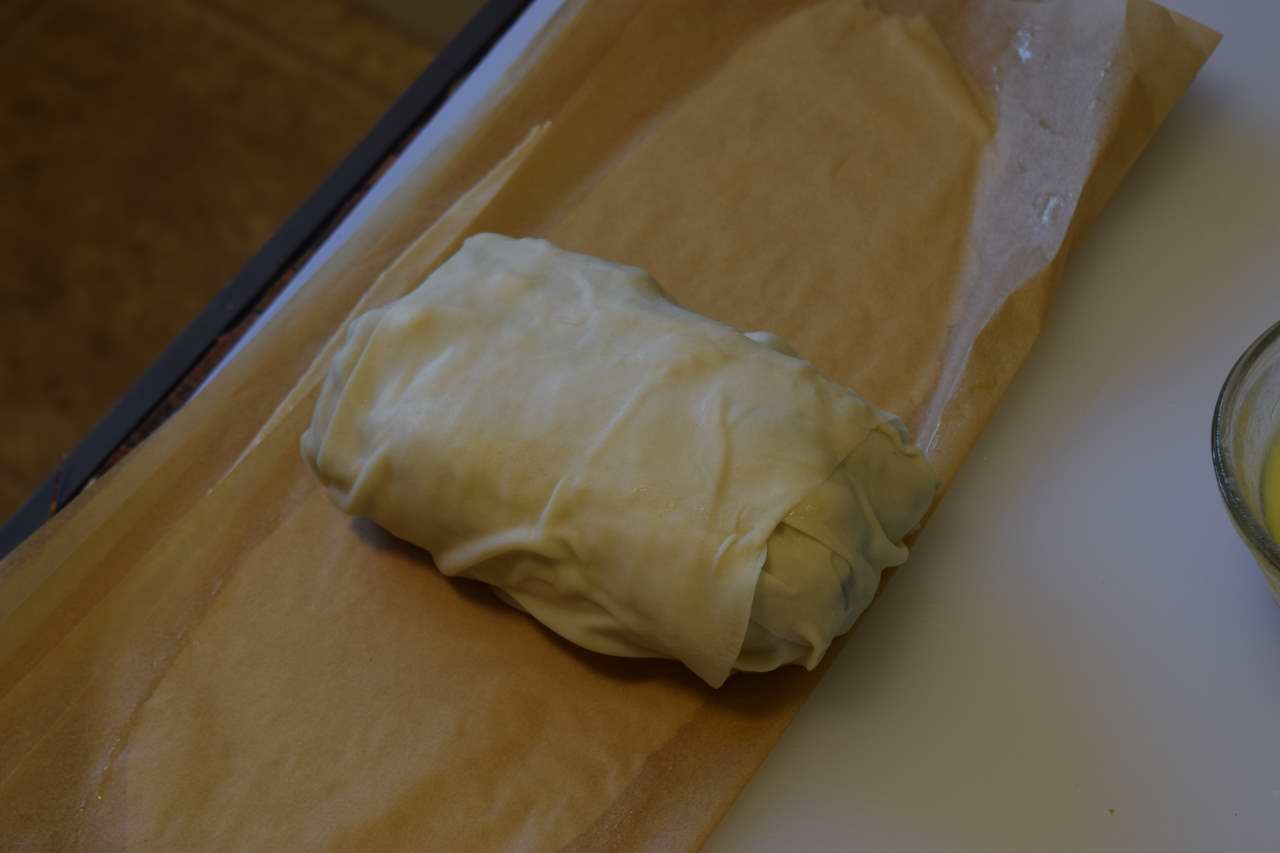
Okay, that is five sheets worth.
Preheat your oven to
400F/204C
Make sure the oven is fully heated. Paint your package with butter, or egg. I did this one with butter, but I think egg might look better. Roast the package for EXACTLY
20 minutes.
That measurement matters, because it determines the appearance of doneness. If you prefer it well done, that’s fine too, and you don’t have to count minutes. Just reduce the heat of the oven. When it’s brown, it’s probably done. If not, you should have a torch anyway.
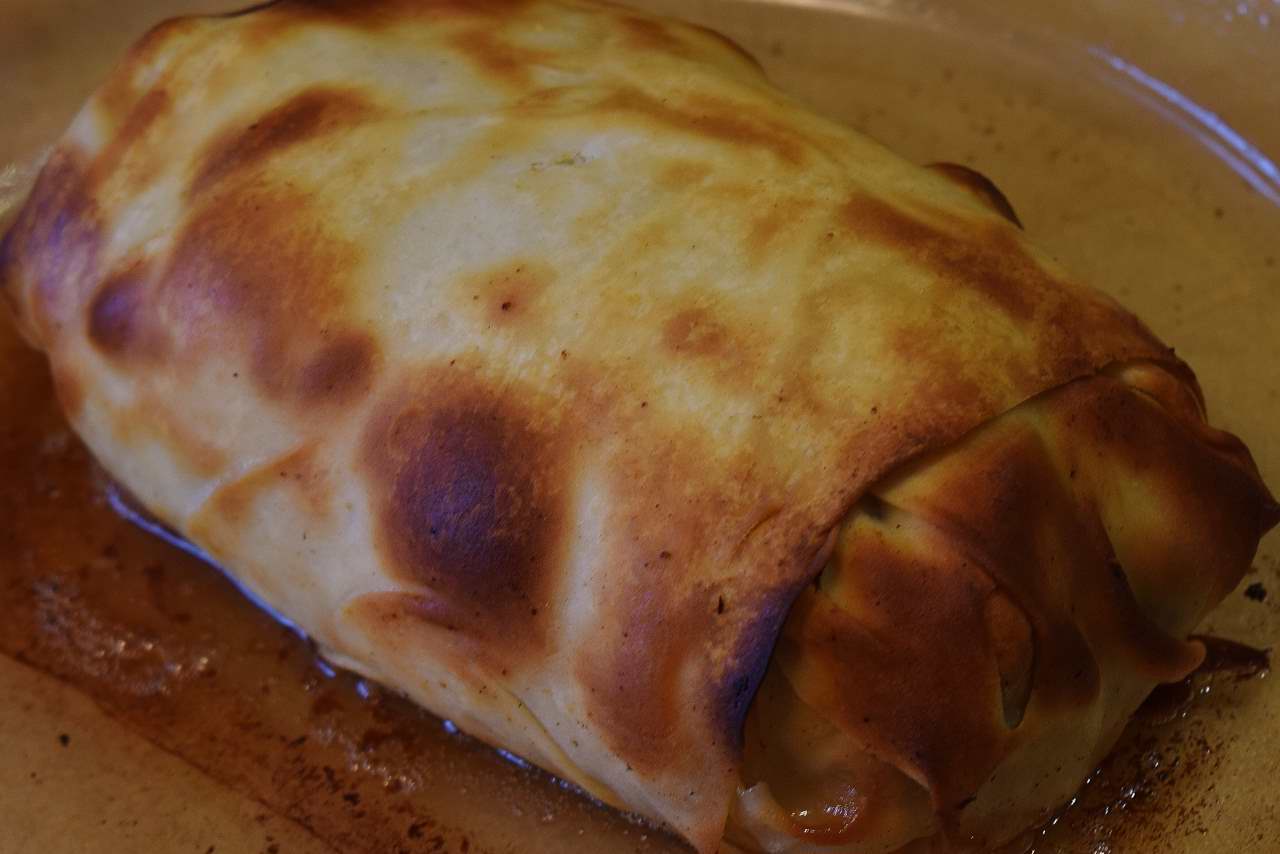
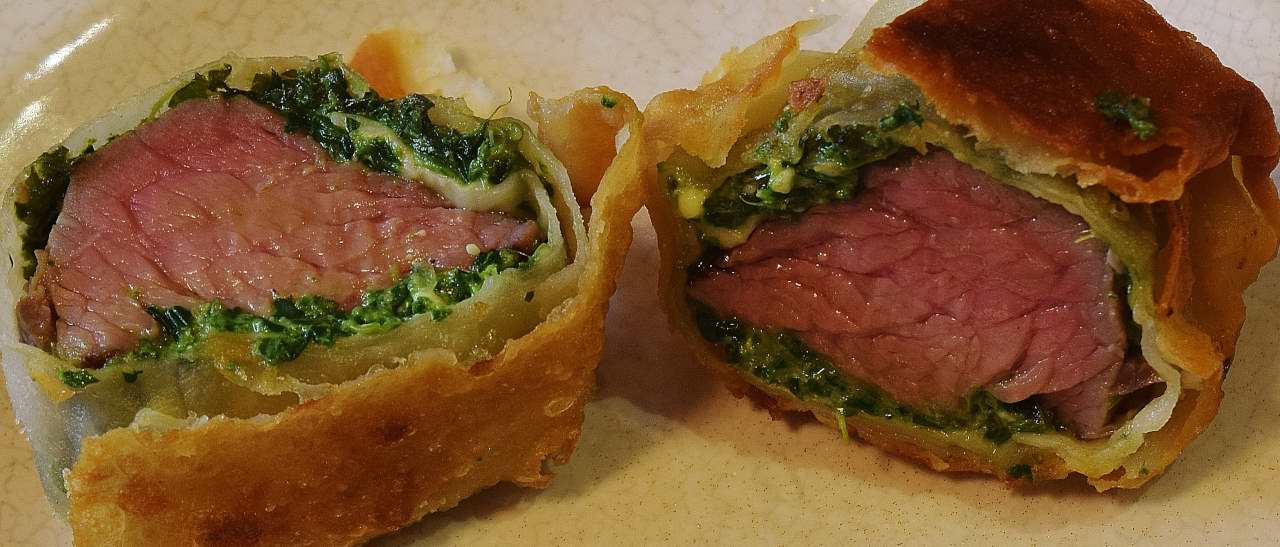
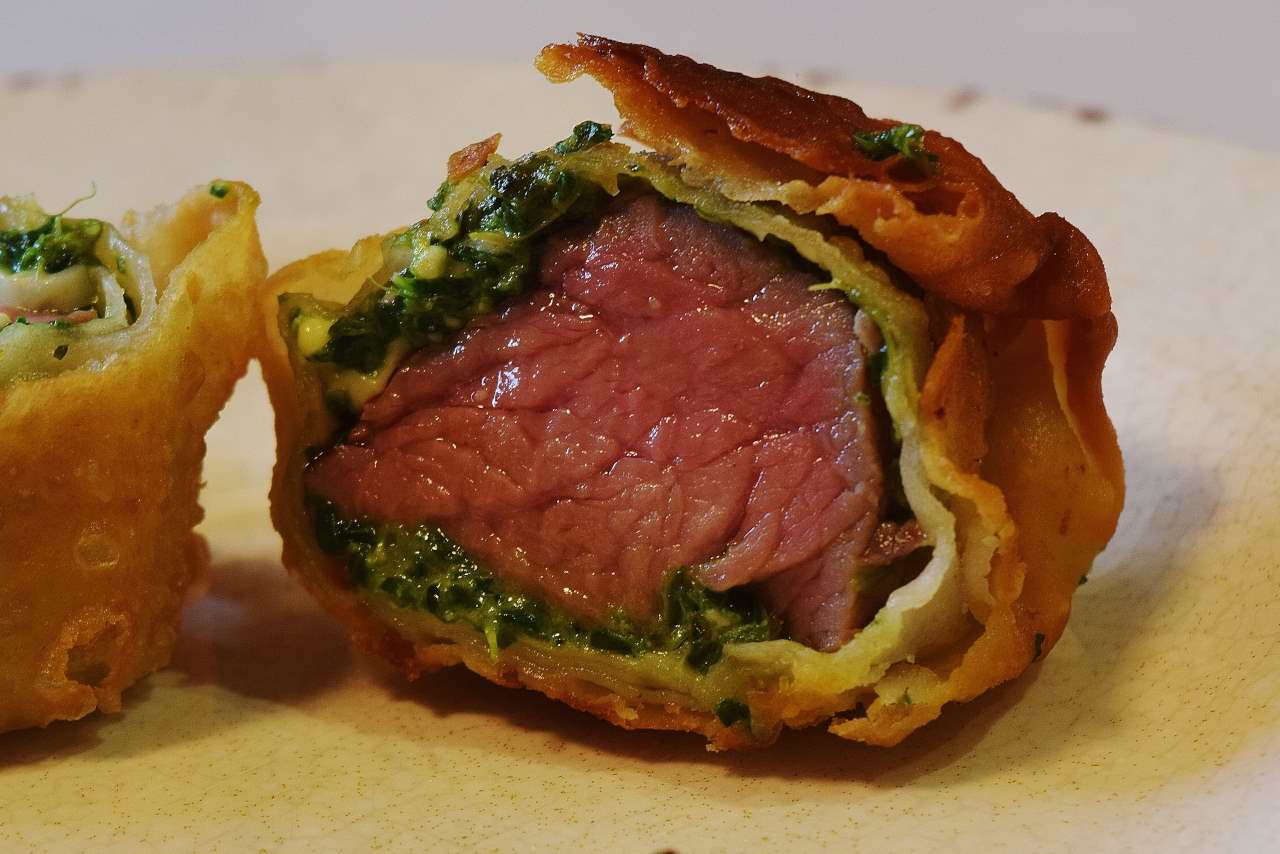
It looks good, but not fancy or anything like that. Like I said, IT DOESN’T MATTER. Cut off the one end just like we did for the smaller version, and then cut the whole thing in half. Then, cut off the other end. Again, this order of things minimizes shattering of the crust. Long, even strokes with the knife, don’t even press, just saw back and forth.
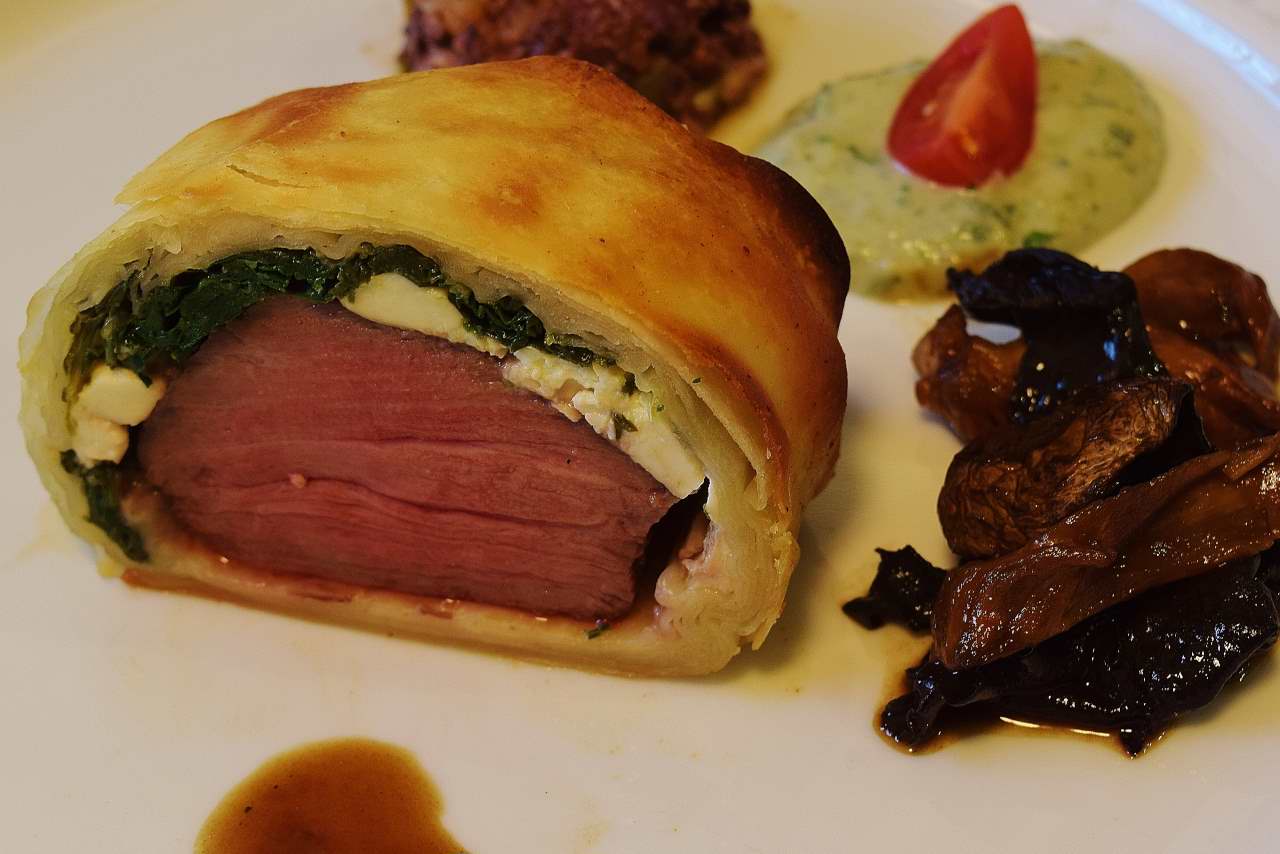
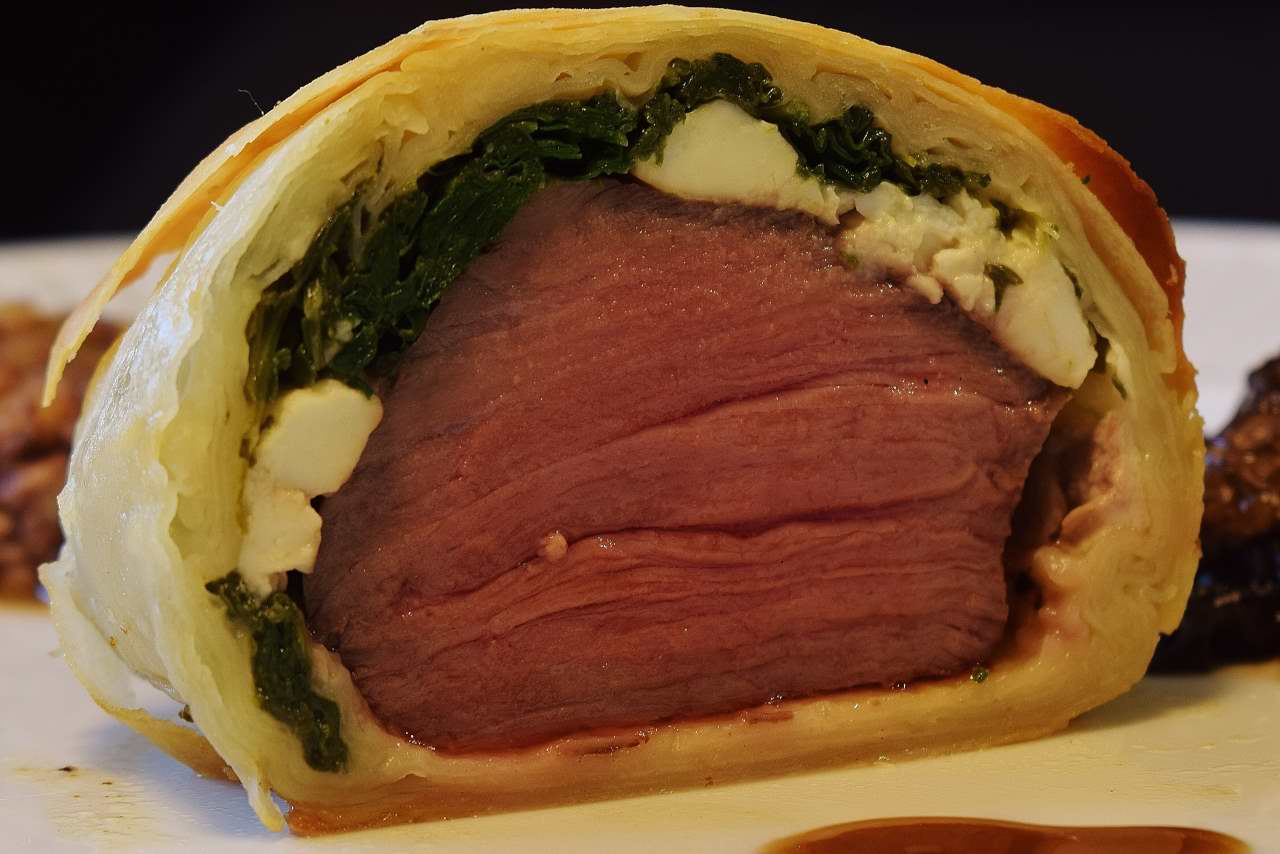
As you can see, it turned out not to matter what the parcel looked like. This can even be done without sealing the ends, it will still work. We will demo one that way here in a few minutes.
You can see a little air gap there on the right side–that’s because I forgot to poke the hole. Or maybe I should have poked a couple of holes. Probably.
Those of you with refined tastes will notice that the grain in the meat is running crossways, I know, blasphemy. It doesn’t matter. Think of it this way. Instead of cutting it against the grain, you will be chewing it against the grain. See, you didn’t even think of that. Cutting against the grain is usually important, but failing to do so will not destroy civilization as we know it.
Tweener
By my reckoning, we still have three sheets of dough left. One or two if we decided to make more of the little appetizer guys. This next one is very cool, and the easiest of all. This time, cut a 3oz/75g piece of steak, four times as long as it is thick. If you’re paying attention, we have gradually altered the dimensions of the meat from 2:1 to 3:1 and now 4:1. Just like before, paint a sheet with butter. 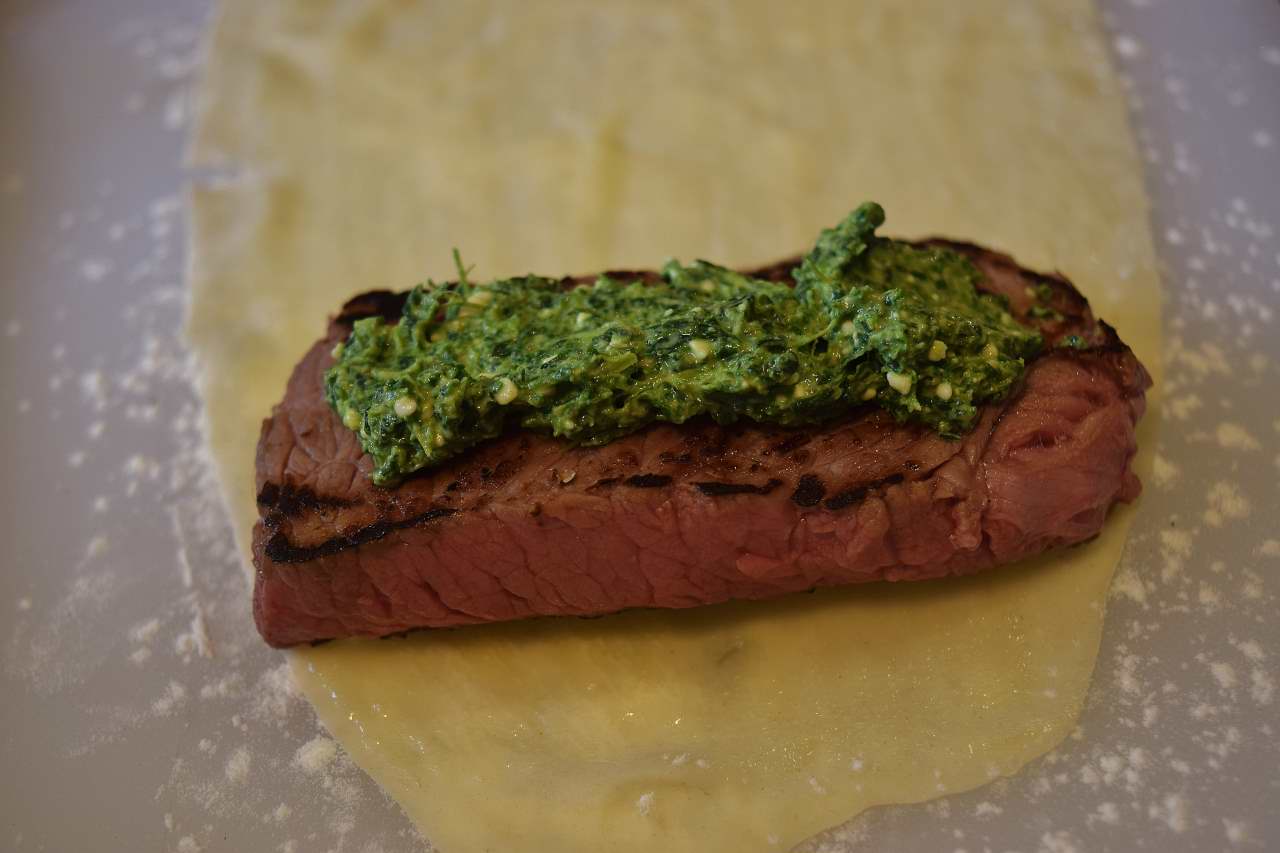
Put a little of the spinach/Feta mixture down, the meat on top, a little more of the green stuff.
Forget about the tucking, just roll the whole thing up like a big fat, er, um, enchilada, let’s say. You have a choice. You can do it with just one sheet, or use two–I base my decision on how many sheets I have on hand. Again, practical. I have all my socks in one drawer.
I painted the outside just because, but it’s not really necessary, as we will see.
No effort to seal all the stuff up, not to worry. Piece of cake. Heat
2oz/50ml vegetable oil in a small skillet to
350F/176C.
Reduce heat by half, and…
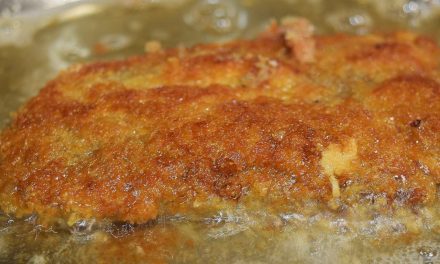
Lay the flauta in the pan, seam side down. Fry until brown on the seam side first.
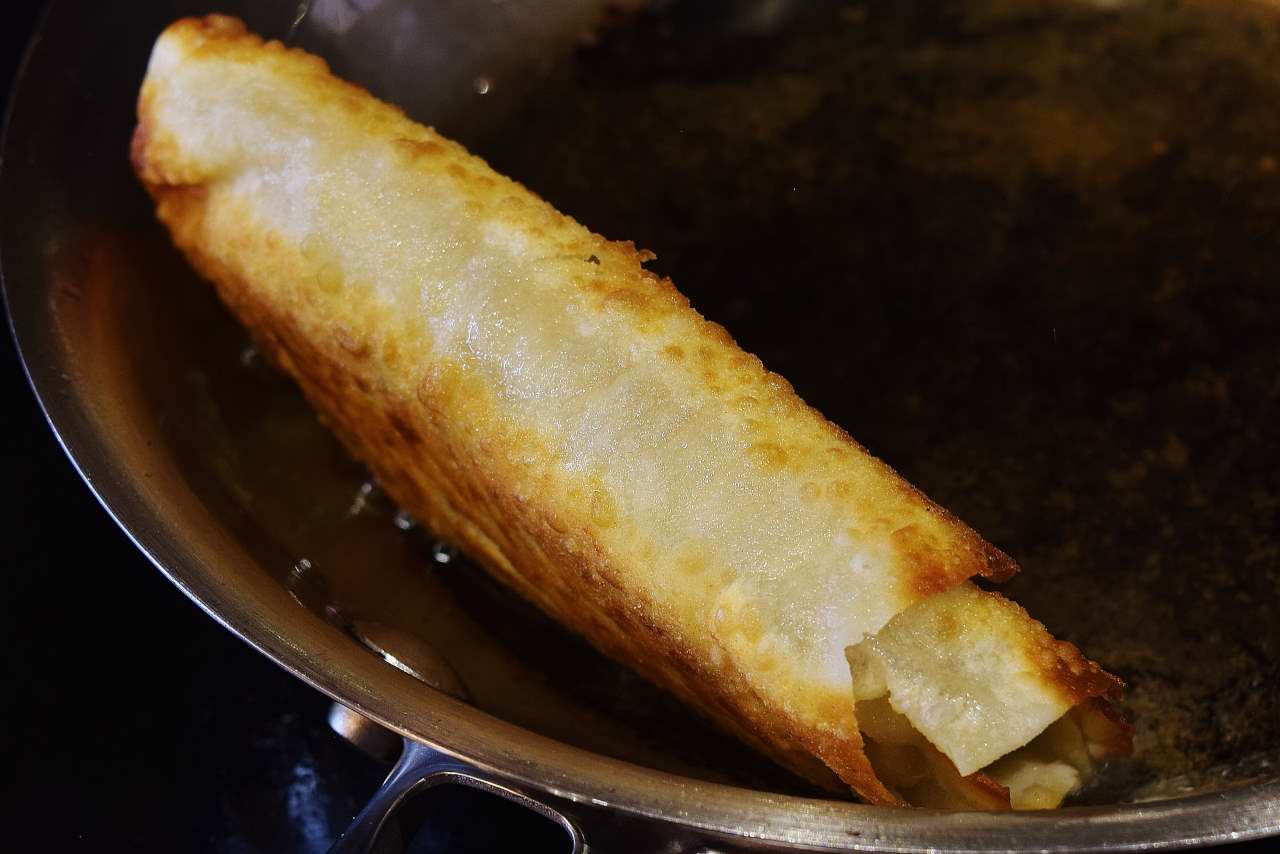
You can stand it on edge in the pan to get the sides–this goes very quickly. Tongs work, but they tend to crack the surface. I use a fork. Just a regular fork.
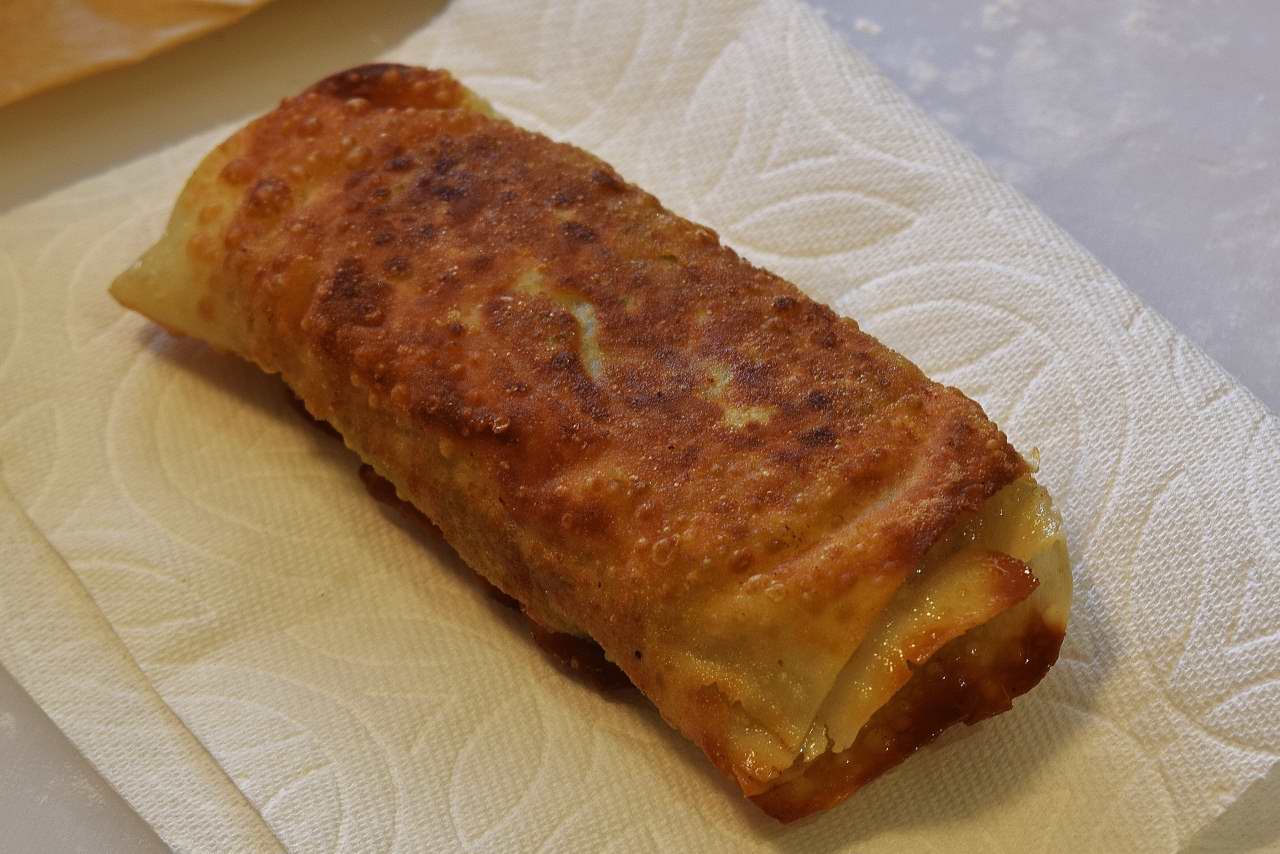
Drain on a paper towel. Just like before trim off the end, but, really, you are just squaring it because we are gonna stand this bad boy up.
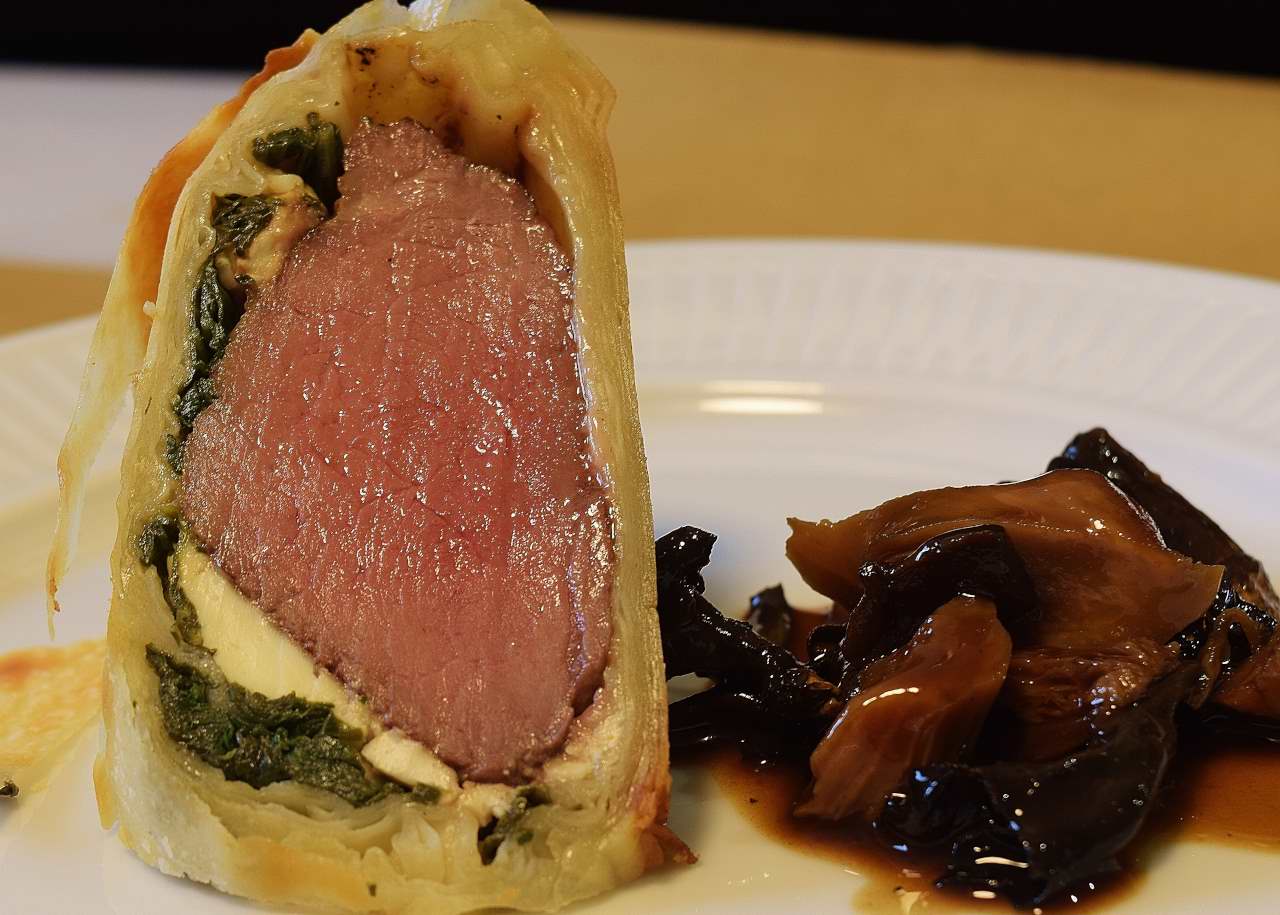
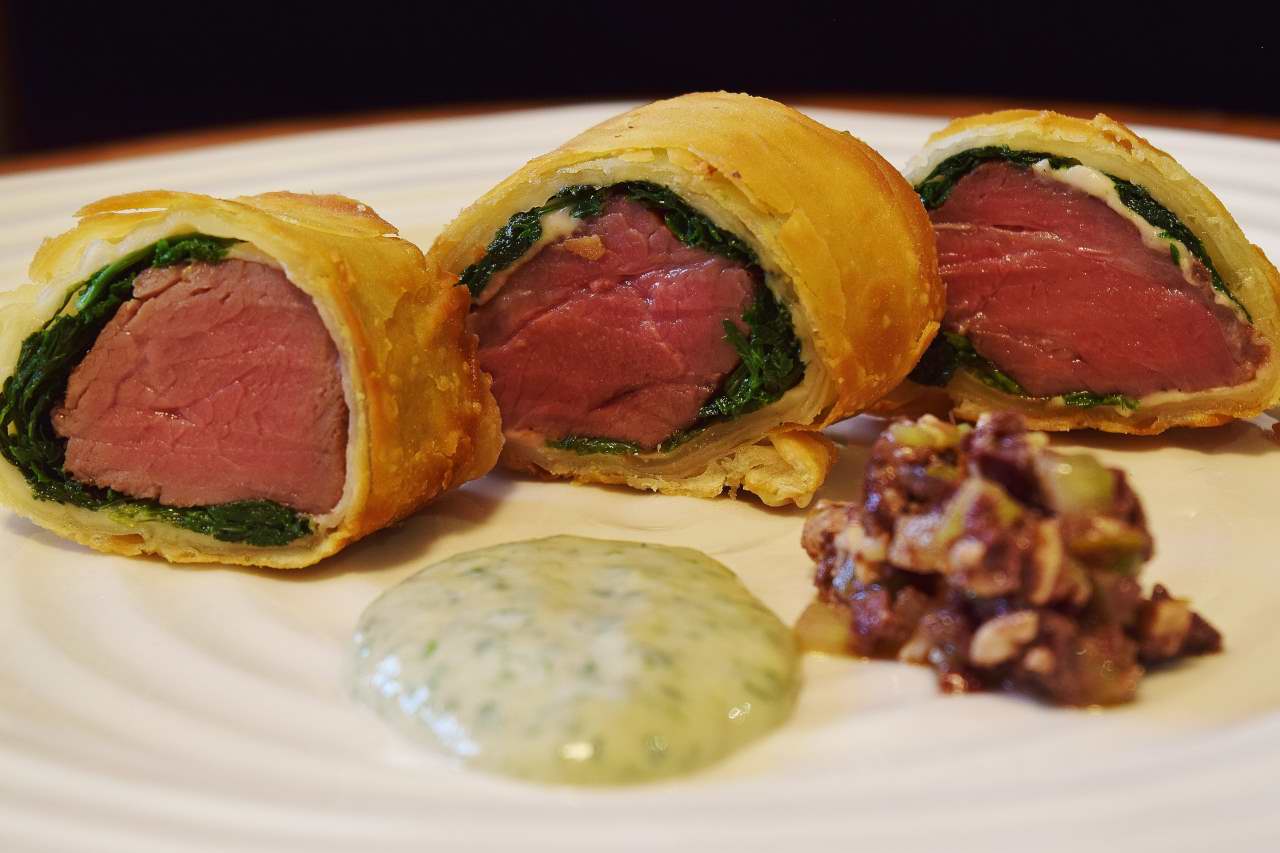
If you look carefully, you can see that the angular cut does not go all the way to the end–this keeps the end/bottom shaped regularly, so it will stand. Again, saw very gently. Just some sauteed mushrooms on the side. So simple.
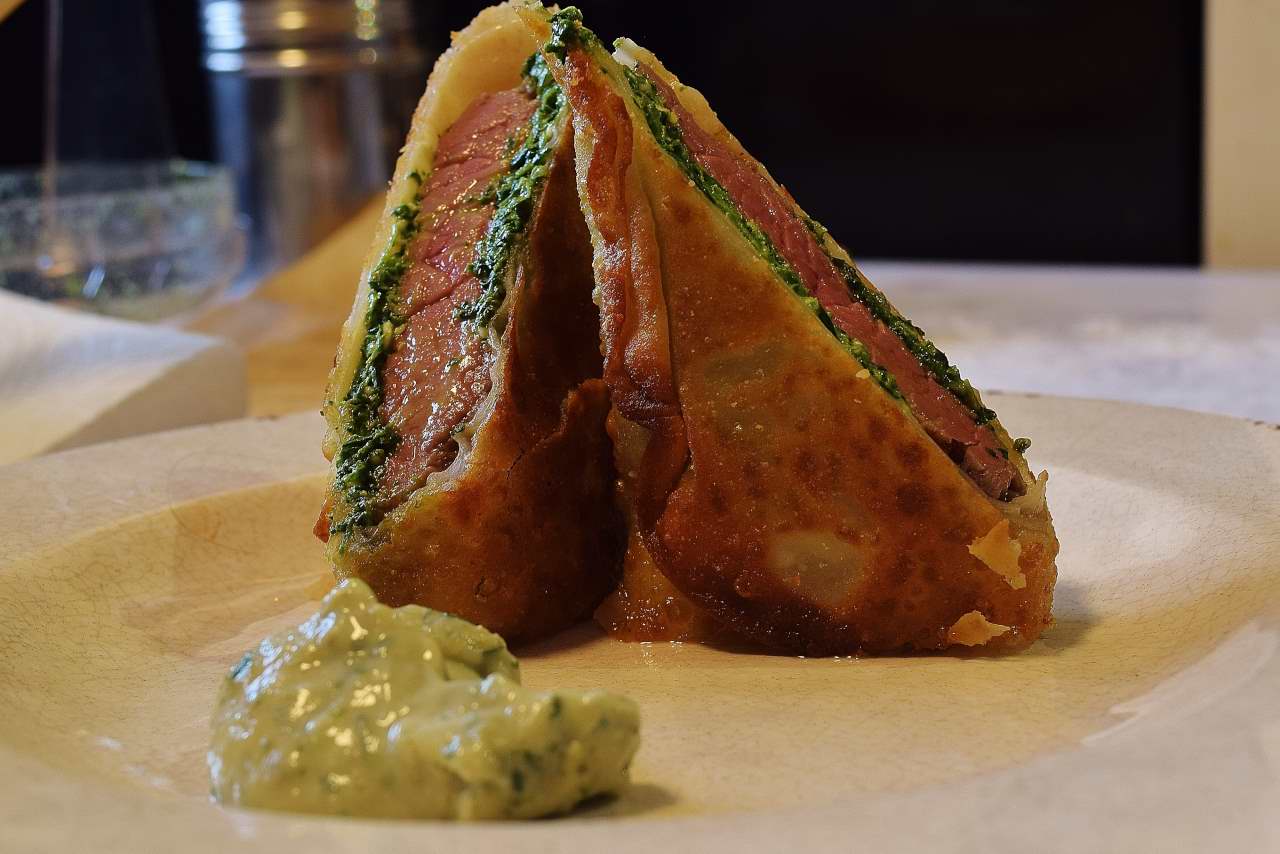
It’s even more striking when you put two next to each other, again the Tzatziki. You can see my little shaker of flour in the back ground.
Visit us at https://www.facebook.com/groups/272128179509149/
I even answer questions if I am not too busy saving the world.
Norm

