Ingredients:
Beef tenderloin scraps or equivalent trim from top sirloin, tri-tip, etc. 2 lbs./1 Kg.
Carrots, cut coarsely with peel on, 12 oz/350 g.
Celery, cut coarsely, 12 oz/350 g.
Onion, cut coarsely, 1 each.
Tomato sauce, canned, 15 oz/425 g.
Miracles and such
Sous vide is amazing, maybe even revolutionary. But sous vide is not intended to replace other methods of cooking. Sous vide SUPPLEMENTS other forms of cooking. It simplifies, preserves, pasteurizes, it tenderizes, it prevents moisture loss. But sous vide will not make its own sauce in the bag any more than any other method will.
Sous vide will not caramelize or Maillardize. As the popularity of sous vide grows, more and more people are developing an interest in all aspects of cooking. I am thrilled to see people taking an interest in sauces for a number of reasons. First of all, chefs have achieved a certain level of job security by convincing people that you cannot make sauces at home and must therefore depend on a high priced professional.
Second of all, sauces are the difference between some cooked meat and a hearty, satisfying and wholesome stew. There is no reason that people cannot make sauces at home, other than the fact that they have been convinced that they can’t.
The devil you say
High ranking among these sauces are deeply darkened ones–espagnole, demi-glace, even just your basic beef jus all bewilder home cooks. Try as we might, the results are usually either gray or purple. Recipes in cook books start off with discouraging precursors like “pick a cool and breezy day” or “instruct your butcher to provide you with some sliced veal knuckle bones” as if they usually had some lying around. As these recipes proceed to demand the execution of incomprehensible procedures that untranslatable to English, the cook gets discouraged and gives up–mission accomplished.
This is not necessary. Thanks to social media, evil though it may be, home cooks can now get the inside scoop on all kinds of knowledge that was heretofore inaccessible. This sauce is one of those. I will tell you that I timed myself when I made this, and it took about an hour–mostly spent waiting and watching. Not because I am fast–I am slow, I work out of a chair. Even if I COULD hurry, my stove can’t. My stove is no faster than anyone else’s stove, and I use the same overpriced, mediocre pans that everybody else either got for Christmas or picked up on sale. No Teflon in my arsenal, a story for another day.
Let’s get started!
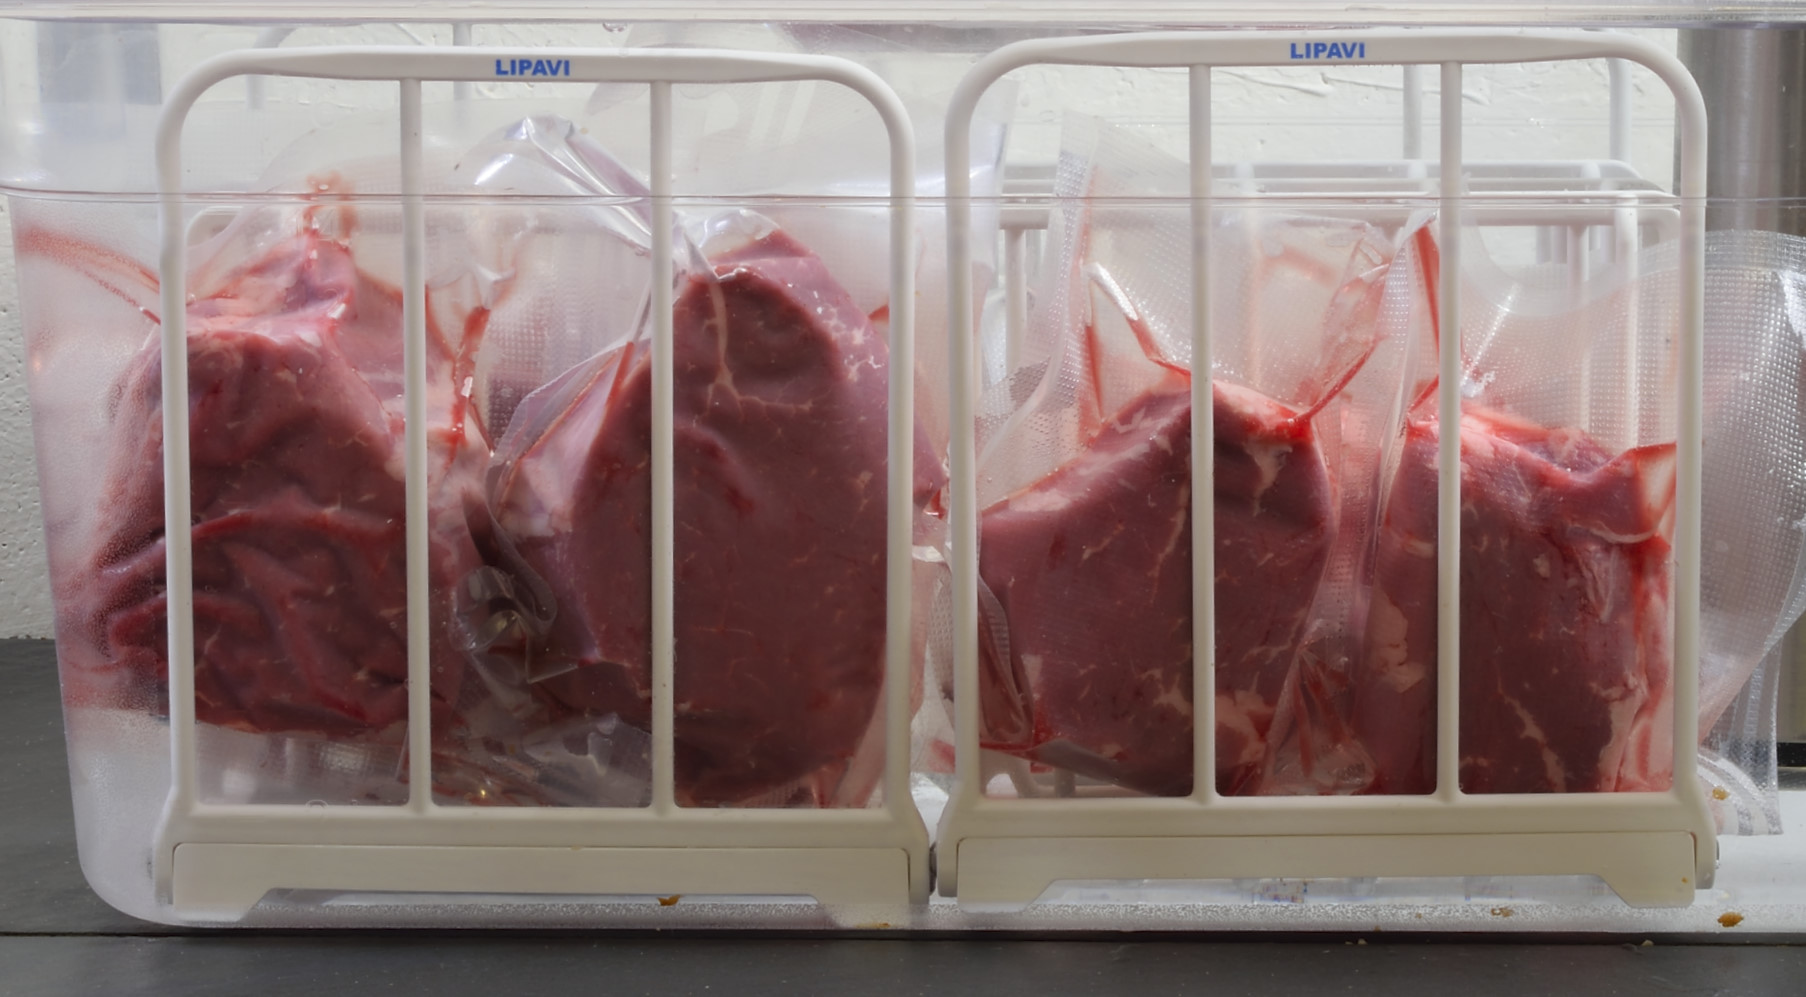
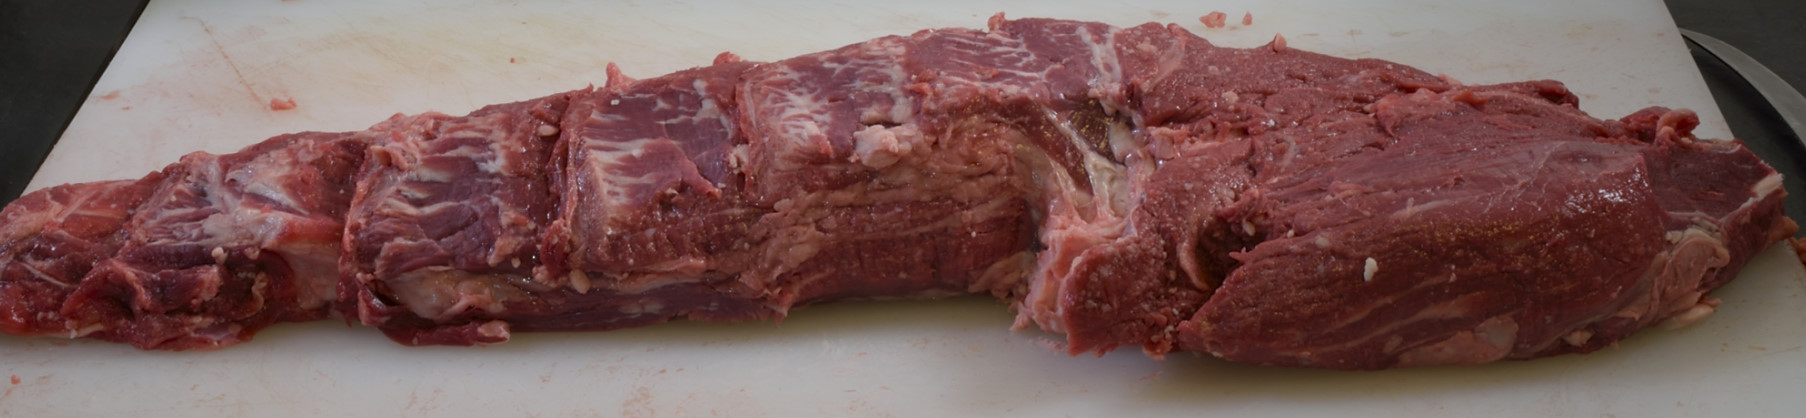
Any primal cut can be used to acquire the meat to make demi-glace. You can’t just use fat, but there is almost always some tissue attached to that fat. So, I went to the local big box “Wholesale for the Public” store and bought a whole beef tenderloin. BTW, the prices have collapsed as a result of the quarantine and subsequent economic downturn for the restaurants that usually buy this cut.
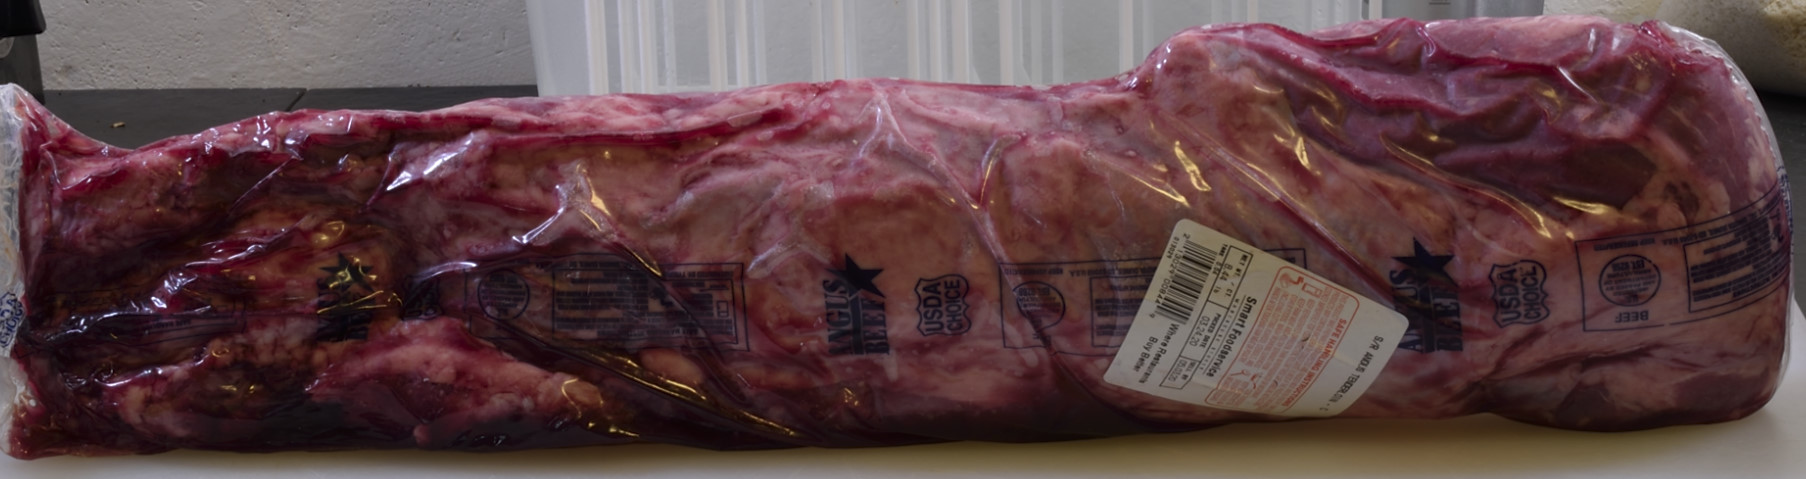
I took it out of the bag and went to work removing all the stuff that doesn’t belong on there. I have another treatise that explains breaking down the tenderloin from beginning to end. We will pretend you either already know or already read my article. Taken out of the bag, it looks pretty straightforward and it is. Butchers would have us believe that great skill must be acquired to clean a filet, when actually it is one of the easiest cuts to ready for cooking.
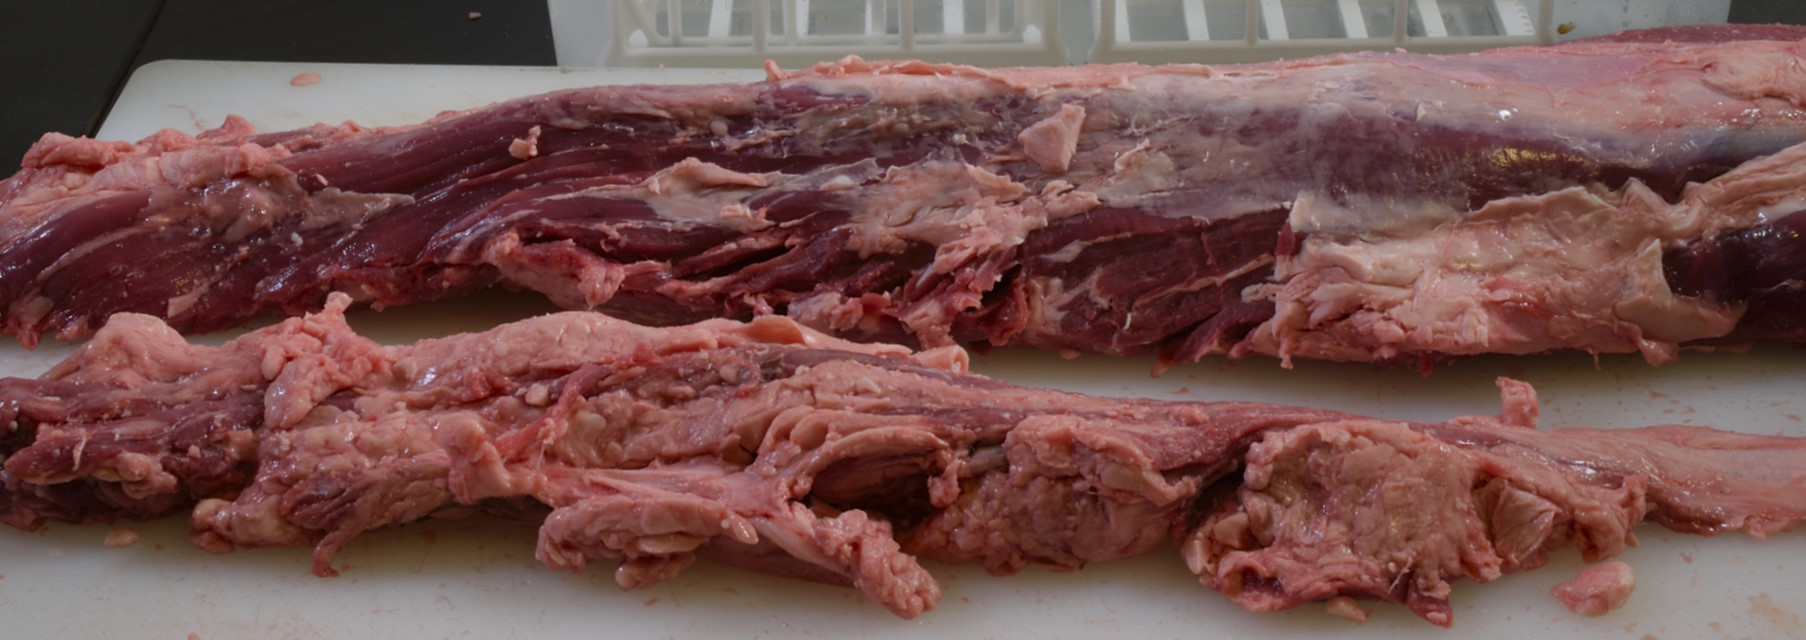
Remove all the fat and the chain, which is what we will use for sauce. The chain is a long strip of gristly meat that you can kind of see in the pic above–it runs the full length. In the old days we endeavored to leave it attached to the filet, but this practice was eventually dismissed as hack.
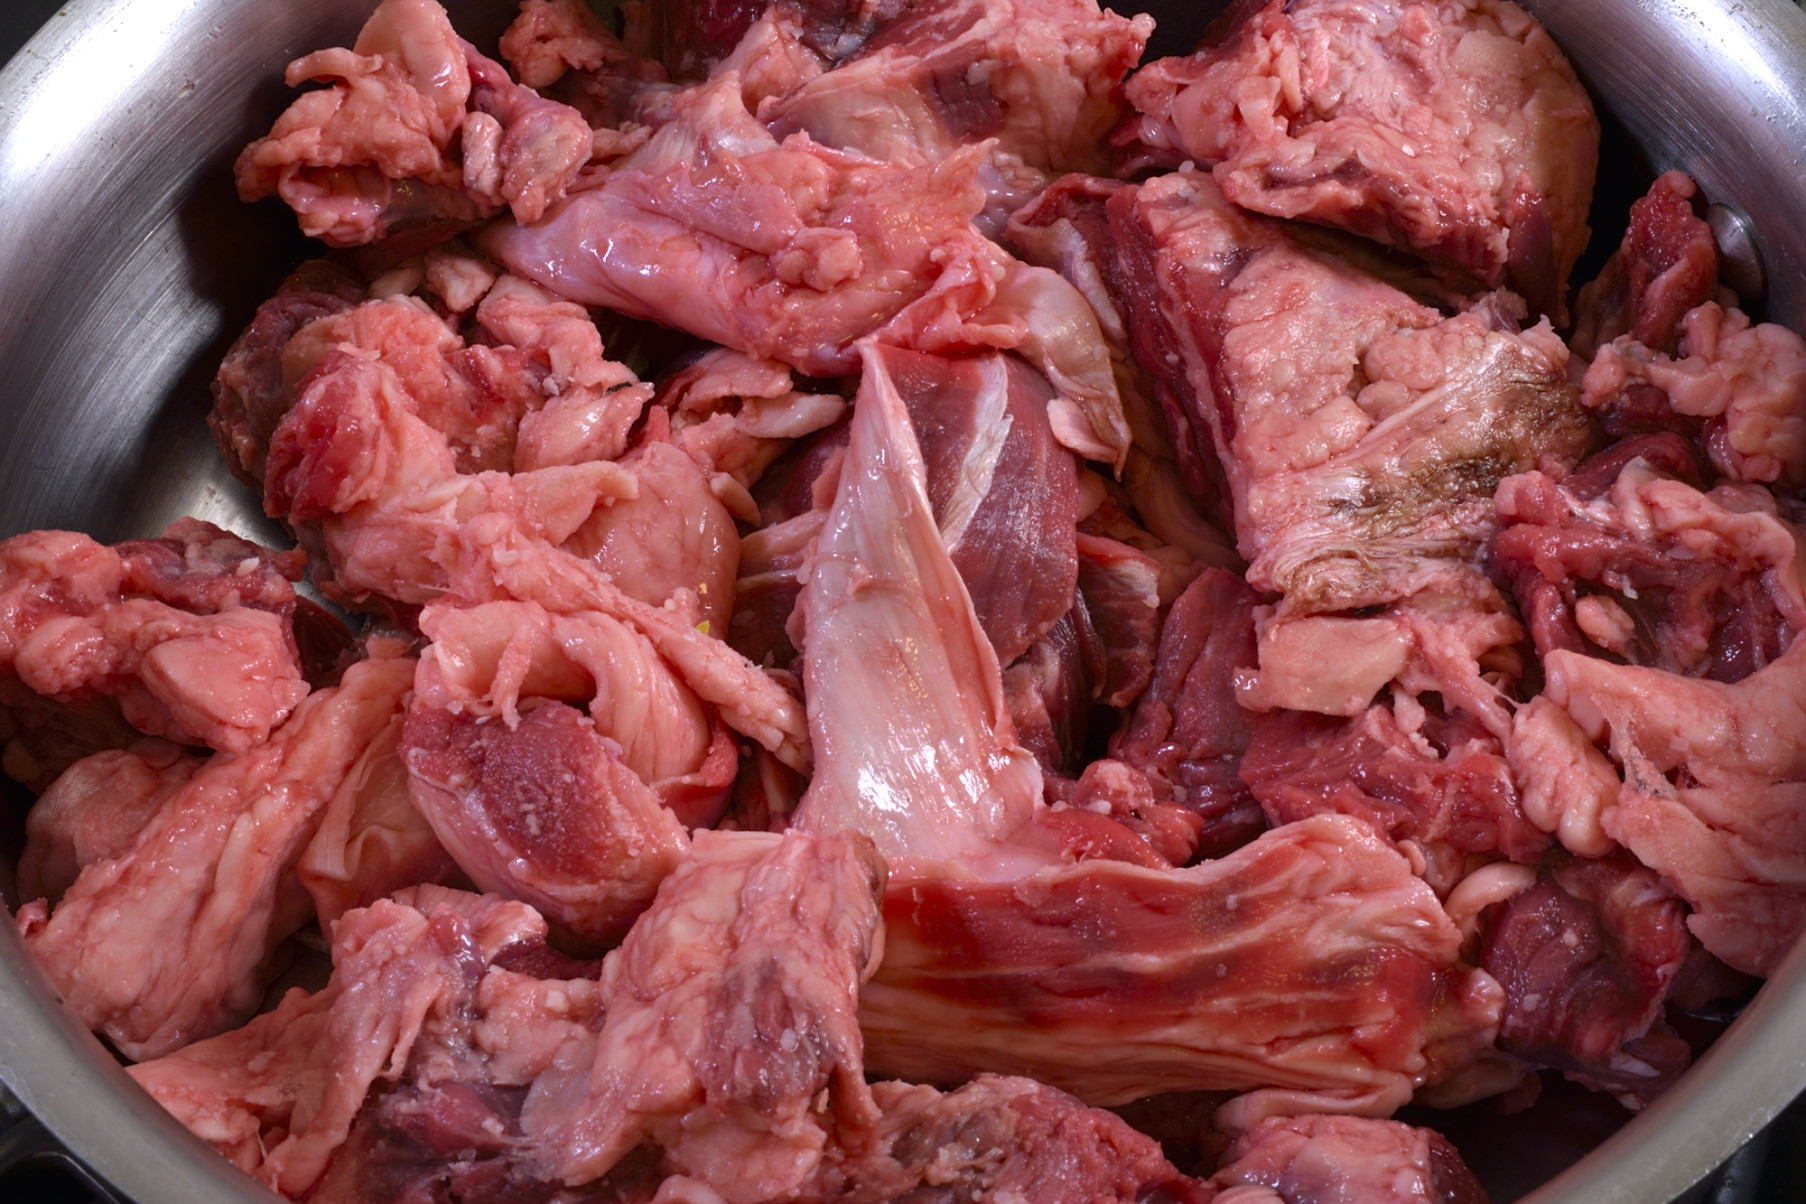
Now that it’s all cleaned up, I have at least a couple of pounds of trim. I preheat a 10″ skillet to about 250 F/121 C, spray on a little Pam or whatever and stage the meat into the pan. I never “throw” things into pans or ovens or tanks.
Many of you have heard me say this before. LISTEN. We all look, we all smell, but we don’t like to touch and our anxiety turns off our ears. It will hiss and steam, and then it will sizzle, but it should not pop yet. Stirring cools off the pan, so resist the urge.
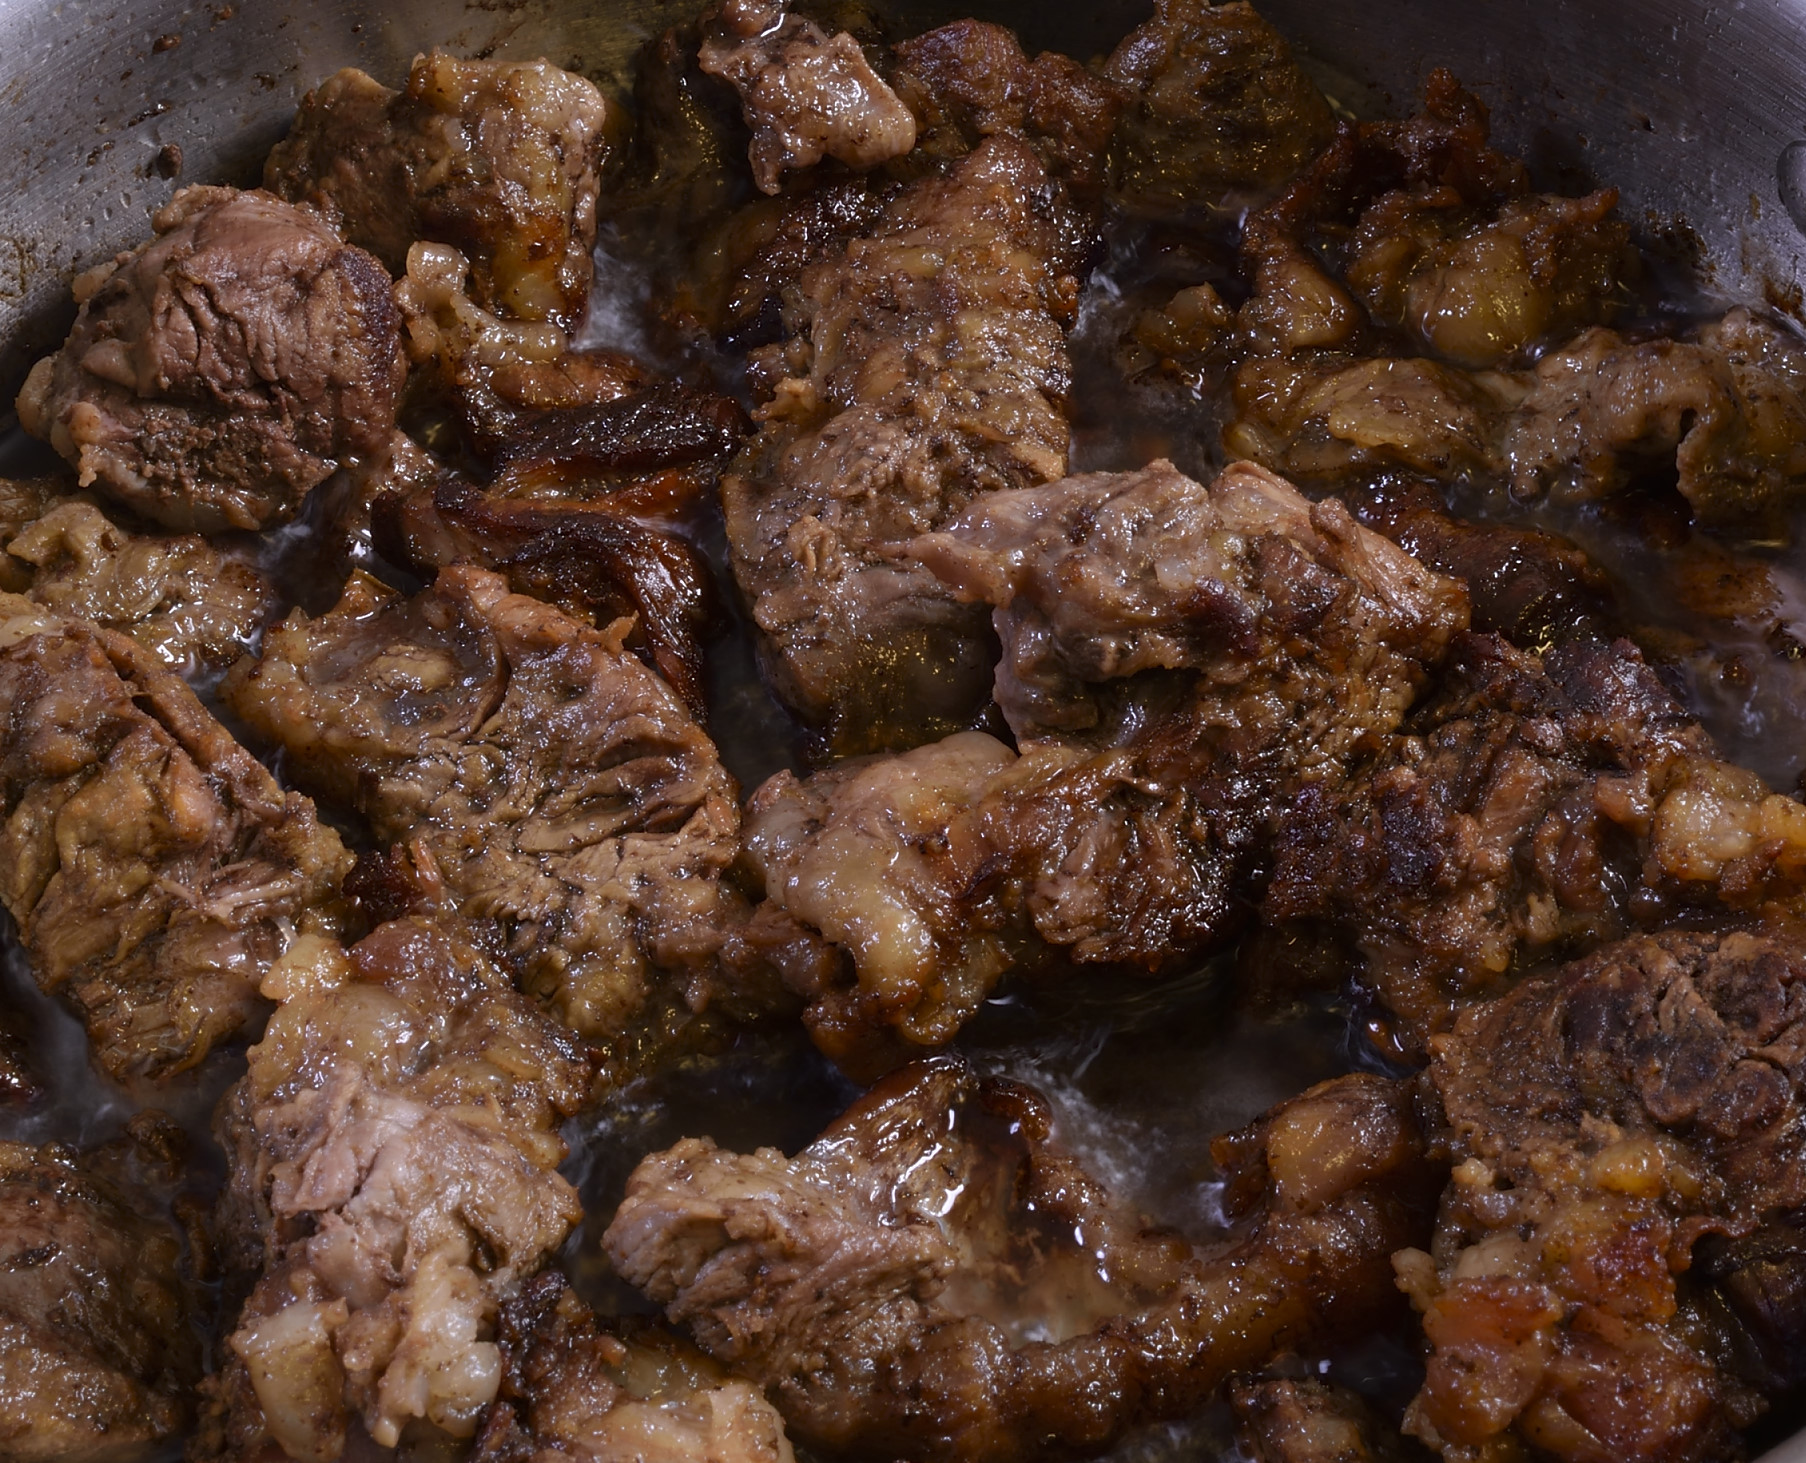
Brown very well, like completely rendered out. It actually will start to pop a bit at the end of this cycle.
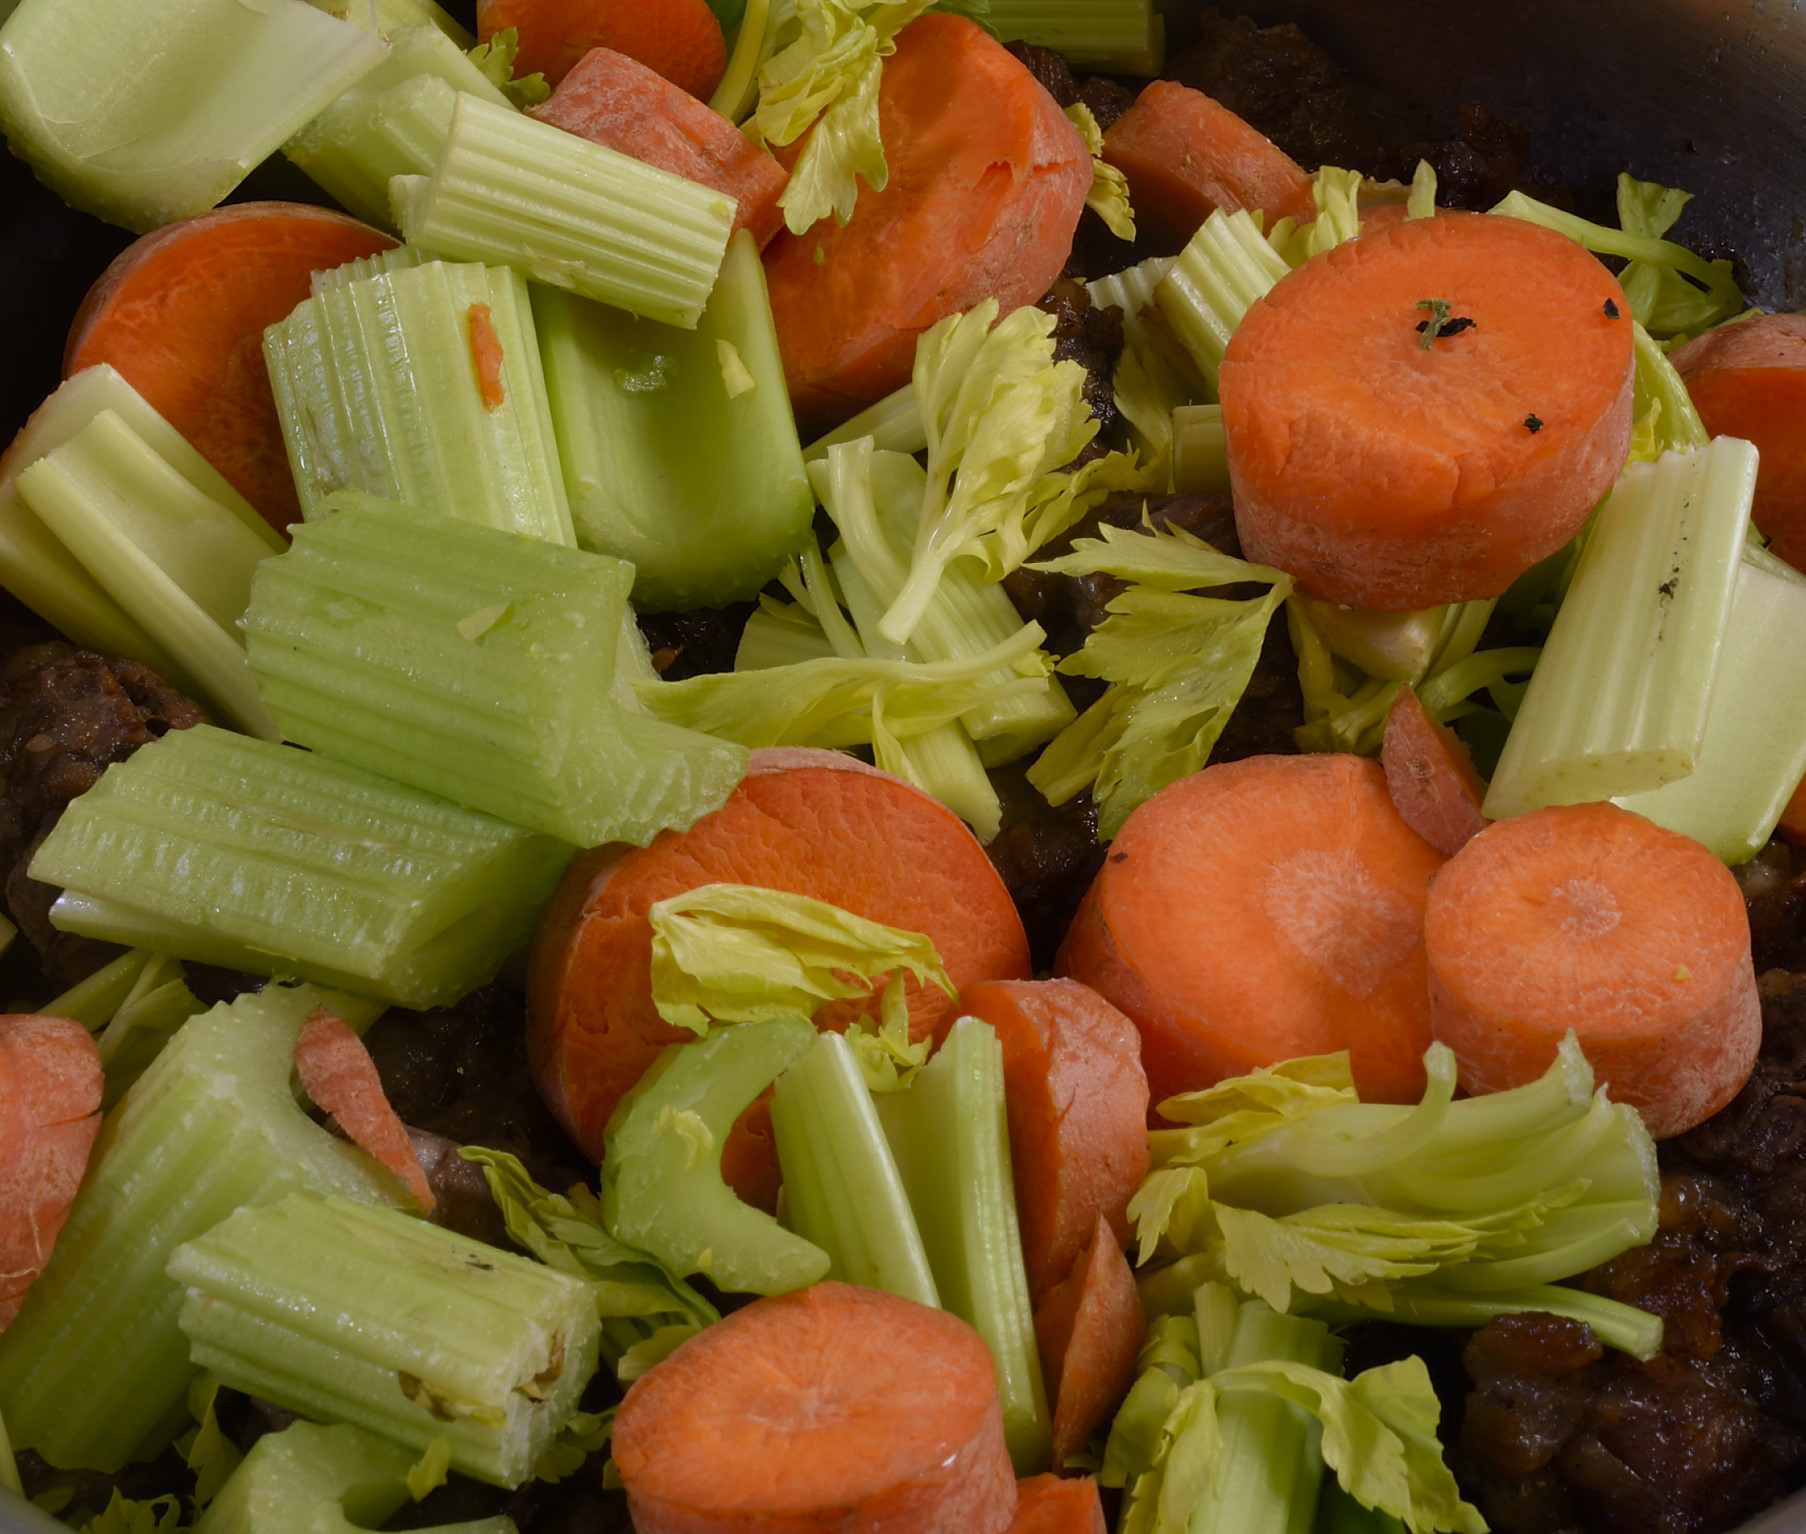
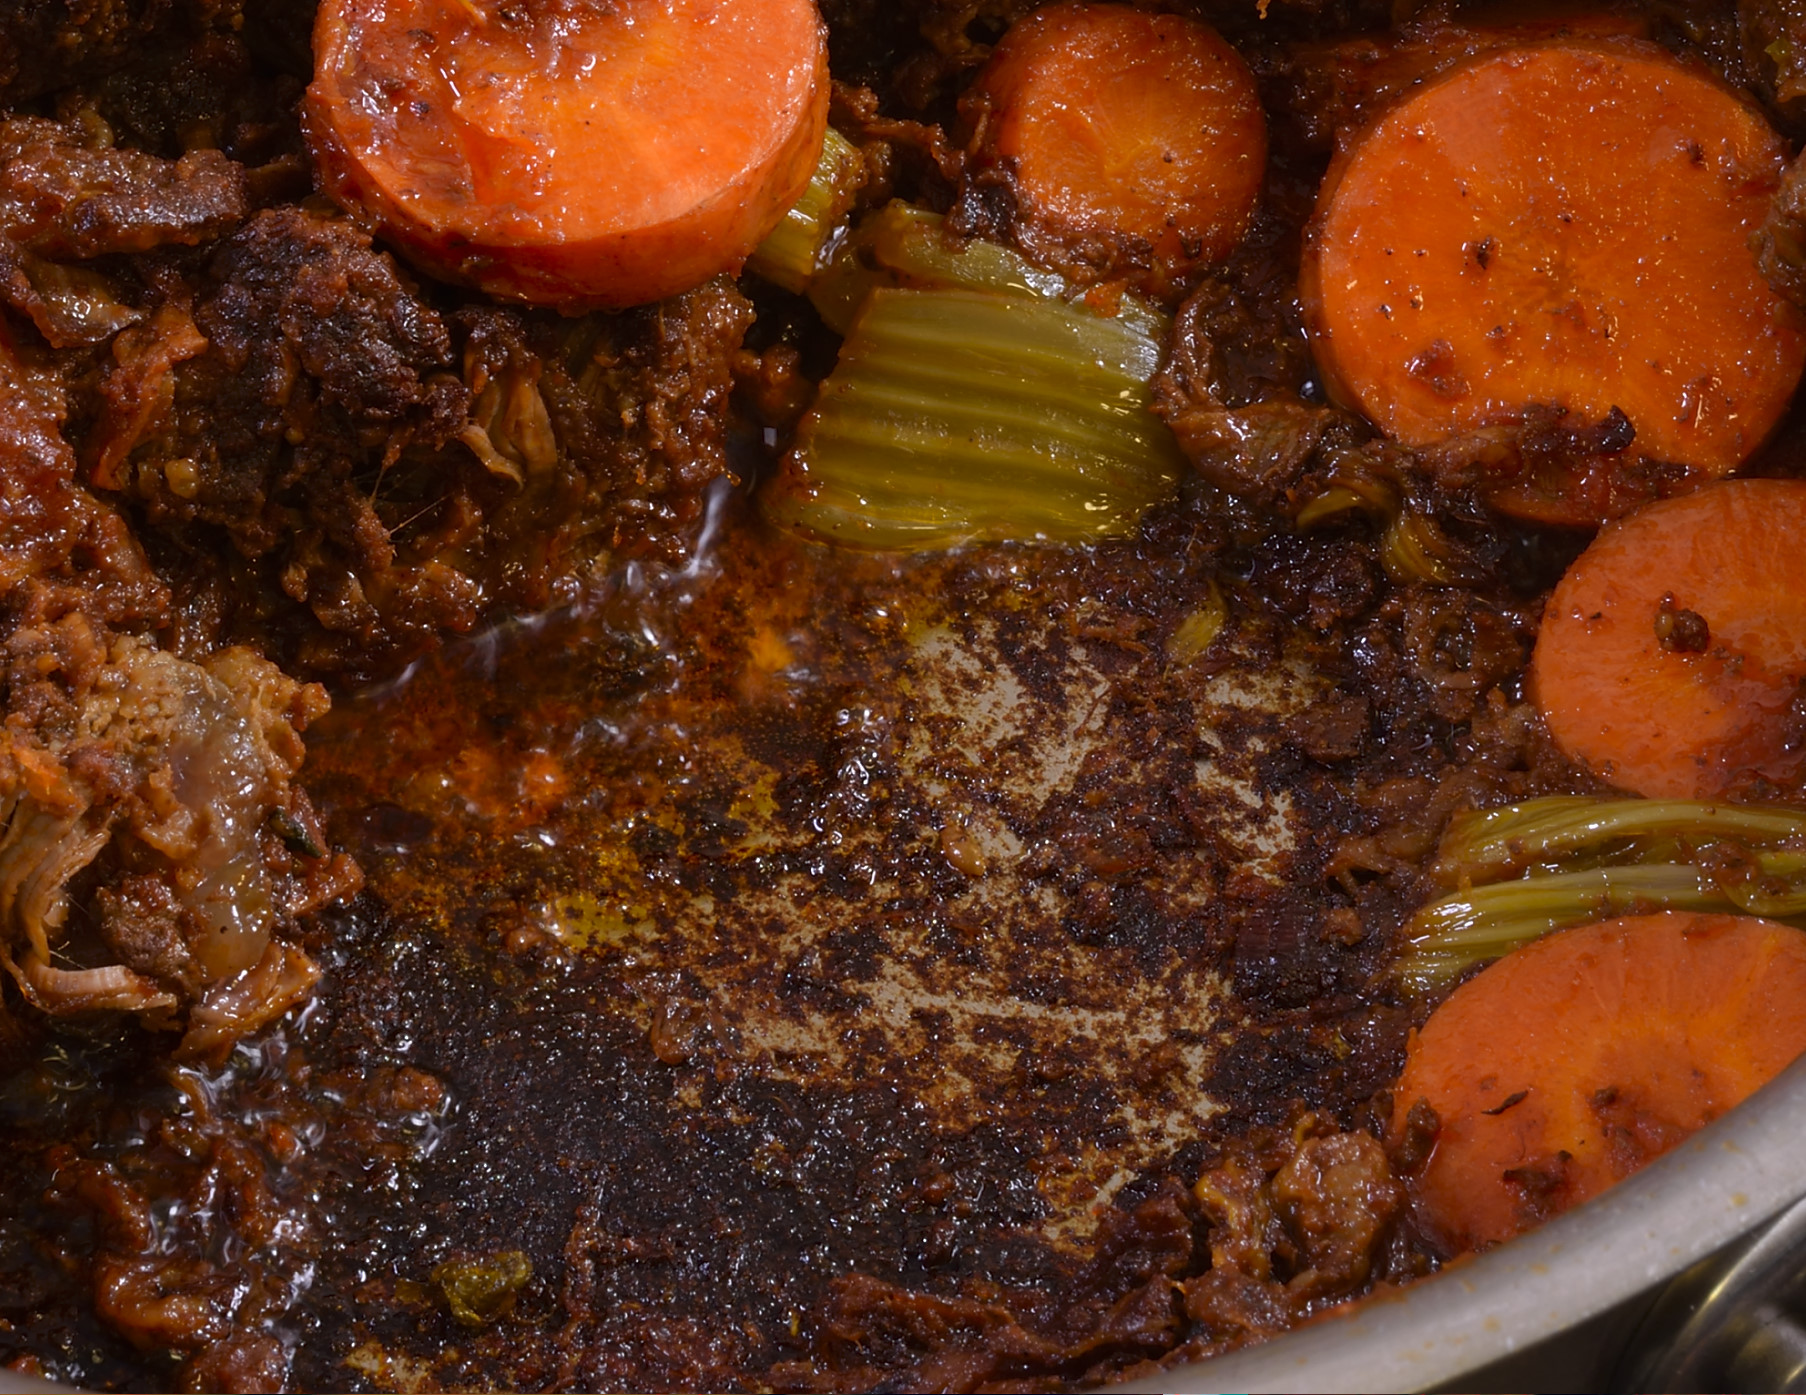
Okay, this dog will hunt. Add celery and carrots. No onions just yet.
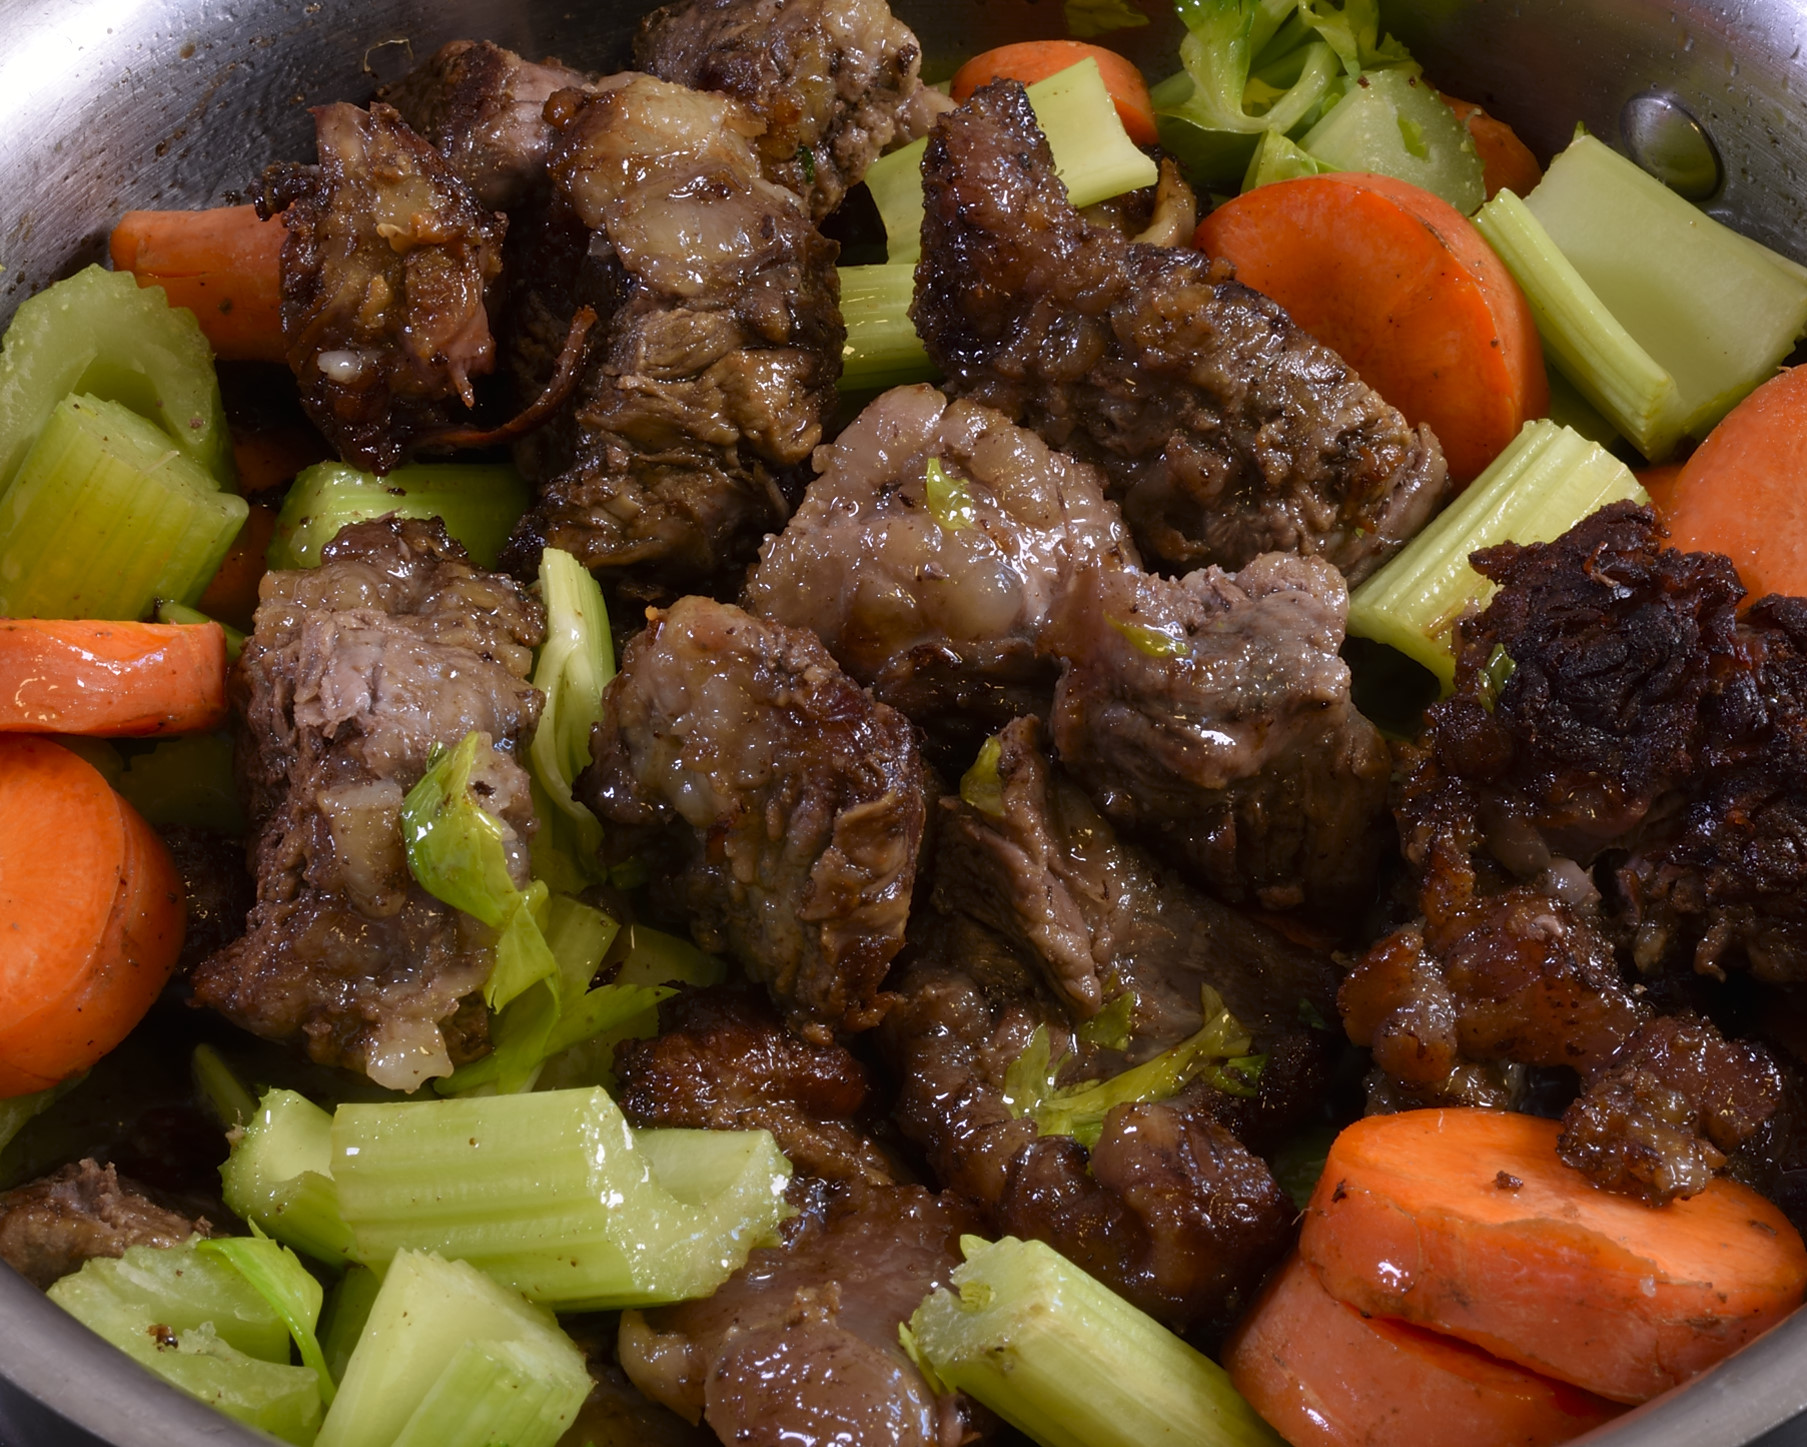
People don’t like to say “fry.” It sounds unsophisticated, which it is not. Fry is equivalent in legitimacy to saute or roast or grill or whatever. It means there is enough oil in the pan to caramelize carbohydrates, and, by golly, isn’t that what we want?
Stir just enough to get the veggies down into the bottom of the pan so that they coat with the melted fat from the tenderloin. Fear not, all that fat will be removed later. Don’t stir too much. Let it sizzle. The veggies start getting brown, but the meat did not get any browner. Amazing, eh? People think there is a bunch of timing involved, calculations, nah. It makes itself.
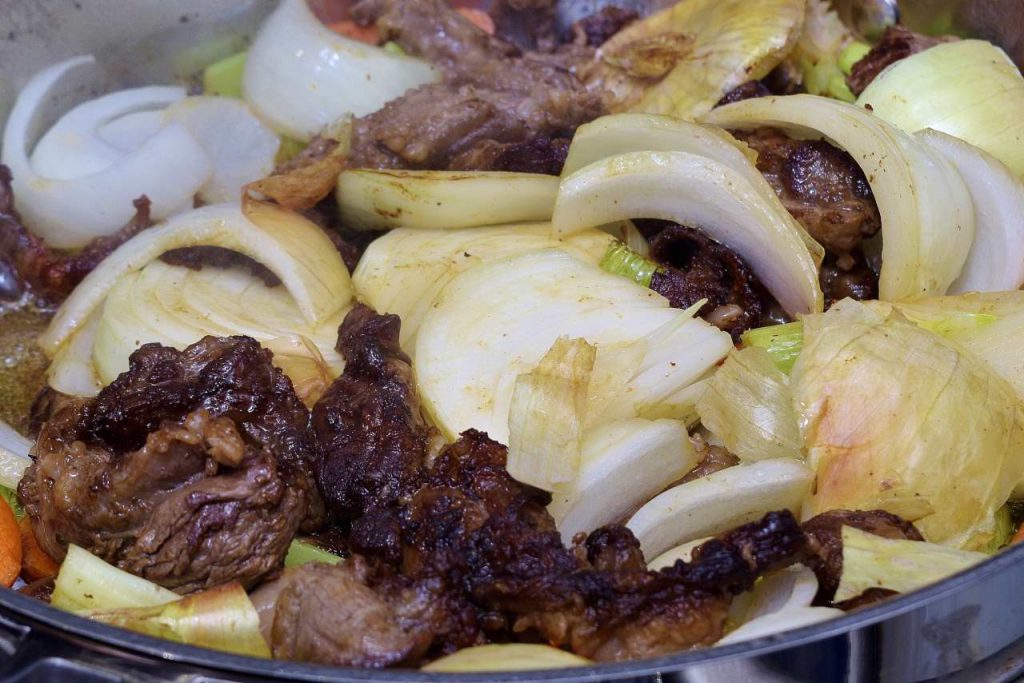
Add the onion.
Stir enough to get the onions into the oil. Don’t stir too much. I already said that, right? Right. The veggies provide the color, even more than the meat does. By now there should be quite a bit of oil in the pan, so, rather than risk burning ourselves by tilting the pan…make a little clearing in the middle so the oil can pool.
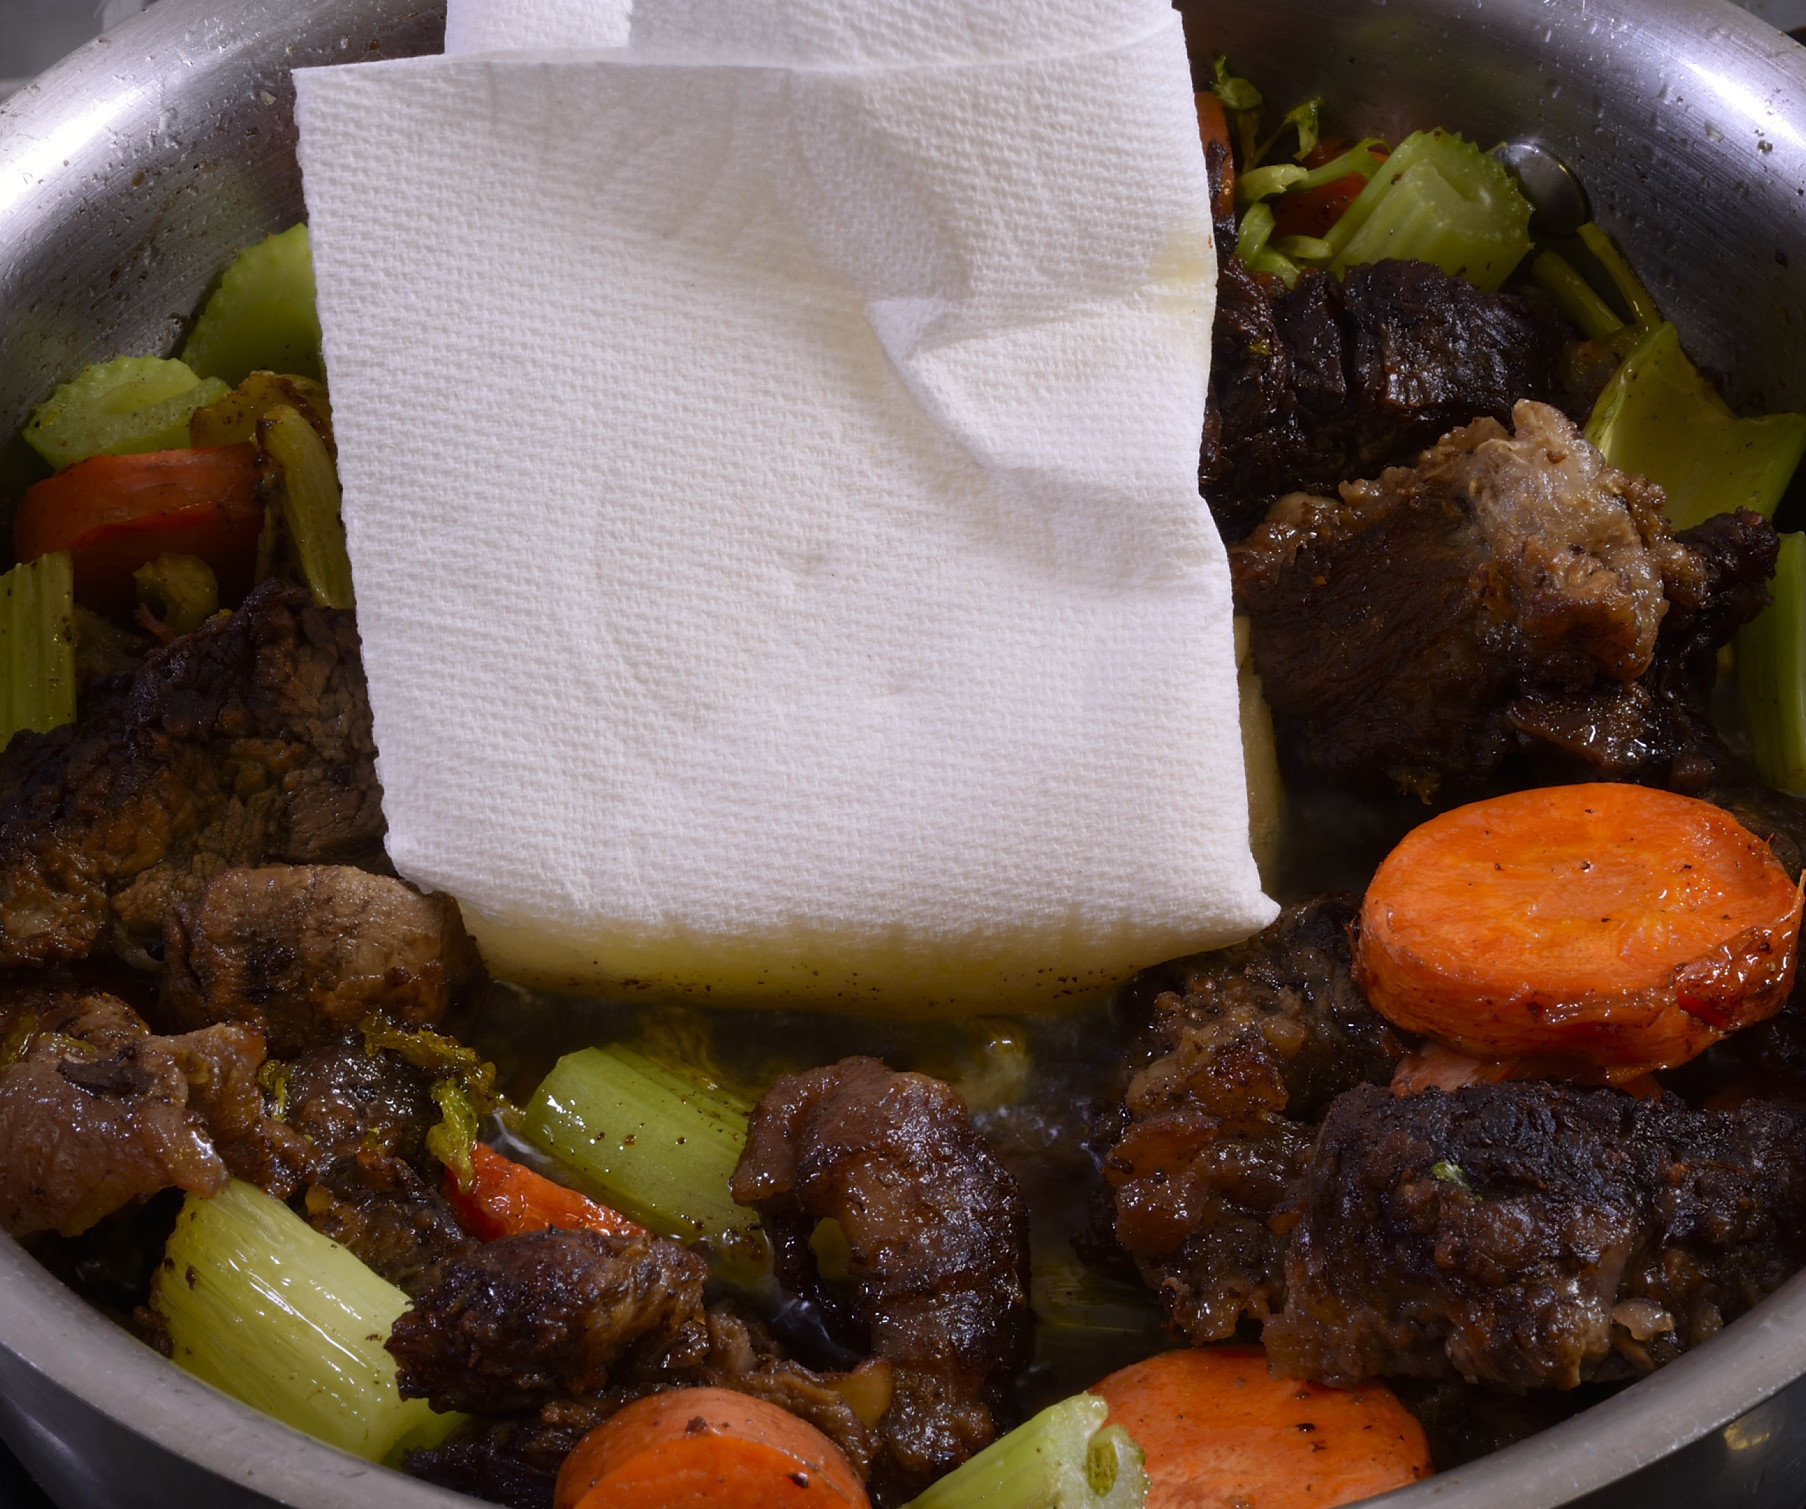
Fold up a paper towel and introduce it into the pool of oil.
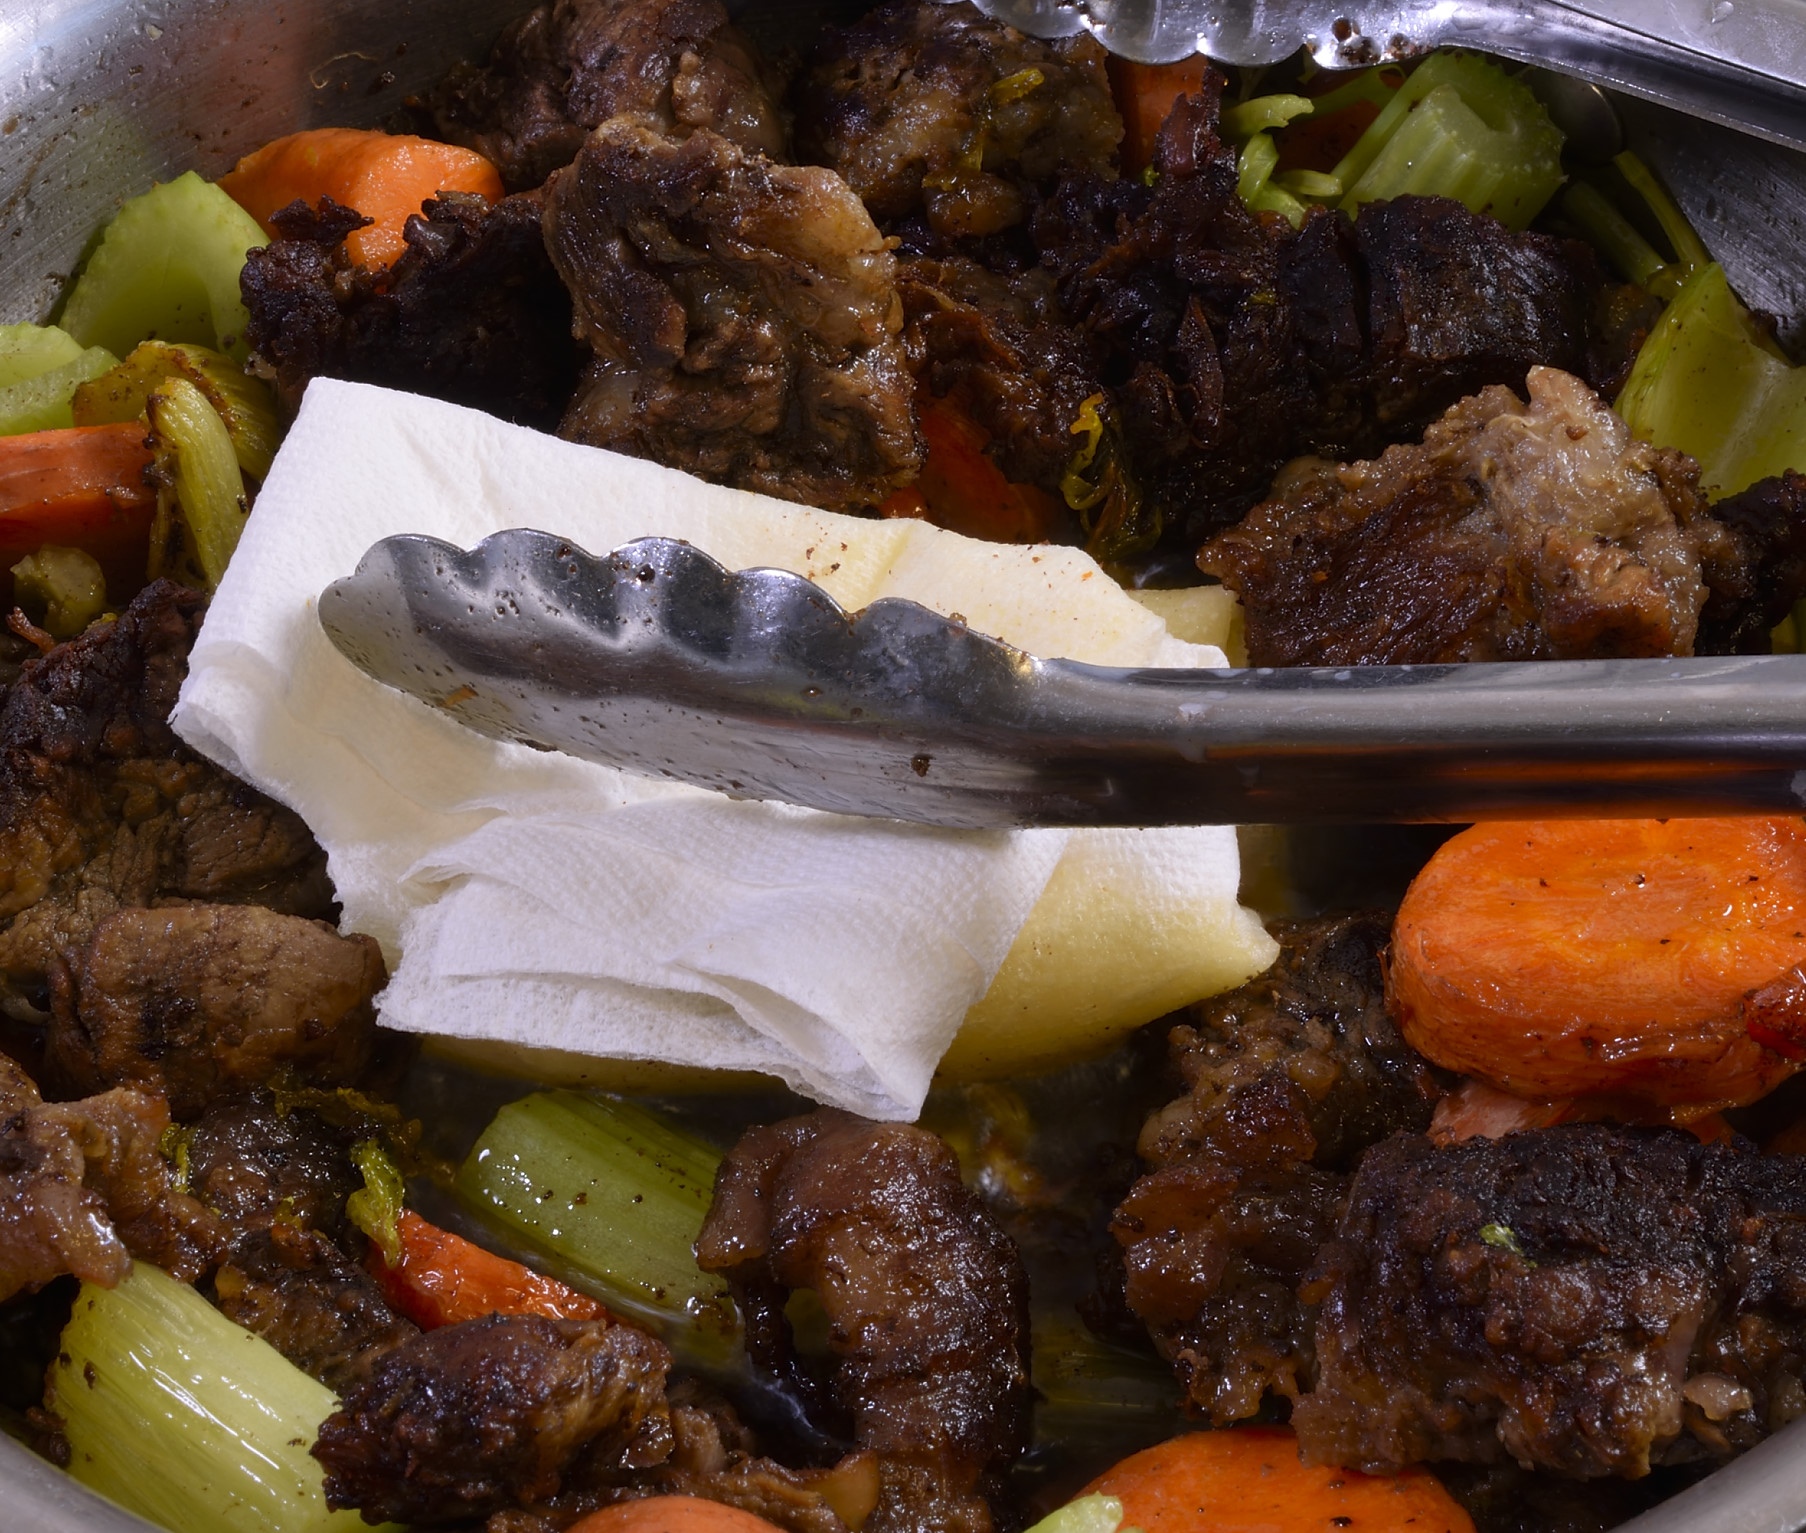
You may have to do this twice to get most of the oil out.
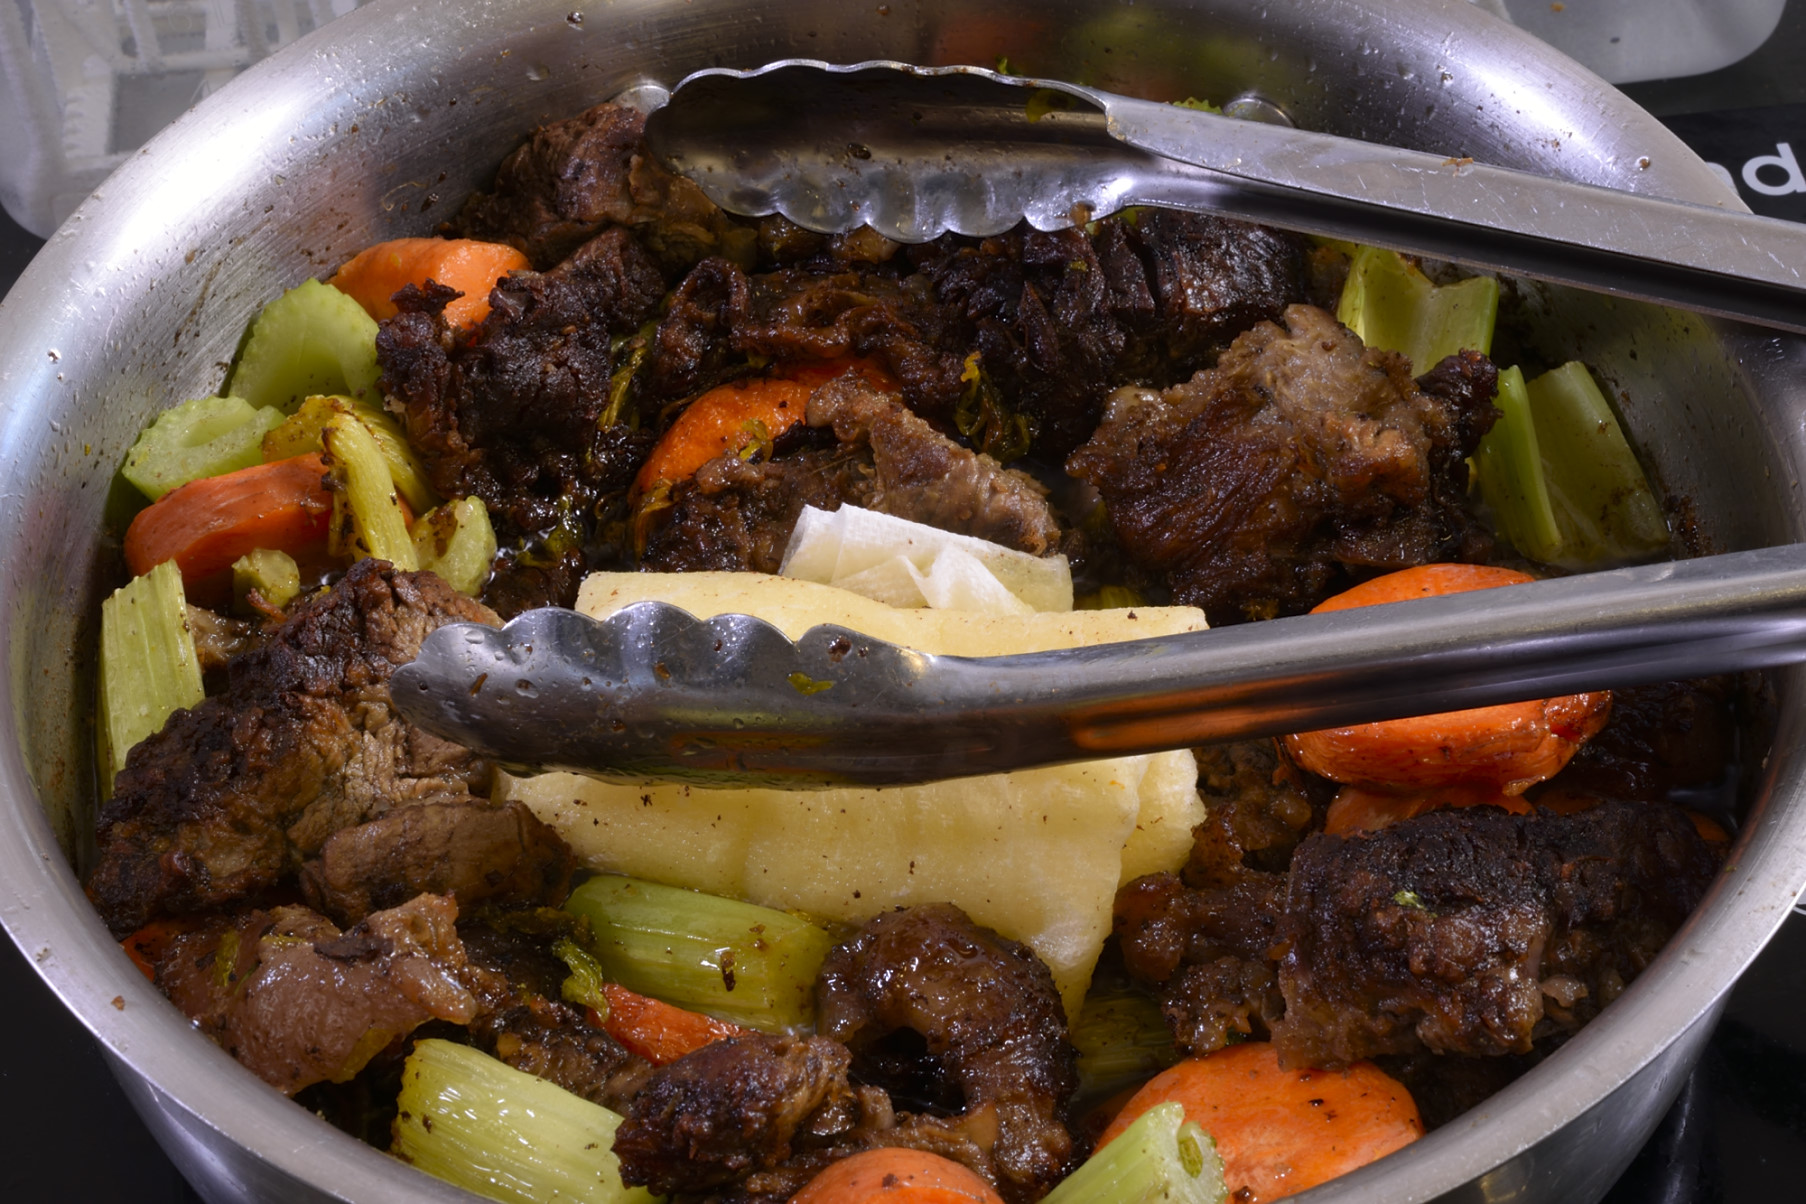
Use tongs to push the paper towel down into the oil, and then just discard–never even gets CLOSE to the sink.
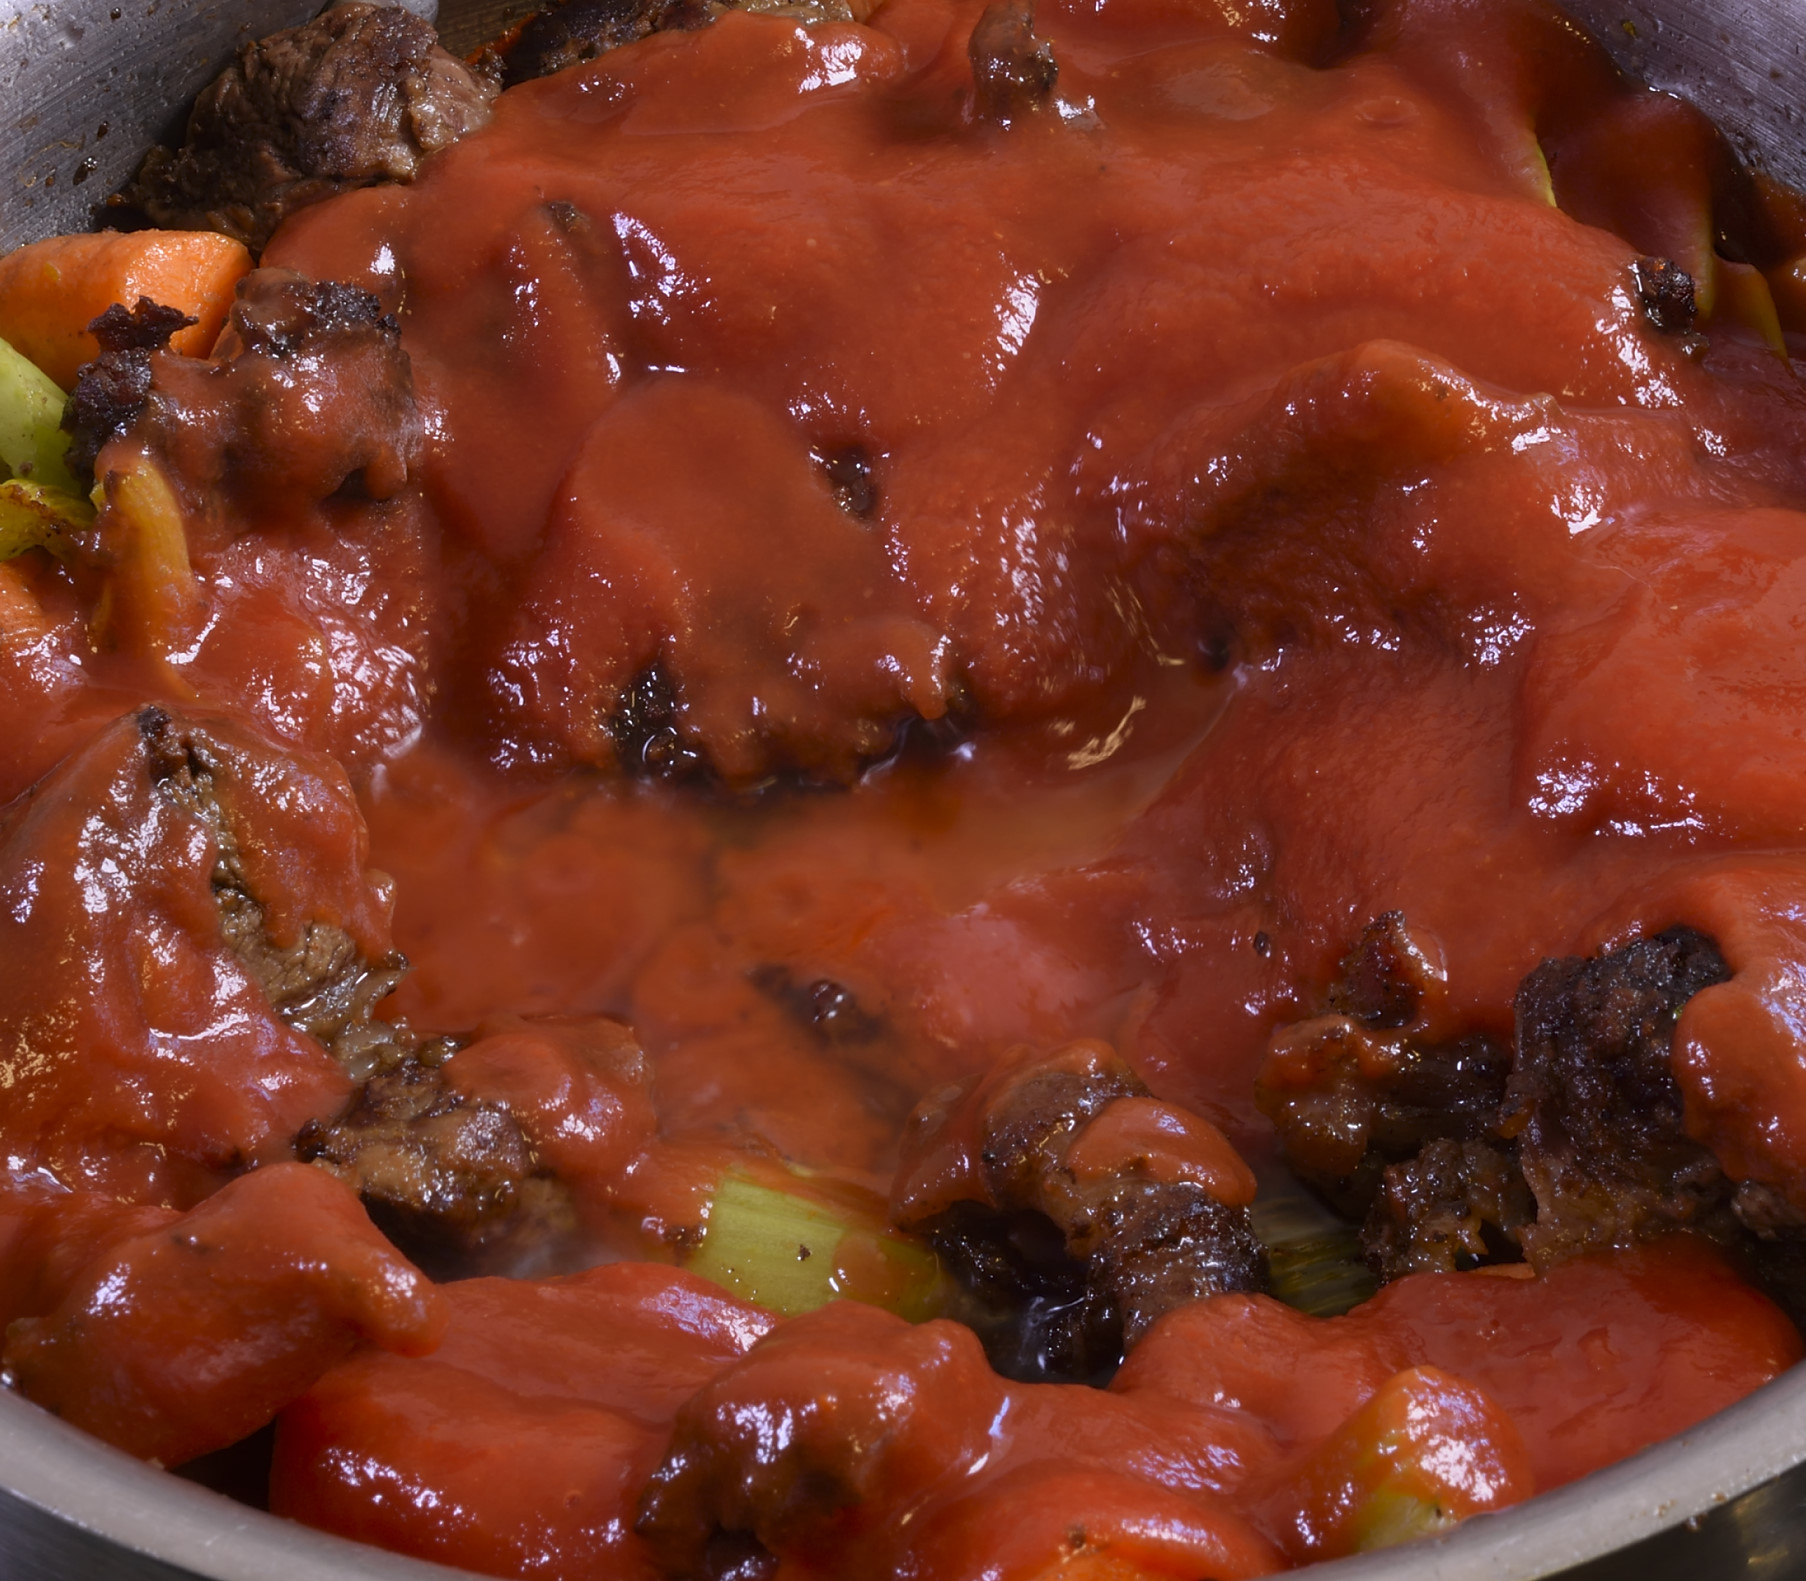
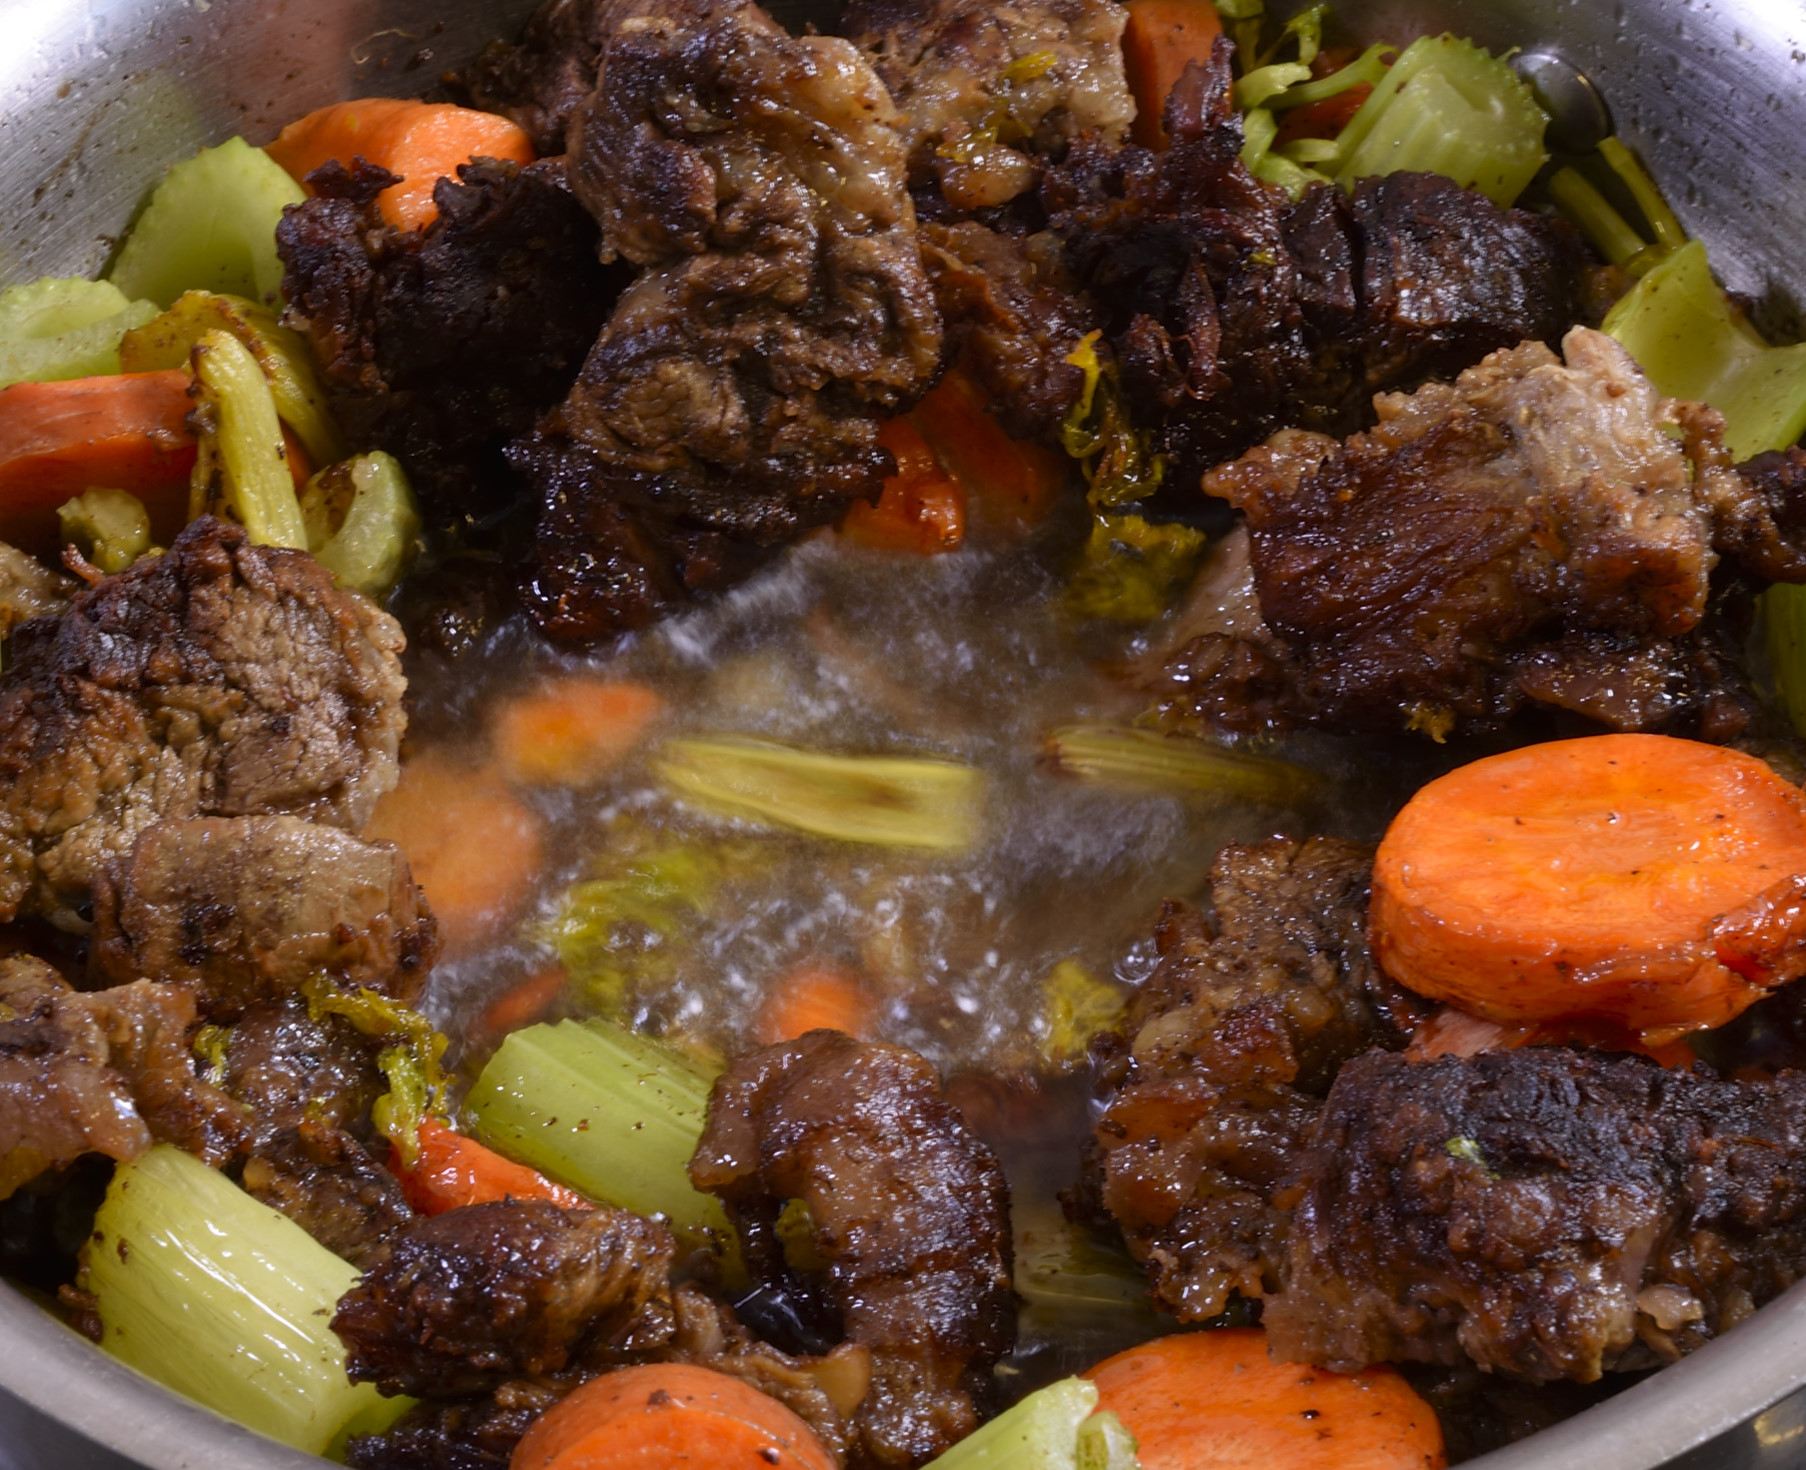
Add 15 oz can of plain tomato sauce.
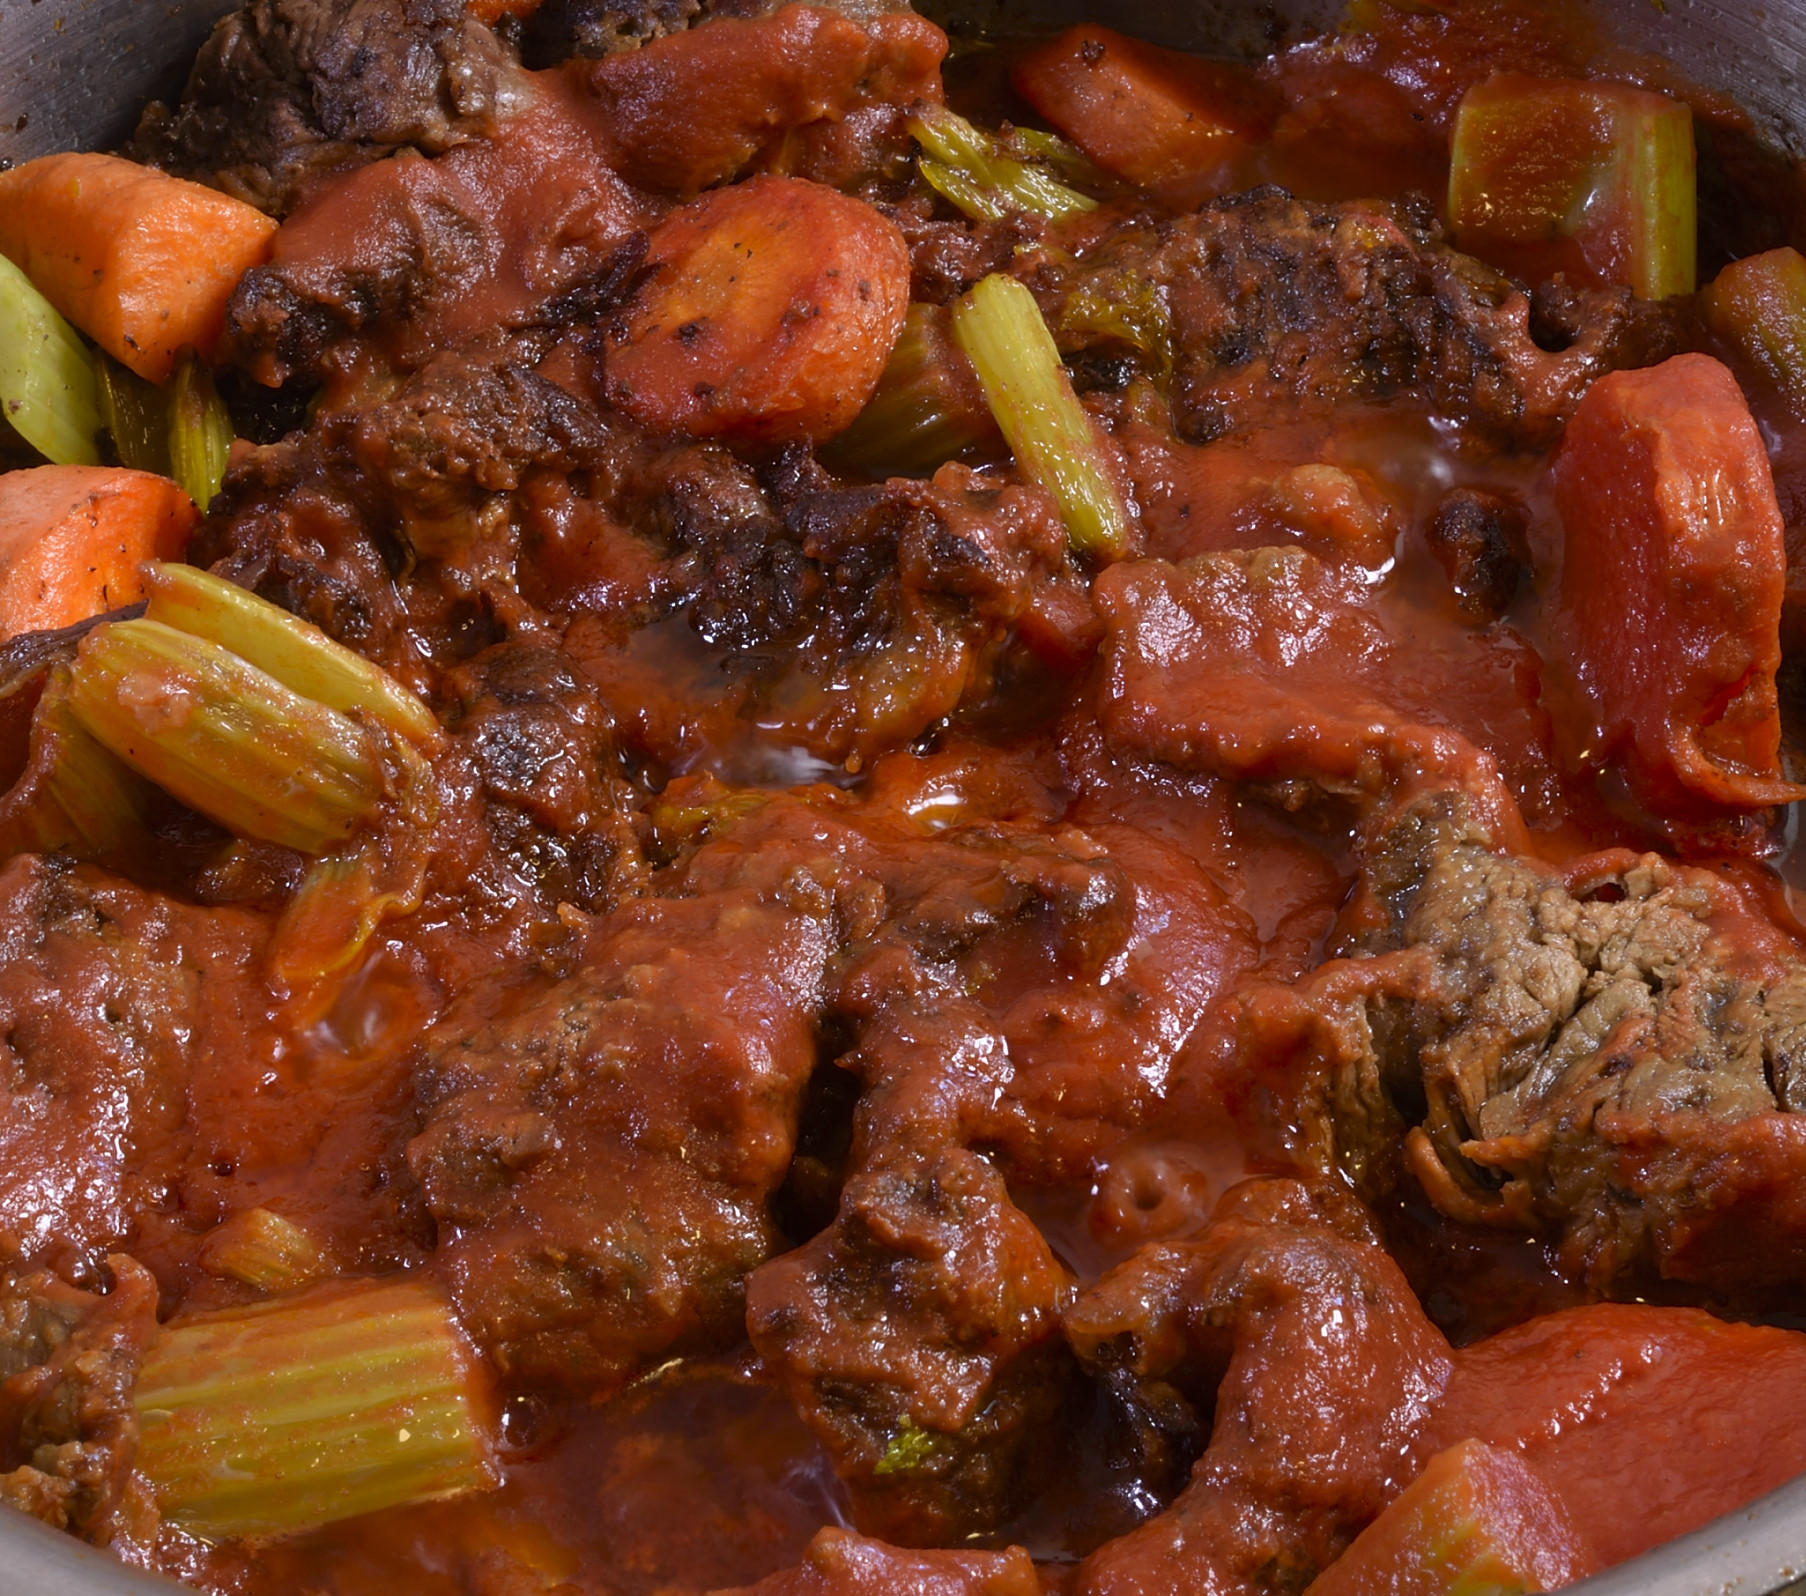
Stir just enough to coat and then go back to whatever it was you were doing. Keep listening. Sizzle.
After a while, a crust will start to form in the pan. If there is any skill involved in this production, it is this step. Clearly, you don’t want the tomato paste to scorch, but as long as there is still some oil in the pan, it most likely will not. Heat in the pan is never uniform, so you may have to move stuff around to see where the crust starts to form first. If you feel anxious, transfer to the oven, as seen below.
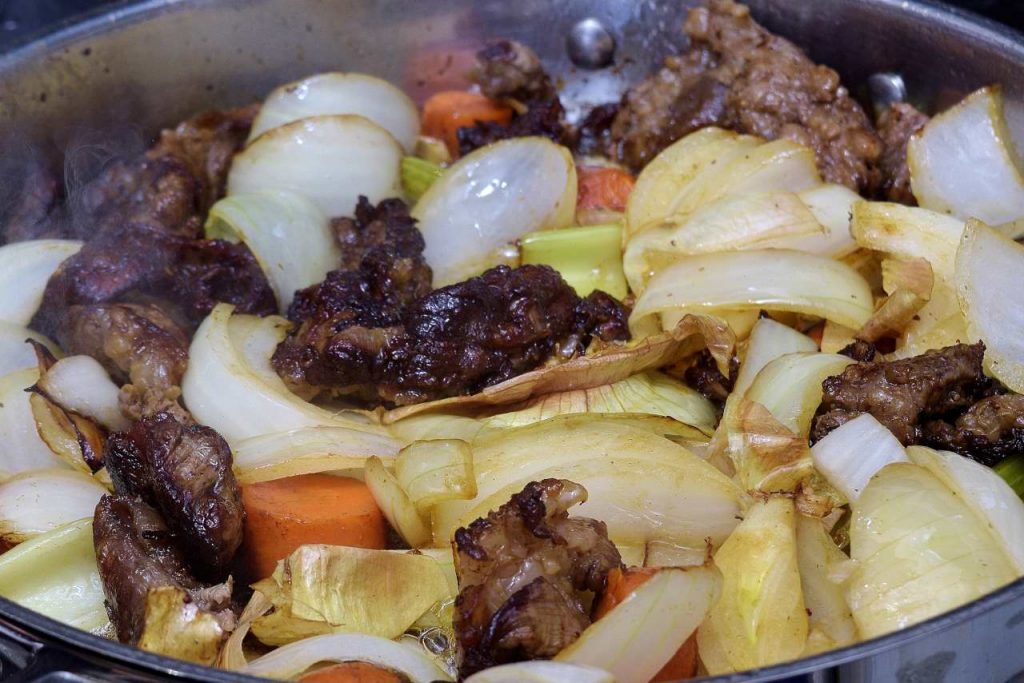
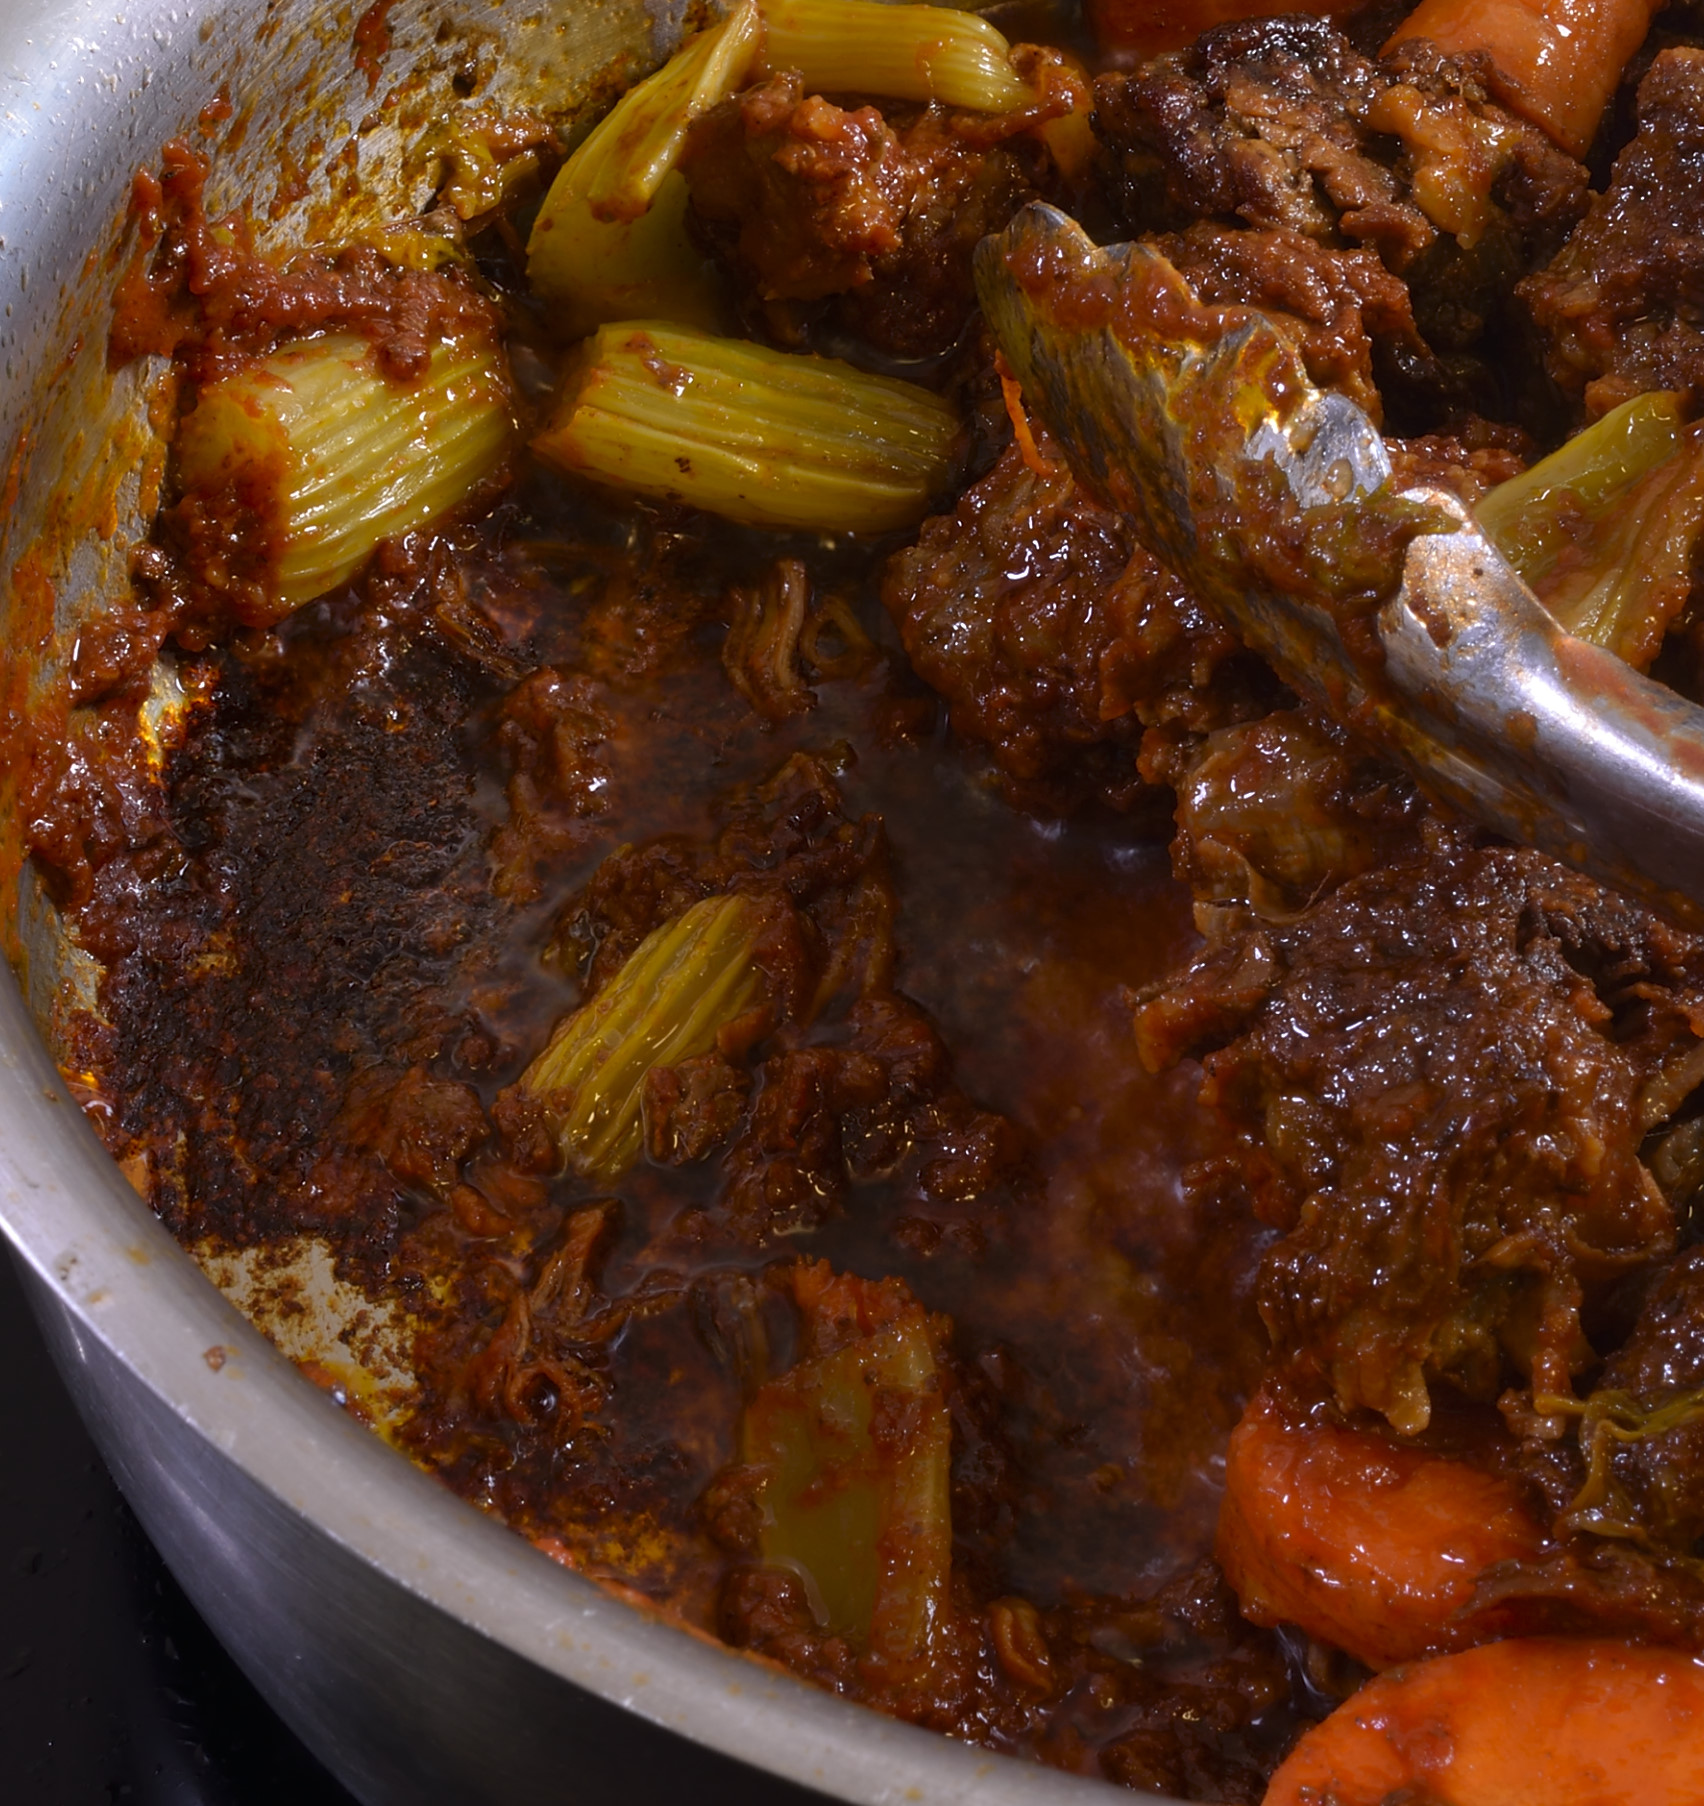
Same process.
By now, there may be another pool of oil in the pan. Just repeat the procedure with the paper towel.
Crust continues to form.
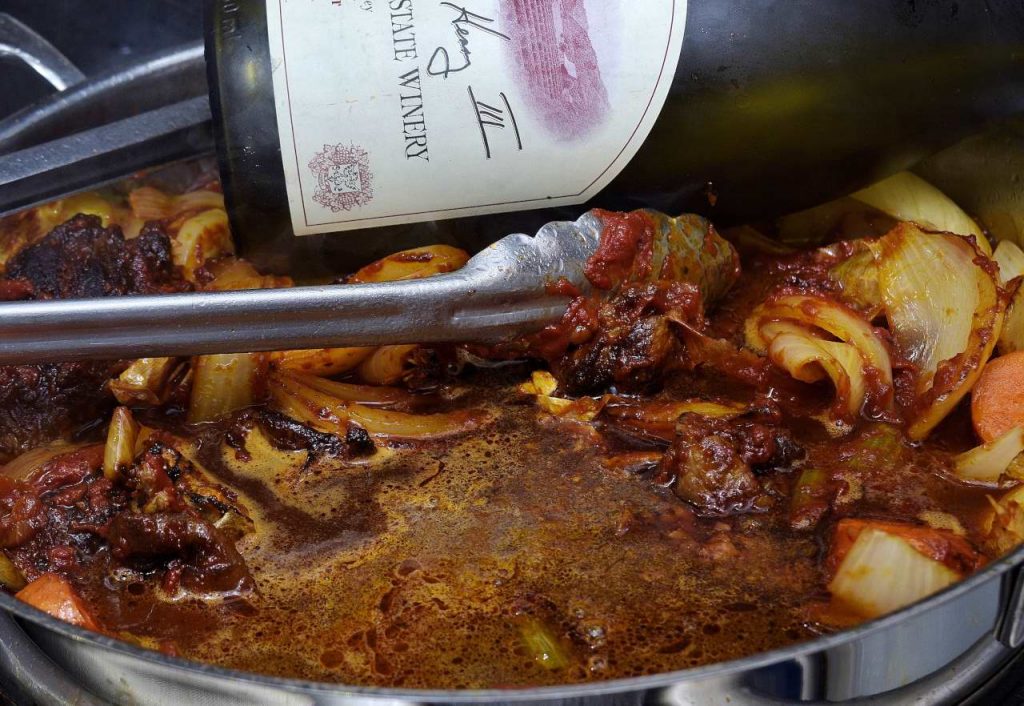
Now we’re getting somewhere. You don’t have to add wine, and do not use wine to create volume. Wine is for flavor. Water is for volume. Say it after me. People have crazy expectations for alcohol laced grape juice. Keep simmering, reduce the wine mixture until it threatens to spit at you.
Preheat a sous vide bath to 183 F/84 C.
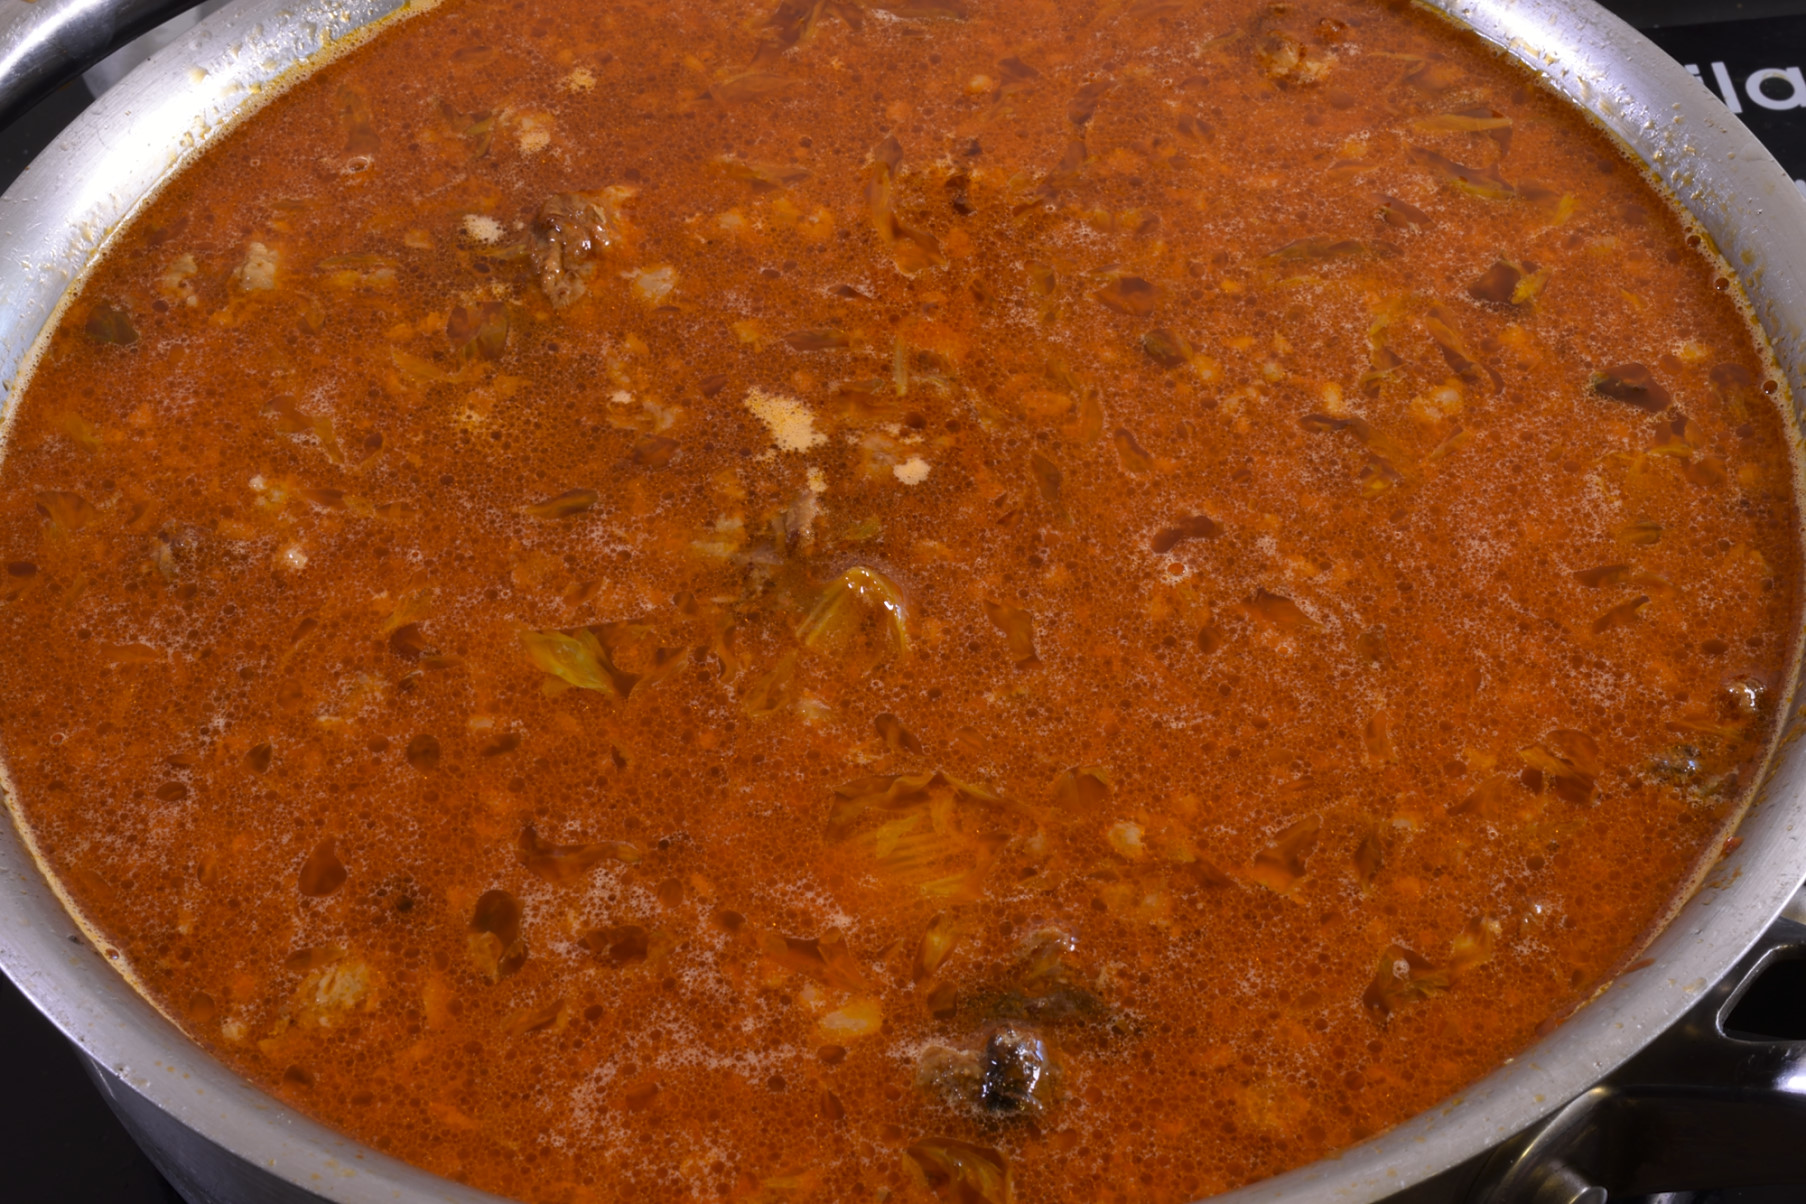
Add 2 quarts of water.
Bring to boil. It will look pink at first.
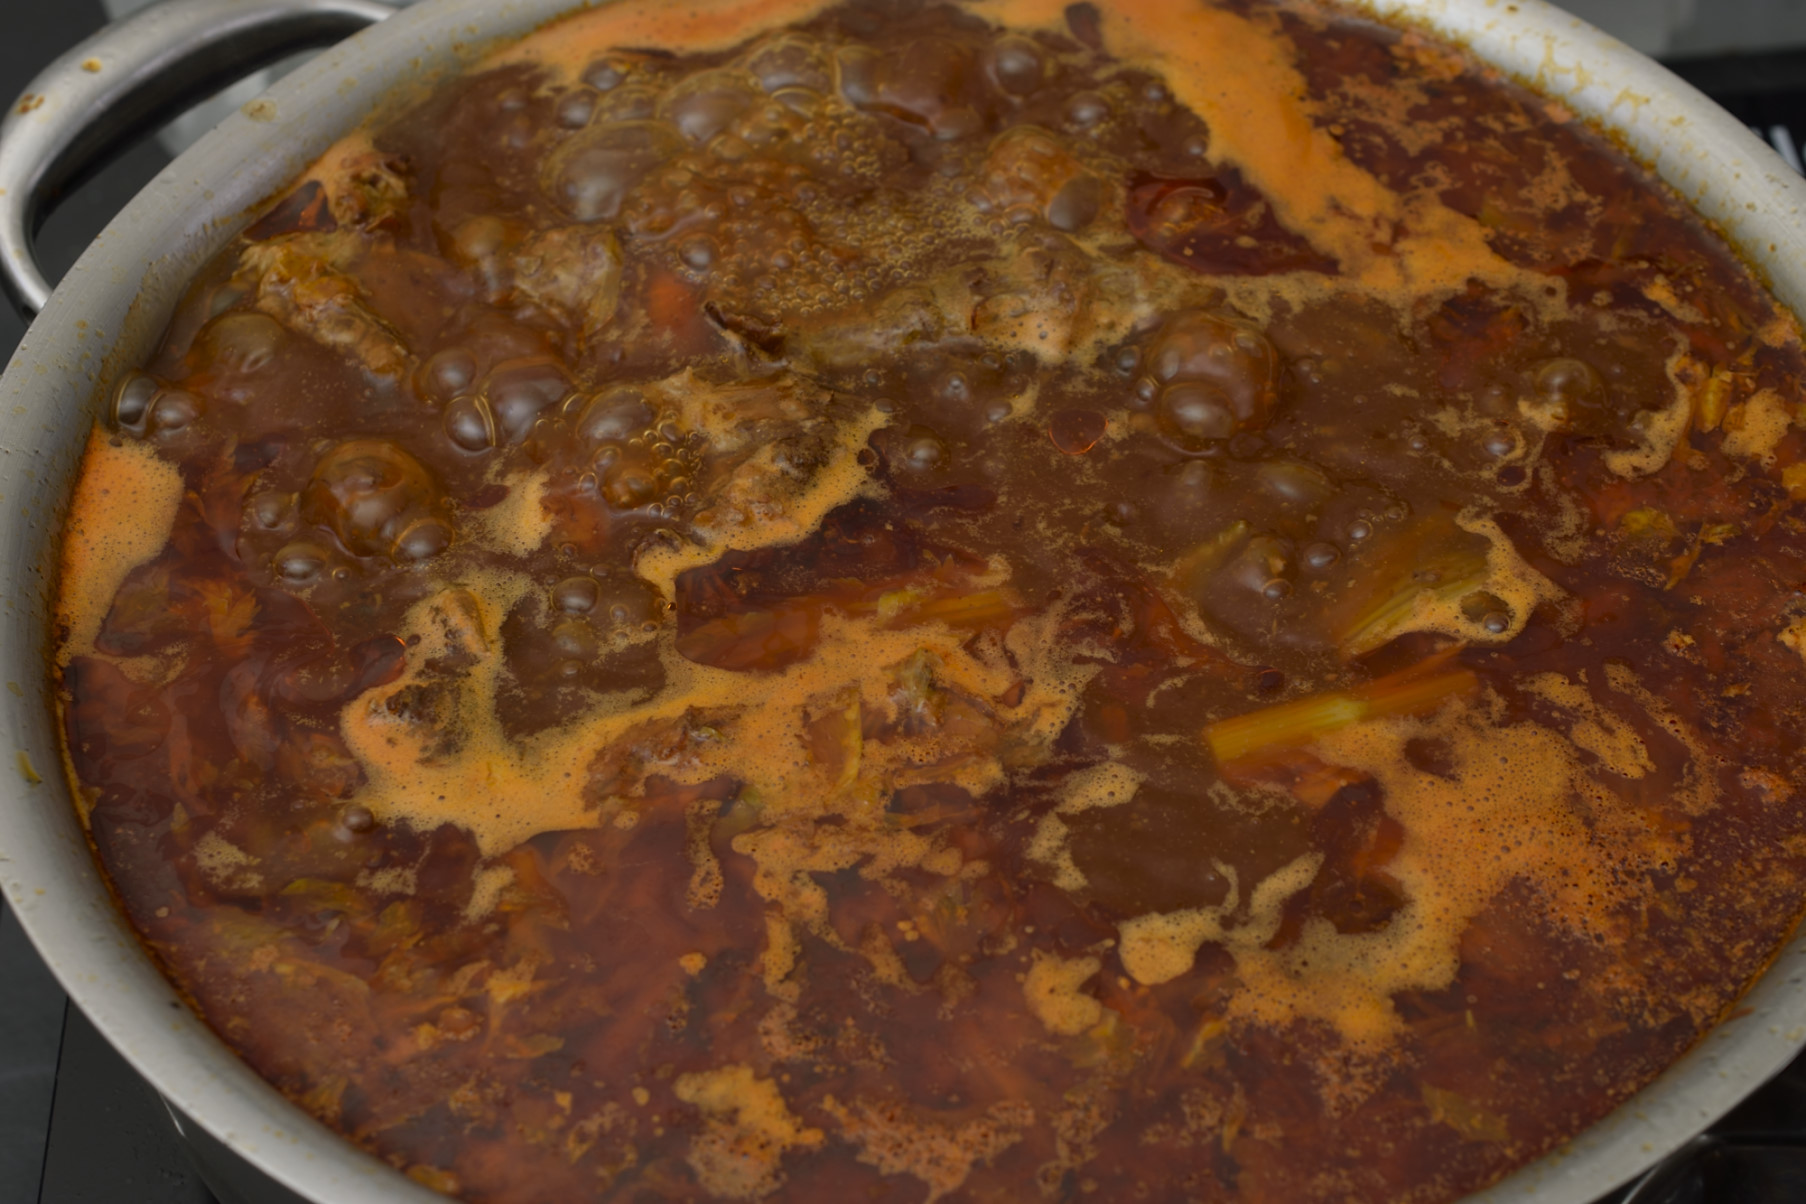
Once it comes to a boil, it will start to darken immediately. Remove from heat.
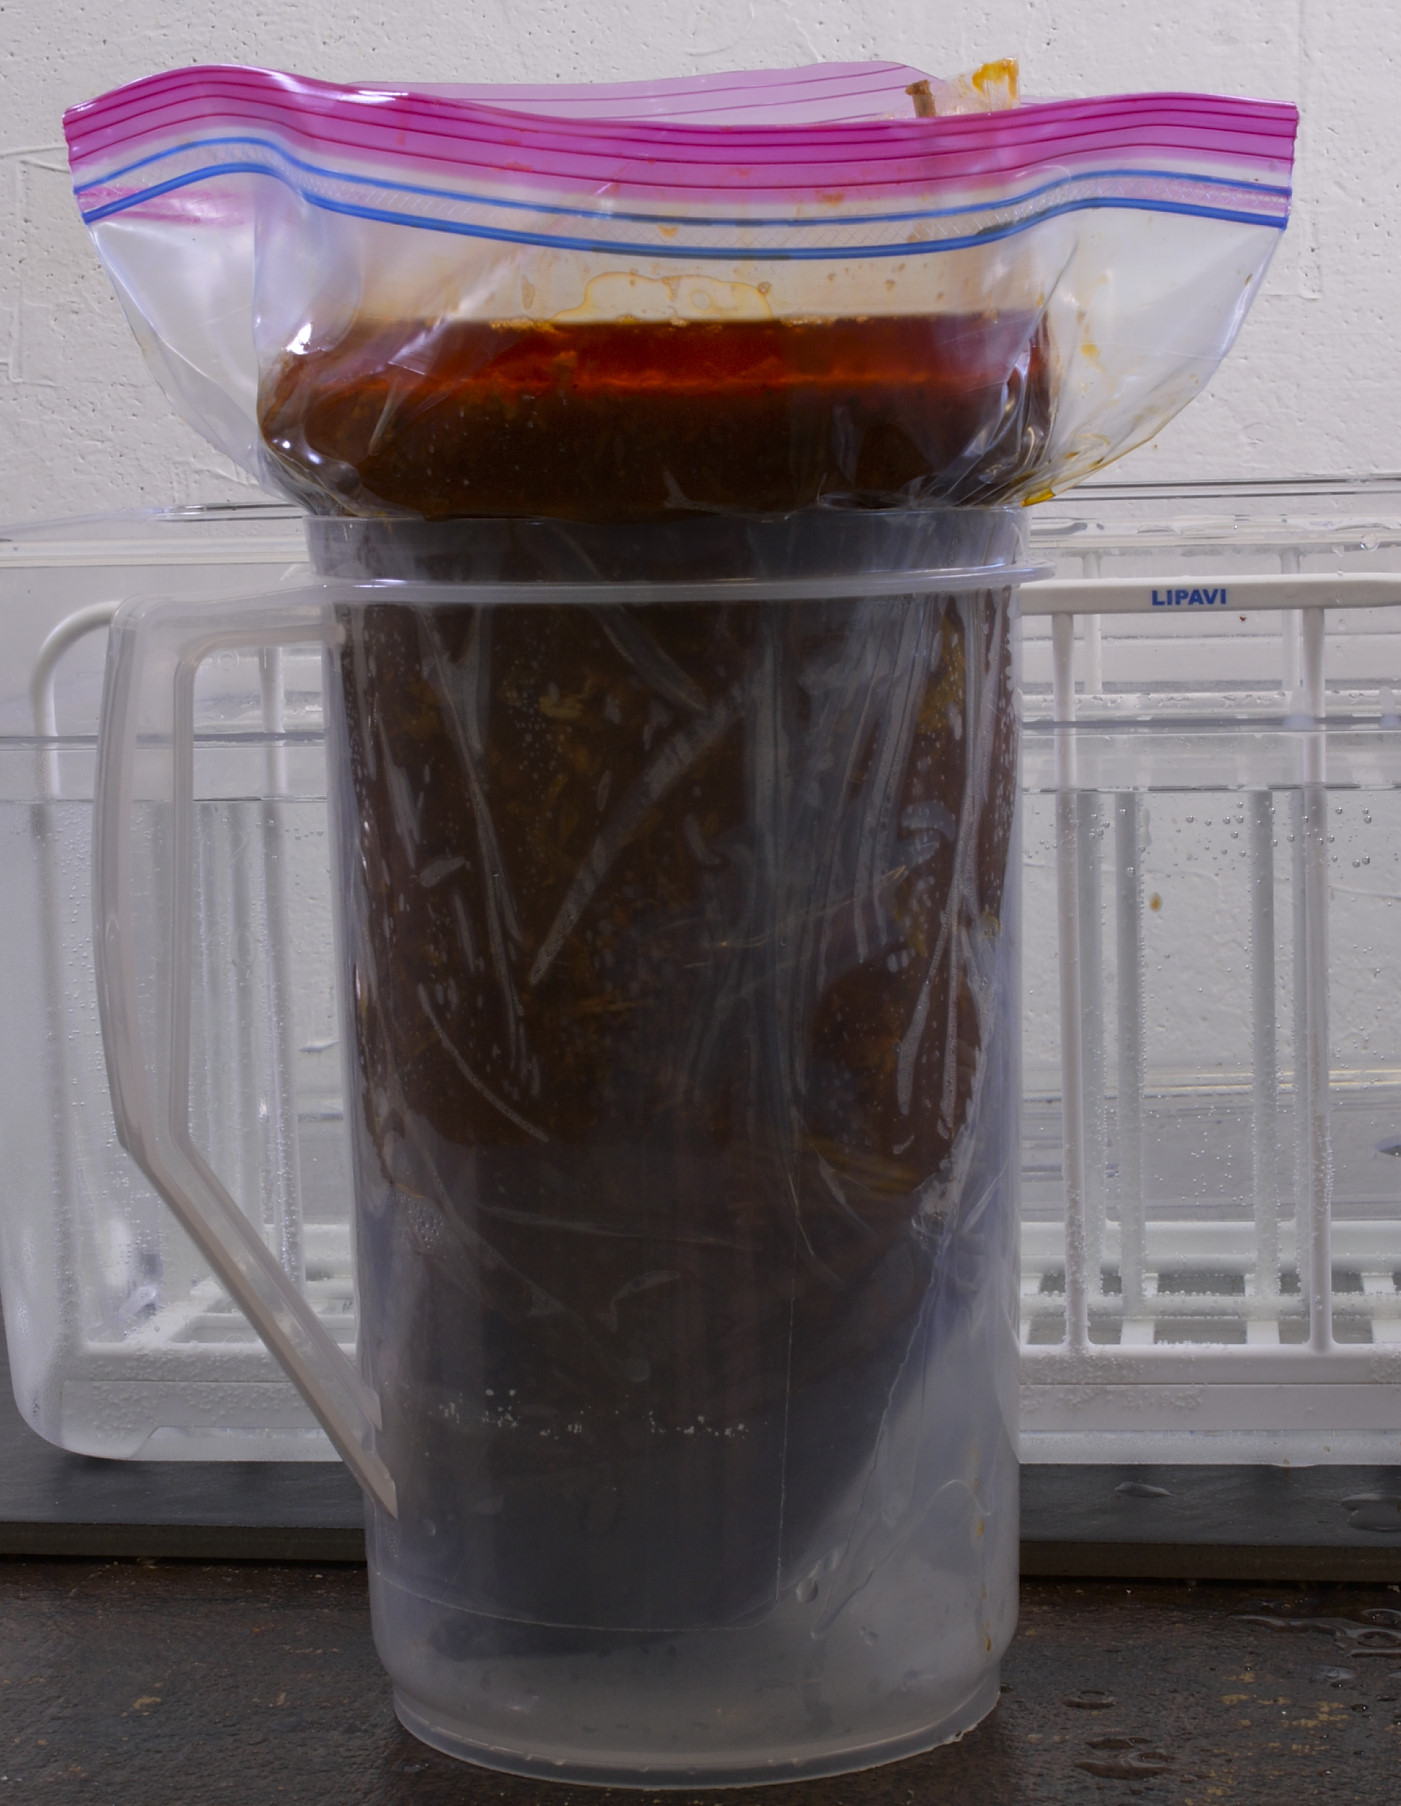
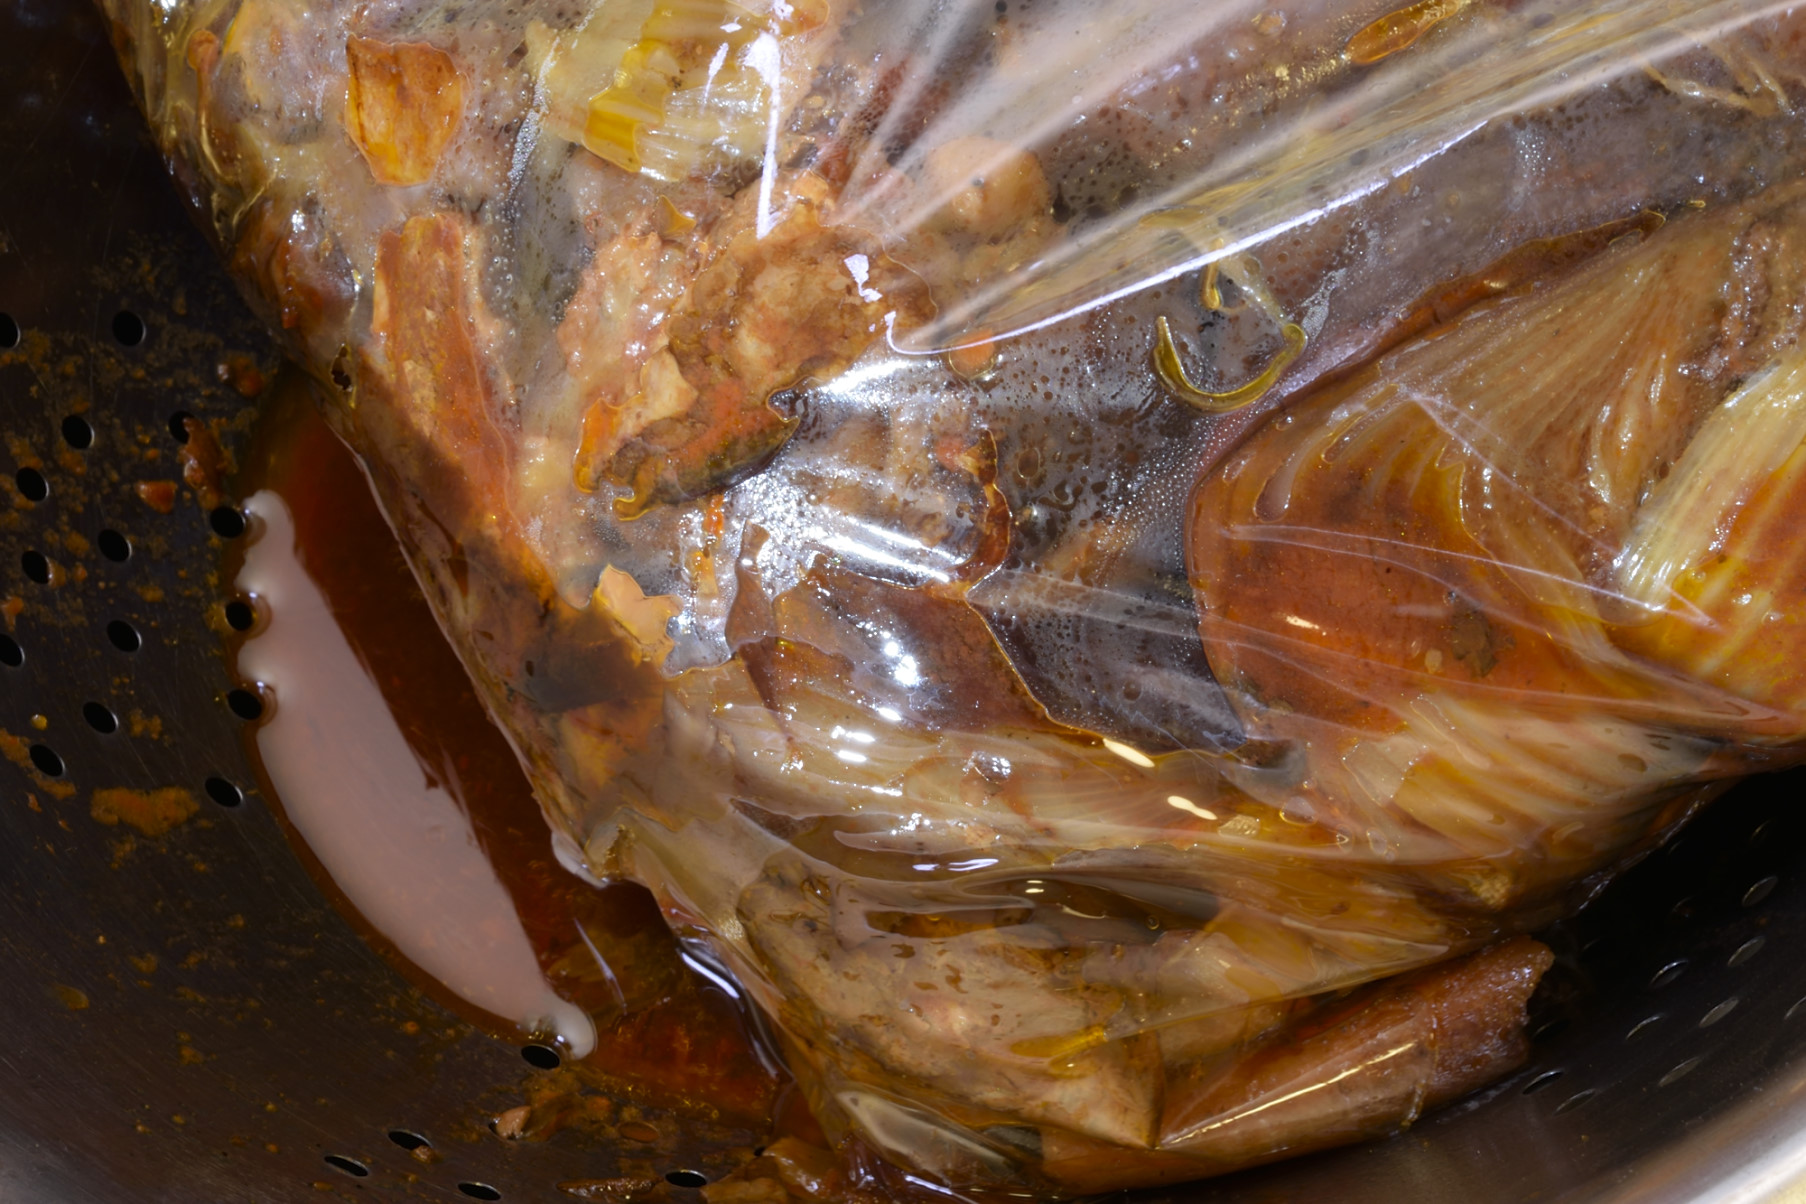
In the picture, I put a sous vide bag inside of a Ziploc bag and stuffed it into a 2 quart pitcher. Then I transferred the mixture into the bag.
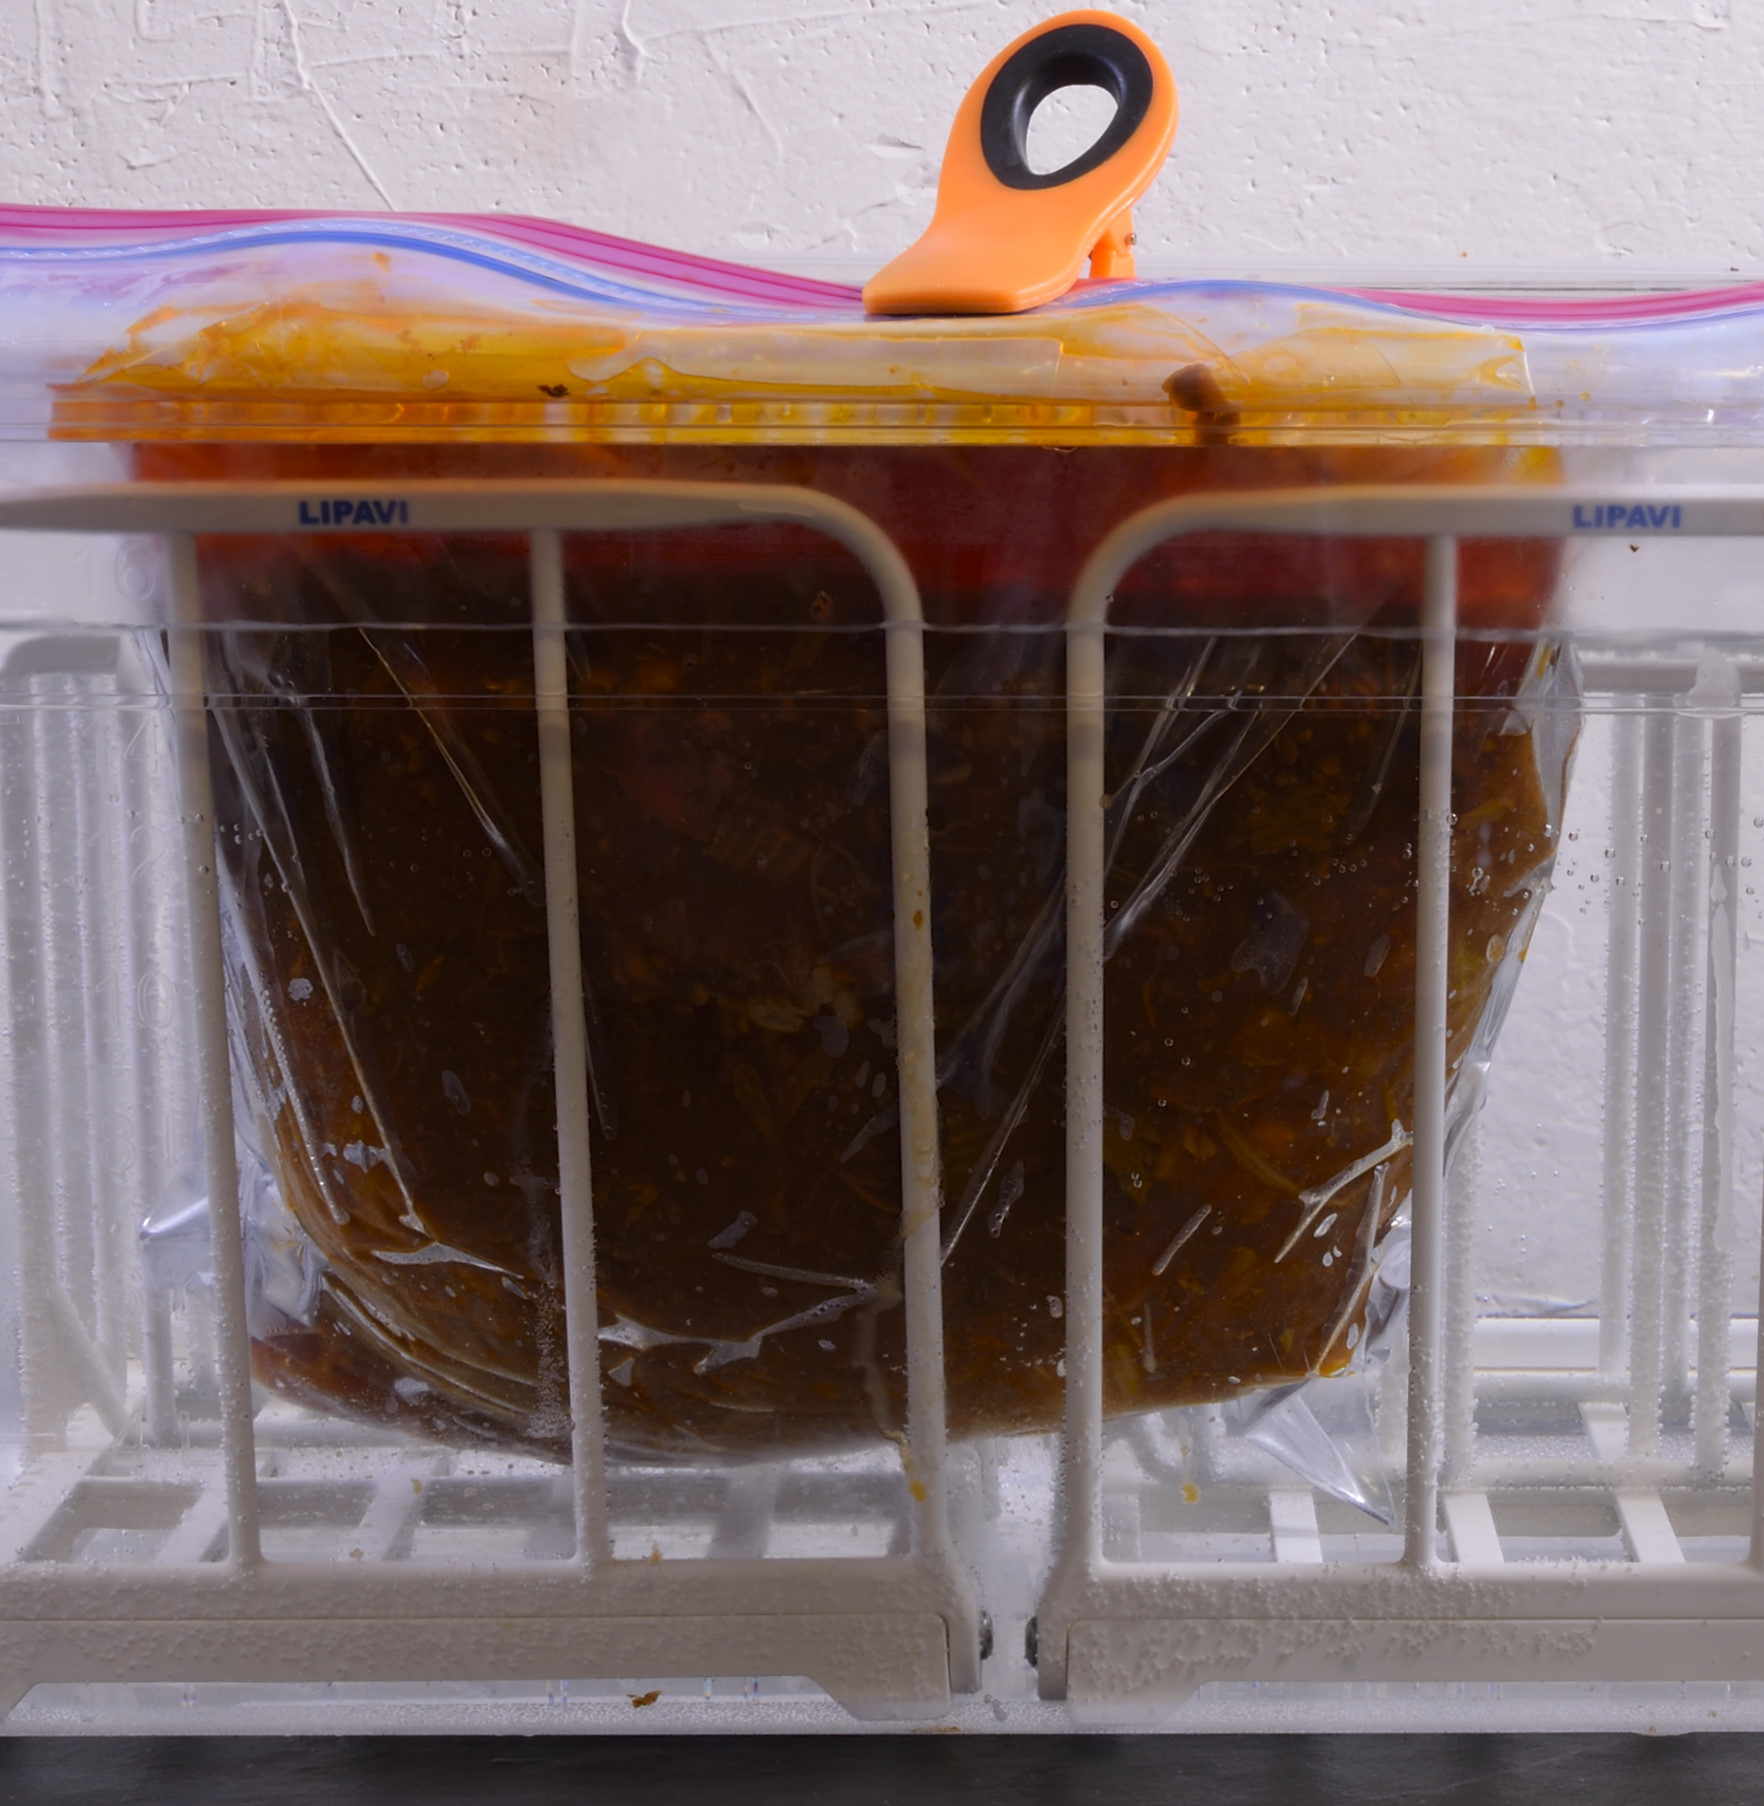
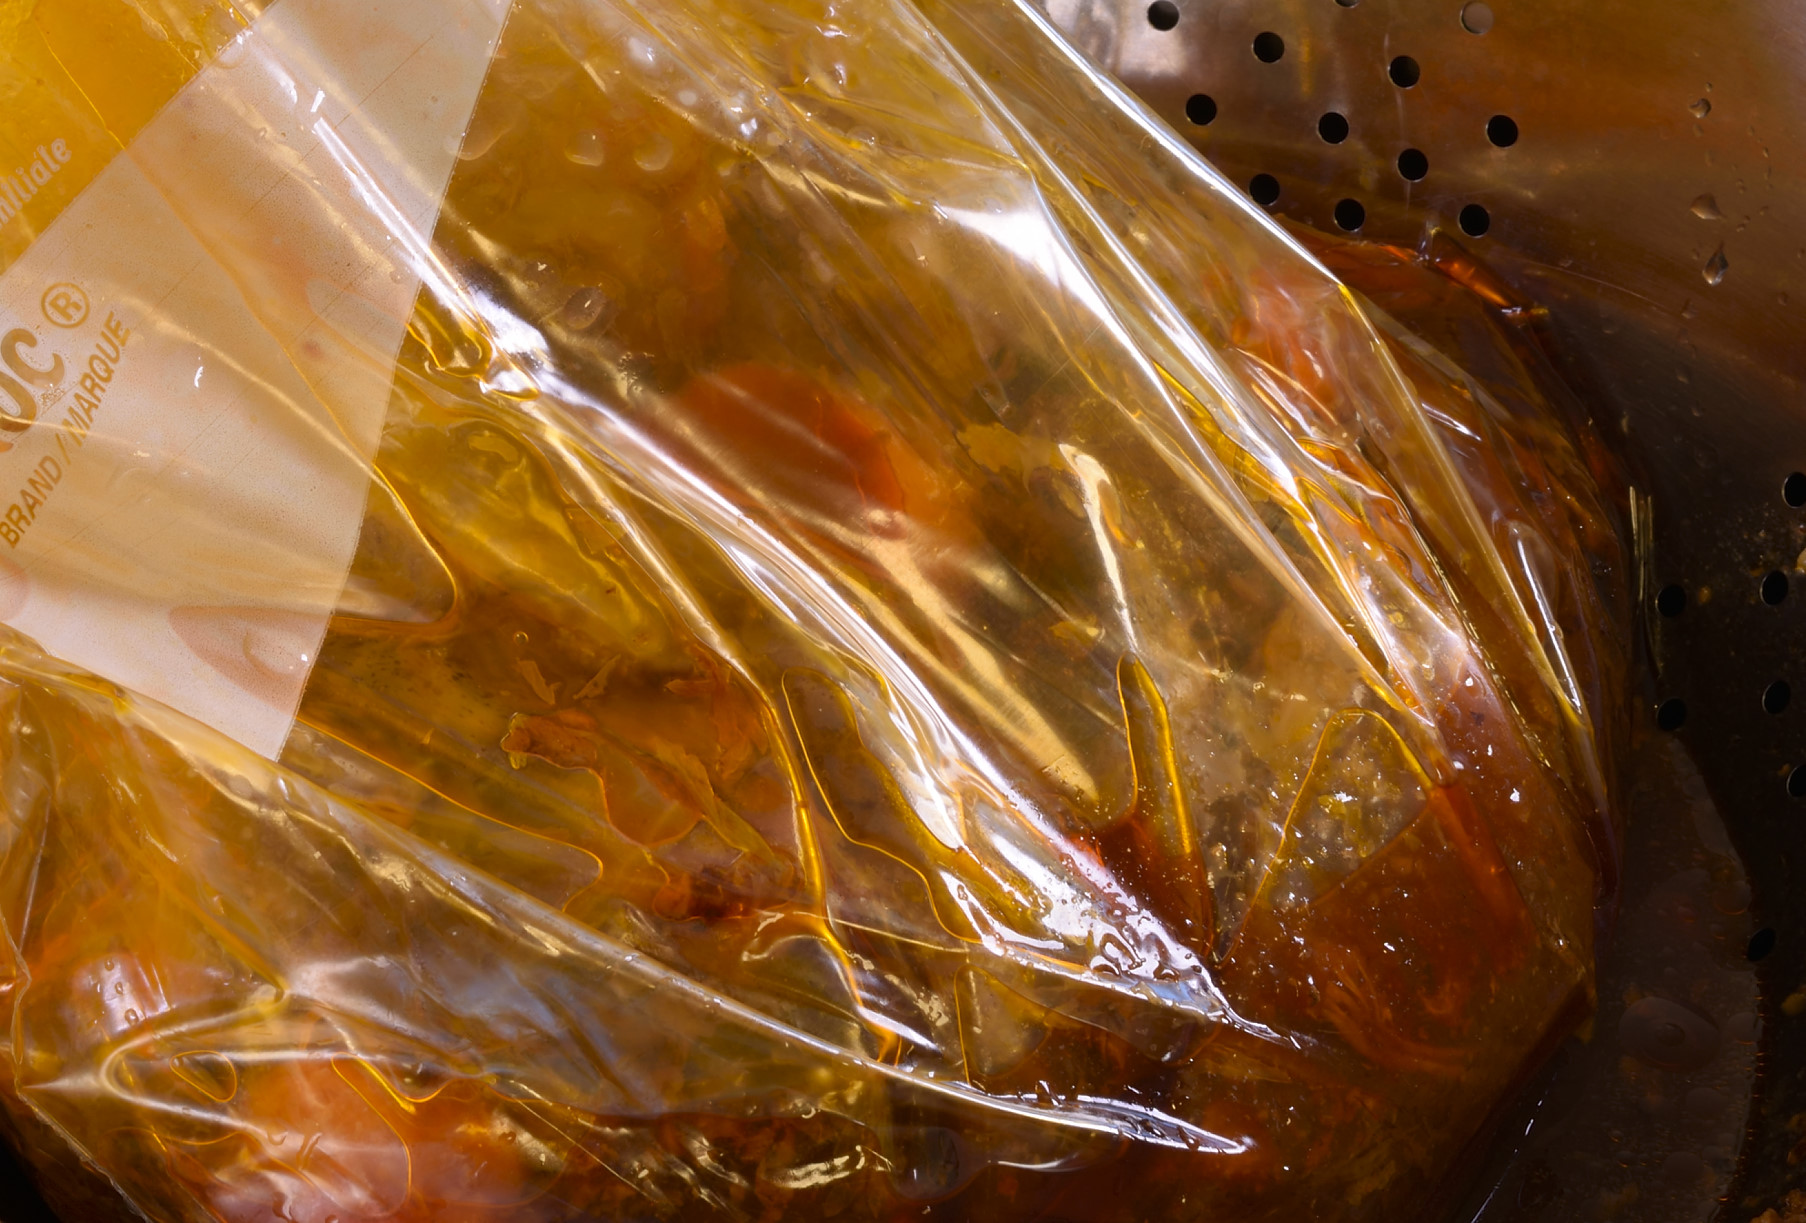
CAREFULLY lift the bag out of the pitcher (you may need someone to hold the handle) and lower into the sous vide bath. OR, fill the bag about halfway with the liquid, lower into the bath, and slowly add the rest using a measuring cup. Do not seal the bag, just fold it over the edge and secure with the lid. Since there are no bones in this model, four hours is enough. If there are bones, allow at least 12 hours.
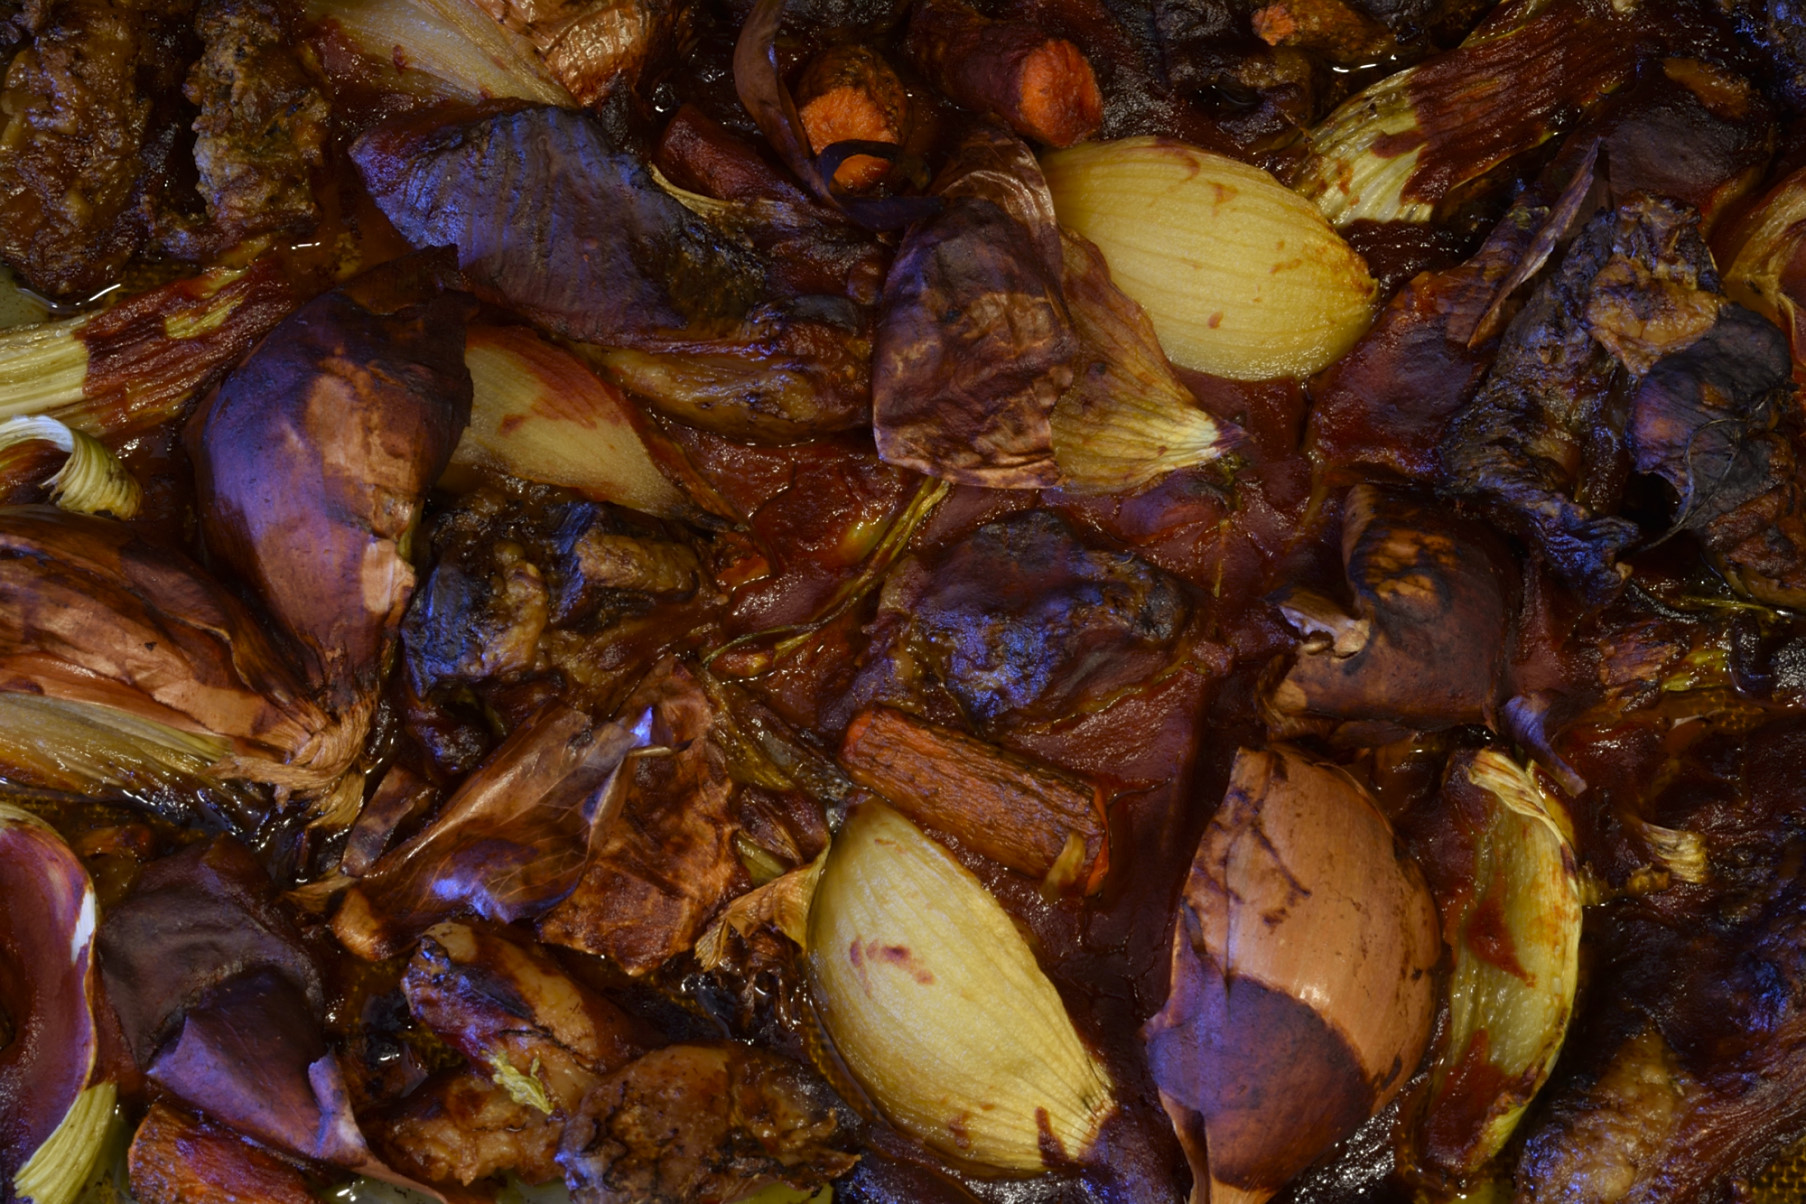
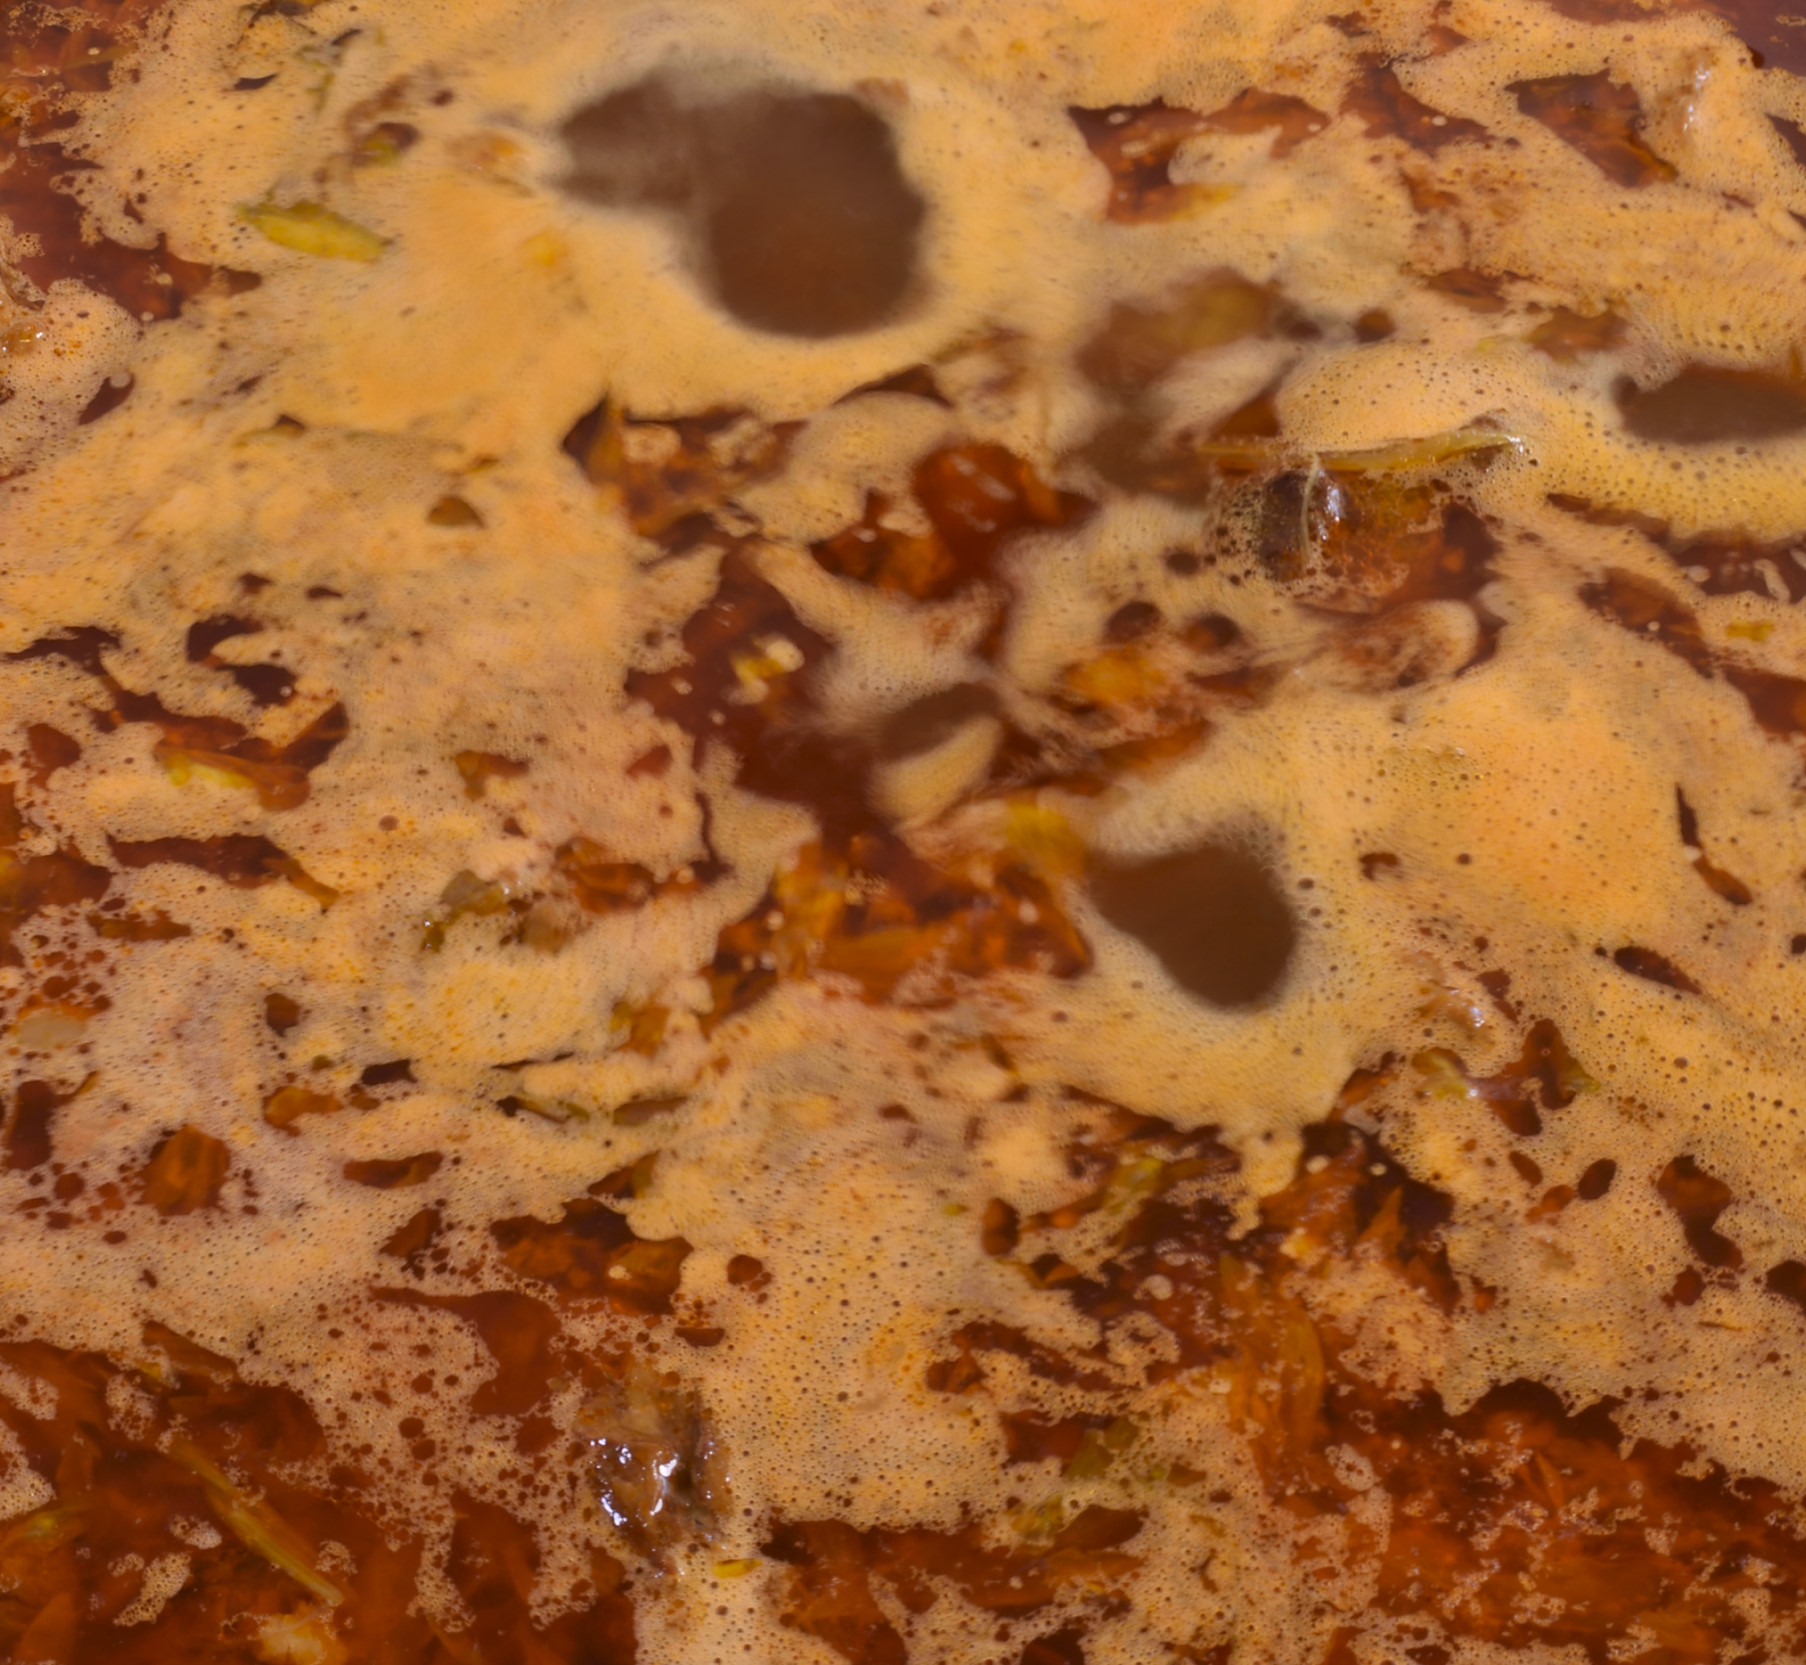
There should only be a small amount of evaporation during this cycle. This is another misconception about these types of sauces. Reduction should not be purposely initiated until AFTER all of the solid ingredients have been removed. The more the broth reduces, the thicker it gets. The thicker it gets, the more it sticks to the solid ingredients. When you discard the solid debris, all that flavor and liquid goes with it.
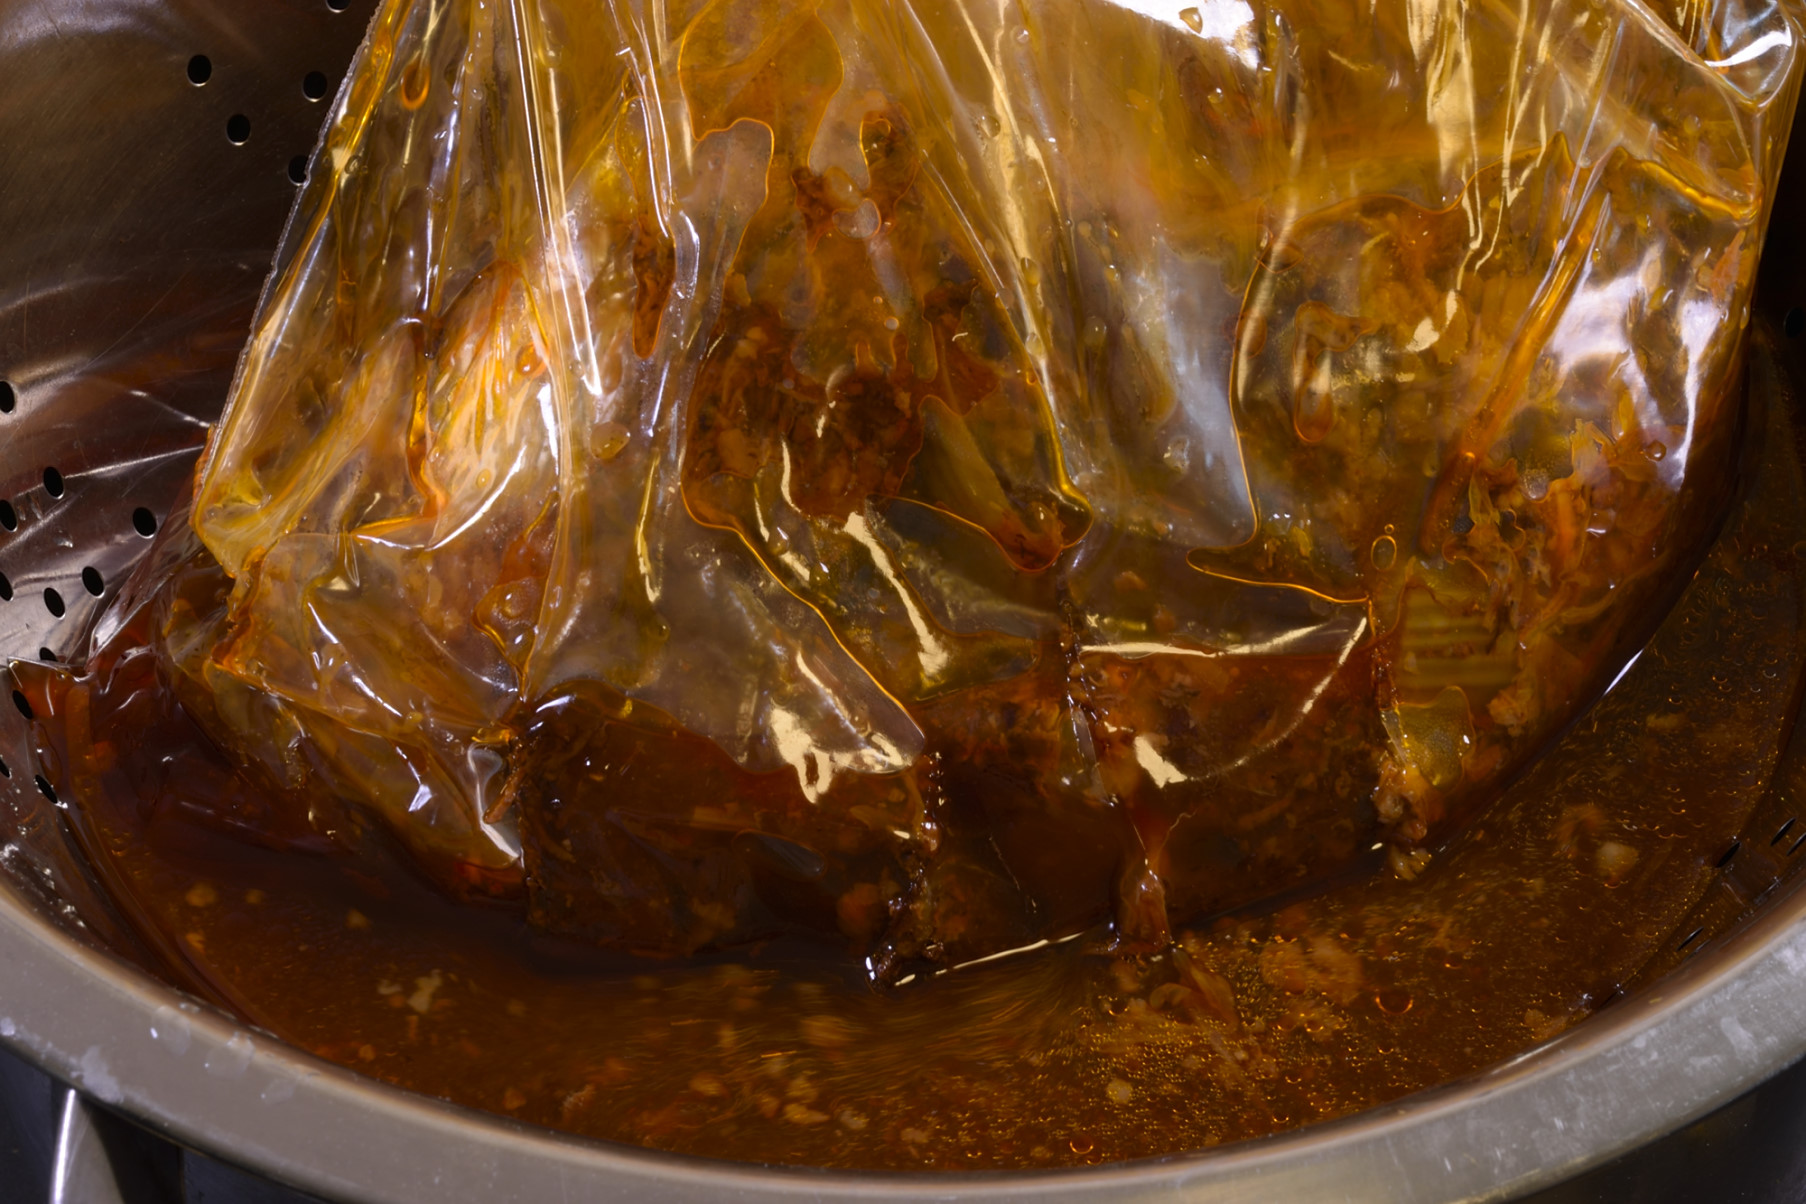
Do not attempt to pour out the contents of the bag.
This can be extremely messy and even dangerous!
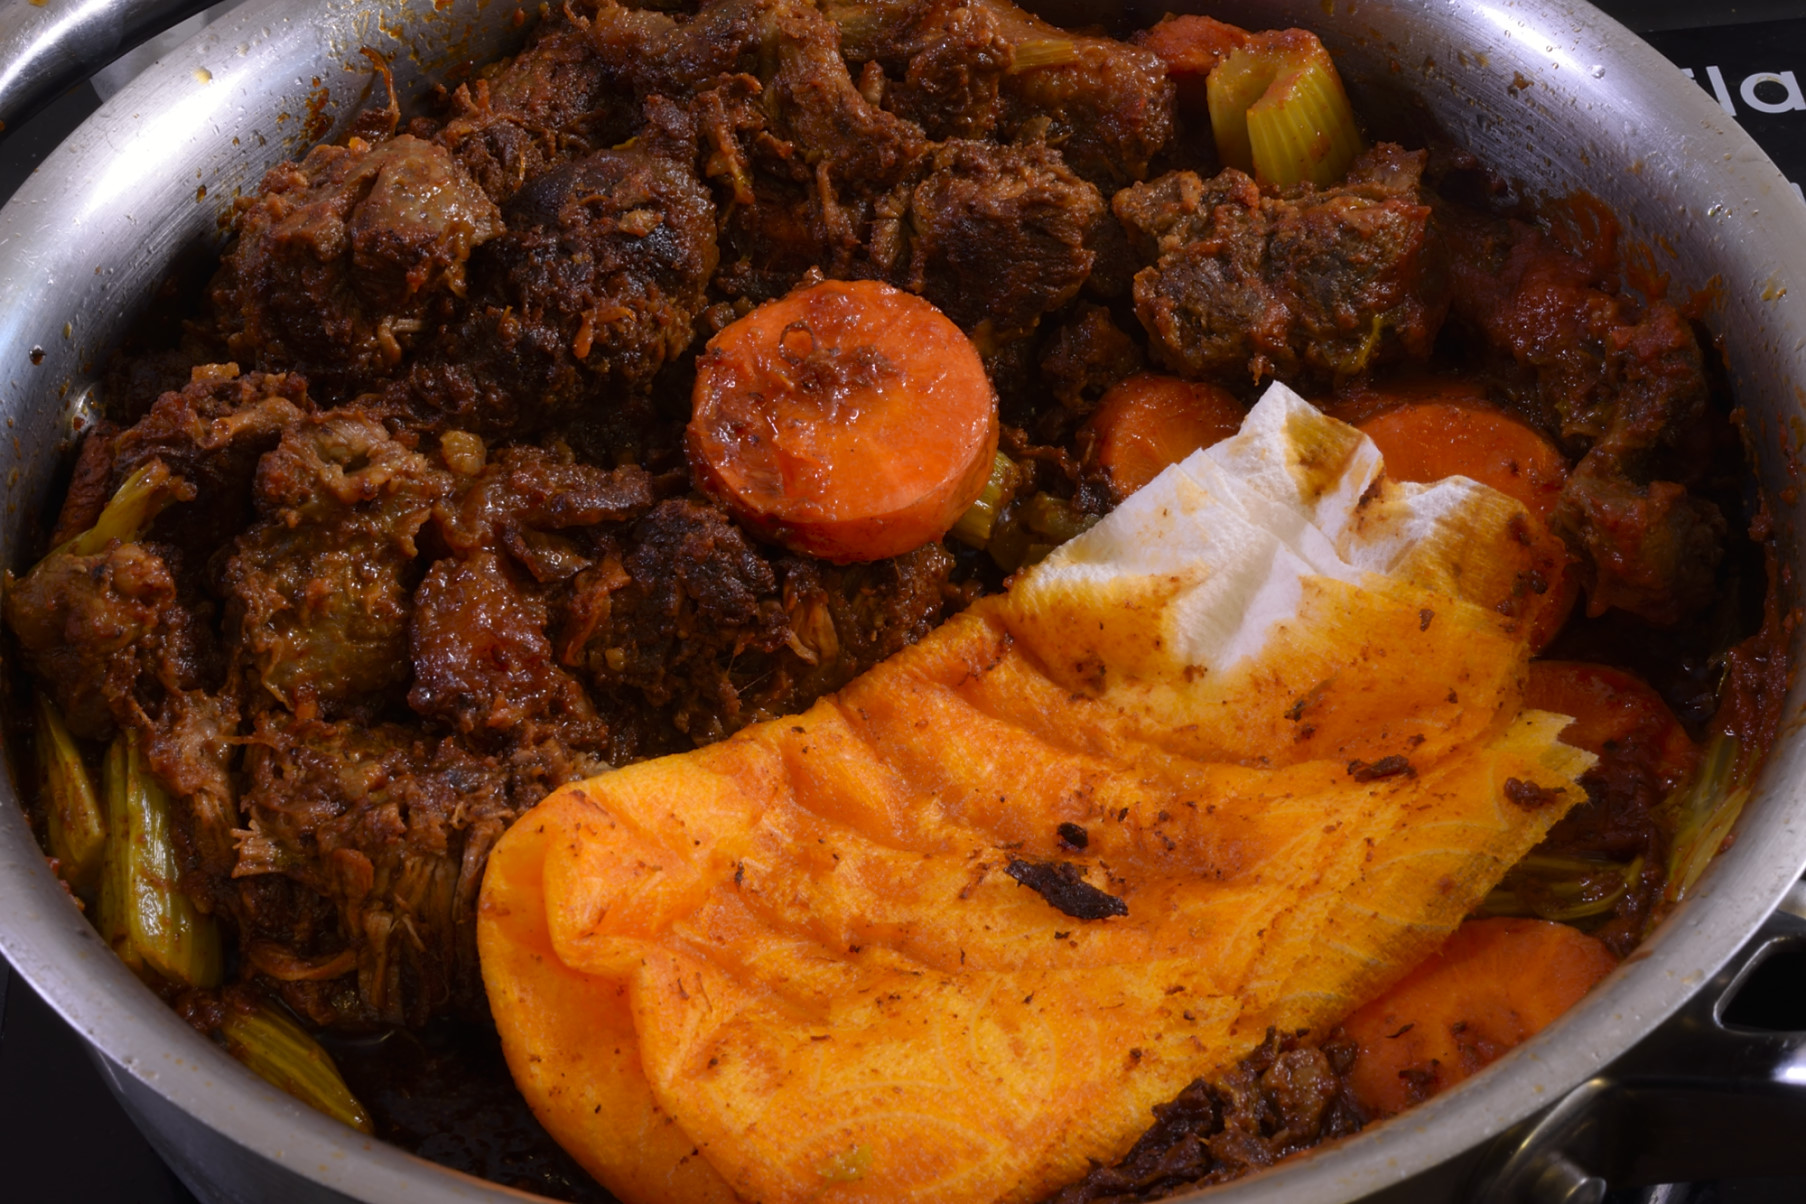
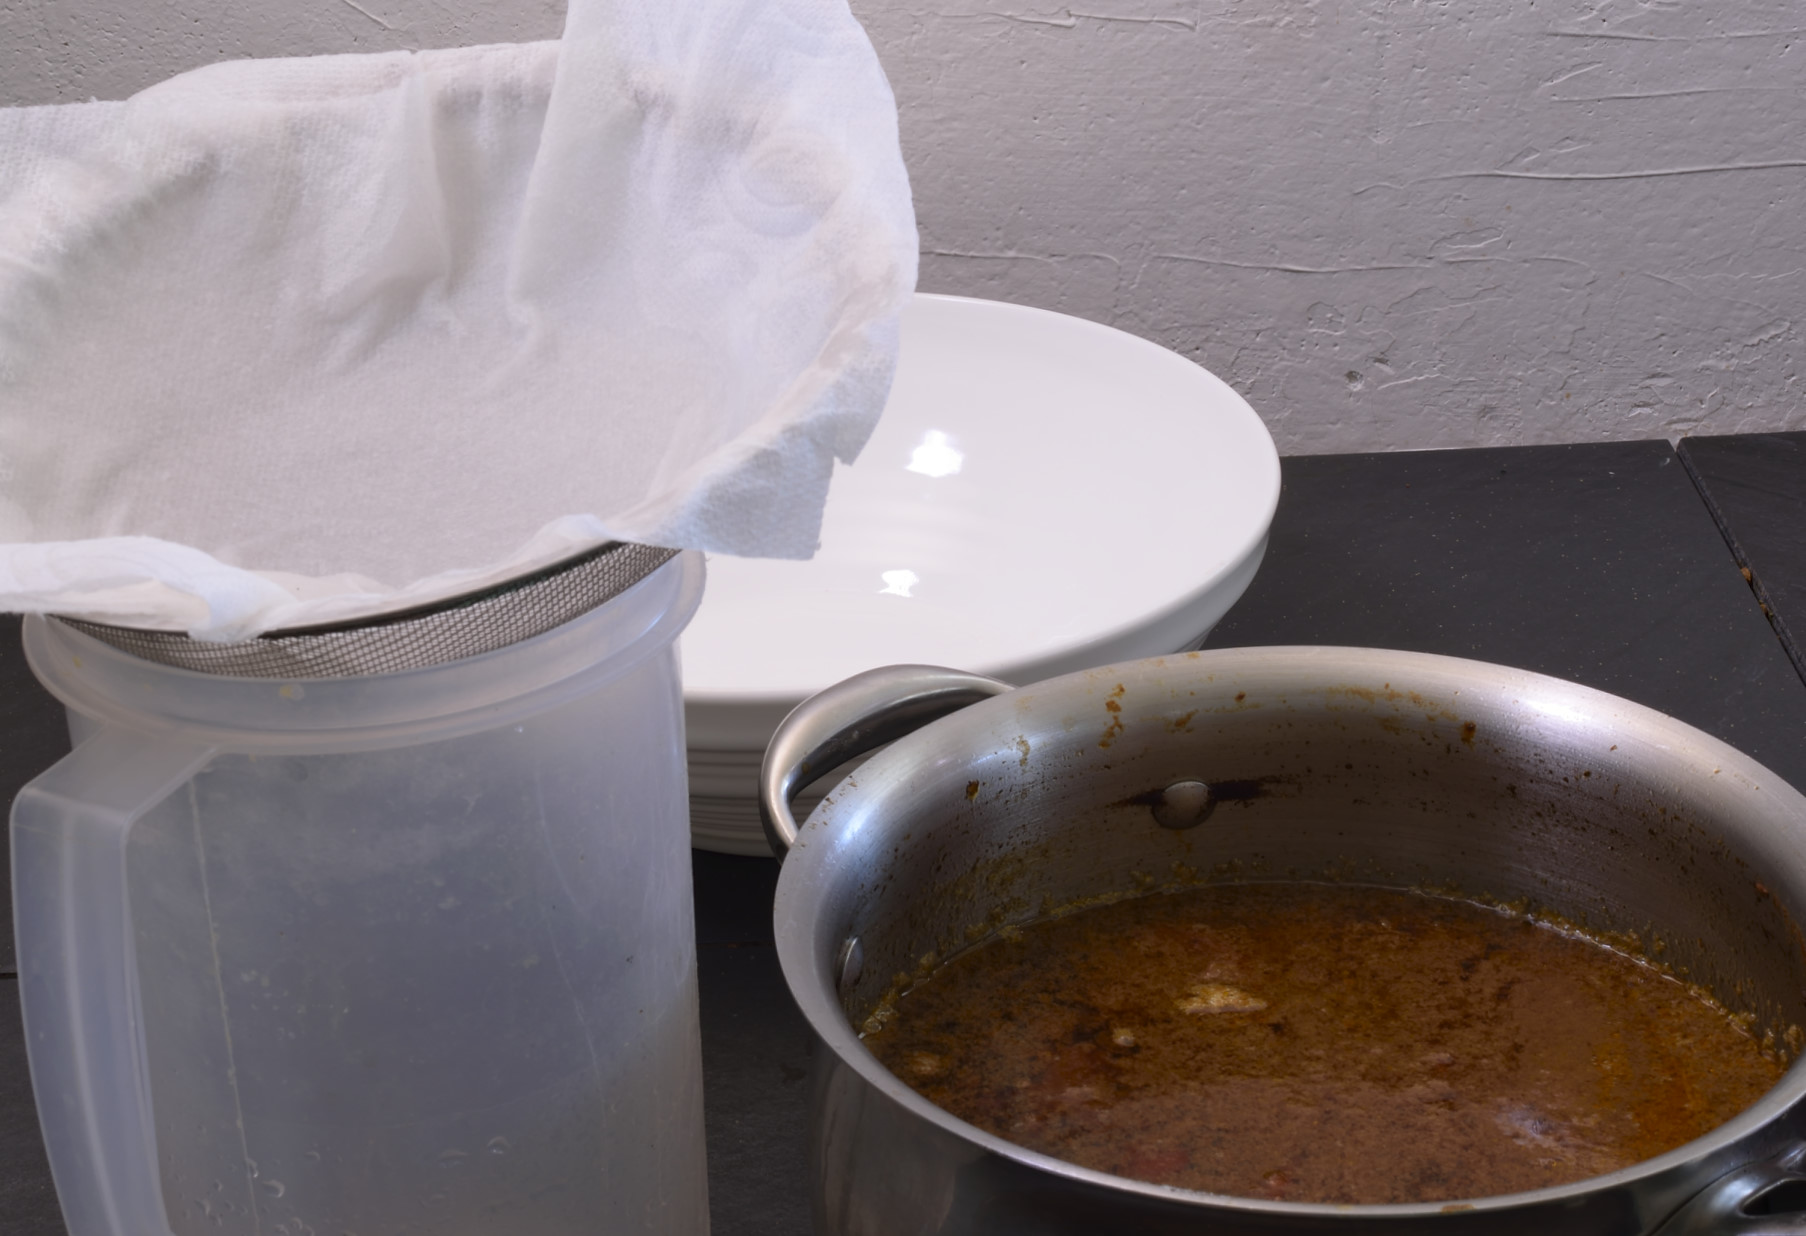
Lift the bag out of the bath and lower it into a large colander (or strainer) with a pot under it.
Use the point of a knife to cut a few small holes in the bottom of the bag. Most of the broth will drain out.
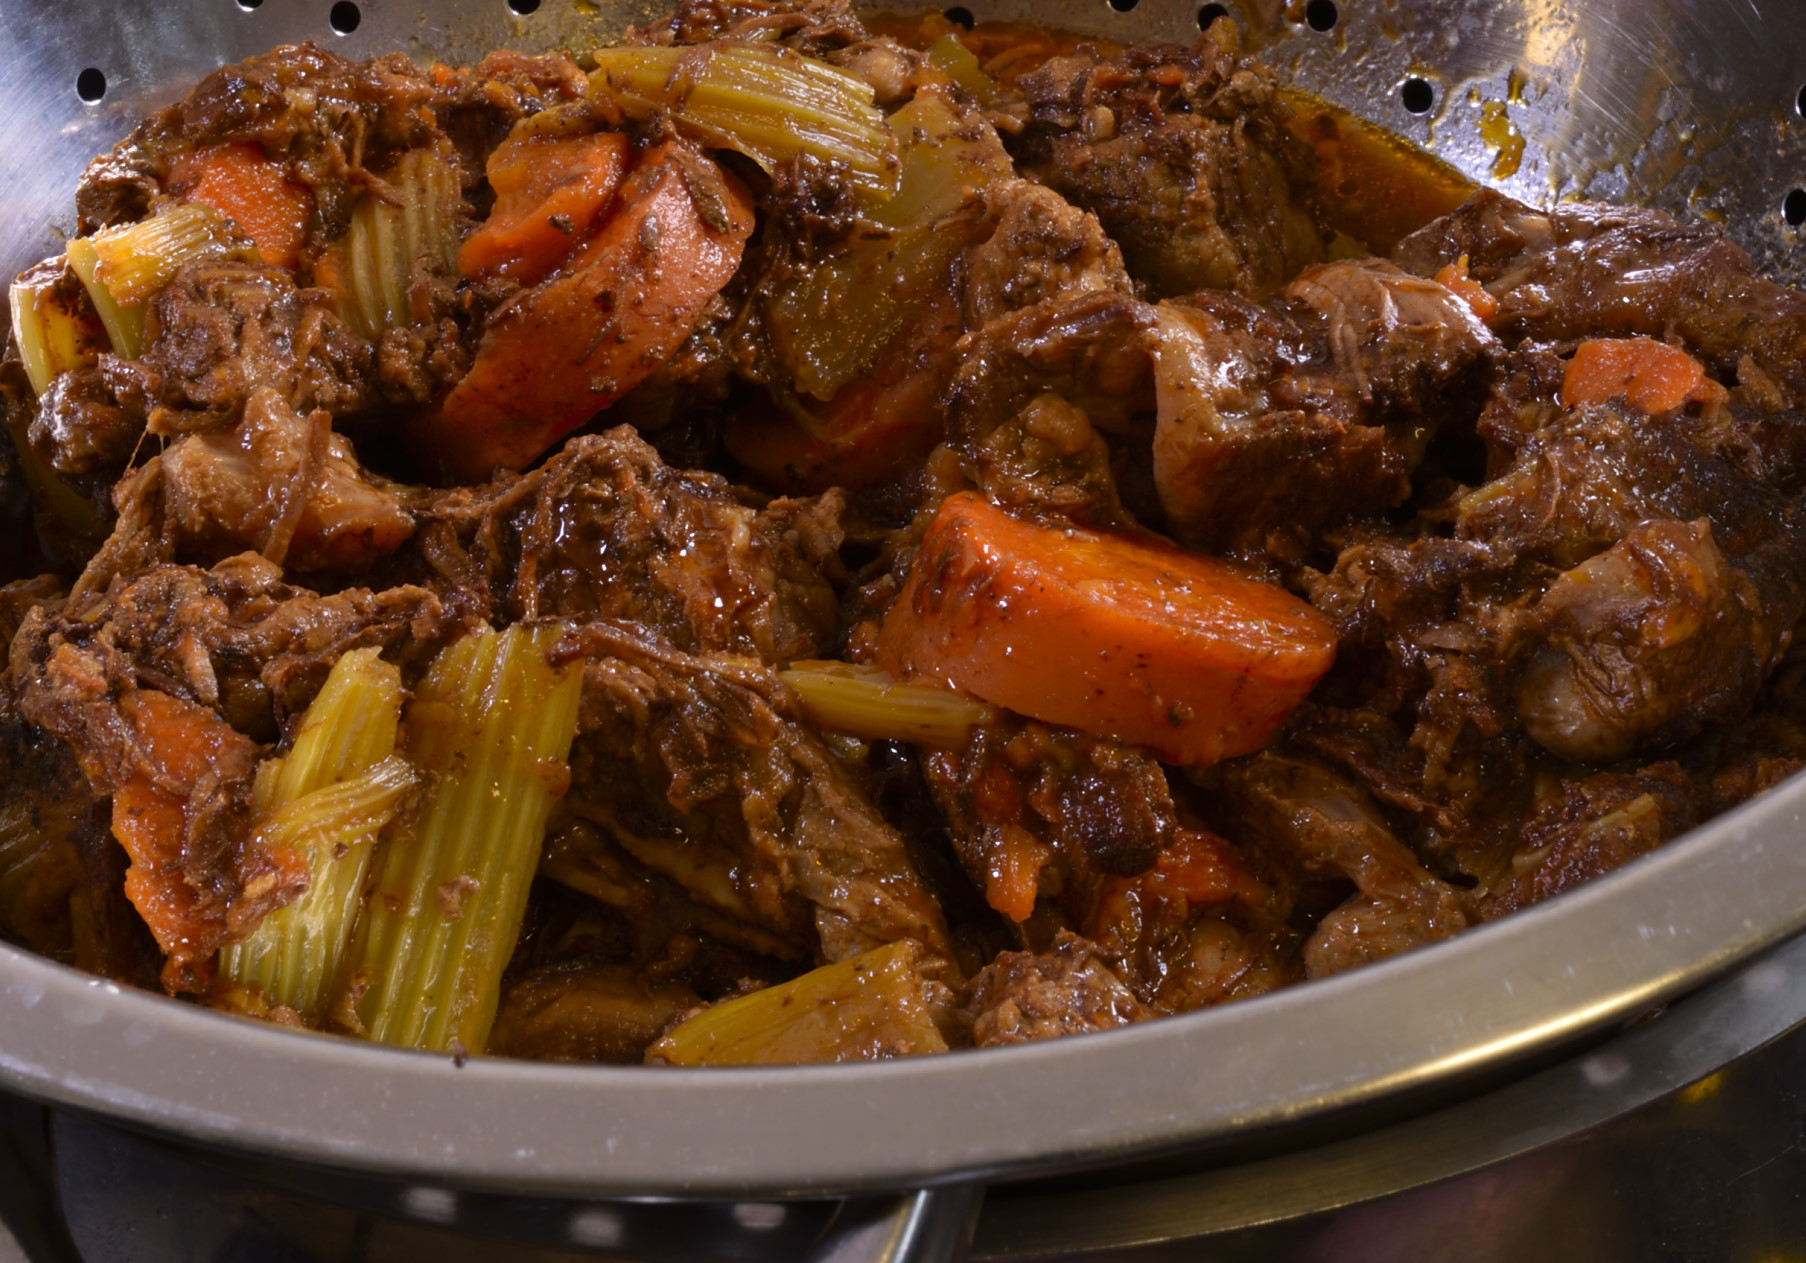
At this point you can safely upend the bag into the colander to get the remaining liquid out of the solid contents of the bag.
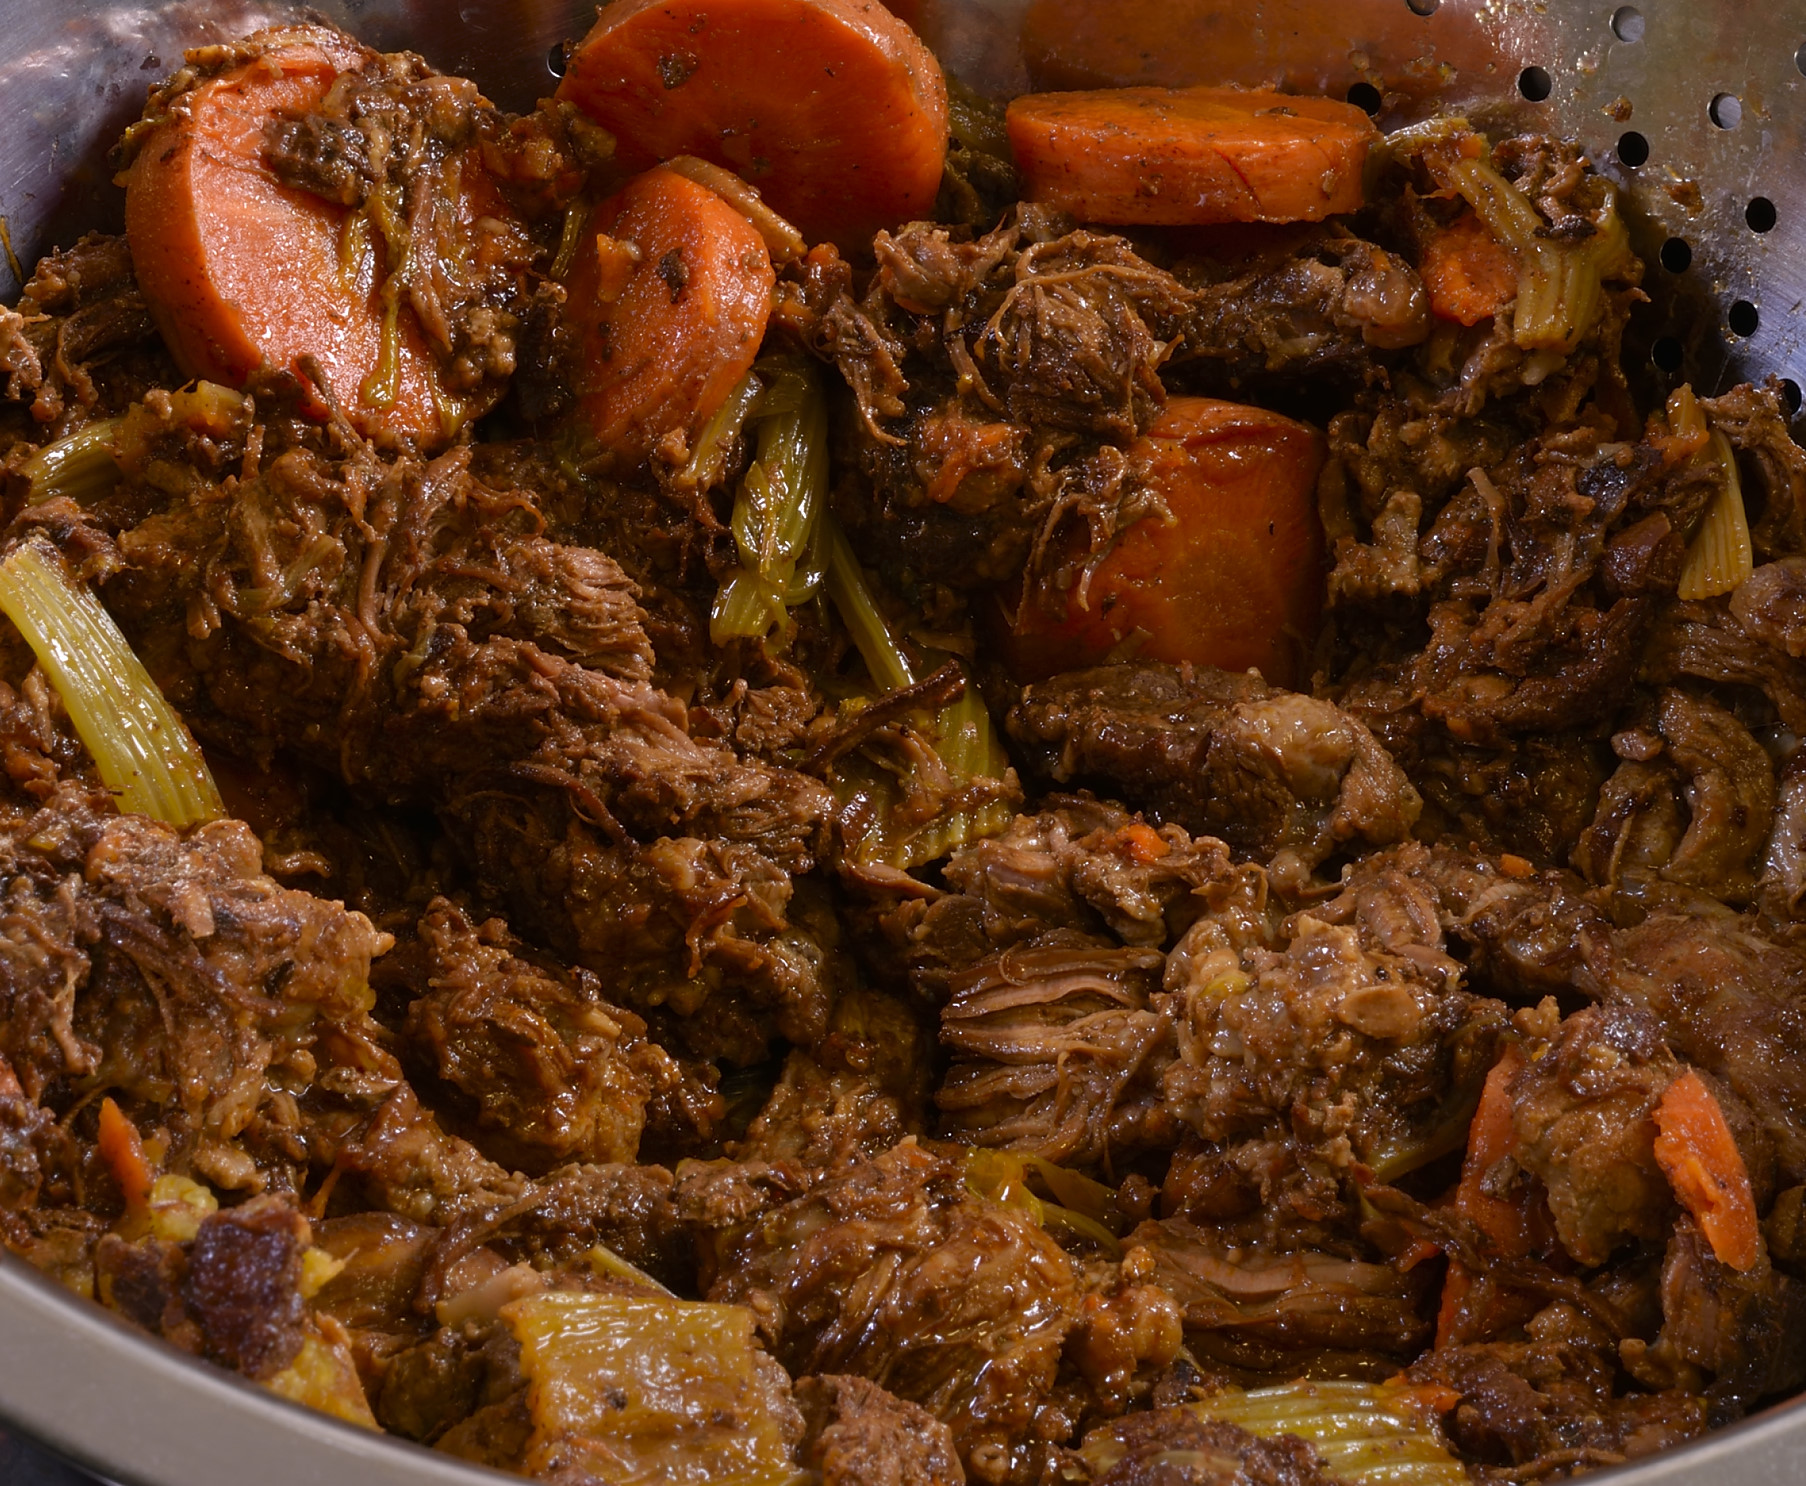
This debris still holds a lot of flavor, so, depending on my mood, I may hydrate it again. Return to a boil and strain again. This will create a lighter stock that can be used as is, or recombined with the original broth for further processing. These days, I reduce all of these things to a syrup. It saves space and gives you the flavor that you just don’t get, even in the finer restaurants (which are all closed at this point anyway).
Clarification
In its current state, what we have here is a flavorful, cloudy brown STOCK. Refrigerate over night. This will solidify the fat, so that it can be removed in just a few pieces. Bring the stock just to a boil and reduce the heat to a simmer.
In a clean container, beat together 2 egg whites (2 oz/60 ml) with 0.5 cups/110 ml COLD water. Pour the hot stock over the egg whites (not the other way around). Return the stock to the burner and put on medium high heat–do not walk away at this point. As the stock begins to come to a boil, you will see a “raft” begin to form on the top of the stock. This is the albumen protein in the egg whites attracting the other proteins in the stock that cause the cloudy appearance. DO NOT WHIP the stock. Reduce the heat to a bare simmer and allow the raft to continue forming for 15 minutes. Turn off the burner.
You can see how the stock has what appears to be darkened scrambled eggs scattered through it. This is the same effect that we describe in the article linked HERE.
Set the colander or strainer over a large container and line with moistened paper towels (or cheesecloth). Why moistened? Moistening the paper towel prevents the flavorful stock from clinging to the fabric.
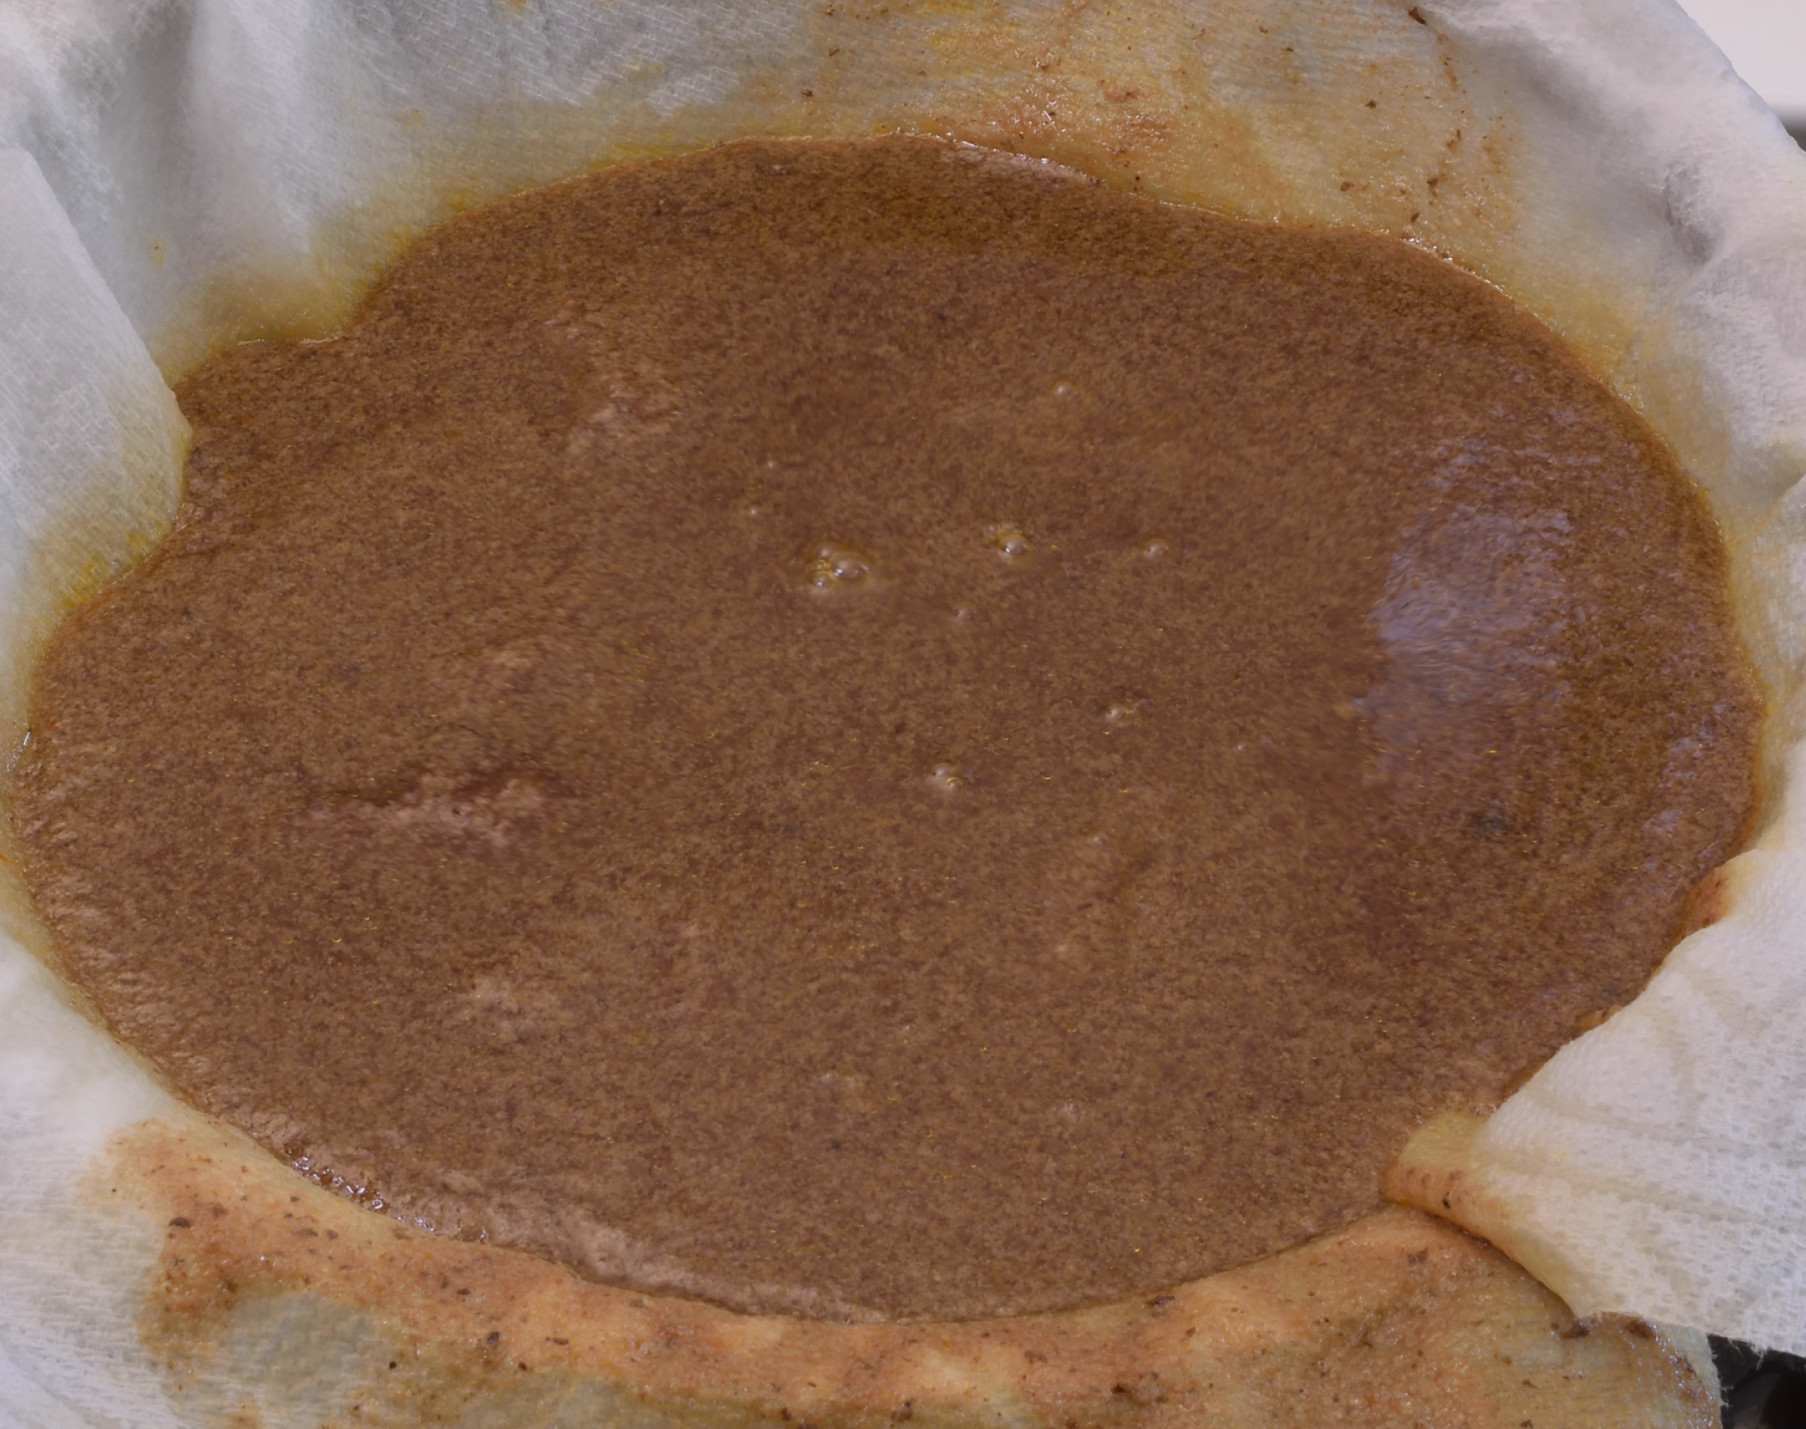
Slowly ladle the stock into the moistened paper towels–like so many other things, it takes time.
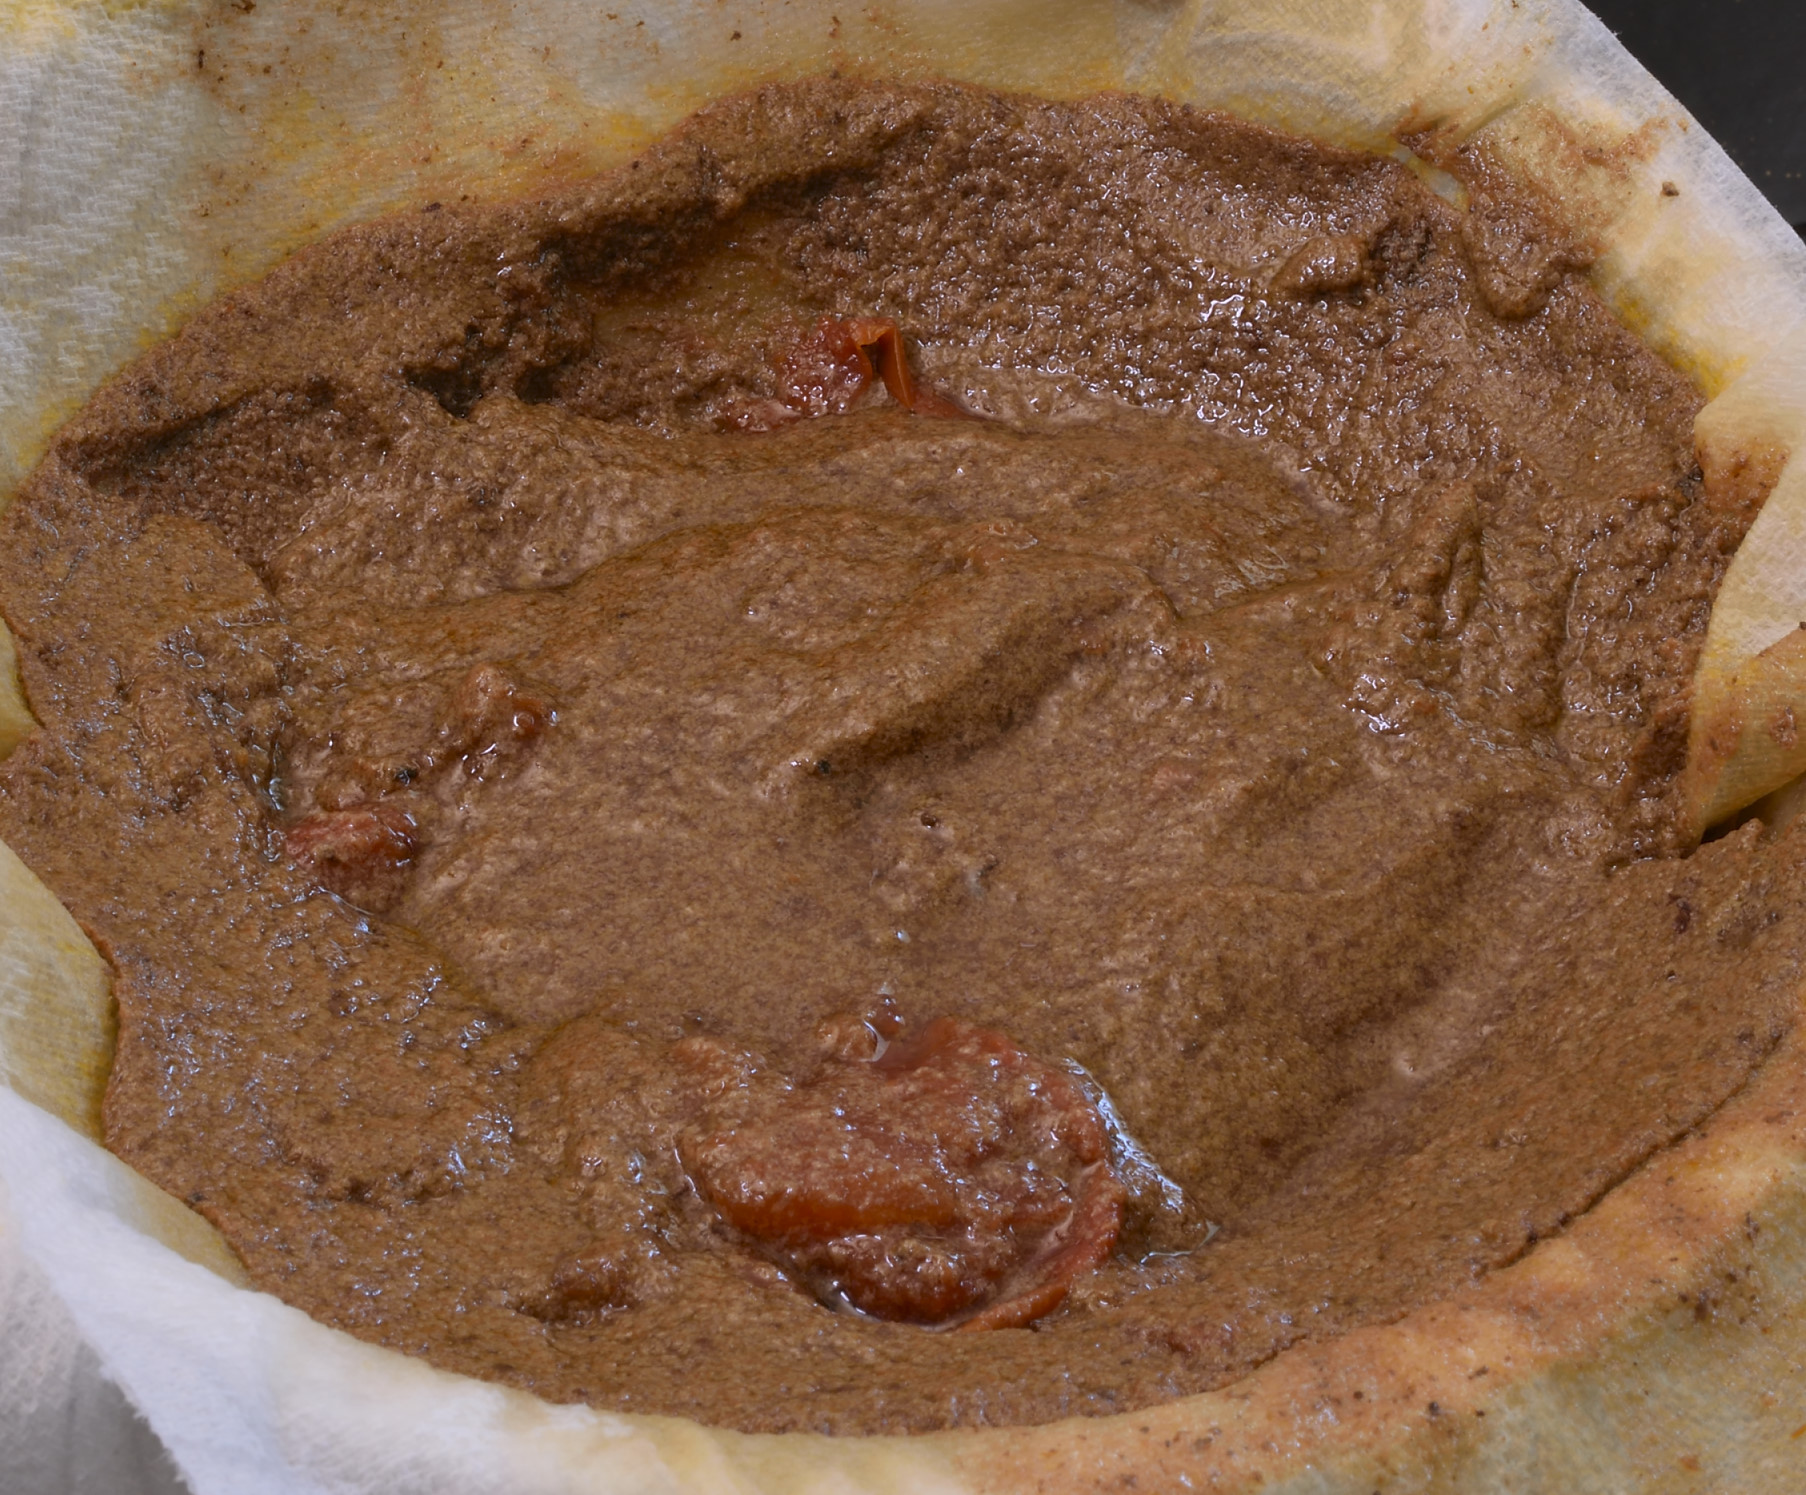
The moistened paper towels will catch all the debris and albumins in the stock.
![]()
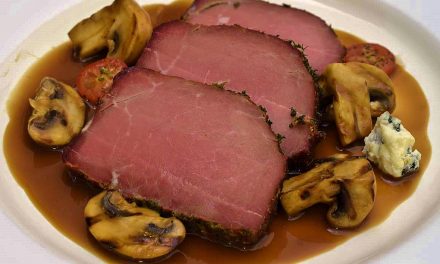
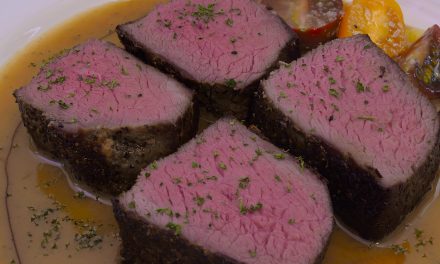
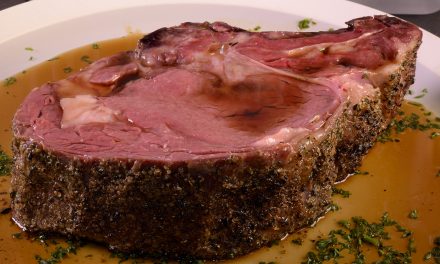
And this is what you get.
Reduction
Continue reducing the stock. Continuing to reduce the broth will further intensify the flavor and it’s totally up to you how far you take it. Salt should never be added until AFTER the reduction process has been completed. There is no fix for salty demi-glace.
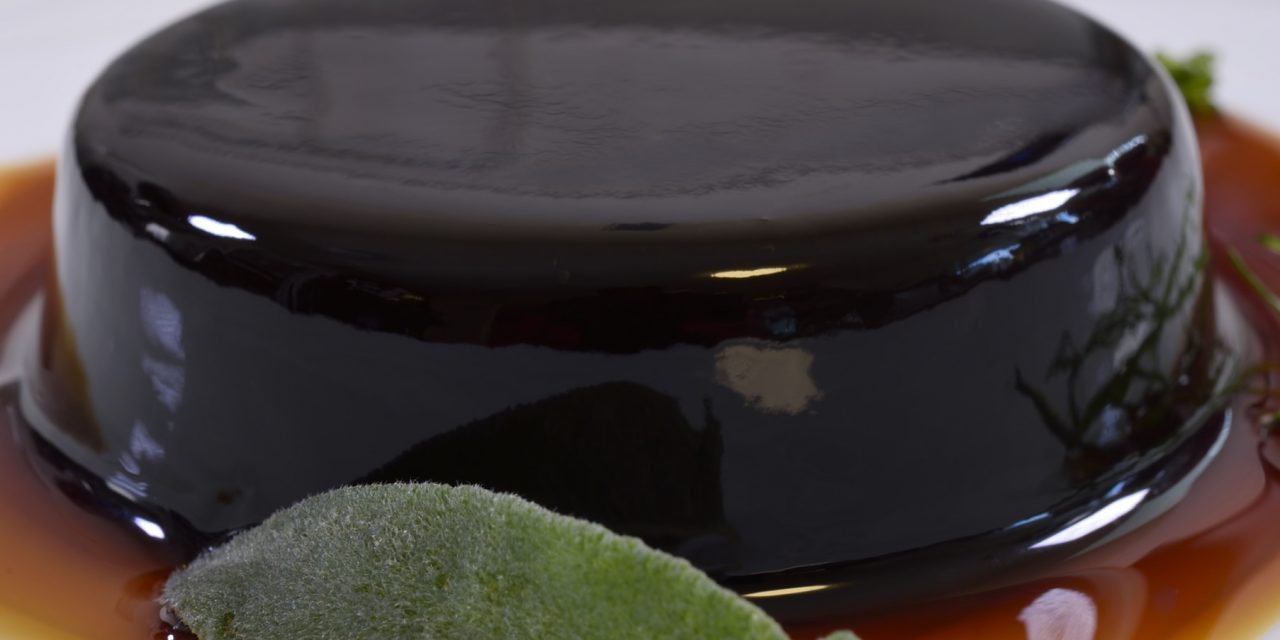
If you “fully reduce,” not to a certain volume, but to that certain consistency where the liquid coats a spoon (or the bottom of the pan), which is really JUST before it scorches…

it will be very gelatinous when cold. When warm, it is thick enough to drizzle from a fork or toothpick–that’s what I usually do with it.
Rubber.