Out with the old
Tenderizing tough meat requires the conversion of collagenous protein to gelatinous protein. All methods of cooking utilize heat and the evaporative process over time to accomplish this. Traditional low and slow smoking methods utilize temperatures of about 225 F/107 C. The brisket’s internal temperature must then achieve between 191 F/88 C and 205 F/96 C in order to develop the desired level of tenderness. This usually works out to at about 25 minutes/lb.–upwards of 7 hours in most cases.
In with the sous (vide)
Sous vide hybridized with low and slow smoking will take a lot longer than the traditional method, so if you’re in a hurry, turn back now. For devoted sous vide enthusiasts, it’s not a race, right? Sous vide requires very little monitoring–you can basically sleep right through it, or at least nap. I know because that’s what I do. Even the smoking step is basically set it and forget it once you achieve balanced temperatures–I recommend the use of pellet grills for the many lazy/practical among us.
In The Three Brisketeers we will show how to achieve the desired level of tenderness, flavor and bark without the brisket’s internal temperature ever exceeding 150 F/66 C. This preserves moisture and minimizes shrinkage. It reduces heat driven damage to cellular integrity. The sous vide process also pasteurizes the brisket, which serves to greatly extend shelf life without the necessity of freezing. Time requirements are not based as much on weight as on volume and collagen content.
So just how long is this gonna take?
Sous vide processing duration is the sum of two components:
1) Penetration interval: the time it takes the heat of the bath to reach the geometric center of the object. It is usually 3 hours or less for an entire brisket or other large roast. The longer the cook, the less relevant this component becomes.
2) Tenderization: the time it takes for the process to convert collagen to gelatin, thereby tenderizing the protein. In the case of the brisket, we are going to allow at least 48 hours at 130 F/55 C to achieve our goal. Higher temperatures (up to 155 F/68 C) will achieve tenderness in as little as 30 hours but will result in greater moisture loss. The desired level of tenderness can be confirmed in real time by using the pinch/poke method.
Ingredients:
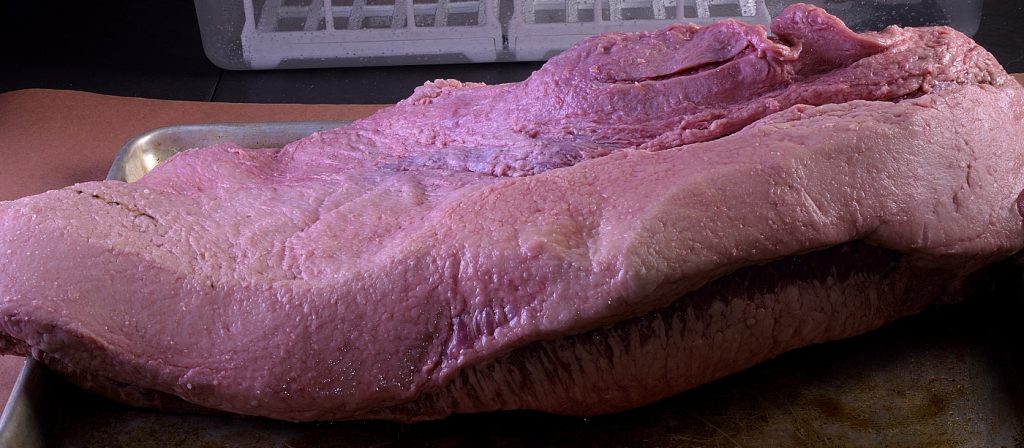
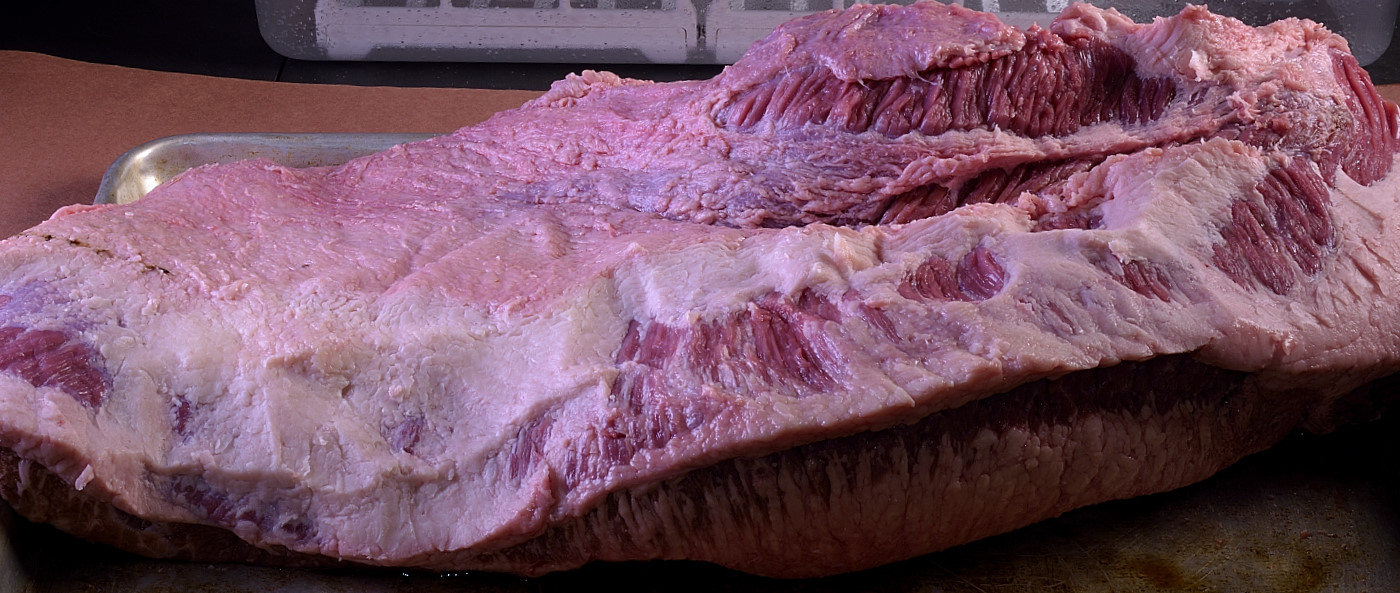
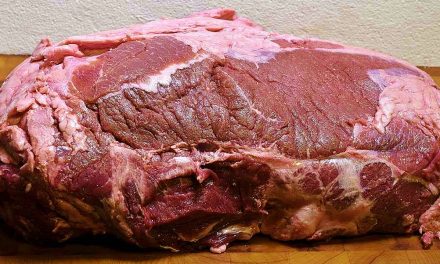
Whole Beef Briskets, 3 each–the ones we selected weighed approximately 14 lb./6.5 Kg (each).
Note: Briskets do not have to be “whole” in order to achieve desirable results. Any section that weighs at least 2 lb./1Kg can be sous vide processed according to the same time/temperature parameters. Even the time spent in the smoker will be roughly the same.
Powdered (or fresh) egg whites as needed.
Herein lies the Rub–Seasonings:
Kosher salt, as needed.
Use your favorite blend or custom assemble one from our extensive list of recipes linked HERE. Regardless of all other spices, 12 g (approximately two measured teaspoons) of kosher salt per lb. of raw meat is plenty.
Equipment requirements
Immersion circulator, portable or stationary.
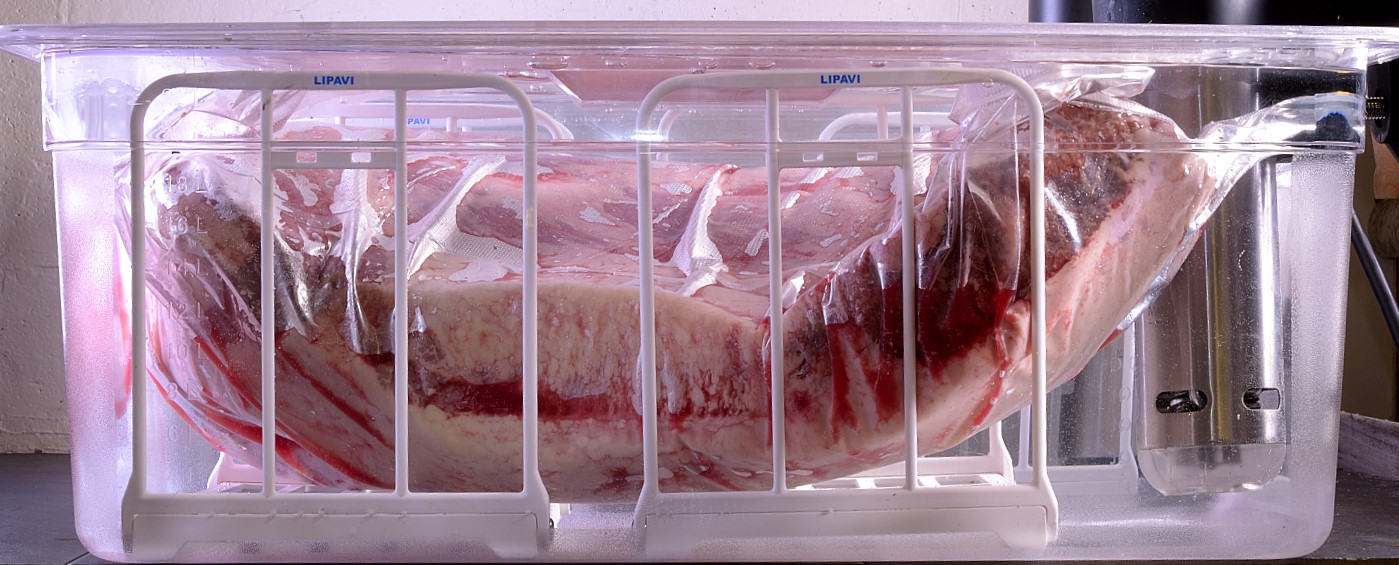
Lipavi C20 container or equivalent, minimum of 5 gallons/20 liters.
Lipavi racks or equivalent
Heat rated sous vide roll, 15″ wide.
Gram scale, available HERE.
Infrared or probe thermometer.
Back yard smoker or oven.
Is smoke a thing?
Smoke is not a thing. Smoke is more than a thousand things. Some of the components of smoke are so small as to be barely larger than atoms themselves–as small as .04 microns. The plastic used to make sous vide bags is air tight and water tight, but it is not “smoke tight.” If you smoke your brisket before sous vide processing, some components of smoke can and will penetrate the bags during sous vide processing. The water may start to resemble tea and you may smell smoke, rather like burning leaves or paper.
Guaiacol and syringol are the flavonoid components of smoke that we find savory and delicious. Guaiacol is flavor. Syringol is aroma. They are quite large and are less likely to penetrate the bag. They will, however, dissolve into the purge from the surface of the roast. Why? Because they are no more capable of penetrating the protein matrix than any other flavonoids. The molecules are just too large. You can expect your pre-smoked brisket to have less smoke flavor than if you smoke it after sous vide processing.
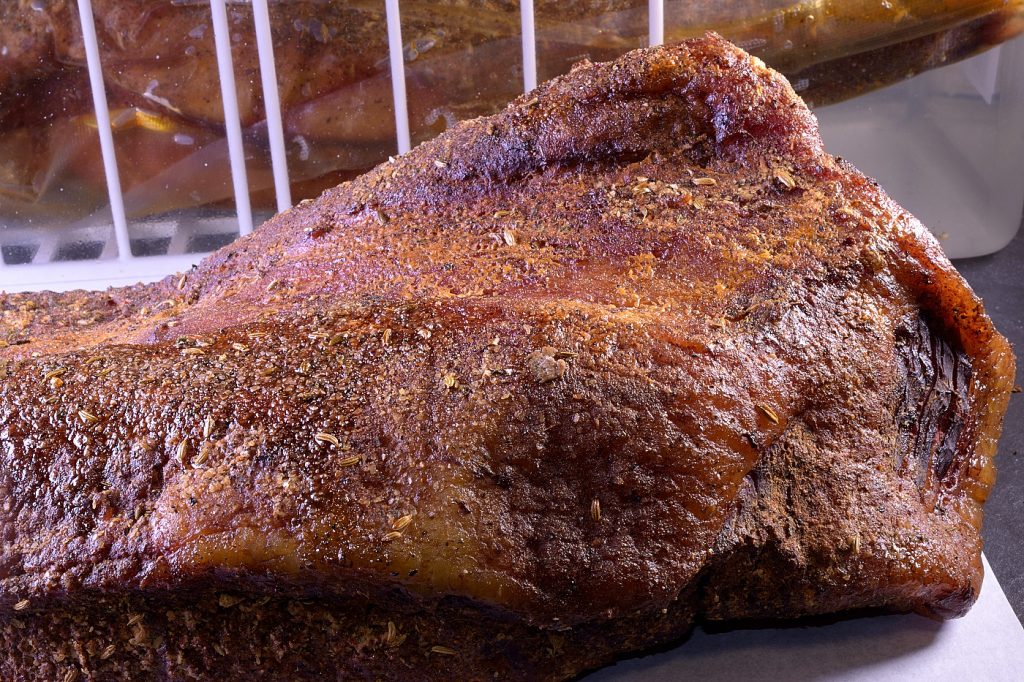
Smoking the brisket fantastic
In methods “A” and “B,” the brisket is first sous vide processed and then shocked cold to 40 F/4 C. The brisket is then smoked/roasted until it achieves an internal temperature of 130 F/55 C–safe and “mouth hot.” Starting at 40 F/4 C exposes the roast to smoke for as long as possible without exceeding the target temperature. Typically, 4-6 hours at 180 F/80 C is long enough to achieve the desired level of bark and the safe temperature requirements. In method “C,” the brisket is smoked BEFORE sous vide processing.
Let the festivities begin
We will demonstrate three ways to combine sous vide processing and hot smoking. There is nuance to each method which we will discuss as we proceed. They are:
Method “A.” Sous vide processed unseasoned, shocked cold, seasoned and smoked.
Method “B.” Sous vide processed seasoned, shocked cold, seasoned and smoked.
Method “C.” Seasoned, smoked, sous vide processed.
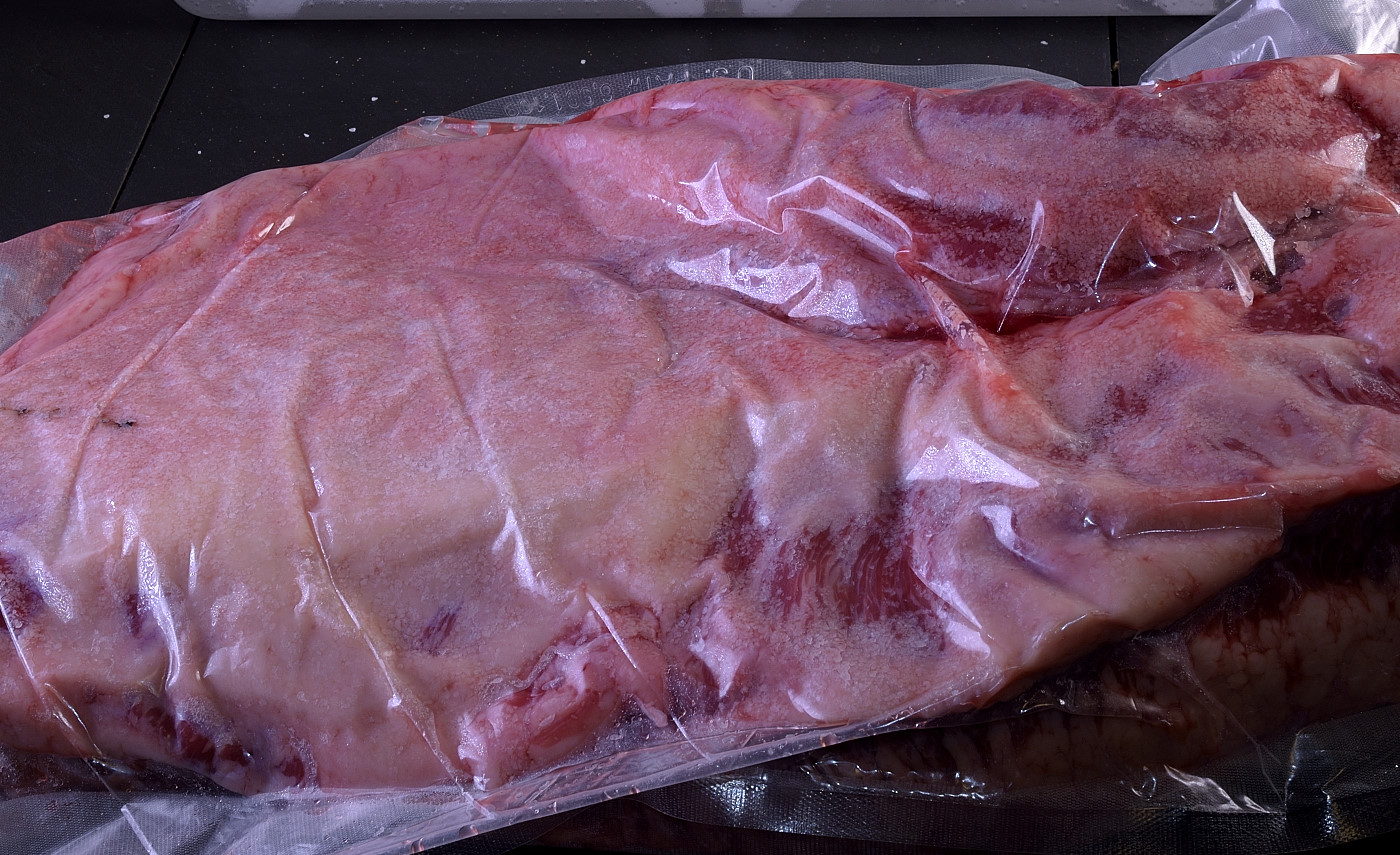
Bagging your brisket
Vacuuming a large roast offers challenges. Most heat strips are 12″ or less. If you use a 15″ sleeve, position the opening at a 45 degree angle and seal one half of it–twice. Then, reposition the opening in the bag in the other direction at a 45 degree angle. Make sure the seals intersect in the middle and double seal again. Load the bag and seal a corner at the other opening. Reposition, vacuum, seal, and reseal. If you use a 12″ sleeve, you may have to trim one side of the brisket in order to get it to fit the bag.
Method A
Set the bath temperature at 130 F/55 C.
Vacuum seal the unseasoned brisket in heat rated plastic and submerge completely in the bath. Sous vide process the package for at least 48 hours. Use the method explained HERE to verify your desired level of tenderness.

When the interval has elapsed, cold shock the sealed package in (iced) tap water until it achieves 70 F/21 C–usually about half an hour. Refrigerate at 40 F/4 C until day of service. The sealed brisket can be safely refrigerated in this state for at least two weeks.
Dip the sealed package in 110 F/43 C (tap) water or a functioning sous vide bath for two minutes to liquify the gel.
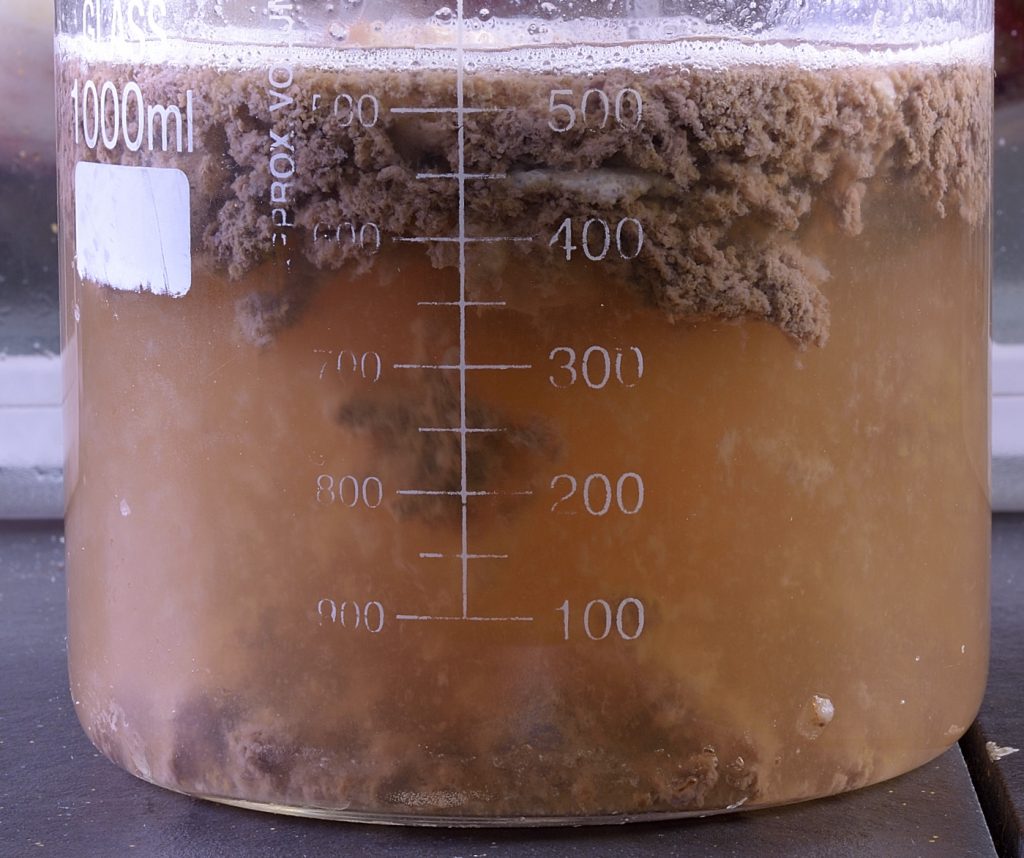
Clarifying the sous jus:
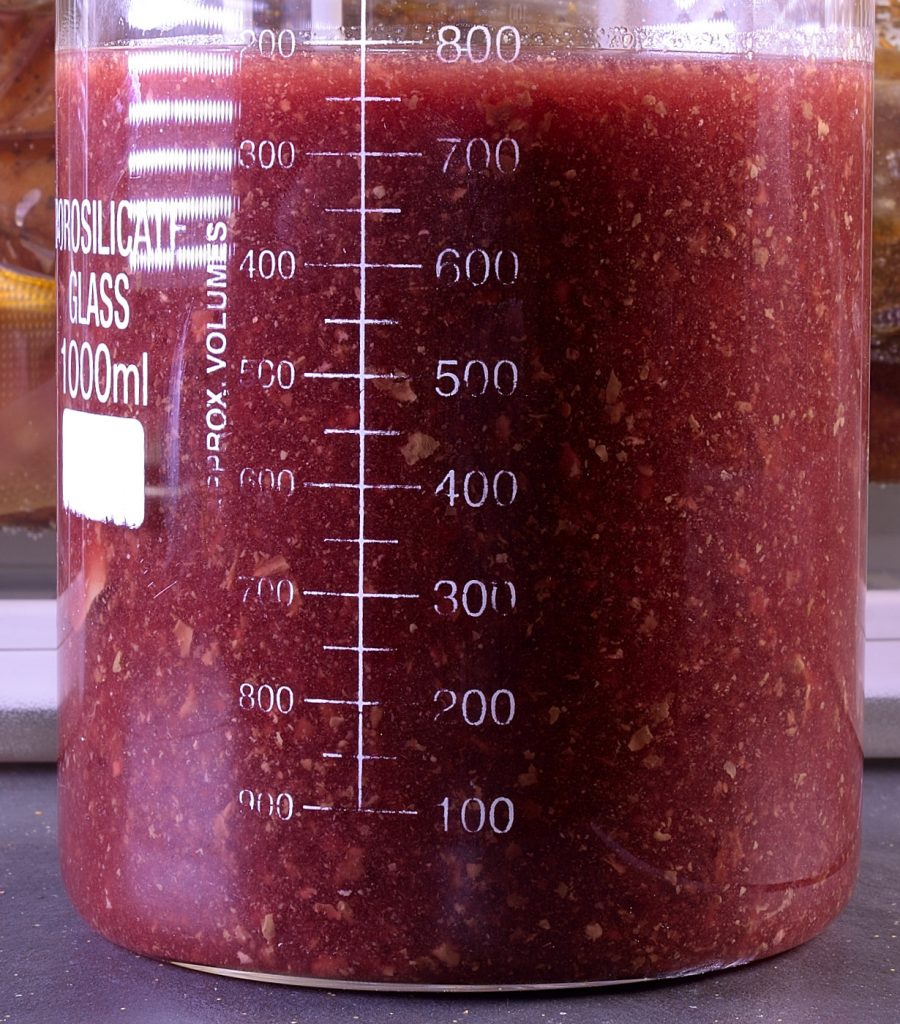
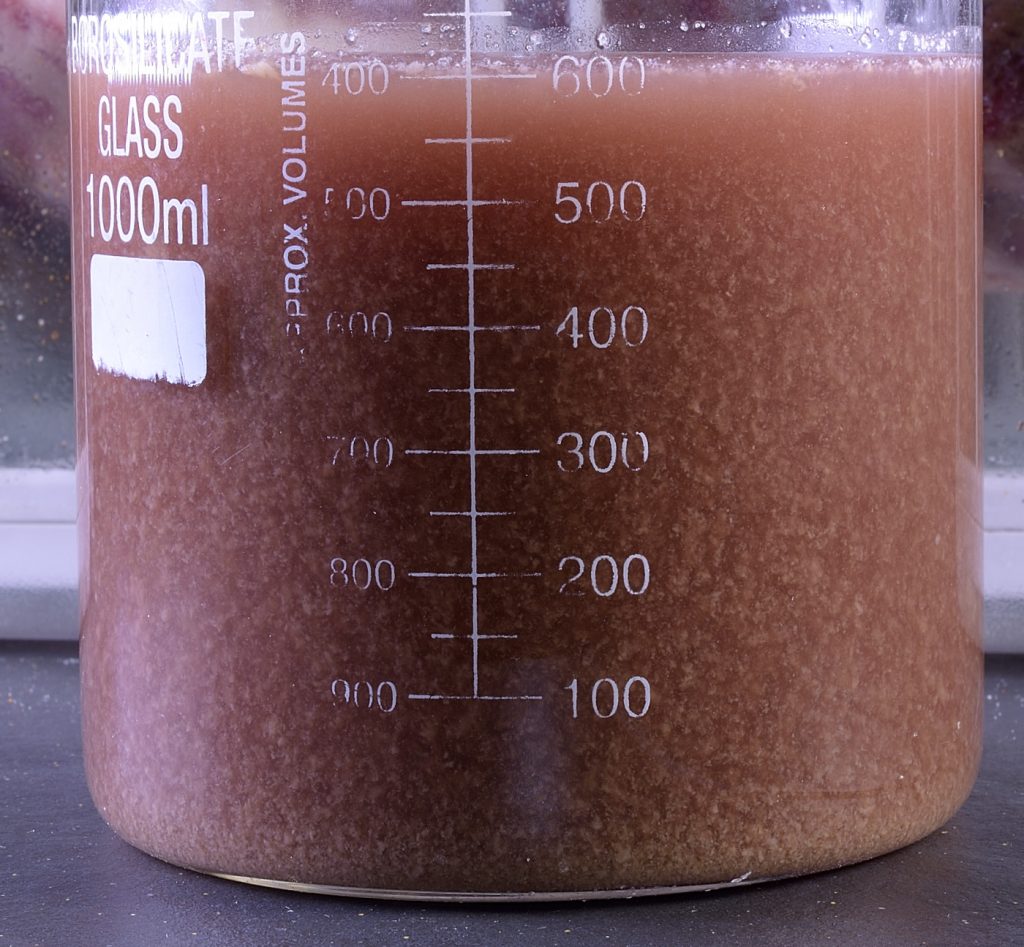
Cut one end of the package open and drain the juices. This created about 800 ml/27 oz. of purge–a combination of water, albumins and myoglobin. Because of the characteristics of the processing, the sum of the weight of the brisket and the weight of the purge is exactly the same as the original weight of the brisket–there is nowhere else for anything to go. Shrinkage was approximately 20%.
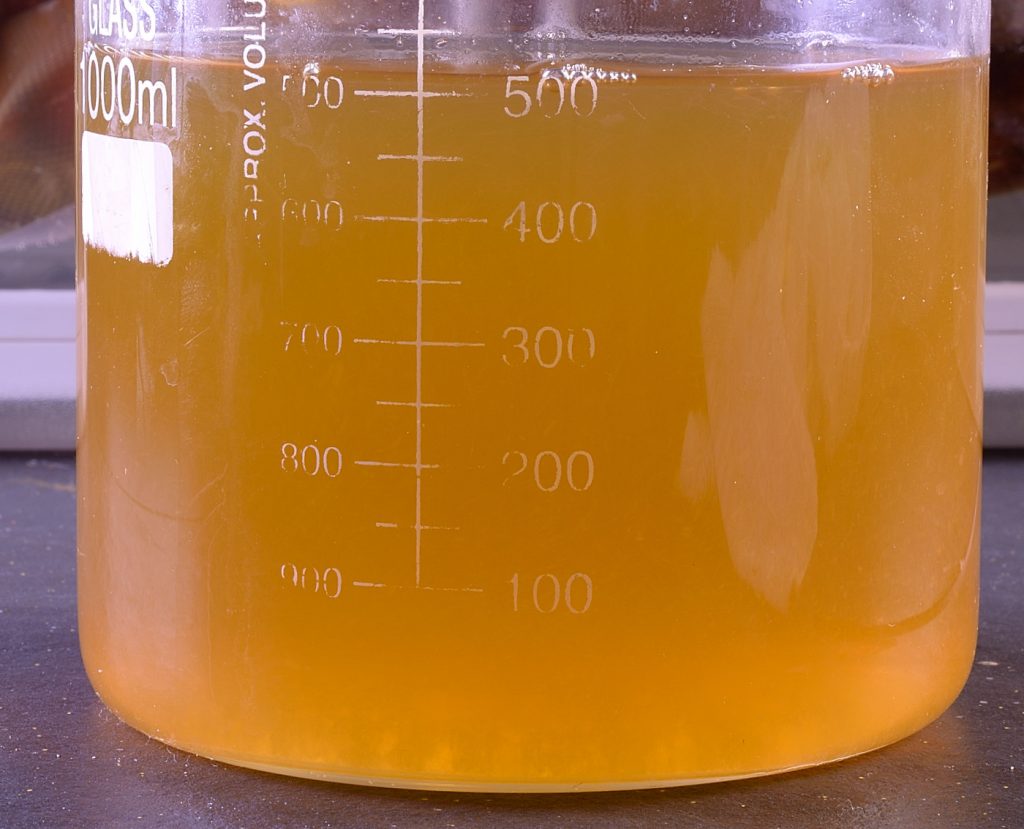
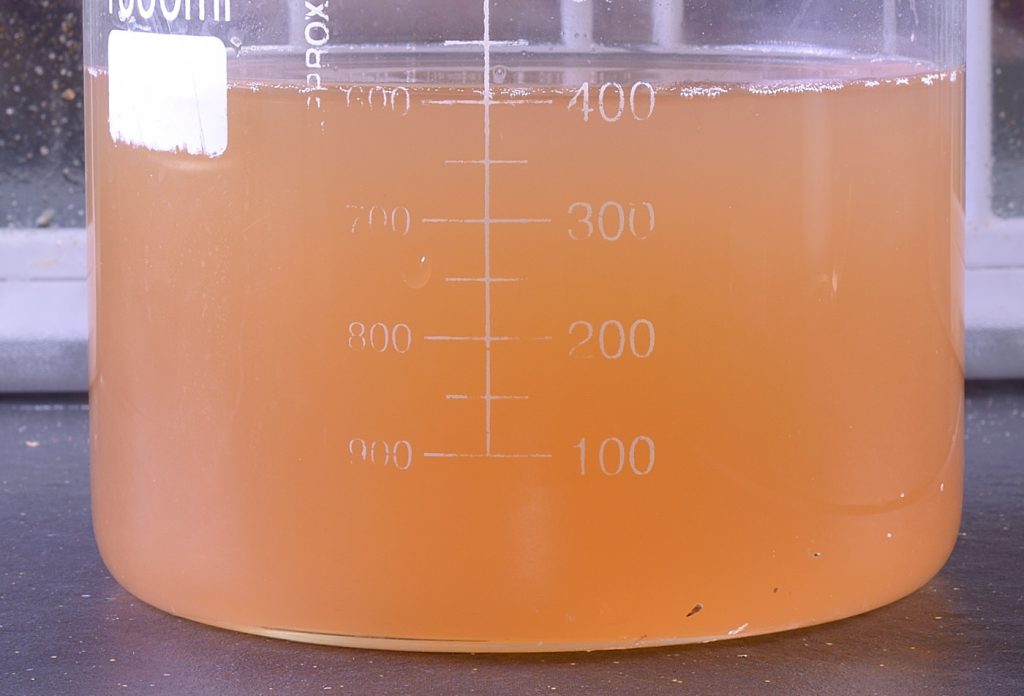
Clarify the juices according to the method described HERE. Season the resulting consommé as desired–approximately 1 teaspoon of kosher salt per cup/225 ml and a pinch of white pepper. Set aside to be heated later.
‘Tis the seasoning
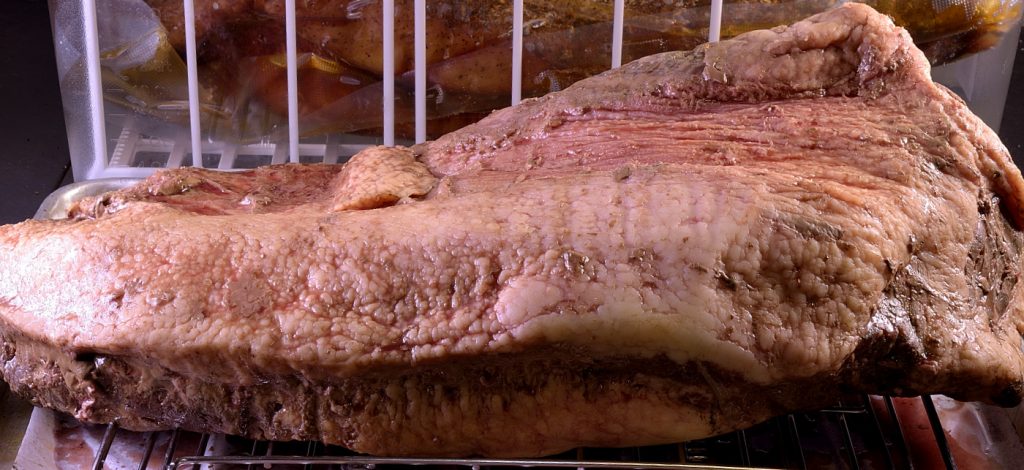
Finish removing the brisket from the package and pat dry. Raw meat is usually a little “sticky” to the touch because the surface is coated with albumins, a natural protein similar to egg whites. All cooking processes remove albumins from the surface. We use powdered (or fresh) egg whites to recreate that sticky surface. This gives seasonings something to cling to.

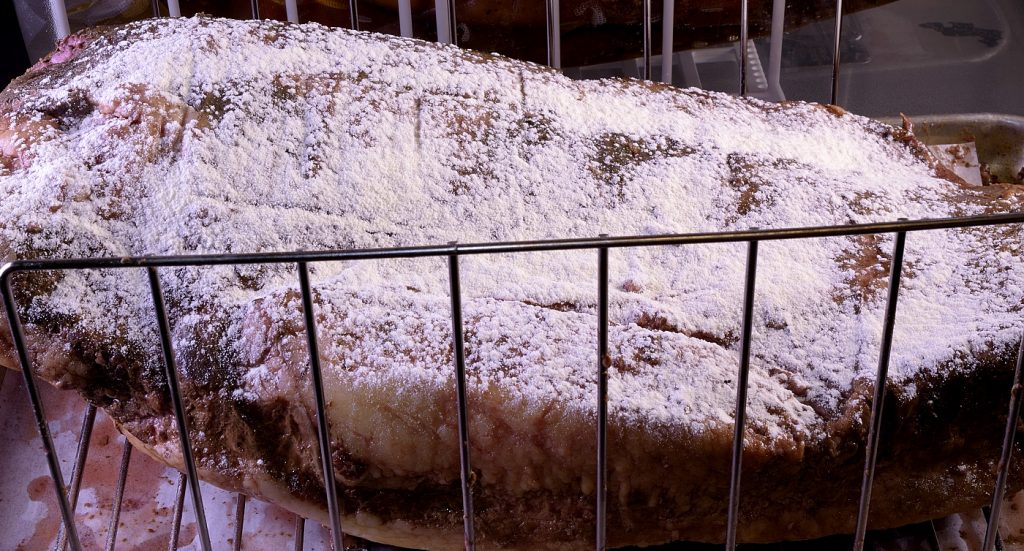
Dust with powdered egg white. 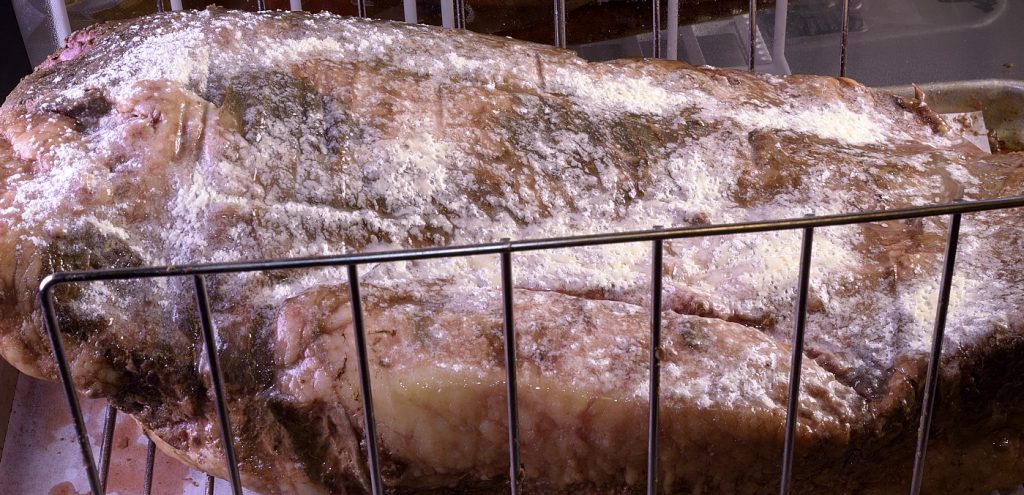
Mist with water. 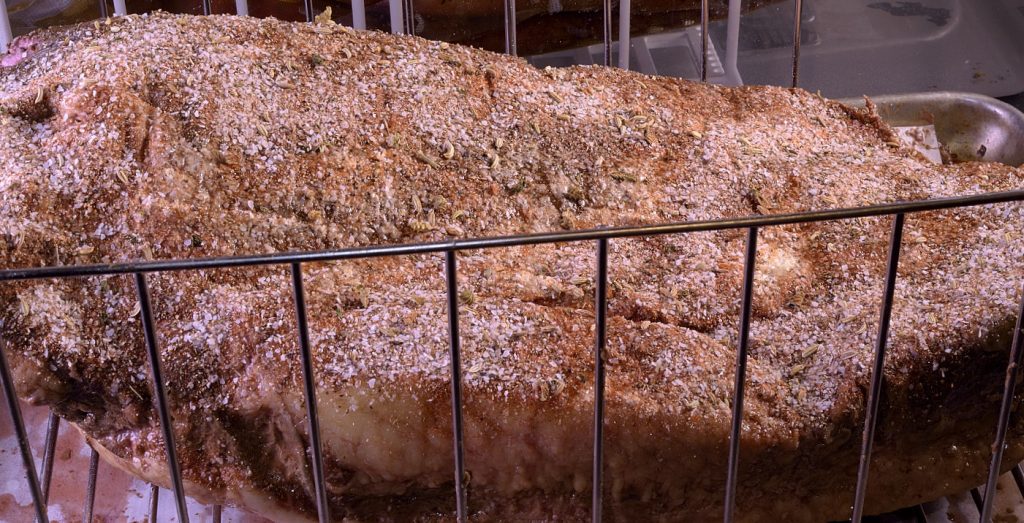
Sprinkle with seasonings. 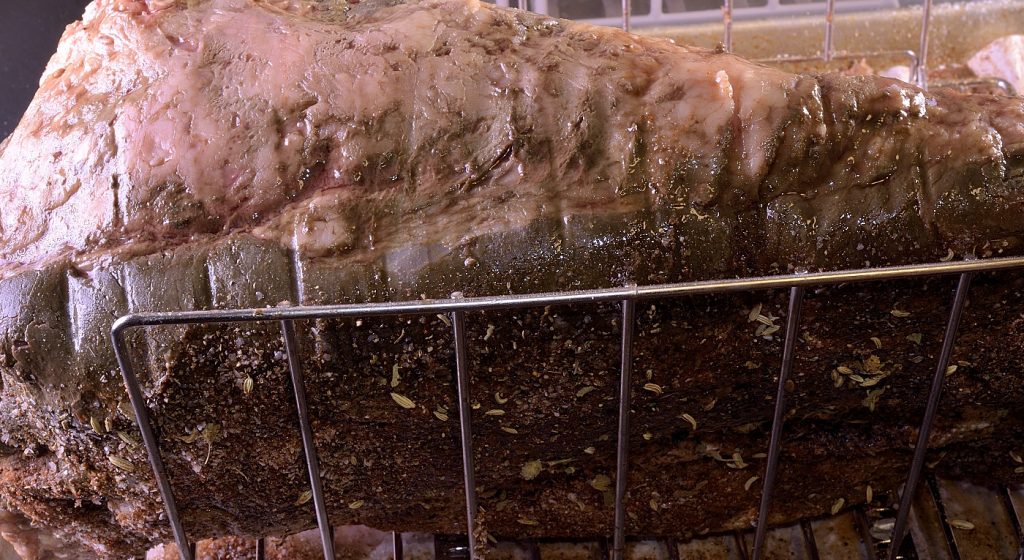
Stand roast on each side. 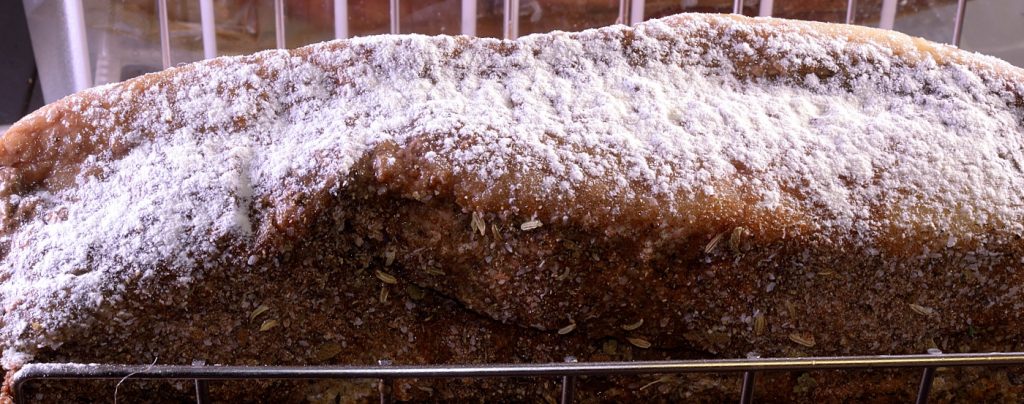
Dust with powdered egg white. 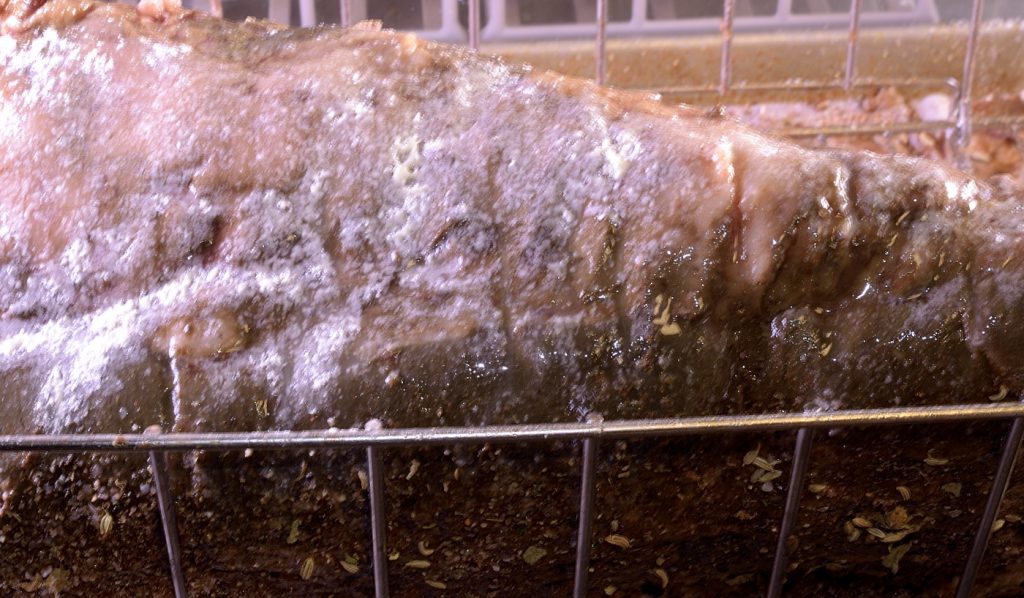
Mist with water. 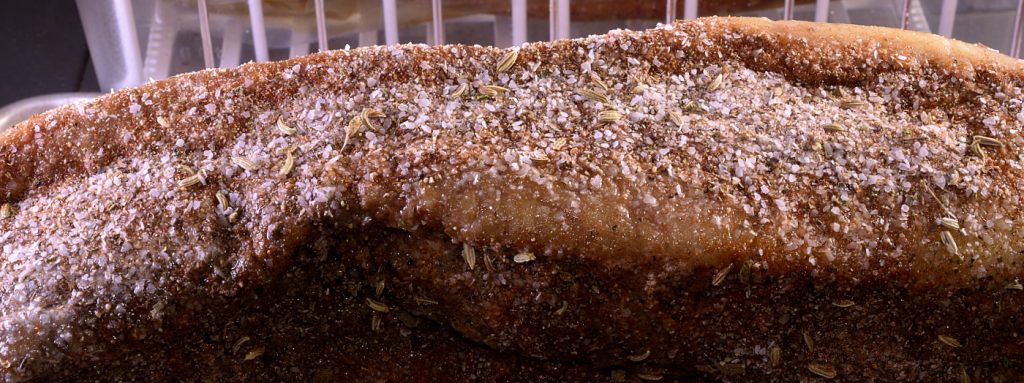
Sprinkle with seasonings. 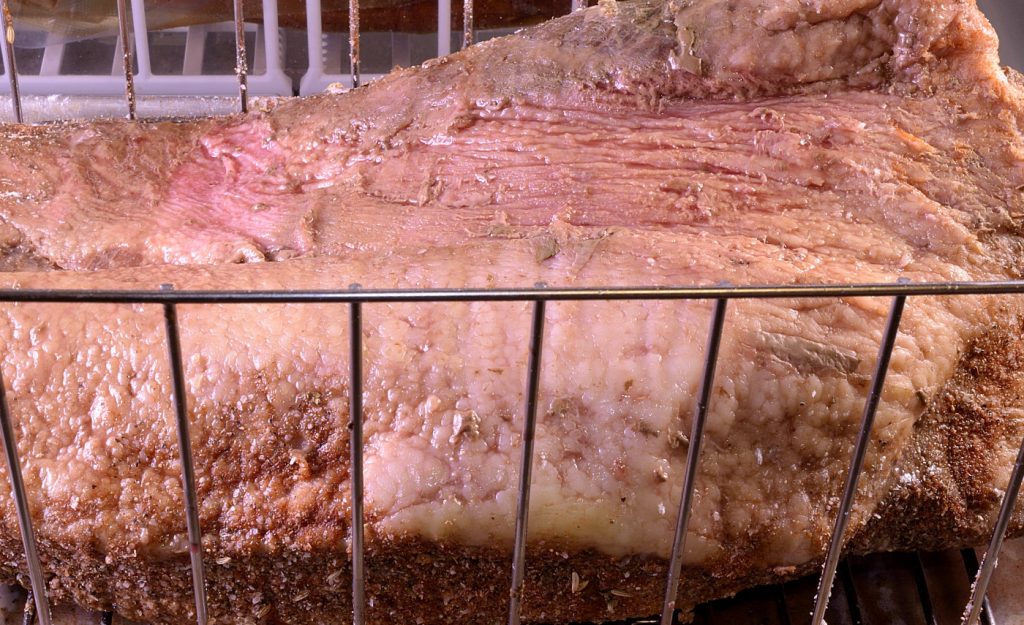
Lay flat with fatty side up. 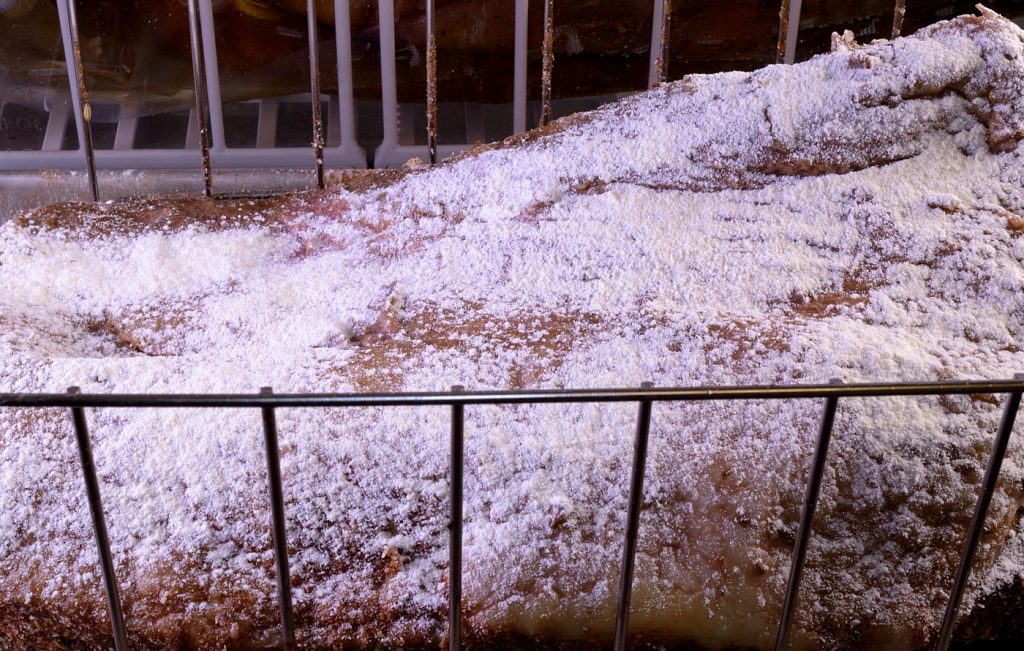
Dust with powdered egg white. 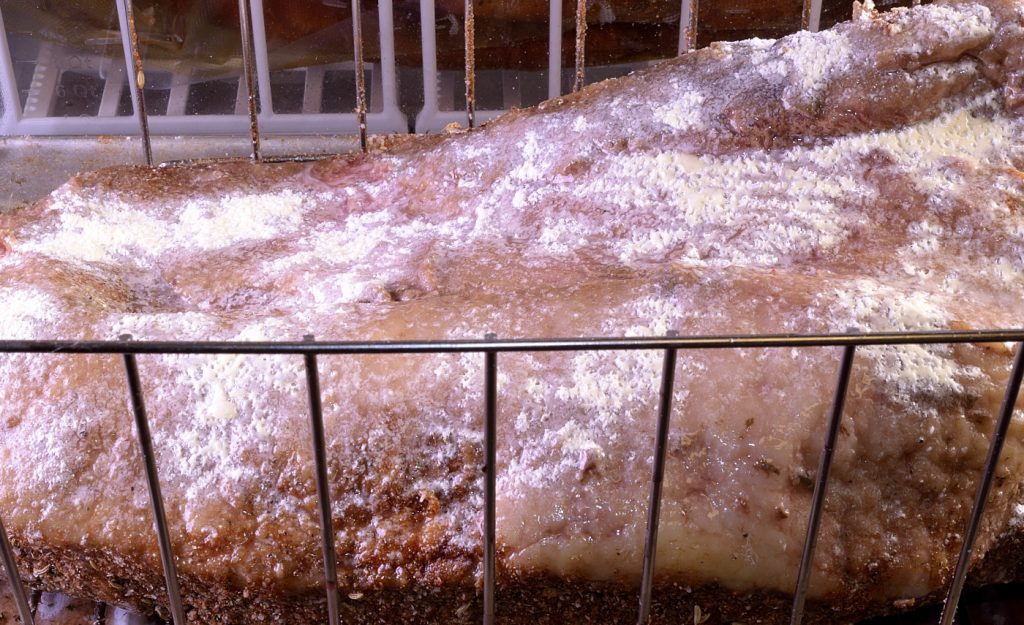
Mist with water. 
Sprinkle generously with seasonings. 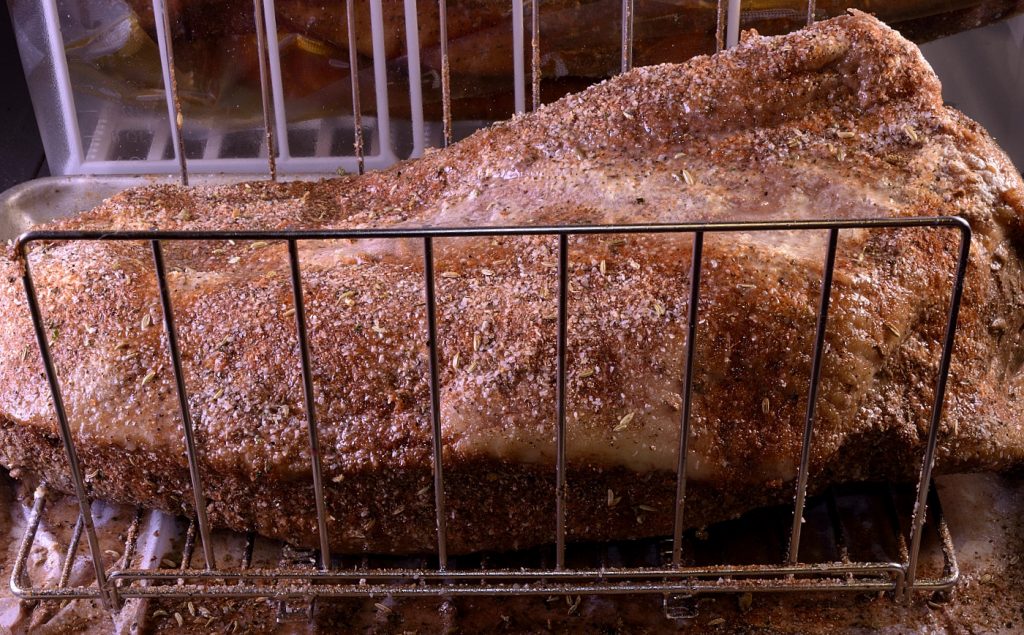
Spray or drizzle with oil.
Note: If you prefer to use fresh egg whites, combine them with an equal amount of water, beat well, and apply a thin coating to the surface of the roast.
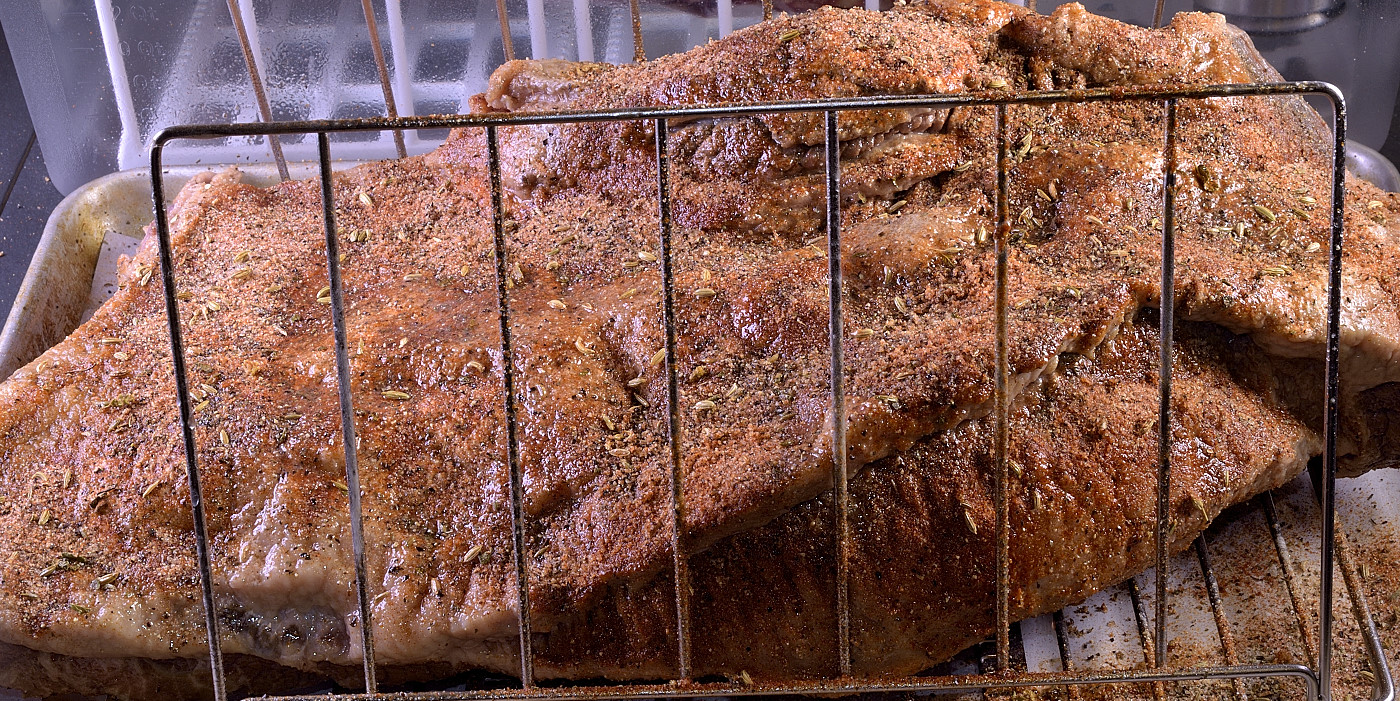
The rack helps the roast stand on its side(s) so that the egg whites and seasonings can be applied. This is the tidiest way to apply the seasonings to all the surfaces.
Stand by to launch
Transfer the rack into the smoker set at 180 F/82 C or thereabouts. An oven may also be used, set no higher than 225 F/107 C.

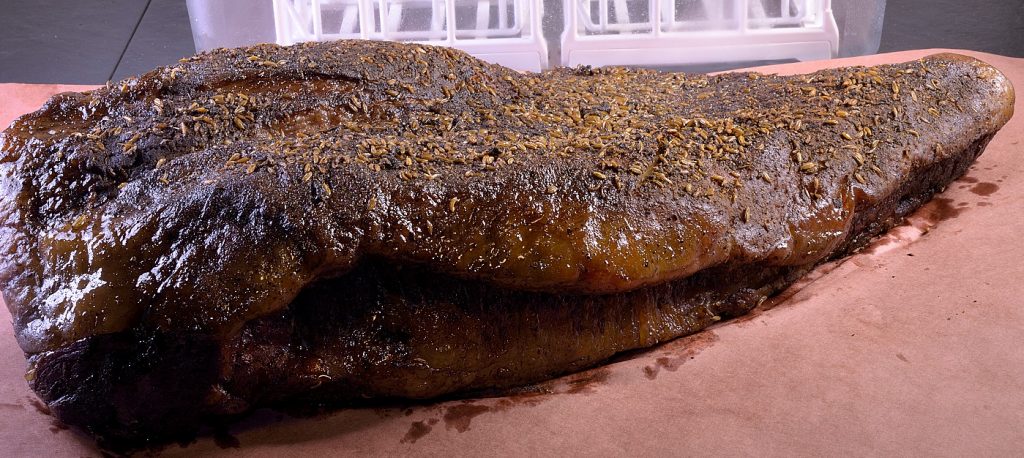
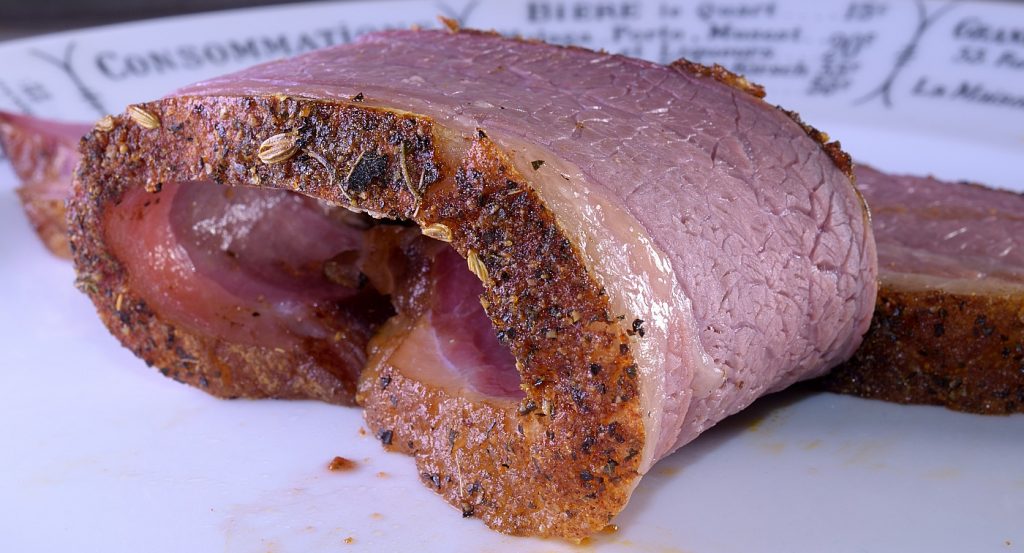
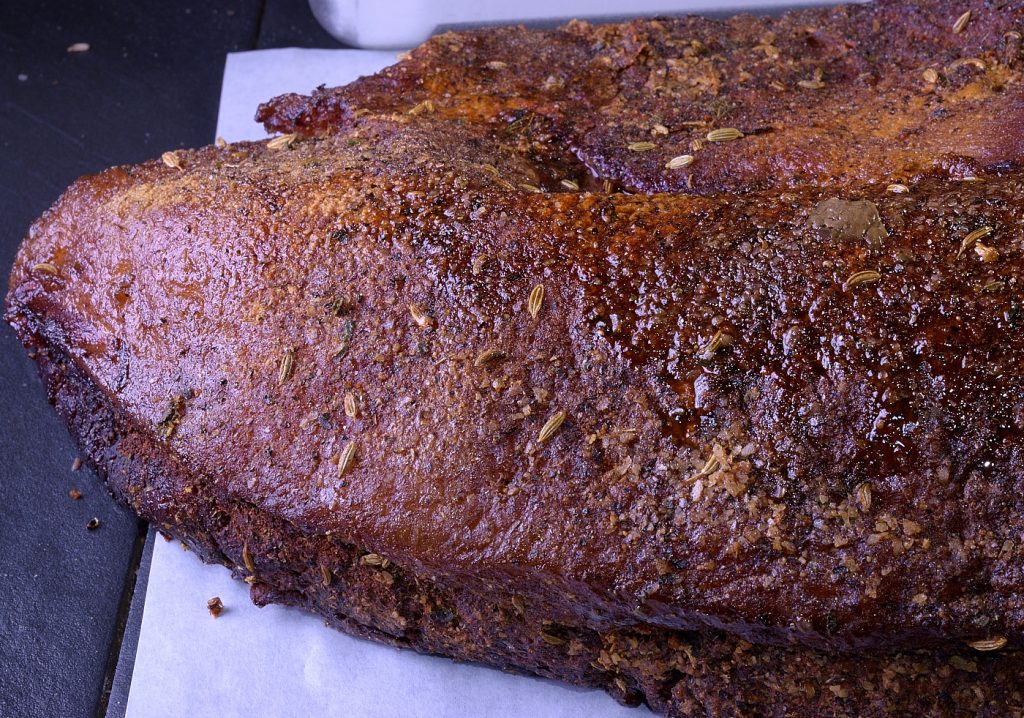
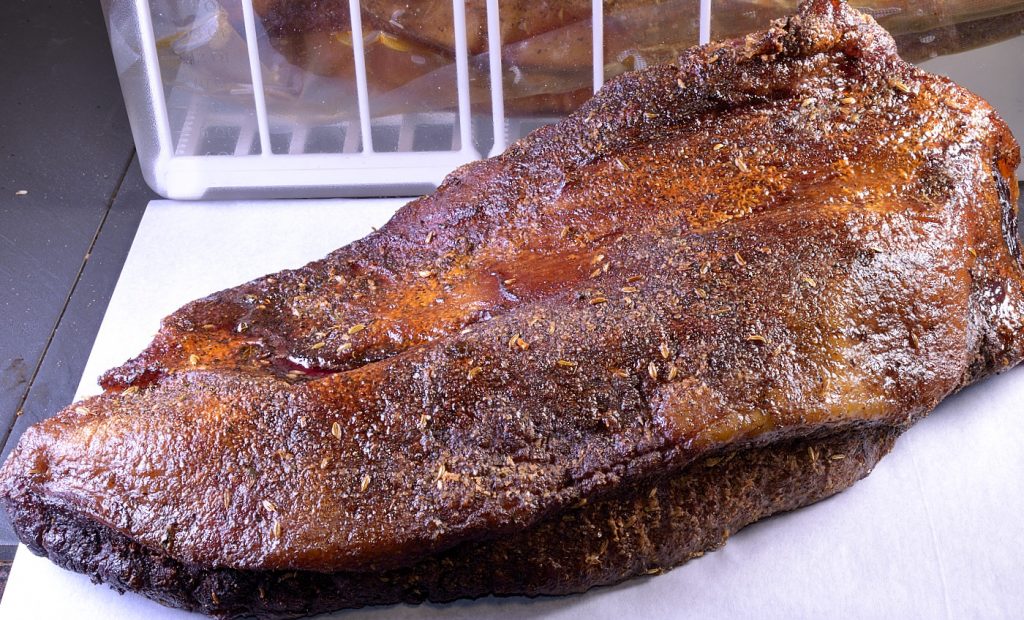
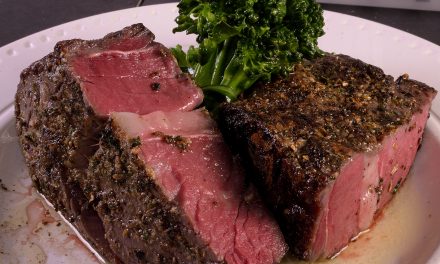
Smoke/roast until the internal temperature achieves at least 130 F/54 C and the desired level of bark has been created, whichever comes LAST. Final weight was 11.3 lbs./5.2 kg.
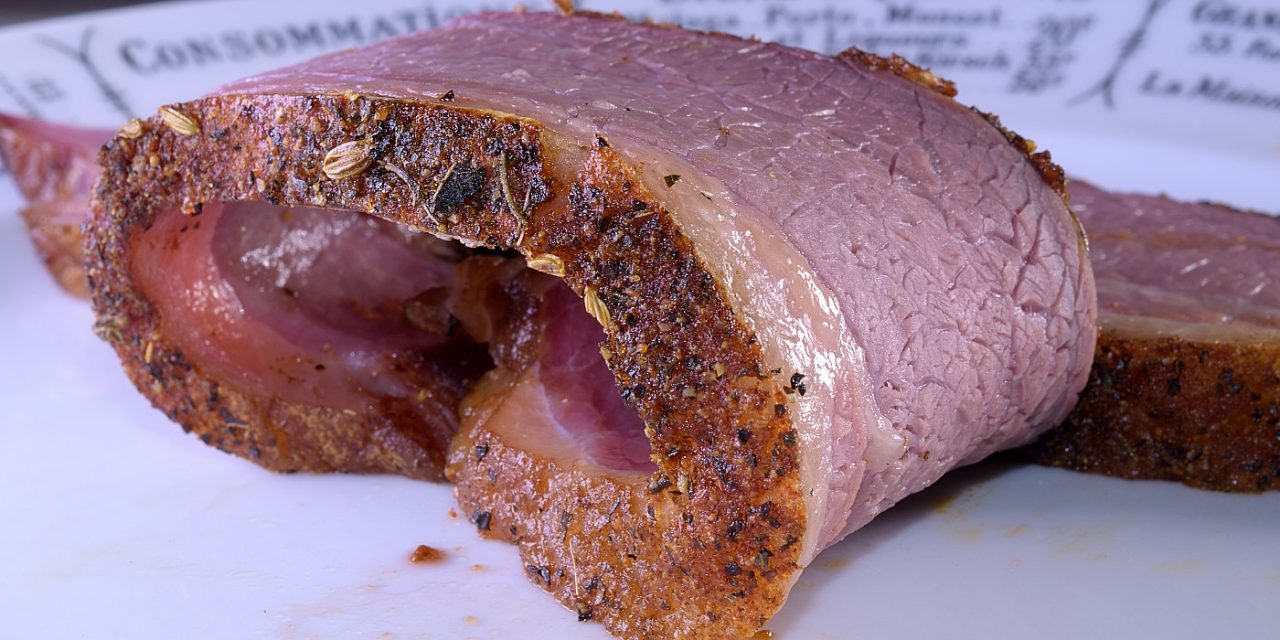
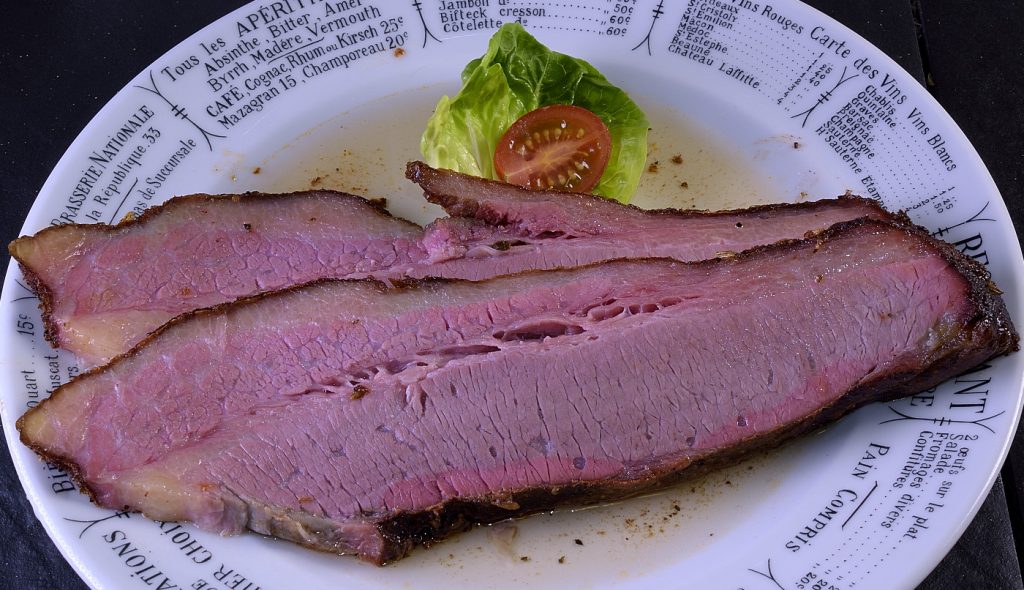
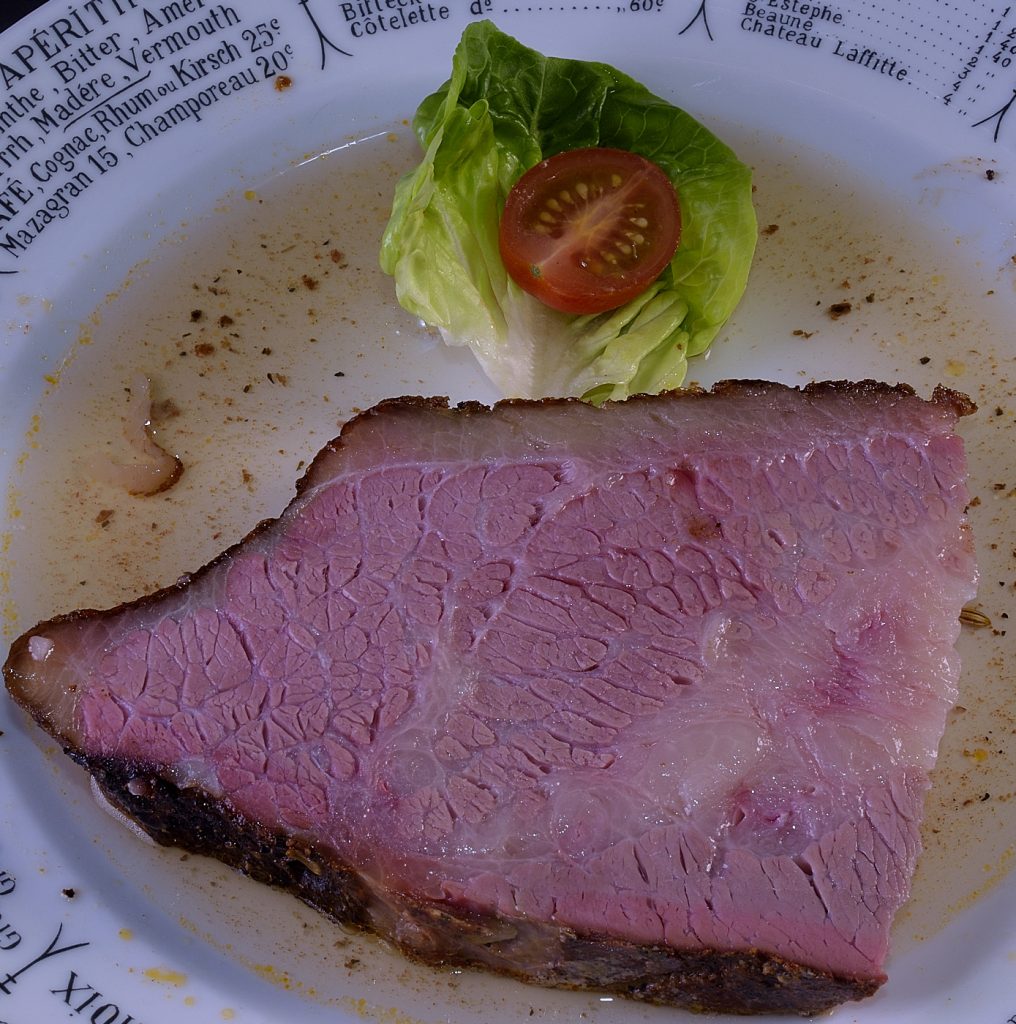
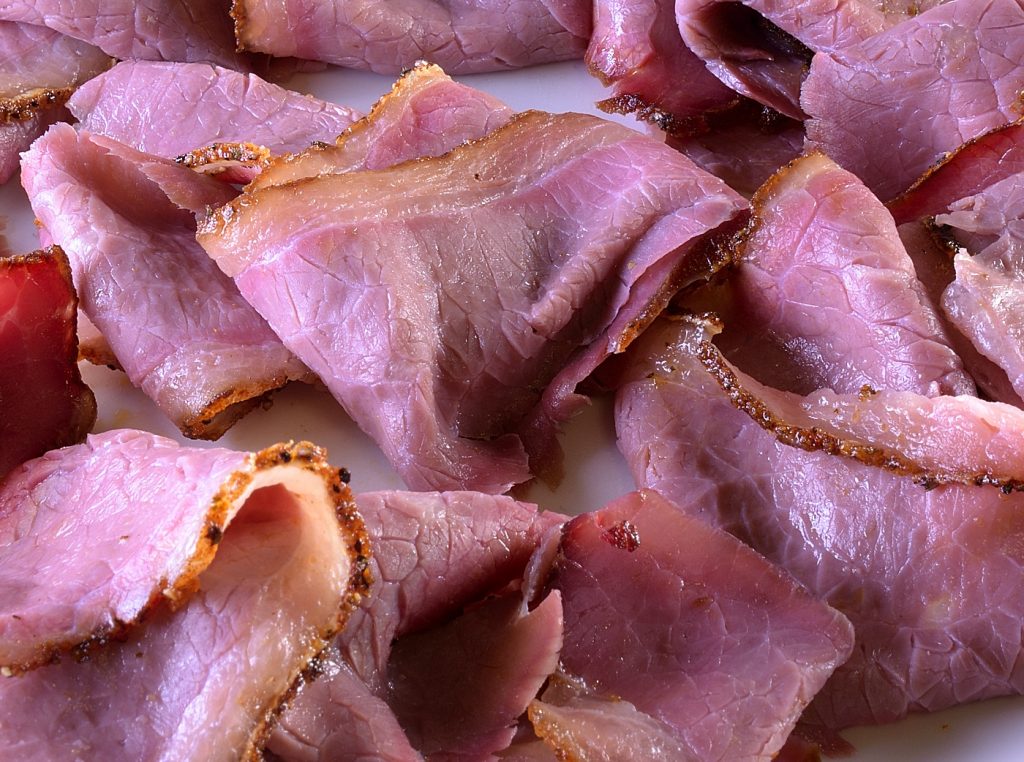
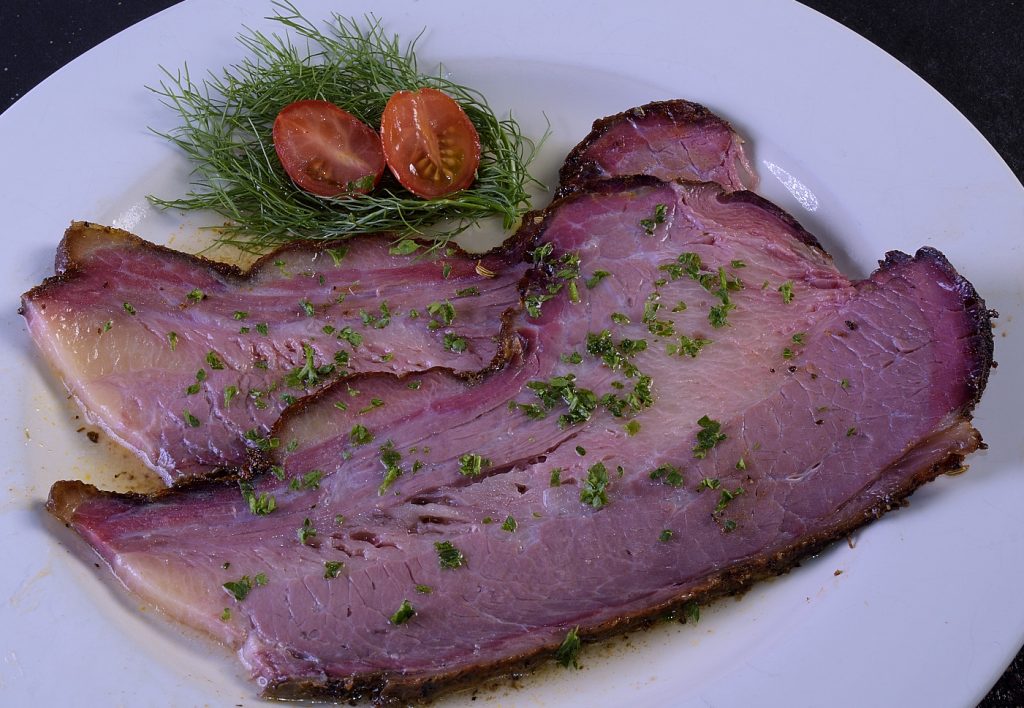
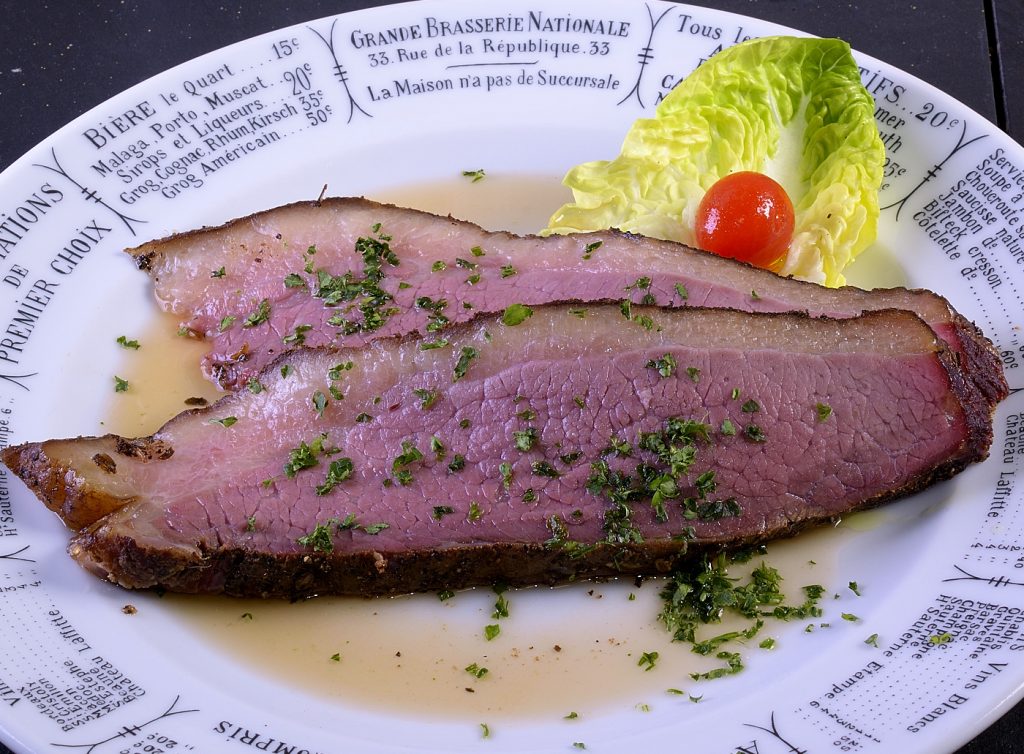
Service:

Method B
We removed some of the larger deposits of fat on the surface and reweighed to 13 lbs./5.9 Kg.
Do we brine the cure or do we cure the brine?
There are a few things to take into consideration before applying salt and/or other flavorings in advance of sous vide processing. What is brining anyway?
Brining/curing is a process whereby meat is exposed to salt and other sodium compounds over a period of time. An ancient form of meat preservation, it involves a chemical reaction that causes changes in flavor, color and texture. It is antibacterial, anti-botulin and is used to make ham, bacon, sausage and many other items. When the process is executed submerged in salted water, it is accurately referred to as “brining.” In this wet environment, the sodium ions travel from the surface towards the center at the rate of about 1″/2.5 cm per 7 days at 40 F/4 C.
The process can also be accomplished “dry” where the sodium compounds are simply applied to the protein with no additional water present. Some people call this process “dry brining,” but the literal definition of “brine” is “seawater.” “Dry curing” is a little bit more accurate. Counterintuitively, in the dry curing environment, the sodium ions travel from the surface towards the center at the somewhat faster rate of about 1″/2.5 cm per 4 days at 40 F/4 C. While many brines/cures contain other flavorings, the science confirms that nothing other than sodium ions can penetrate meat’s tangled matrix of complex proteins.
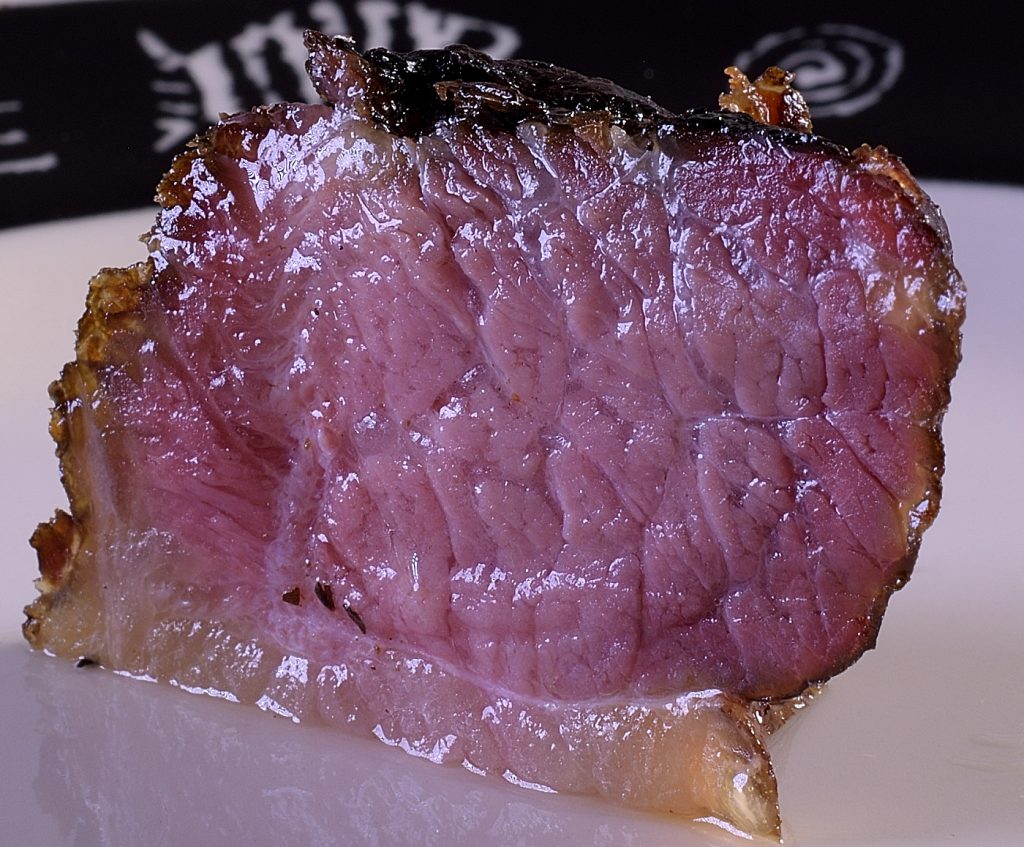
This much we know
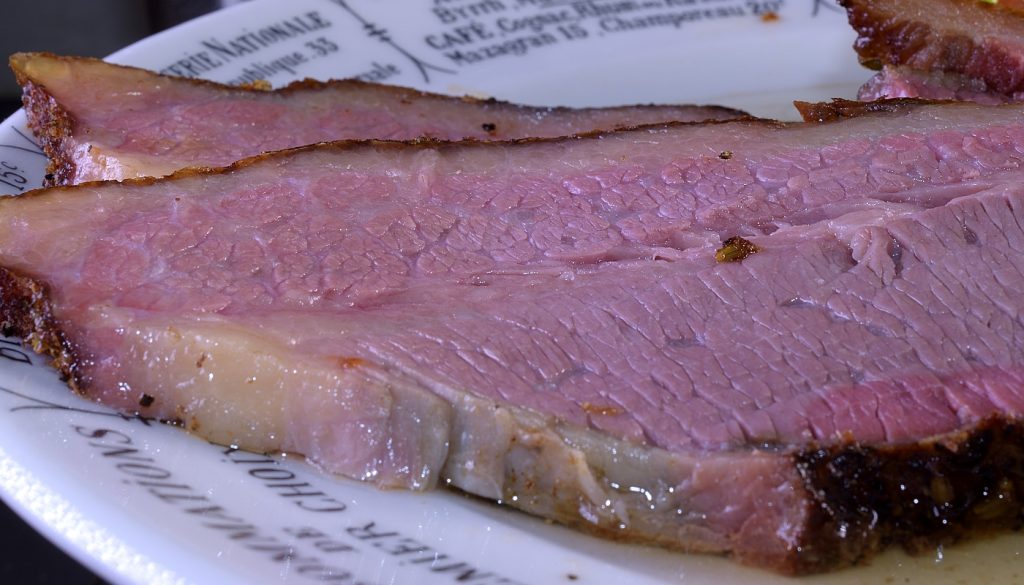
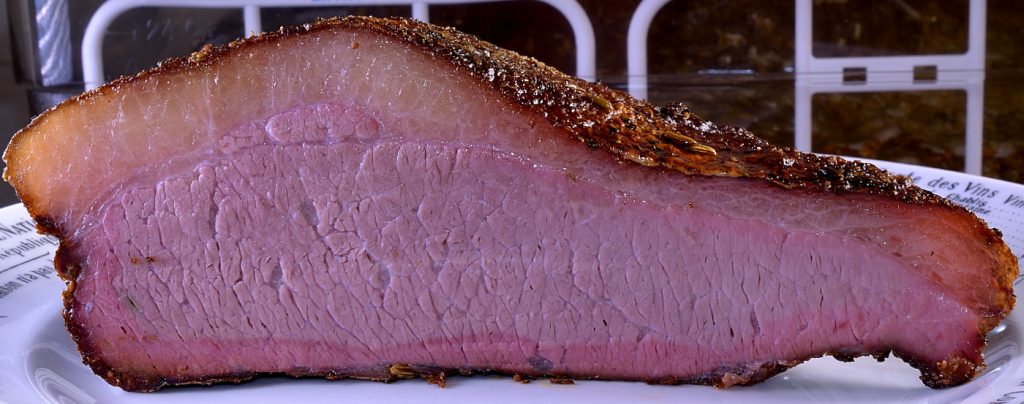
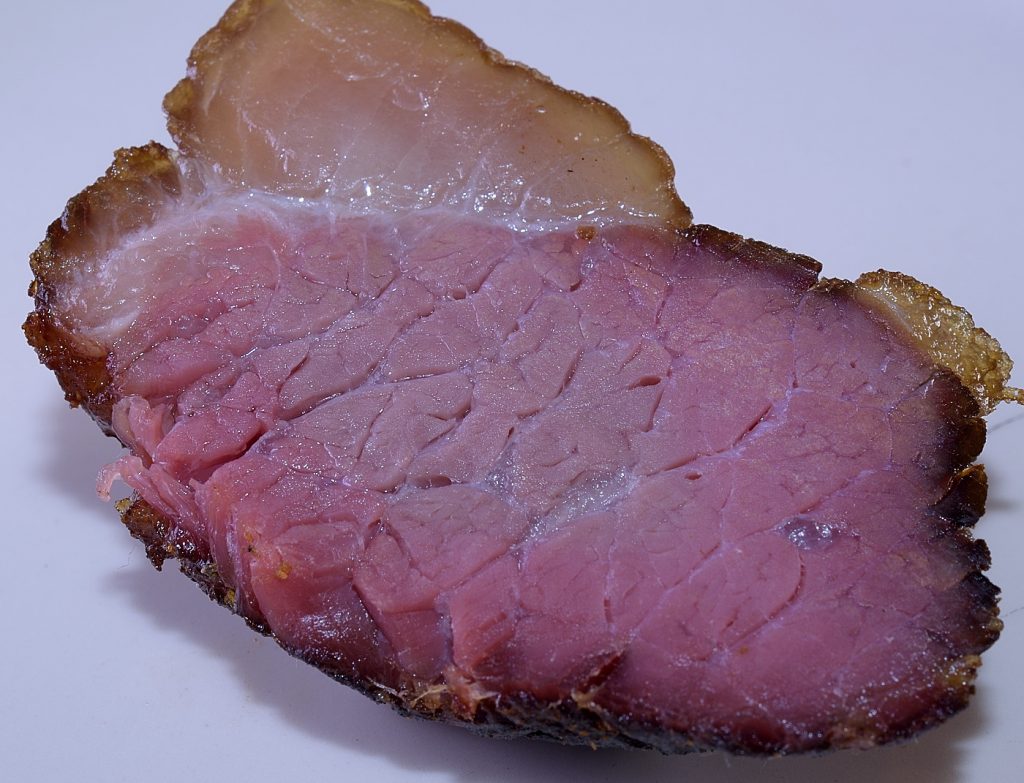
If you apply seasoning and proceed directly to sous vide processing, the salt will not have enough time to penetrate in any significant way. Neither vacuuming nor heat accelerates the penetration of the sodium ions. Almost all of the salt applied will remain in the juices that collect in the sous vide pouch. For more information on this topic, visit HERE. If seasoned too far in advance of processing, the concern is that the penetration of sodium ions will make the brisket appear insufficiently cured–pink (like ham) around the edges but gray in the center. NOTE: This multi-colored “half cured” appearance is not to be confused with the “smoke ring” characteristic of some smoked foods. The pitmaster’s smoke ring is another chemical process entirely, caused by exposure to carbon monoxide and nitrogen oxide in the smoking cabinet. It has a pleasing appearance but it does not contribute any flavor or other actual benefit.
If you brine/cure your brisket long enough, you will end up with corned beef. We split the difference and salted the brisket, vacuumed and and refrigerated it for 16 hours. We will also show how to determine just how much salt was absorbed into the brisket during the combined processes.
Measurements
Volume measurements are frequently used to apply salt based on the assumption that 1 measured Tablespoon (3 teaspoons) of kosher salt is equal to 18g. BTW, the teaspoons and tablespoons found in your silverware drawer are not the same as “measuring spoons.” Additionally, not all brands of kosher salt weigh the same. The best practice is to use a gram scale to measure the kosher salt by weight. We want the weight of the salt to equal no more than 3% of the weight of the entire brisket. This works out to 12g/lb.
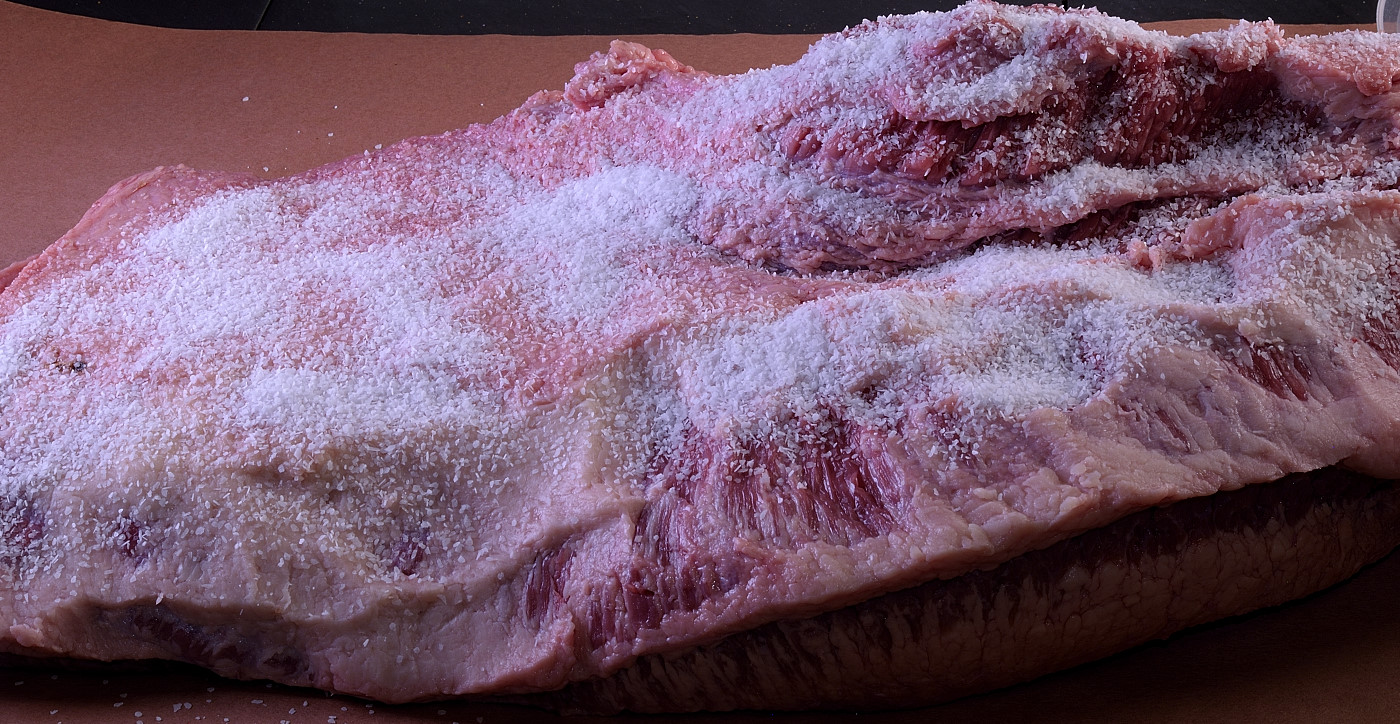
Lay the brisket out on a large piece of butcher paper or parchment. Seasoning both sides, we applied a total of 168 g kosher salt–6 oz by weight. This satisfies the expectations of most brisket enthusiasts without being overly salty. When completed, fold the butcher paper around the brisket. This makes it easier to slide the roast into the sous vide bag.
Stage the package into heat rated plastic and remove the butcher paper. Vacuum seal the seasoned brisket in heat rated plastic and refrigerate at 40 F/4 C for 16 hours.
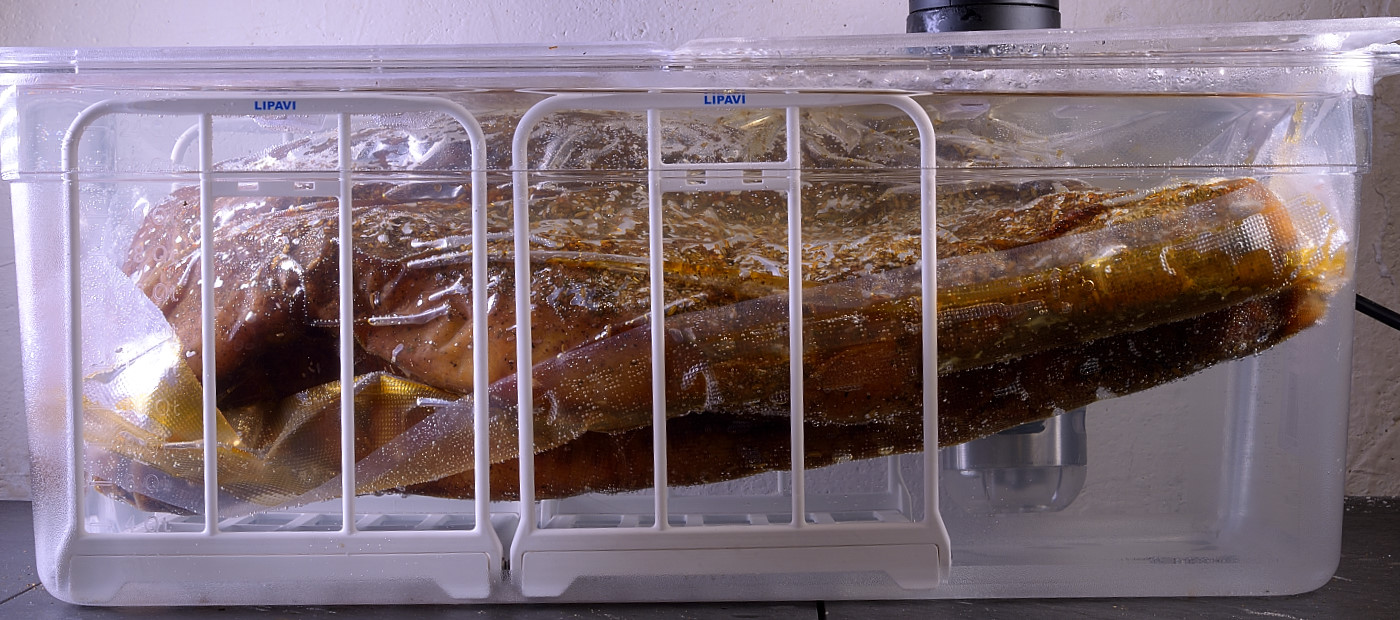
Set the bath temperature at 130 F/55 C.
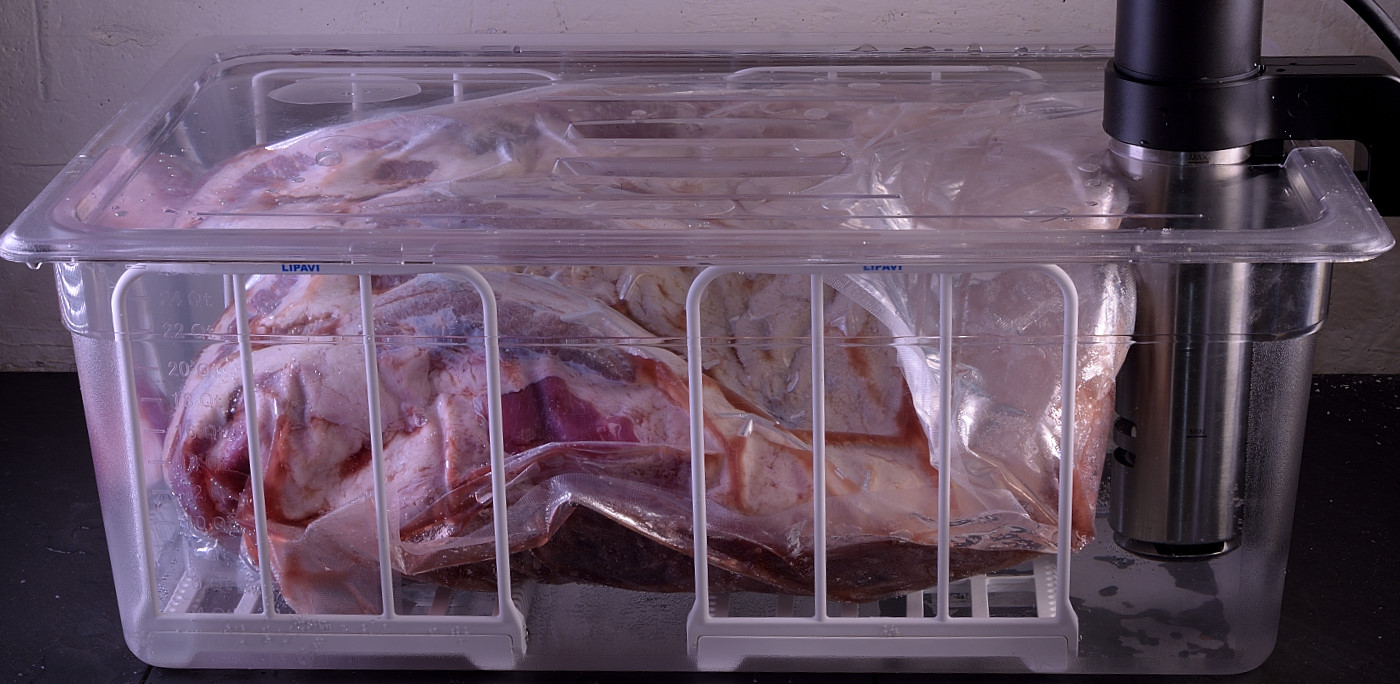
Submerge the seasoned brisket completely in the bath. Make sure the water is high enough so the the Lipavi lid comes in contact with the water and forms a seal. Process the package for at least48 hours. Use the method explained HERE to verify your desired level of tenderness. When the interval has elapsed, cold shock the sealed package in (iced) tap water until it achieves 70 F/21 C–usually about half an hour. Refrigerate at 40 F/4 C until day of service. The sealed brisket can be safely refrigerated in this state for at least two weeks.
Day of service
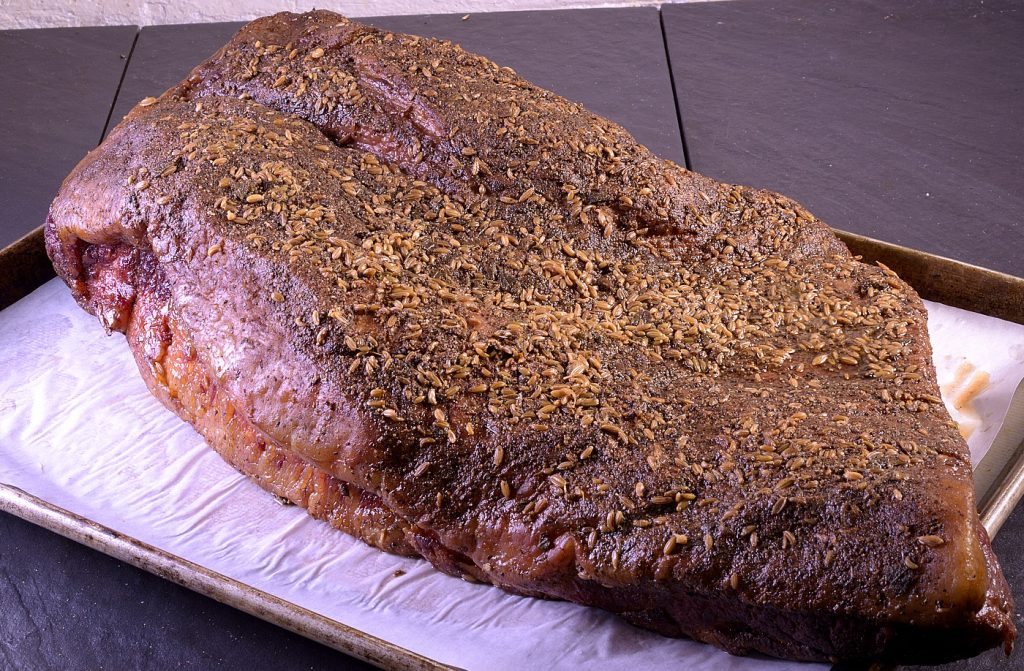
Sodium free rubs are not common in local markets. Since the brisket was sufficiently salted before sv processing we made a sodium free rub that consisted of 0.5 cups sugar and 1 Tablespoon each paprika, oregano, basil, garlic powder and fennel seeds.
Note: See Method “A” for a pictorial explanation of the seasoning process:
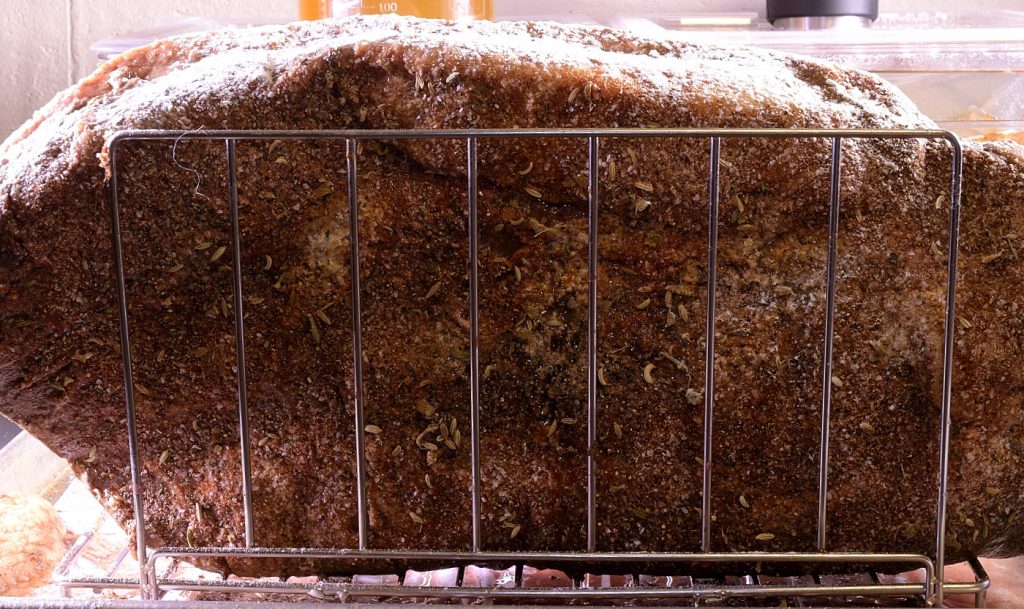
Dip the sealed package in 110 F/43 C (tap) water or a functioning sous vide bath for two minutes to liquify the gel. Cut one end of the package open and drain the juices. Set aside. Finish removing the brisket from the package and pat dry. Stage into a rack, fatty side down. Dust with powdered egg white. If you prefer to use fresh egg whites, mix them well with an equal volume of water and spread/paint a thin layer on the brisket. Spray with water to moisten the egg whites (not necessary if you use fresh). Sprinkle generously with the sodium free rub. Stand the roast on its side(s) by leaning it against the of the rack and repeat the seasoning procedure.

Lay the brisket down with the fatty side up and repeat the seasoning process one last time.
Spray or drizzle lightly with oil. Transfer the rack into the smoker set at 180 F/82 C or thereabouts. An oven may also be used, set no higher than 225 F/107 C.
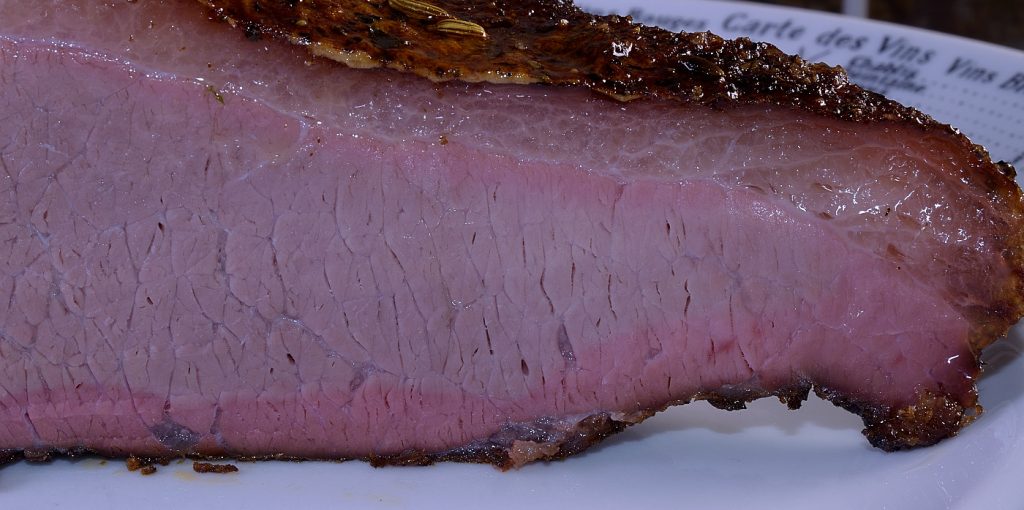
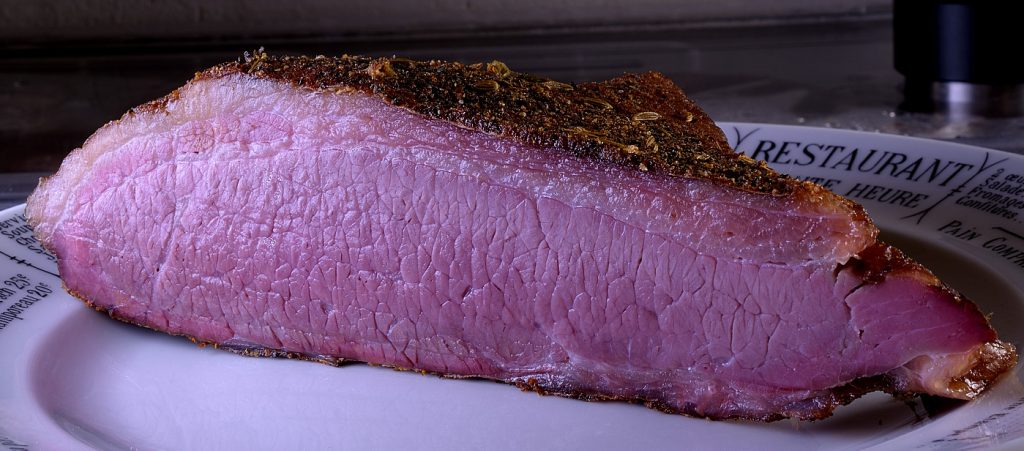
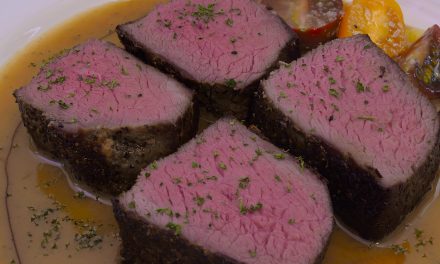
Smoke/roast until the internal temperature achieves at least 130 F/54 C and the desired level of bark has been created, whichever comes LAST. Final weight was 11 lbs./5 kg.


Calculating salt penetration
Refractometers can be used to calculate the amount of salt present in a solution. They are very precise but not common in home kitchens. Fortunately, there is another way to determine just how much salt was absorbed into the brisket during the entire process so far.
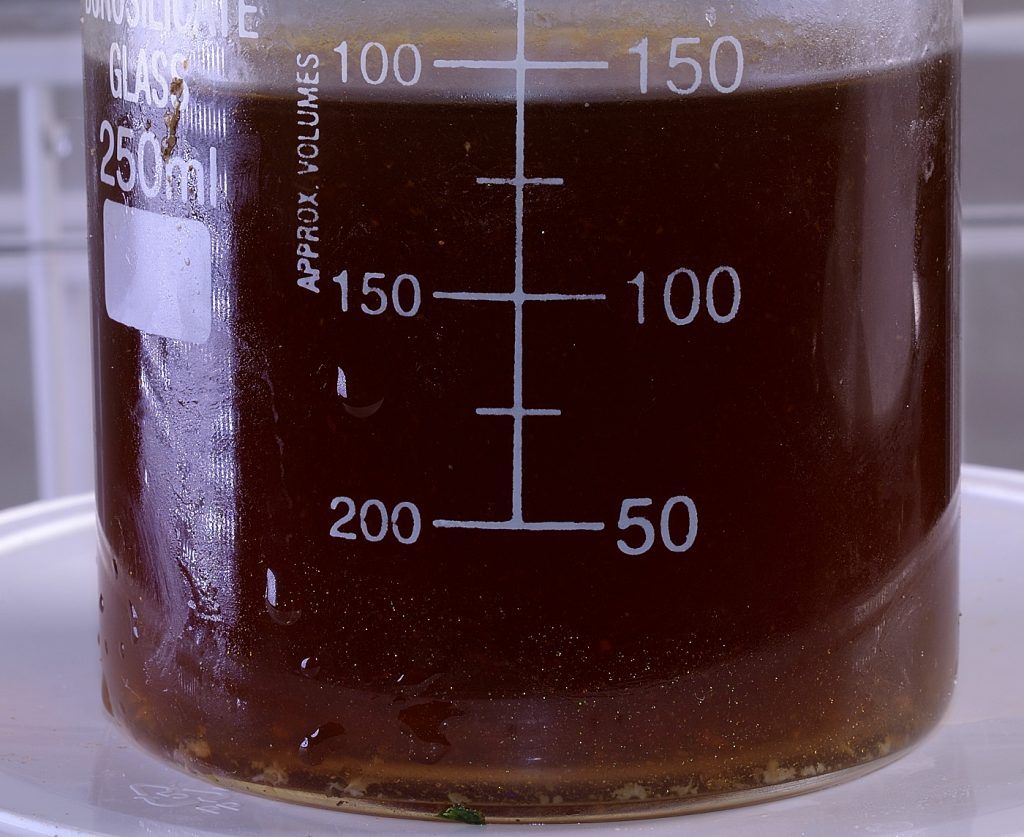
This created about 550 ml/19 oz, a combination of water, seasonings, albumins and myoglobin. Because of the characteristics of the processing, the sum of the weight of the brisket and the weight of the purge is exactly the same as the original weight of the brisket–there is nowhere else for anything to go. Shrinkage for this model was approximately 15%. First, note the exact volume of the harvested juices–write it down. Add one teaspoon of powdered egg white or 1 fresh egg white to the juices and stir well. Bring this mixture to a boil either in a small sauce pan or a microwave oven.
This will cause the impurities (albumins and myoglobin) to particulate. Meanwhile, heat to boiling an amount of water equal to the current volume of the juices (550 ml). Adding the kosher salt gradually in 6 gram increments, 72 g was required in order to make the salted water taste as salty as the purge. Of course, this is an approximation dependent on the accuracy of one’s taste buds. It does not qualify as a scientific result. It is only intended to give us an idea as to how effective the pre-seasoning process was. This means that the brisket absorbed (and/or retained on its surface) 96 grams of the kosher salt. Complete the clarification process according to the instructions detailed HERE.
The clarified purge is far too salty to be used in its current state. In order to bring the 400 ml sample back to a standard seasoning model, an additional 1200 ml/5 cups of water was required. This makes the sous jus itself extremely dilute, another thing to consider before pre-seasoning. Not a deal breaker, but I favor the unseasoned model–it provides more control. For those of you who are familiar with my work, remember that I told you so.
Method C
Season the raw brisket according to your custom or use one of our dedicated rubs listed HERE. For best results, 12 g/2 teaspoons kosher salt per lb. satisfies the expectations of most brisket enthusiasts without being overly salty. All other spices are at your discretion.

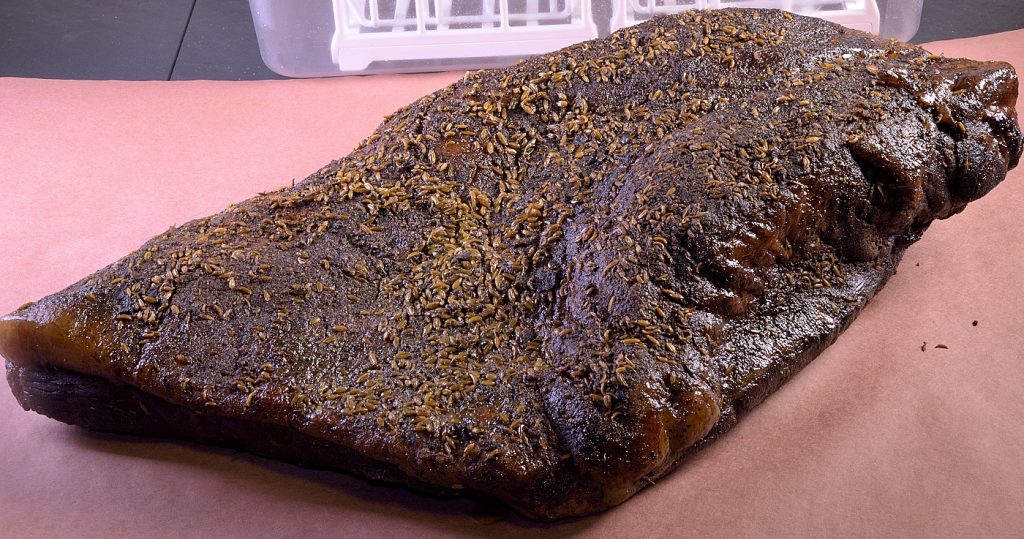
Stage the roast into a rack. Transfer the rack into the smoker set at 180 F/82 C or thereabouts. An oven may also be used, set no higher than 225 F/107 C. Smoke/roast until the desired level of bark is achieved–there is no need to check temperature because we are going directly into the bath. We smoked this version for 5 hours. Set the bath temperature at 130 F/55 C.
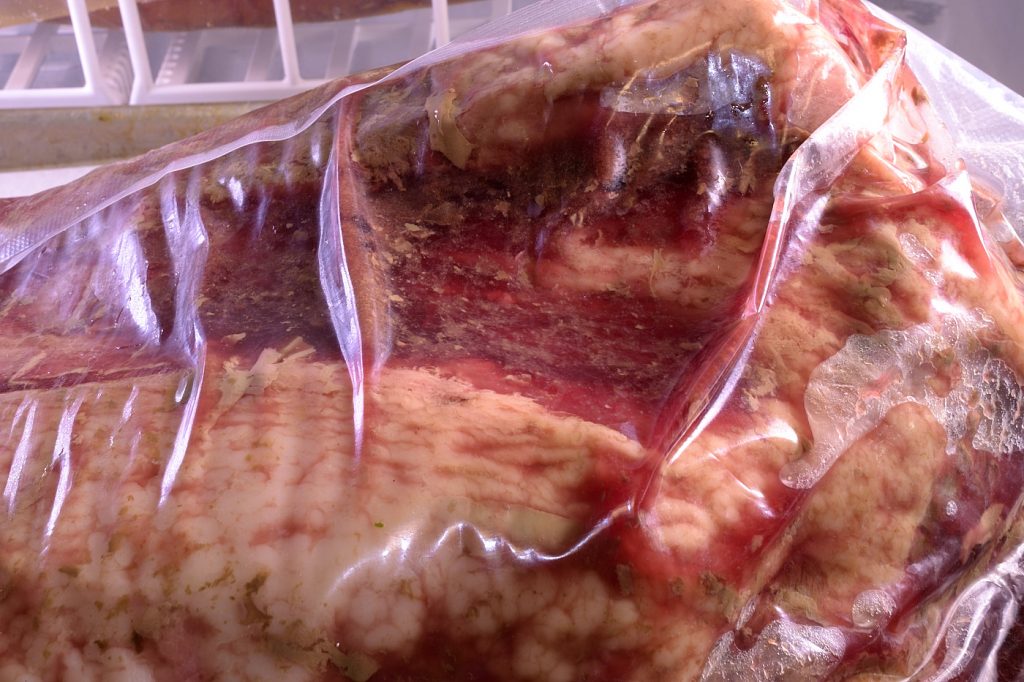
Vacuum seal the warm pre-smoked brisket in heat rated plastic. Submerge the package completely in the bath. Process for at least 48 hours. Use the method explained HERE to verify your desired level of tenderness. When the interval has elapsed, cut one end of the package open and drain the juices.
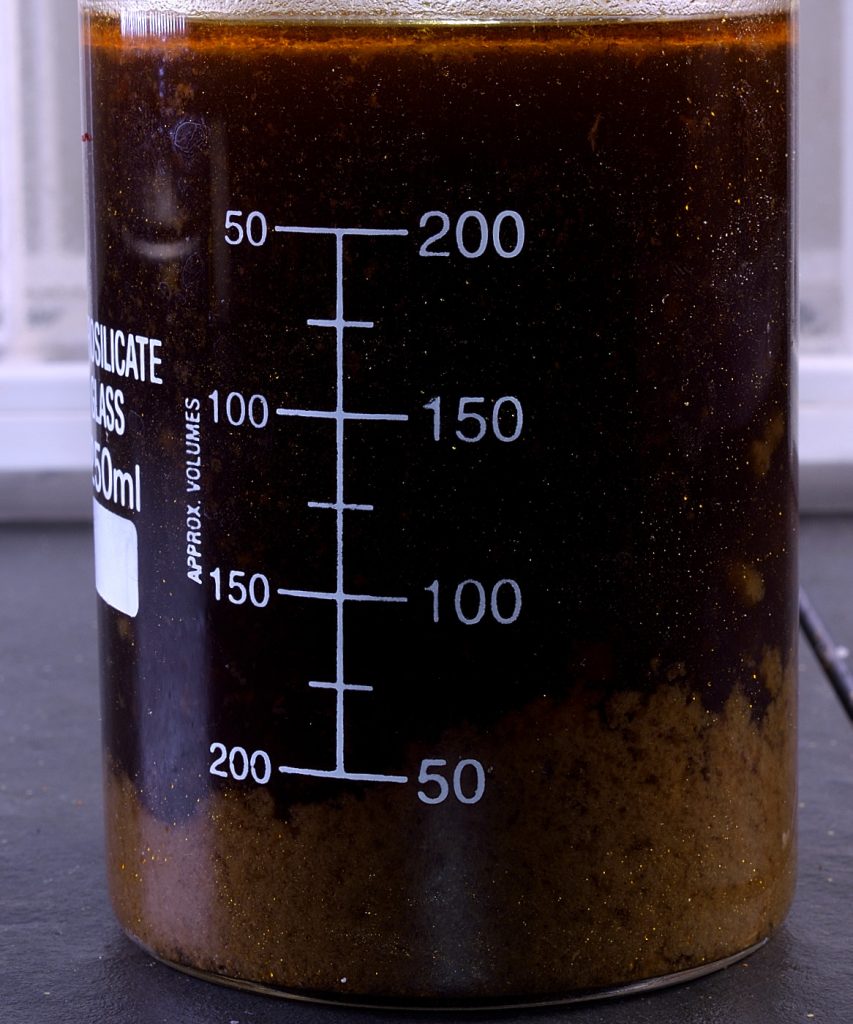
This model created 250 ml/9 oz of purge. It is dark as a result of the Maillard effect that was applied to the roast’s surface in the smoker.
Clarify these juices according to the directions provided HERE.
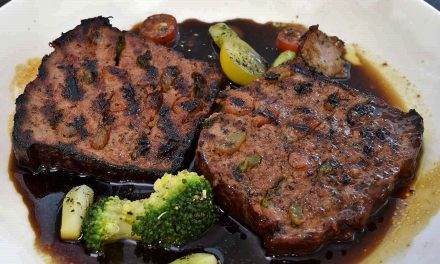
Finish removing the brisket from the package and stage onto parchment or butcher paper. The brisket has been seasoned and smoked but the surface is much too wet to be called “bark.” Returning the brisket to the smoker/oven can be used to revitalize the bark, but doing so may cause the brisket to exceed its target temperature and dry out.
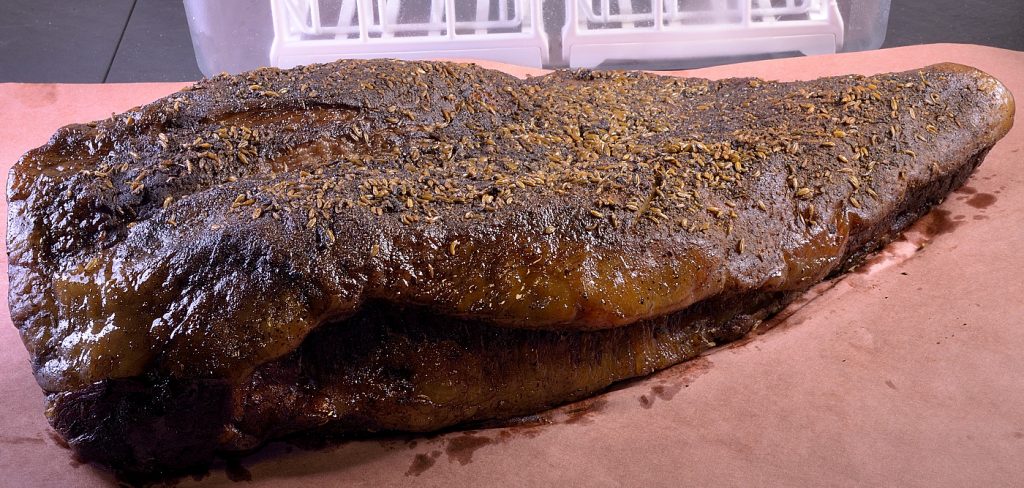
The broiler function of an oven or a propane torch can be used to revitalize the bark. This is a painstaking, time consuming practice and there is a risk of scorching. We tried something new. We staged the “soggy” brisket into the oven set at 145 F/62 C and went about our business for a couple of hours.
As we discussed, sous vide processing will remove a lot of the flavor gained in the smoking process. The purge will be extremely smoky, the meat not so much. You could always shock the brisket cold and then smoke it again, but if you’re going to do that, there isn’t much point in smoking in advance.
Norm King
Visit us in real time on Facebook at SVR–Sous Vide Resources; Low Temperature Pasteurization, Sous-B-Q™, | Facebook
references: