End of Round One
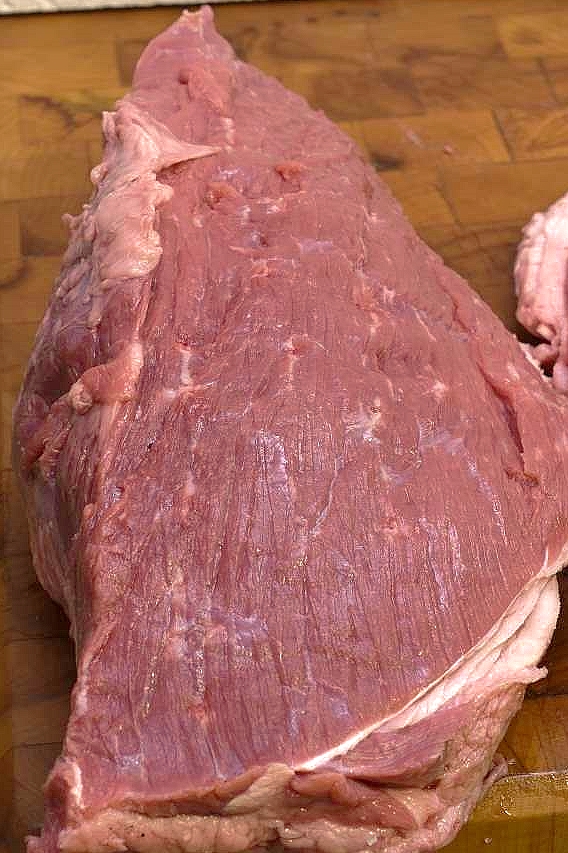
Top round is a weight bearing, hard working muscle from the hind leg of a steer/heifer. That makes it a perfect candidate for sous vide’s unique ability to tenderize by converting collagen to gelatin. After explaining how to break down an entire beef top round HERE, we are working our way through various applications suitable to this particular sub-primal. So far, we have explained how to use the technology to make the infamously misnamed “London Broil,” and also how to create a Smoked, Pulled/Shredded product that should interest sous vide enthusiasts and back yard BBQ aficionados alike.
We also have commentaries explaining how easy and economical it is to break down other sub-primals of beef in our articles on Top Sirloin and New York/Rib eye, and Eye of Round with more coming!
Surface area trade-offs
Sous vide tenderization does not use the object’s weight to calculate the rate of collagen conversion to gelatin. For objects up to approximately 15 lb/7 Kg, the time it takes for the heat to penetrate to the center of the meat is calculated according to shape–the shortest distance from the object’s surface to its geometrical center. That said, this parameter rarely varies more than 2 hours.
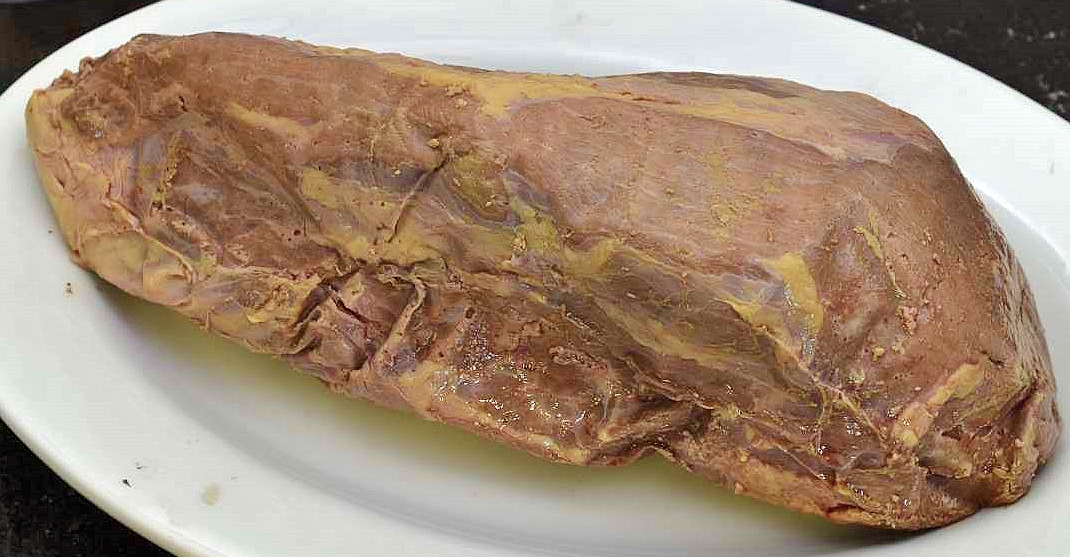
The low temperatures utilized by sous vide processing minimize shrinkage, but the smaller the piece of meat, the more moisture relative to its weight will be lost. In other words, assuming the same temperatures are used over the same interval, a 6 oz/175 g piece of meat will lose a greater percentage of water weight than a 2.2 lb/1 Kg piece of meat. For this reason we are going to use relatively large pieces for the sous vide step. Then, the roast-sized “slab” will be cut into individual portions for searing and service.
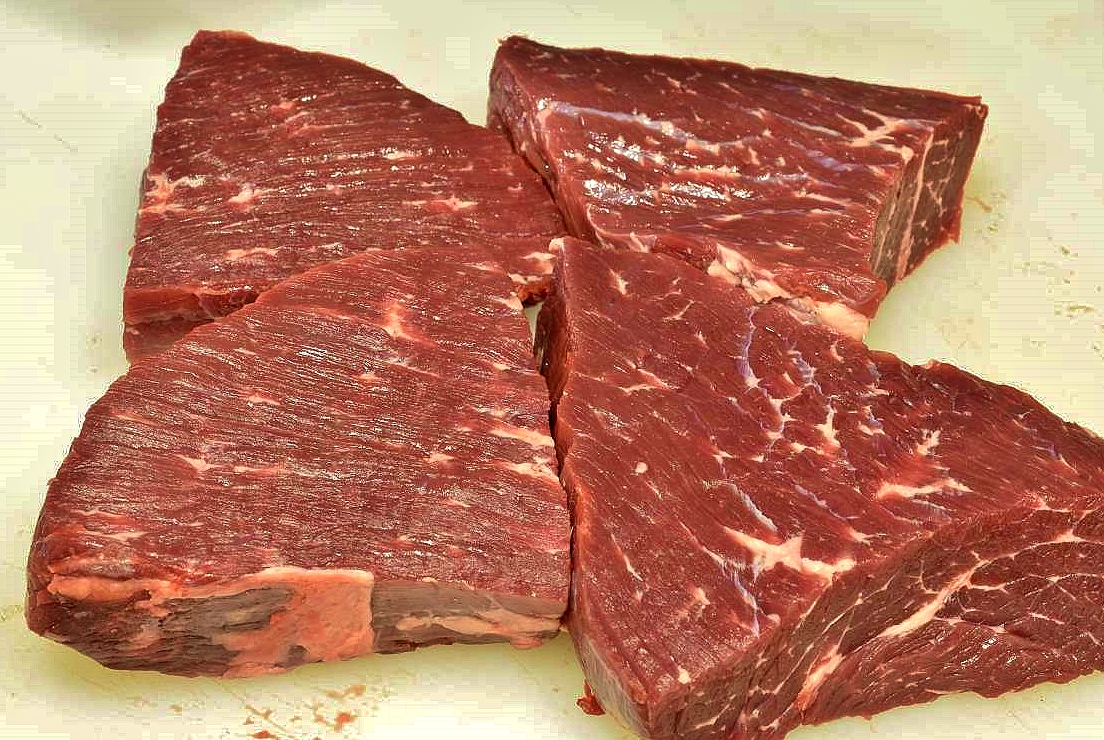
These sections of top round may not precisely resemble the top round/London Broil that you see packaged in the butcher’s case. The reason for this is explained in detail HERE. I purposely cut my “slabs” thicker so that they are better adapted to this recipe model. The fact is, any section of top round/London Broil of 2 lb/1 Kg or more is suitable for this procedure–the thicker the cut, the thicker your steaks will be, and the less percentage of moisture will be lost.
Preheat your sous vide bath to
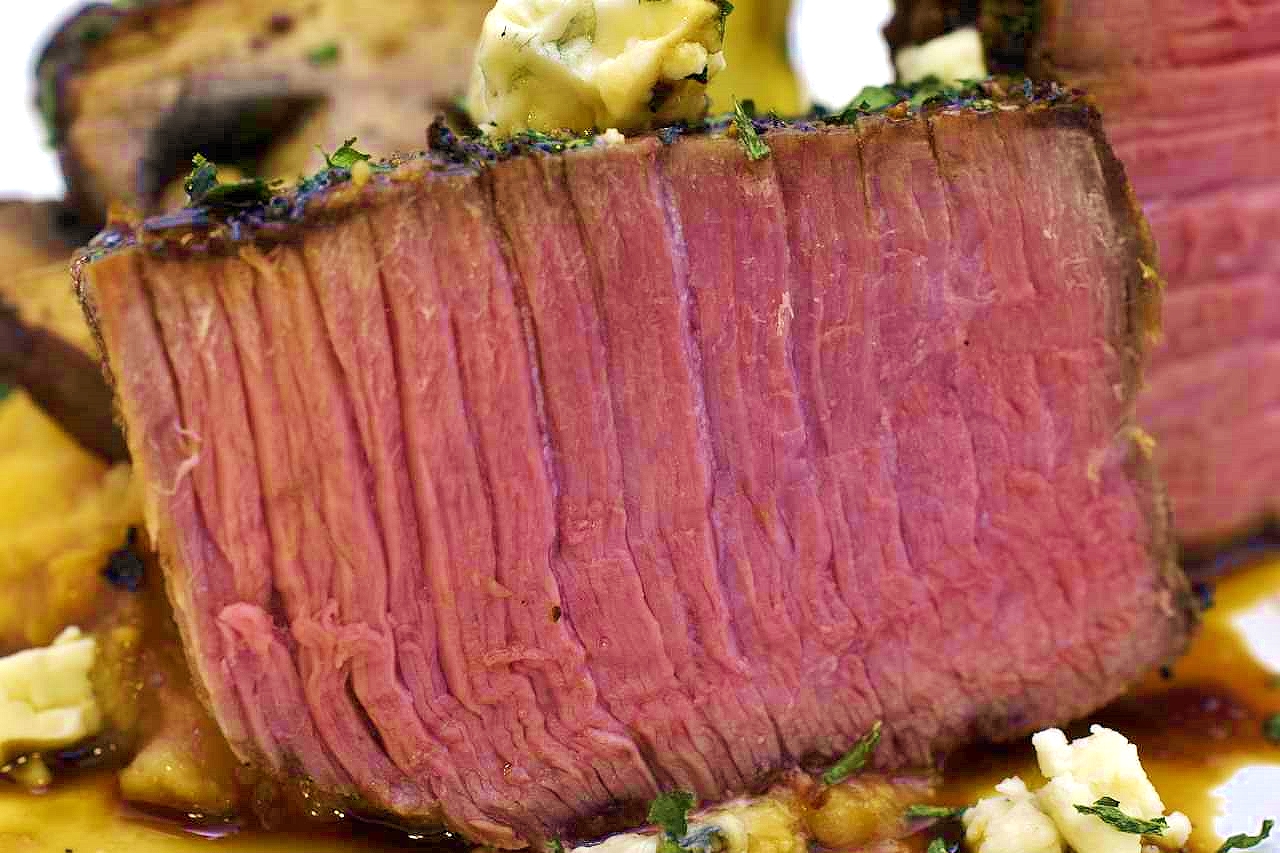
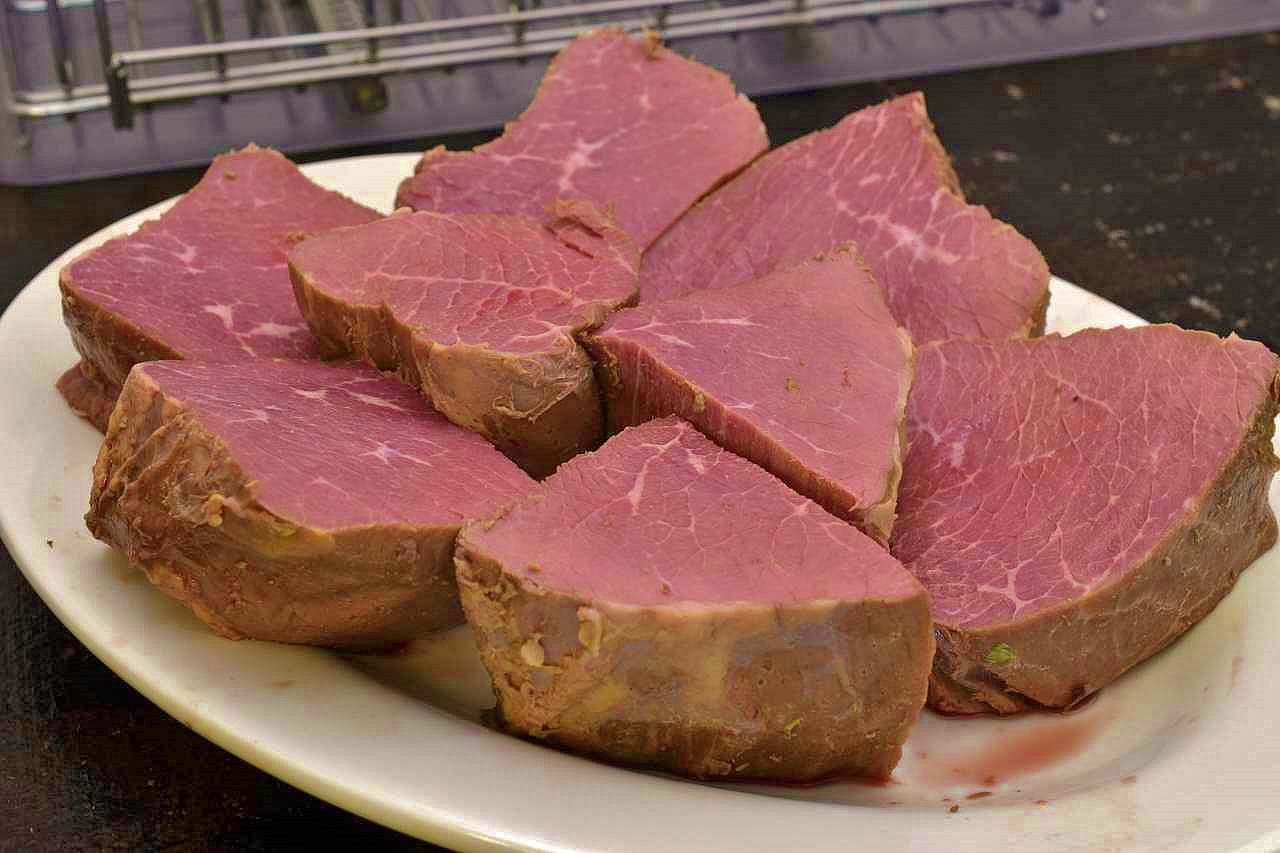
129 F/54 C. This temperature setting will give you a rare/medium rare result. For more detailed information on how to adjust the appearance of doneness for your final result, click the link HERE.
Try a little tenderness
While the processing temperature determines appearance of doneness, time governs tenderness. The higher the temperature applied, the faster the tenderization occurs. Keep in mind that your timer cannot be used to MEASURE tenderness. There may be slight differences from one occasion to the next, even if you are preparing the same cut of meat. The pinch/poke method is the best way to measure tenderness, explained in detail HERE.
If you are anxious to move forward without clicking yet another link (sometimes I forget where I linked from and why I did so), you can use the “old school” method. Simply crack the bag, cut off a piece and take a bite. If the meat is still tough, re-bag it and return it to the bath. Bags usually cost about $0.25 or less…
Note: Top round is tough, which means it is durable. There is no rule that says that the processing must stop after any particular amount of time.
Set your timer to
36 hours.
There is no “moment” before which the roast is tough and after which it is ruined. If your top round is satisfactorily tender at 9 am but you want to serve at 7 pm, just leave the roast in the bath. It’s not going to melt. If desired, reduce the heat to a safe holding pattern at 125 F/52 C but don’t go any lower than that.
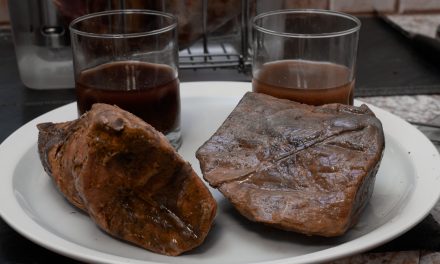
Once the meat is tender, you have a decision to make. If you want to serve immediately, simply harvest the juices, set them aside for later processing, remove the roast from the bag, cut it into appropriate sized pieces, season it, sear it and serve it. Easy peasy, as they say.
Shockingly shocking
The alternative is to cold shock your sealed package to be seared and served at your convenience. Home refrigerators are not designed to nor are they capable of cooling hot foods in a safe amount of time. Putting a warm object in the refrigerator also puts other food in the fridge at risk of heating up and spoiling due to autolysis. This is explained in great detail HERE. Submerge the sealed package in iced water until it achieves 70 F/21 C. Refrigerate at 40 F/4 C.
Cold shocking is highly recommended and very convenient if you are planning ahead. The pasteurized meat will keep at least two weeks in the refrigerator if you don’t crack the seal. You can then cut your steak(s) and “treat as raw,” by which I mean “pretend that sous vide never existed and grill your steak as if it was inherently tender.” Mouth hot is about 125 F/52 C. Probe thermometers are accurate and a great investment in safety and comfort.
With rare exception, I advocate seasoning sous vide products AFTER processing. Even though salt (and only salt) can penetrate the surface of meat in the sous vide environment, seasoning the bag can create unexpected changes in the flavor and texture of proteins. Nobody ever said my steaks and roasts weren’t salty enough.
Cut your steak(s) into the desired sizes (and shapes, again, dependent on the shape of your roast). Season as desired–it can be as simple as sprinkling with kosher salt in the amount of no more than 2 teaspoons/450 g of meat and pepper as preferred, or you can click HERE to see the method we developed specifically for sous vide processed foods.
At your service
Most kitchen ovens now have “warming” settings. I recommend using them to heat plates and also to stage meal components while you bring it all together. This avoids the frantic, rush to service cluster panic that you see exaggeratedly depicted in reality tv shows.
The greatest chefs, truly the GREATEST chefs, and I have worked with a few, exude an extraordinary zen-like calm. They plan rather than scurry. Hot plates and a warming oven can conceal or even eradicate a variety of other potential inefficiencies.
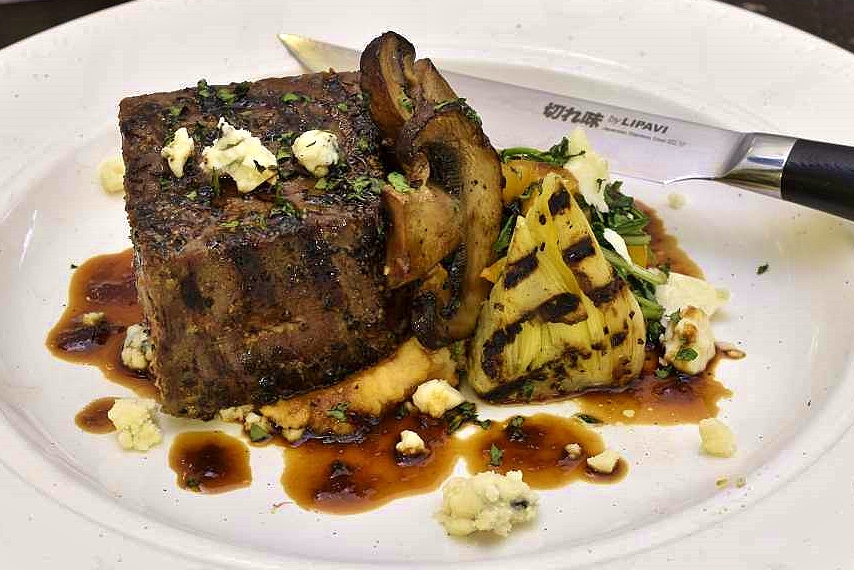
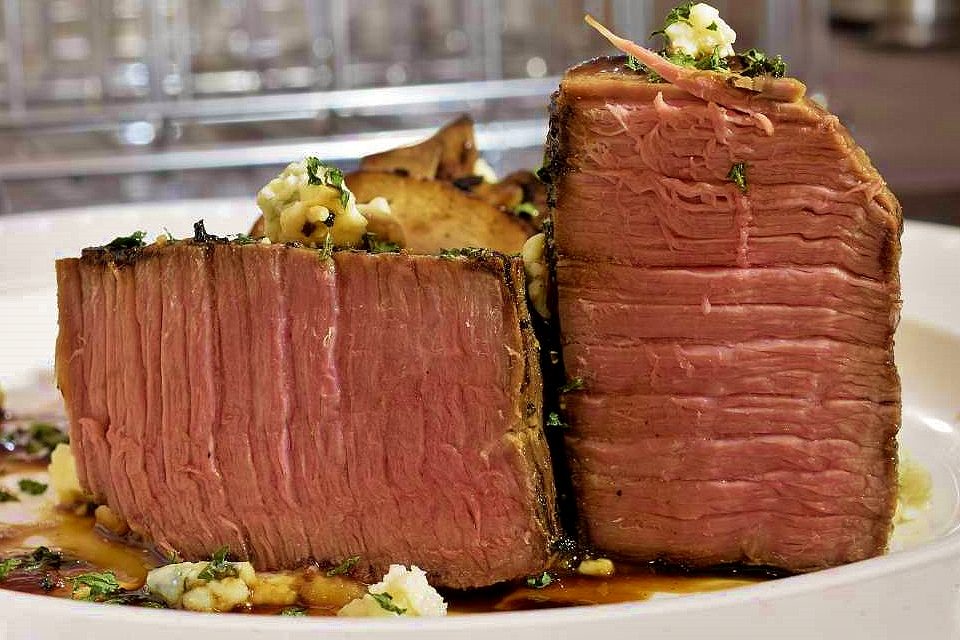
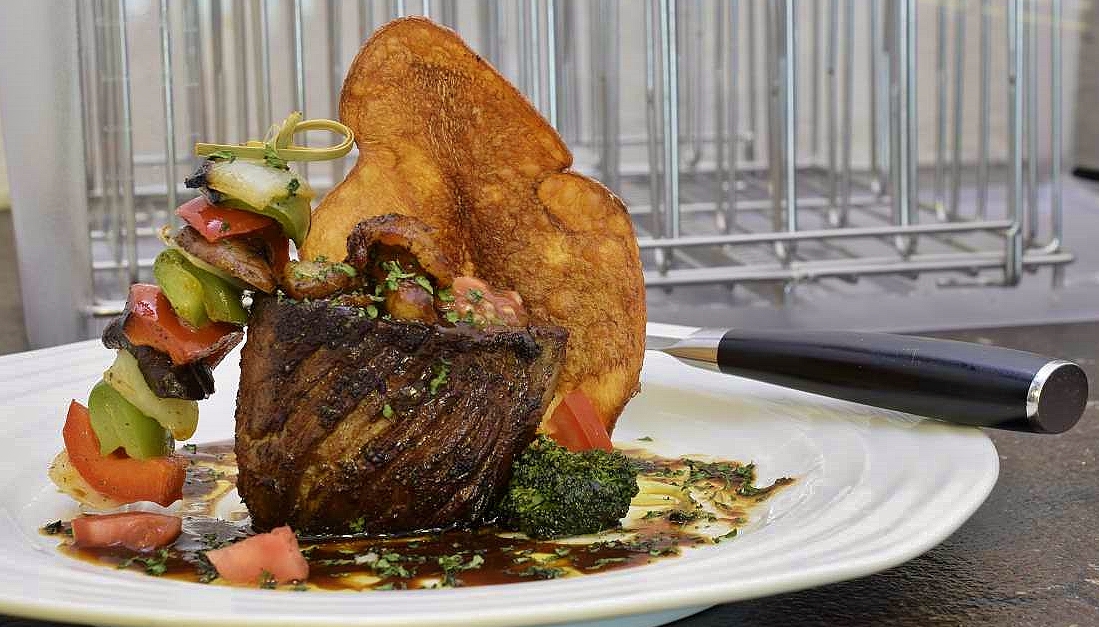
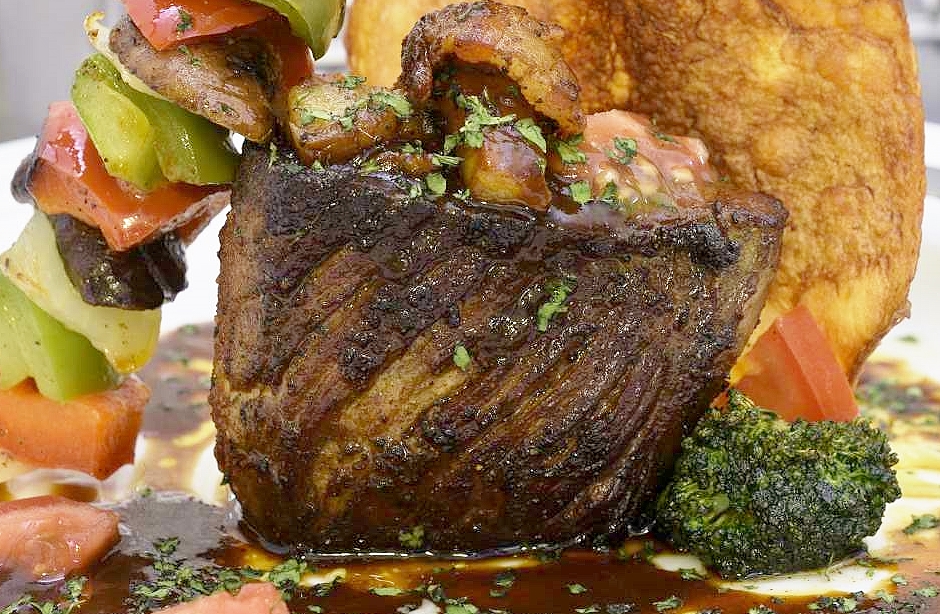
Assemble ALL of the other components of your presentation before you move on to the searing stage. In the picture above, we used CELERY HEART and a reduced brown stock that we explain HERE.

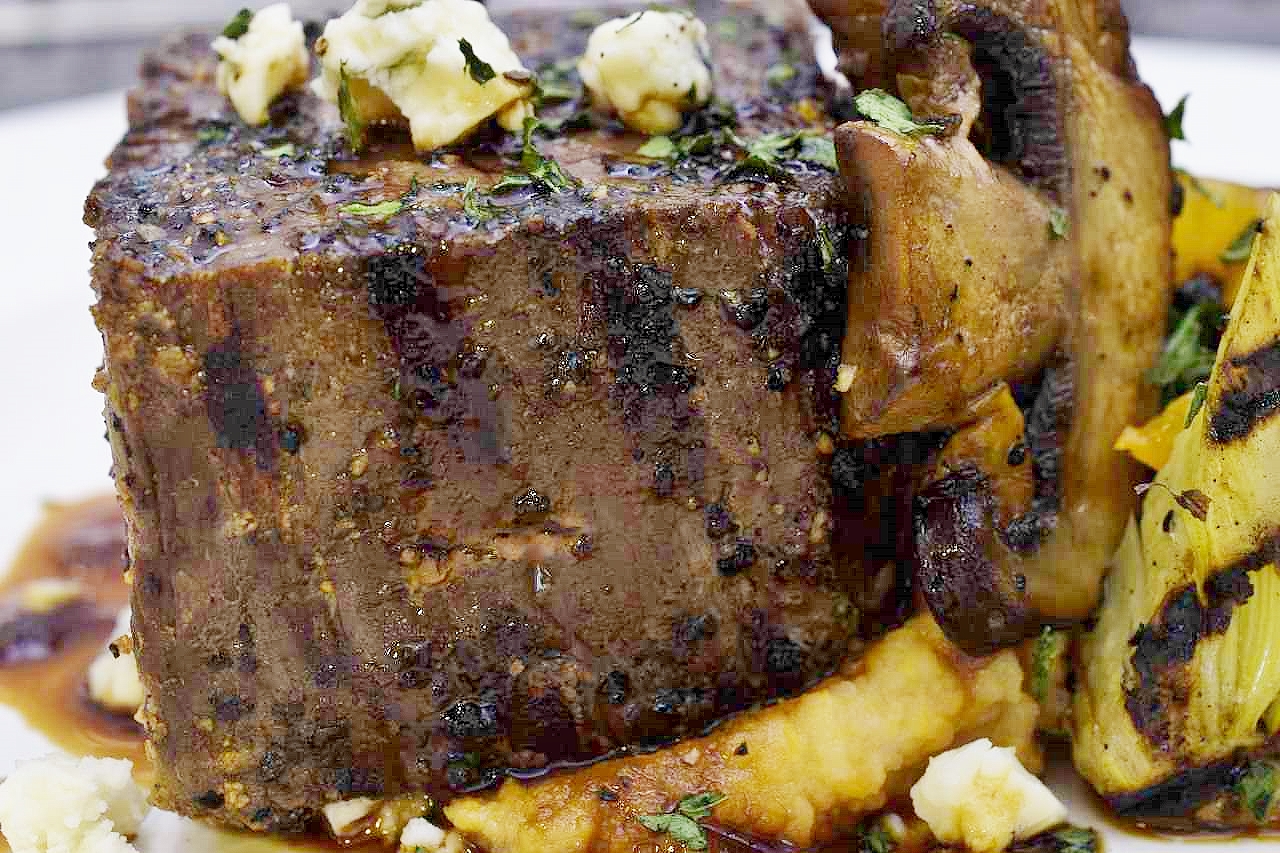
Beyond that, simplicity always reigns supreme. Mashed potatoes, bitter greens (arugula) with EVOO, salt and pepper, just a few sauteed mushrooms and a little blue cheese.
Preheat a thick bottomed pan (I use cast iron with grates), or an outdoor high temperature BBQ device. People go crazy with the surface temperature but I find 450 F/230 C to be more than sufficient. Dip a paper towel in oil and rub the cooking surface to prevent sticking.
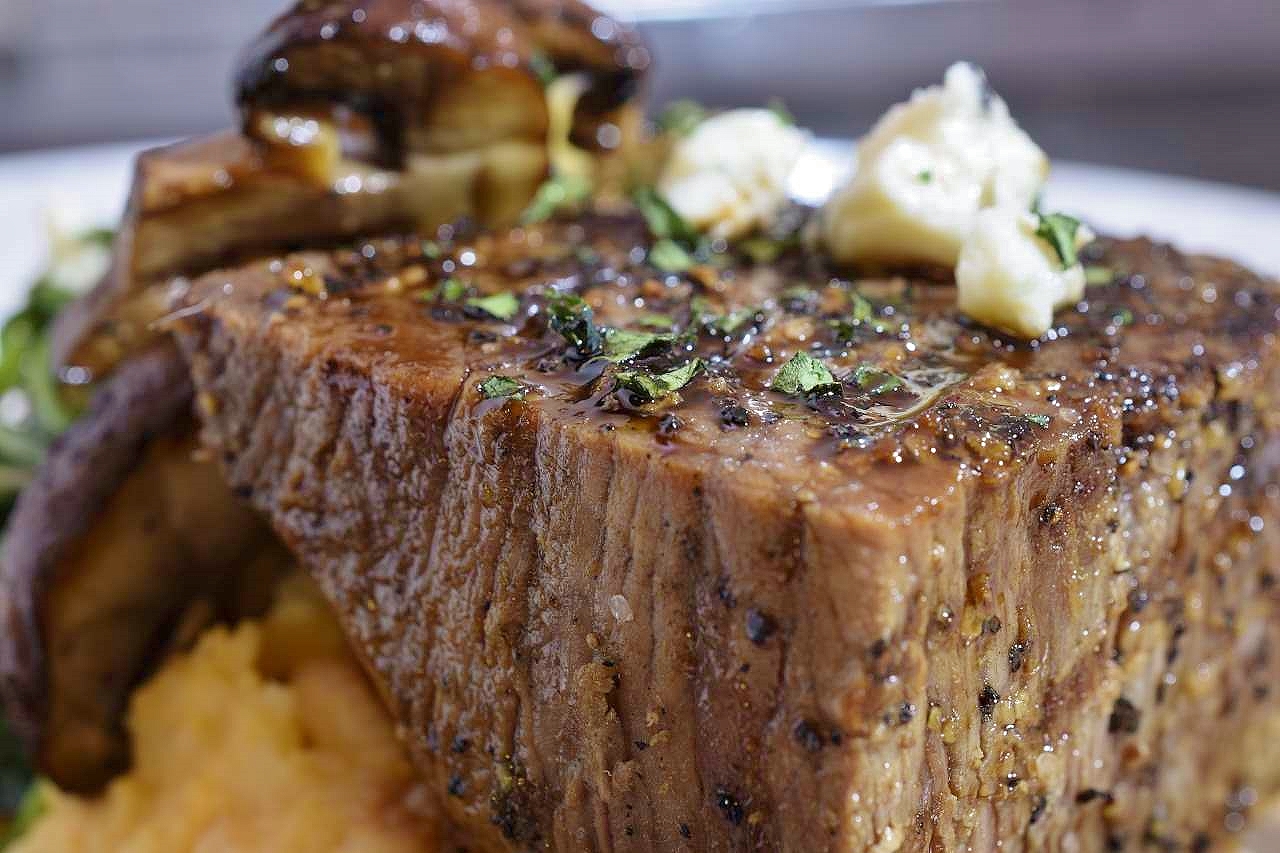
Sear the steaks to the desired appearance and internal temperature–if they are thick enough, sear the sides too. After searing, the steaks can be staged into the warming oven for at least 20 minutes without overcooking.
This gives us time to take a breath, put the dog out or let him/her in, and maybe even take a sip of wine or Perrier.
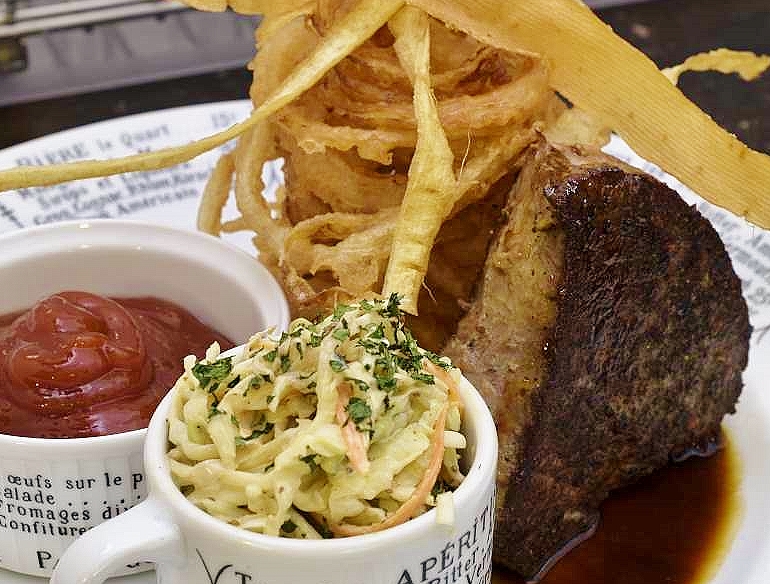
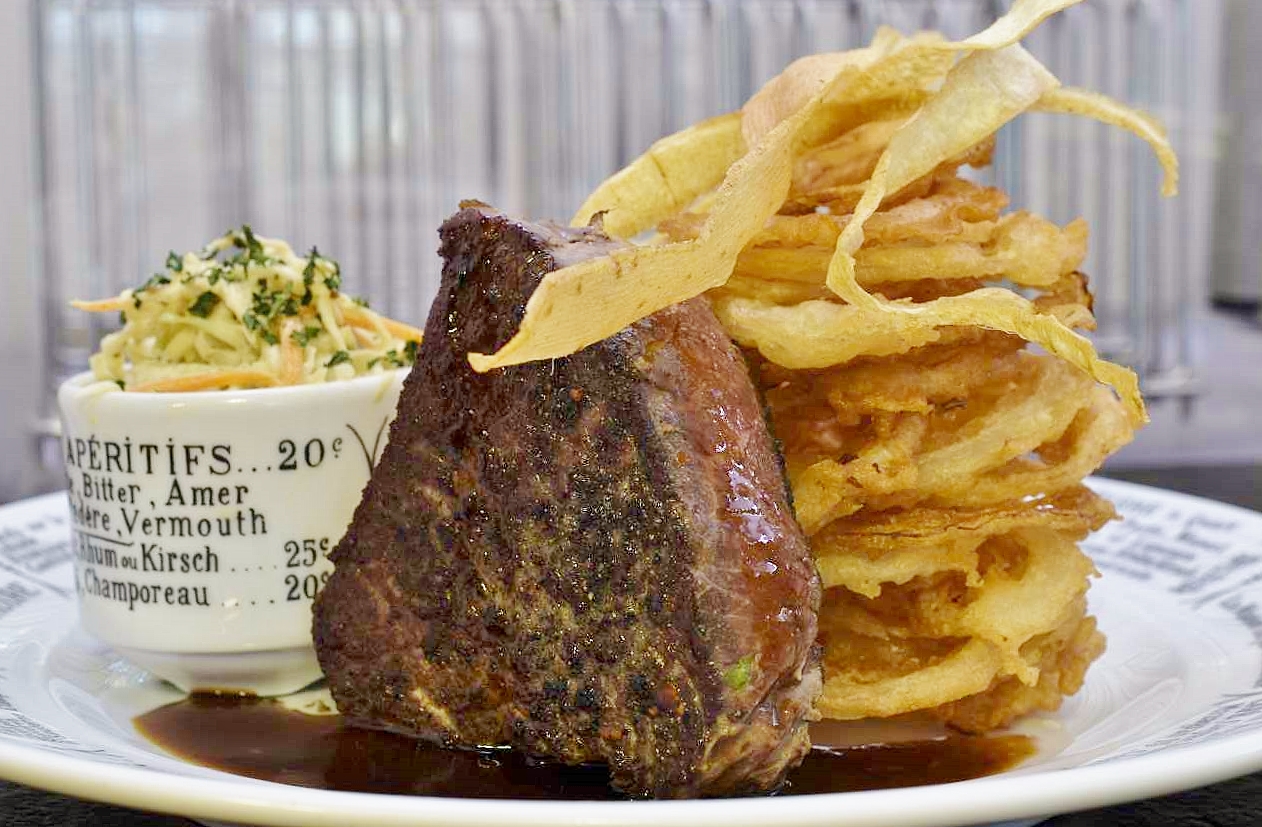
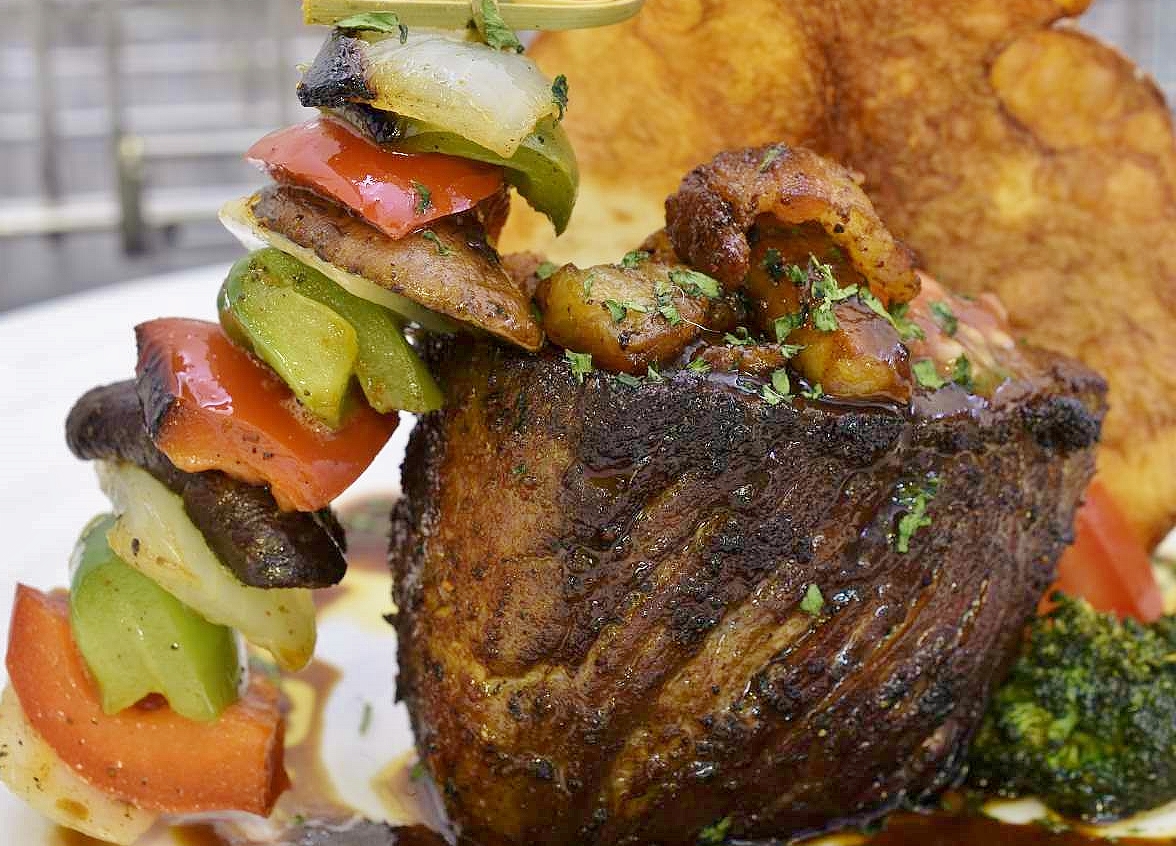
No presentation is too humble, no list of ingredients too old fashioned. If you like coleslaw, serve coleslaw with your steak. Yes, that’s ketchup on the left. The same people that look down their noses at “ketchup eaters” are the ones that line their tables with Red Boat fish sauce and every other foreign condiment available.

Onion rings, another bowling alley guilty pleasure. You can search the web for tempura batter recipes, or you can just buy the mix at the store and follow the directions. That’s what chefs do. The onions can be sliced on a mechanical slicer or a mandolin–watch your fingers. Focus.

