Pick a cool and breezy chicken breast and drive to Buffalo
It’s not an experiment. It’s an effort.
Sous vide creates a lot of recipe interchangeability. As many sous vide recipes as exist for boneless chicken breasts (skin on or off), they can really all start the same way:
- Preheat your sous vide bath to at least 135 F/58 C, but not greater than 140 F/60 C. Higher temperatures are safe but cause increased moisture loss.
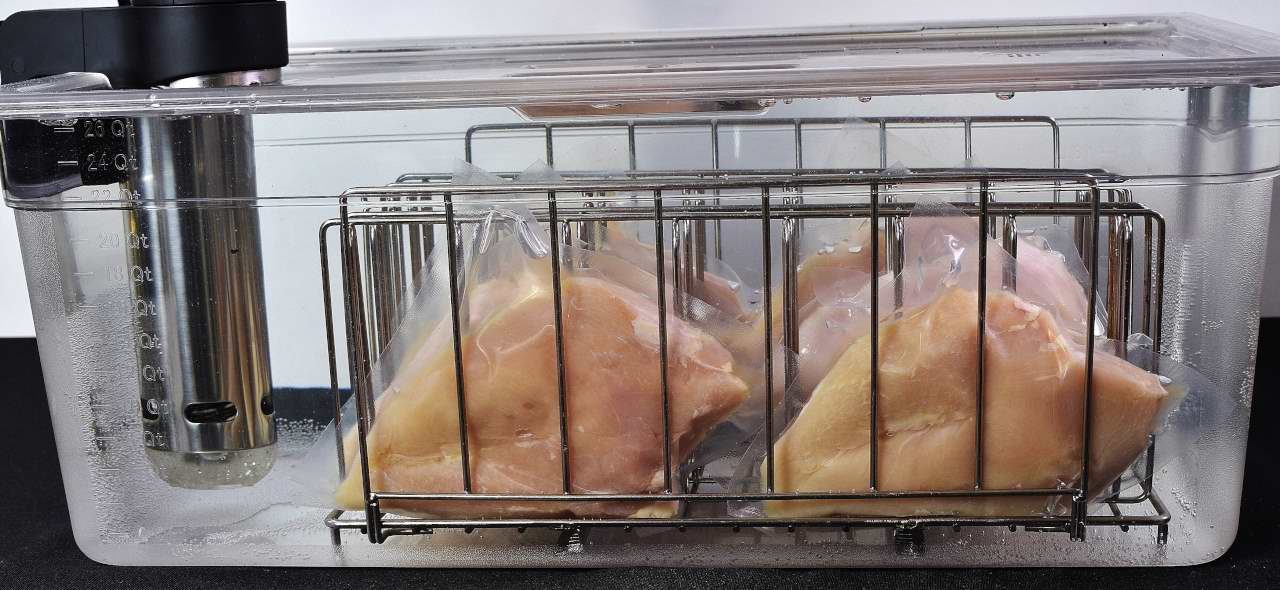
- Vacuum seal your chicken breasts individually in heat rated plastic bags.
- Stage the pouches into the bath using racks to prevent them from coming in contact with each other.
- Process for a minimum of 4 hours, up to 8 hours as per your convenience.
- Longer intervals are safe, but will result in greater moisture loss.
- Remove the pouches from the bath, shock in iced water to 70 F/21 C.
- Refrigerate the sealed packages at 40 F/4 C.
- The chicken is now pasteurized.
- The sealed packages can be safely refrigerated in this state for up to two weeks.
Go time next time
Once the initial processing has been achieved, chicken breasts can be finished in any number of conventional ways: sauteed, smoked, barbecued, broiled, roasted, deep fried, etc. I grow weary of elaborating this initial procedure in every recipe, but there is always a chance that the reader has just encountered sous vide for the first time. For their sake, we must always start at ground zero. Someday we may be able to say “The eagle has landed,” but not yet.
Sous-B-Q Simplicity
- Sous-b-q recipes integrate sous vide processing with outdoor, “backyard” smoking. This method utilizes anything from a classic beat-up Weber (with a lid) to a state of the art pellet grill and above.
- Sous-b-q recipes are almost all protein interchangeable.
- The temperatures used are always “low and slow” because experienced pitmasters have proven that imparting smoke flavoring to proteins is most effective UNDER 225 F/107 C.
- Just like sous vide, the higher the temperature utilized, the greater the loss of moisture.
- Just like sous vide, sous-b-q processing intervals vary according to the bulk/thickness of the particular protein being used. Safe sous-b-q processing requires the acquisition of at least 125+ F/52+, which, for example, can take anywhere from 1 hour for chicken breasts to 4 hours for beef briskets. For the sake of food safety, always use a probe thermometer to confirm your suspicions.
- Just like sous vide, the longer the interval, the greater the loss of moisture.
- Because of the surface treatment seasoning models prescribed, excellent results can be achieved in the safety and comfort of your own kitchen oven set at 225 F/107 C. The process is usually accelerated if you use a conventional oven. A CLEAN probe thermometer should always be used to measure internal temperature, no matter HOW you are finishing your sous-b-q processing. Time cannot be used to measure doneness.
Let’s do some.
Today’s commentary utilizes an umami-rich rub that we are calling NORIDASHITAKI, linked HERE. You may use a proprietary rub off of the shelf in the store, or you can create your own. No matter which rub you use, we recommend you apply it as explained in detail HERE. Rather than send you linking around the site, you can refer to the following sequence:
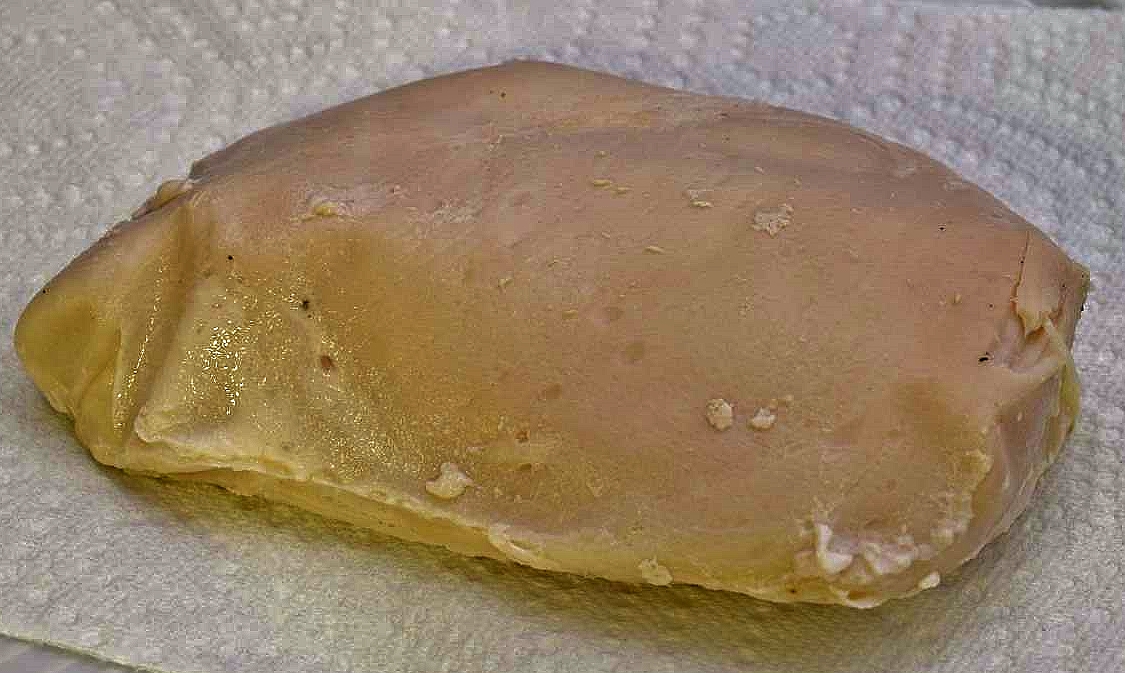
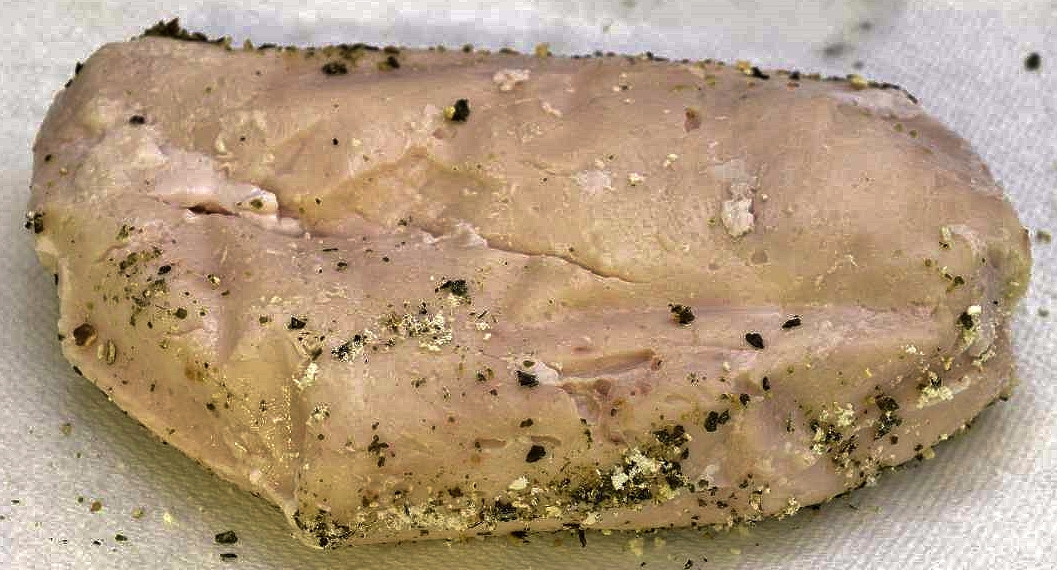
Remove the chicken breast from the bag and pat dry. Place on a paper towel.

Sprinkle with powdered egg white, or use a pastry brush to apply beaten fresh egg white. I like the powdered stuff–very convenient, not expensive.
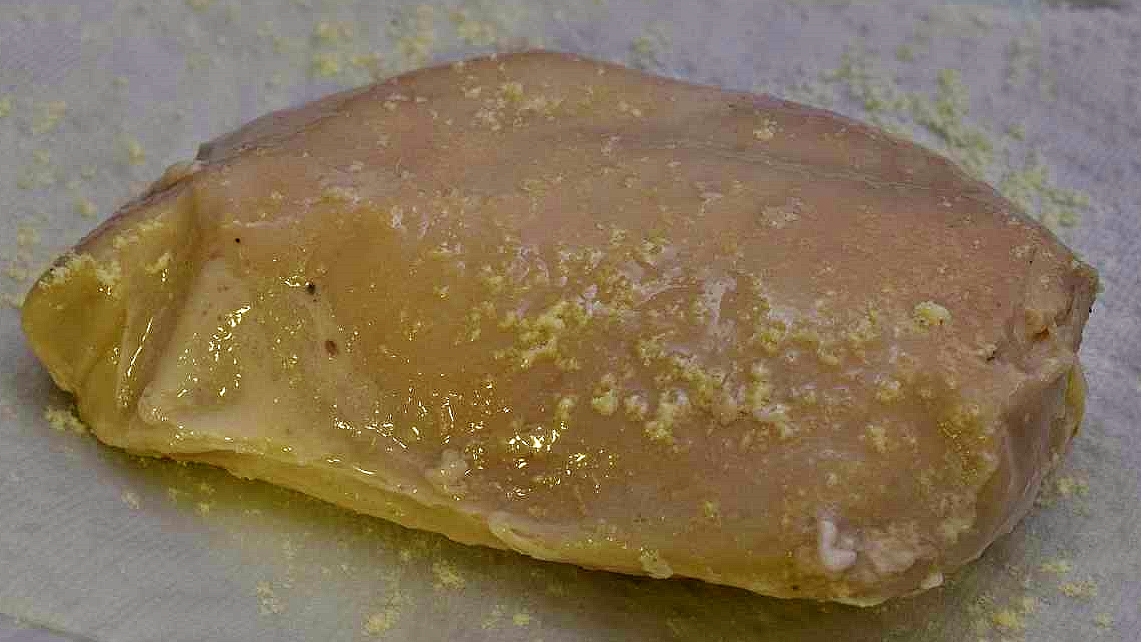
Use a spray bottle to mist with a little water to reconstitute the egg white–not necessary if you use fresh.
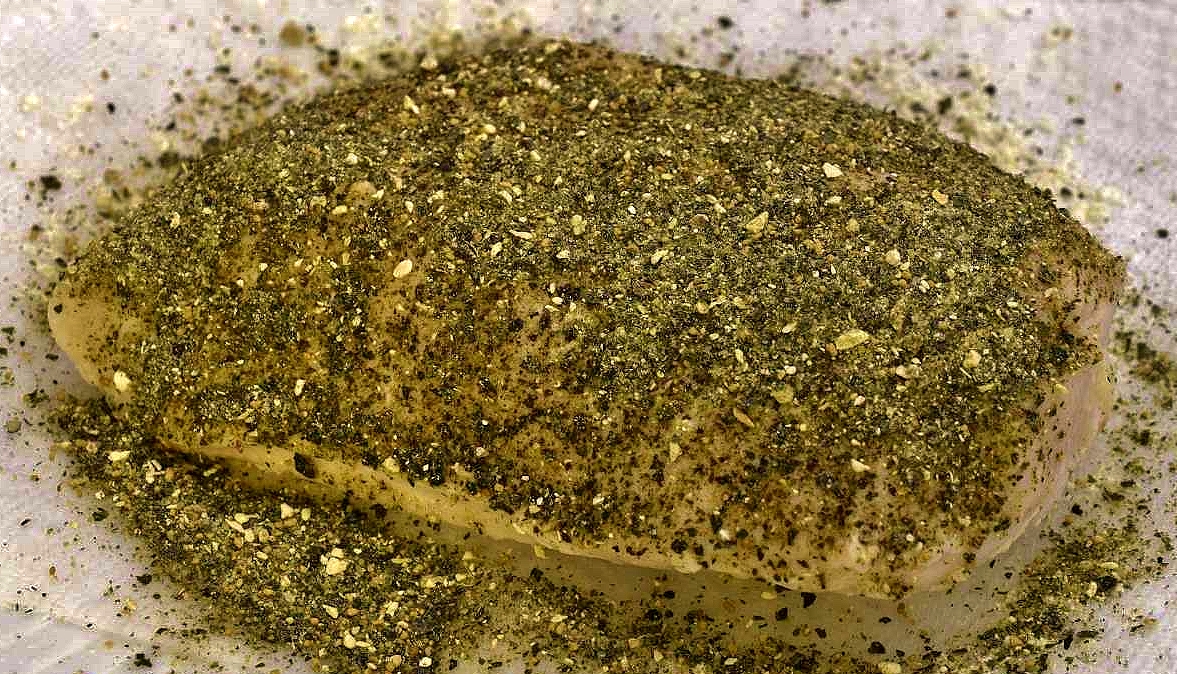
Sprinkle with the seasoning.
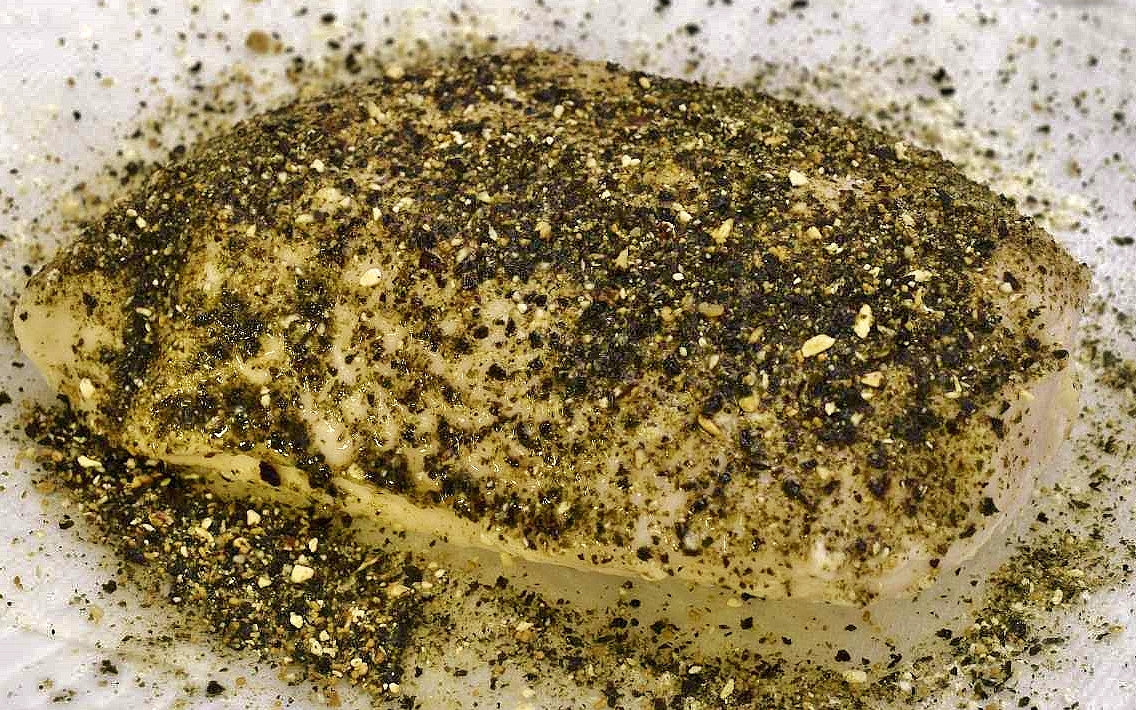
Mist lightly with the spray bottle again if desired–I do this with this rub because there are dried mushrooms and nori in it. Up to you.
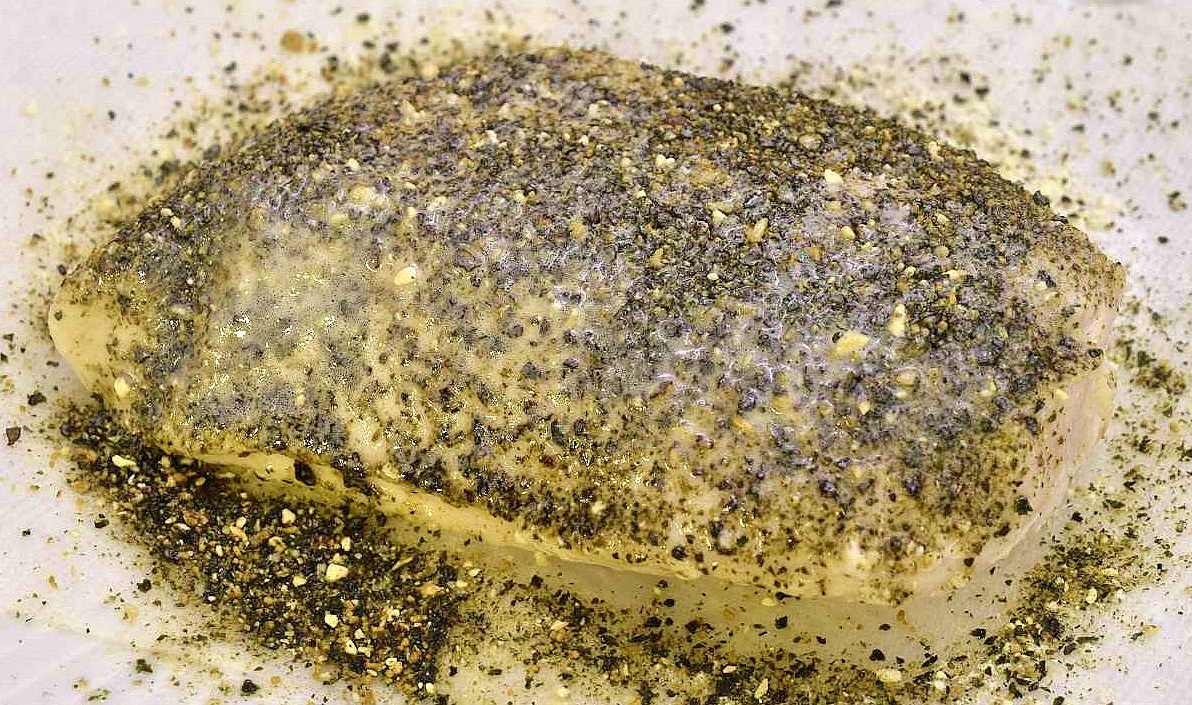
Spray ever so lightly with aerosol spray/PAM or drizzle with a few drops of oil to protect the chicken from the dry heat in the smoker.
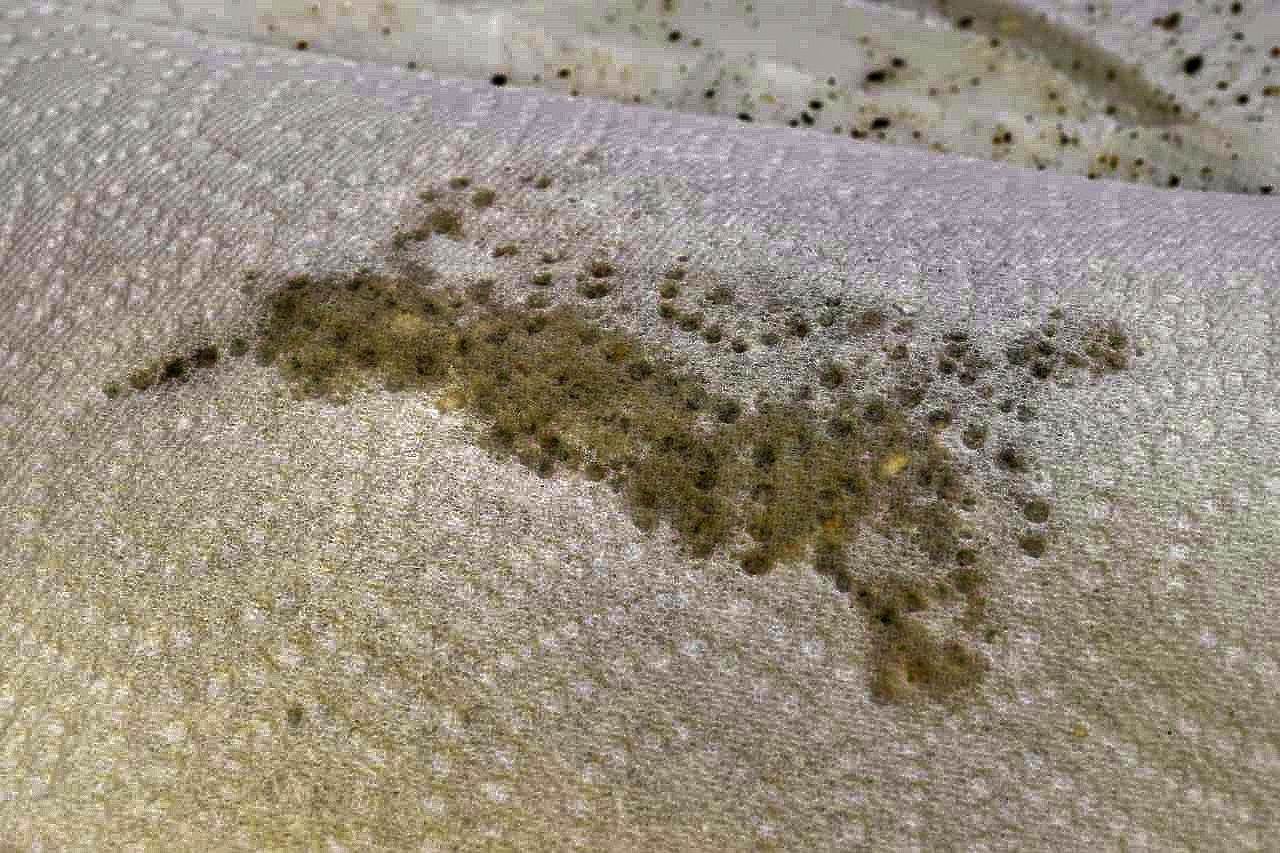
Put a paper towel on top and flip over.
Remove the paper towel on top. Repeat the process.
NOTE: In restaurants, or even if you are mass producing at home, the breasts can be tossed in the rub after applying the egg whites–that just means you have to have a LOT of rub on hand. It gets a little clumpy, so you screen it after you use it, unless you forget, etc. For most of us, the one by one method is sufficient.
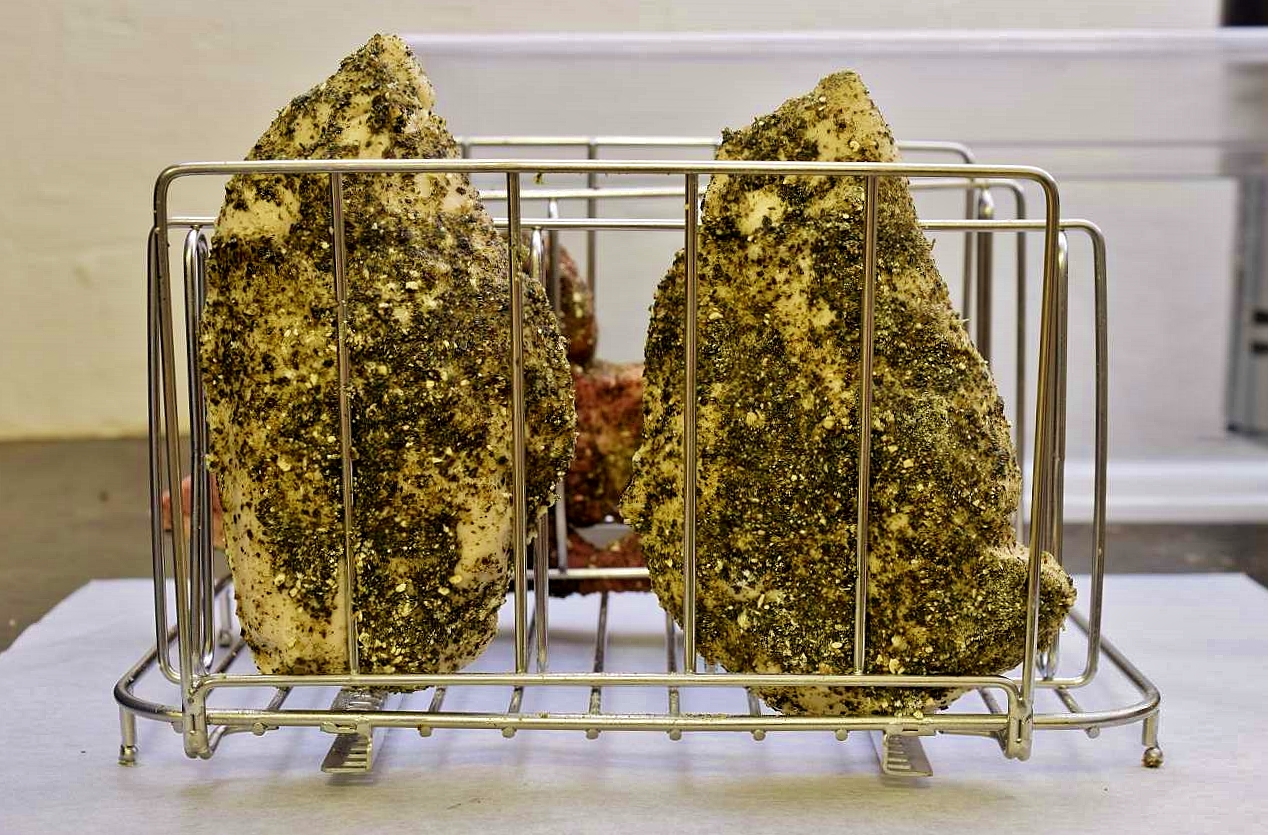
I use Lipavi sous vide racks because they are water proof, heat proof, pretty much everything proof.
I use a cold start in my pellet grill so that I can avoid exposure to all that toxic gas–I load the drum, close the door, press the button and run. Modern technology wins this round.
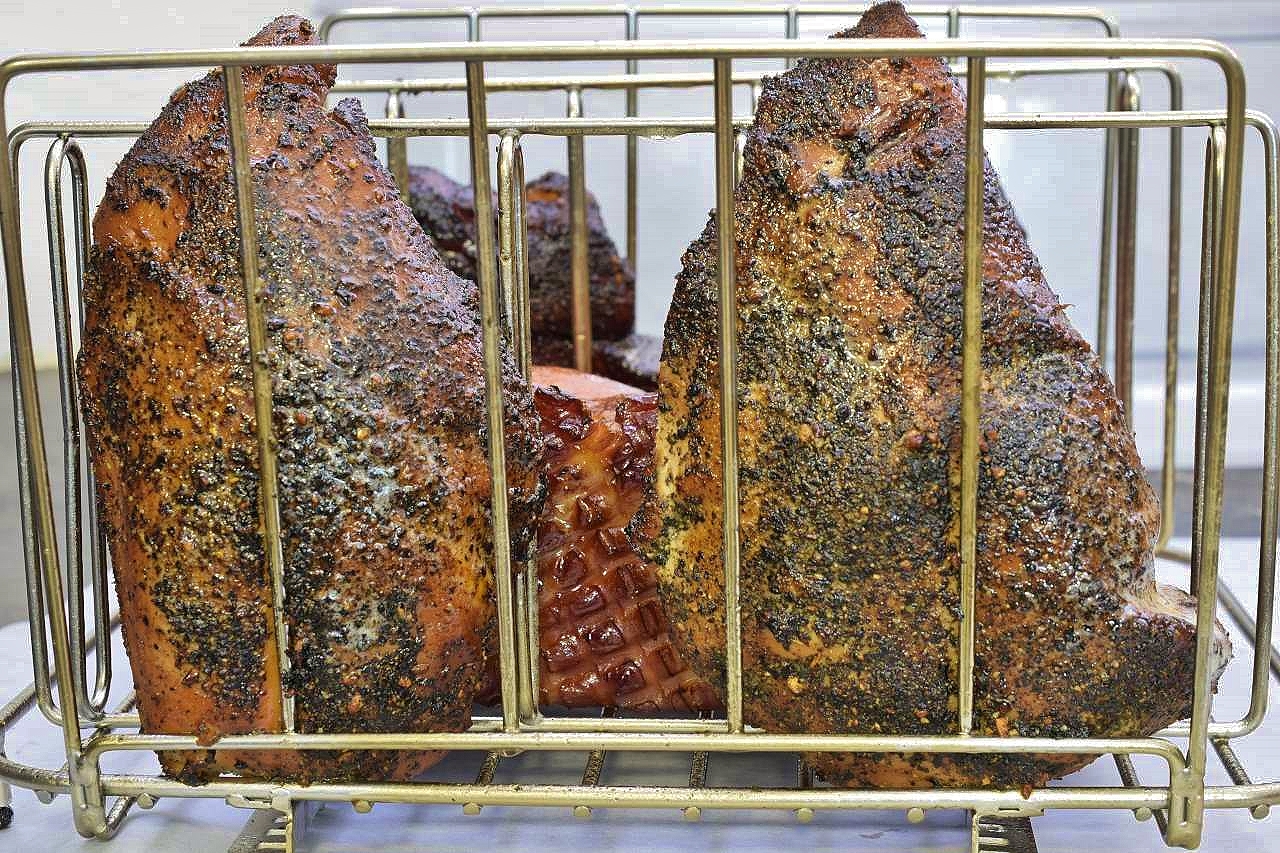
Four hours later
Oh, what a feeling. The chicken is ready to be served. Lots of things you can do.
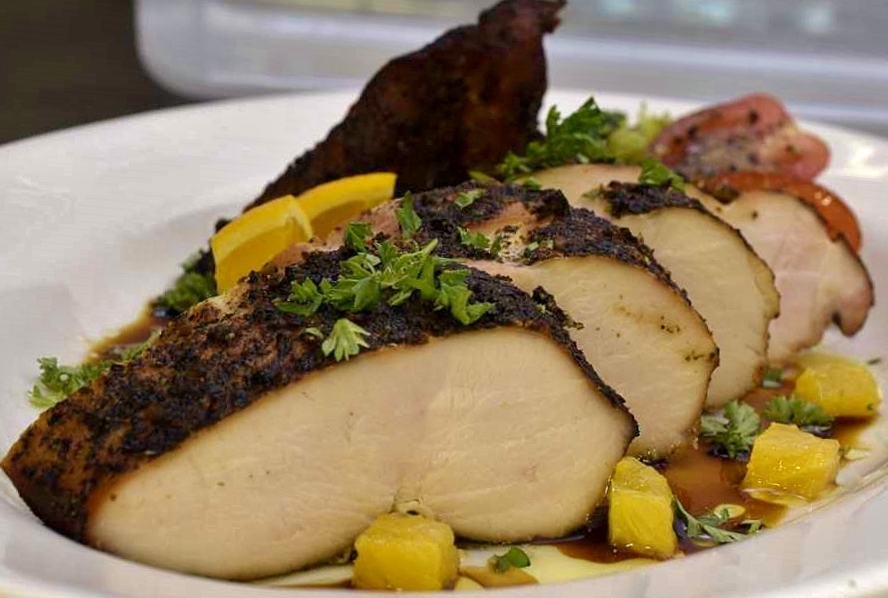
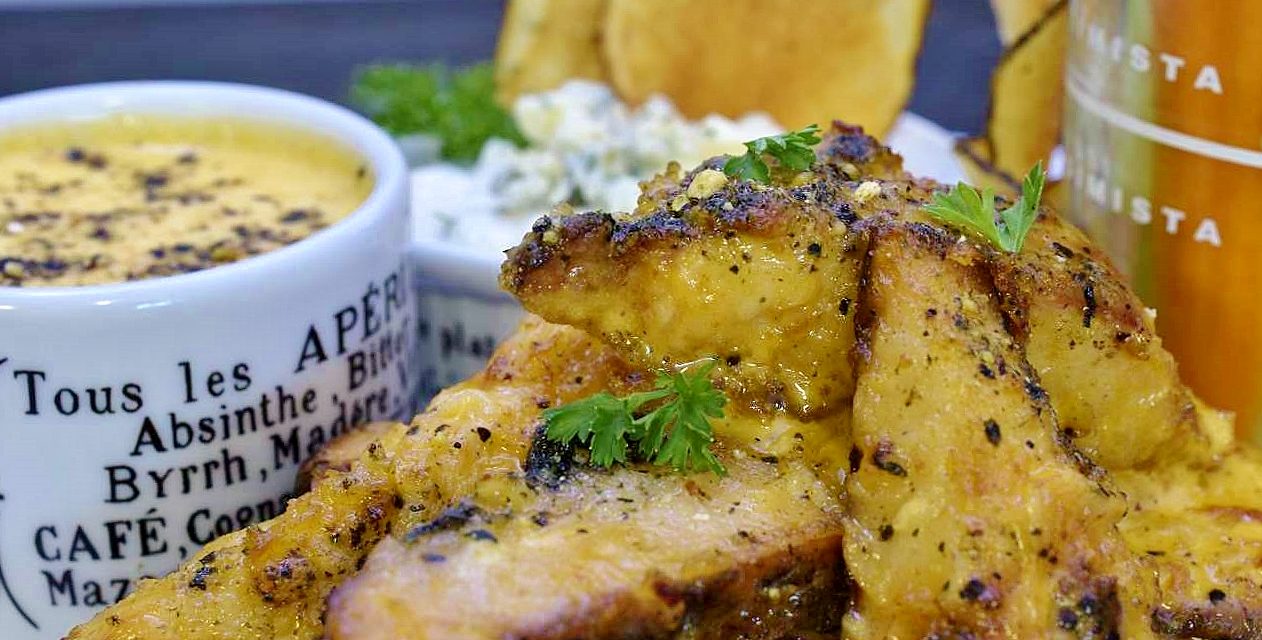
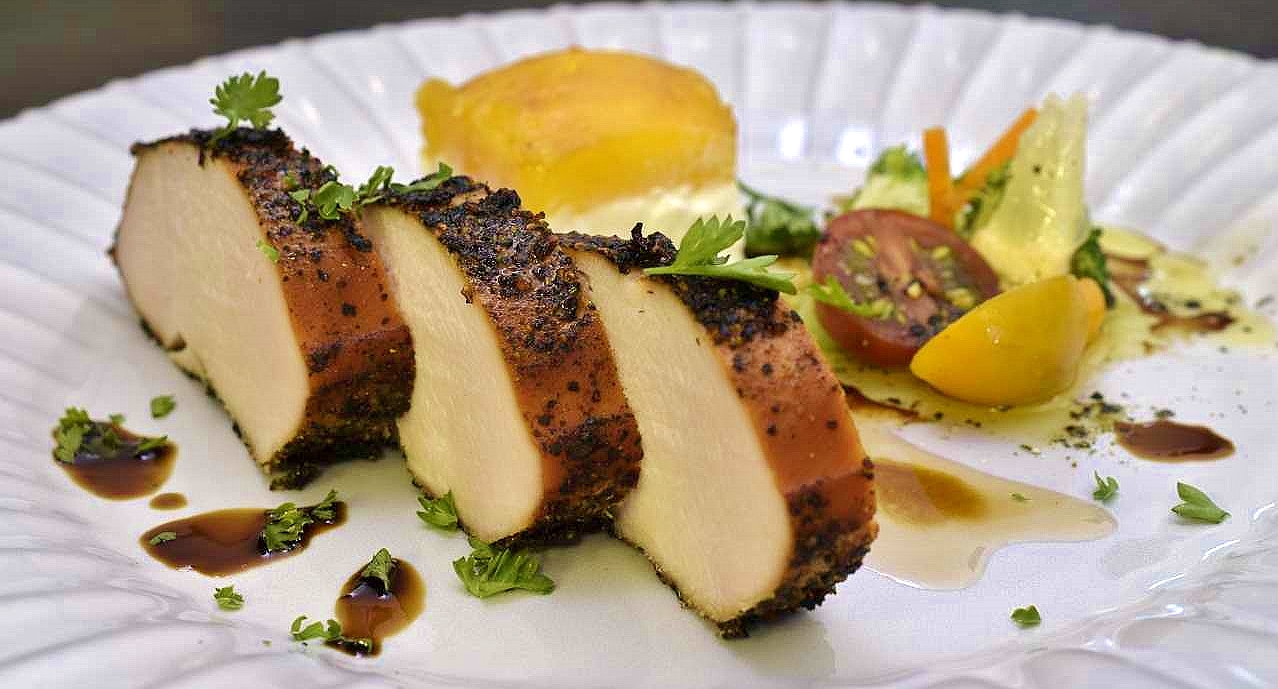
Slice thick, put it on a plate with a little this and that, oranges, EVOO, Balsamic, DEMI.
The spa treatment, still very simple.
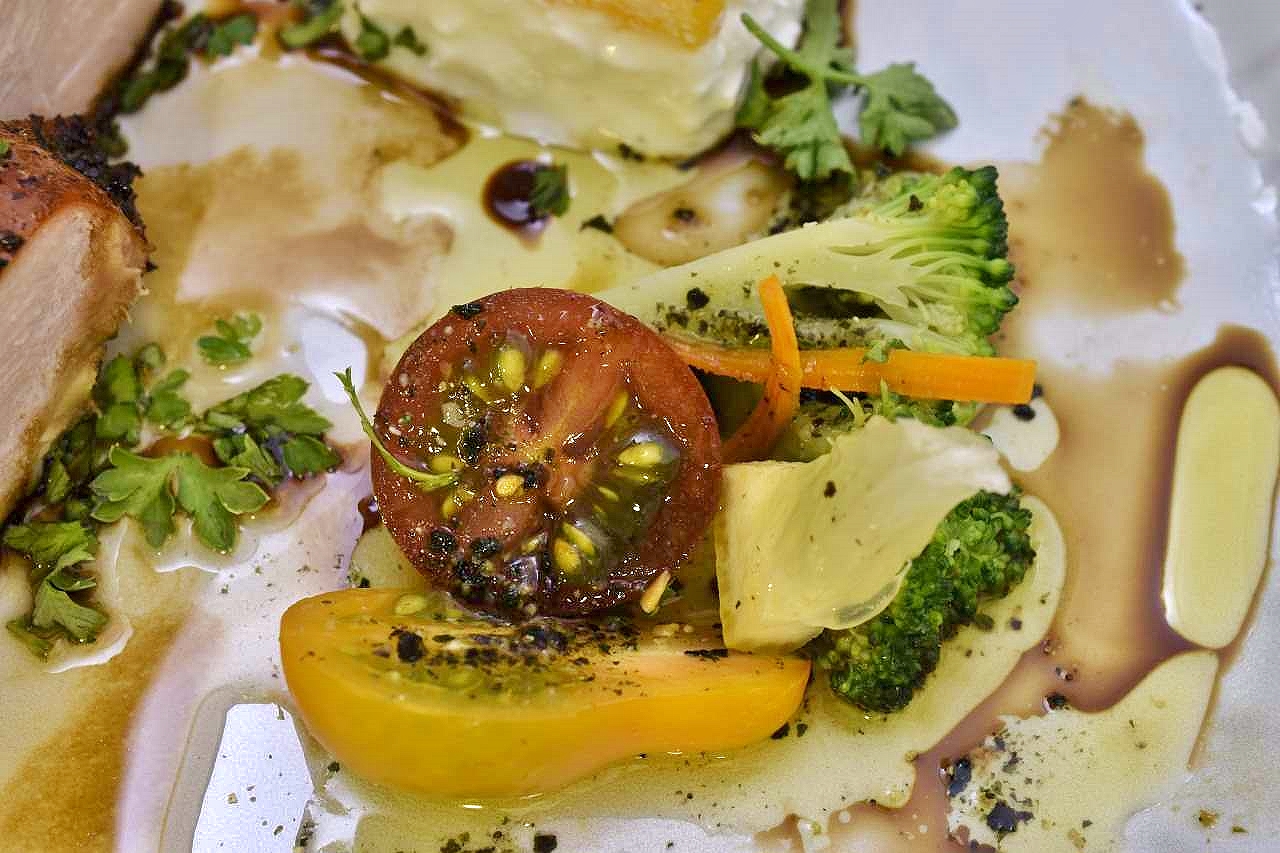
Peaches, cottage cheese, cherry tomatoes, broccoli.
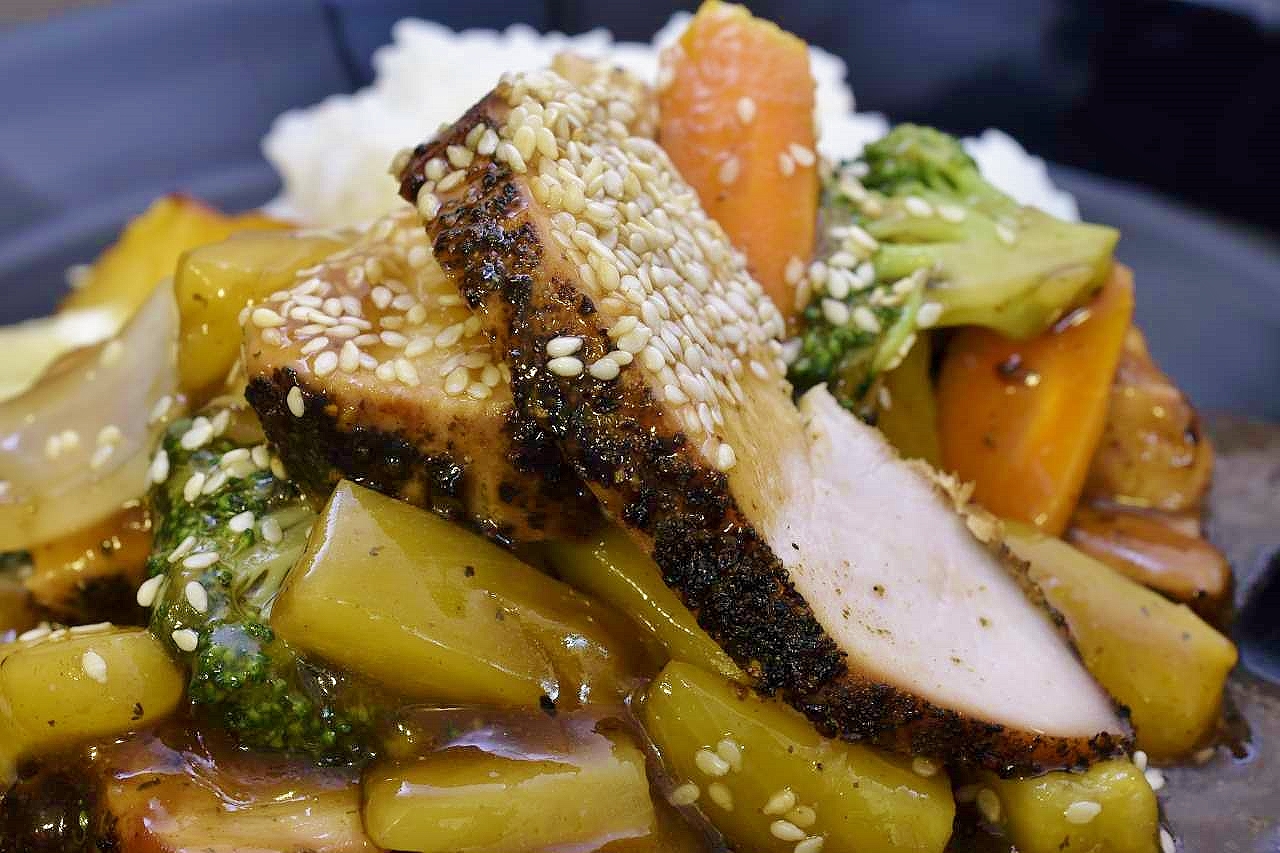
The stir fry model with market shelf teriyaki sauce, or your own version thereof.
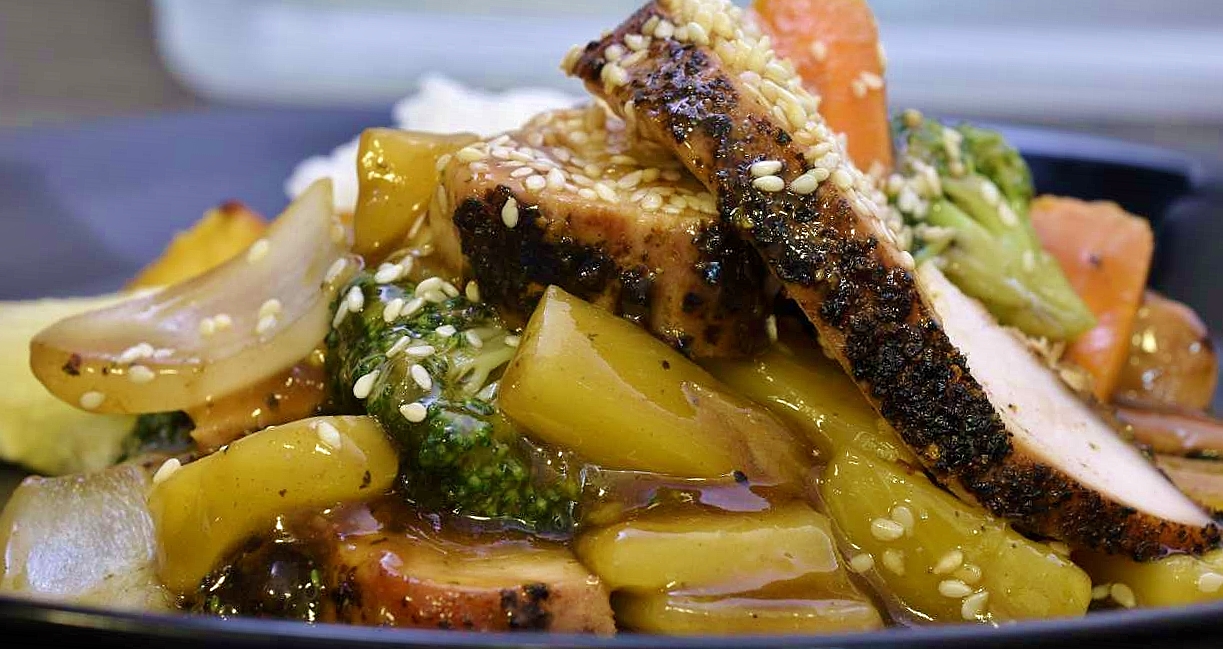
Broccoli, onions, carrots, pineapple, sesame…

This should only spark our imagination.
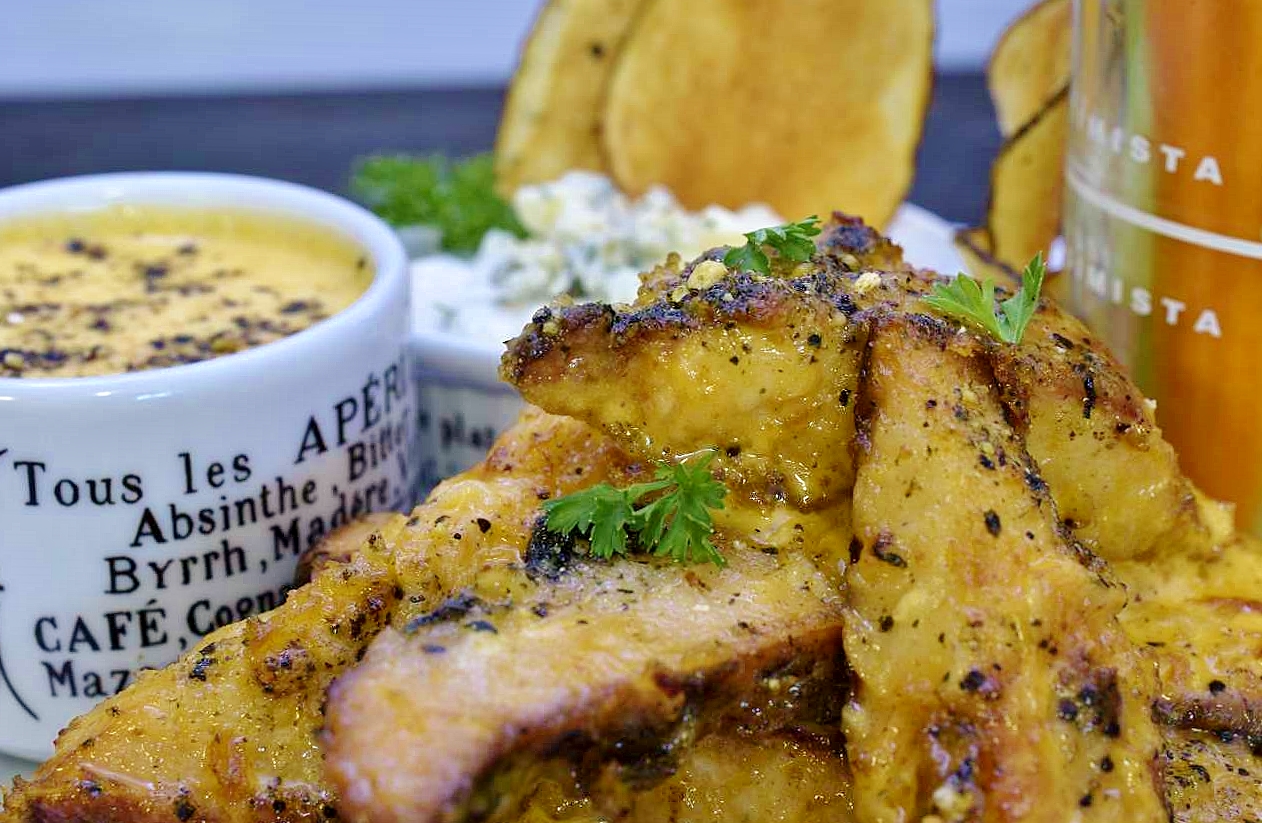
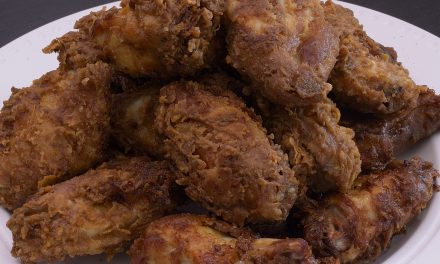
Buffalo don’t have breasts, but they don’t have wings either–nobody seems to mind
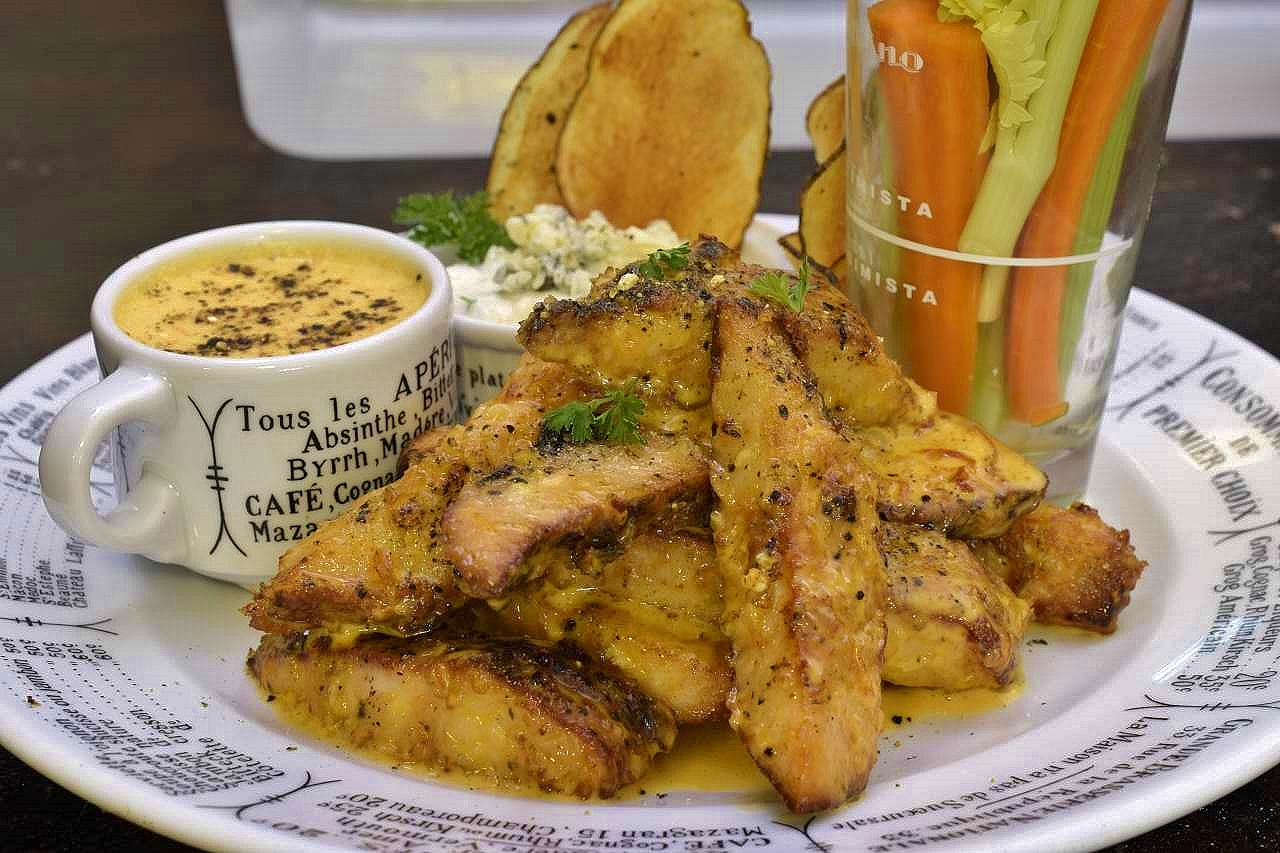
Any light coating on the strips of chicken will serve nicely. For the purposes of this demonstration, I used Krusteaz tempura batter, but there are several other brands that work fine. Don’t make it too thick. It is possible to make your own tempura batter, but I find it to be more trouble than it’s worth. Deep fry at 325 F/162 C until brown.
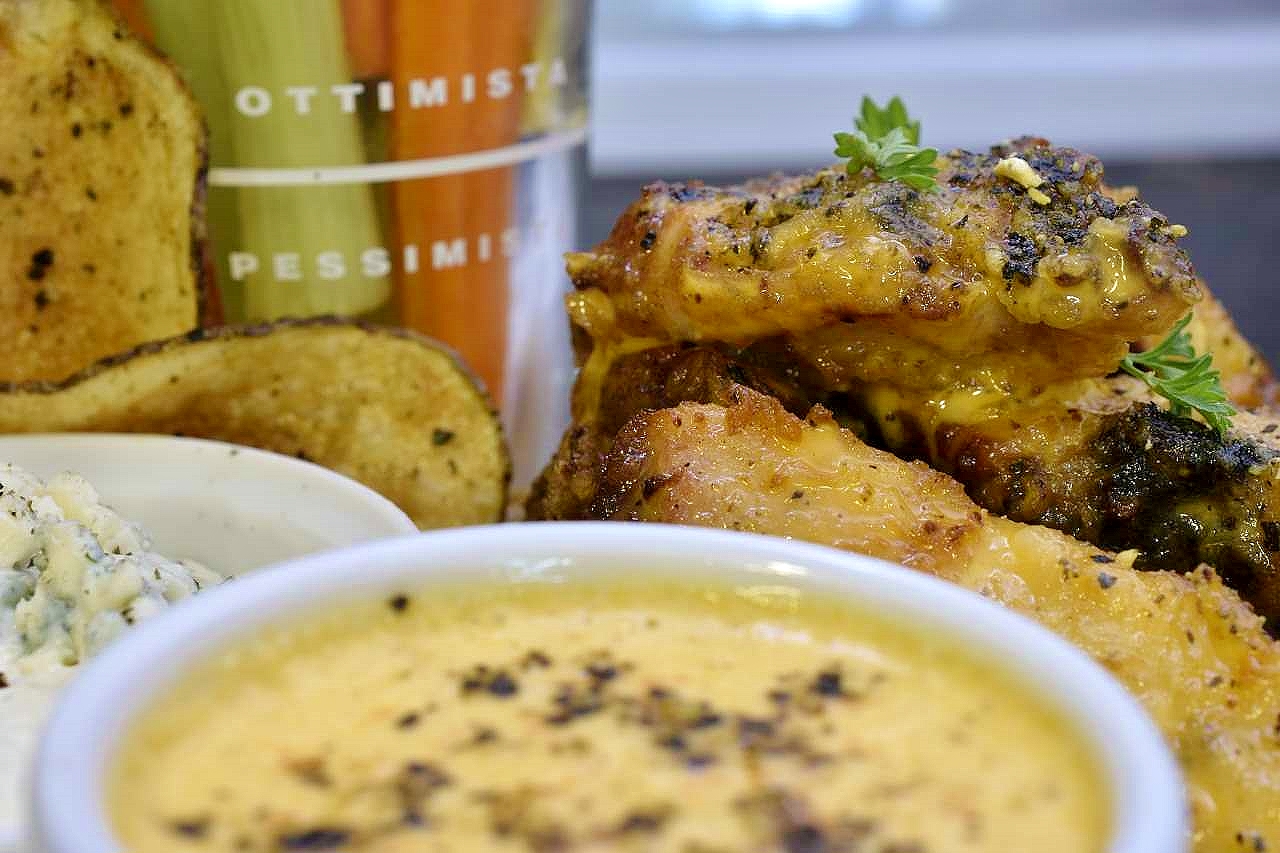
Optimist/Pessimist, depends on what time it is.
Frank’s RedHot, a squeeze of lemon and a little butter creates the sauce.
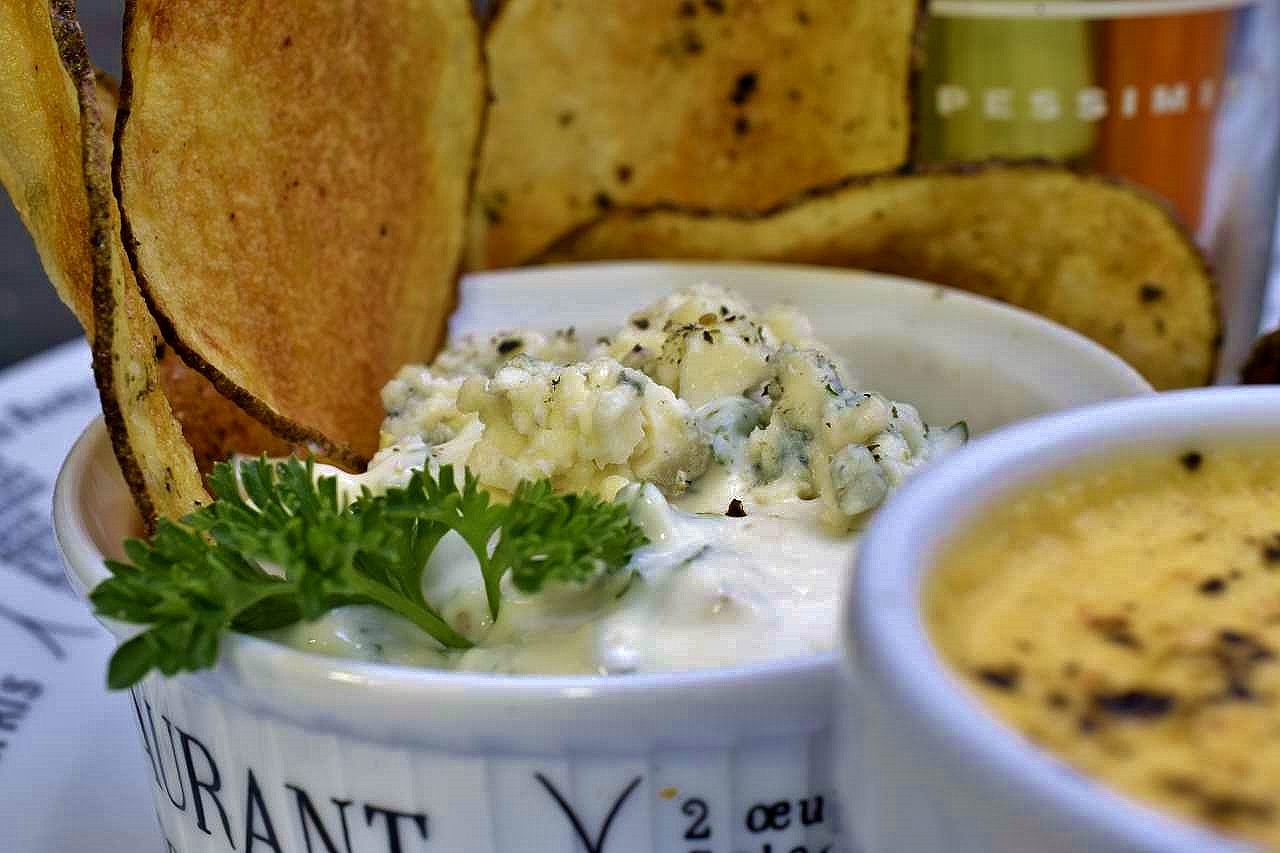
Blue cheese dressing is easy to make and the market shelves have at least twenty versions.
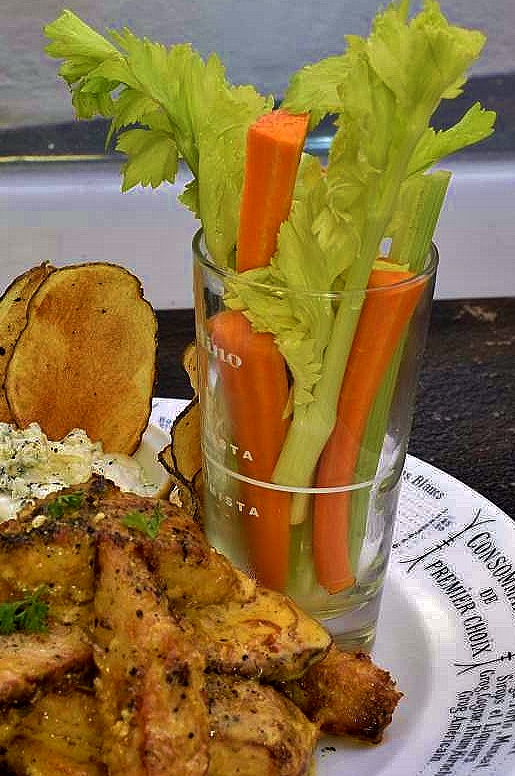
Celery and carrot sticks, I don’t think you need a pictorial. Potato chips.
Have at it
Norm King
.