There’s certainly no shortage of recipes for beef brisket on the internet and elsewhere.
For lovers of BBQ, this cut has a mystique all on its own.
Between our posts on this site and on Lipavi.com, we ourselves have at least twelve methods/commentaries:
Beef brisket 129 F/54 C,
Brisket 140 F/60 C ,
Hot smoked sv brisket, crutch proofed,
The tale of two sous-b-q briskets, 1 smoked first, 1 smoked last and a bonus,
Brisket Flat,
Brisket Point,
Brisket; how to prepare for sous vide,
Brisket sandwich,
Brisket Flautas ,
Brisket Italian style shredded ,
Brisket Pastrami, and
Corned Beef Brisket and Cabbage.
You would think that all those different treatments would exhaust the subject, but this versatile cut offers numerous opportunities. It also offers numerous challenges. There was a time not so long ago when any home cook could take advantage of the brisket’s relatively low cost. The pandemic created a ripple effect in the meat processing industry, so we are living in a Brave New World. On the other hand, we have always depended on pitmasters to tackle the greater than average difficulty of converting all that tough collagen to gelatin. Their prices are going to go up too, you can count on it. Regardless of price, at least we can now do it on our own.
As sous vide becomes demystified, tenderization of this hard working muscle becomes more achievable for the general public. Pitmasters still hold the edge when it comes to experience and superlative flavor, but even they are starting to admit that sous vide has something to offer. What was once dismissed as “boiling food in a bag” has finally earned some degree of legitimacy. Resist as we traditionalists might, the ongoing effort to improve results demands a certain amount of open-mindedness.
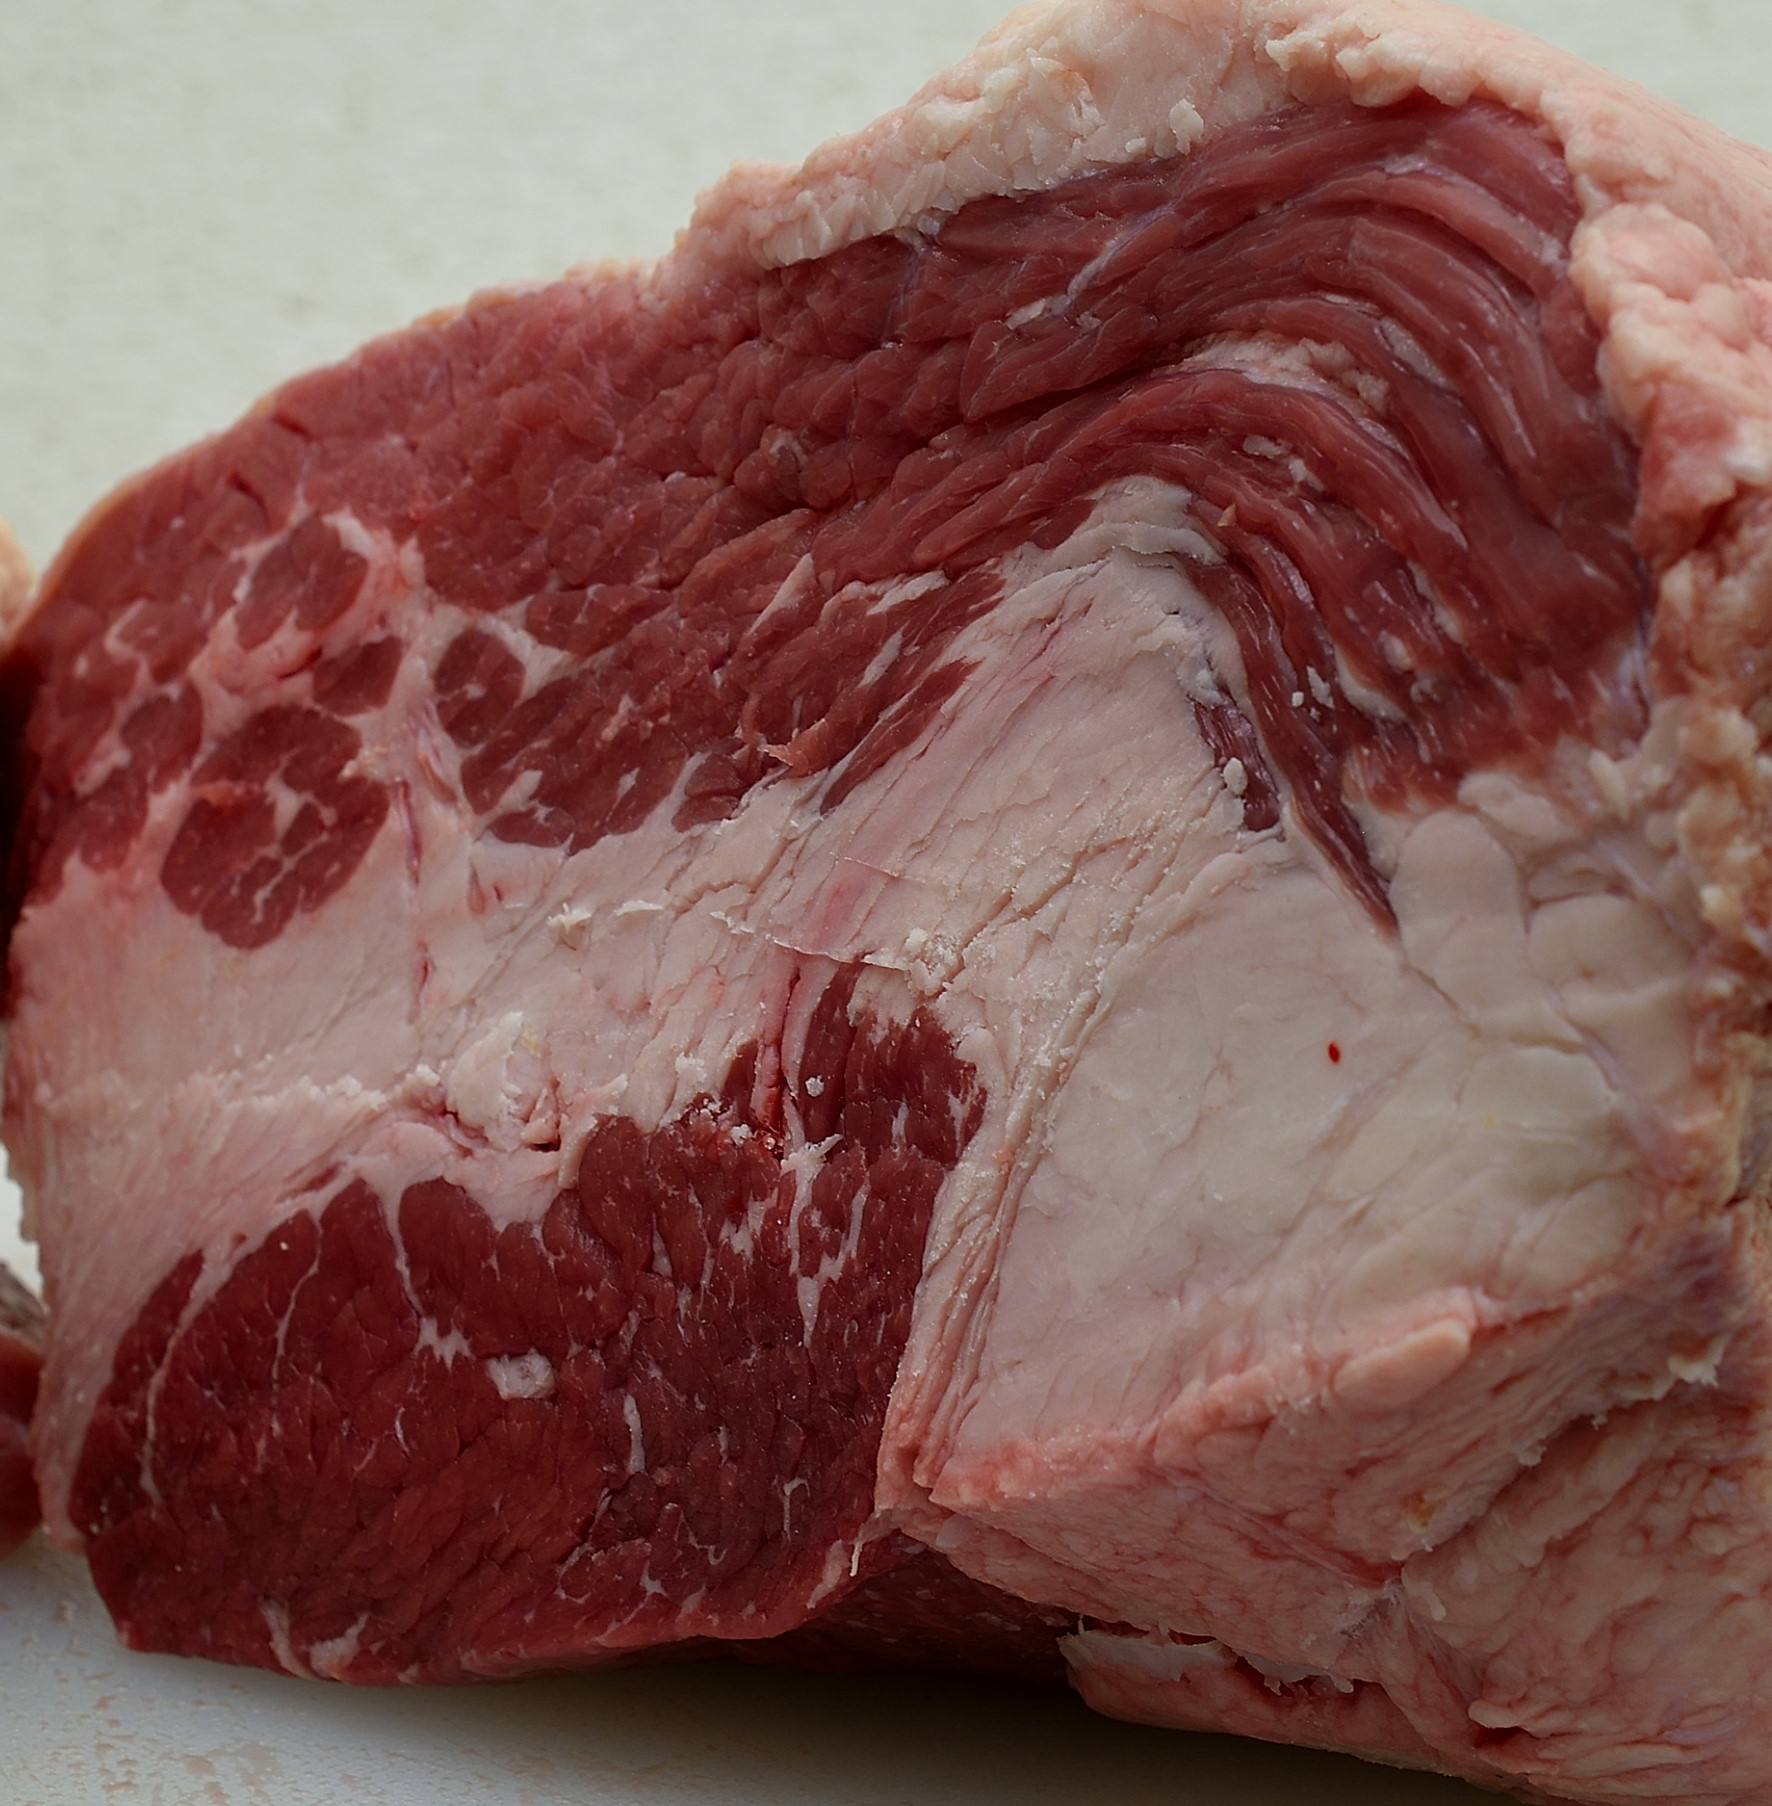
Which end is flat?
The fix is in
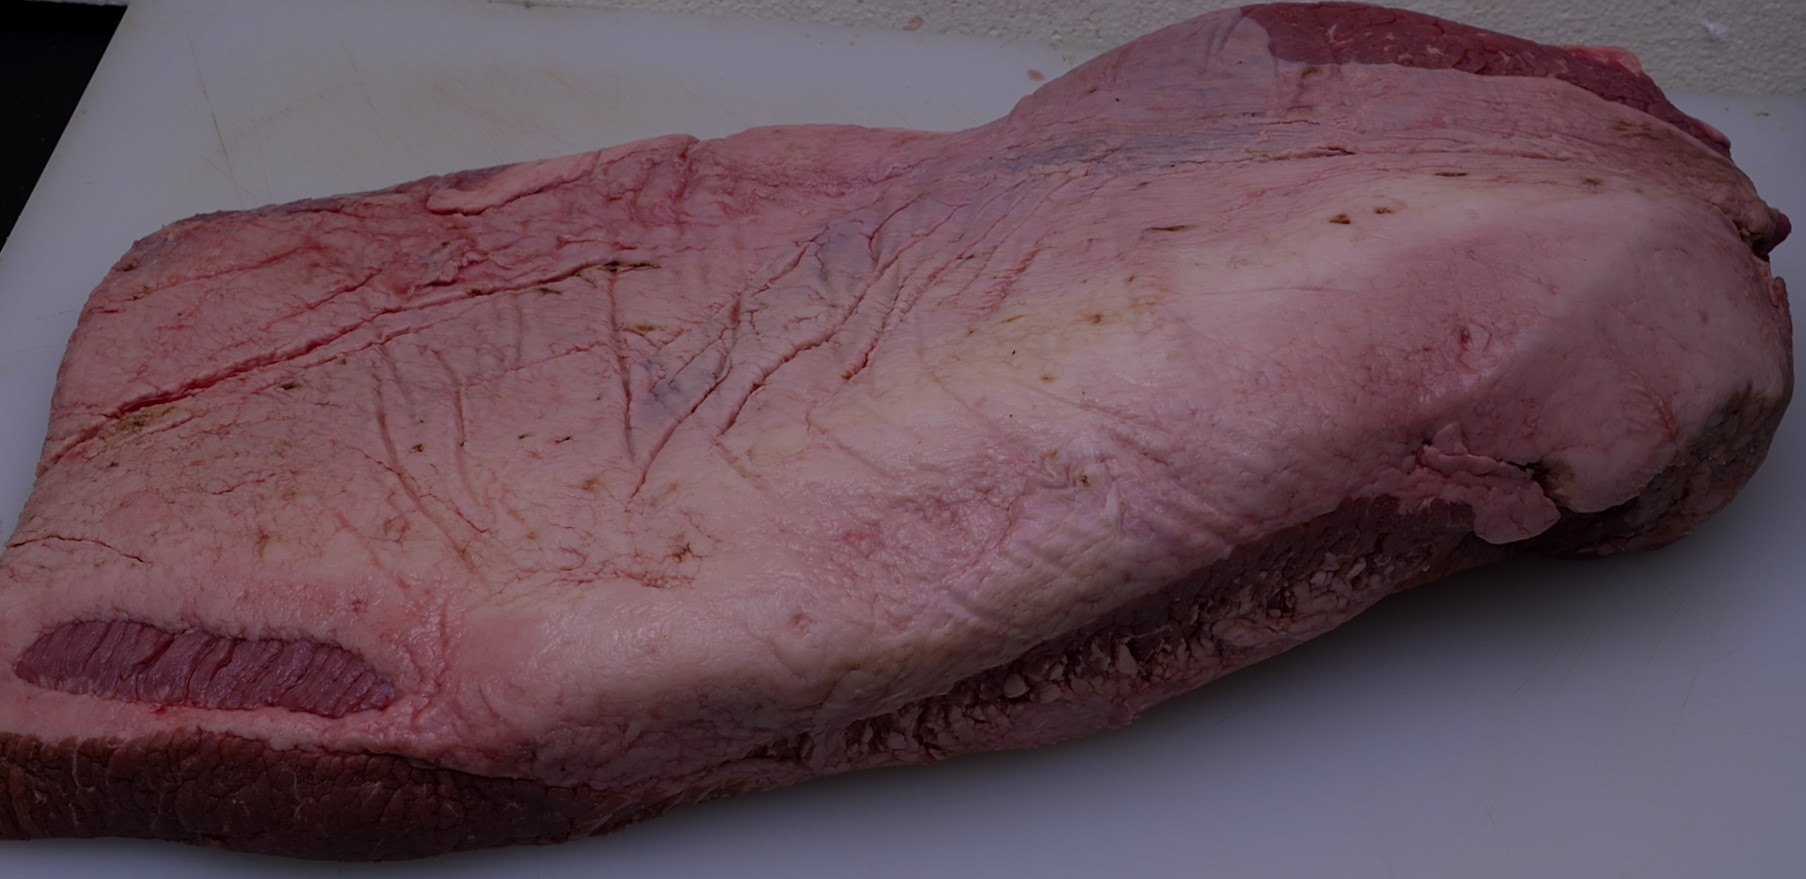
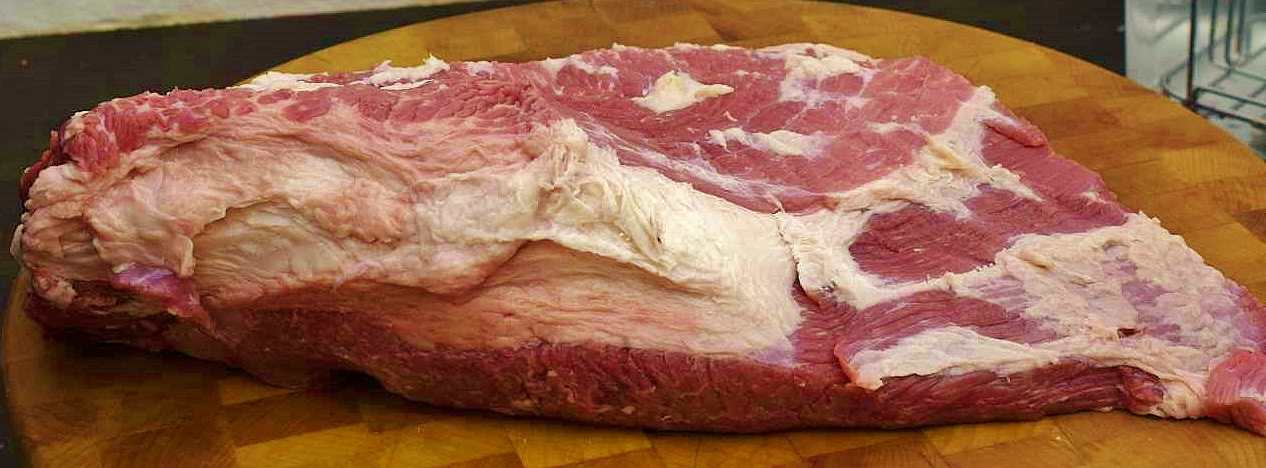
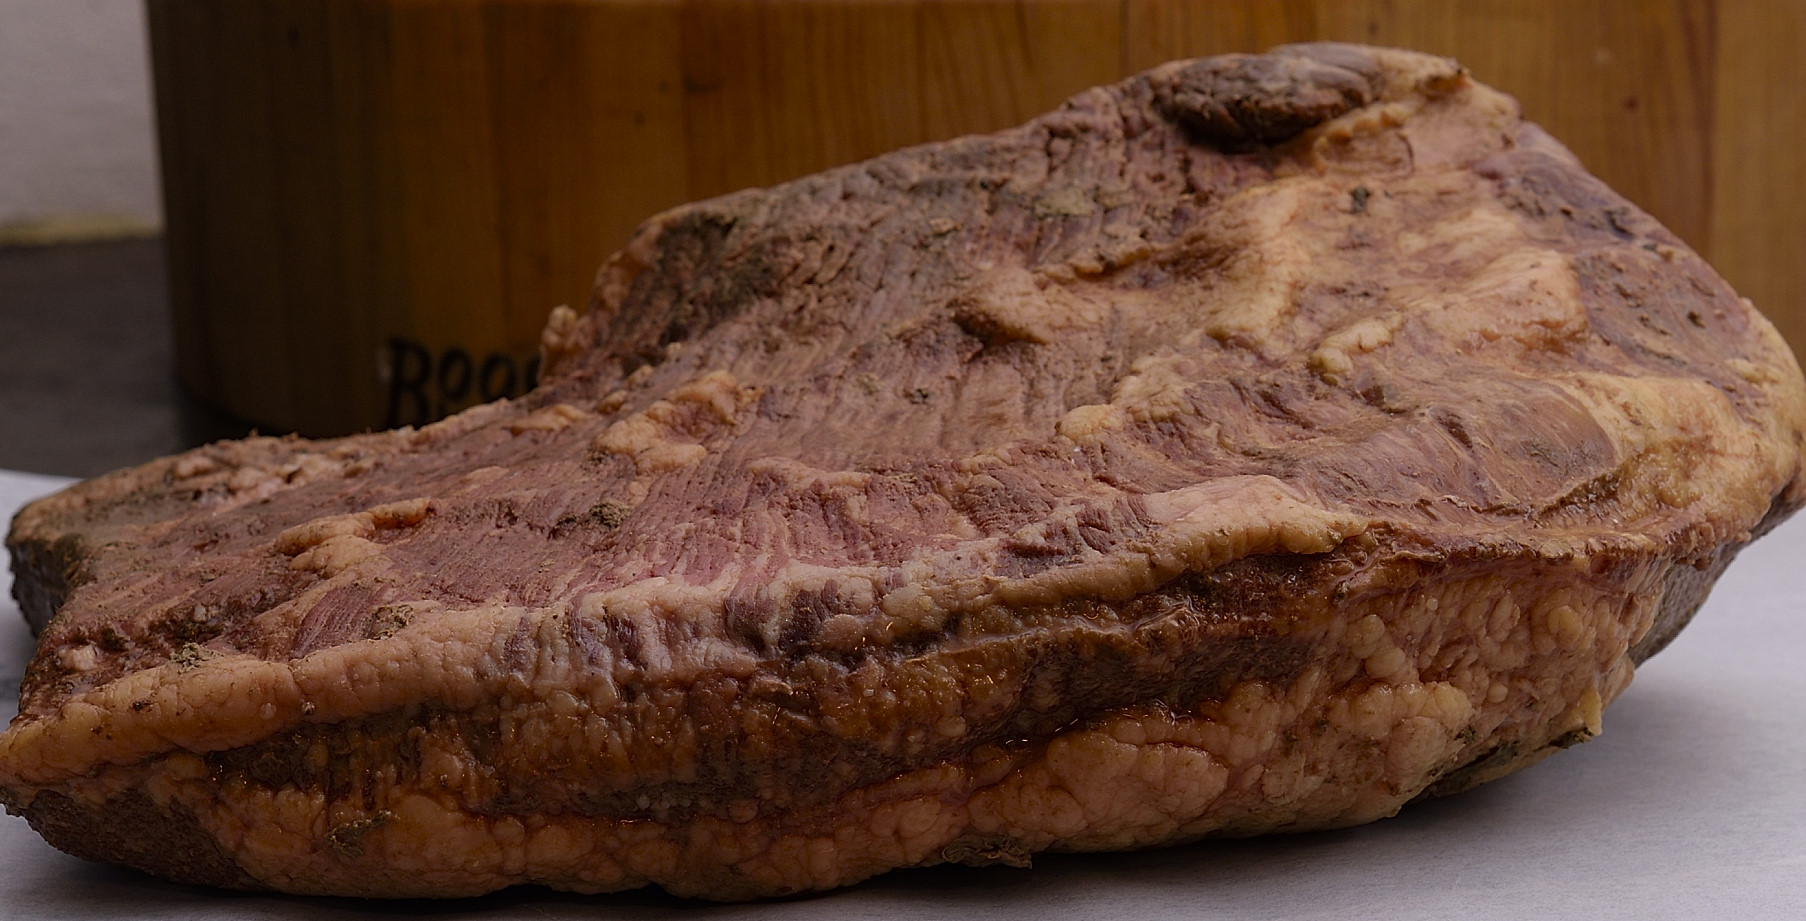
Tackling the Block:
We want to create a “blocked brisket.” This shape will be easier to load into a sous vide pouch, and easier to carve in the ultimate event. I removed 26 oz/740 g from the end of the flat.
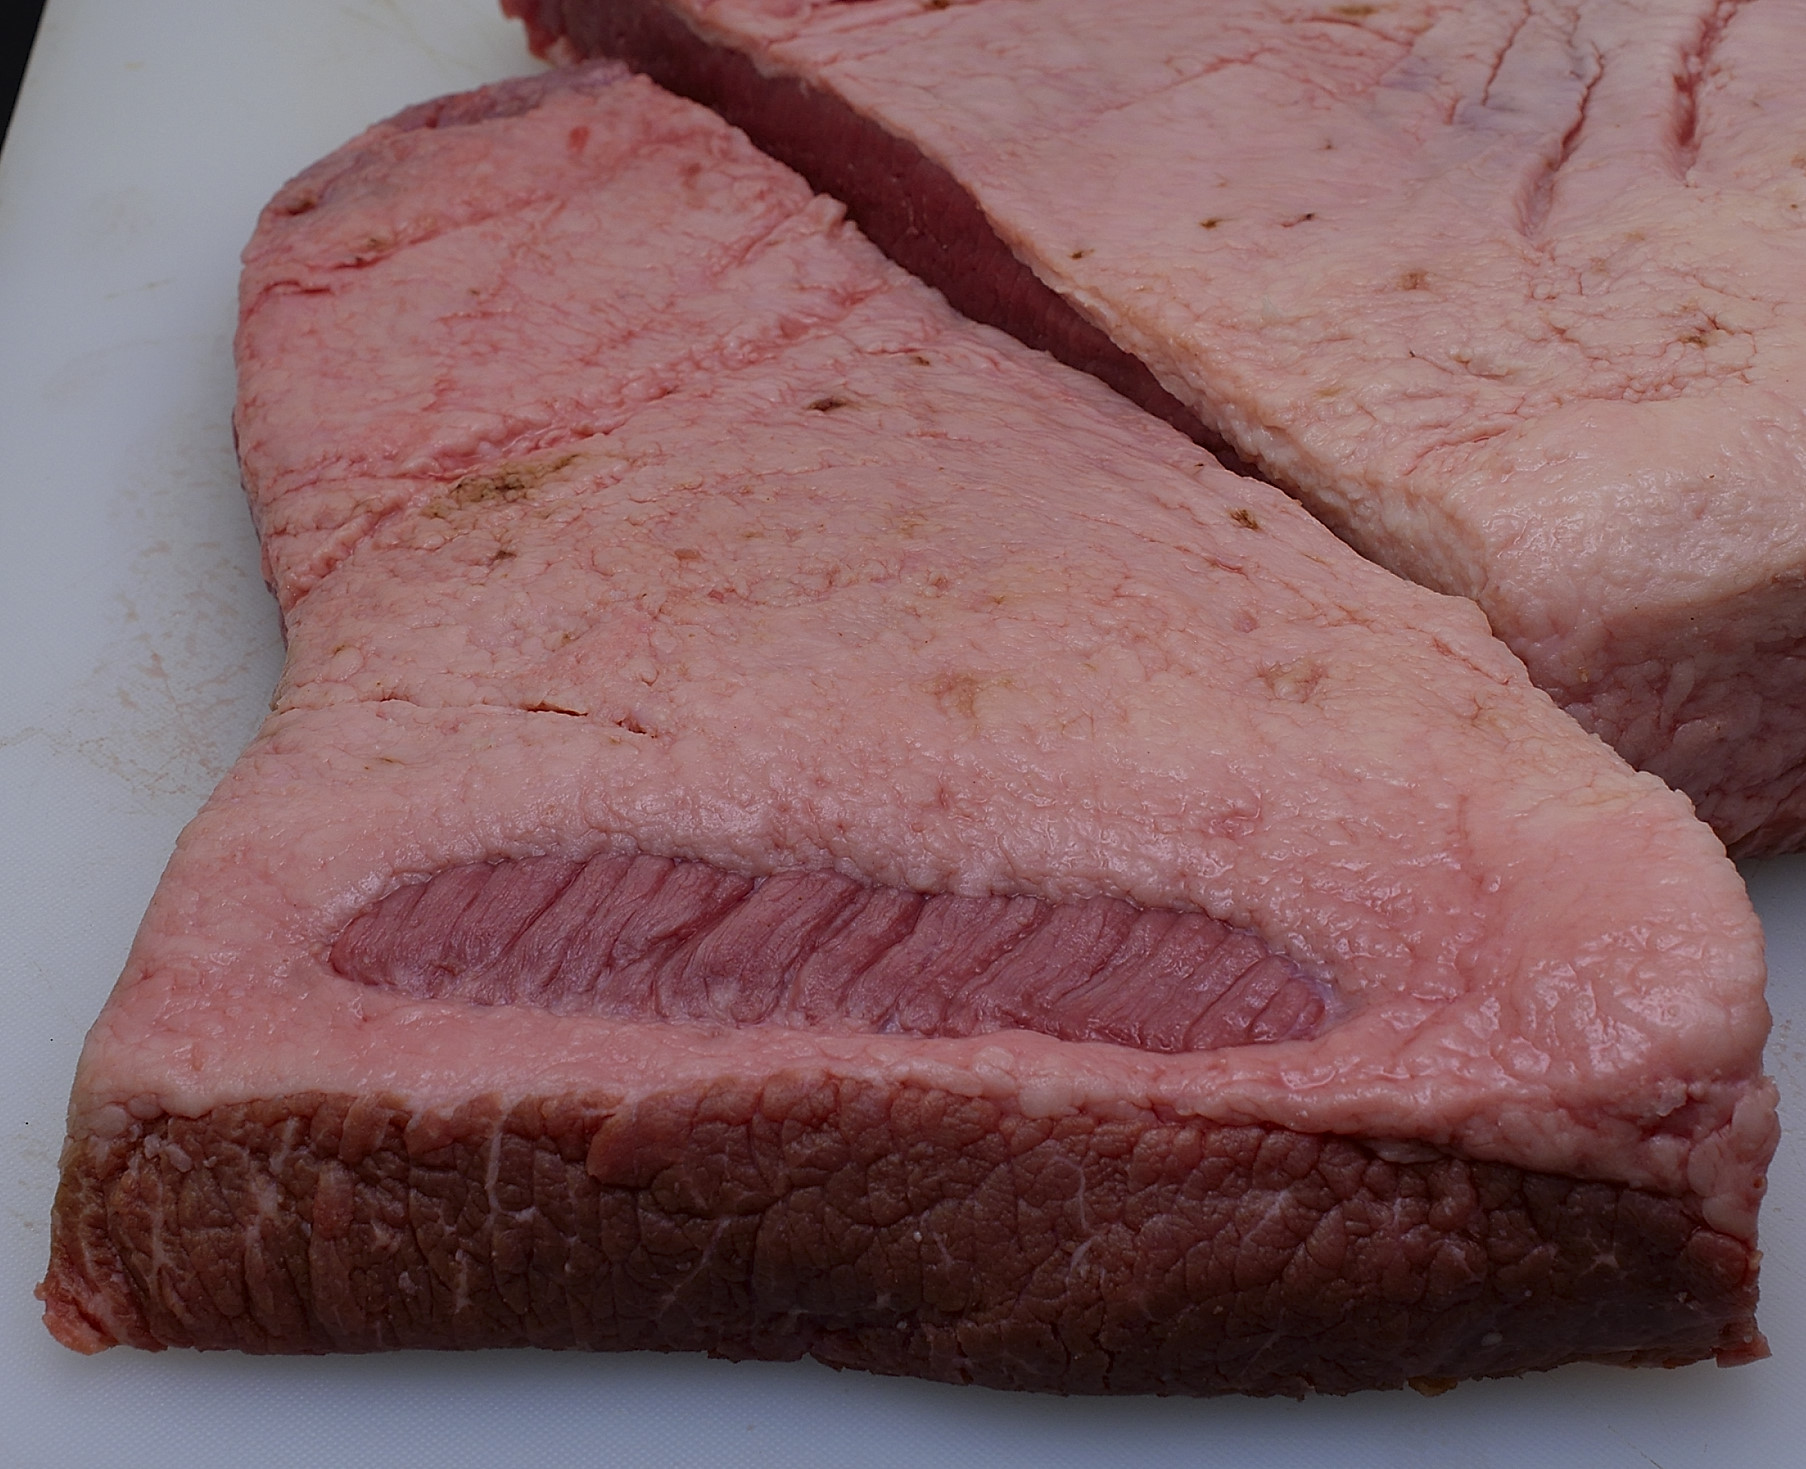
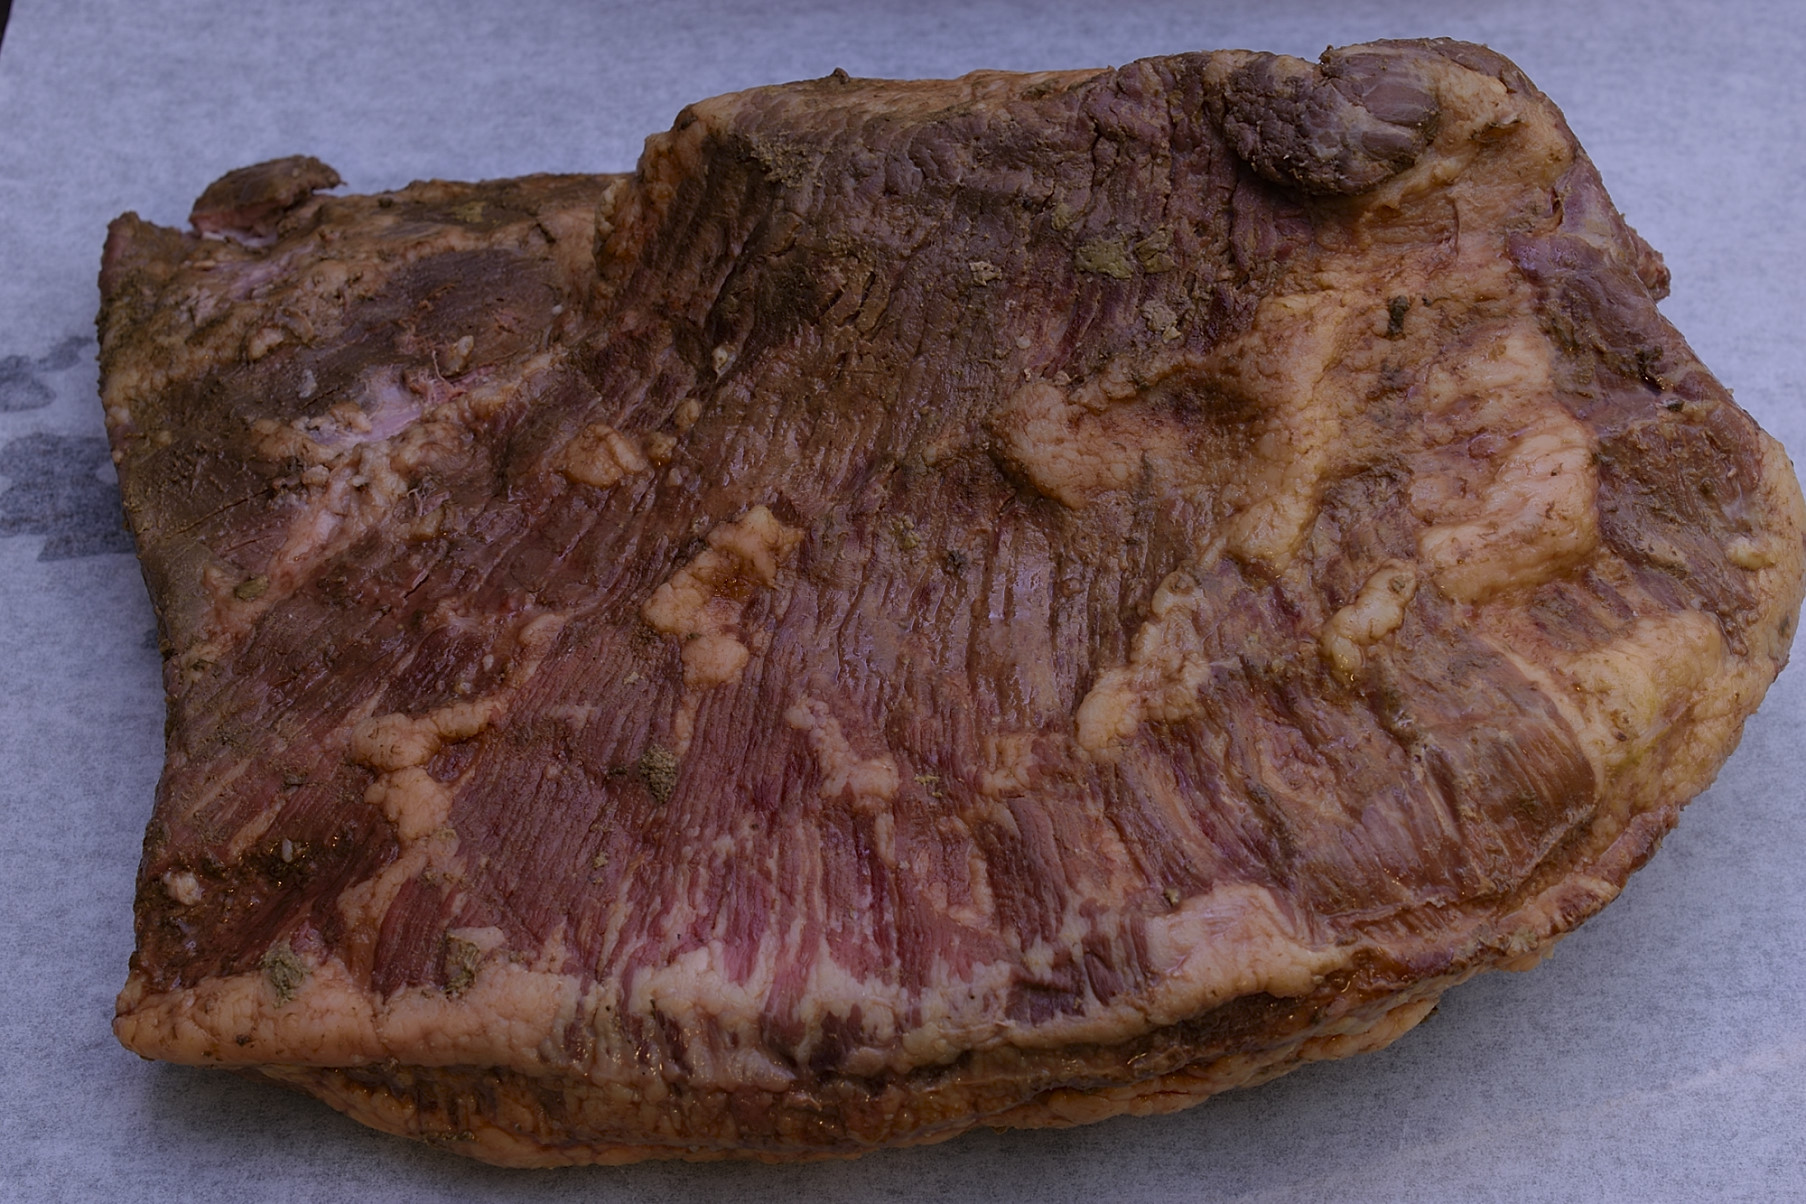
I removed 8 oz/225 g of fat from the meat to keep the two separate. This gave me 17 oz/480 g of lean muscle.
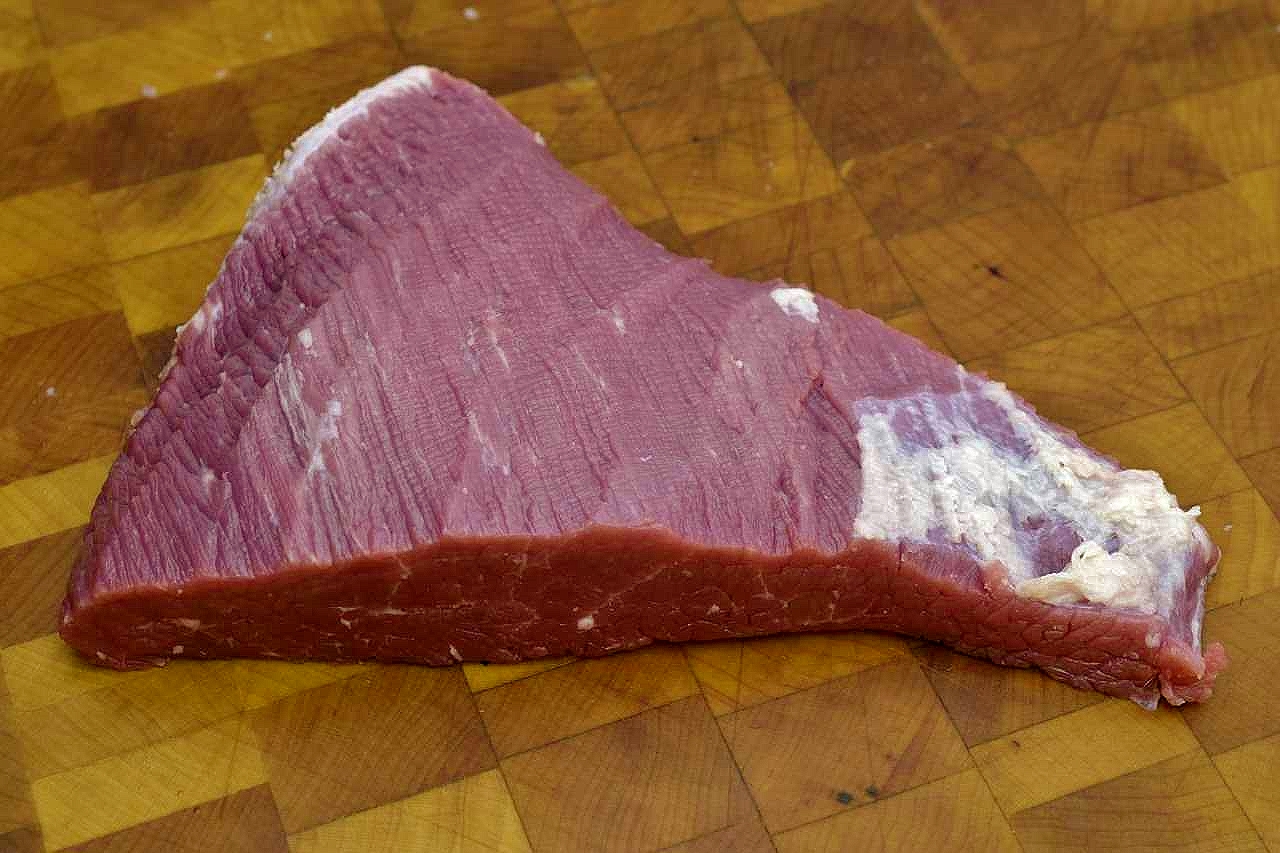
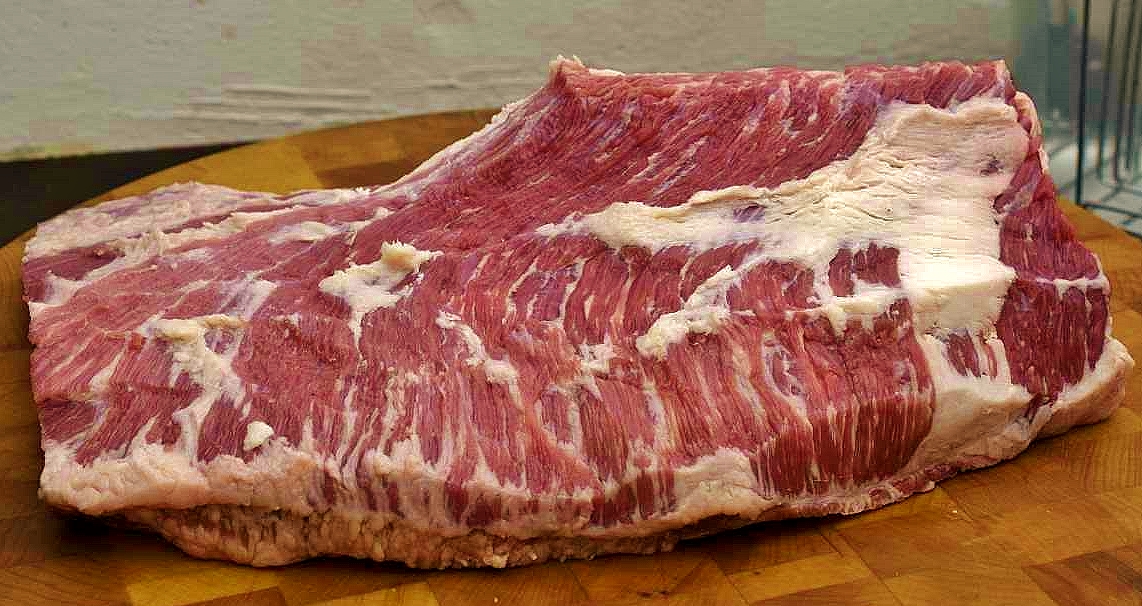
Below: I also removed 9 oz/250 g from the other end, the tip of the point.
I removed the major bulk of the fat from the rest of the brisket. That process yielded 38 oz/1 Kg+ of fat. Of that, 24 oz/680 g was devoid of meat. This can be rendered, for those of us who have the inclination and the courage to use beef fat for cooking.
14 oz/400 g of that fat had a little meat either attached or running through it, so I reserved it to balance the meat/fat ratio of some ground beef.
Just over half of the original total weight of 11.5 lbs/5.2 Kg–without counting the approximately 2 lb/1 Kg removed during the blocking procedure.
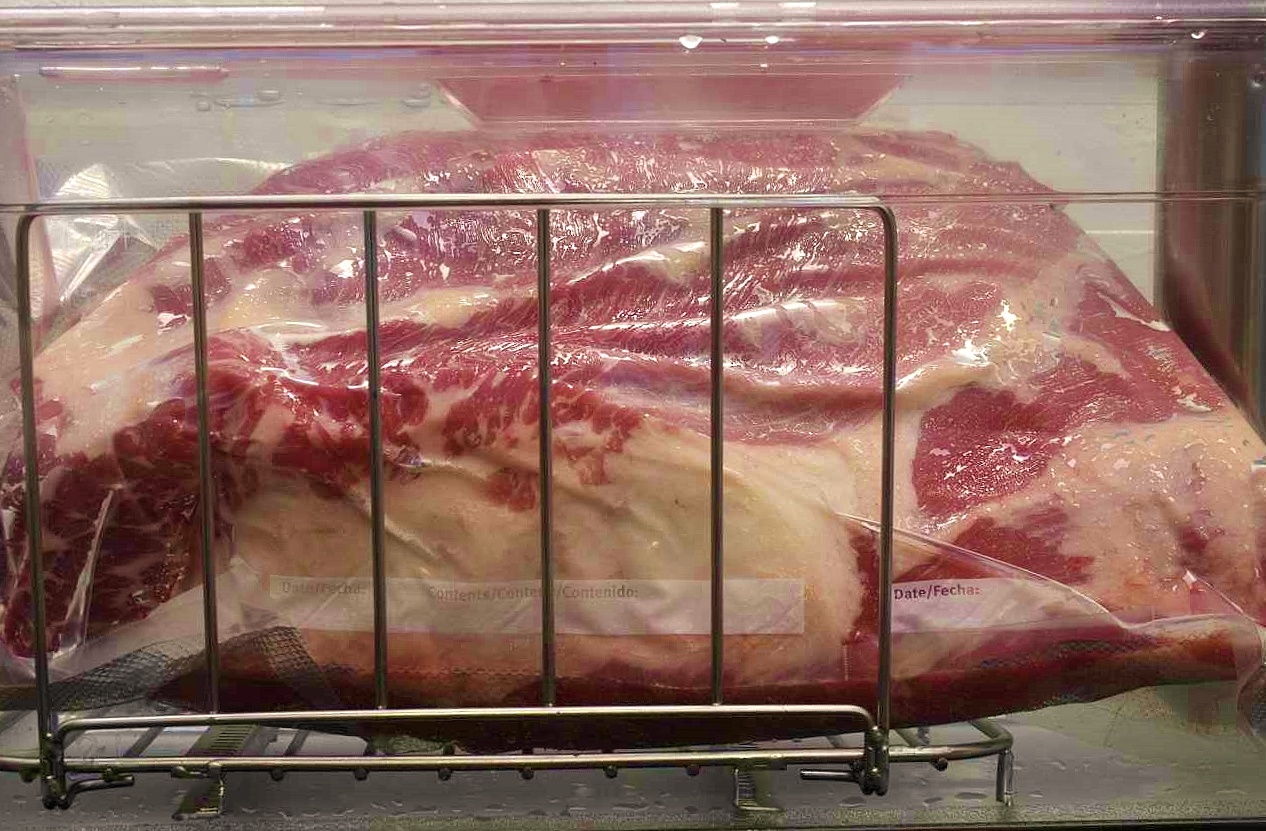
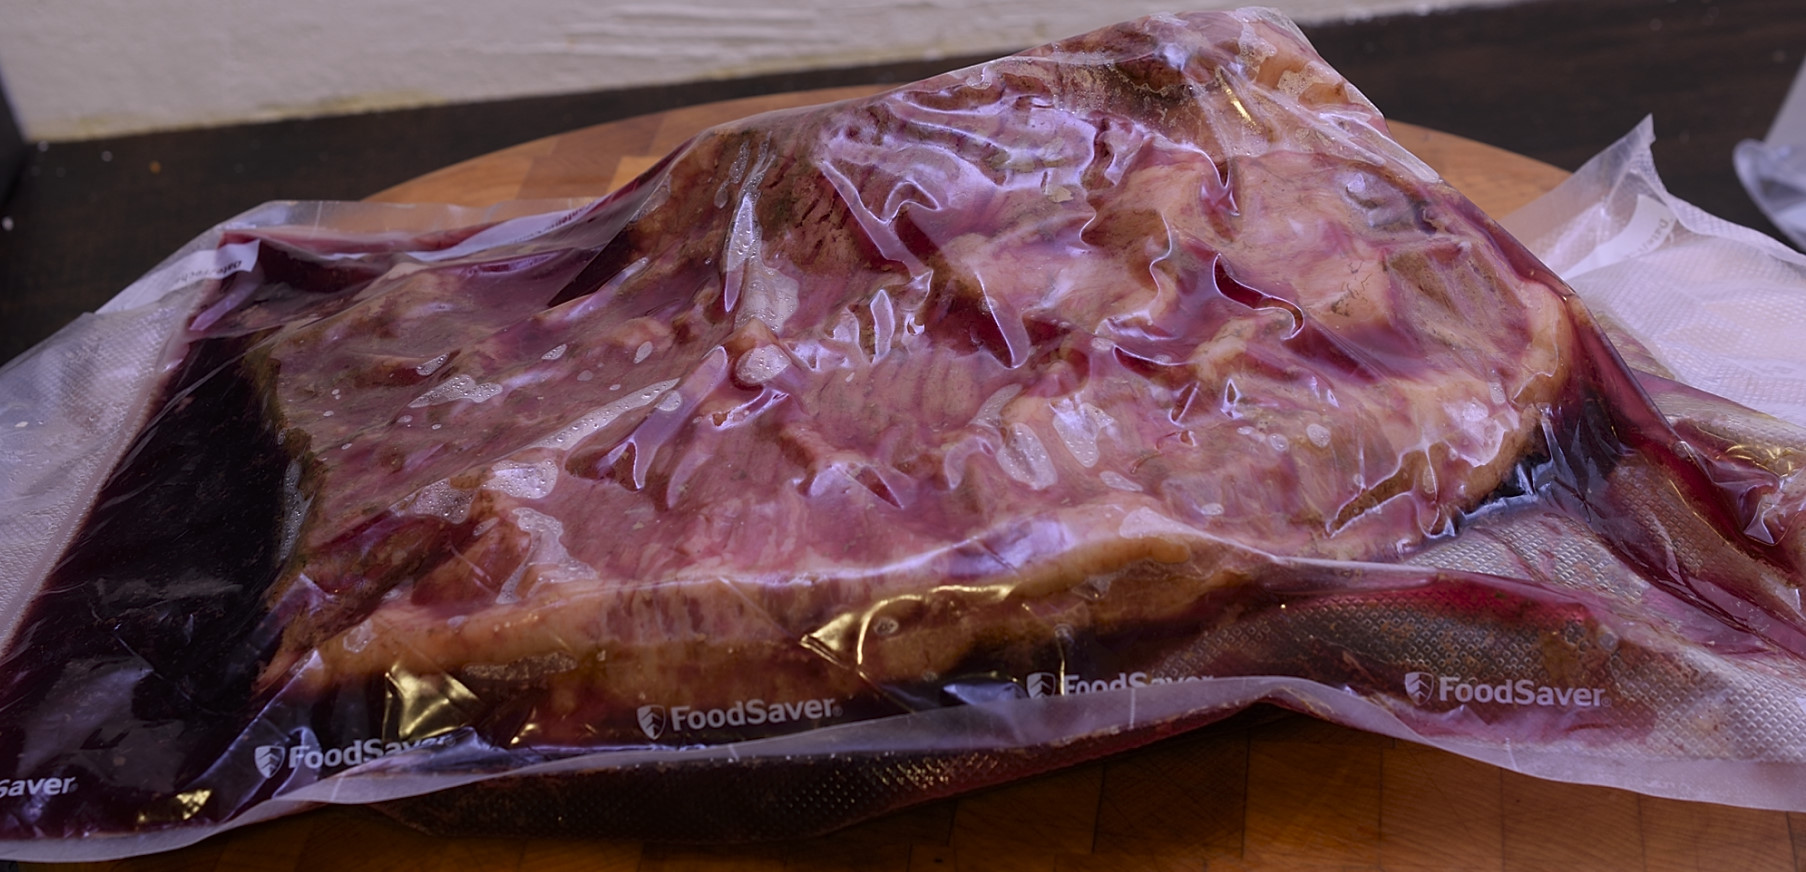
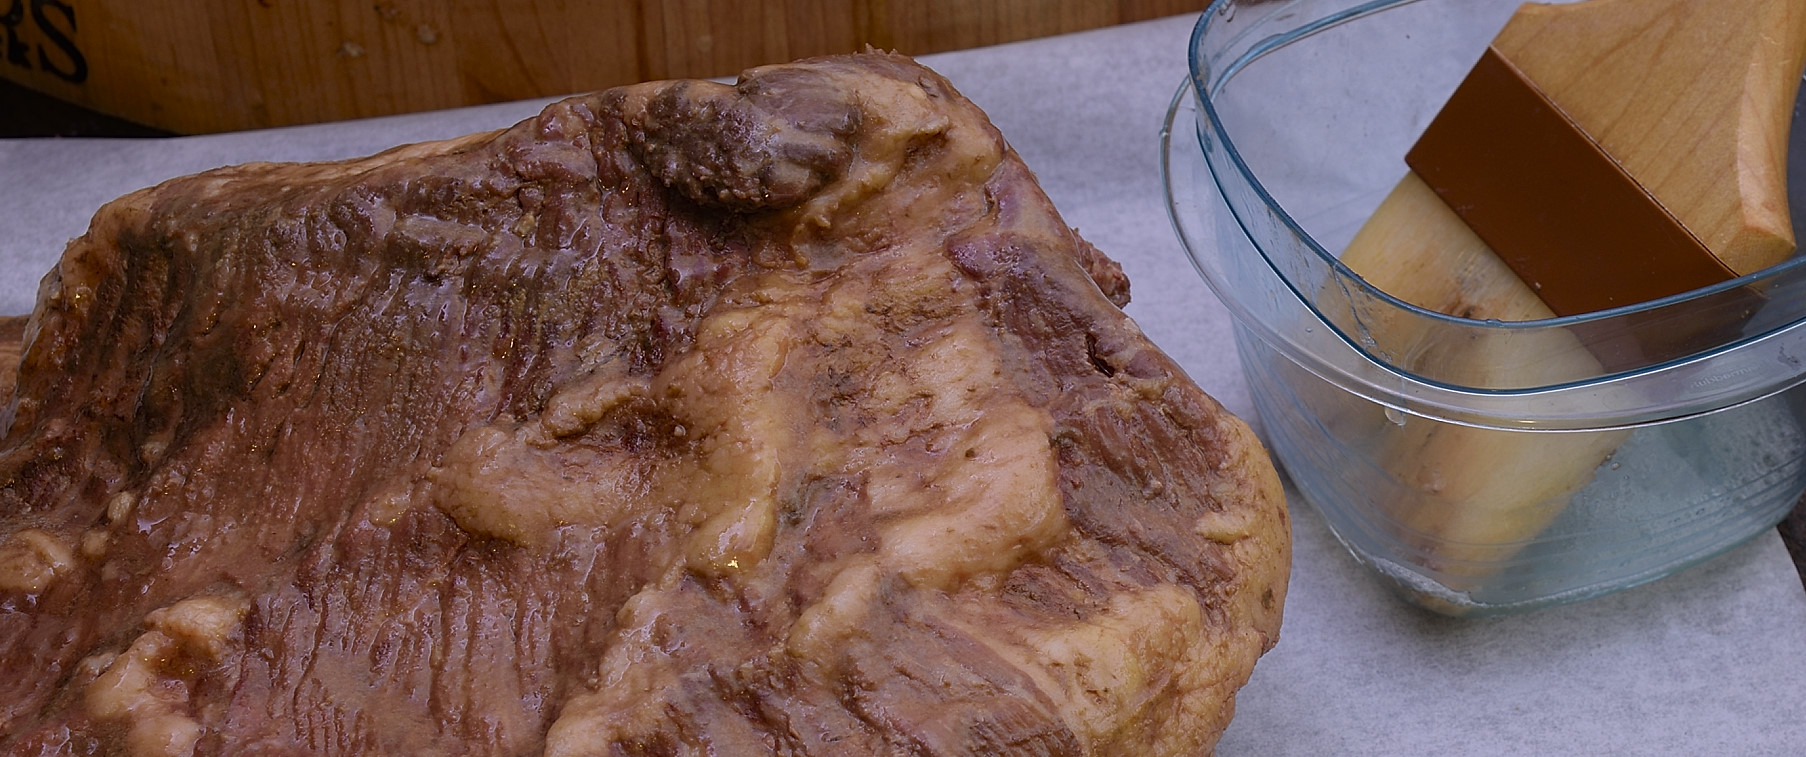
Stuffing the pillow into the case
Large pieces of meat like this can be unwieldy and difficult to stage into the sous vide pouch.
Next time you encounter this infuriating balancing act, try spritzing the meat (or the inside of the bag) with a couple of bursts of spray release/cooking spray/PAM. Slick. Literally.
Clear the deck
Stage the vacuumed package into the bath set at
135 F/57 C.
Sous vide temperatures give precise results in appearance of doneness. Not so with sous vide intervals. The time parameter will be refined by observation after the first 48 hours have elapsed. Judging from past experience, we are anticipating at least a 54 hour total interval, and more likely 60-72. There is no “moment” before which the meat is under cooked or after which it is over cooked. Proteins are oblivious to our system of time measurement. All those 60’s, 24’s, 7’s and 365’s mean nothing to meat. Briskets become tender after a certain amount of collagen is converted to gelatin, not after an alarm clock rings.
We must learn to determine when the brisket is tender, and the clock will have nothing to do with it. This is why we have the PINCH/POKE method. Yes, you may have to practice. You may have to learn to do something other than tell time. Every cook learns to do it, and it really is the easy part.
Back to the Brisket
After the playoffs
We tested the brisket after 60 hours at 135 F/57 C and it passed muster. It was the evening, though, and I didn’t want to proceed to the next step until the next morning. So, I reduced the bath temperature to 126 F/52 C. This temperature is safe, but it is too low to convert collagen to gelatin. I had a bite to eat, got a good night’s rest, such as it is, had a cup of coffee, and moved on…
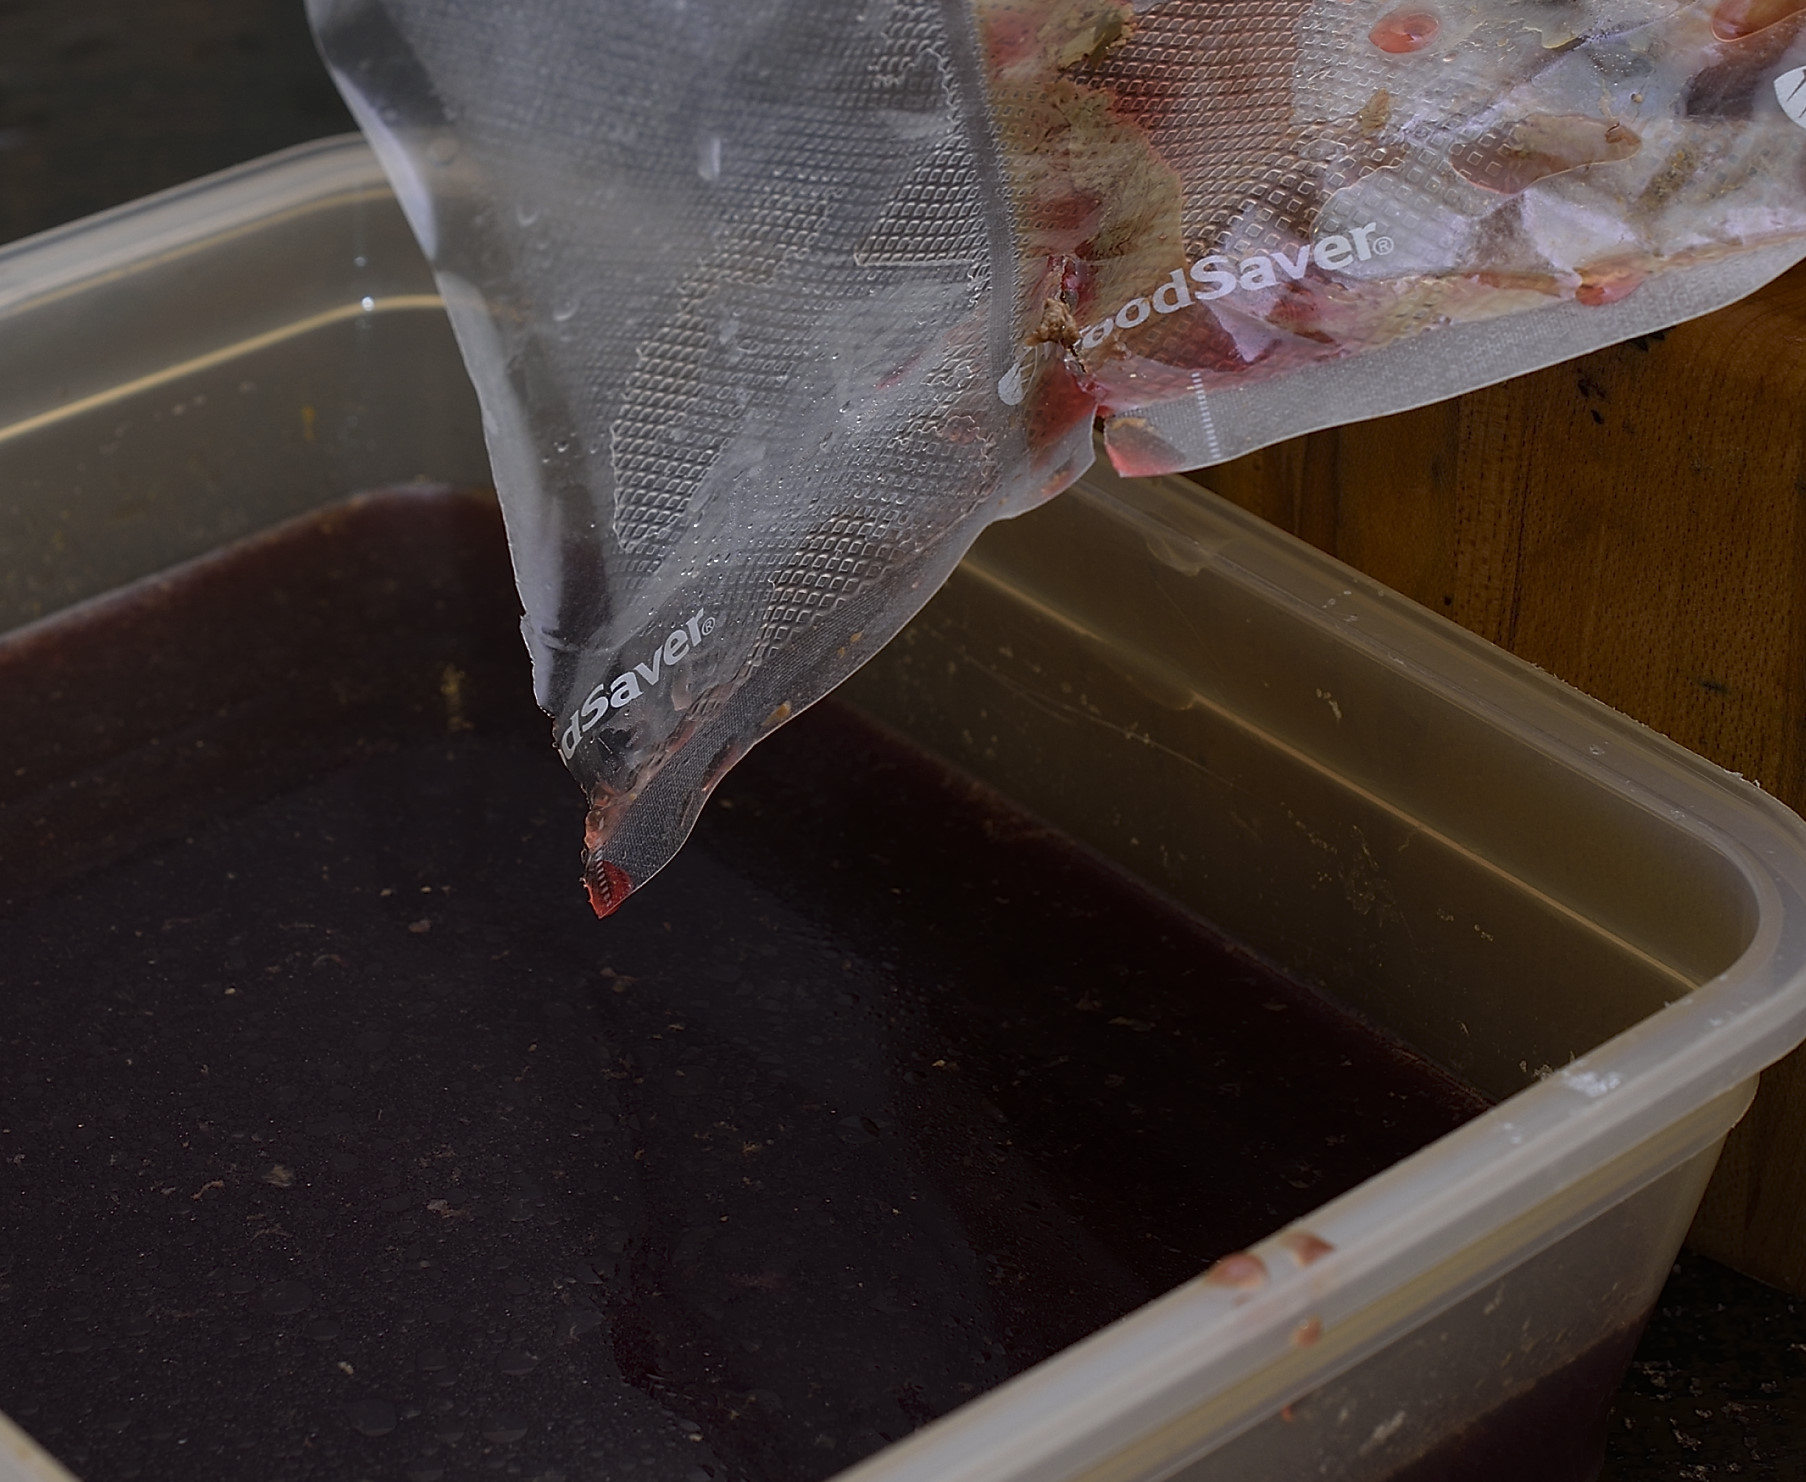
At this point, the decision is made as to whether to store the brisket or to continue with the processing. Either way, it should be shocked cold for safety reasons. Caution must be taken to prevent the inside of the refrigerator from being exposed to all that thermal energy. Doing so could result in the spoilage of OTHER foods in the refrigerator. We knew we were going to continue the processing to completion, so I poked a hole in the bag and drained the Sous Jus.
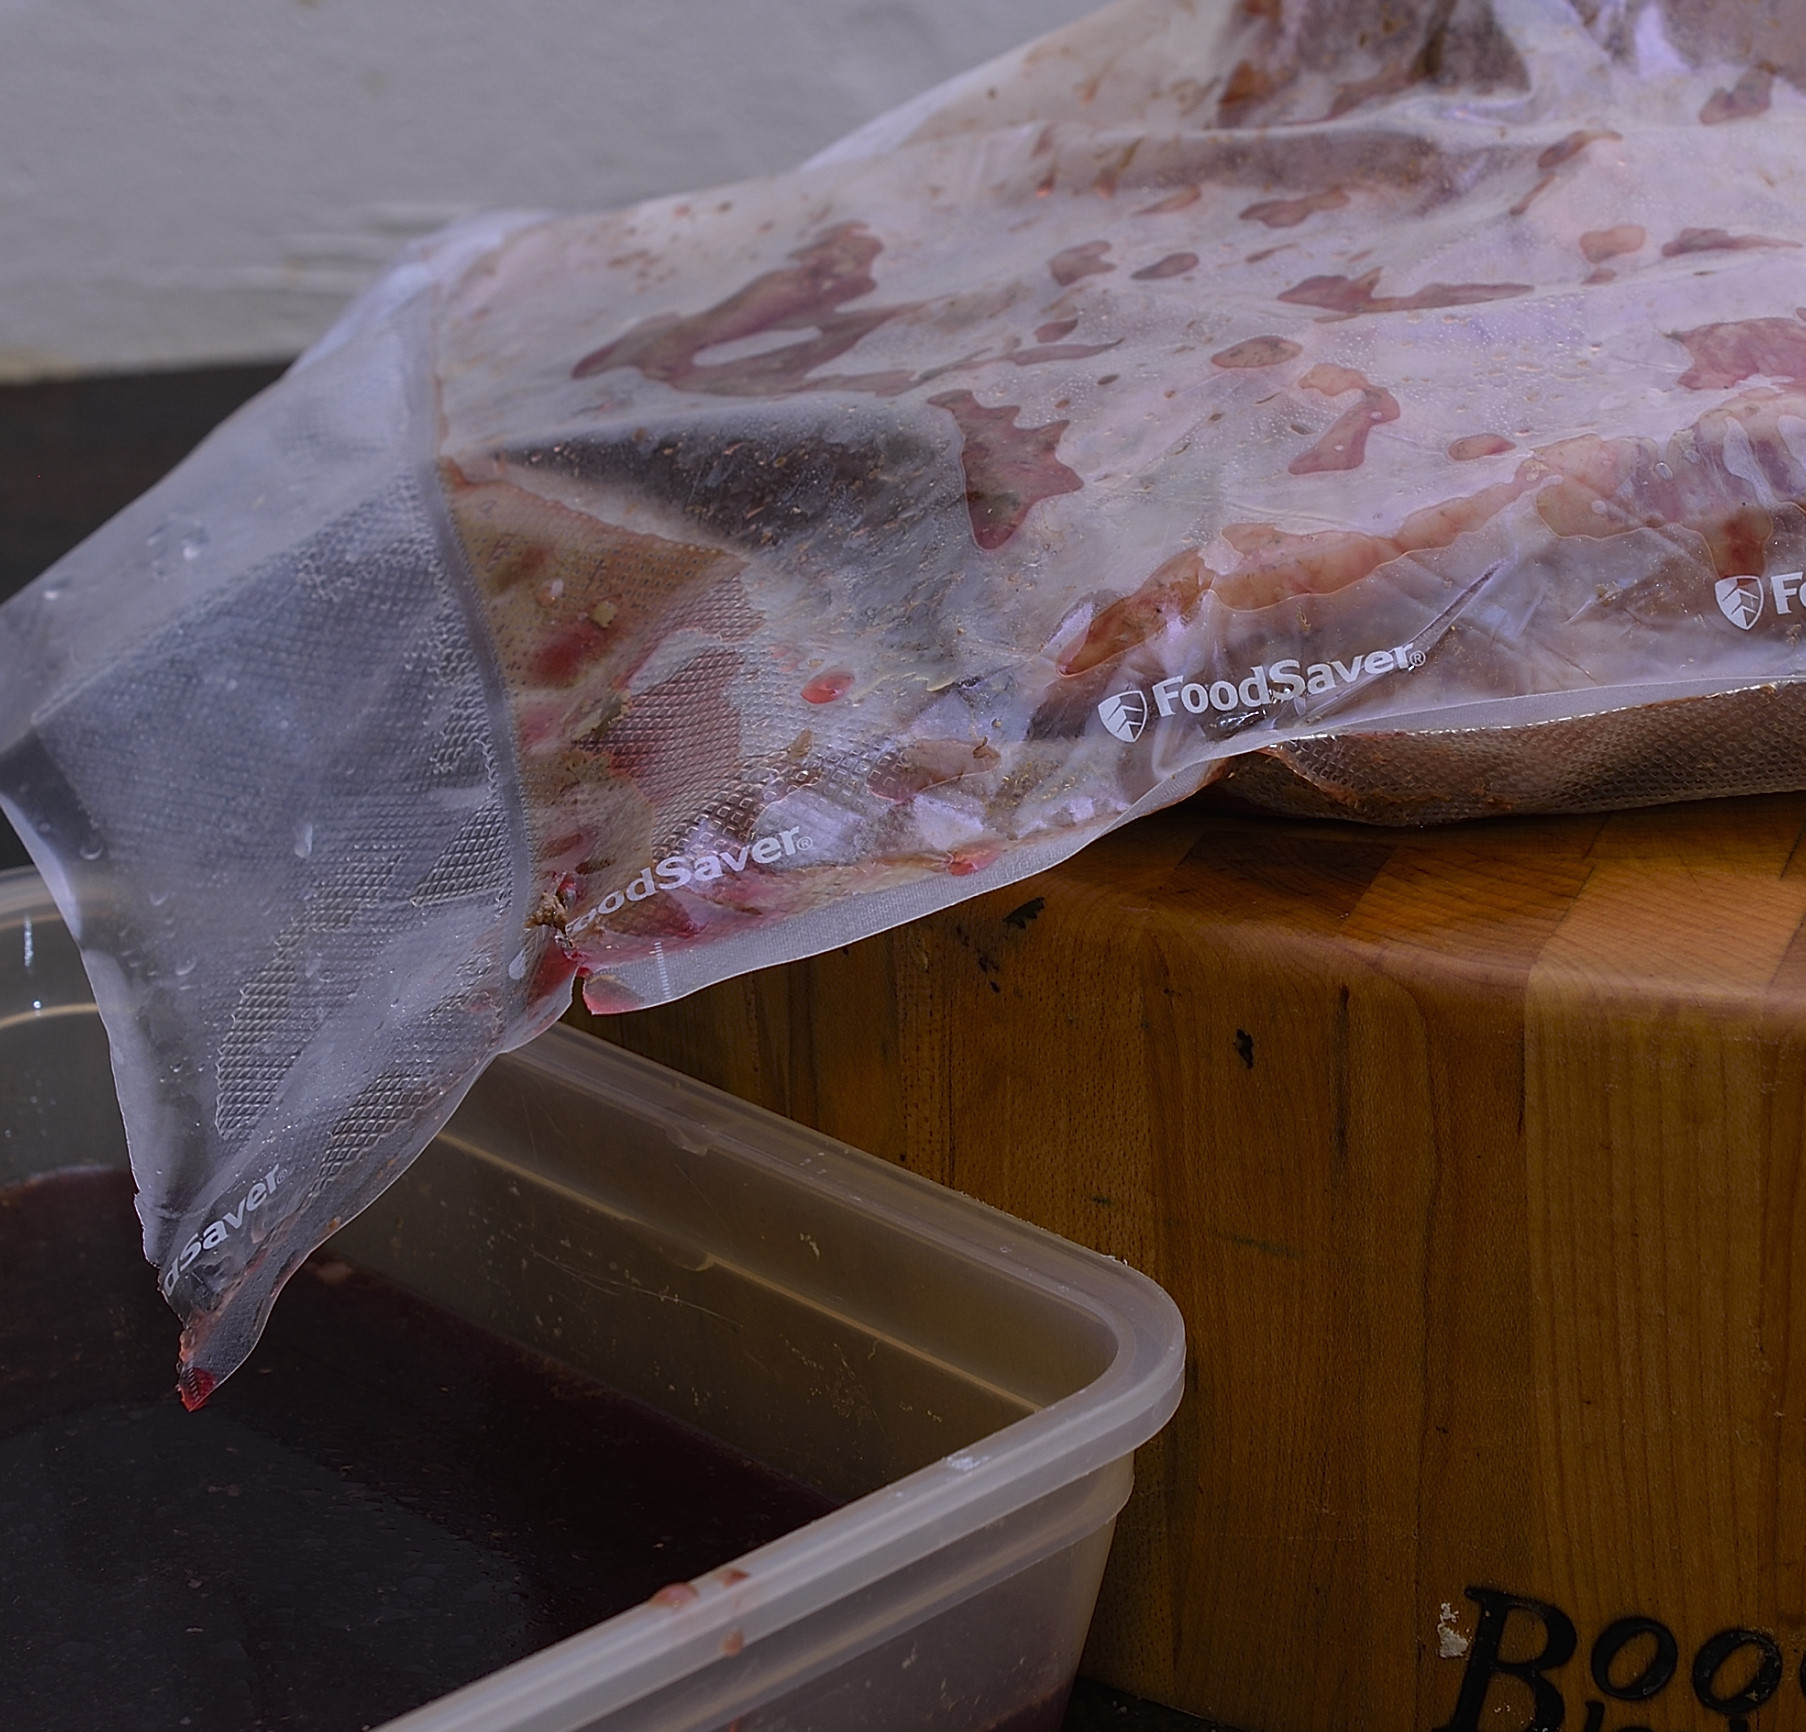
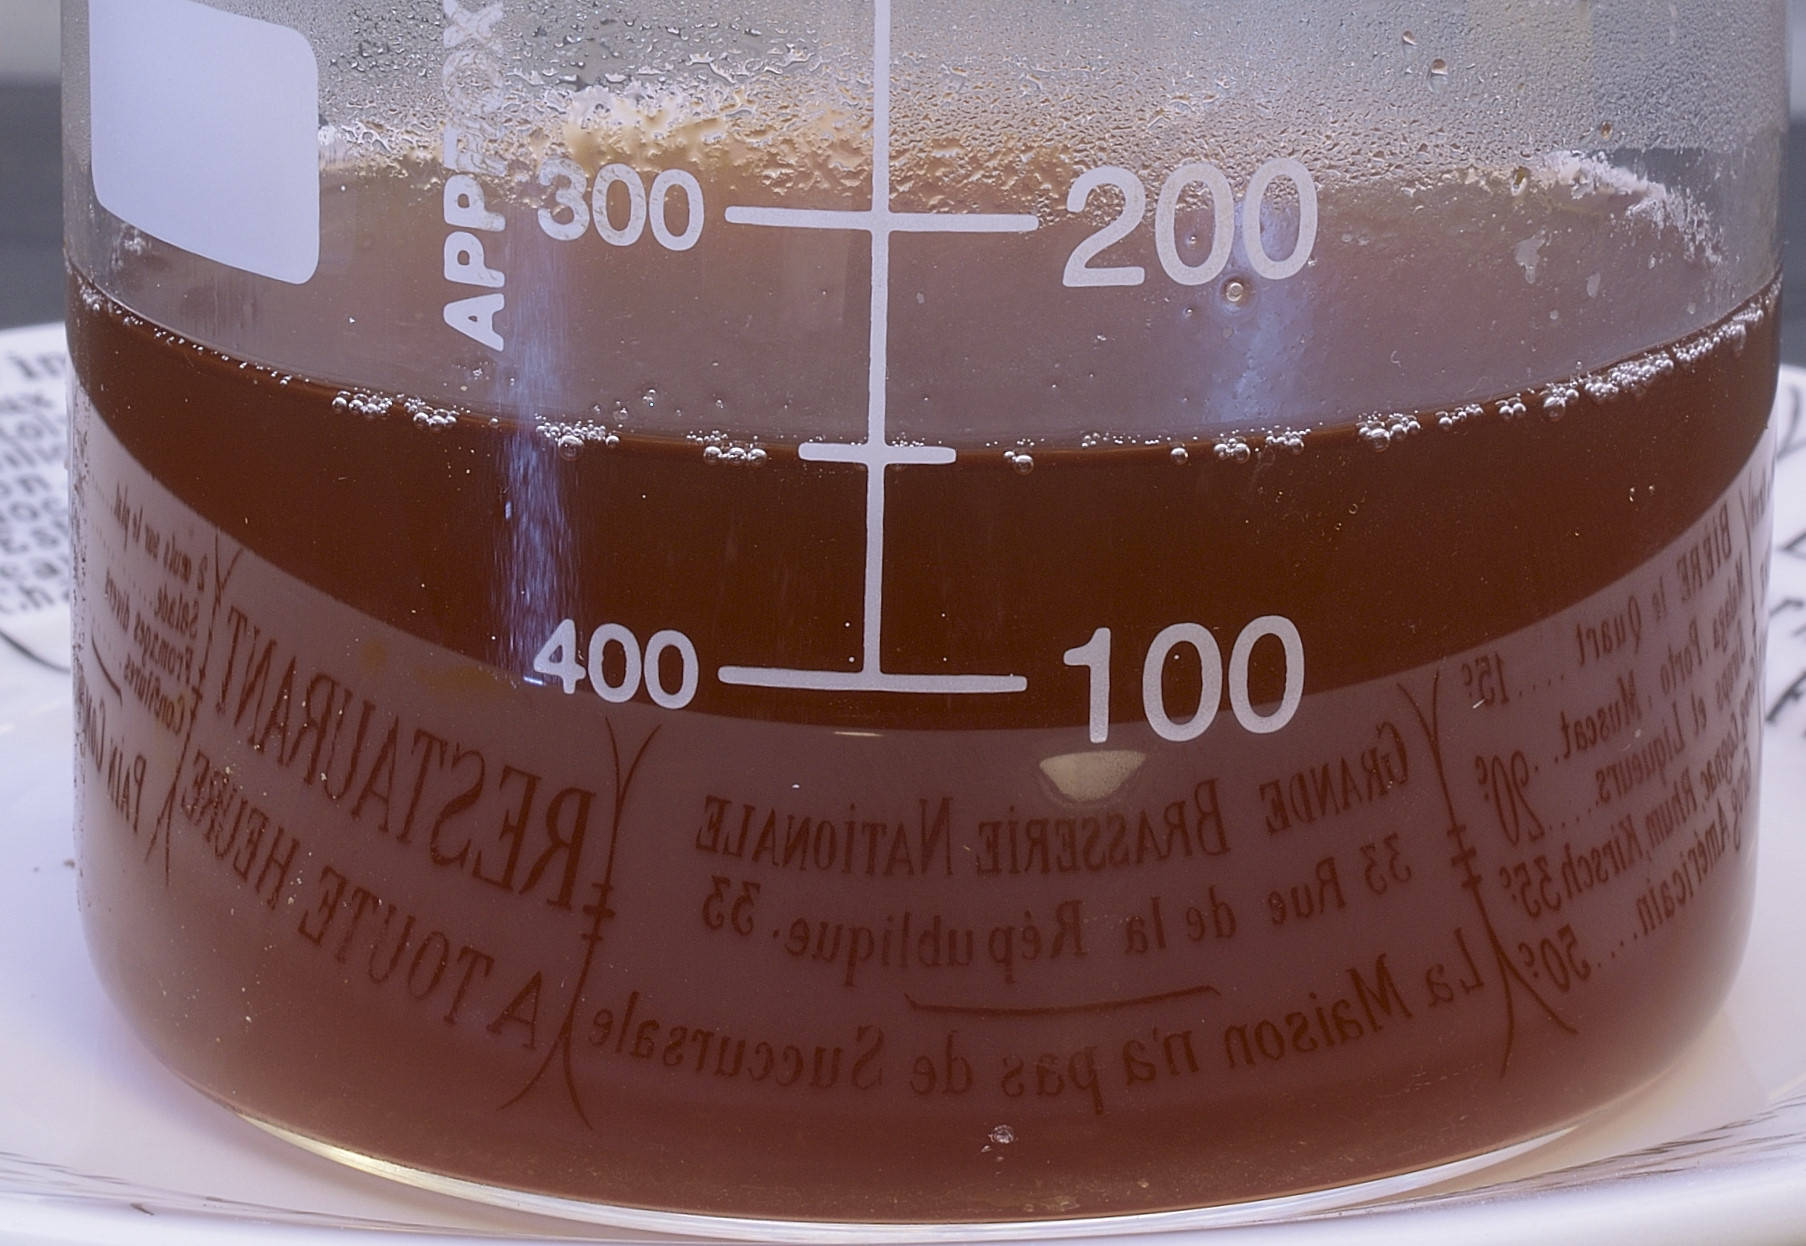
At the temperature we used, you can see that the myoglobin in the juices has not been fully denatured.
The juices are then brought to a boil to coagulate the albumins and myoglobin that they contain. It is then strained through a moistened coffee filter or paper towel–moistened so that the juices do not cling to the filter instead of draining into the reservoir below. This is an important step, because the filtering process leaves this behind:
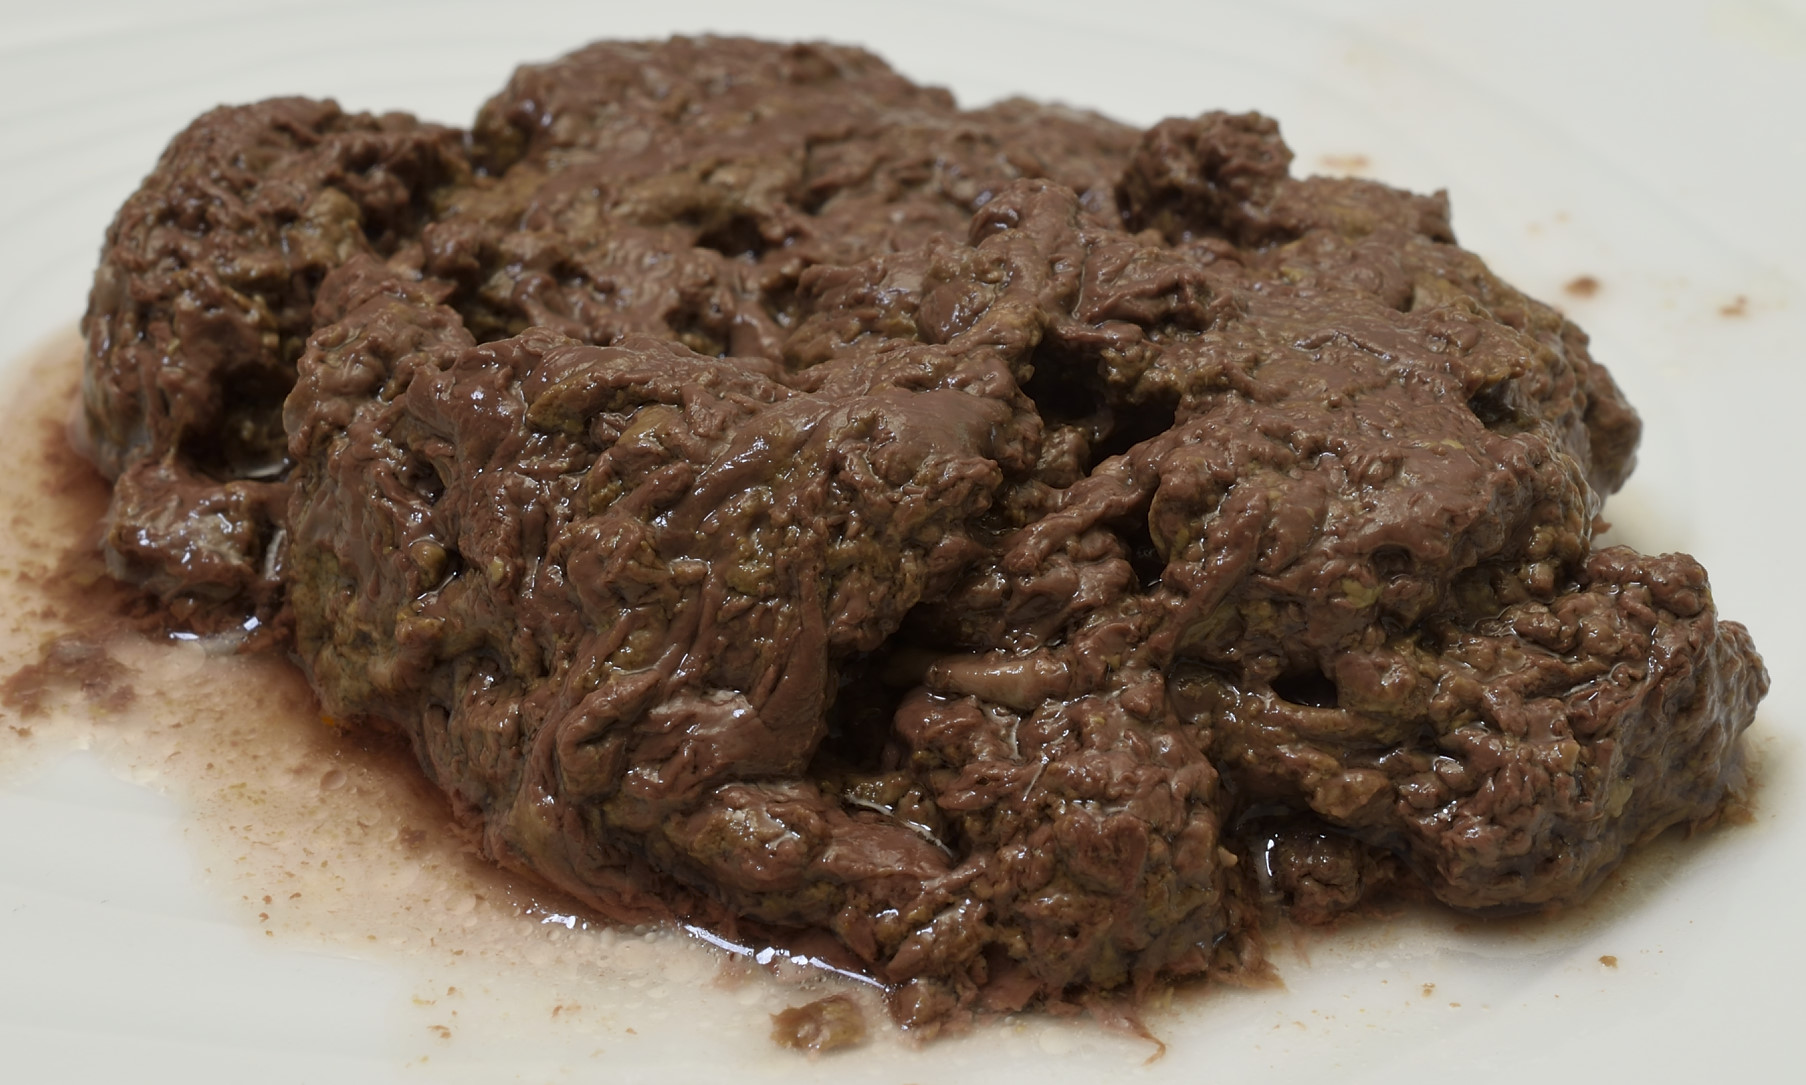
This residue/gunk is not the secret to an excellent sauce. It has a mealy texture, and smells like overcooked scrambled egg whites, sulfur and iron, which, of course, is what it is. If you do not separate it from the clarified juices, it will create dots in your sauce, to say the least.
This IS one of the secrets of a great sauce. This is the equivalent of a clarified Consomme, which is an important component of traditional gastronomy that used to be extremely labor intensive. This does not need to be reduced, because it is already concentrated–no liquid was added to facilitate its original fabrication, so there is no need to remove excess water. There IS no excess water.
This is “equivalent” to the stuff in the cans/cartons that they sell in the store, except that you know what exactly was used to make it, it contains more gelatin and it is not loaded with salt like the commercial brands. This means YOU get to decide how much sodium goes in it, instead of some guy who works for a company that sells salt. If you get my drift.
The bag was pierced; I positioned the brisket so that the hole never went under the water line during cold shocking. Even if it did, this would not be a catastrophe. I had frozen a Ziploc gallon bag full of water which I used to supplement the shocking bath in the the sink. By the way, do not try to put a whole gallon of water in a Ziploc gallon bag. More like a half a gallon.
After about half an hour, the IT of the brisket was 40 F/4 C, so we had safely passed through the temperature danger zone. We patted the brisket dry. We staged it onto a sheet of parchment or some other surface that is either disposable or easy to clean. I don’t know why I say “we,” there is no “we.” My wife helps me tremendously, but after the fact.
Use a fork to beat one egg white to froth in a bowl and paint one side of the brisket with it. Egg whites are very similar to albumins, which are the cringeworthy sticky proteins on the surface of raw meat–they are good at making the seasonings stick.
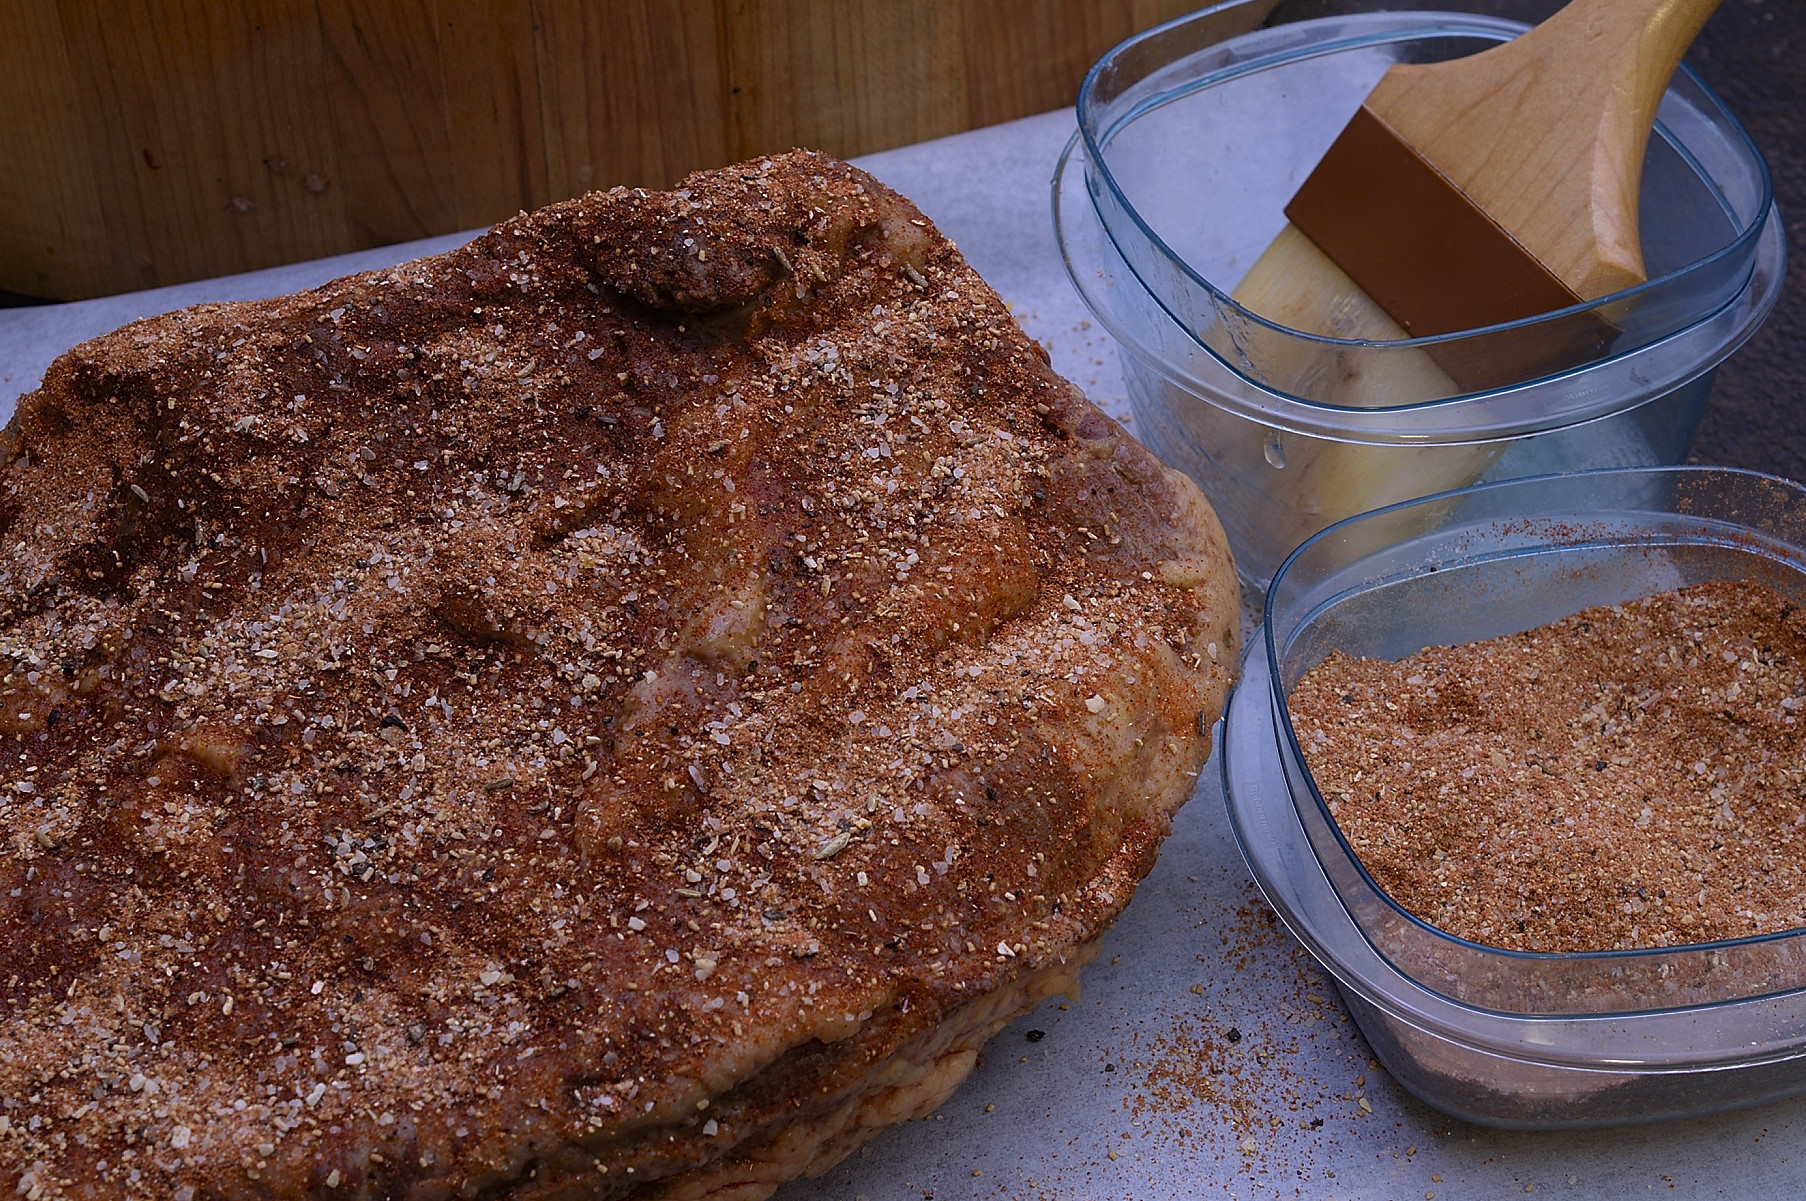
Sprinkle the surface with one of the recipes on this website or your own favorite proprietary brand, or even one of your own creation.
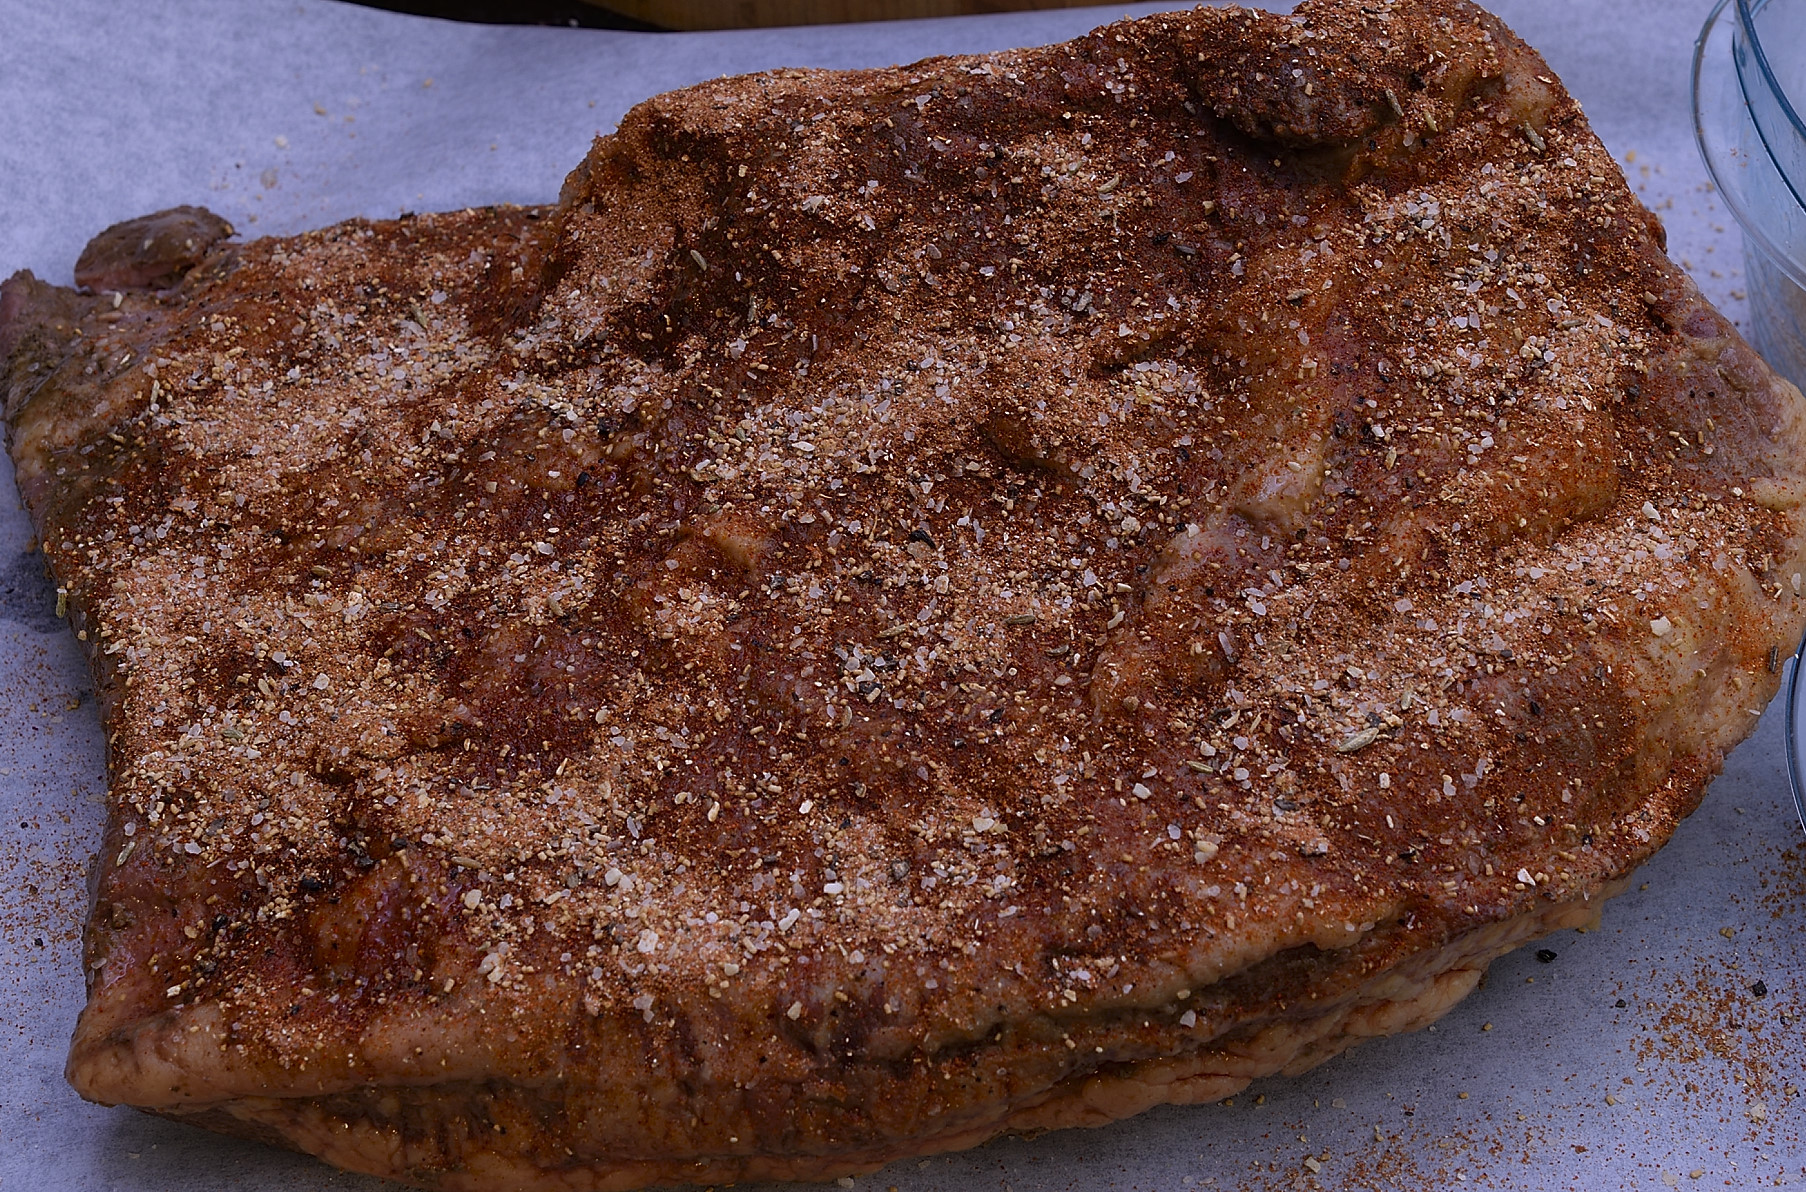
One thing to remember–most chefs apply no more than 2 tsp salt per lb/450 g of raw meat. Beyond that, all seasonings become a matter of preference. Wait 5 minutes to give the crust time to cling.

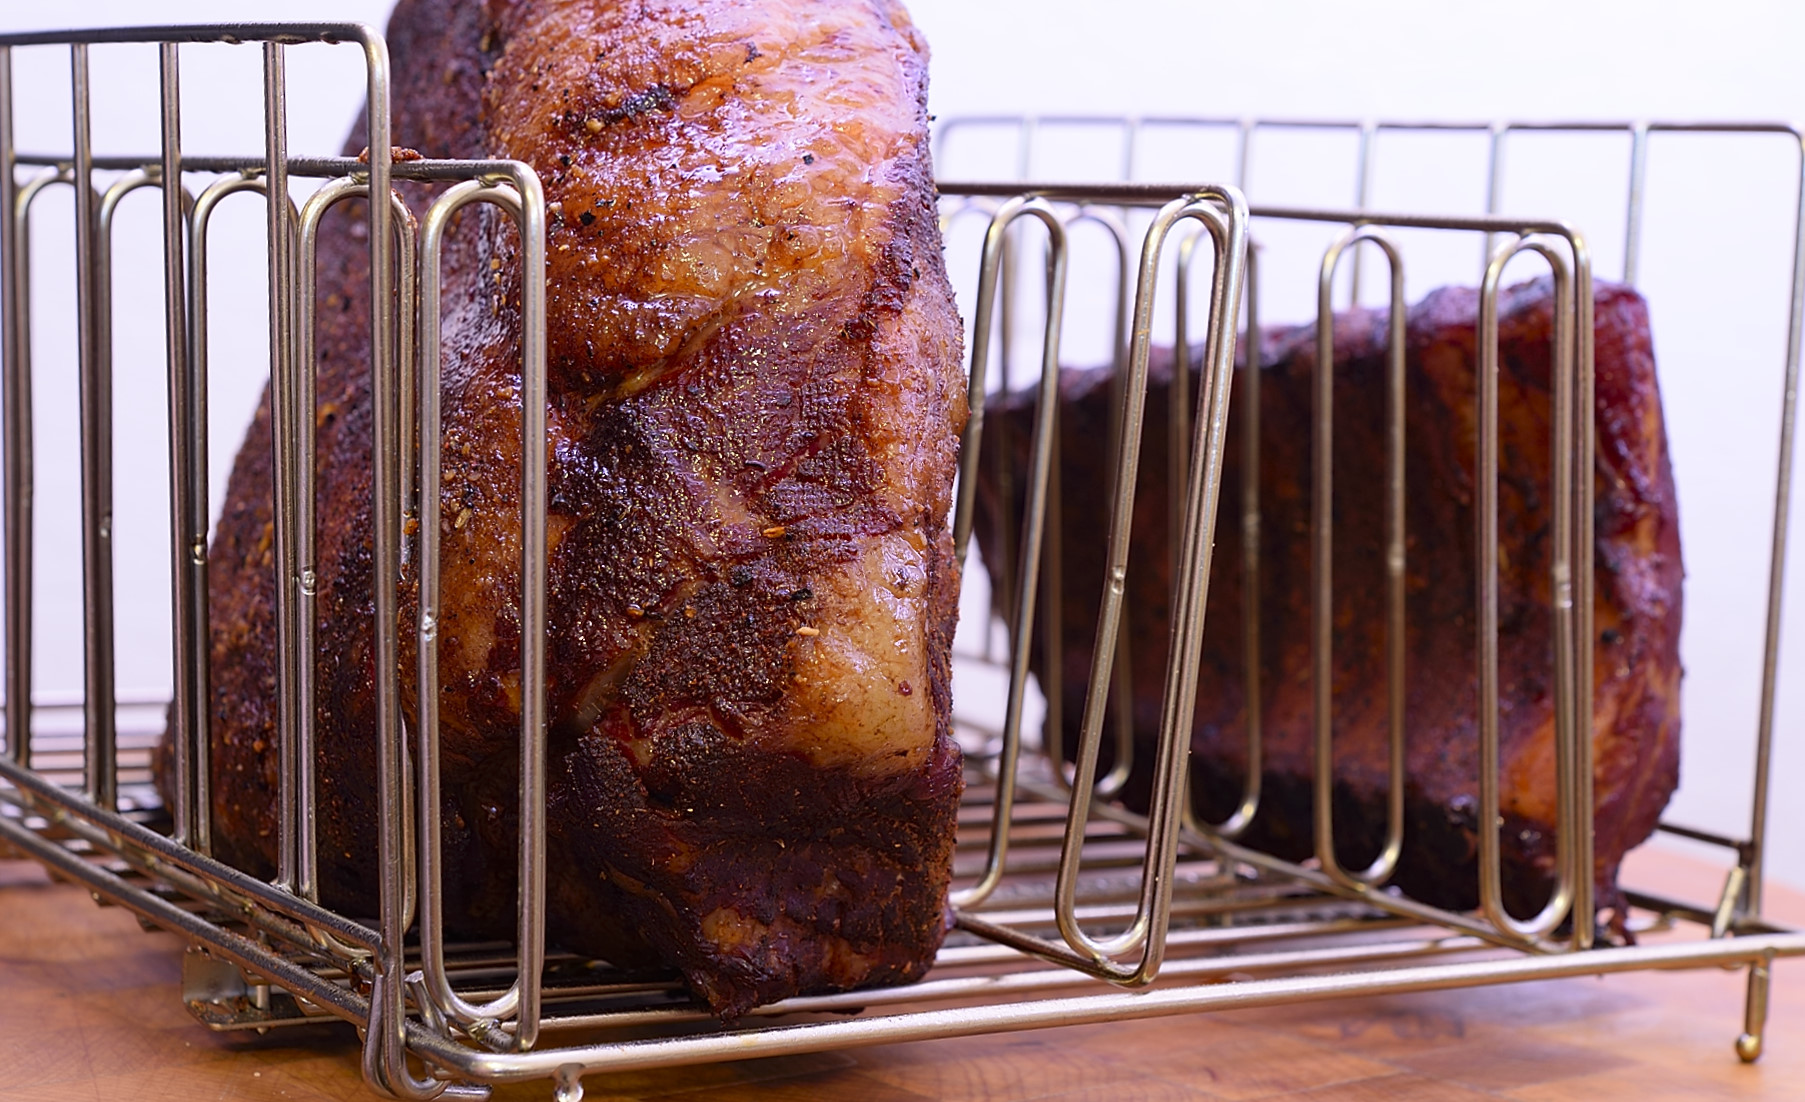
Flip the brisket over and repeat the process on the other side. Again, wait five minutes for the surface to settle. I prefer to stand the roast up in a large Lipavi rack. I use a cold start in a pellet smoker, so as to avoid excessive exposure to CO and NO.
180 F/82 C for three hours or thereabouts. Again, this is not stop watch driven. Do not open the smoker for the first two hours. Nothing is happening in there. Yet.
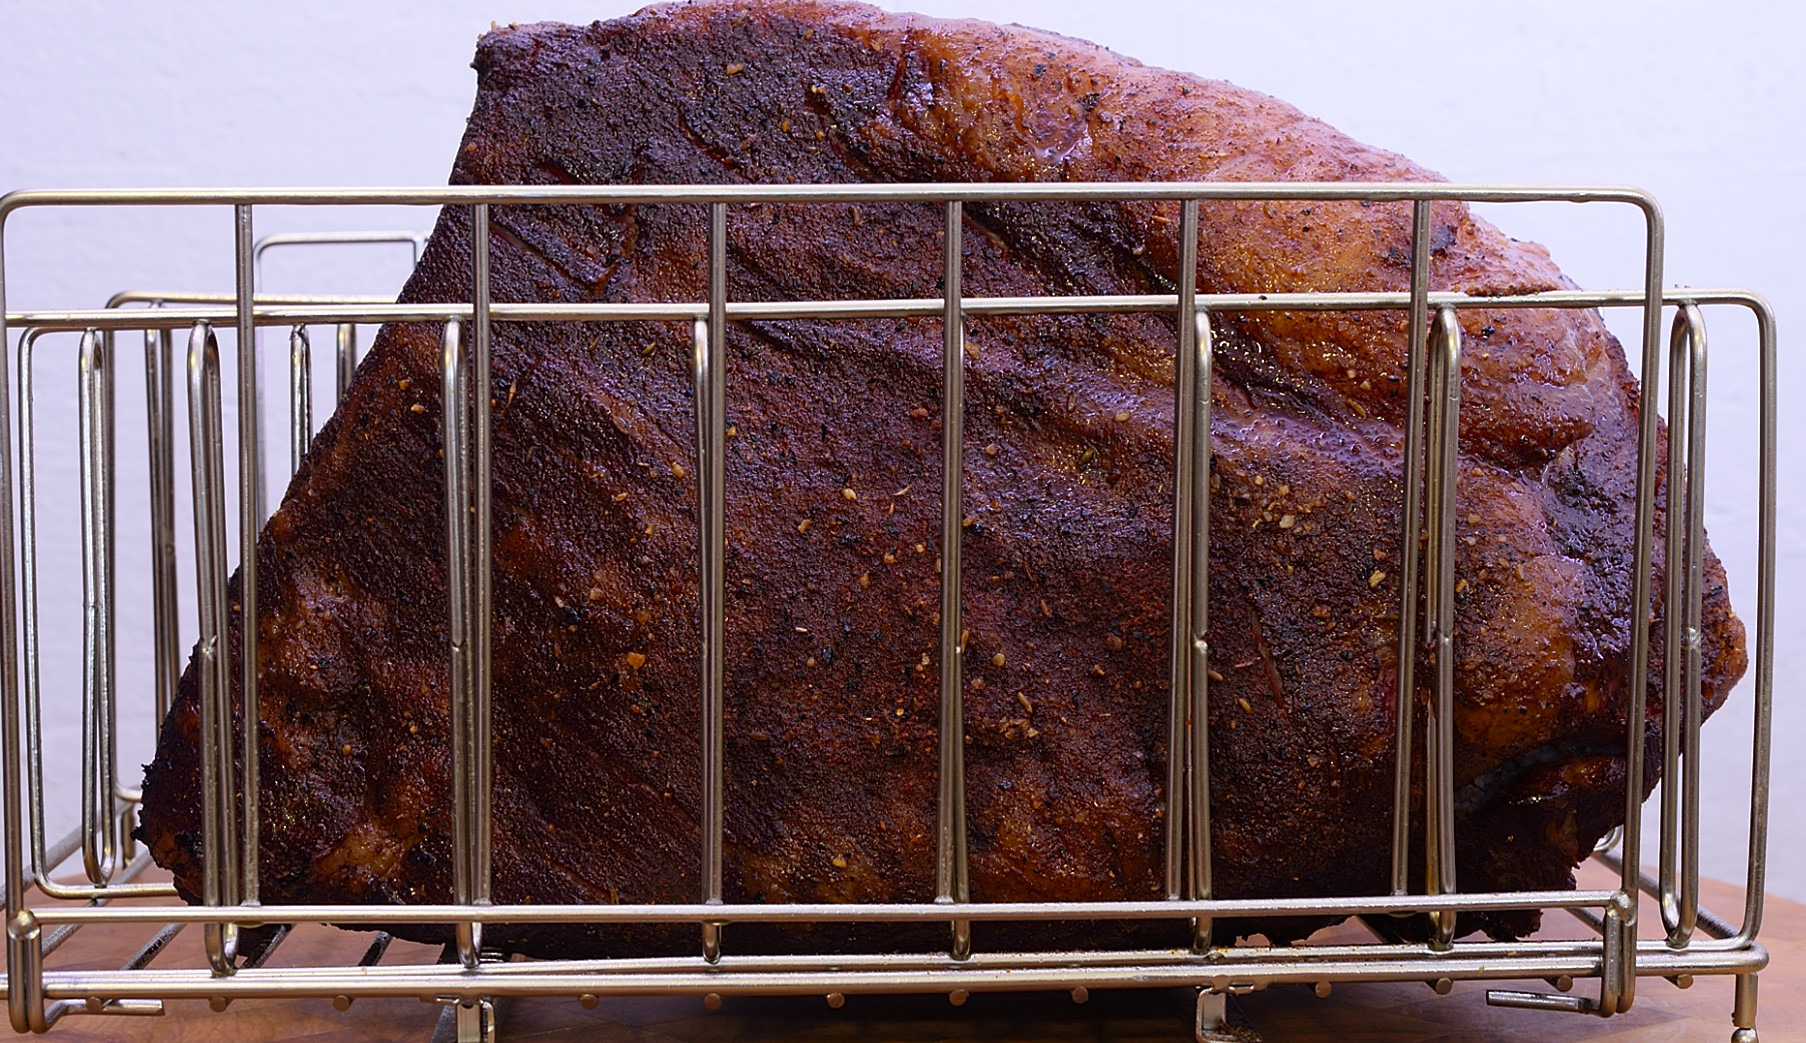
Darkened. Hot. That’s how you know.
You can smoke the brisket as long as you like, with the caveat that the internal temperature continues to increase and moisture continues to be released. I usually shoot for something around 140 F/60 C. Mouth hot is closer to 125 F/54 C, so whatever floats your brisket.
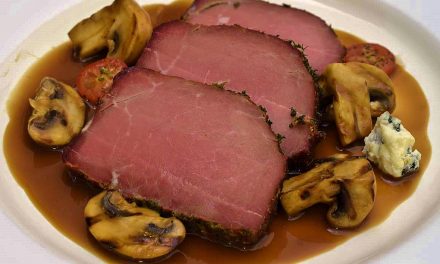
Slicing
The grain of the point and the flat go in almost opposite directions, and most enthusiasts come to accept this as the cost of doing business. There is, however, a way to slice the brisket so both faces are against the grain. The picture below shows the angles that are required.
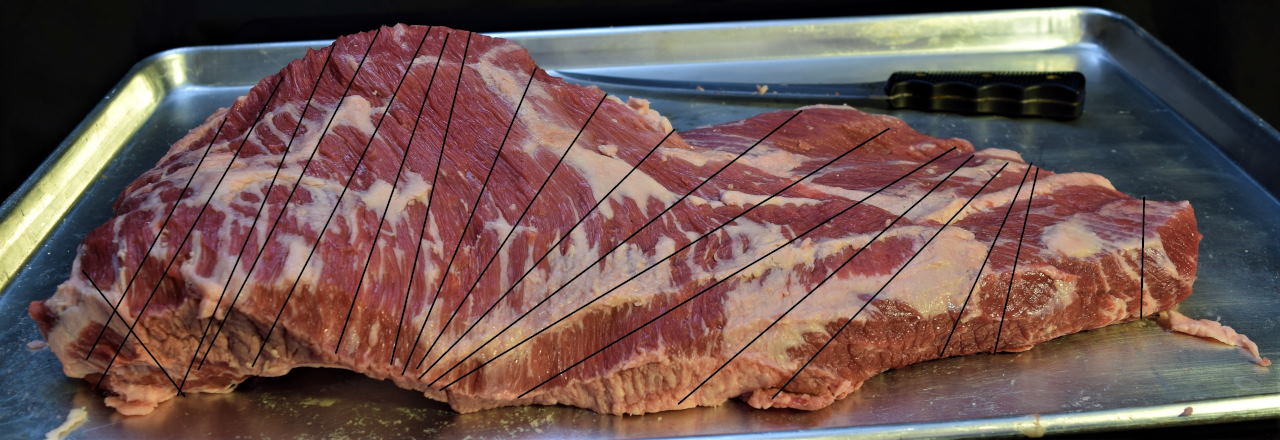
With a little practice and back and forth observation, one can cut on an almost diagonal angle without creating slices that vary in length enough to be noticeable. Even with the diagram, I flip it over a few times to make sure I make the right cut. The worst case scenario is that your slices come out looking like everybody else’s.

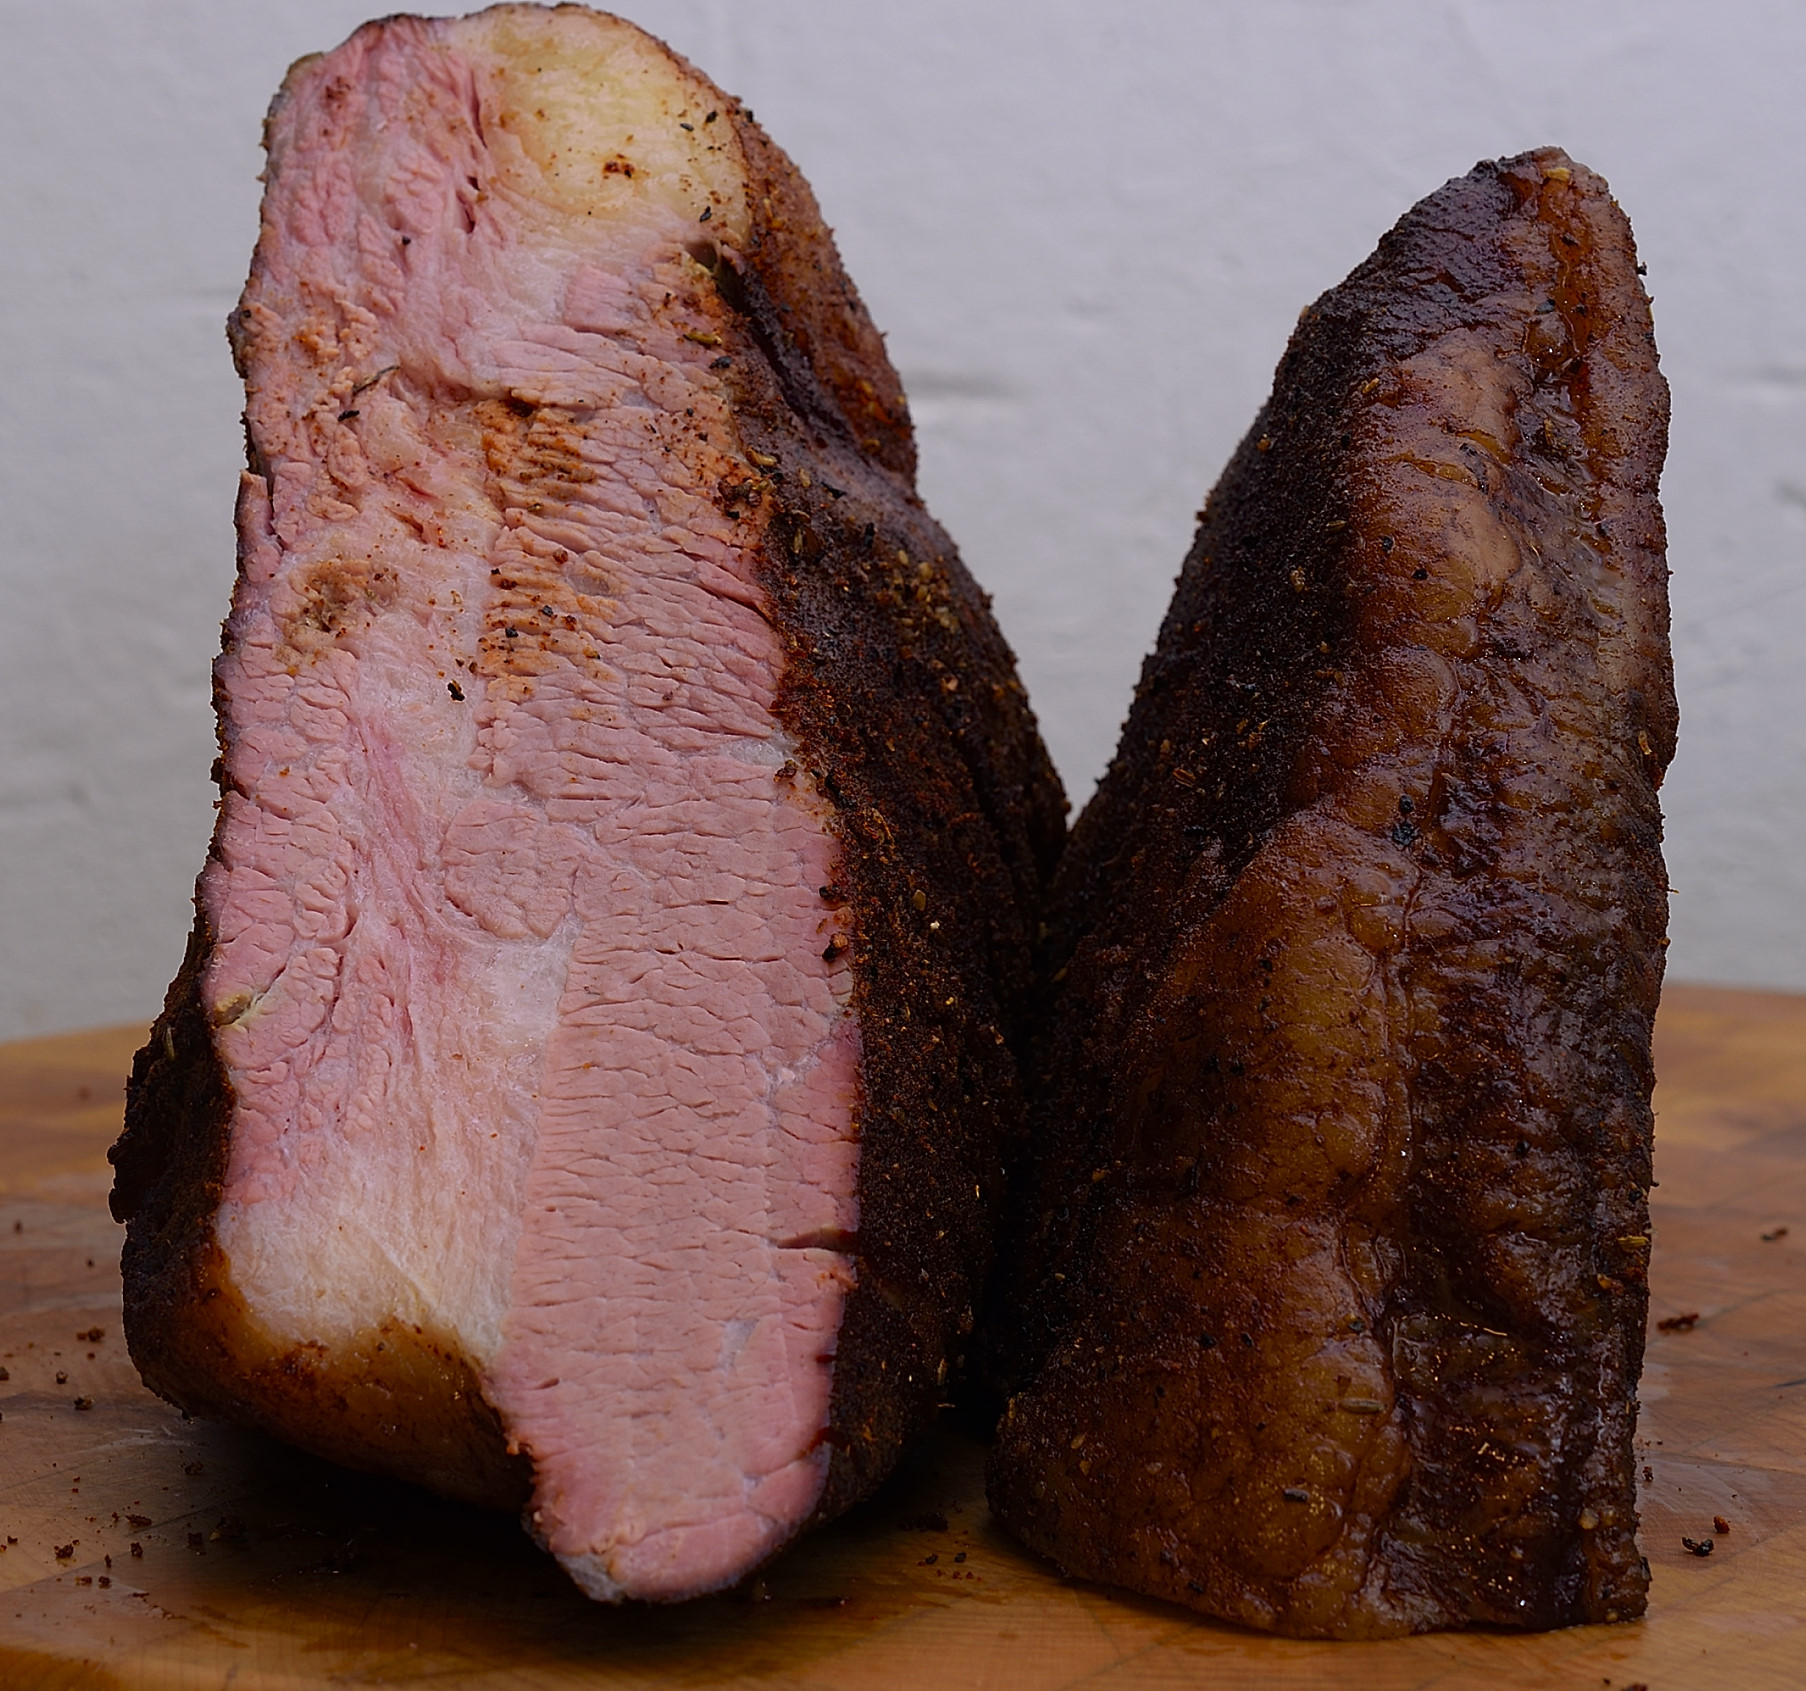
Success!
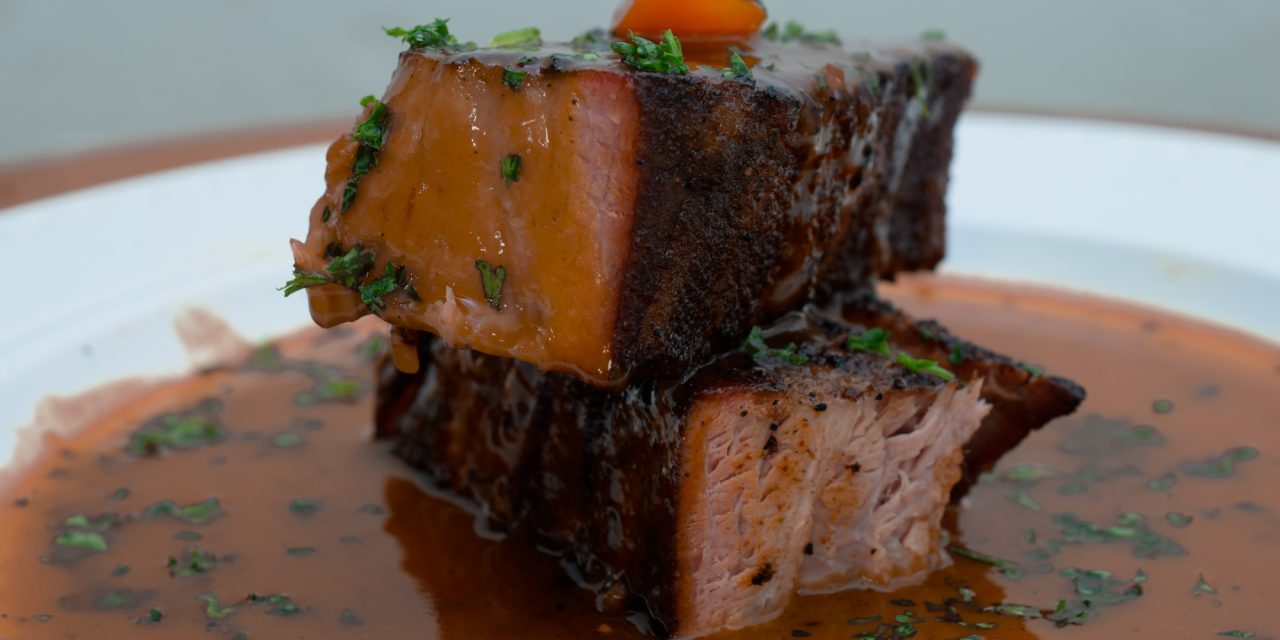
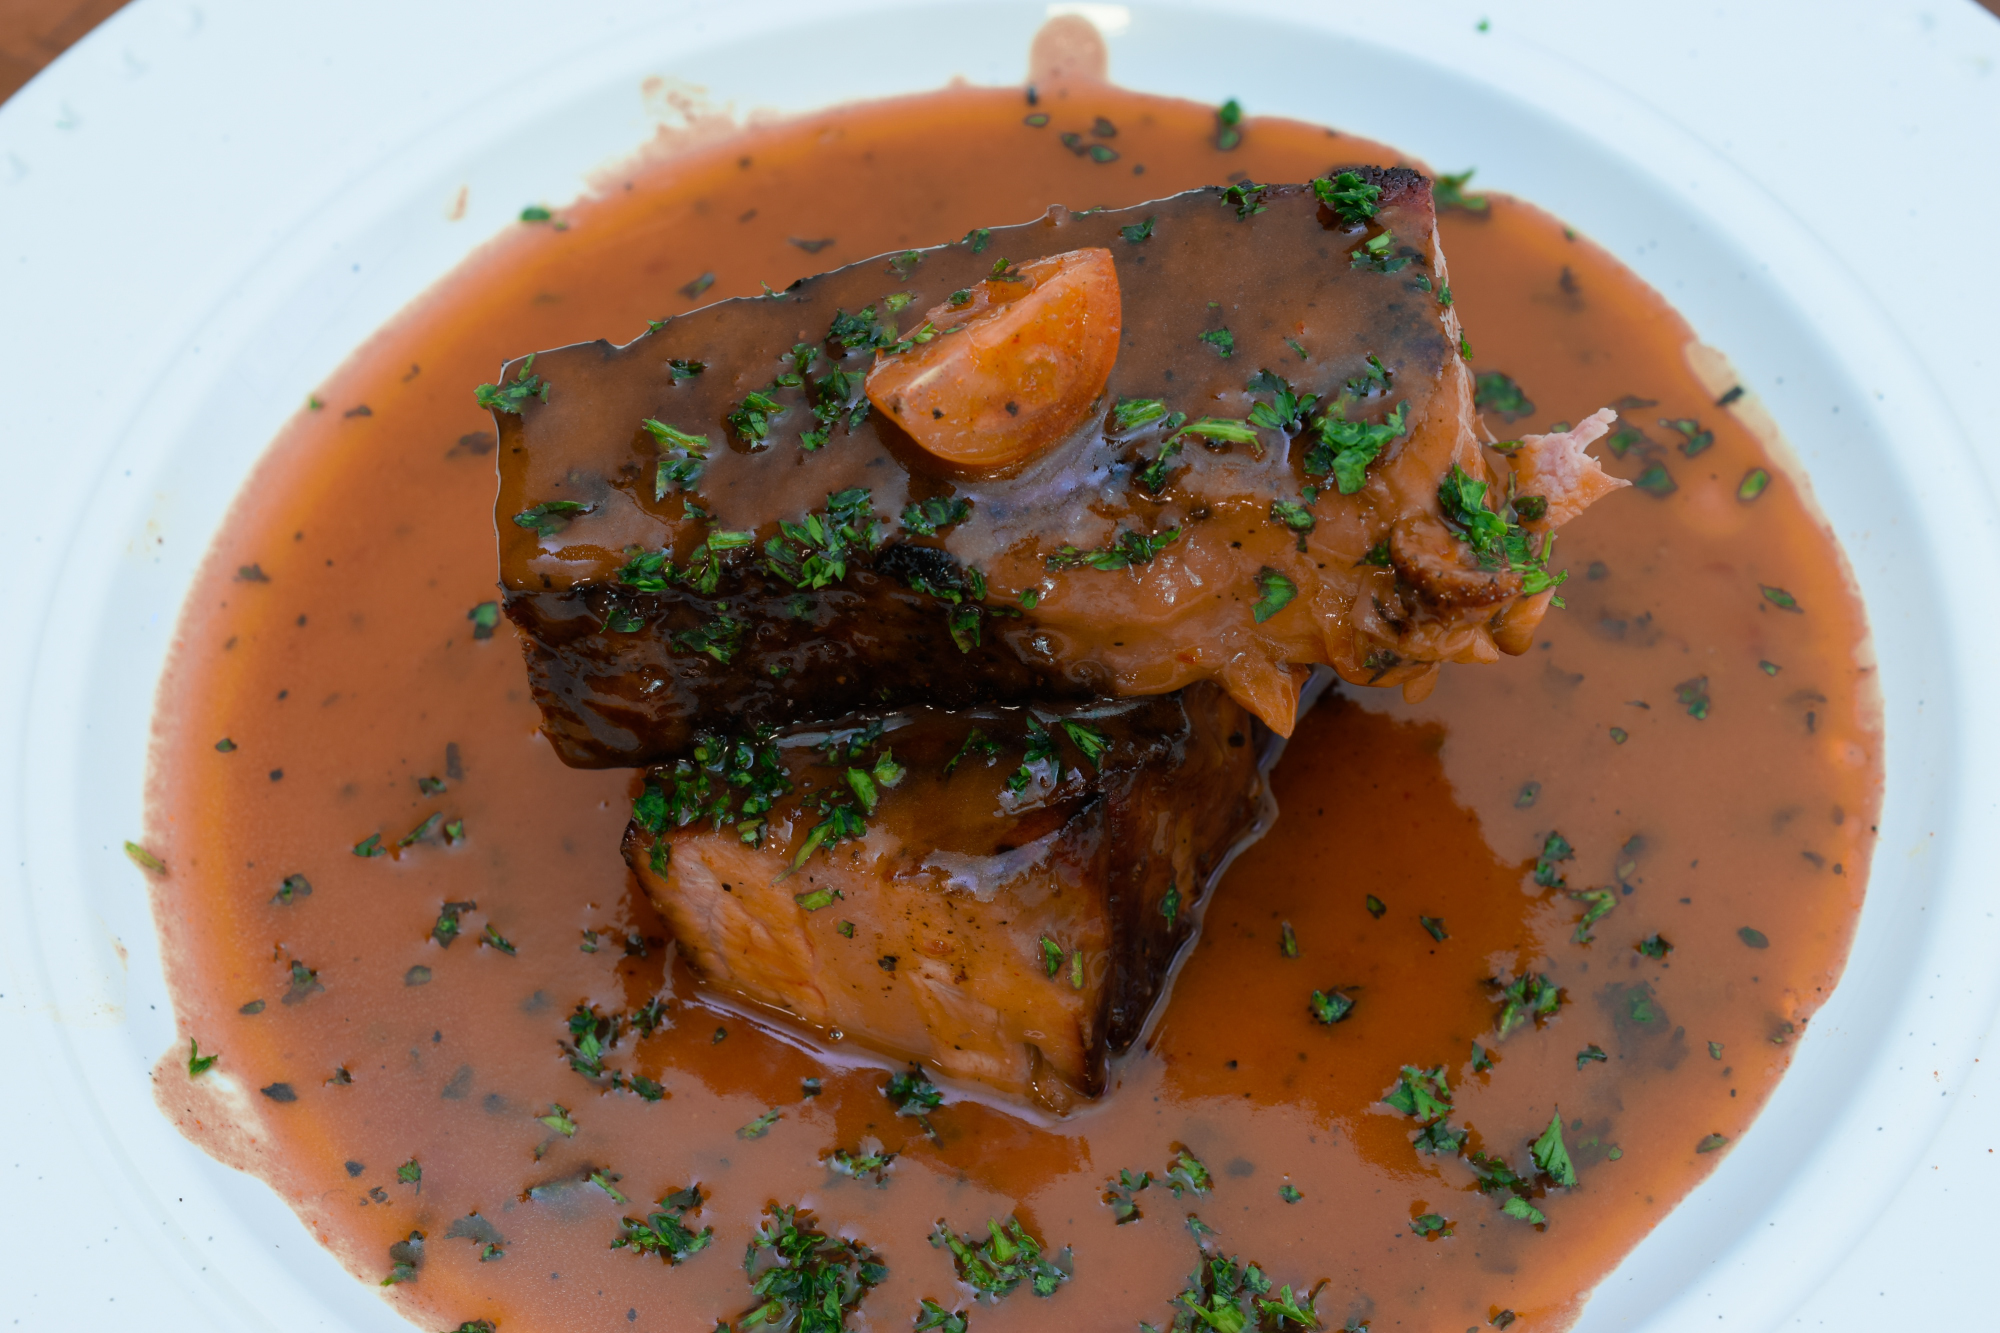
Presentations
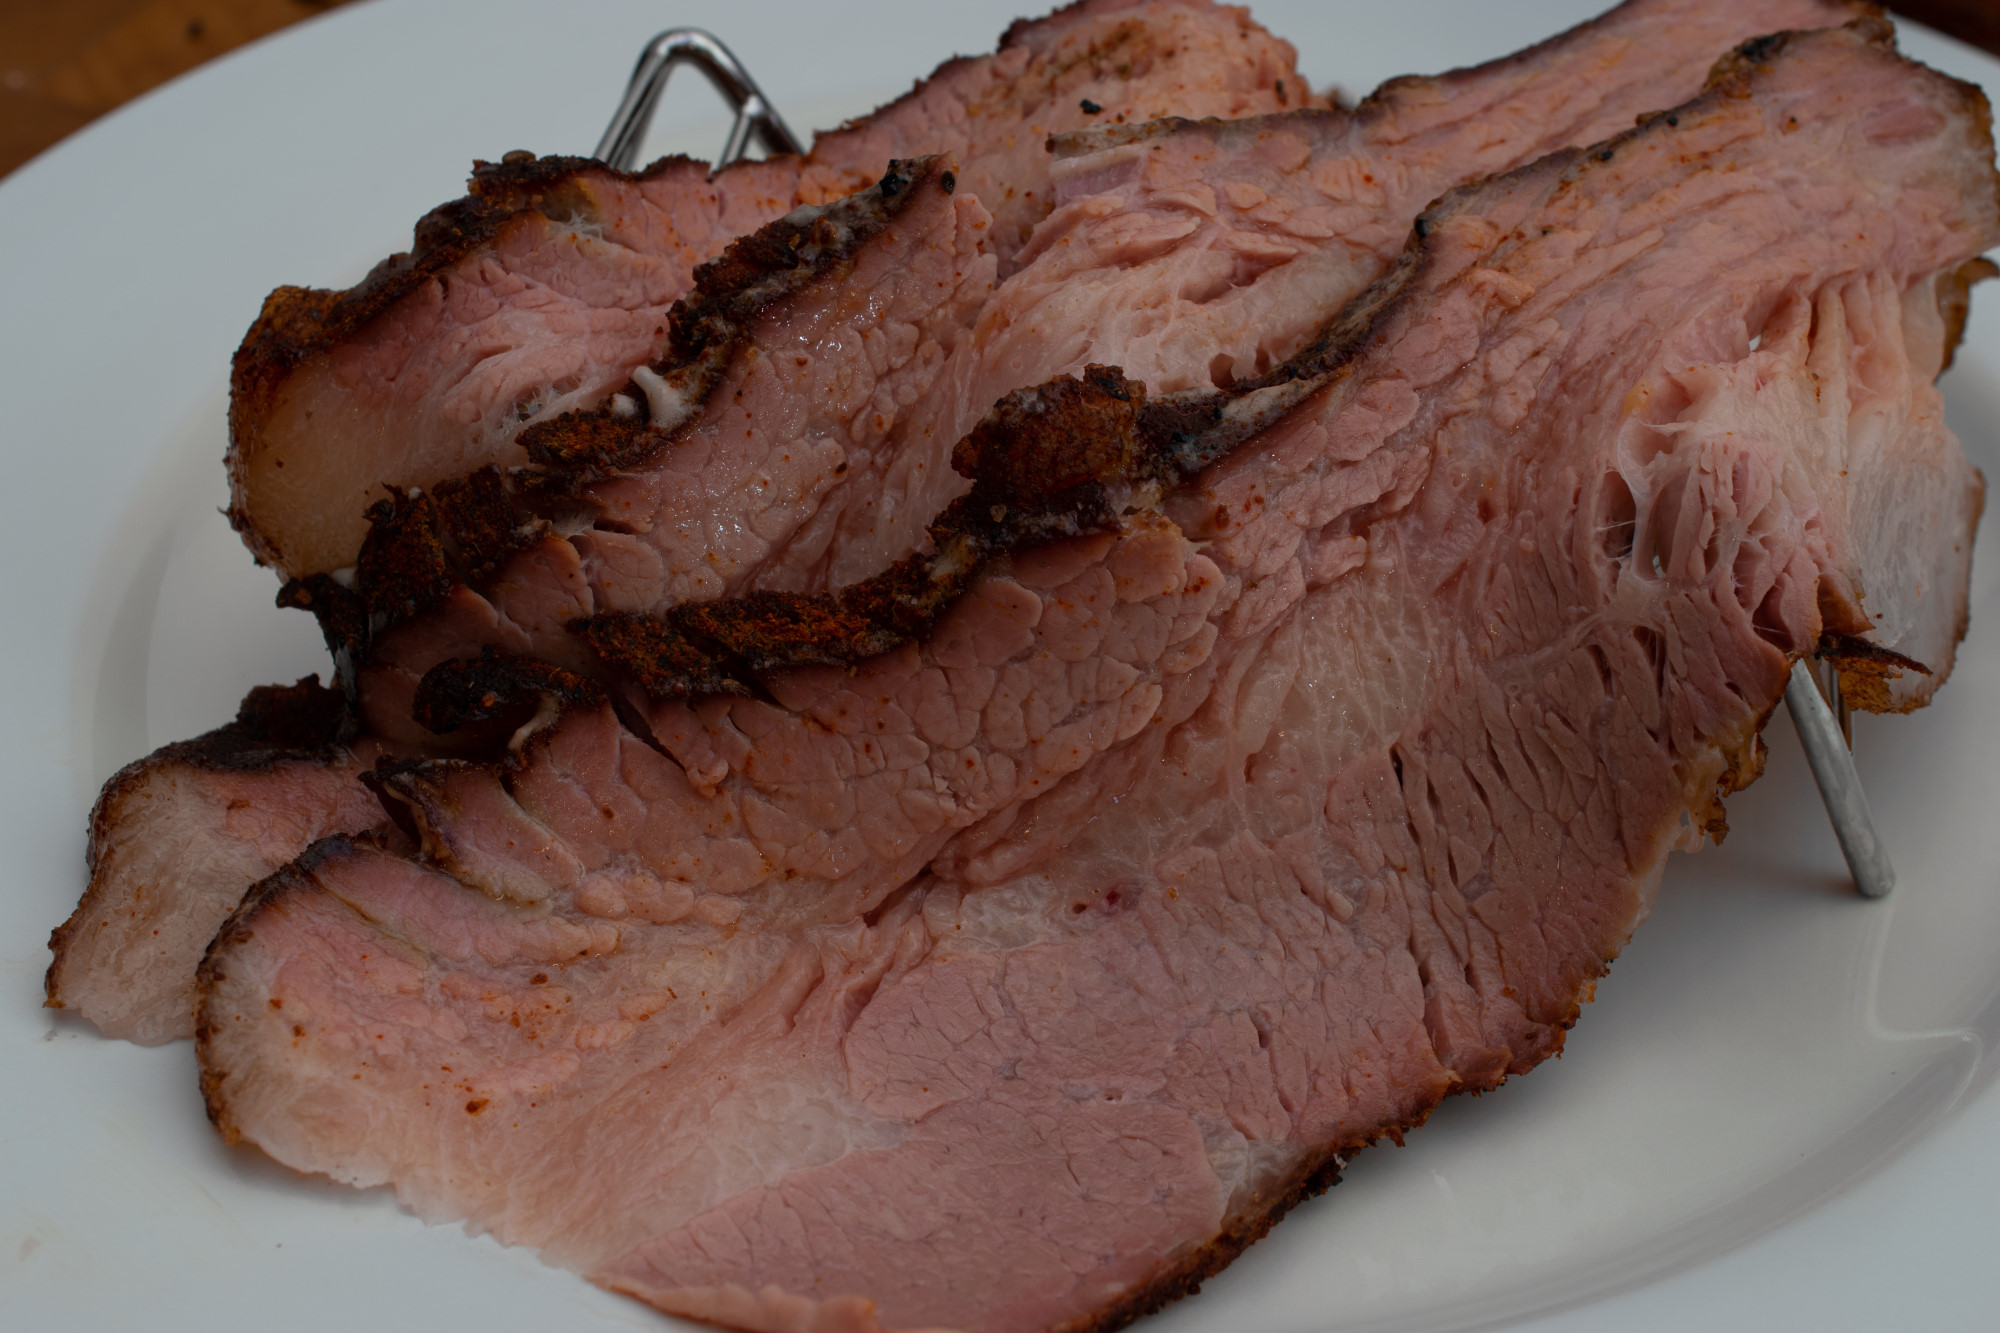
Don’t be intimidated. “Presentation” does not mean we are going to make brisket look like a Hyacinth. Presentation means we are going to fit in on a plate without a bunch of smears and prints.
This is enough.
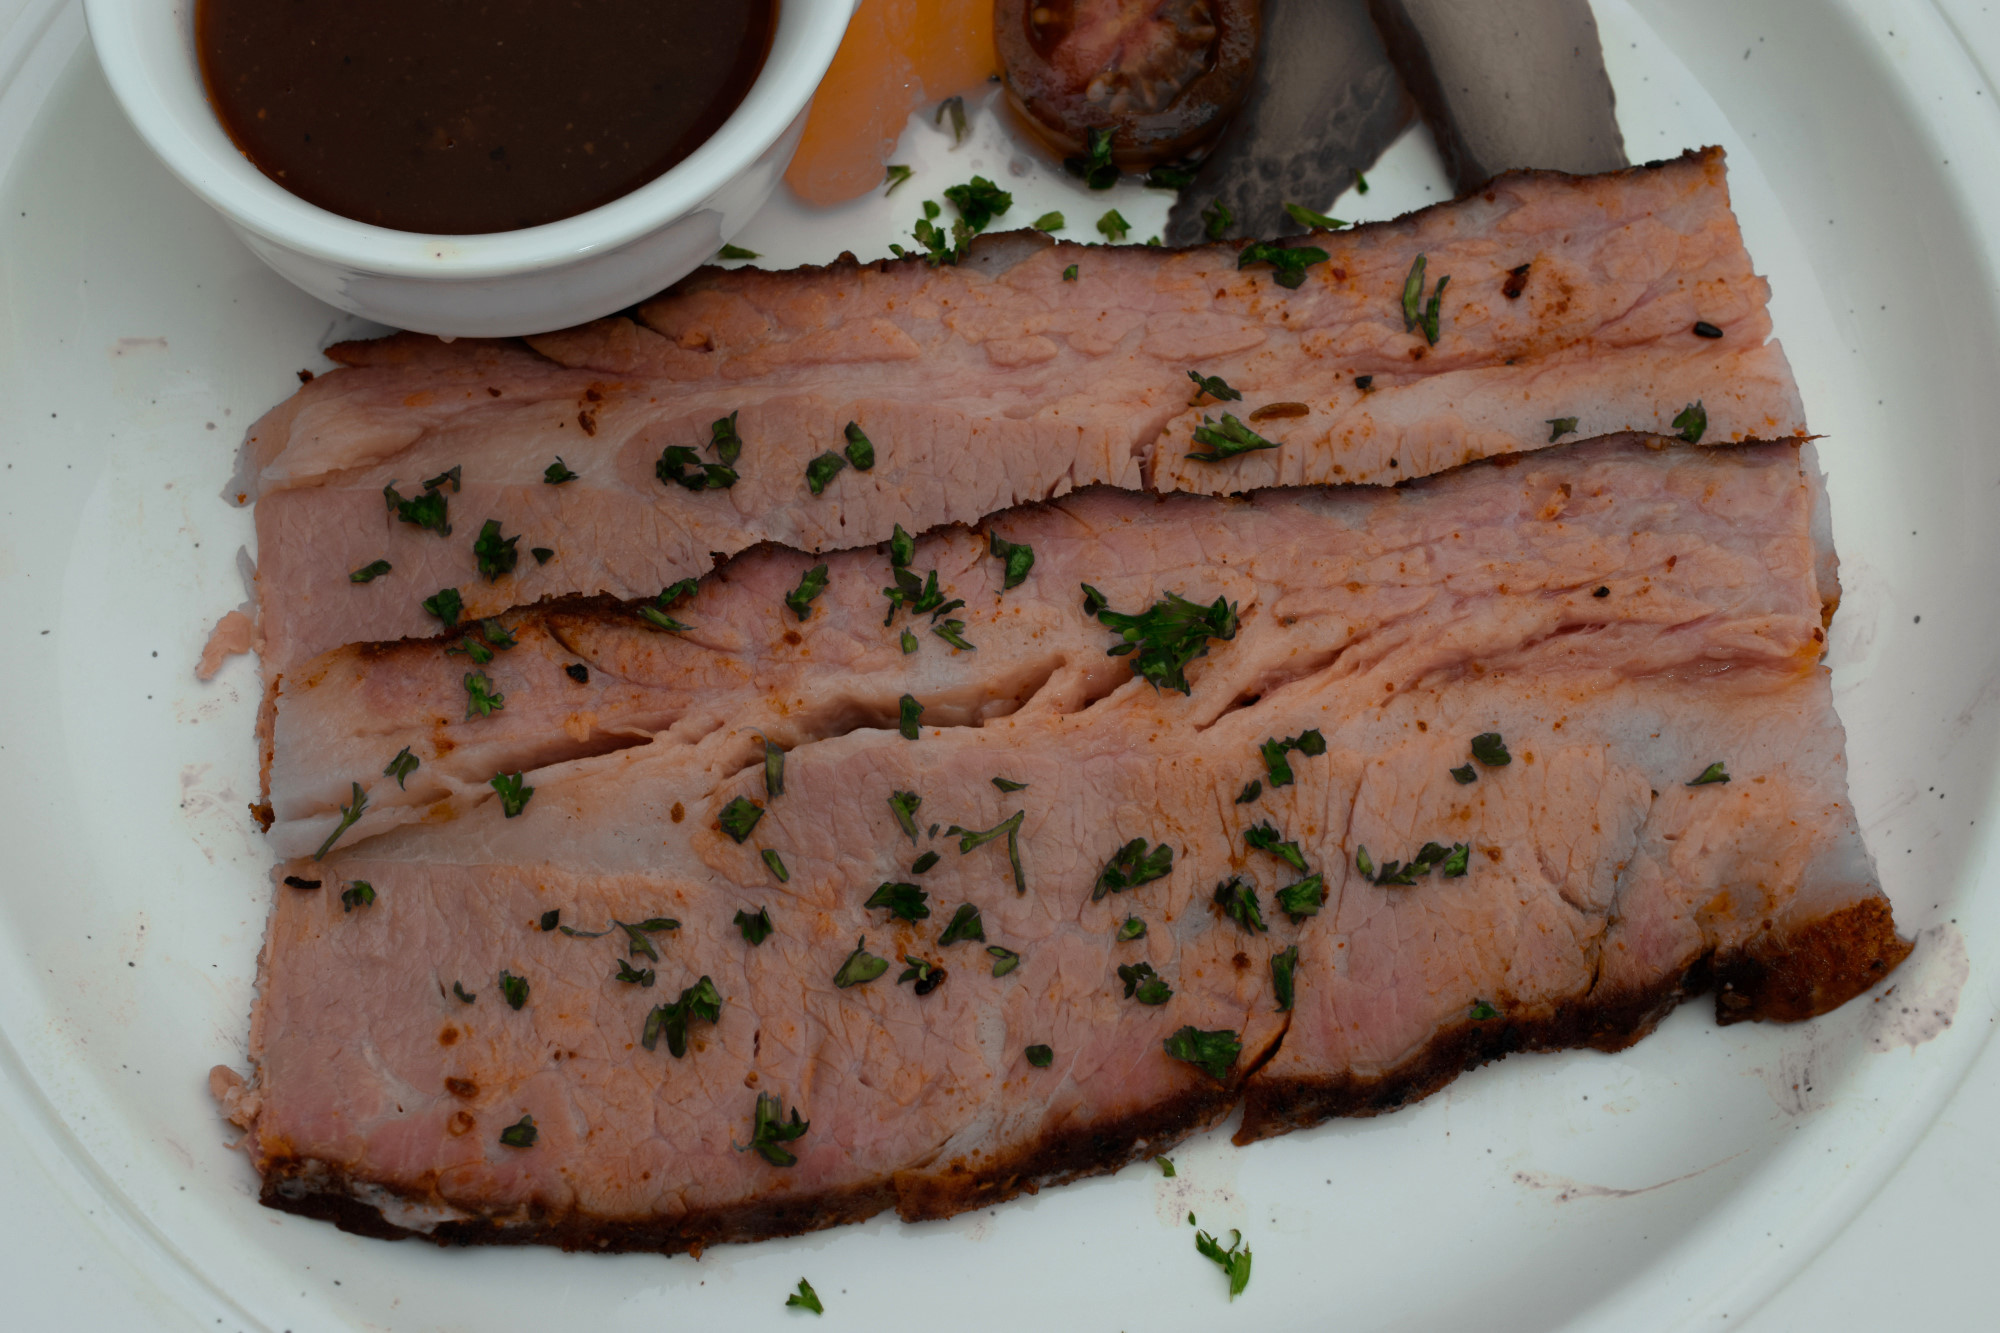
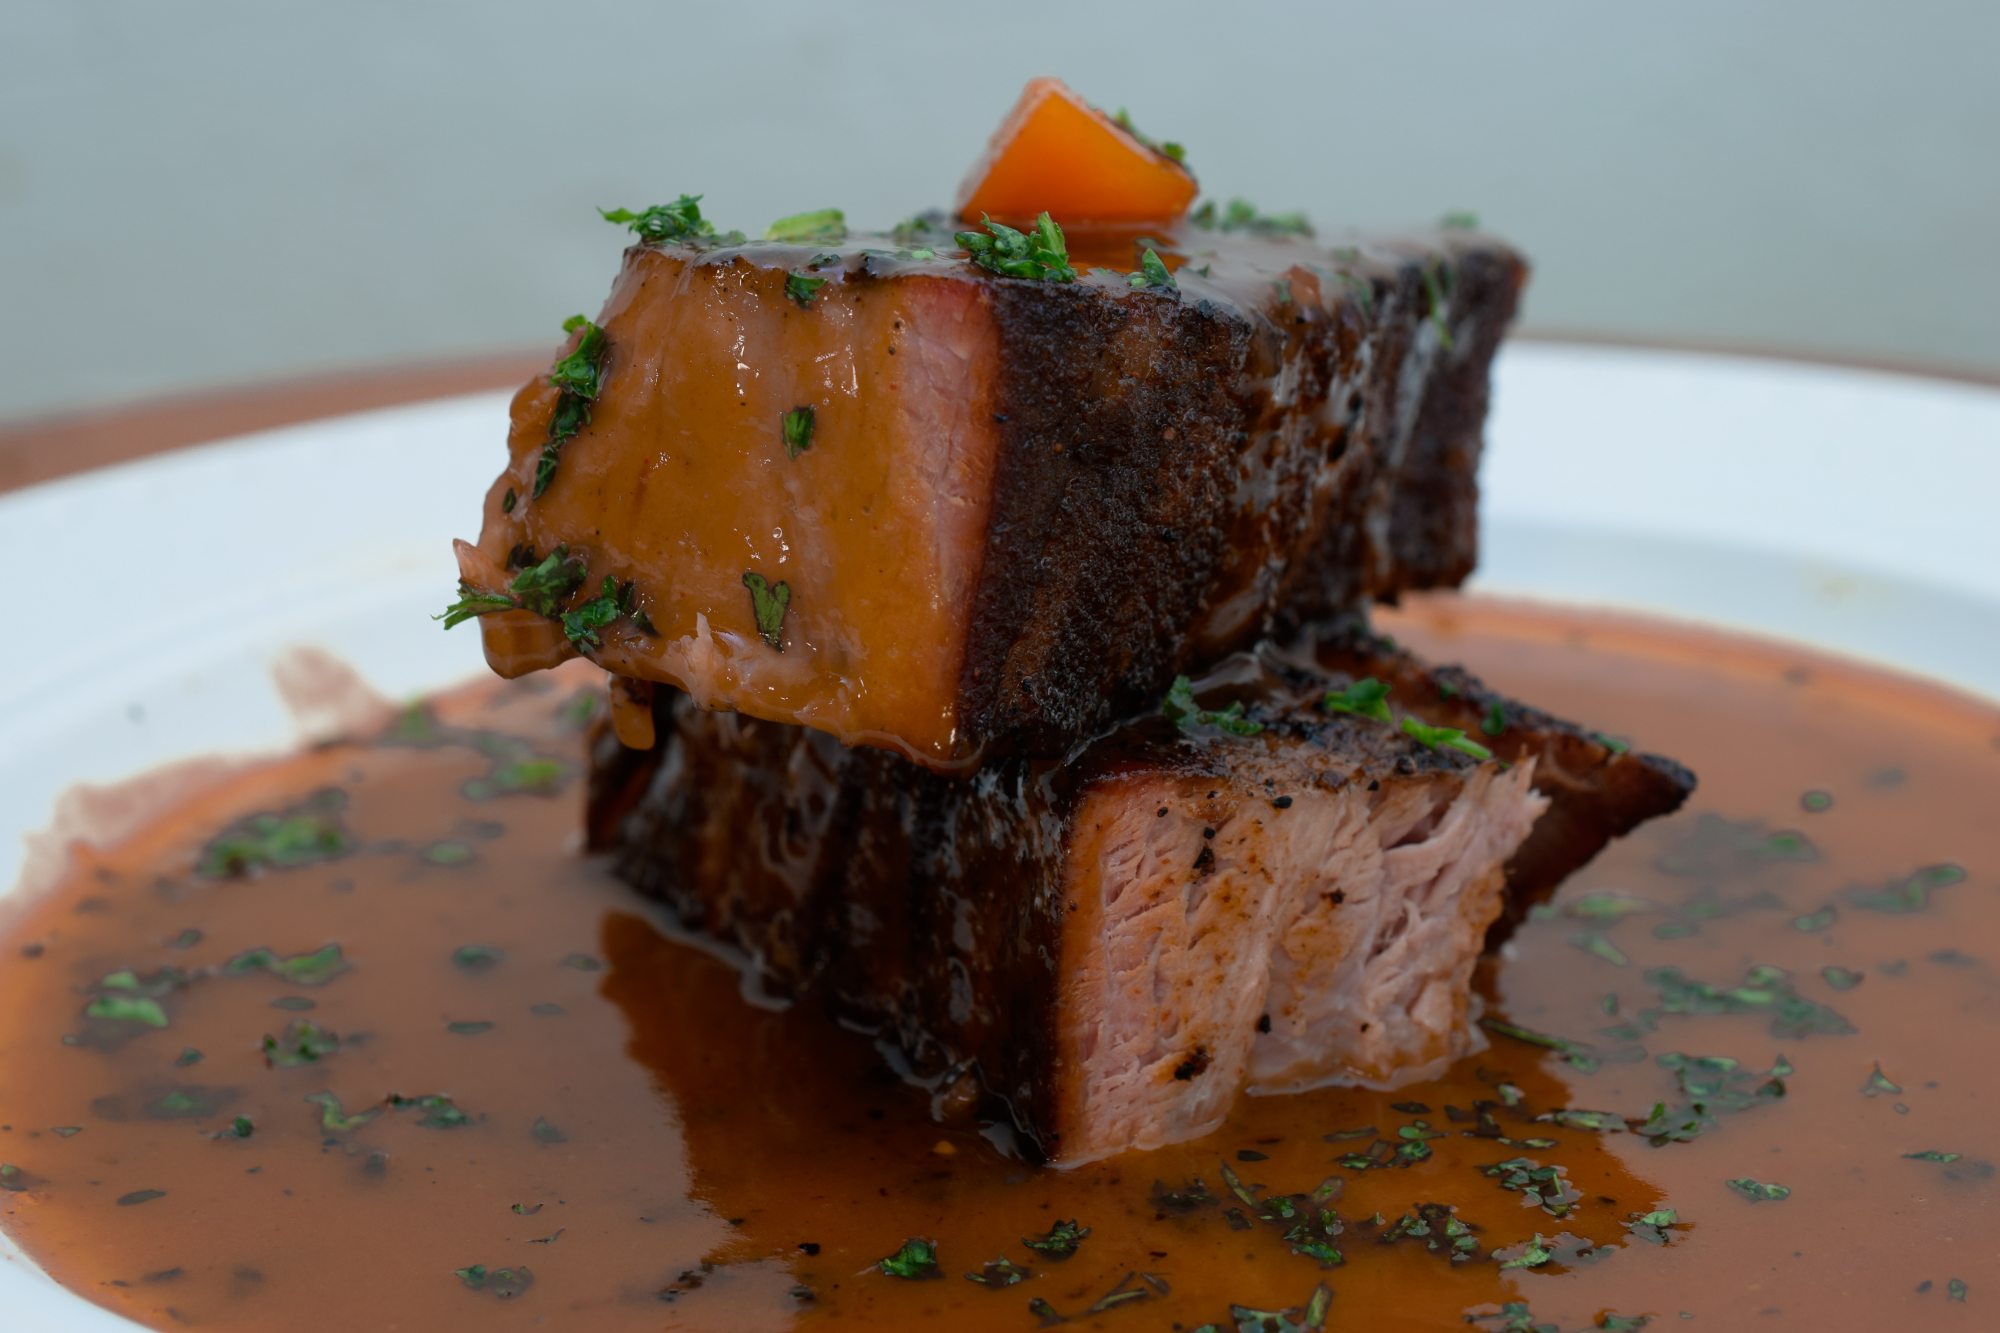
On the other hand
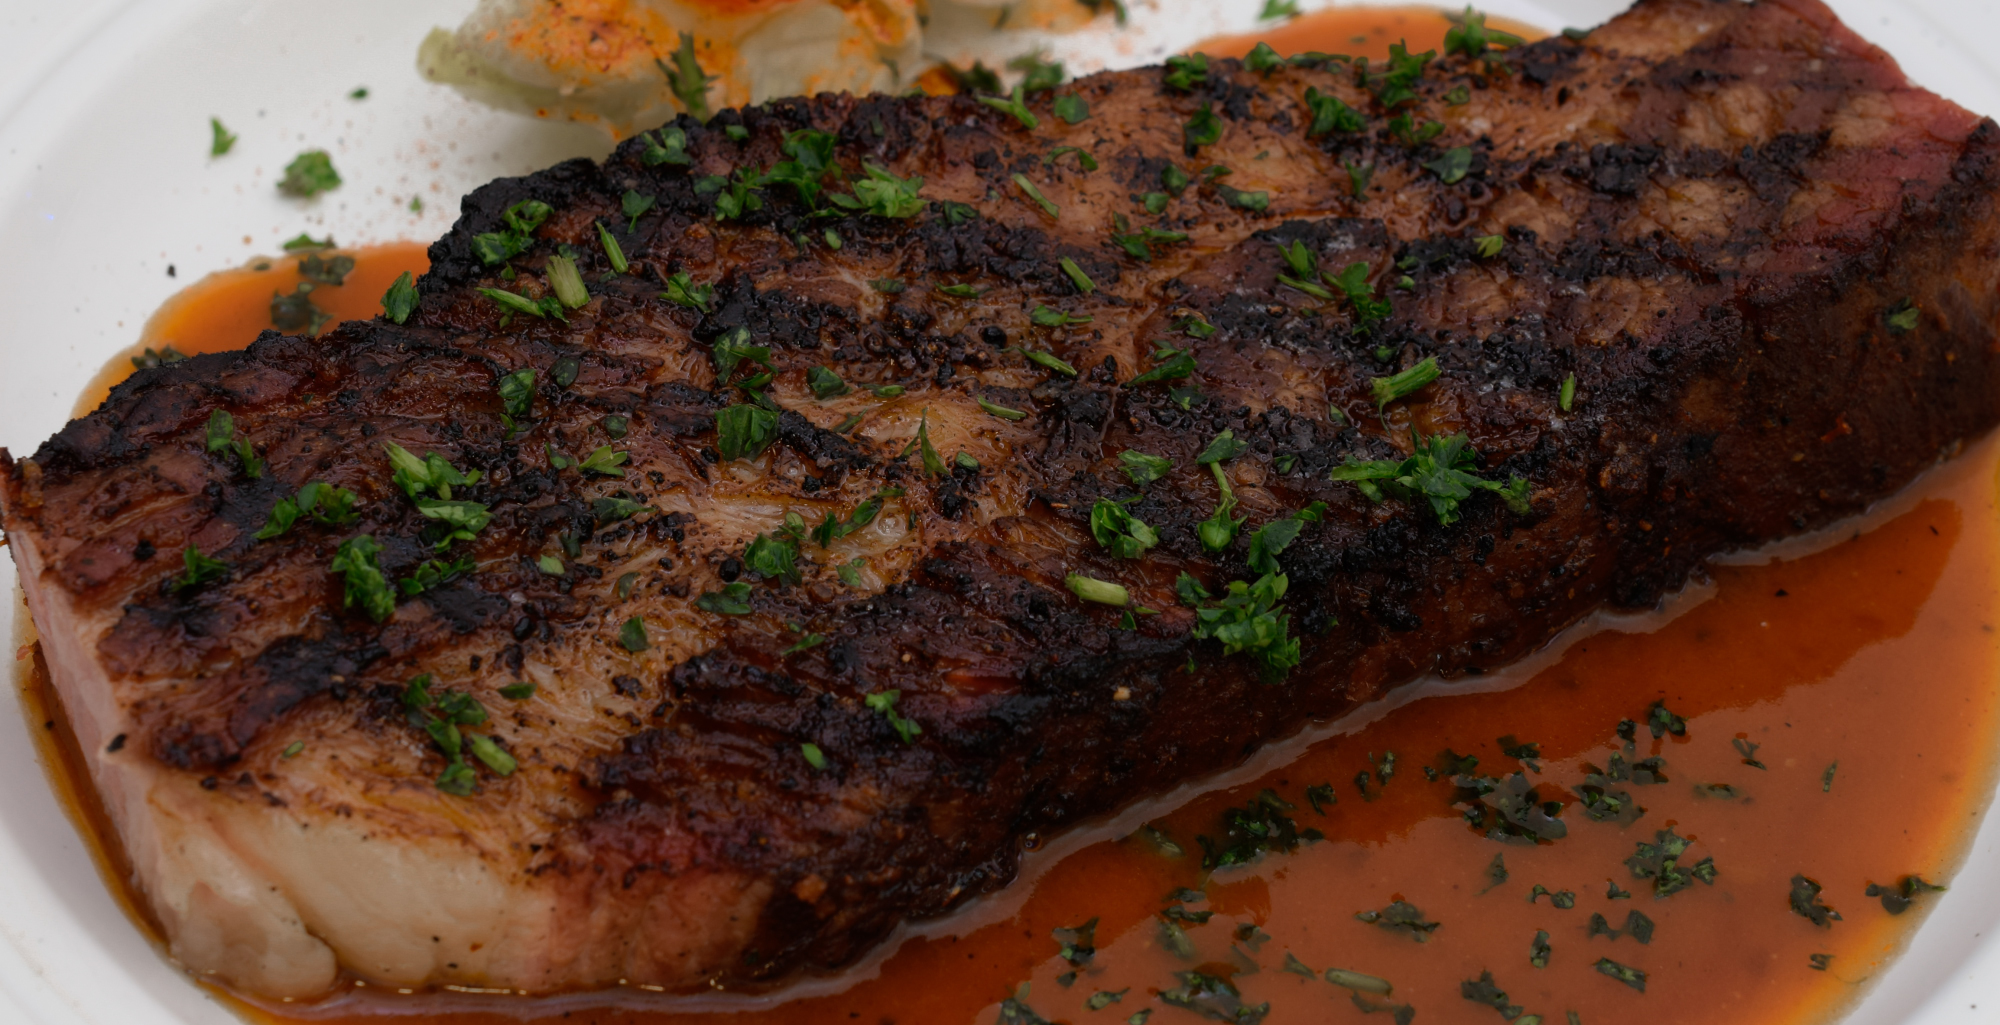
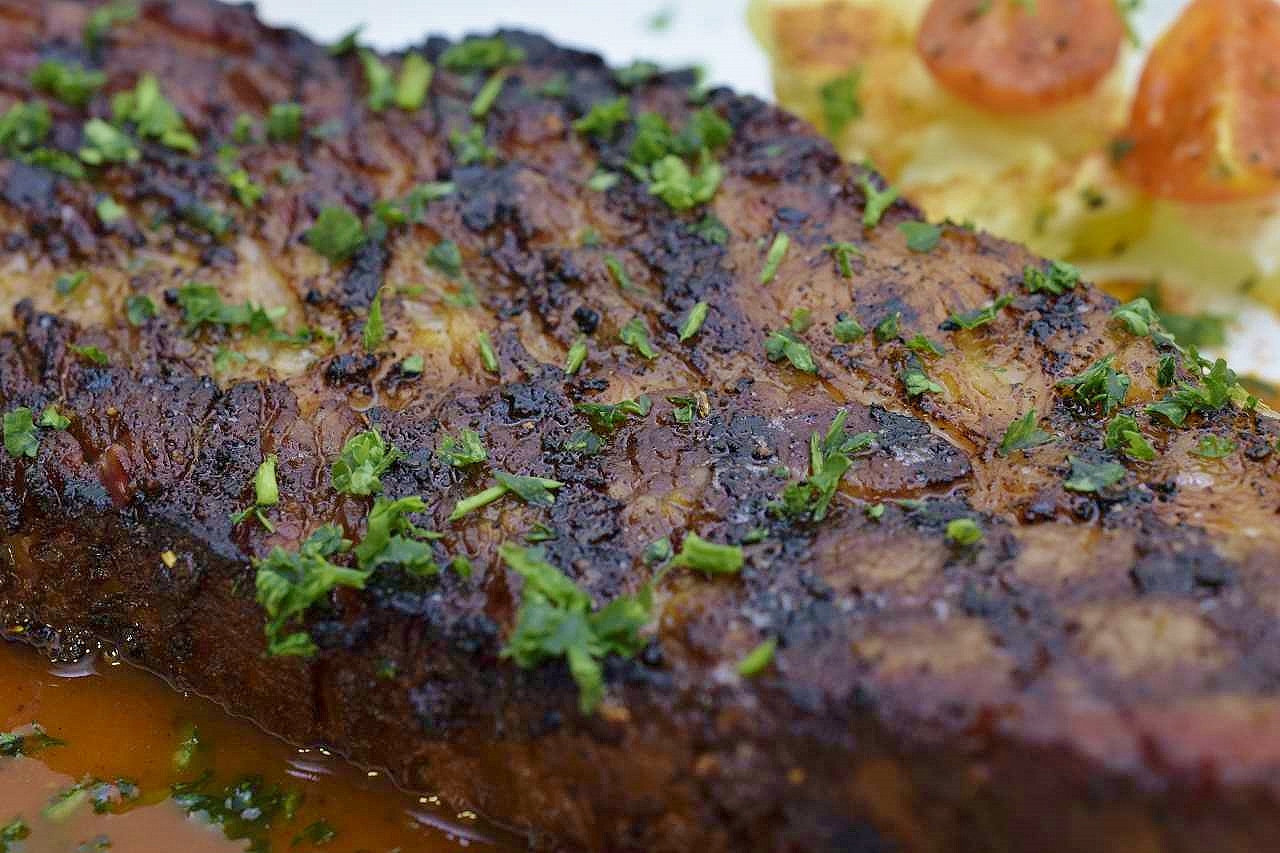
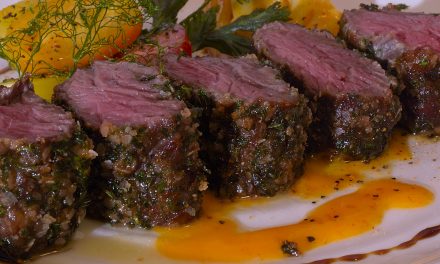
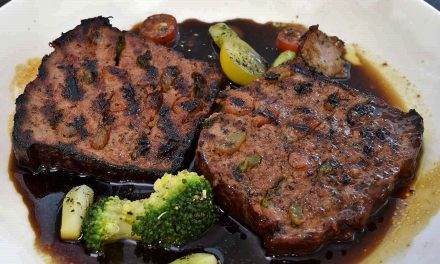
Sous vide’s unique characteristics give us more freedom to push the boundaries. The brisket is so moist and tender, I cut a “Faux New York” out of the heart, seasoned it and grilled it in the cast iron broiler pan.
The sauce is an emulsion with the Sous Jus that we harvested, combined with the typical vinegar based BBQ sauce components–molasses, Worcestershire, ketchup, garlic powder, vinegar and a little rub. Butter.
I have seen steaks that didn’t look that good. I’ve COOKED steaks that didn’t look that good.
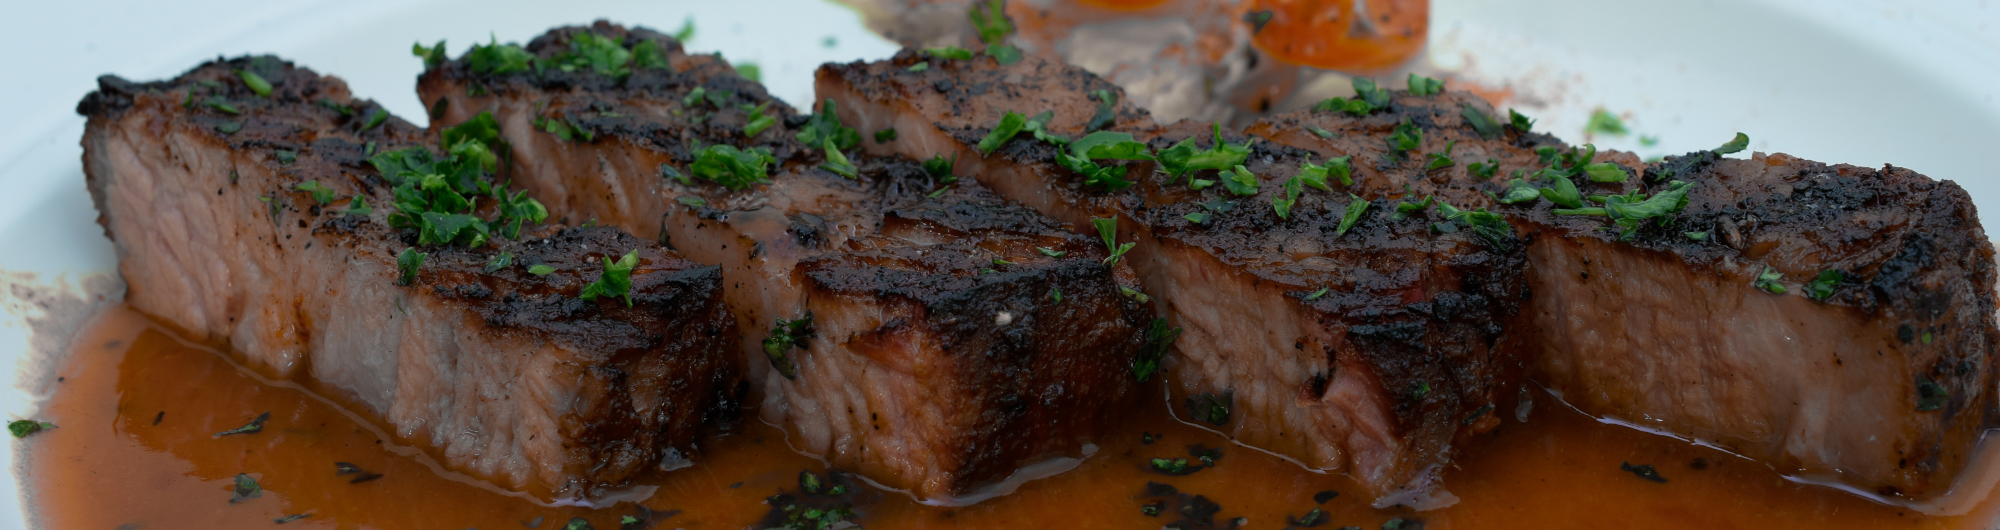
Surely you didn’t expect it to be medium rare. It’s more like very moist pot roast or Swiss steak.
Have fun with it.
Notes: Take pics, even if it’s with your cell. If you don’t like them, delete them–nobody needs to know. I delete at least 10 times as many pics as I hang, and I’m a hack. Good food is going to look pretty good no matter how bad you screw up the picture, and they serve as reminders.
Norm King
We all lean one way or another
We had just over 24 oz/675 g of meat that was too lean to create what we are accustomed to calling ground beef/hamburger. While we’re on that subject, there really are legal definitions of those terms “ground beef” and “hamburger.” They are not exactly the same thing, although they are very close to it. There is a small amount of nuance that specifies the location where the meat is being ground and so forth. We shan’t dally.
“Ground sirloin” is not sirloin that has been ground. Even the definition of “sirloin” has some vagaries to it, but typically, these specific labels refer to fat content:
Ground Chuck=78–84% lean.
Ground Round=85–89% lean.
Ground Sirloin=90–95% lean.
Okay, that’s great. But I still wonder how they define “lean.” How can you actually measure the absolute amount of fat in a piece of meat without analyzing it in a laboratory and thereby destroying it? Cooking the meat and measuring how much fat comes out is not going to give you an accurate result. No meat is 100% devoid of fat, so there is still some latitude for the manufacturers to work their magic with.
For the moment, we will just forget everything we just found out that we didn’t know about this, and we will do what we will do. If you should decide to make this yourself, of course, it is up to you how much fat you incorporate into the ground brisket.
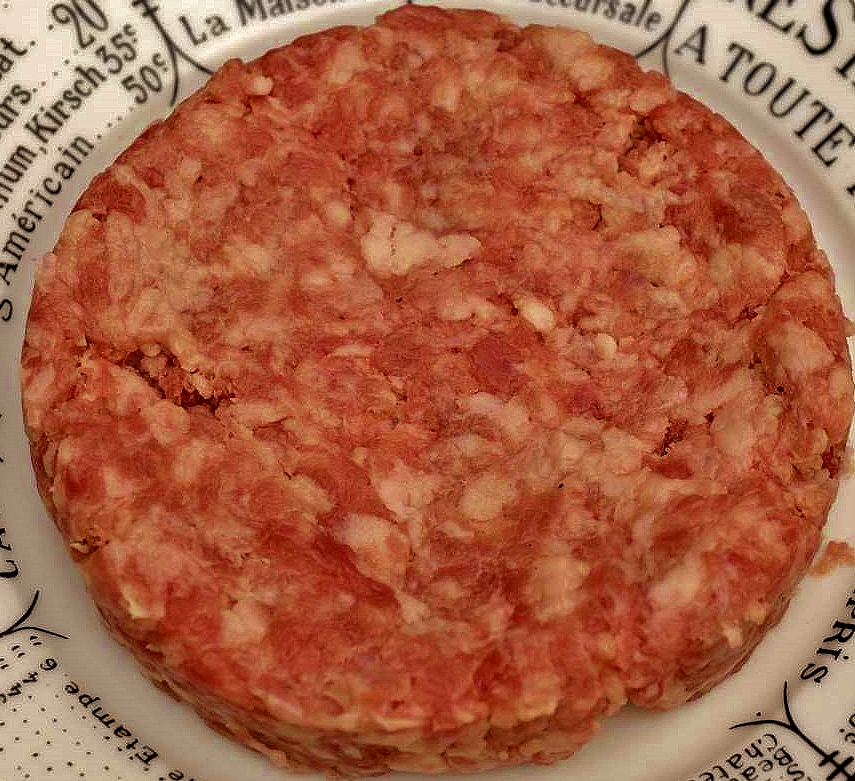
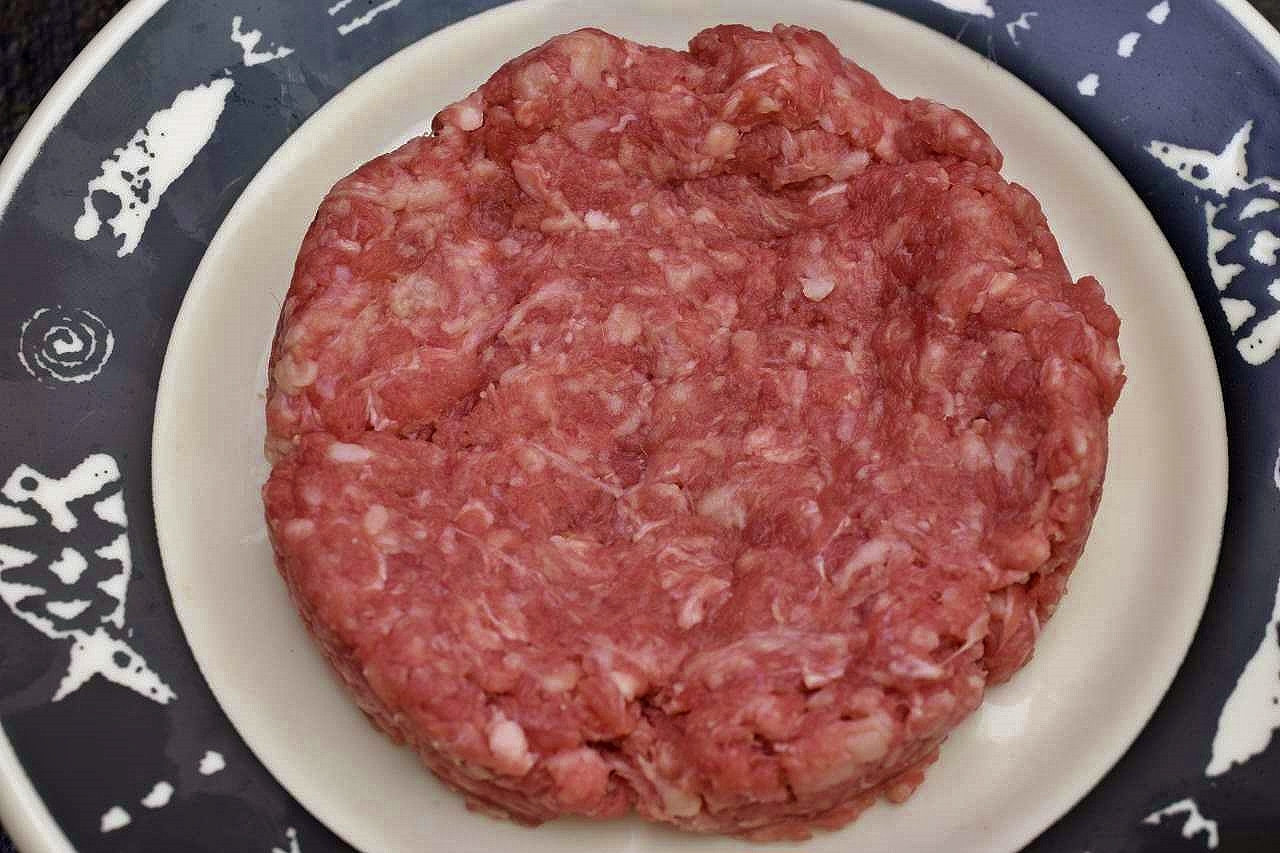
Above: I took half (13 oz/370 g) of the “lean” meat that we removed from both ends of the brisket and combined it with an equal amount of the “meaty” fat that we harvested from the trimming process. This blend is therefore going to be 50/50 lean to fat–way off the legal standards as they are described. We are not going to be arrested for false advertising, as if that ever happened anyway. Our prisons are already over flowing, just imagine what would happen if they started arresting people for lying about the merchandise that they sell.
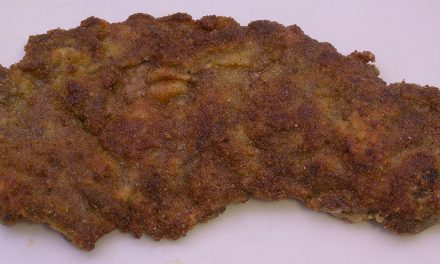
Here’s what 50/50 ground beef looks like cooked to 135 F/57 C and seared:
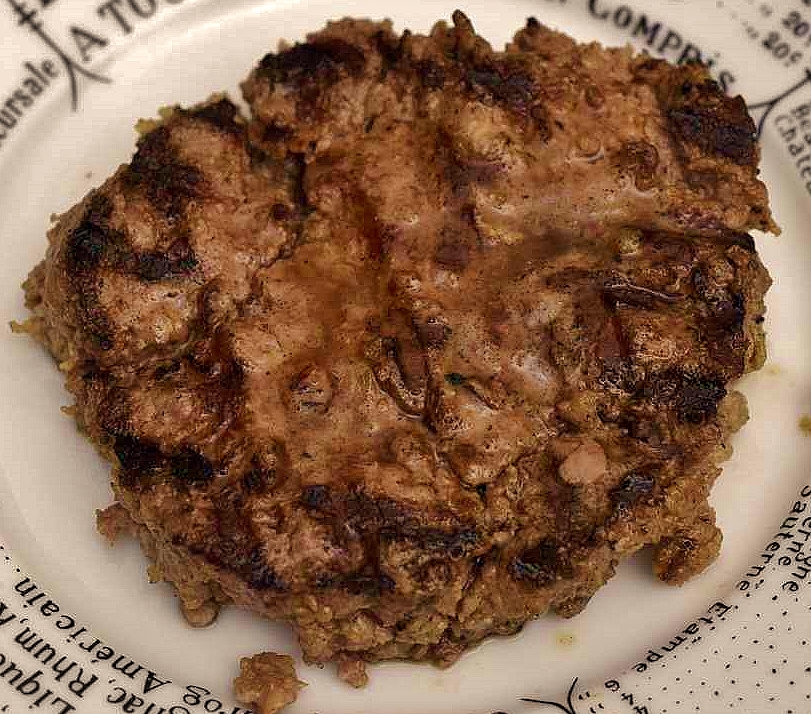
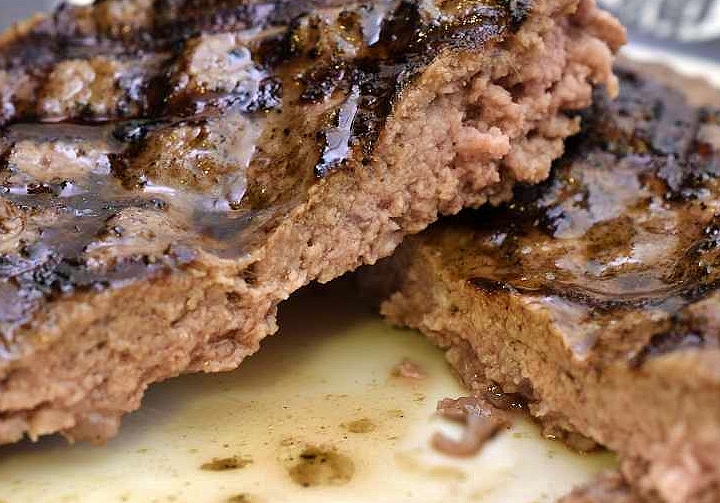
and the money shot:
Okay, this is not the prime example of a ground beef patty. This is just about the lowest end of the spectrum. Perfectly wholesome, good texture in the mouth but a little crumbly in the pan and on the plate. It doesn’t have, and it isn’t going to have the intense color, whether you like red or darker than that.
The color is dictated by the level of myoglobin present, and there just isn’t that much. On the other hand it is at least as good as ground beef labeled as 70/30 that I have purchased in the market in the past. It’s a good point of reference.
And then some
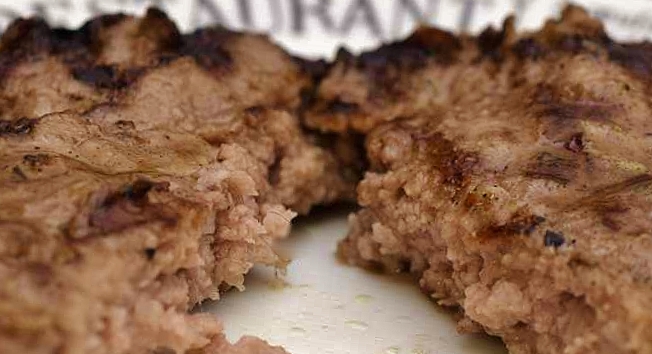
I took the other 12 oz/350 g of the lean meat and combined it with 3 oz/90 g of the “meaty fat,” which gives us an 80/20 blend that looks like this.
Sous vide processed to 135 F/57 C and seared:

and the OTHER money shot.
This gives you the balance typically served in places where they don’t tell you what the balance is, if that makes sense. I’ not talking about fast food chains–they operate on a totally different model with different definitions. For the moment, we will pretend they don’t exist. Would that they didn’t.
So what
So, a couple of observations. Visually, there is only a slight difference between the two. Raw, the 50/50 is paler, and it doesn’t get as brown as the 80/20–again, the presence of myoglobin. Seared, the 80/20 is darker, and the texture is firmer, no surprises there. What does catch my attention is that the 80/20 that WE made is more like the 90/10 that they sell in the market. Again, this doesn’t really surprise me, but it does change our calculation of how much it is actually costing us to make high quality ground beef. We should not assume that our 80/20 is the same as “their” 80/20–because it’s not. Look at the prices for 90/10–there is a huge difference.
80/20 really is about the right balance for most tastes. As it gets leaner than that, it really does seem to get a little dryer and crumblier, if that is a word. But we could make a 70/30 blend that would be comparable to “their” 80/20–we just have to do the work of grinding and measuring and so forth. For me, none of that matters, really. What matters is that I KNOW what is going in there.