No ifs, ands, but BUTTS
There is a common misconception that a pork butt comes from the rear end of the animal. In the routinely baffling vernacular of butchers, what is colloquially referred to as a pork butt actually originates in the shoulder area of a pig. The term “butt” in this context refers to the barrel-like containers commonly used to store pork butts back in the 20th century when dinosaurs roamed the plains and ice covered most of the earth. One might ask how a barrel came to be referred to as a butt, but, well, we don’t have all day and that’s not what we’re here to talk about.
Gabbagool
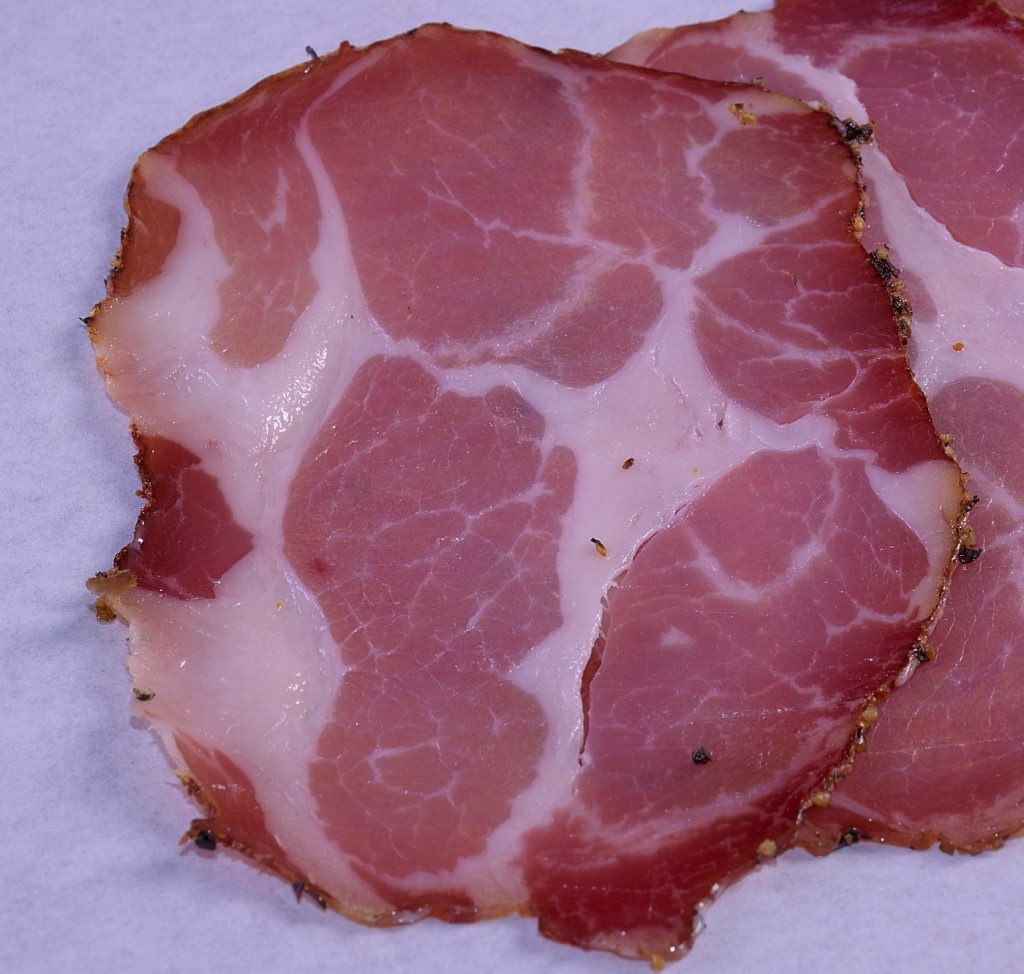
This term is an Americanized bastardization of the Italian term “Capicola.” Anyone familiar with the Sopranos has heard Tony insert the word between his characteristically profuse litany of profanities. Regardless of its pronunciation, the word capicola basically refers to a particular muscle grouping also referred to as “Coppa.” Capicola is a compound word (in Italian) that translates to “head/neck.” That part, at least, is fairly logical.
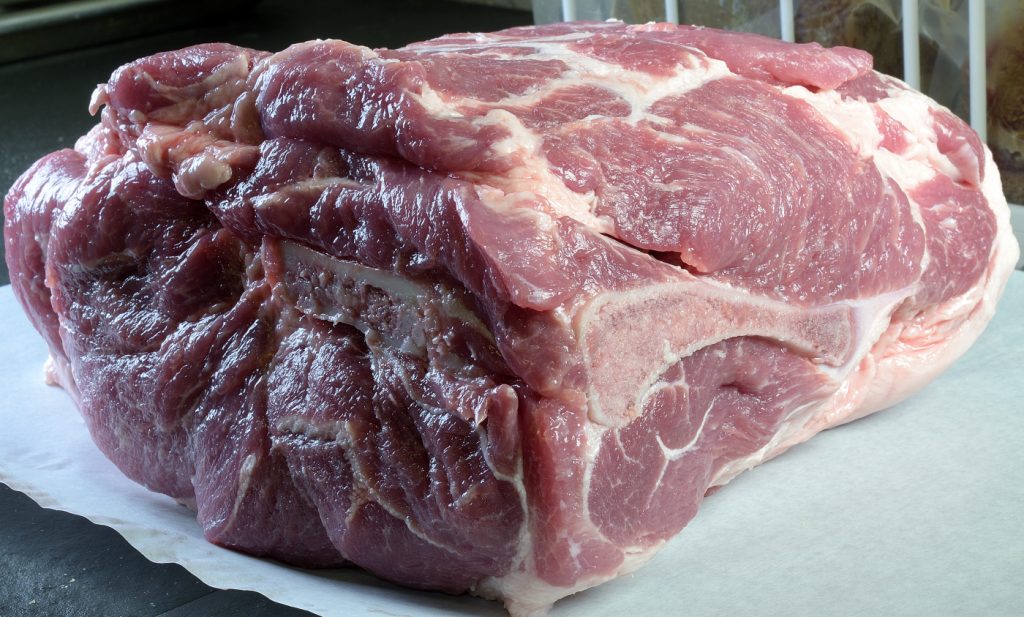
A pork butt contains one bone called the scapula. As seen above, it is triangular and “shovel” shaped, notable for infuriating amateur meat cutters who might attempt to remove it.
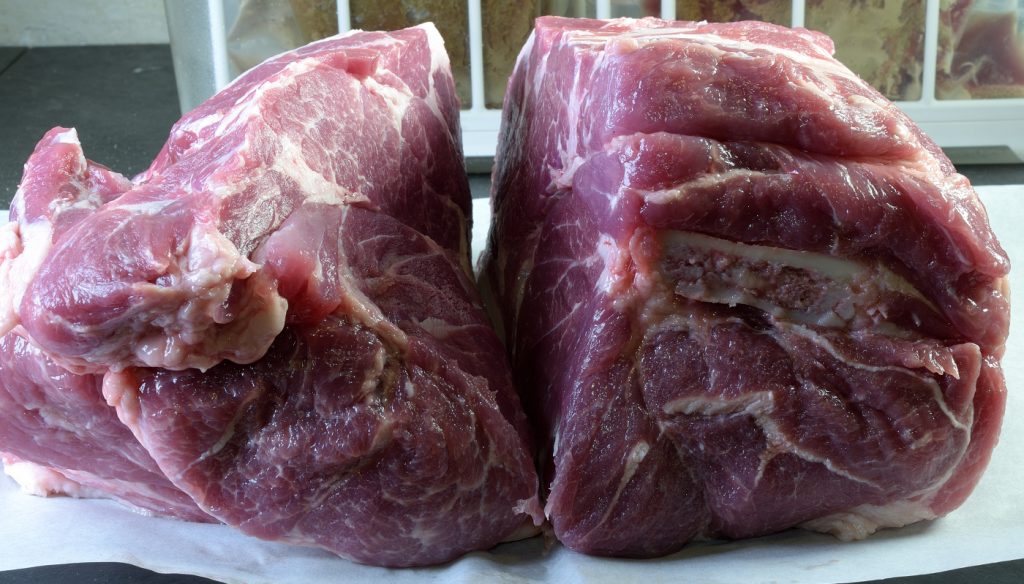
Streamlining the process
As depicted in the picture, the pork butt can be cut in half, creating one piece containing the entire scapula and one piece that is completely bone-free. The section with the bone can be cured in the same manner as the other one, but we removed the bone and made sausage instead.
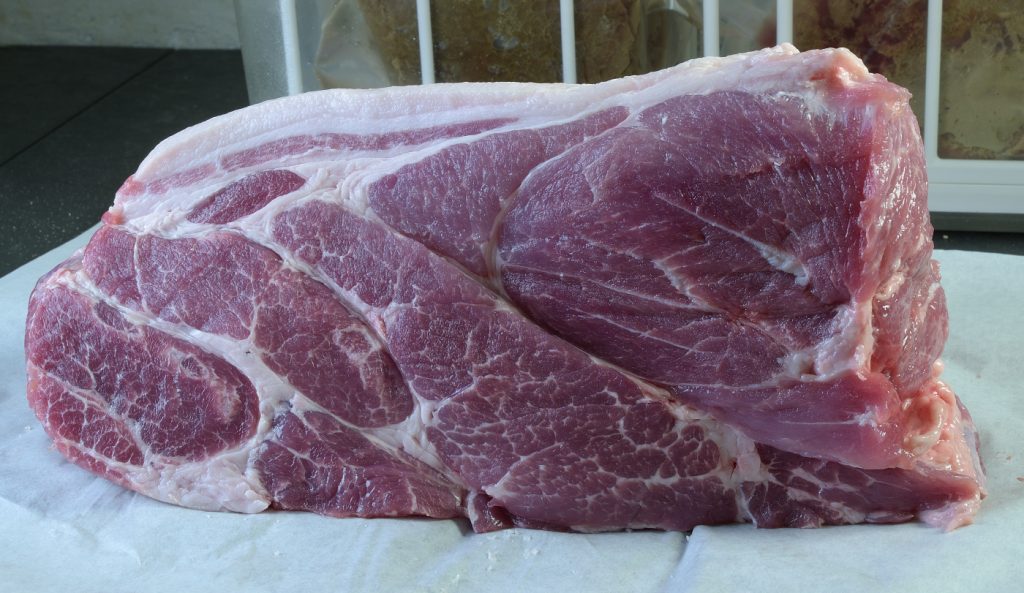
With apologies to purists
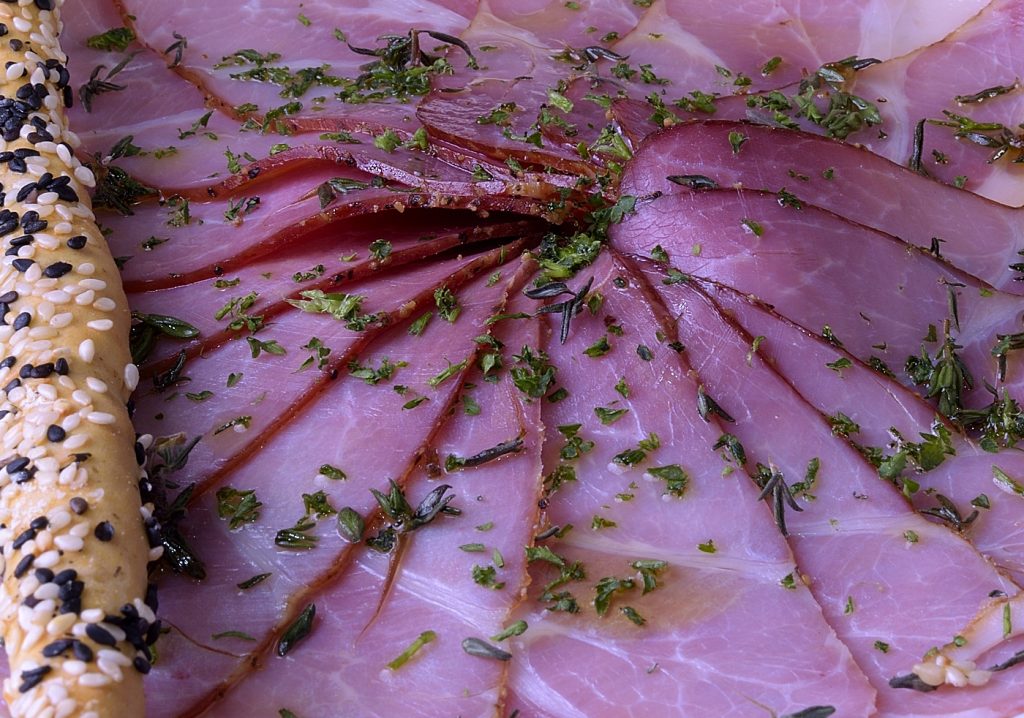
The precise definitions of capicola and other charcuterie items vary according to region, municipality and even family, not unlike other ancient forms of culinary preparation. Even the spices applied to the surface are subject to interpretation. There are as many versions of capicola as there are Italian grandmothers. Some are rolled and tied, others are not. No matter how you make capicola, there will be someone who claims it is inauthentic. That said, we are going to cure and dry this boneless piece of pork and call it capicola. It will be safe, wholesome and delicious. Capicola is not necessarily smoked, but we are going to add that step just because that’s what we want to do.
Dry curing
Curing formulae use minute amounts of nitrites and nitrates, introduced in the form of “Prague powder.” Although frequently referred to as “pink salt,” Prague powder is not the same thing as Himalayan Pink Salt. Prague powder is tinted to minimize being confused with regular salt, but the coloring in Prague powder is not the reason that cured meats come out pink. That effect is the result of a chemical reaction between nitrites and myoglobin that prevents oxidation and therefore creates the characteristic appearance.
There are two kinds of Prague powder, #1 and #2. There is some latitude as to how much Prague powder is used for curing, but excessive amounts of nitrites/nitrates–and even salt itself–can pose health risks. Prague powder cannot be used by itself as a seasoning. Prague powder #1 has nitrites dispersed in salt. Combined with an additional and precise amount of kosher (non-iodized) salt, it is used to cure products intended to be cooked immediately after curing. Prague powder #2 contains nitrites and nitrates. It is also mixed with kosher salt but is used for products that are going to be dried like prosciutto, capicola, bresaola, etc. Measured by weight, the kosher salt used should amount to 3% of the total weight of the protein sample. Prague #1/#2 should amount to .25% of the total weight of the protein sample. Gram scales are one method for balancing the proportions.
Alternatives
While being less precise, the amount of cure required can also be calculated on the basis of volume. This formula will achieve the desired flavoring, hue and anti-bacterial benefit:
- 8 measured Tablespoons of Kosher salt–140 grams.
- 4 measured Tablespoons of sugar–50 grams.
- 1 measured Tablespoon of Prague powder–14 grams.
This recipe is enough to cure 13 lbs. of meat. If you want to cure less than that, use 1 measured Tablespoon of the cure per lb./450 g of meat–about 16 g. The process requires at least 4 days for the cure to travel 1 inch from the surface towards the center in solid cuts of meat–if your pork shoulder is 6” thick, you should allow it to cure for at least 12 days to complete that part of the process. Other commonly used ingredients like peppercorns, garlic powder, juniper berries, etc. are commonly added but do not contribute to the curing effect. For best results, apply them to the meat separately so as not to upset the balance of cure to meat. More on that in a moment.
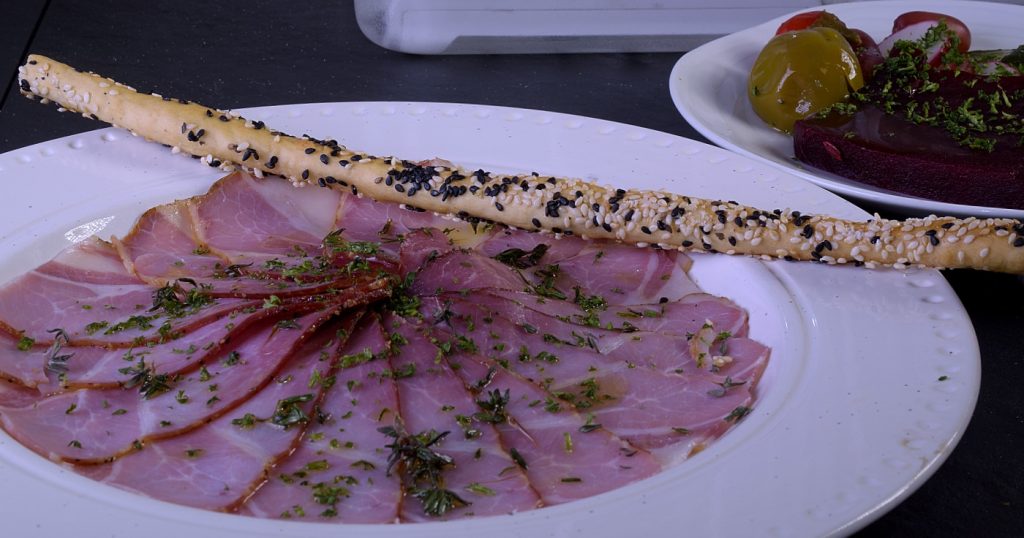
And finally, UMAi to the rescue
The meat must not only be held at a safe temperature, it must be protected from external contaminants and odors. Humidity must be managed as well. In the old days, mass producers had gigantic condition-controlled walk in boxes with sawdust on the floor and ultraviolet lamps to kill bacteria and mold. Home curing/aging was cumbersome and results were often inconsistent. UMAi has modernized and standardized the method, thereby liberating us from most of the inconveniences of dry curing/aging. UMAi membranous bags form a protective bond with the surface of the meat. This allows moisture to escape and oxygen to circulate, while aromas and other forms of contamination are kept out. This is positively brilliant.
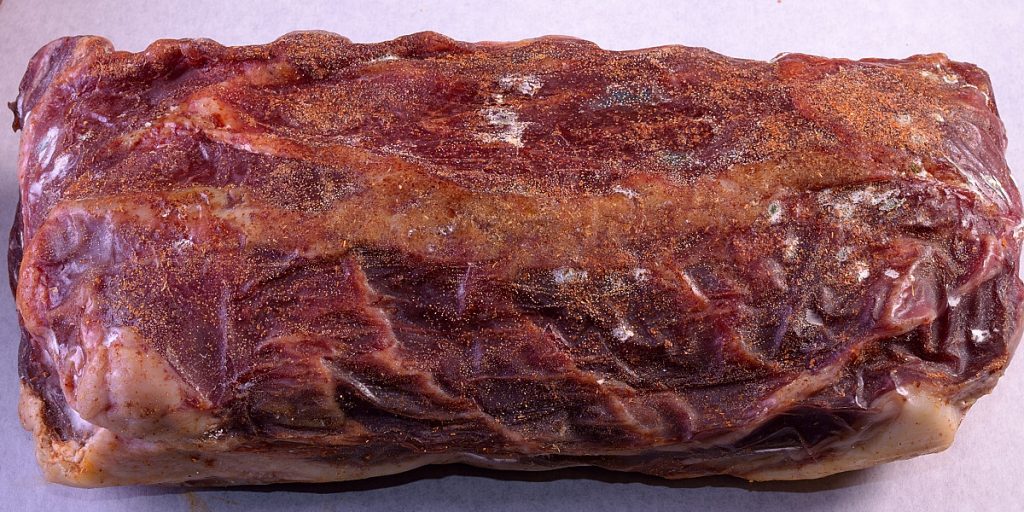
I have great respect for tradition. Even so, scientific evidence asserts that the flavors of herbs and spices are unable to penetrate the surface of the meat. For that reason, I do not typically apply surface treatments in advance of the curing/drying steps. There are also certain microflora present in pepper and other spices that can be activated during the drying cycle. If you DO want to apply seasonings to the surface during curing and/or drying, make sure you take this under consideration. Toasting the spices is one fix for the issue. UMAi offers capicola spice blends that are pre-sterilized, another benefit of their curing/drying model. Sous vide enthusiasts who are familiar with my work have seen the scientific documentation explaining just what can penetrate the surface of proteins and what cannot. We discuss that in great length HERE and HERE. That said, we toasted some paprika and applied it to one of the pieces for later comparison.
Pack your bags
We weighed the pork and cured at 40 F/4 C for 14 days in a plastic bag–sealed but NOT vacuumed. The meat was then removed from the bag and rinsed to remove any excess cure. While still moist, each piece was loaded into an UMAi bag and the vacuum was applied.
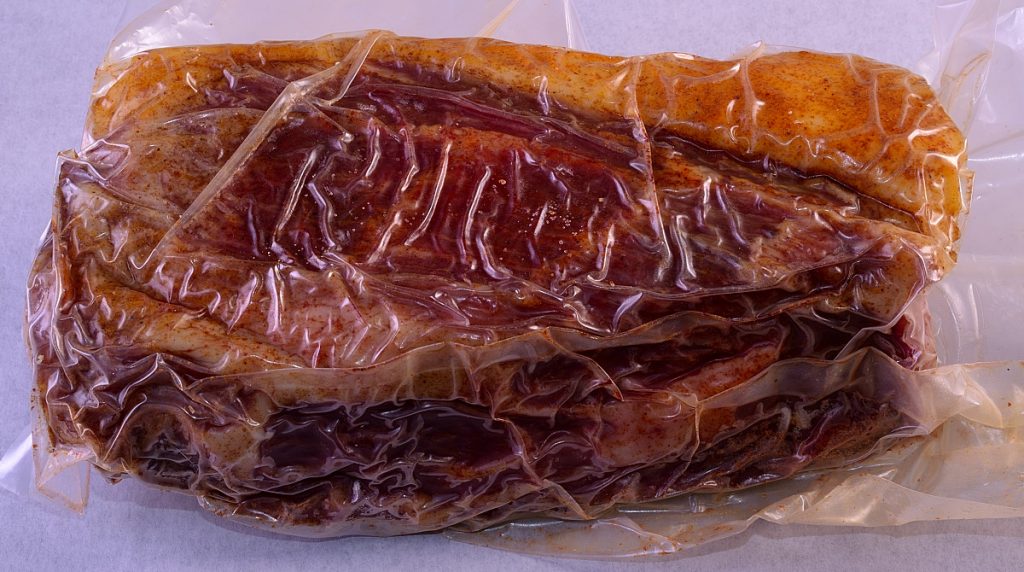
The waiting is the hardest part!
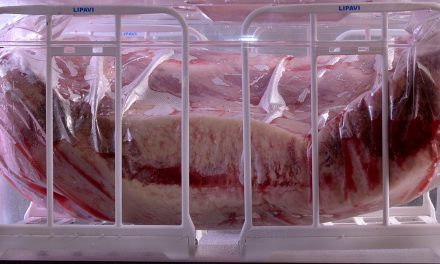
We staged the meat into a Lipavi wire rack to encourage air circulation and set to dry in the ventilated crisper of our home refrigerator for 45 days. And we thought sous vide took a long time! The meat will lose 35-40% of its original weight, causing the bag to loosen somewhat. This is normal.
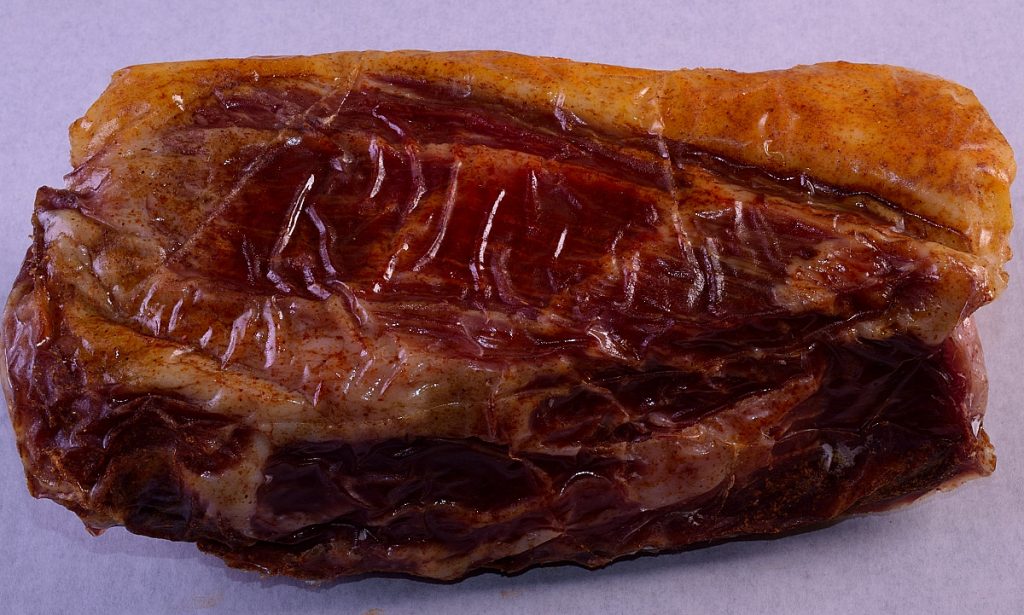
Remove the UMAi bag.
You can see the toasted paprika that was applied.
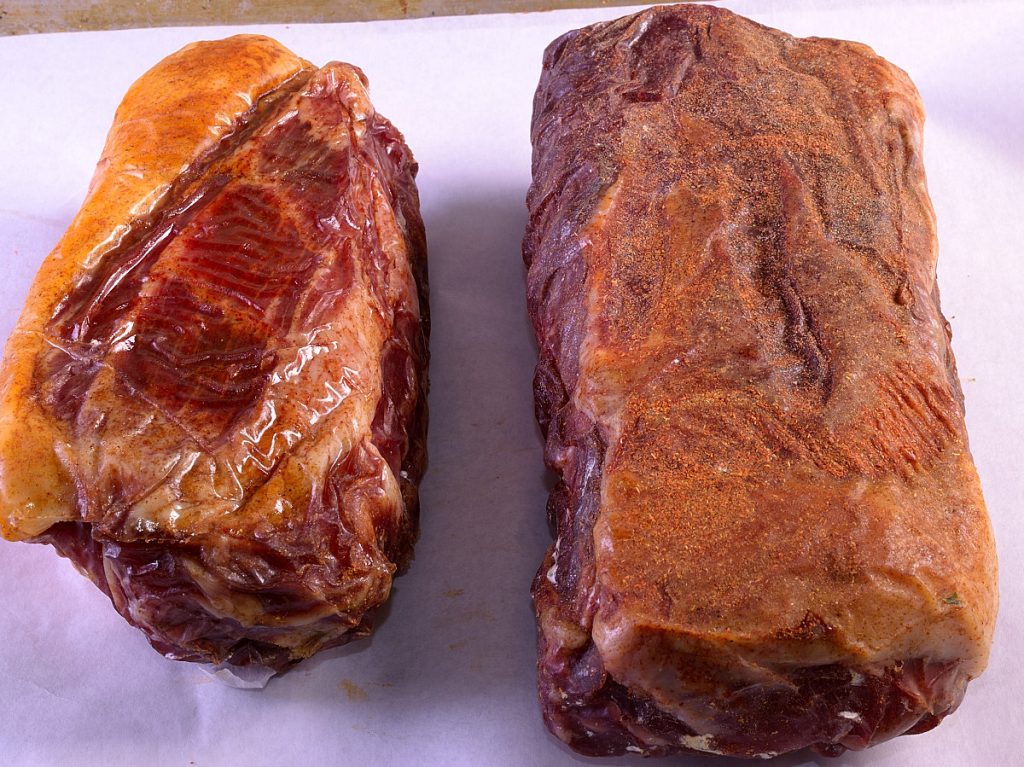
Lay the capicola on a disposable surface.
Here comes the crazy part
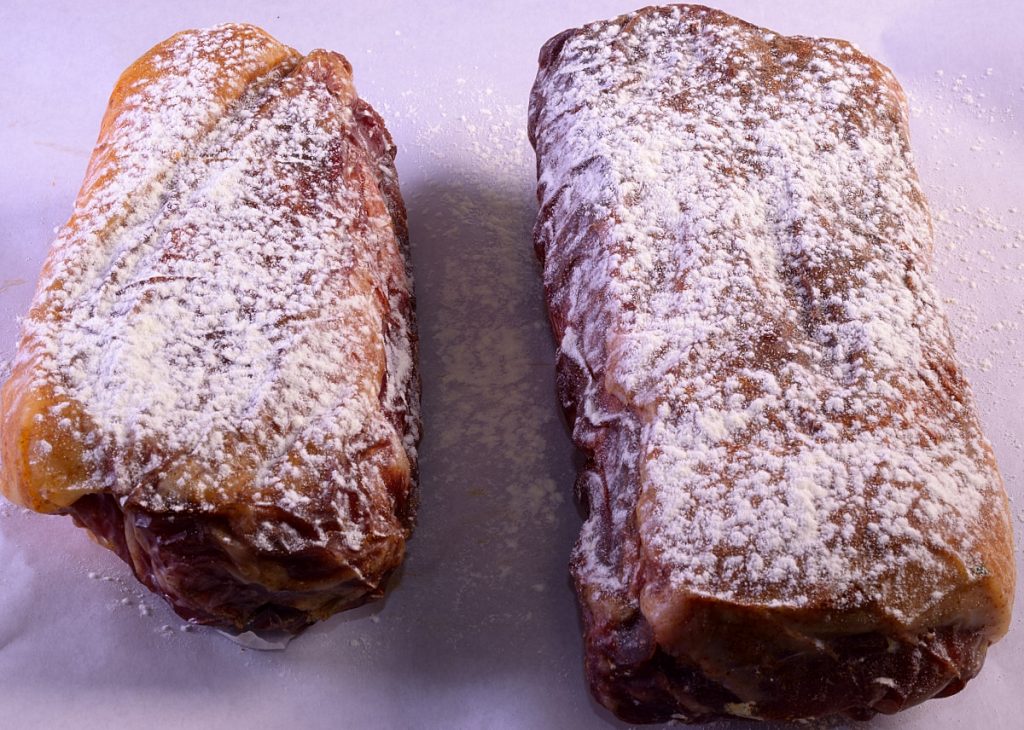
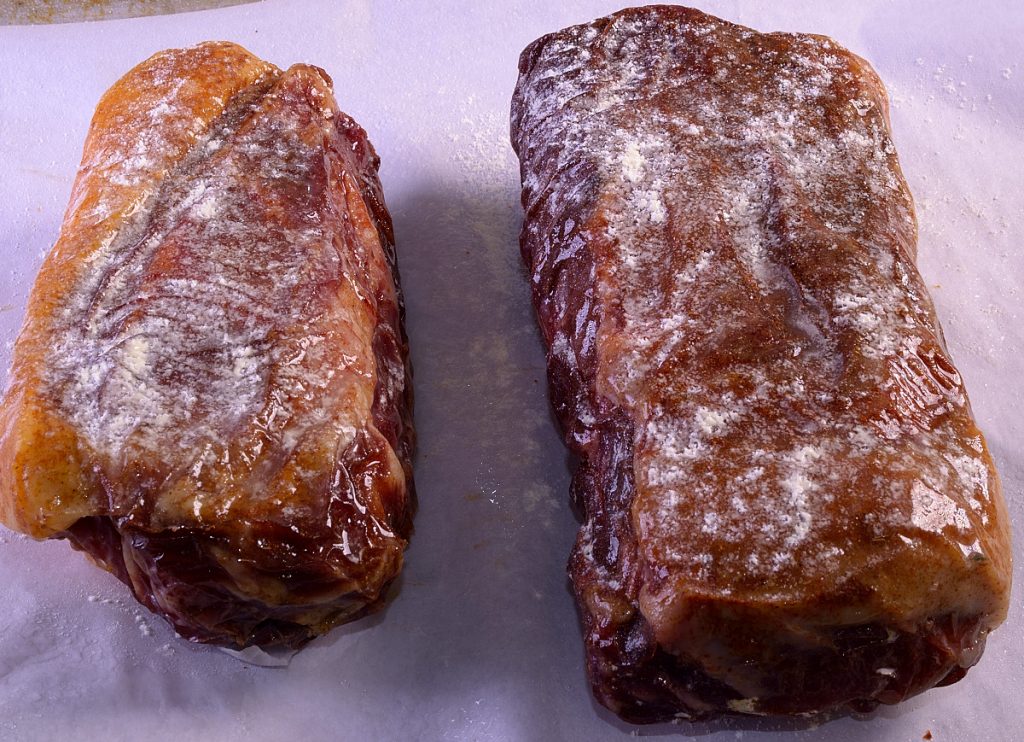
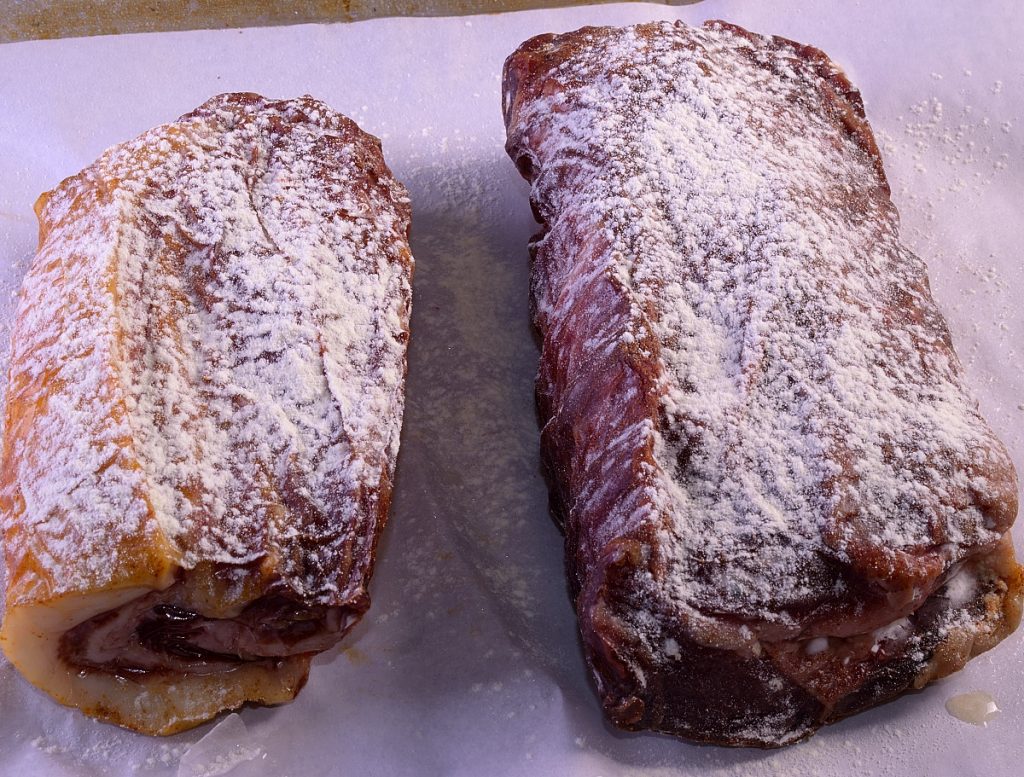
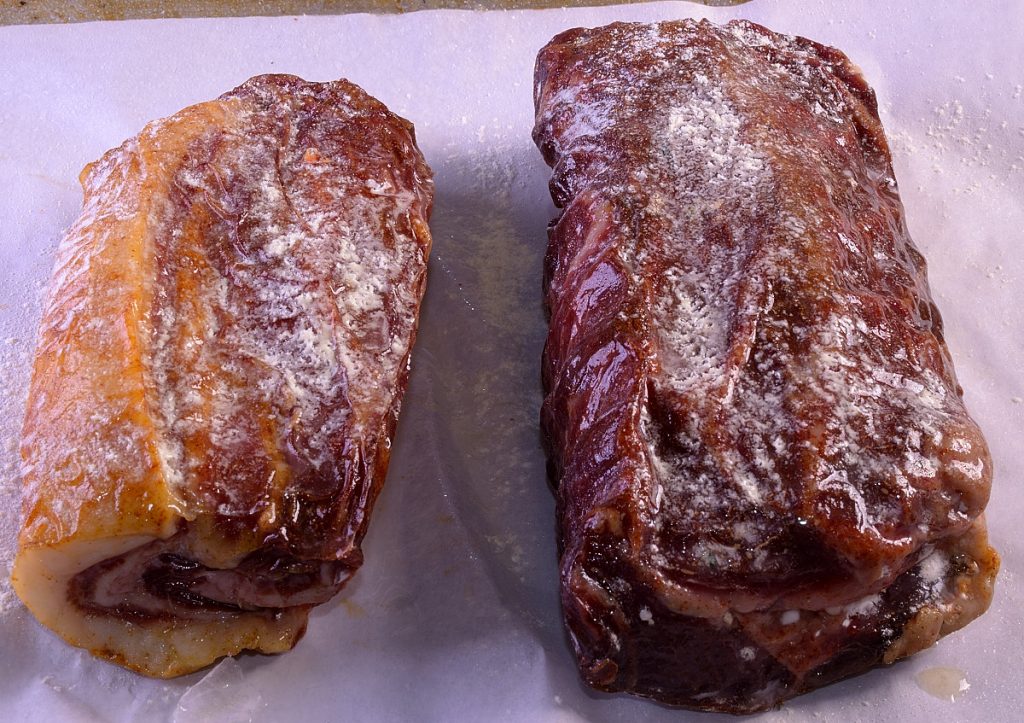
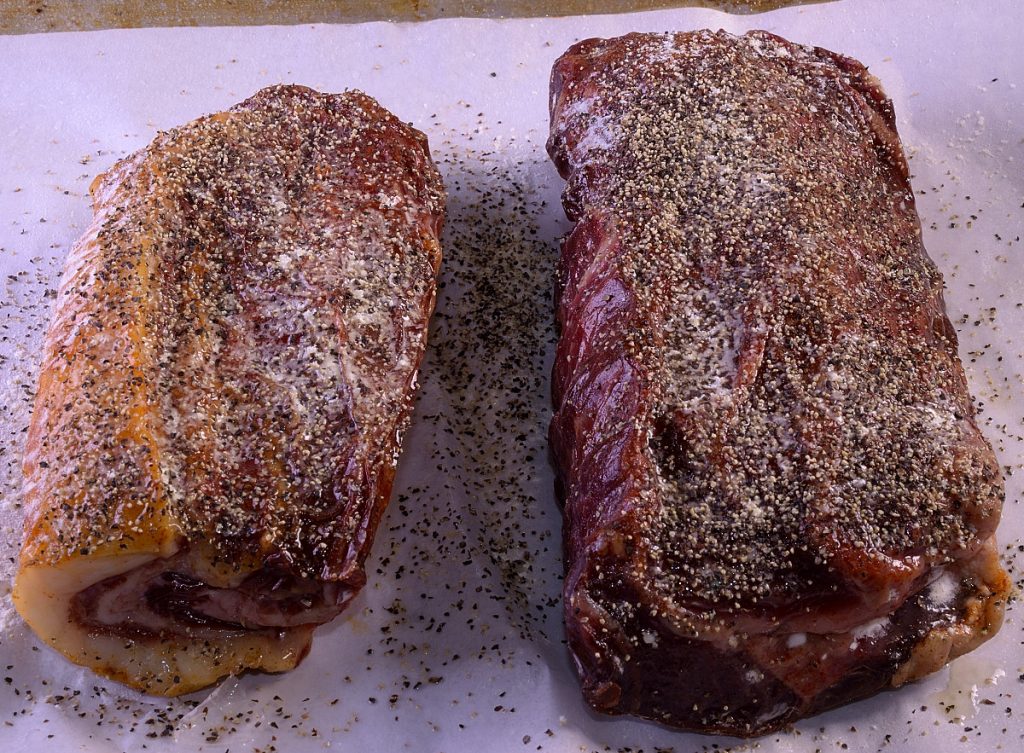
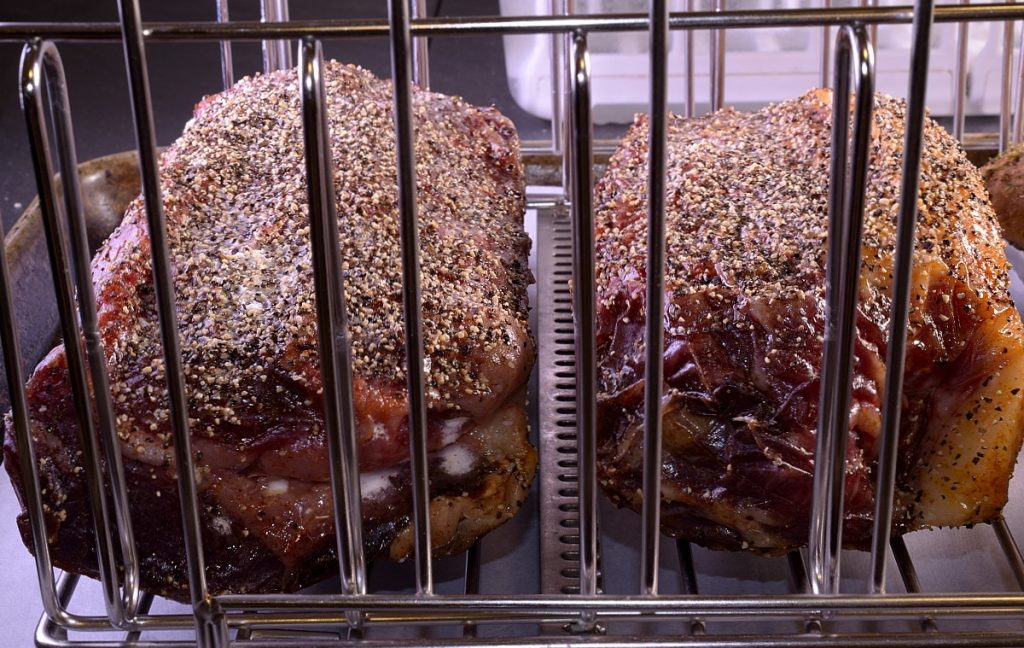
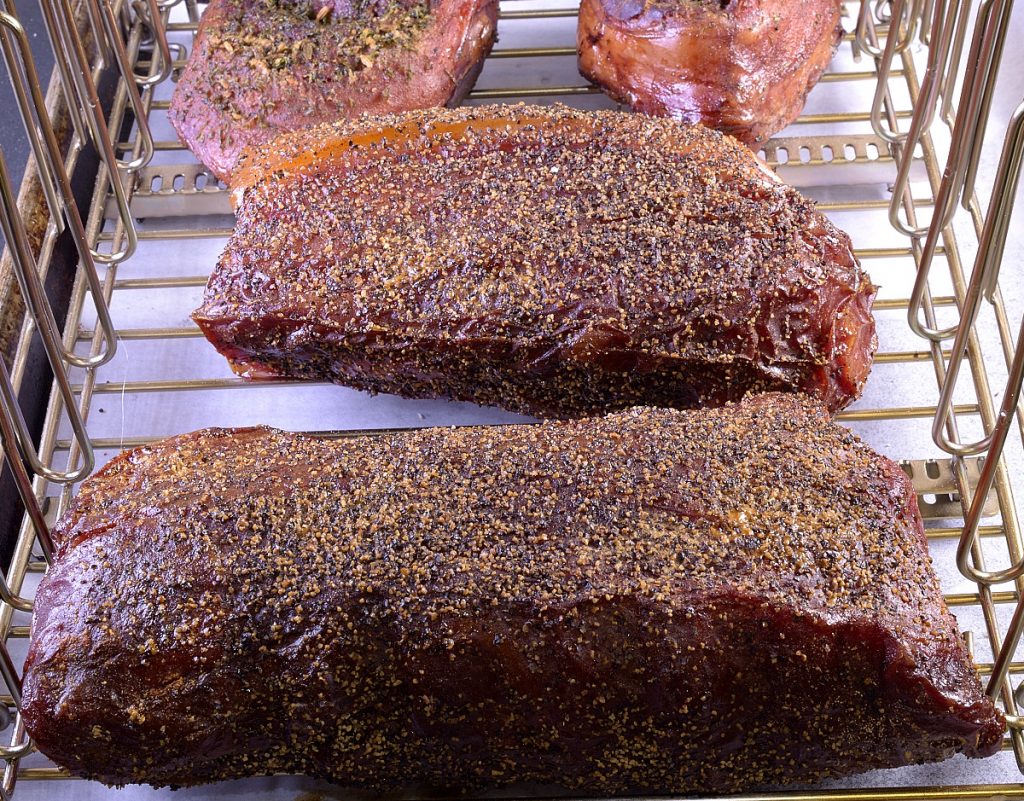
Smoke for 4 hours. Remove from smoker, cool to 70 F/21 C and refrigerate at 40 F/4 C.
No matter how you slice it, it matters how you slice it
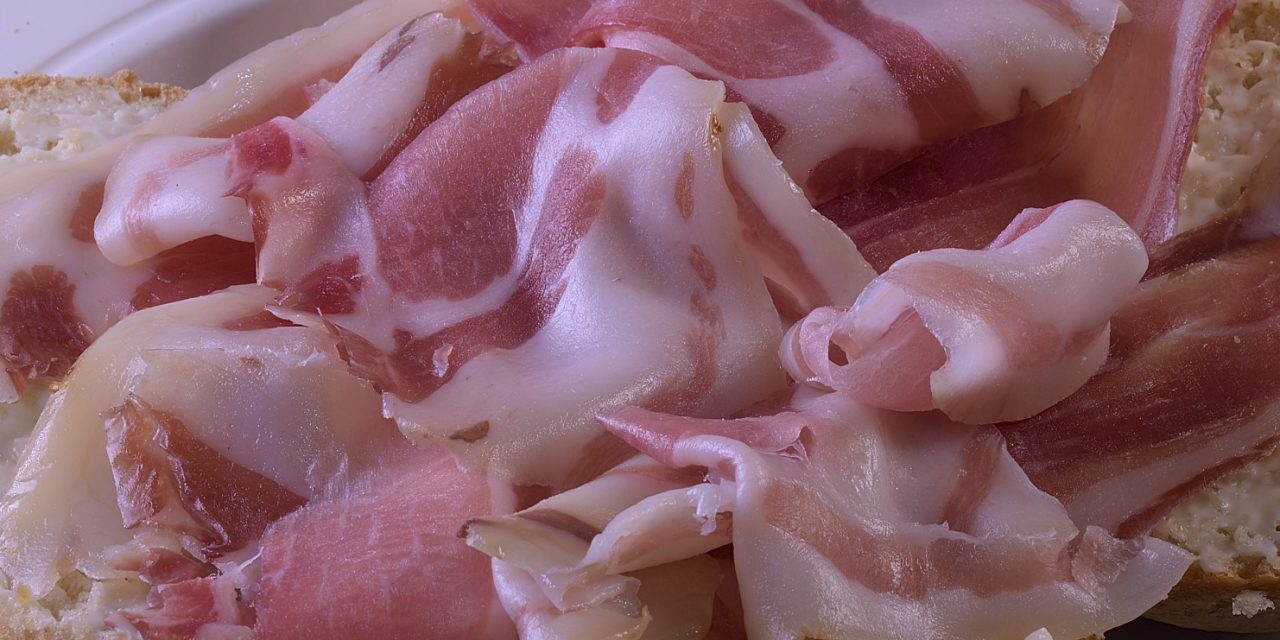
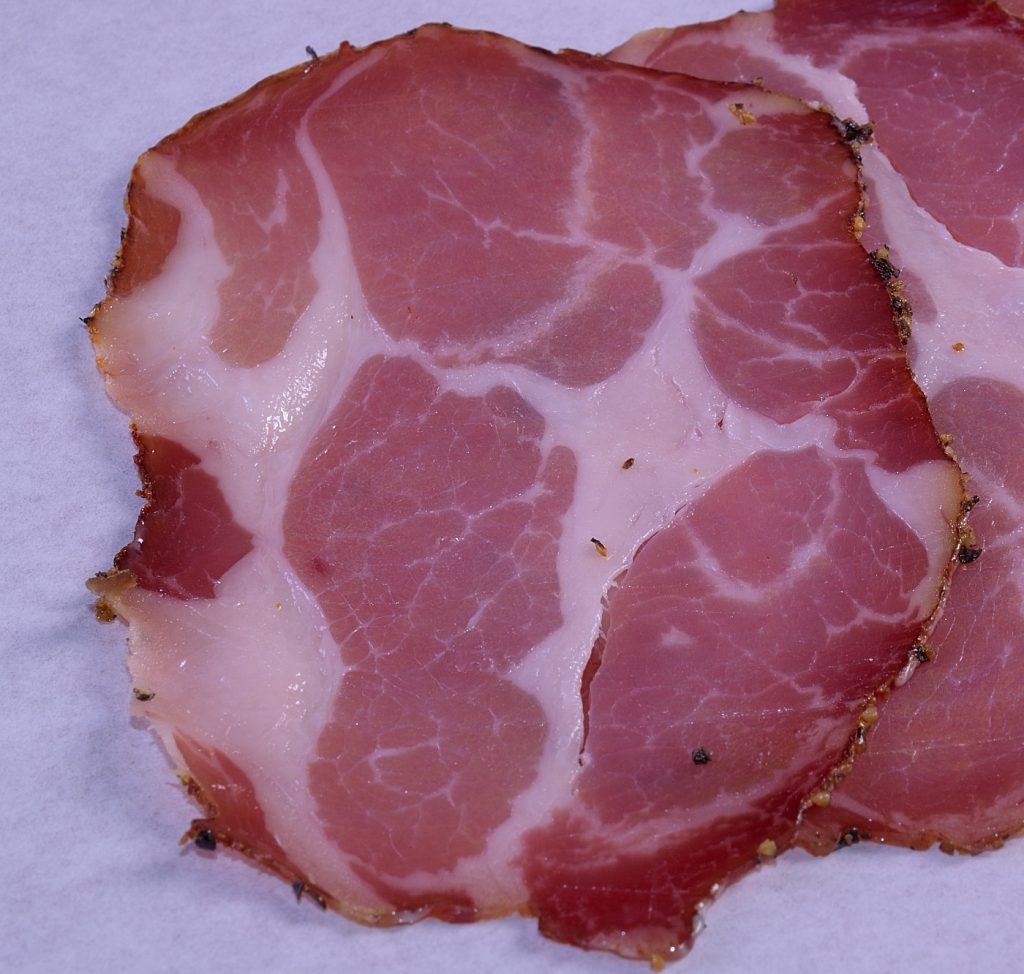
One of the most important tools in your local delicatessen is the mechanical slicer. With years of practice and a razor sharp knife, an expert butcher or chef can manage to slice capicola thin enough to fully take advantage of its many virtues. Note that I used the word “manage.” Butchers and chefs alike know that the best way to slice deli meats is the mechanical slicer. It wasn’t so long ago that the price of these devices was prohibitive. These days, a fast blade, non-serrated slicer suitable for home use can be acquired for around $300, which is about what a flat screen HD television goes for. Personally, I’d rather have the slicer.
Norm
Be sure to visit us live on Facebook at:
SVR–Sous Vide Resources; Low Temperature Pasteurization, Sous-B-Q™
